
Articles
How To Screw On Toilet Paper Holder
Modified: August 27, 2024
Learn how to properly screw on a toilet paper holder with our informative articles. Follow our step-by-step guide for easy installation.
(Many of the links in this article redirect to a specific reviewed product. Your purchase of these products through affiliate links helps to generate commission for Storables.com, at no extra cost. Learn more)
Introduction
Welcome to our comprehensive guide on how to screw on a toilet paper holder. This may seem like a simple task, but it’s not uncommon for people to face challenges when it comes to properly installing a toilet paper holder. Whether you are remodeling your bathroom or replacing an old holder, this step-by-step guide will help you navigate the process with ease.
Having a functional and well-mounted toilet paper holder is essential for any bathroom. It not only provides a convenient place to store and dispense toilet paper, but it also adds a finishing touch to the overall aesthetic of the room. By correctly screwing on the toilet paper holder, you can ensure that it stays securely in place, preventing any mishaps or inconveniences down the line.
Before we dive into the steps, it’s important to note that the exact process may vary depending on the type of toilet paper holder you have chosen. Some holders may require different tools or mounting methods, so always refer to the manufacturer’s instructions for specific guidance. Nevertheless, this guide will give you a general overview of the process and common steps involved.
So, let’s get started and learn how to screw on a toilet paper holder!
Key Takeaways:
- Proper installation of a toilet paper holder is crucial for bathroom functionality and aesthetics. Choosing the right holder, gathering the necessary tools, and following a step-by-step guide are essential for a successful installation.
- Avoid common mistakes such as incorrect placement, using the wrong tools, or rushing the installation process. Consider alternative mounting methods if the traditional screw-mounted option doesn’t align with your preferences.
Getting Started
Before you begin installing the toilet paper holder, there are a few preliminary steps you should take to ensure a smooth and successful installation.
Firstly, make sure you have chosen the right location for mounting the toilet paper holder. Consider the height and accessibility, taking into account the needs of everyone who will be using the bathroom. It’s typically recommended to install the holder within easy reach of the toilet and at a comfortable height for most users.
Next, it’s important to gather all the necessary tools and materials. The specific tools needed may vary based on your chosen holder and mounting method, but here are some general items you may need:
- Drill
- Screwdriver (flathead or Phillips head, depending on the screws)
- Screws (provided with the toilet paper holder)
- Pencil or marker
- Tape measure
- Level
- Wall anchors (if necessary)
- Masking tape (optional, for protecting the wall)
Once you have gathered all the tools and materials, it’s a good idea to read through the manufacturer’s instructions for your specific toilet paper holder. This will give you a better understanding of any specific steps or considerations required for installation.
Before proceeding, ensure that you have a clear and clutter-free workspace. Remove any obstacles or items that may hinder your movement while installing the holder. It’s also a good idea to protect the floor or surrounding area with a drop cloth or old sheet to prevent any damage from dropped tools or debris.
With these preparations in place, you’re now ready to move on to the next steps of screwing on the toilet paper holder.
Choosing the Right Toilet Paper Holder
When it comes to selecting a toilet paper holder, there are several factors to consider. The right choice will not only ensure functionality but also enhance the overall aesthetic of your bathroom. Here are some key points to keep in mind while choosing a toilet paper holder:
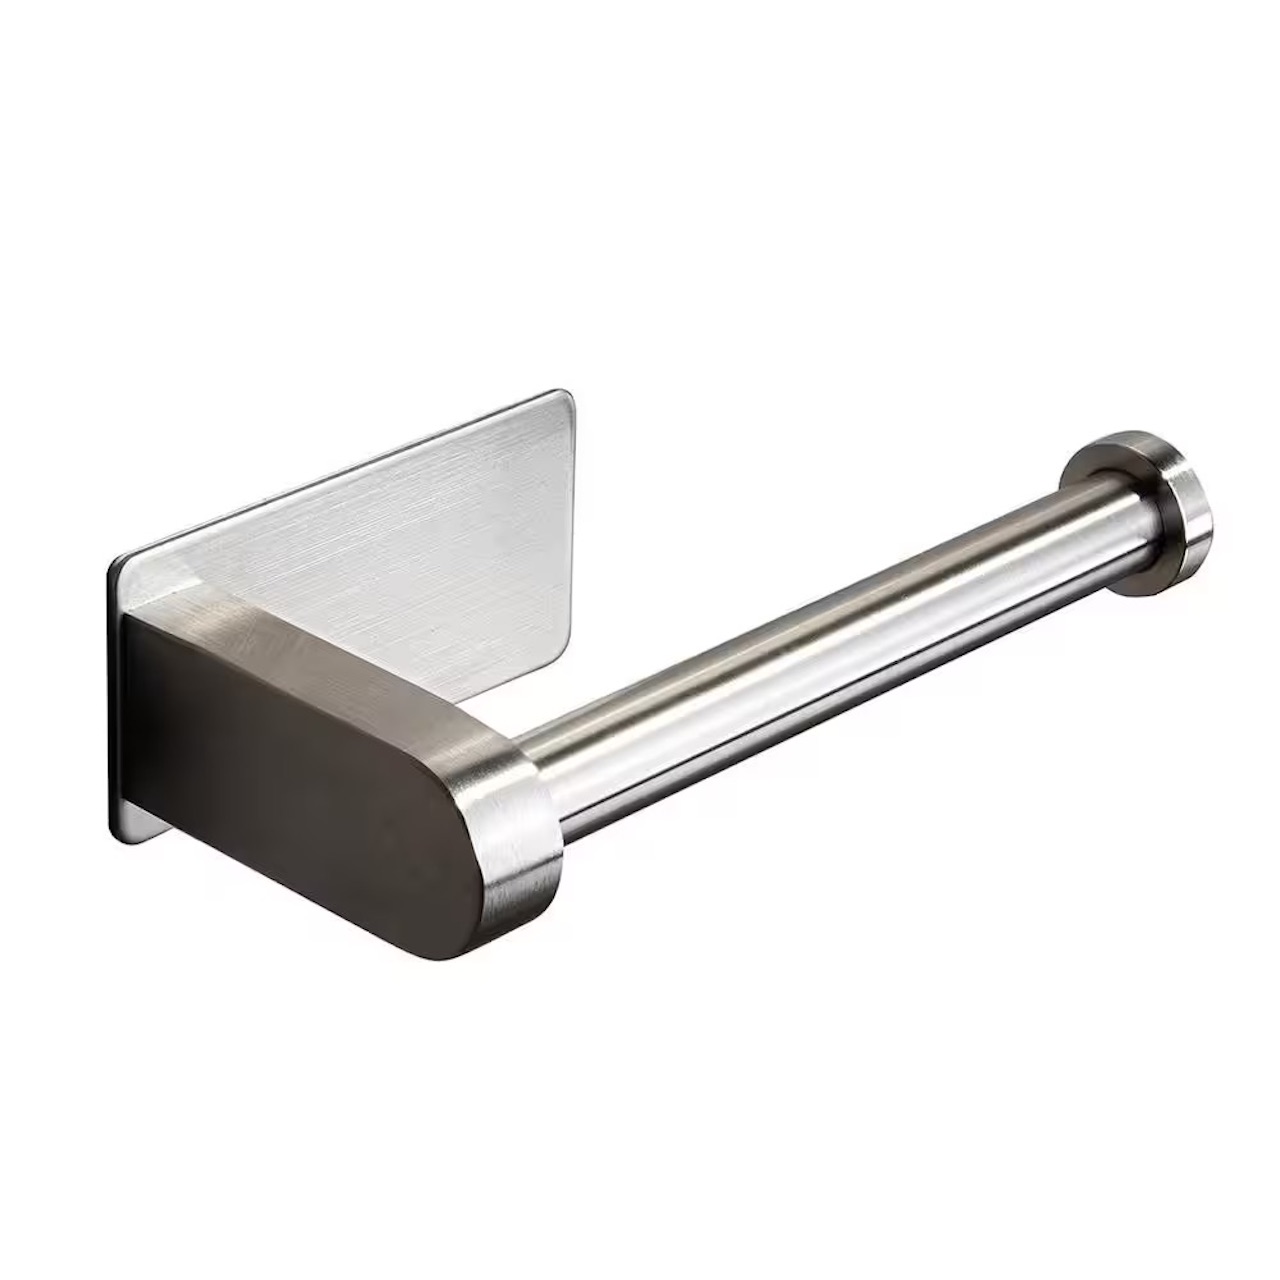
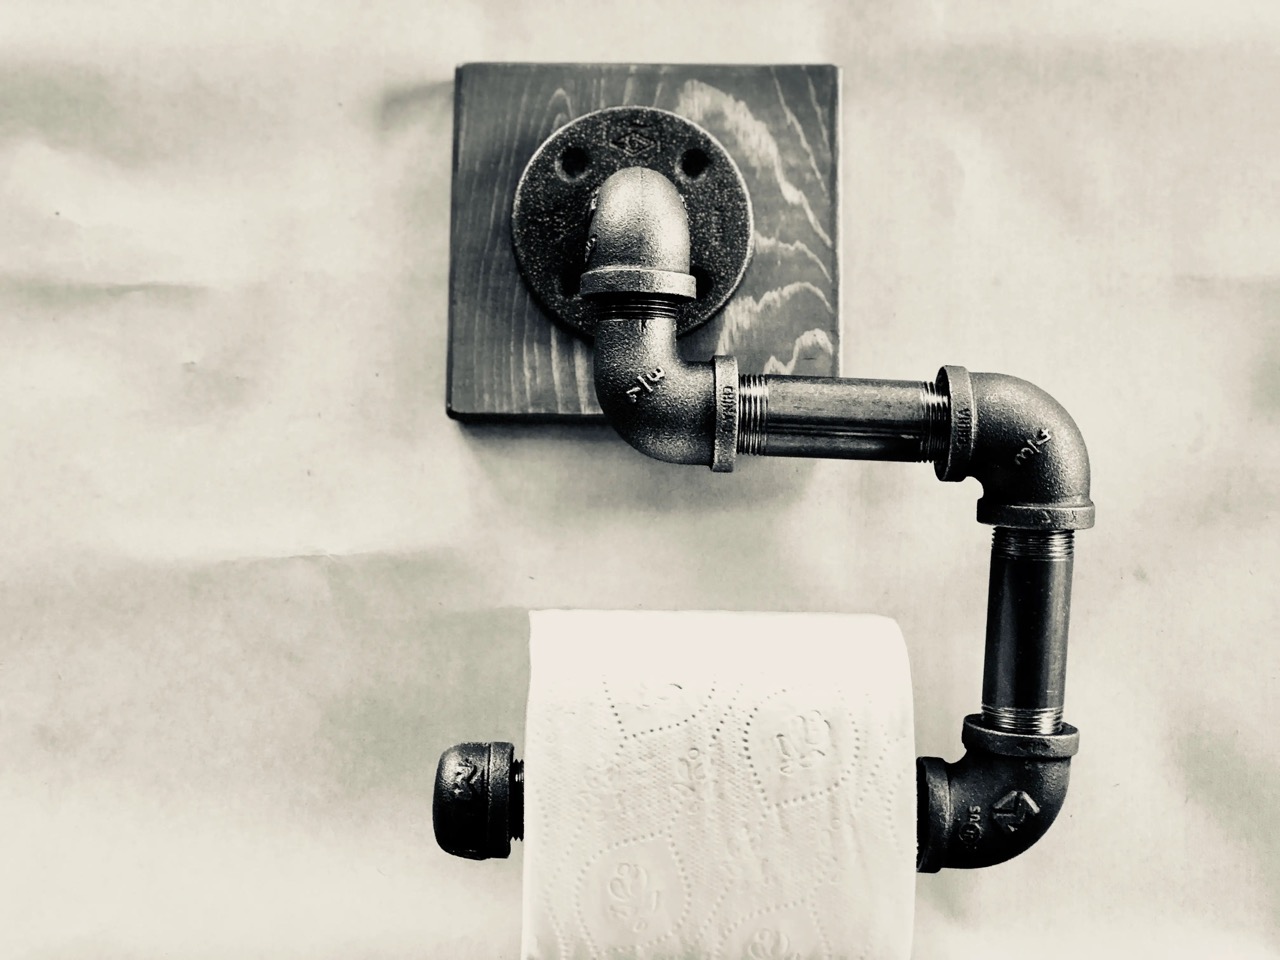
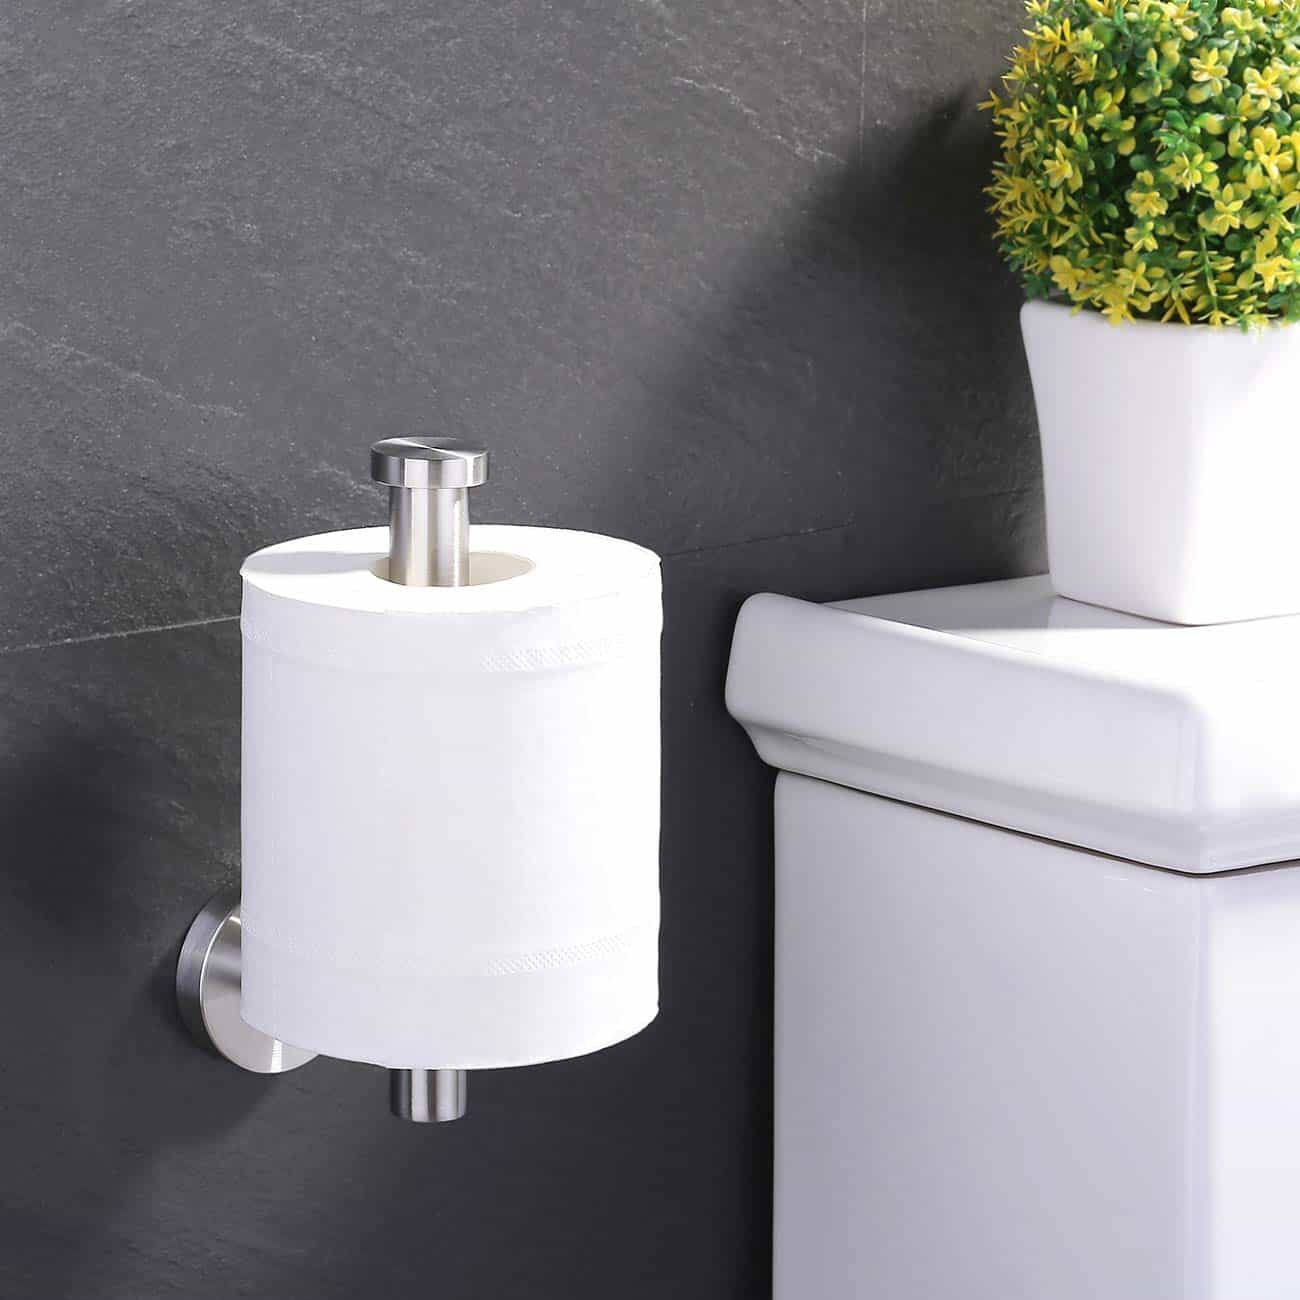
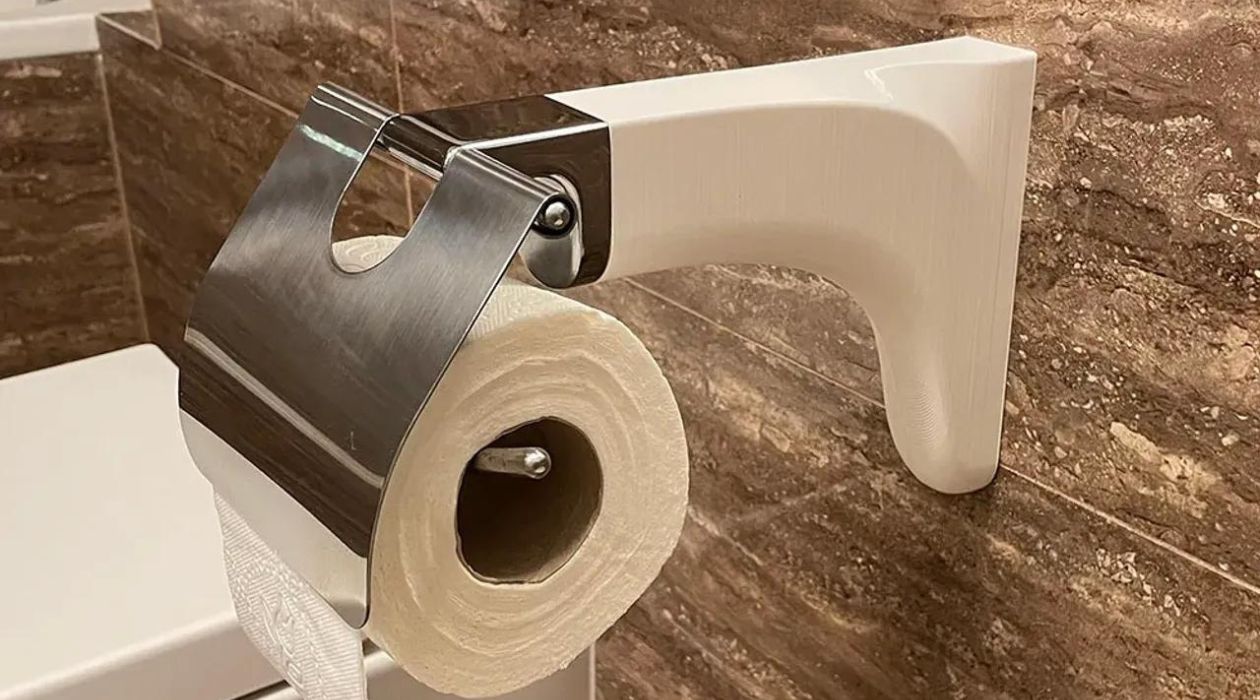
1. Style and Design: Consider the overall style of your bathroom and choose a toilet paper holder that complements the existing decor. There are various styles available, ranging from traditional to modern and everything in between. Pay attention to the finishes, such as chrome, brushed nickel, or oil-rubbed bronze, to match other fixtures in the space.
2. Mounting Type: Toilet paper holders typically come in two main mounting types – wall-mounted and freestanding. Wall-mounted holders are more common and require screws for installation. Freestanding holders, on the other hand, do not require any installation and can be placed on the floor.
3. Functionality: Consider how you want your toilet paper holder to function. Some holders have a spring-loaded roller for easy paper roll replacement, while others may have a cover to protect the paper from moisture or dust. Determine which features are important to you and choose accordingly.
4. Durability: Look for a toilet paper holder that is made from durable materials, such as stainless steel or brass, to ensure longevity. Pay attention to the weight-bearing capacity of the holder, especially if you prefer a larger or bulkier toilet paper roll.
5. Installation Method: Different toilet paper holders may require different installation methods. Some holders come with mounting brackets that require screws, while others may use adhesive or suction cups. Consider your preference and ability to mount the holder properly.
6. Cost and Budget: Toilet paper holders come in a wide range of prices. Set a budget for your purchase and look for options that fall within your desired range. Keep in mind that while cost is a consideration, quality and functionality should not be compromised.
By considering these factors, you can choose a toilet paper holder that meets your specific needs and preferences. Whether you opt for a sleek minimalist design or a vintage-inspired piece, the right toilet paper holder will add the perfect finishing touch to your bathroom.
Tools and Materials Needed
Before you start installing the toilet paper holder, it’s essential to gather all the necessary tools and materials. The specific items required may vary depending on the type of holder and the mounting method you choose. Here are some general tools and materials you may need:
1. Drill: A drill will be required if you need to make holes in the wall for installation. Make sure you have the appropriate drill bits for the material of your wall (wood, drywall, tile, etc.).
2. Screwdriver: Depending on the screws provided with your toilet paper holder, you may need a flathead or Phillips head screwdriver. Check the package or manufacturer’s instructions to determine the appropriate screwdriver type.
3. Screws: Most toilet paper holders come with screws for installation. Make sure you have the correct size and quantity of screws required to securely attach the holder to the wall.
4. Pencil or Marker: You will need a pencil or marker to mark the wall for accurate placement of the holder. This will help ensure that the holder is level and aligned correctly with other fixtures in the bathroom.
5. Tape Measure: Use a tape measure to measure the desired height and distance between the markings for the toilet paper holder. This will help you achieve proper spacing and alignment during the installation process.
6. Level: A level is essential to ensure that the toilet paper holder is installed straight and level. This will prevent any crooked or slanted appearance, ensuring a professional and visually pleasing result.
7. Wall Anchors: If your toilet paper holder requires additional support or if you are mounting it on a drywall surface, it may be necessary to use wall anchors. Wall anchors provide extra stability and prevent the screws from coming loose over time.
8. Masking Tape (optional): If you are concerned about damaging the wall surface, you can use masking tape to protect it. Simply apply the tape around the area where you will be drilling or mounting the holder to prevent any scratches or paint chips.
Always refer to the manufacturer’s instructions for your specific toilet paper holder, as they may provide additional tools or materials that are needed for installation. Having all the necessary tools and materials ready before starting the installation process will help ensure a smooth and successful project.
When screwing on a toilet paper holder, make sure to use a level to ensure it is straight. Use a drill to create pilot holes for the screws to make installation easier and prevent damage to the wall.
Step-by-Step Guide to Screw on Toilet Paper Holder
Now that you have gathered all the necessary tools and materials, let’s walk through the step-by-step process of screwing on a toilet paper holder:
- Start by determining the desired height and location for the toilet paper holder. Use a tape measure to ensure proper spacing and alignment.
- Mark the wall with a pencil or marker at the desired height and location for the holder.
- If you are using wall anchors, hold the anchor against the wall at the marked location and use a pencil or marker to mark the spot for drilling. Repeat this step for all the required anchor locations.
- Using the appropriate drill bit, carefully drill holes at the marked spots on the wall. If you are using wall anchors, insert the anchors into the drilled holes.
- Hold the toilet paper holder against the wall, aligning it with the drilled holes or wall anchors.
- Insert the screws through the mounting holes of the toilet paper holder and into the drilled holes or wall anchors. Use a screwdriver to tighten the screws securely.
- Check the levelness of the toilet paper holder using a level. Make any necessary adjustments to ensure it is perfectly straight.
- Tighten the screws fully to secure the holder in place, being careful not to overtighten and strip the screws or damage the holder.
- Test the stability and functionality of the toilet paper holder by pulling on it gently. Make sure it is securely attached to the wall and can hold the weight of a toilet paper roll without wobbling or falling.
- Double-check the alignment and spacing of the holder. Make any necessary adjustments to ensure it matches your desired aesthetic and functionality.
- Once you are satisfied with the installation, clean up any debris or markings from the wall and surrounding area.
- Place a toilet paper roll onto the holder, ensuring it rolls smoothly and stays in place.
Remember to follow the manufacturer’s instructions specific to your toilet paper holder, as there may be slight variations in the installation process. With proper care and attention, you can screw on your toilet paper holder effectively and enjoy its convenience for years to come.
Common Mistakes to Avoid
While installing a toilet paper holder may seem like a simple task, there are a few common mistakes that people often make. By being aware of these mistakes, you can avoid them and ensure a smooth installation process. Here are some common mistakes to watch out for:
1. Incorrect Placement: One of the most common mistakes is placing the toilet paper holder at an awkward or inconvenient height. Make sure to consider the needs of all users and install the holder within easy reach of the toilet.
2. Choosing the Wrong Material: It’s important to select a toilet paper holder made from durable and sturdy materials, such as stainless steel or brass. Avoid choosing holders made from cheap or flimsy materials that may break or bend over time.
3. Using the Wrong Tools: Using the wrong tools can lead to damage or improper installation. Make sure to use the correct drill bit, screwdriver, and other tools specified by the manufacturer to ensure a secure and stable installation.
4. Overtightening or Undertightening: Tightening the screws too much or too little can be problematic. Overtightening may strip the screws or damage the holder, while undertightening can lead to a wobbly or loose holder. Follow the manufacturer’s instructions for the appropriate level of tightness.
5. Ignoring Levelness: Failing to check the levelness of the holder can result in an uneven or crooked installation. Always use a level to ensure that the toilet paper holder is straight and aligned properly with the wall.
6. Neglecting Wall Anchors: If your toilet paper holder requires wall anchors, make sure to use them. Neglecting to use wall anchors can compromise the stability and strength of the installation, especially on drywall surfaces.
7. Rushing the Installation: Take your time during the installation process. Rushing can lead to mistakes or a subpar end result. Carefully follow the step-by-step instructions and make necessary adjustments along the way.
8. Not Testing Stability: After installing the holder, it’s crucial to test its stability. Gently pull on the holder to make sure it can securely hold the weight of a toilet paper roll without wobbling or falling.
By avoiding these common mistakes, you can ensure a successful and hassle-free installation of your toilet paper holder. Remember to carefully follow the manufacturer’s instructions and take the necessary precautions to achieve a professional and sturdy installation.
Alternative Methods of Mounting a Toilet Paper Holder
While the most common method of mounting a toilet paper holder is through screws and wall anchors, there are alternative methods available that may suit your needs or preferences. Here are a few alternative methods of mounting a toilet paper holder:
1. Adhesive Mounting: Some toilet paper holders come with adhesive backing, allowing you to mount them without the need for screws or drilling. This method is ideal for those who do not want to leave holes in the wall or have limitations on drilling, such as in rental properties. However, it’s important to note that adhesive-mounted holders may not be as sturdy or secure as screw-mounted ones.
2. Suction Cup Mounting: Another alternative method is suction cup mounting, which involves using suction cups to attach the toilet paper holder to a smooth surface, such as a tile wall or mirror. Suction cup-mounted holders are easy to install and remove without causing any damage to the surface. However, they may not be as reliable or long-lasting as screw-mounted holders, as the suction cups can lose their grip over time.
3. Over-The-Tank Mounting: An over-the-tank toilet paper holder is a convenient alternative that eliminates the need for wall mounting. This type of holder hooks onto the edge of the toilet tank and provides a place to hang the toilet paper roll within easy reach. Over-the-tank holders are easy to install and suitable for bathrooms with limited wall space or for those who prefer not to drill holes in the wall.
4. Floor-Standing Holders: Floor-standing toilet paper holders are an alternative for those who prefer not to mount anything on the wall. These holders stand independently on the floor and typically have a freestanding design. They offer flexibility in terms of placement and can be moved around as needed. However, they do take up floor space and may not be suitable for smaller bathrooms.
5. Built-In Holders: Some bathrooms come with built-in toilet paper holders that are integrated into the wall or vanity. These holders are typically more permanent fixtures and require professional installation during construction or remodeling. Built-in holders provide a seamless and space-saving solution, but they may not be feasible for existing bathrooms without major renovations.
When considering alternative methods of mounting a toilet paper holder, it’s important to weigh the pros and cons of each option based on your specific needs and circumstances. Consider the stability, convenience, and aesthetics of the alternative mounting method to ensure it aligns with your preferences and the overall style of your bathroom.
Whether you choose the traditional screw-mounted method or one of these alternative methods, the key is to select a mounting option that provides a secure and convenient way to dispense toilet paper in your bathroom.
Conclusion
Installing a toilet paper holder may seem like a small task, but it plays an important role in the functionality and aesthetics of your bathroom. By following the steps and tips outlined in this comprehensive guide, you can successfully screw on a toilet paper holder and enjoy its convenience for years to come.
Start by getting familiar with the tools and materials needed for the installation process. Ensure you have the right tools, including a drill, screwdriver, screws, and other necessary items. Take the time to choose the right toilet paper holder that matches your bathroom’s style, considering factors such as design, functionality, durability, and installation method.
Once you have gathered the necessary tools and materials, follow the step-by-step guide provided to ensure a smooth and secure installation. From marking the wall to using the correct screws and checking for levelness, each step is crucial in achieving a professional and sturdy result.
It’s important to be aware of common mistakes and pitfalls to avoid during the installation process. By avoiding these errors, such as incorrect placement, using the wrong tools, or overtightening the screws, you can ensure a successful and long-lasting installation.
Additionally, consider alternative methods of mounting a toilet paper holder if the traditional screw-mounted method doesn’t suit your needs or preferences. Options such as adhesive mounting, suction cup mounting, over-the-tank mounting, floor-standing holders, or built-in holders provide alternatives that can be convenient and visually appealing alternatives to screw-mounted holders.
In conclusion, by following the guidelines and recommendations provided in this article, you can confidently screw on a toilet paper holder and enhance the functionality and aesthetic appeal of your bathroom. So, roll up your sleeves, gather your tools, and get ready to install your new toilet paper holder!
Frequently Asked Questions about How To Screw On Toilet Paper Holder
Was this page helpful?
At Storables.com, we guarantee accurate and reliable information. Our content, validated by Expert Board Contributors, is crafted following stringent Editorial Policies. We're committed to providing you with well-researched, expert-backed insights for all your informational needs.


0 thoughts on “How To Screw On Toilet Paper Holder”