Articles
How To Make Pipe Toilet Paper Holder
Modified: August 27, 2024
Learn how to make a unique and stylish toilet paper holder using pipes. Follow our step-by-step guide and get creative with this DIY Article.
(Many of the links in this article redirect to a specific reviewed product. Your purchase of these products through affiliate links helps to generate commission for Storables.com, at no extra cost. Learn more)
Introduction
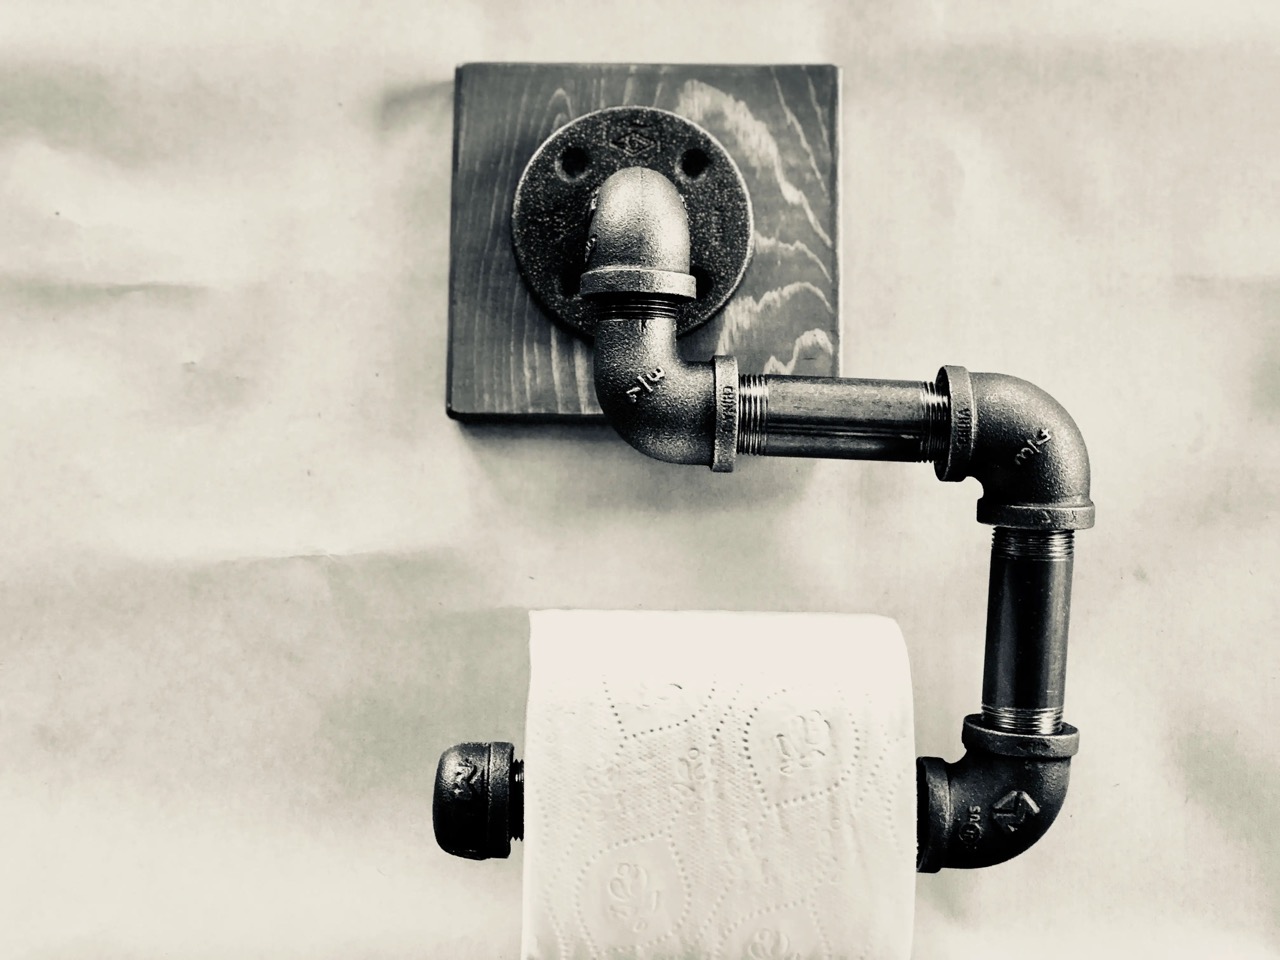
Having a well-designed and functional toilet paper holder is essential for any bathroom. Instead of settling for a generic store-bought option, why not create your own unique and stylish toilet paper holder using a pipe? In this article, we will guide you step by step on how to make a pipe toilet paper holder that will add charm and character to your bathroom.
By using simple materials and following a few easy steps, you can create a one-of-a-kind toilet paper holder that not only serves its purpose but also becomes a focal point of your bathroom decor. Whether you have a rustic, industrial, or modern bathroom style, a pipe toilet paper holder will add a touch of uniqueness and personality to your space.
So, gather your tools and materials, and let’s get started on creating your very own pipe toilet paper holder!
Key Takeaways:
- Create a unique and personalized pipe toilet paper holder to add charm and character to your bathroom decor. Enjoy the satisfaction of a fun and rewarding DIY project while customizing it to match your style.
- Transform simple materials into a sturdy and visually appealing toilet paper holder. From measuring and cutting the pipe to securing it to the wall, follow the steps to create a budget-friendly and functional piece for your bathroom.
Read more: How To Make A Toilet Paper Holder
Materials Needed
Before diving into the step-by-step process, let’s gather all the necessary materials for making a pipe toilet paper holder:
- 1-inch diameter galvanized pipe (length depends on your desired size)
- 1-inch galvanized flange
- 1-inch galvanized elbow
- 1-inch galvanized coupling
- 2 rubber grips
- Screws
- Wall anchors (if needed)
- Screwdriver or drill
- Measuring tape
- Pipe cutter or hacksaw
- Sandpaper
Make sure to gather all these materials before you begin the project. You can easily find these items at your local hardware store, and they are relatively affordable.
Now that you have all the necessary materials, let’s move on to the step-by-step process of creating your pipe toilet paper holder!
Step 1: Measure and Cut the Pipe
The first step in creating a pipe toilet paper holder is to measure and cut the pipe to your desired length. Using a measuring tape, determine how long you want your toilet paper holder to be. Keep in mind the available space in your bathroom and the size of the toilet paper rolls you typically use.
Once you have your desired length, mark the measurement on the pipe using a pencil or a marker. Make sure to double-check your measurement to ensure accuracy. Now, using a pipe cutter or a hacksaw, carefully cut the pipe at the marked point. Take your time and use smooth, steady strokes to create a clean and even cut.
After cutting the pipe, use sandpaper to smooth any rough edges or burrs. This will not only give your toilet paper holder a polished look but also prevent any potential injuries when handling the pipe.
Congratulations! You have successfully measured and cut the pipe for your pipe toilet paper holder. Now, let’s move on to the next step.
Step 2: Prepare the Base and Attach the Flange
In this step, we will prepare the base for our pipe toilet paper holder and attach the flange, which will serve as the foundation for the holder. The base will provide stability and support for the entire structure.
Start by identifying the location where you want to mount your toilet paper holder. Use a measuring tape to mark the exact spot on the wall. Ensure that it is at a convenient height and easily accessible for toilet paper replacement.
Next, take the galvanized flange and position it over the marked spot on the wall. Use a pencil or a marker to trace around the flange, marking the screw holes. This will serve as a guide for attaching the flange securely.
Now, take your screwdriver or drill and insert the screws through the provided holes on the flange. Attach the flange to the wall by driving the screws into the designated spots. Make sure to tighten them firmly to ensure a secure base for your toilet paper holder.
At this point, you should have the flange securely attached to the wall. Ensure that it is level and straight. Double-check your work to avoid any adjustments later on.
Great job! You have completed the second step of preparing the base and attaching the flange. Now, let’s move on to the next step of assembling the pipe toilet paper holder.
Step 3: Attach the Pipe to the Flange
Now that the base is ready, it’s time to attach the pipe to the flange. This step will bring your toilet paper holder closer to completion.
Start by inserting one end of the pipe into the opening of the galvanized coupling. Make sure it fits snugly and is aligned properly.
Next, take the other end of the pipe and insert it into the opening of the galvanized elbow. The elbow will create a perpendicular angle with the pipe, allowing for easy access to the toilet paper.
Once the pipe is inserted into both the coupling and the elbow, adjust the positions as necessary to ensure that the pipe is straight and level. This will help create a visually appealing and functional toilet paper holder.
Ensure that the pipe is securely attached to both the galvanized coupling and the galvanized elbow. Give it a gentle tug to check if it is properly connected. If it feels loose, double-check the fittings and adjust them accordingly.
Now, hold the assembled pipe and position it above the flange. Insert the end of the pipe into the central opening of the flange and push it in until it fits securely.
Take a step back and evaluate the overall alignment and position of the pipe. You want it to stand upright and in a visually pleasing manner. Make any necessary adjustments before moving on to the next step.
Well done! You have successfully attached the pipe to the flange, bringing your pipe toilet paper holder one step closer to completion. Let’s move on to the next step and secure the pipe to the wall.
When making a pipe toilet paper holder, be sure to measure and cut the pipe to the desired length before assembling the pieces. This will ensure a precise and professional-looking finished product.
Read more: How To Make A Doll Toilet Paper Holder
Step 4: Secure the Pipe to the Wall
Now that the pipe is attached to the flange, it’s time to secure it to the wall for added stability and support. By properly securing the pipe, you can ensure that the toilet paper holder stays in place even with regular usage.
Start by marking the spots on the wall where you will be attaching the pipe. The ideal placement is with one mark near the bottom of the pipe and another near the top.
Next, hold the pipe against the wall, aligning the marks with the desired positions. Using your screwdriver or drill, insert screws through the pipe flange and into the wall. Ensure that the screws are firmly driven into the wall, providing a secure hold for the pipe.
Double-check the alignment of the pipe and make any necessary adjustments before continuing. It’s important to ensure that the pipe is straight and level to maintain its aesthetic appeal.
If your bathroom walls are particularly smooth or if you want to add an extra level of stability, you can use wall anchors in conjunction with the screws. Wall anchors provide added support and prevent the screws from loosening over time.
Once you have securely attached the pipe to the wall, give it a gentle tug to ensure that it is properly secured. It should remain in place without any wobbling or movement.
Great job! You have successfully secured the pipe to the wall, ensuring that your pipe toilet paper holder is stable and secure. Now, let’s move on to the next step and add rubber grips to the pipe.
Step 5: Add Rubber Grips to the Pipe
Adding rubber grips to the pipe will not only provide a comfortable grip for dispensing toilet paper but also prevent it from slipping or sliding off the holder. This step will ensure that your pipe toilet paper holder is both functional and convenient.
Start by selecting two rubber grips that fit snugly around the pipe. These grips can be found at your local hardware store or online. Choose ones that have a sufficient diameter to fit around the pipe and provide a comfortable grip.
Take each rubber grip and slide it onto the ends of the pipe, positioning them where you find it most comfortable to hold and dispense toilet paper. Make sure they are evenly placed and aligned with each other.
Once the rubber grips are in place, secure them by tightening the fasteners provided with the grips. This will ensure that they stay securely attached to the pipe and do not slip off during use.
Test the rubber grips by gripping them and giving a gentle pull to make sure they are securely attached to the pipe. They should provide a firm grip and not slide or rotate.
Adding rubber grips to the pipe completes the functional aspect of your pipe toilet paper holder. Now, let’s move on to the final step of inserting and dispensing toilet paper.
Step 6: Insert and Dispense Toilet Paper
Now that your pipe toilet paper holder is complete, it’s time to insert and dispense toilet paper with ease. This final step will ensure that your DIY creation is not only visually appealing but also practical and functional.
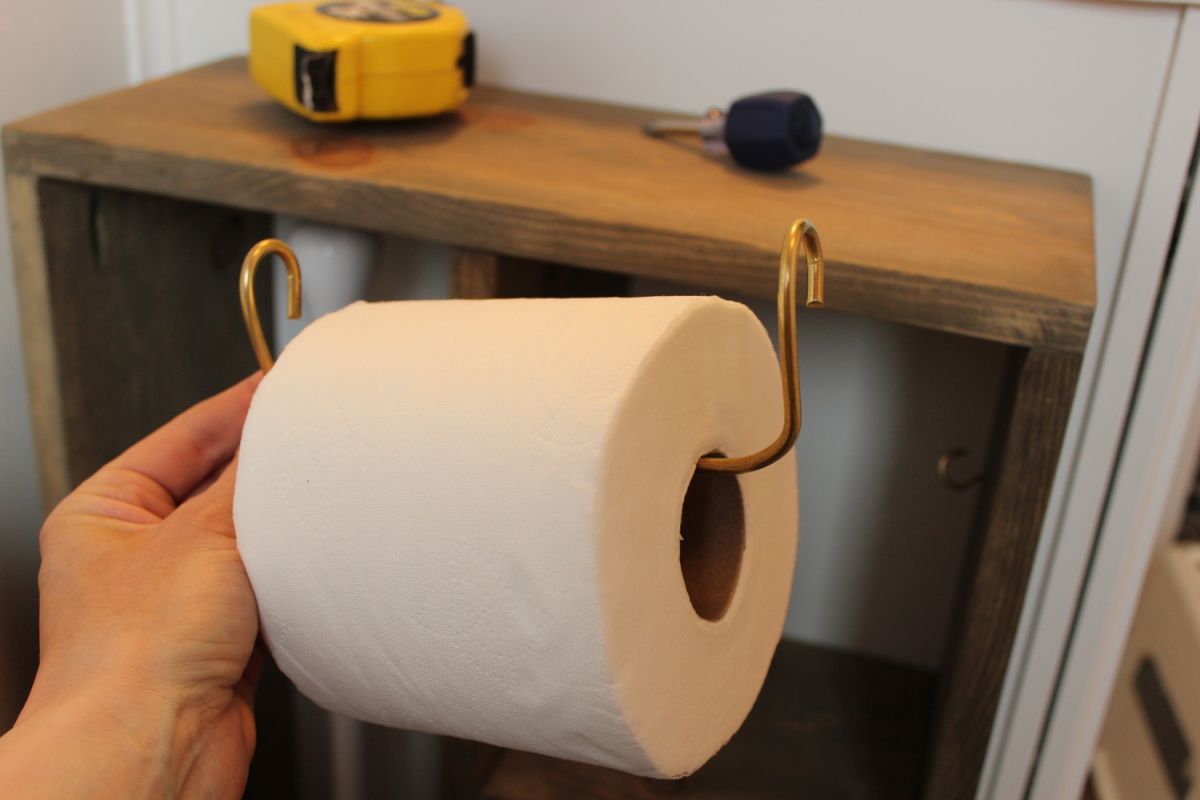
To insert the toilet paper, simply slide the toilet paper roll onto the pipe. The rubber grips will keep the roll in place, preventing it from unraveling or falling off.
Make sure to choose a toilet paper roll that fits securely on the pipe and allows for easy rotation. If necessary, adjust the position of the rubber grips to accommodate different roll sizes.
To dispense the toilet paper, simply pull on the free end of the roll. The rubber grips will provide a comfortable grip, allowing for smooth and easy dispensing of the toilet paper. Ensure that the roll rotates freely without any obstructions or tangling.
If you prefer a more streamlined look and want to hide the loose end of the toilet paper roll, you can tuck it underneath the previous layers or secure it with a small piece of double-sided tape.
Now, step back and admire your finished pipe toilet paper holder. Not only does it serve its purpose of holding and dispensing toilet paper, but it also adds a unique and personalized touch to your bathroom decor.
Congratulations! You have successfully created your very own pipe toilet paper holder. Enjoy the convenience and charm it brings to your bathroom!
Conclusion
Creating a pipe toilet paper holder is a fun and rewarding DIY project that allows you to add a touch of personality and style to your bathroom. By following the steps outlined in this article, you can easily build a unique and functional toilet paper holder that will become a conversation piece in your home.
From measuring and cutting the pipe to securing it to the wall, each step is essential in creating a sturdy and visually appealing holder. By adding rubber grips, you ensure that the toilet paper stays in place and is easily dispensed.
Not only does making your own pipe toilet paper holder allow you to customize it to match your bathroom decor, but it also provides a sense of satisfaction and accomplishment. Plus, the materials needed are readily available and affordable, making it a budget-friendly project.
So, why settle for a generic store-bought toilet paper holder when you can create a unique and charming one yourself? Get creative, have fun, and enjoy the process of making your own pipe toilet paper holder.
Thank you for joining us in this journey of creating a pipe toilet paper holder. We hope that this article has inspired you and provided you with the knowledge and guidance to embark on your DIY project. Happy crafting!
Frequently Asked Questions about How To Make Pipe Toilet Paper Holder
Was this page helpful?
At Storables.com, we guarantee accurate and reliable information. Our content, validated by Expert Board Contributors, is crafted following stringent Editorial Policies. We're committed to providing you with well-researched, expert-backed insights for all your informational needs.


0 thoughts on “How To Make Pipe Toilet Paper Holder”