Home>Articles>How Do You Remove A Ceramic Toilet Paper Holder

Articles
How Do You Remove A Ceramic Toilet Paper Holder
Modified: April 23, 2024
Looking for articles on how to remove a ceramic toilet paper holder? Find step-by-step instructions and expert advice in this helpful guide.
(Many of the links in this article redirect to a specific reviewed product. Your purchase of these products through affiliate links helps to generate commission for Storables.com, at no extra cost. Learn more)
Introduction
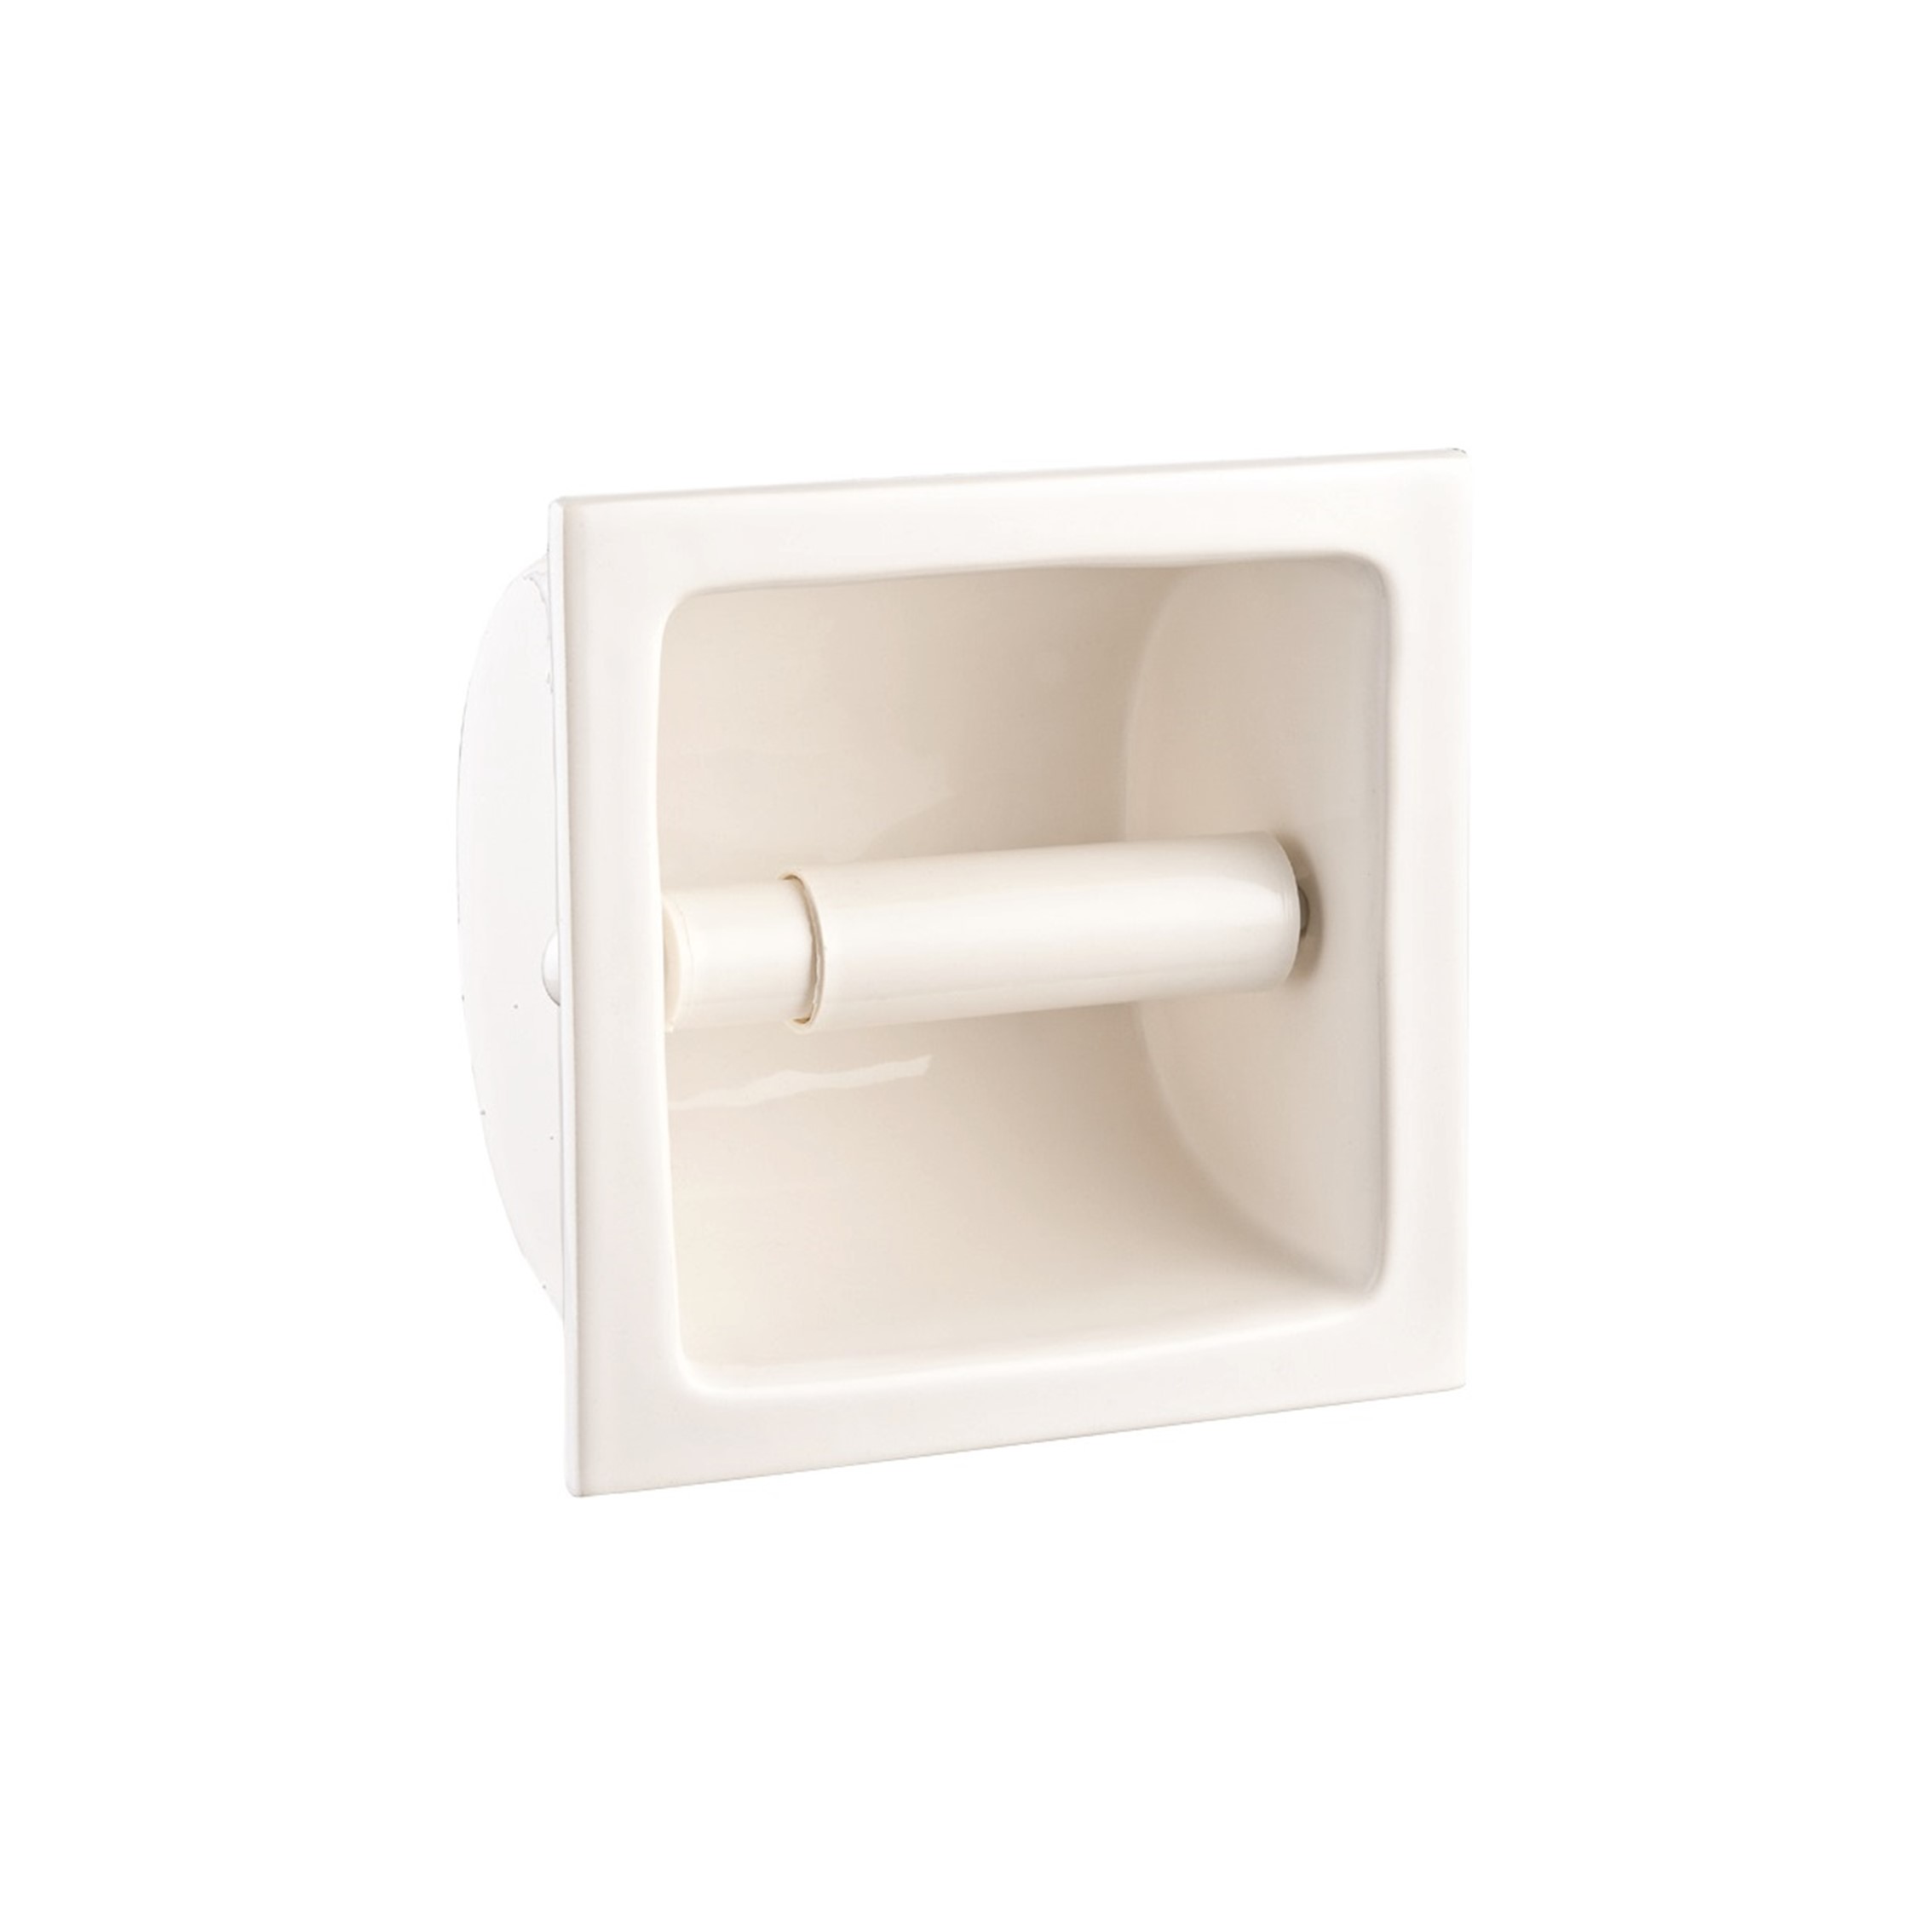
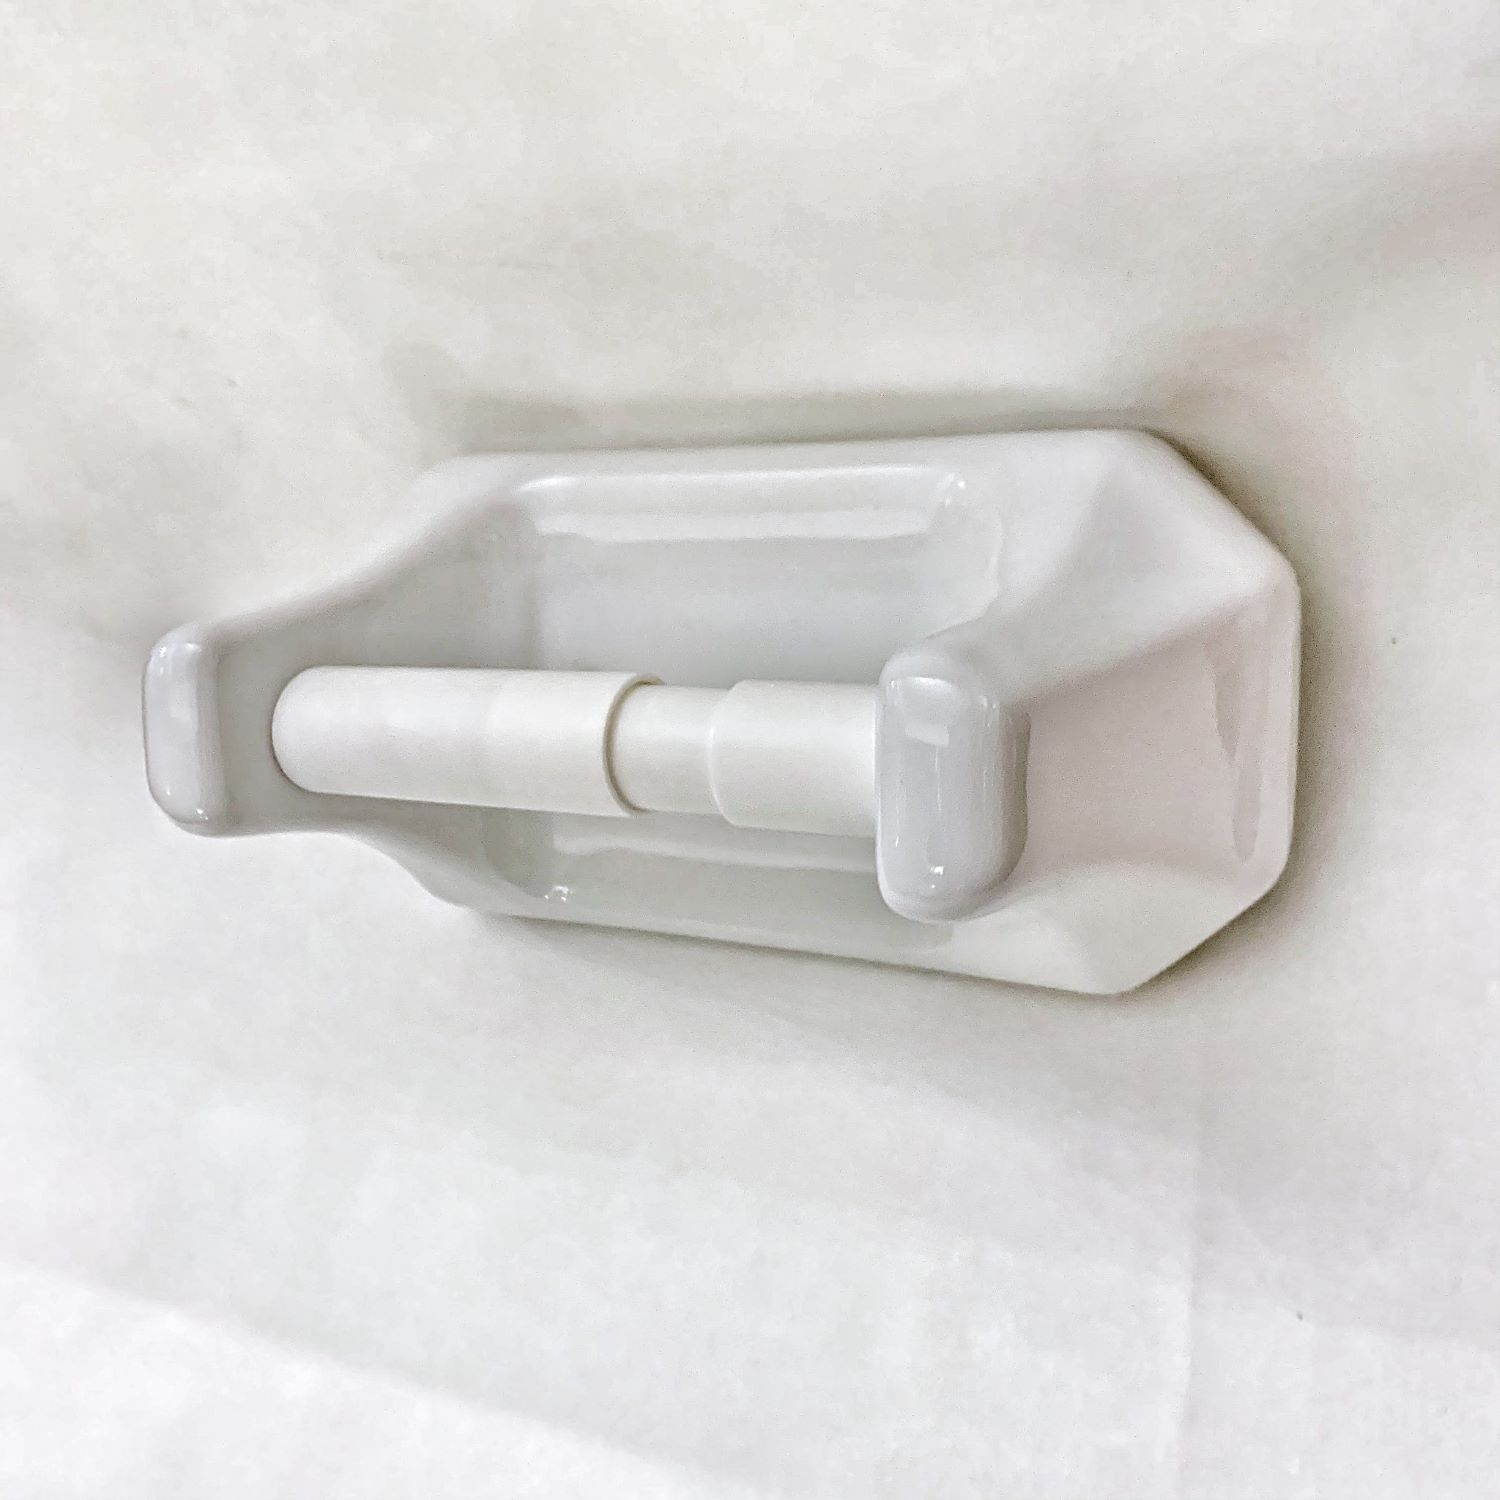
Removing a ceramic toilet paper holder may seem like a daunting task, but with the right tools and careful steps, it can be done easily. Whether you’re replacing the holder with a new one or simply wanting to update your bathroom’s décor, removing the old ceramic holder is the first step in the process. In this article, we will guide you through the necessary steps to safely and effectively remove a ceramic toilet paper holder.
Before we begin, it’s important to note that removing a ceramic toilet paper holder requires basic DIY skills and caution. It’s essential to protect yourself and your surroundings from any potential harm. Additionally, make sure to follow the manufacturer’s instructions if applicable and take necessary safety measures throughout the process.
Now, let’s gather our tools and get started!
Key Takeaways:
- Removing a ceramic toilet paper holder requires basic DIY skills, protective gear, and careful steps to ensure safety and prevent damage to the surrounding area.
- Inspect and repair any damage to the wall after removing the ceramic toilet paper holder to maintain a clean and well-maintained appearance in your bathroom.
Read more: How To Replace A Ceramic Toilet Paper Holder
Step 1: Gather necessary tools and materials
Before you begin removing the ceramic toilet paper holder, it’s important to gather all the necessary tools and materials to ensure a smooth and efficient process. Here’s a list of items you’ll need:
- Screwdriver or drill
- Adjustable wrench or pliers
- Putty knife or painter’s tool
- Protective gloves and eyewear
- Dust mask
- Drywall patching compound (if necessary)
- Paint and paintbrush (if necessary)
Take a moment to gather these tools and materials before proceeding with the next steps. Having them within reach will save you time and prevent any unnecessary delays during the removal process.
Once you have all the necessary items prepared, let’s move on to the next step, which is preparing the work area.
Step 2: Prepare the work area
Before you start removing the ceramic toilet paper holder, it’s essential to prepare the work area to ensure safety and minimize potential damage. Here are the steps to follow:
- Clear the surrounding area: Remove any objects or items that may obstruct your access to the toilet paper holder. This includes towels, toiletries, or any other decorative items.
- Protect the floor and walls: Place a drop cloth or old towel on the floor beneath the toilet paper holder to catch any debris or fragments that may fall during the removal process. Use painter’s tape to protect the surrounding area such as walls or tiles from accidental scratches or damages.
- Turn off the water supply: If your toilet paper holder has a built-in dispenser, it may be connected to the water supply. Locate the shut-off valve near the toilet and turn it off to prevent any water leakage or accidents.
- Put on protective gear: It’s crucial to protect yourself from any potential injuries or exposure to dust. Put on a pair of protective gloves, safety goggles, and a dust mask before proceeding with the removal.
By following these steps, you’ll create a safe and organized work environment, making the removal process much easier and efficient.
Now that the work area is prepared, let’s move on to the next step: removing the toilet paper roll.
Step 3: Remove the toilet paper roll
Before you can remove the ceramic toilet paper holder itself, you’ll need to remove the toilet paper roll from the dispenser. Here’s how to do it:
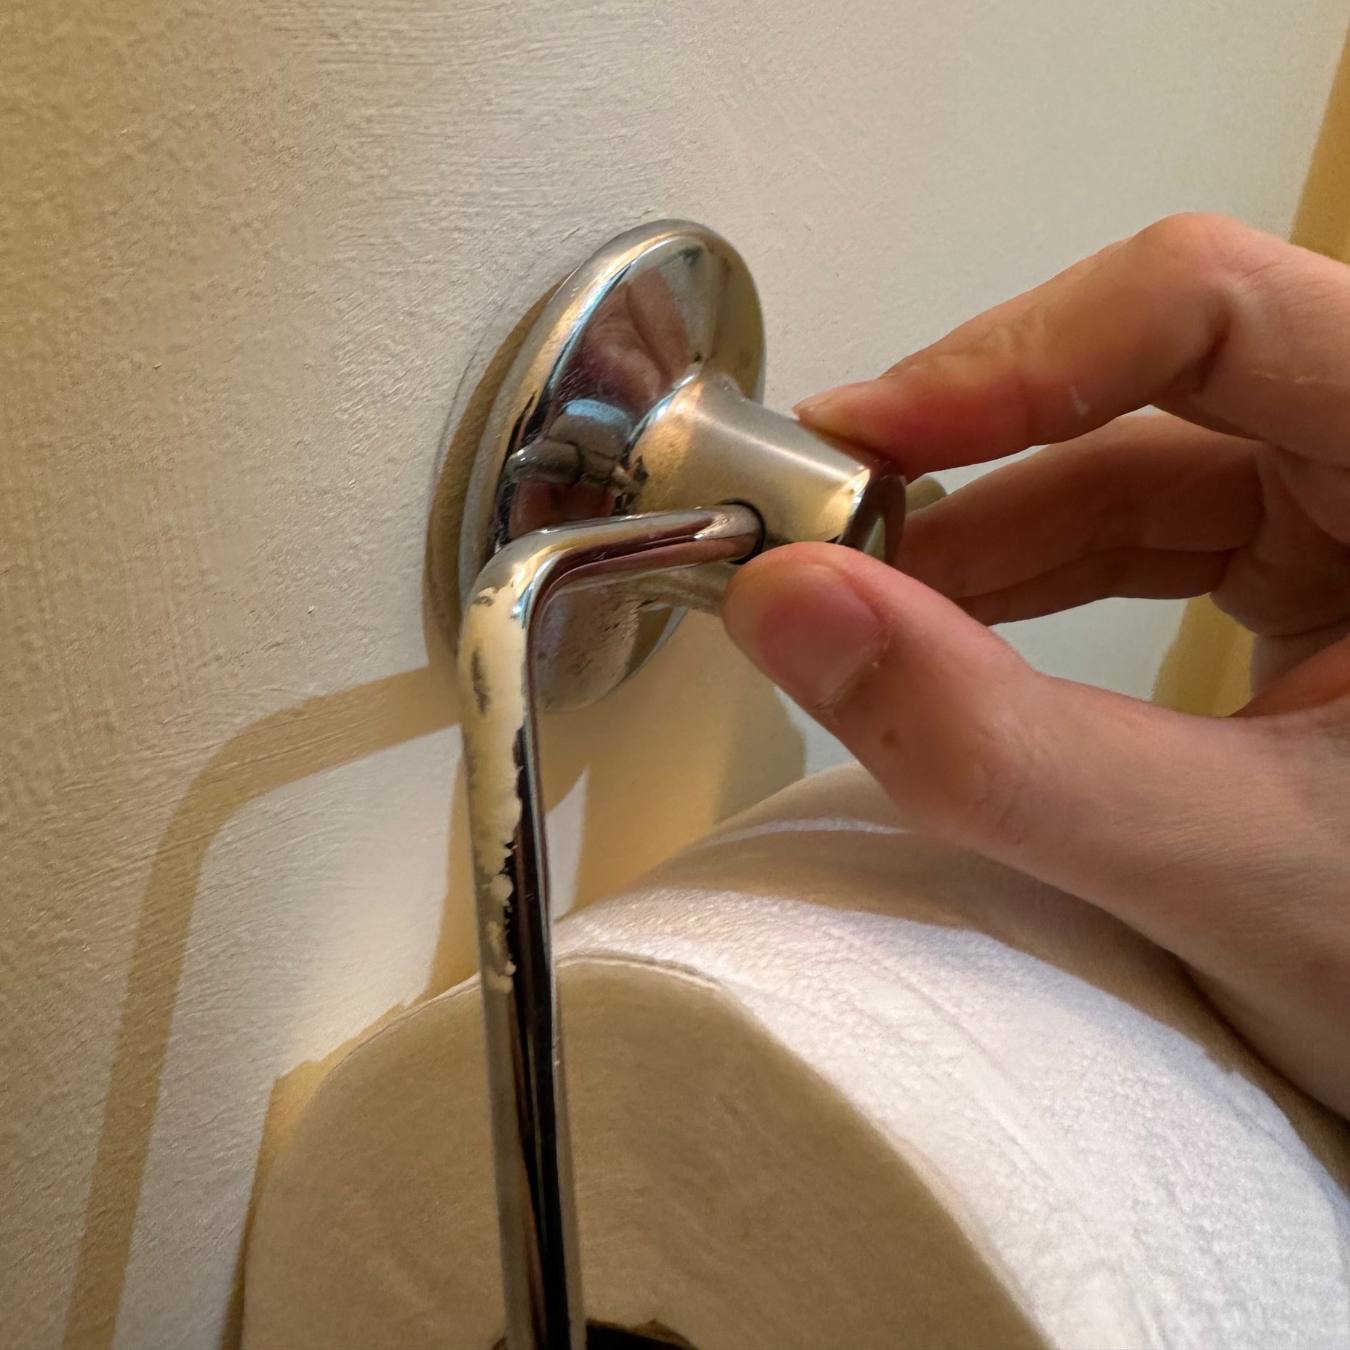
- Reach behind the dispenser: Look for a small access hole or opening at the rear of the dispenser. This is usually located towards the bottom or the side.
- Press the release button or lever: Once you locate the access hole, press the release button or lever with your thumb or finger. This will unlock the mechanism that holds the toilet paper roll in place.
- Slide out the toilet paper roll: Once the mechanism is released, gently pull the toilet paper roll out of the dispenser. Make sure to hold onto the roll firmly to prevent it from unraveling.
- Set the toilet paper roll aside: Find a safe place to set the toilet paper roll aside, away from the work area. You can place it on a clean surface or in a plastic bag to keep it clean and prevent it from getting damaged.
By following these steps, you’ll remove the toilet paper roll from the dispenser, allowing you to access and remove the ceramic toilet paper holder more easily.
Now that the toilet paper roll is out of the way, we can move on to the next step: locating the mounting brackets.
Step 4: Locate the mounting brackets
Before removing the ceramic toilet paper holder, it’s important to locate the mounting brackets that secure it to the wall. The mounting brackets are typically hidden behind the holder itself and can be made of metal or plastic. Here’s how to locate them:
- Inspect the holder: Examine the ceramic toilet paper holder and look for any visible screws or bolts. These are often located at the bottom or the sides of the holder.
- Carefully feel for the brackets: Use your fingers to feel around the edges and behind the holder. You should be able to feel the presence of the brackets or any protruding screws or bolts.
- Refer to the manufacturer’s instructions: If you’re having trouble finding the mounting brackets, consult the manufacturer’s instructions or product manual. It may provide specific guidance on the location of the brackets.
- Use a flashlight and mirror: If all else fails, you can use a flashlight and a small mirror to help you see behind the holder and locate the mounting brackets.
Once you have located the mounting brackets, you’re ready to proceed to the next step: loosening the mounting screws or bolts.
Note: The mounting brackets can vary in design and location depending on the specific model of the ceramic toilet paper holder. Make sure to adapt these steps to suit your particular situation.
Use a putty knife to carefully pry the ceramic holder away from the wall. Once removed, use a scraper to remove any remaining adhesive. Patch and paint the wall as needed.
Read more: How Do You Tighten A Toilet Paper Holder
Step 5: Loosen the mounting screws or bolts
Now that you have located the mounting brackets, it’s time to loosen the screws or bolts that hold the ceramic toilet paper holder in place. Follow these steps to proceed:
- Choose the appropriate tool: Depending on the type of screws or bolts used, select a screwdriver or a wrench that fits the size and shape of the fasteners.
- Position the tool: Insert the tool into the head of the screw or bolt and grip it firmly.
- Turn counterclockwise: Apply gentle force and turn the tool counterclockwise to loosen the screws or bolts. Be careful not to apply excessive force as this may damage the mounting brackets or the surrounding area.
- Continue loosening: Use a consistent, steady motion to loosen all the screws or bolts. If the fasteners are particularly tight, you may need to use more force or leverage, but be cautious not to apply too much pressure.
- Check for additional fasteners: Some toilet paper holders may have multiple screws or bolts securing them. Ensure that you have loosened all the fasteners before attempting to remove the ceramic holder.
Once you have successfully loosened all the mounting screws or bolts, you’re ready to move on to the next step: removing the ceramic toilet paper holder itself.
Remember to take your time and work carefully when handling sharp tools and tight fasteners. Safety should always be a priority when removing any fixtures in your bathroom.
Step 6: Remove the ceramic toilet paper holder
With the mounting screws or bolts loosened, it’s time to remove the ceramic toilet paper holder from the mounting brackets. Follow these steps to proceed:
- Gently lift the holder: Grab the ceramic toilet paper holder firmly, preferably from the sides or edges, and start lifting it away from the wall.
- Check for any resistance: As you lift the holder, check for any resistance or sticking points. If the holder doesn’t come off easily, double-check that all the mounting screws or bolts have been fully loosened.
- Wiggle and twist if necessary: If the holder still won’t come off, gently wiggle or twist it back and forth while continuing to lift. This can help loosen any adhesive or stubborn fasteners.
- Remove the holder completely: Once the holder starts to loosen, continue lifting it until it is completely detached from the mounting brackets. Set the ceramic holder aside in a safe location.
During this process, be cautious not to apply excessive force or twist the holder too aggressively, as this can cause damage to the wall or the mounting brackets.
Now that you have successfully removed the ceramic toilet paper holder, you can proceed to the next step: inspecting and repairing any damage that may have occurred during the removal process.
Step 7: Repair any damage
After removing the ceramic toilet paper holder, it’s important to inspect the wall or surface where the mounting brackets were attached and address any damage that may have occurred during the removal process. Here’s what you can do:
- Examine the wall or surface: Carefully inspect the area where the mounting brackets were located. Look for any holes, cracks, or damage that needs to be repaired.
- Patch any holes or cracks: If you notice any small holes or cracks, you can easily patch them using a putty knife and drywall patching compound. Apply the compound to the damaged area, level it off, and let it dry according to the manufacturer’s instructions.
- Sand and smooth the patched area: Once the compound has dried, gently sand the patched area using fine-grit sandpaper to achieve a smooth finish. Wipe away any dust or debris using a clean cloth.
- Repaint if necessary: If the patched area requires repainting, use a small brush and matching paint to touch up the repaired section. Allow the paint to dry completely before moving on to the next step.
By addressing any damage promptly, you can ensure a clean and well-maintained appearance in your bathroom. Taking care of repairs will also provide a solid foundation for installing a new toilet paper holder, should you choose to do so.
Now that you have inspected and repaired any damage, you can move on to the final step: installing a new toilet paper holder, if desired, or completing the process.
Step 8: Install a new toilet paper holder (optional)
If you have decided to replace the old ceramic toilet paper holder with a new one, you can follow these steps to install the new holder:
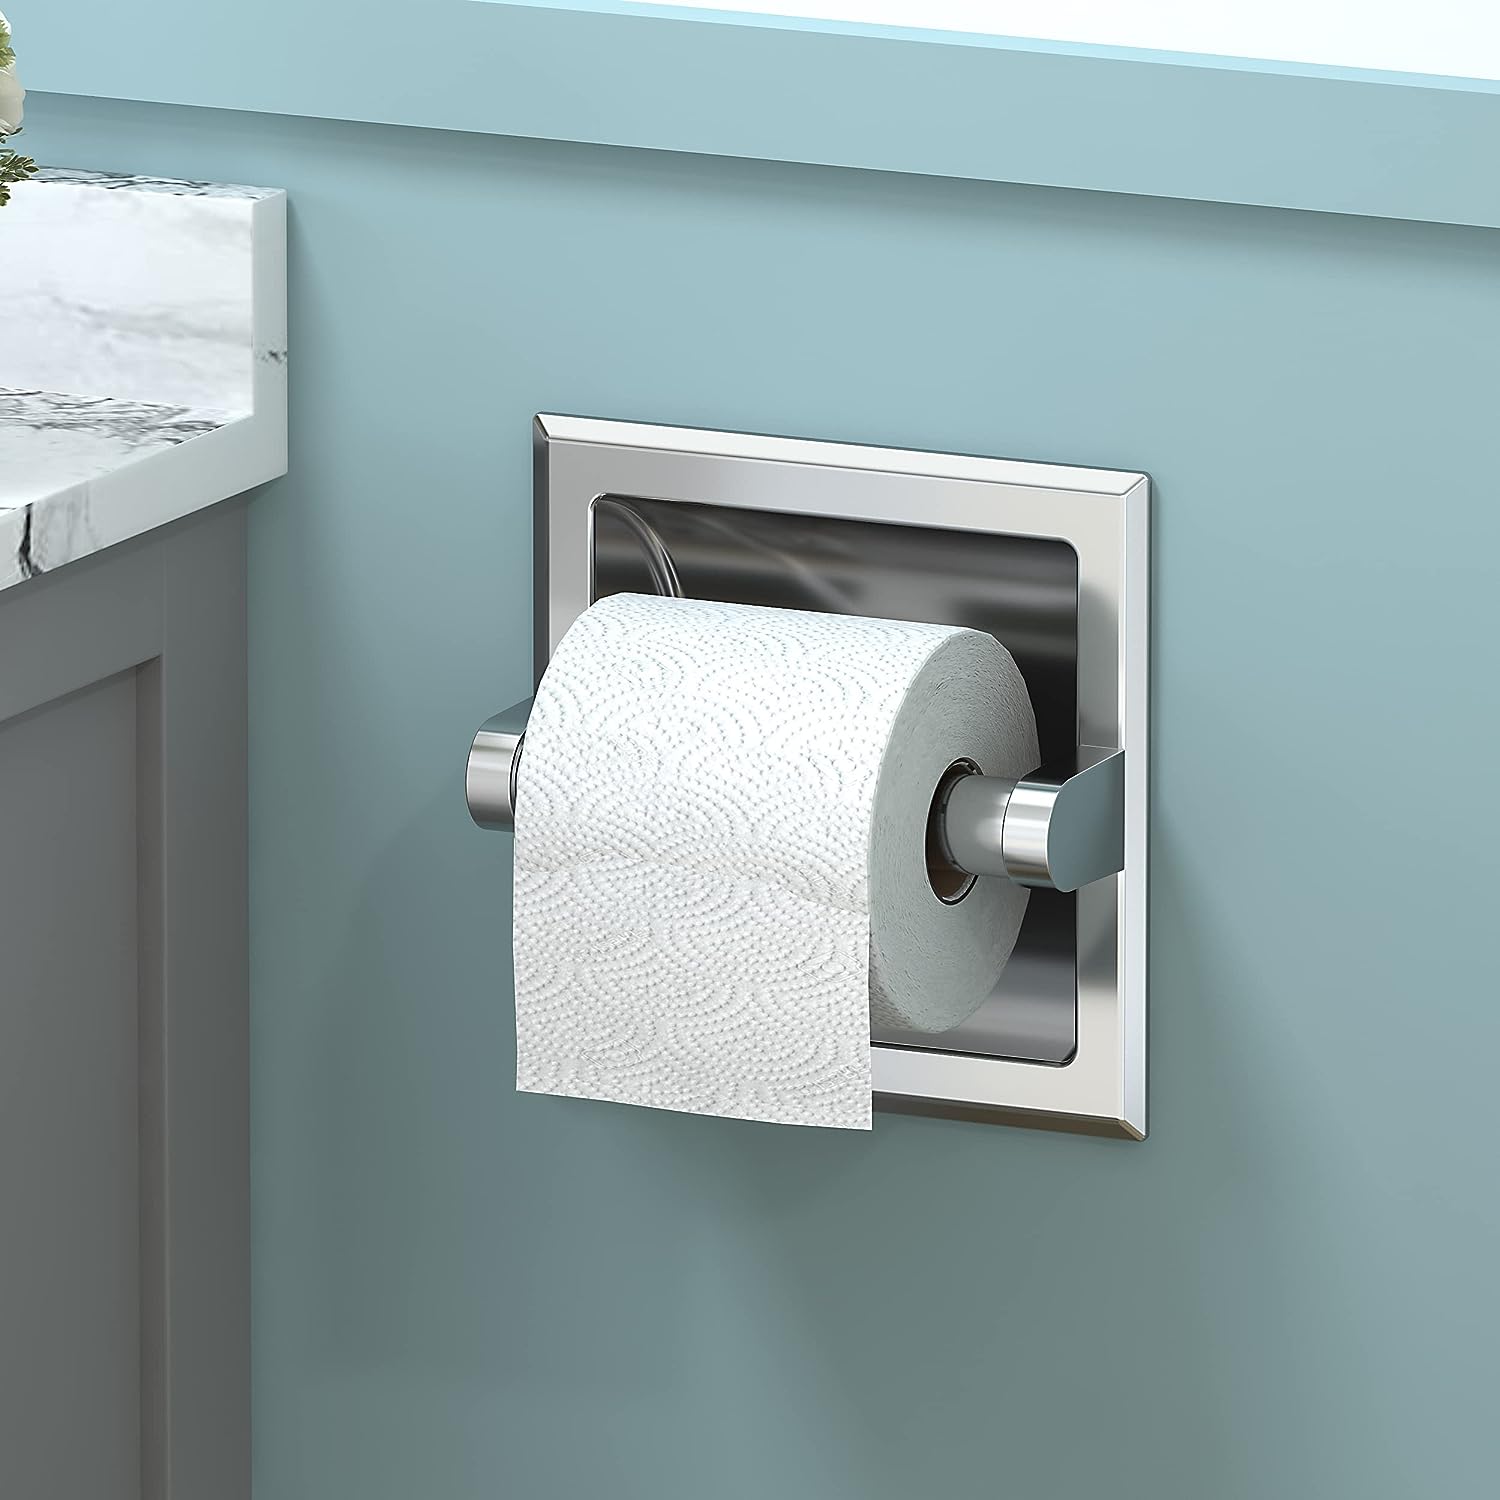
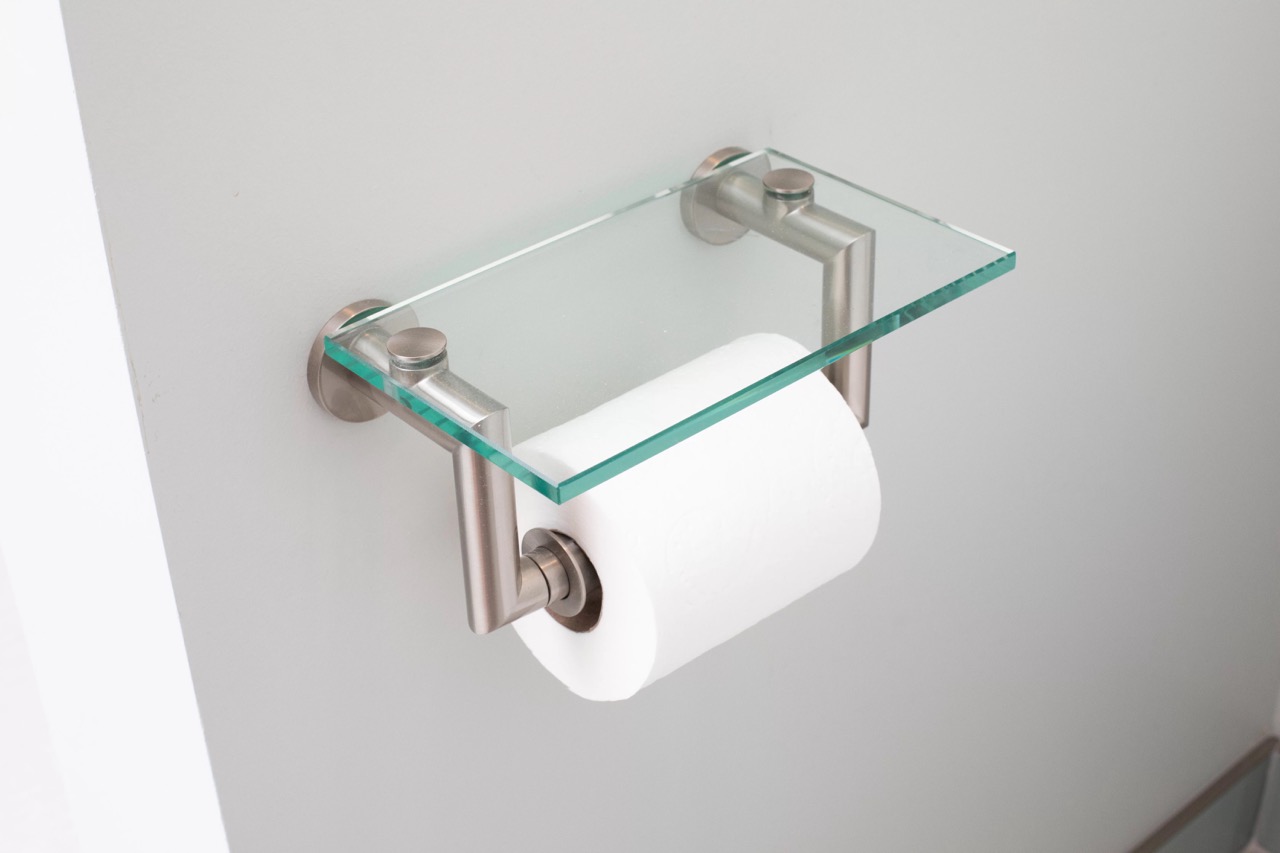
- Choose a suitable replacement: Select a new toilet paper holder that matches your bathroom decor and fits the dimensions of the space. Make sure it comes with all the necessary mounting hardware.
- Position the new mounting brackets: Hold the new mounting brackets against the wall in the desired location for the holder. Use a level to ensure they are straight, and mark the mounting hole locations with a pencil or marker.
- Drill pilot holes: Using an appropriate drill bit for your wall type, drill pilot holes at the marked locations. Be cautious not to drill too deep or apply excessive force.
- Attach the mounting brackets: Secure the mounting brackets to the wall using screws or anchors provided with the new holder. Tighten them just enough to hold the brackets in place without overtightening.
- Attach the new holder: Slide the toilet paper holder onto the mounting brackets and align it properly. Secure it in place by tightening the screws or bolts that came with the new holder. Again, avoid over-tightening.
- Test the new holder: Give the new toilet paper holder a gentle tug to ensure it is securely attached to the mounting brackets. Make sure it is level and functions properly before using it.
Remember to follow the manufacturer’s instructions specific to your new toilet paper holder for the most accurate and detailed installation steps.
If you choose not to install a new toilet paper holder, you can simply complete the process by cleaning up the work area and disposing of the old ceramic holder properly.
Congratulations! You have successfully removed the old ceramic toilet paper holder and, if desired, installed a new one. Enjoy your refreshed bathroom!
Note: If you’re unsure about installing the new holder yourself or encounter any difficulties during the process, it’s recommended to seek assistance from a professional handyman or plumber.
Read more: How Do You Hang A Toilet Paper Holder
Conclusion
Removing a ceramic toilet paper holder may at first seem like a challenging task, but with the right tools, preparation, and careful steps, it can be done easily and efficiently. By following the steps outlined in this article, you can confidently remove the old holder and, if desired, install a new one to update the look of your bathroom.
Remember to gather all the necessary tools and materials before starting, prepare the work area to ensure safety and prevent damage, and carefully remove the toilet paper roll before proceeding with the removal process. Locate the mounting brackets, loosen the mounting screws or bolts, and then gently remove the ceramic toilet paper holder from the wall.
After removing the holder, inspect the wall for any damage and make necessary repairs to ensure a clean and well-maintained appearance. If you choose to install a new toilet paper holder, follow the instructions provided with the new holder and securely attach it to the wall.
Throughout the process, prioritize safety by wearing protective gear and using caution when handling tools and removing hardware. If you encounter any difficulties or are unsure about the installation of a new holder, it’s wise to seek assistance from a professional.
By taking the time to properly remove and, if necessary, replace a ceramic toilet paper holder, you can not only enhance the aesthetics of your bathroom but also maintain its functionality. So go ahead, embark on this DIY project, and enjoy the satisfaction of a successfully completed task!
Frequently Asked Questions about How Do You Remove A Ceramic Toilet Paper Holder
Was this page helpful?
At Storables.com, we guarantee accurate and reliable information. Our content, validated by Expert Board Contributors, is crafted following stringent Editorial Policies. We're committed to providing you with well-researched, expert-backed insights for all your informational needs.


0 thoughts on “How Do You Remove A Ceramic Toilet Paper Holder”