Articles
How Do You Hang Gutters
Modified: April 22, 2024
Learn how to hang gutters with our informative articles. Find step-by-step guides and expert tips for proper gutter installation.
(Many of the links in this article redirect to a specific reviewed product. Your purchase of these products through affiliate links helps to generate commission for Storables.com, at no extra cost. Learn more)
Introduction
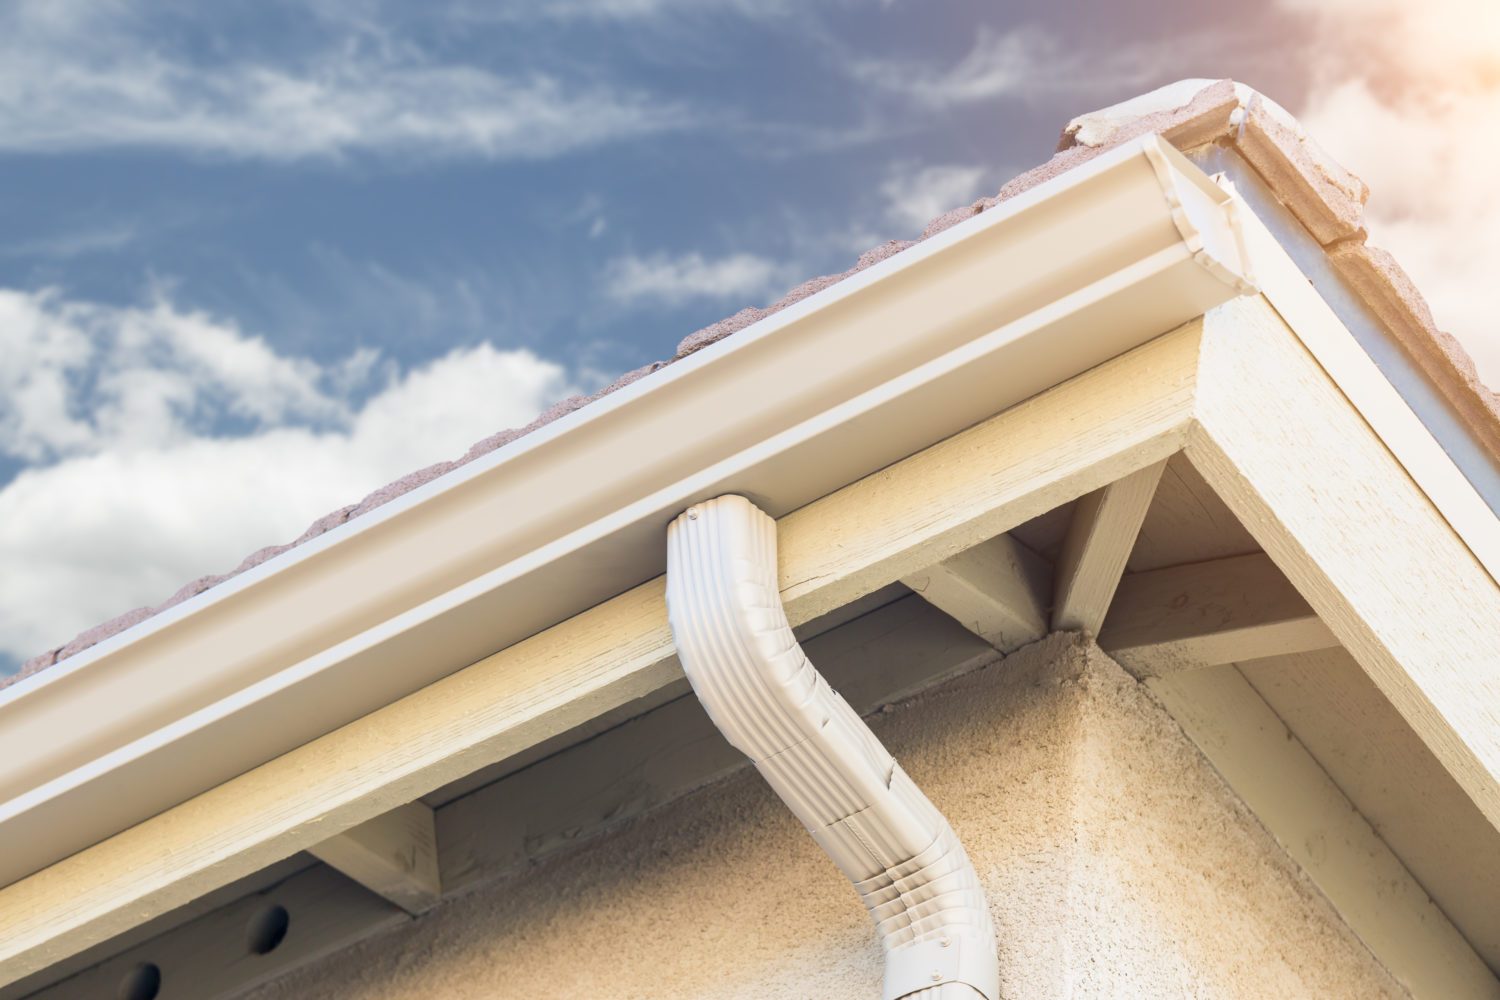
Installing gutters is an essential step in protecting your home from water damage. Gutters help to redirect rainwater away from the foundation, preventing issues such as erosion, basement flooding, and structural damage. While hiring a professional to install gutters is an option, it can also be a costly one. Fortunately, with the right tools and a little bit of know-how, you can install gutters yourself and save money in the process.
In this comprehensive guide, we will walk you through the steps to hang gutters on your own. We will cover everything from measuring and marking, to installing gutter hangers and attaching the gutters. By following these steps, you will be able to successfully install gutters and protect your home from water damage.
Before we dive into the steps, let’s take a look at the tools and materials you will need for the installation process.
Key Takeaways:
- Hanging gutters yourself can save money and protect your home from water damage. Follow the step-by-step guide to accurately measure, install, and secure gutters for effective rainwater redirection.
- Prioritize safety and precision when hanging gutters. From measuring and marking to connecting and securing, each step plays a crucial role in ensuring a functional and efficient gutter system.
Read more: How Do You Cut Gutters
Tools and Materials Needed
Before you begin installing gutters, it’s important to gather all the necessary tools and materials. Here’s a list of what you’ll need:
Tools:
- Measuring tape
- Chalk line
- Level
- Screwdriver
- Drill
- Hacksaw
- Tin snips
- Gutter scoop or trowel
- Seam sealer
- Silicone caulk
- Gutter sealant
- Ladder
- Safety goggles
- Work gloves
Materials:
- Gutter sections
- Gutter hangers
- Downspout elbows
- End caps
- Downspout brackets
- Screws
- Sealing tape
- Splash block
- Downspout extension
- Gutter guards (optional)
Make sure to have all these tools and materials readily available before you begin the installation process. This will help you work efficiently and minimize interruptions.
Step 1: Measuring and Marking
The first step in hanging gutters is to accurately measure the area where the gutters will be installed. Take note of the length of the fascia board, which is the board running along the lower edge of the roof. Use a measuring tape to determine the length, and make sure to account for any corners or angles in the measurement.
Next, mark the desired location of the gutters using a chalk line. The gutters should slope downward towards the downspouts to ensure proper water flow. Typically, a slope of 1/4 inch per 10 feet is recommended. Use a level to ensure that the chalk line is straight and level.
Once you have marked the location of the gutters, it’s time to mark the placement of the gutter hangers. These hangers will provide support and stability to the gutters. Measure and mark the spacing for the hangers, keeping in mind that they should be placed approximately every two feet along the length of the gutter. This will help prevent sagging and ensure that the gutter can support the weight of rainwater.
Using your measuring tape and a pencil, mark the locations for the hangers at the appropriate intervals along the chalk line. These marks will serve as a guide when installing the hangers later on.
Measuring and marking accurately is crucial to ensure that the gutters are installed correctly and will function effectively. Take your time during this step to ensure precision, as any incorrect measurements or markings can lead to problems during the installation process.
Read more: How To Hang Aluminum Gutters
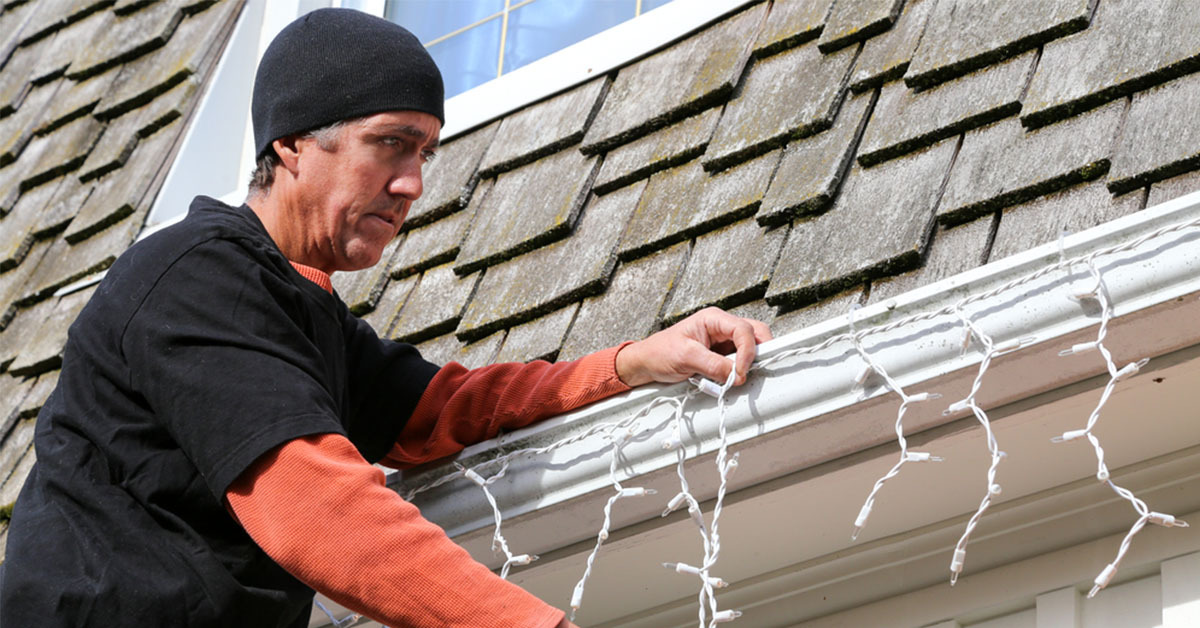
Step 2: Installing the Gutter Hangers
Now that you have measured and marked the location of the gutter hangers, it’s time to install them. Gutter hangers provide support and stability to the gutters, preventing them from sagging or pulling away from the fascia board.
Start by positioning the first gutter hanger at the marked location on the fascia board. Make sure the hanger is aligned with the chalk line and positioned at the correct interval. Use a screwdriver or a drill to secure the hanger into place. Repeat this process for each marked location along the fascia board.
It’s important to note that there are different types of gutter hangers available, including strap hangers and hidden hangers. Strap hangers wrap around the outside of the gutter, while hidden hangers are concealed inside the gutter for a cleaner look. Choose the type of hanger that suits your preference and the style of your gutters.
When installing the hangers, make sure they are securely attached to the fascia board. Use screws or nails that are appropriate for your specific type of fascia board material. This will ensure that the gutters have a strong and stable foundation.
As you install each hanger, double-check that it is level and aligned with the chalk line. This will ensure that the gutters will have the proper slope for water drainage. Use a level to make any necessary adjustments and ensure that all hangers are installed correctly.
Continue installing the gutter hangers along the entire length of the gutters, following the markings and spacing that you made earlier. Take your time during this step to ensure that each hanger is securely attached and properly aligned. This will provide a solid base for the gutters and ensure their stability.
With the gutter hangers installed, you are now ready to move on to the next step: attaching the gutters to the hangers.
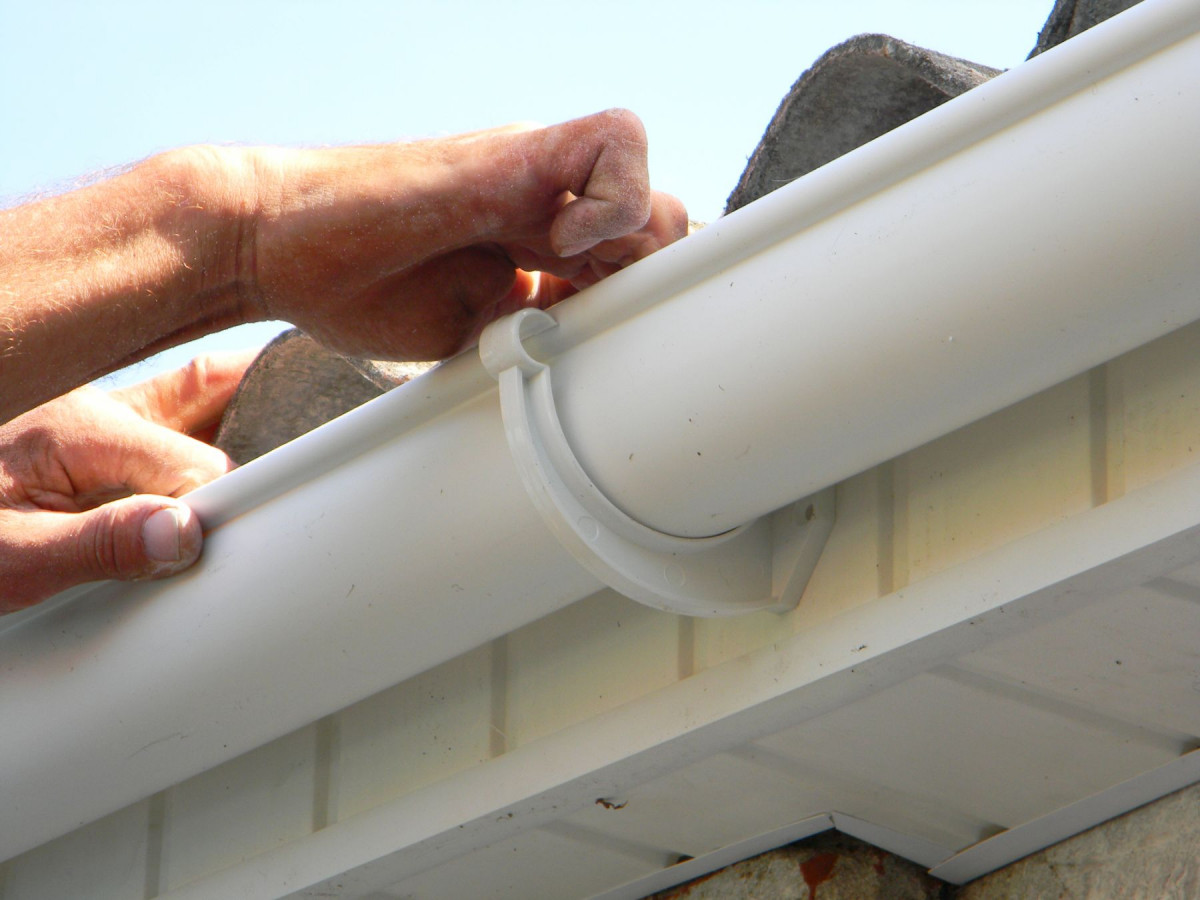
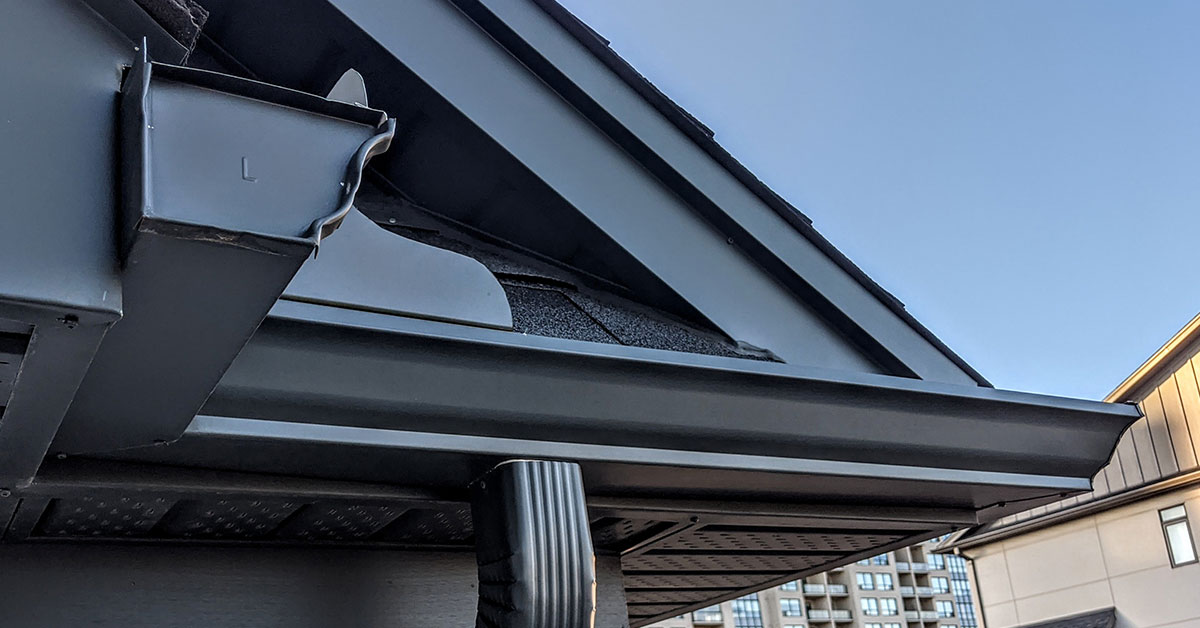
Step 3: Attaching the Gutters to the Hangers
With the gutter hangers securely in place, it’s time to attach the gutters to the hangers. This step is crucial in ensuring that the gutters are properly supported and will function effectively in redirecting rainwater.
Start by positioning the first gutter section at one end of the fascia board. Slide the back edge of the gutter into the hanger, making sure it sits securely. Use screws or nails to attach the gutter to the hanger, ensuring a tight and stable connection. Repeat this process for each hanger along the length of the gutter.
As you attach the gutters to the hangers, it’s important to maintain a slight downward slope towards the downspouts. This will ensure that rainwater flows efficiently and does not collect in the gutters. Use a level to check that the gutters are appropriately sloped and make any necessary adjustments.
For longer gutter sections, it may be necessary to connect multiple pieces together using gutter connectors or seamers. These connectors should be installed according to the manufacturer’s instructions and securely fastened to create a watertight seal.
As you install the gutters, be sure to remove any excess debris or dirt that may have accumulated. A gutter scoop or trowel can be helpful for this task. Clearing out the gutters will prevent clogs and ensure that rainwater can flow freely.
Once the gutters are attached to the hangers and any necessary connectors are in place, double-check their alignment and stability. Make any adjustments if needed to ensure that the gutters are properly positioned and securely attached.
Attaching the gutters to the hangers is a critical step in the installation process. By securely fastening the gutters and maintaining the proper slope, you can ensure that they will effectively divert rainwater away from your home. Now, it’s time to move on to the next step: connecting the gutters.
Step 4: Connecting the Gutters
Now that the gutters are securely attached to the hangers, it’s time to connect them together. This step ensures that rainwater can flow smoothly from one section of the gutter to the next, preventing any leaks or overflow.
Start by placing a gutter connector or seamer inside the ends of the two gutter sections that you want to connect. Make sure the connector is securely positioned and aligned with the gutters. Use screws or rivets to attach the connector to the gutter sections, creating a watertight seal.
When connecting the gutters, it’s important to follow the manufacturer’s instructions for the specific type of connectors you are using. Different connectors may have slightly different installation methods, so be sure to read the guidelines carefully.
Once the connectors are securely in place, check for any gaps or openings between the gutter sections. These gaps can cause water to leak out and undermine the effectiveness of the gutters. Use silicone caulk or gutter sealant to seal any gaps or joints, creating a tight and waterproof connection.
In addition to the connectors, you may also need to install end caps at the edges of the gutters. These end caps help to close off the ends and prevent water from escaping. Simply position the end caps at the ends of the gutters and secure them using screws or sealant.
As you connect the gutters, it’s important to check that the alignment and slope are maintained. Ensure that the gutters are properly sloped towards the downspouts for efficient water flow. Use a level to check for any deviations and make adjustments as necessary.
By properly connecting the gutters, you ensure that rainwater is effectively directed through the gutter system without any leaks or obstructions. This step plays a crucial role in the overall functionality of the gutters. Now, let’s move on to the next step: installing downspouts.
When hanging gutters, make sure to use a level to ensure they are properly sloped for water drainage. This will prevent water from pooling and causing damage.
Step 5: Installing Downspouts
Installing downspouts is an essential part of the gutter system, as they are responsible for carrying rainwater from the gutters down to the ground and away from your home’s foundation. Follow these steps to properly install the downspouts:
1. Measure and Mark: Begin by measuring the distance from the bottom of the gutter to the ground. Use a chalk line or pencil to mark the desired location of the downspout on the outside of the house. Make sure the location allows for proper water flow and is away from any obstacles.
2. Cut the Downspout Pieces: Using a hacksaw or tin snips, cut the downspout into the appropriate lengths. You will need a length that runs from the gutter down to the ground, as well as additional lengths to connect to the downspout elbows.
3. Attach Downspout Elbows: Connect the downspout elbows to the bottom of the gutter and the top of the vertical downspout section. Secure the connections using screws or rivets, ensuring a tight fit.
4. Install Downspout Brackets: Attach downspout brackets to the side of the house at the appropriate height for the downspout. Make sure the brackets are level and securely fastened to provide support for the downspout.
5. Connect the Downspout Sections: Connect the cut lengths of the downspout sections together using downspout connectors or sealant. Ensure a secure and watertight connection between each section.
6. Direct the Water Away: Position a splash block or a downspout extension at the end of the downspout to direct the water away from the foundation. This will prevent water from pooling near your home, which can lead to moisture-related issues.
As you install the downspouts, periodically check the alignment and stability of each component. Make any necessary adjustments to ensure that the downspouts are properly positioned and securely attached.
Remember, the goal of installing downspouts is to effectively carry water away from your home’s foundation. By following these steps, you can ensure proper drainage and protect the structural integrity of your property.
Now, let’s move on to the next step: checking for proper slope.
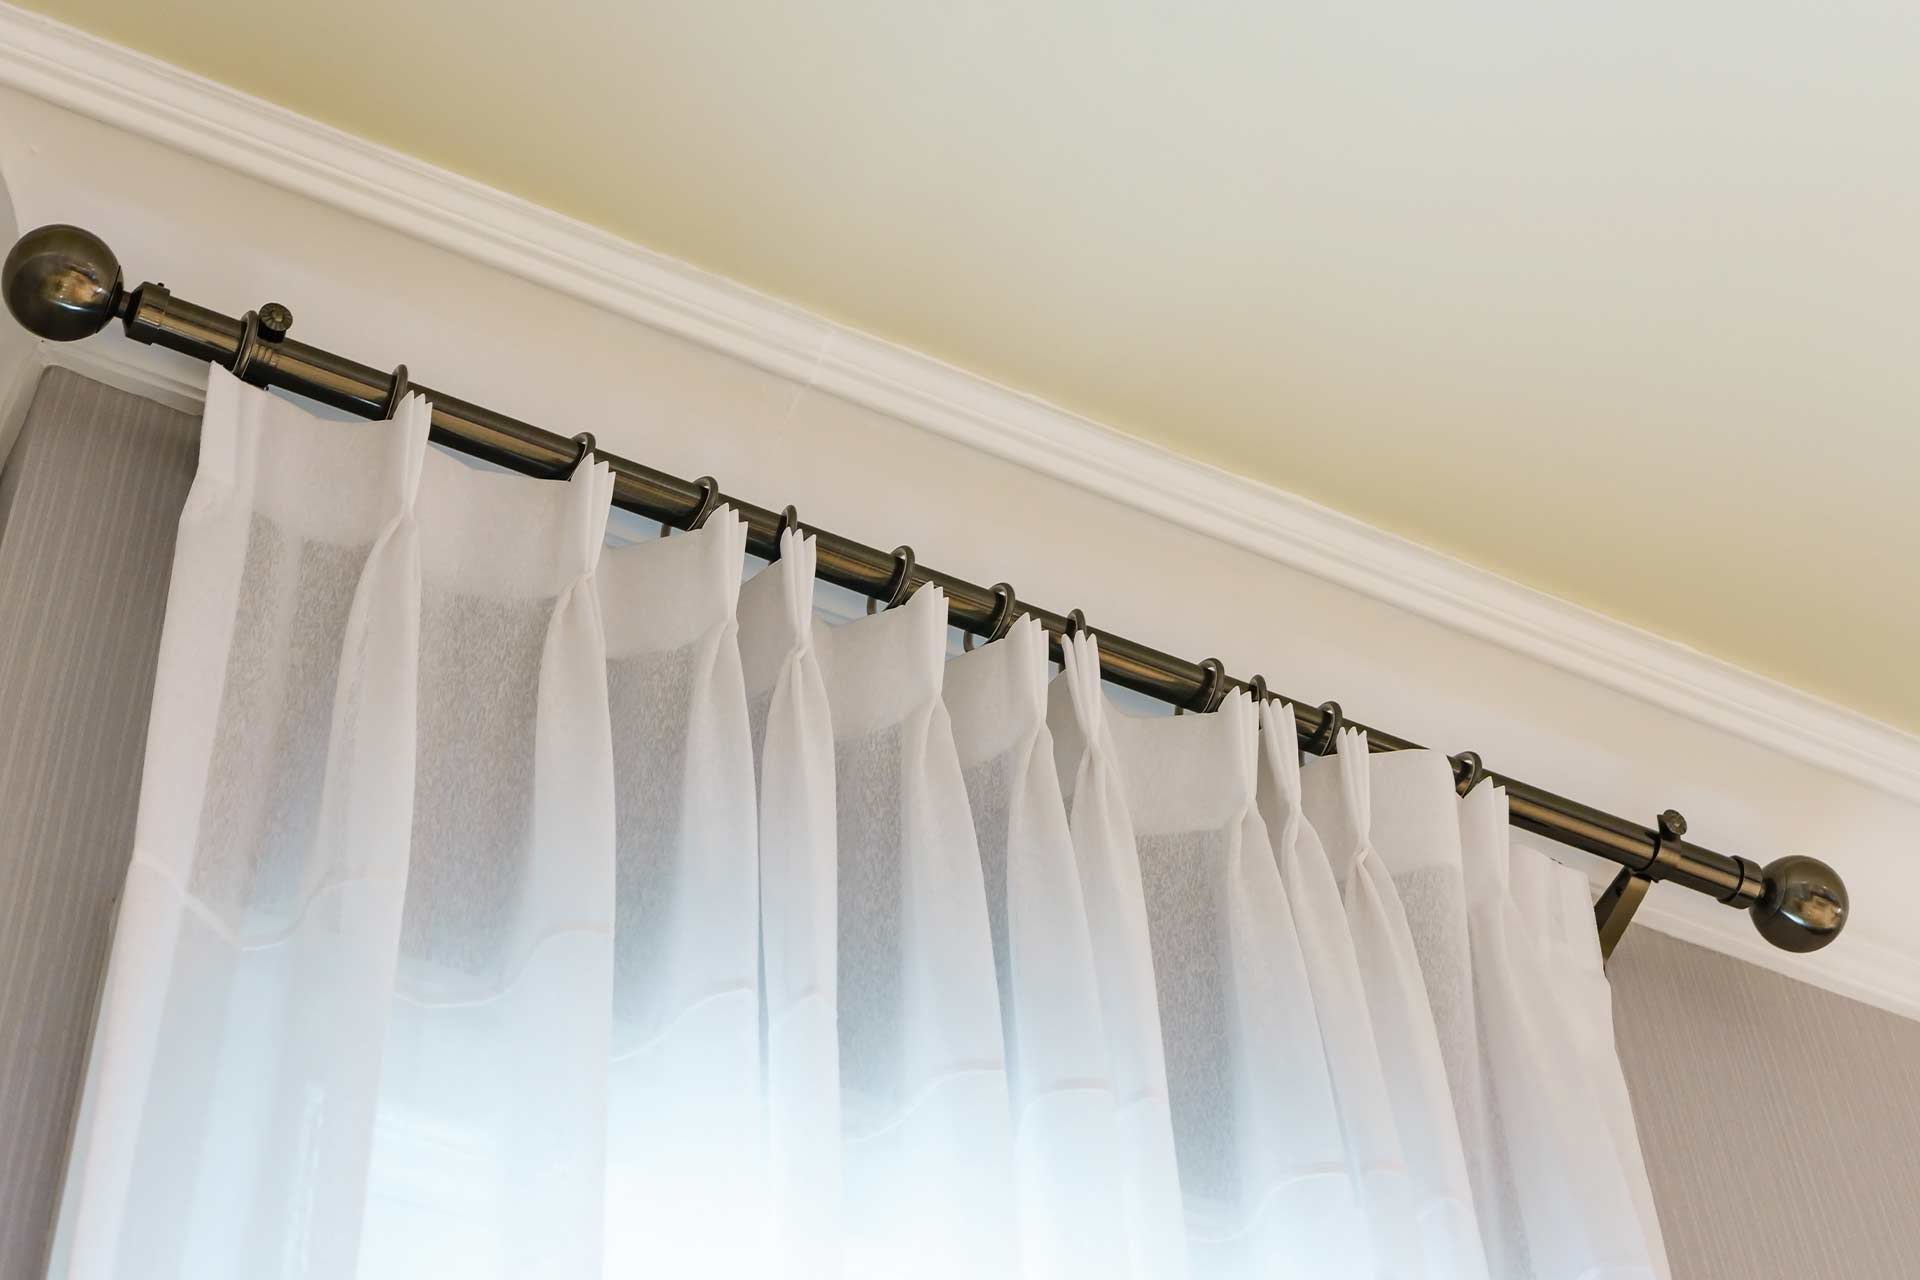
Read more: How Do You Hang Drapes
Step 6: Checking for Proper Slope
Checking for proper slope is a crucial step to ensure that your gutter system functions effectively in directing rainwater away from your home. Without the correct slope, water can pool and cause damage to your gutters and foundation. Follow these steps to check for proper slope:
1. Use a Level: Start by placing a level on top of the gutter to determine its orientation. The bubble inside the level should be centered between the lines. If the bubble is off to one side, the gutter is not level and will need adjustment.
2. Check for Proper Slope: Use the level to measure the slope of the gutters. The recommended slope is typically 1/4 inch per 10 feet of gutter length. This slope provides sufficient velocity for the water to flow towards the downspouts without pooling or overflowing.
3. Make Adjustments: If the slope is not within the recommended range, you will need to make adjustments. Start by loosening the gutter hangers and repositioning the gutter slightly to achieve the proper slope. Use the level to guide you and ensure that the gutter is correctly aligned.
4. Double-Check the Alignment: As you make adjustments for slope, it’s important to double-check the alignment of the gutters. Ensure that they are straight and parallel to the fascia board. If necessary, readjust the hangers to achieve the desired alignment while maintaining the proper slope.
5. Test with Water: Once you have adjusted the slope and alignment, test the gutter system by pouring water into the gutters. Observe the flow of water and check for any pooling or areas where the water does not properly drain towards the downspouts. Make any further adjustments as needed.
It’s crucial to ensure that your gutters have the proper slope to prevent issues such as water damage, foundation problems, and overflow. Take the time to carefully check and adjust the slope as necessary. This step will help your gutter system function effectively and protect your home from water-related damage.
Now, let’s proceed to the final step: securing the gutters.
Step 7: Securing the Gutters
After you have installed and checked for proper slope, the final step in hanging gutters is to secure them in place. This will ensure that the gutters remain stable and can effectively redirect rainwater away from your home. Follow these steps to securely fasten the gutters:
1. Tighten Gutter Hangers: Start by going along the length of the gutters and tightening the screws or nails on the gutter hangers. This will help secure the gutters to the fascia board and prevent them from sagging or pulling away.
2. Add Additional Support: For longer gutter sections or areas prone to heavy rainfall, it is advisable to add additional support. Install additional gutter hangers at closer intervals, approximately every 18 to 24 inches, to provide extra stability.
3. Reinforce Connections: Check all the connections between gutter sections, hangers, and downspouts. Ensure that they are securely fastened and sealed, using screws, rivets, or sealant as needed. Reinforcing these connections will prevent any potential leaks or separation.
4. Inspect and Clear Debris: Take the time to inspect the gutters for any debris, such as leaves or twigs, that may have accumulated during the installation process. Clear out any obstructions using a gutter scoop or trowel. Regular upkeep will help maintain proper functionality.
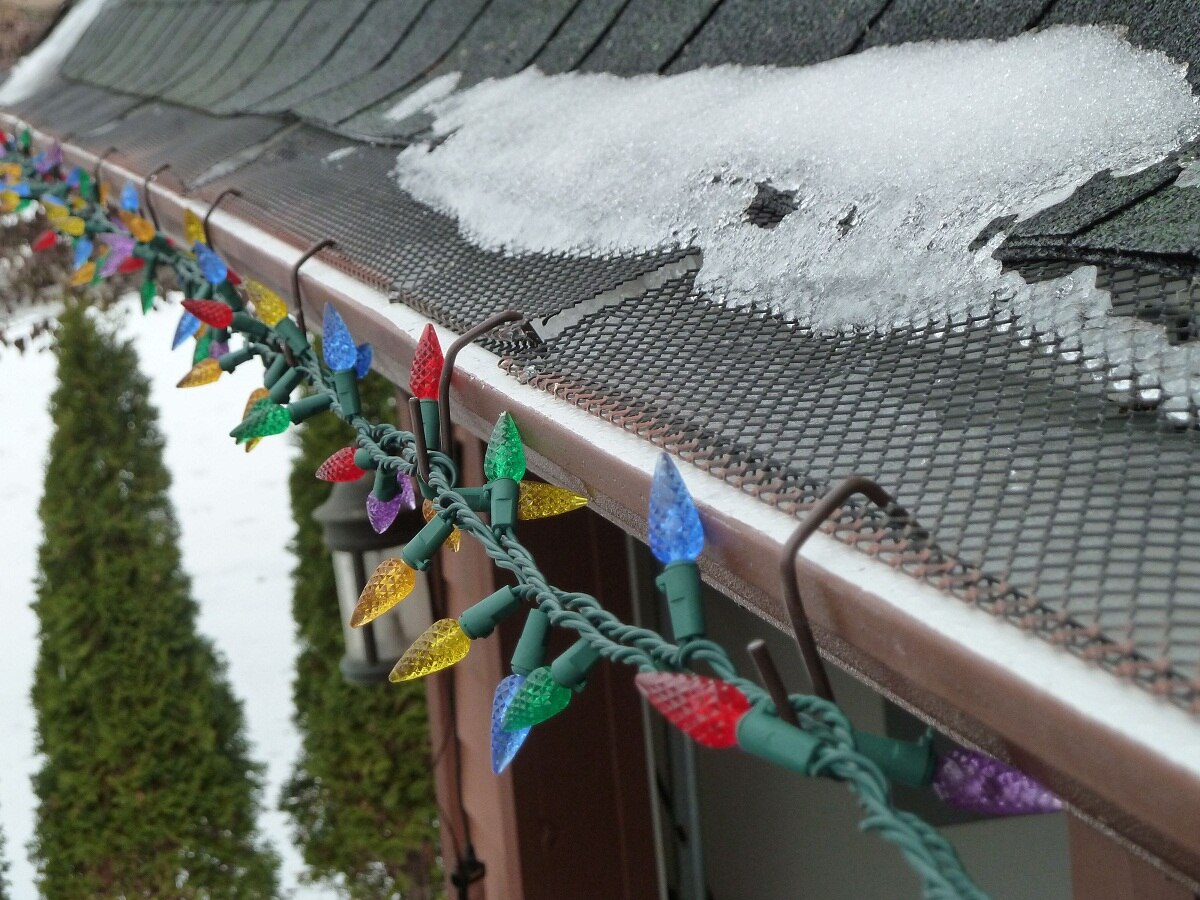
5. Consider Gutter Guards: Optional but highly recommended, installing gutter guards can help prevent debris from entering the gutters and clogging the system. Gutter guards act as a protective barrier while still allowing water to flow freely. They can help reduce the frequency of gutter cleaning and maintenance.
By securing the gutters properly, you ensure their stability and longevity. This step will help maintain the effectiveness of the gutter system in protecting your home from water damage.
Congratulations! You have successfully learned how to hang gutters and protect your home from potential water damage. By following these steps and taking the time to ensure accuracy and precision, you can enjoy the benefits of a functional and efficient gutter system.
Remember to refer back to this guide as needed and always prioritize safety when working at heights. Now, go ahead and enjoy the peace of mind that comes with having properly installed gutters!
Conclusion
Installing gutters is an important step in protecting your home from water damage. By properly hanging gutters, you can effectively redirect rainwater away from your foundation, preventing issues such as erosion, basement flooding, and structural damage. While it may seem like a daunting task, with the right tools and knowledge, you can successfully install gutters yourself and save money in the process.
In this comprehensive guide, we have covered the step-by-step process for hanging gutters. We started by measuring and marking the location of the gutters, ensuring accurate placement and proper slope. We then moved on to installing gutter hangers to provide support and stability. Next, we attached the gutters to the hangers, ensuring a secure connection. Connecting the gutters together and installing downspouts were the subsequent steps, followed by checking for proper slope to ensure effective water flow. Lastly, we secured the gutters in place, reinforcing connections and considering the use of gutter guards for added protection.
By following each step and taking the time to ensure accuracy and precision, you can successfully hang gutters and protect your home from potential water damage. Remember to prioritize safety and use proper tools and equipment when working at heights.
If you ever feel unsure or uncomfortable with any step in the process, don’t hesitate to seek the assistance of a professional. It’s important to prioritize your safety and the well-being of your home.
Now armed with the knowledge and guidance provided in this guide, you can confidently take on the task of hanging gutters. Enjoy the peace of mind that comes with knowing your home is protected from water damage, and the satisfaction of a job well done!
Frequently Asked Questions about How Do You Hang Gutters
Was this page helpful?
At Storables.com, we guarantee accurate and reliable information. Our content, validated by Expert Board Contributors, is crafted following stringent Editorial Policies. We're committed to providing you with well-researched, expert-backed insights for all your informational needs.


0 thoughts on “How Do You Hang Gutters”