Articles
How To Hang Christmas Lights With Gutters
Modified: April 22, 2024
Looking for articles on how to hang Christmas lights with gutters? Discover easy and hassle-free tips to make your holiday decorations shine.
(Many of the links in this article redirect to a specific reviewed product. Your purchase of these products through affiliate links helps to generate commission for Storables.com, at no extra cost. Learn more)
Introduction
As the holiday season approaches, one of the most beloved traditions is hanging Christmas lights. It’s a surefire way to spread joy and create a festive ambiance. Whether you’re a seasoned pro or a beginner, knowing how to hang Christmas lights with gutters can make the process easier and more efficient.
Hanging lights on gutters not only adds a magical touch to your home, but it also protects the lights from harsh weather conditions. By utilizing the gutters as a sturdy and convenient mounting point, you can avoid the hassle of drilling holes or damaging your roof.
In this article, we will guide you through the step-by-step process of hanging Christmas lights with gutters. From gathering the necessary materials to testing the final result, you’ll have all the information you need to create a stunning light display that will shine brightly throughout the holiday season.
So, let’s get started and turn your home into a winter wonderland!
Key Takeaways:
- Create a stunning holiday light display by carefully planning, gathering supplies, and securing lights. Prioritize safety and let your creativity shine for a festive and eye-catching home transformation.
- Hanging Christmas lights with gutters is a joyful and efficient process. Follow the step-by-step guide, test your lights, and make necessary adjustments for a dazzling winter wonderland.
Read more: How To Hang Lights Without Gutters
Materials Needed
Before you begin hanging Christmas lights with gutters, it’s important to gather all the necessary materials. Having everything on hand will streamline the process and ensure that you don’t encounter any unexpected obstacles along the way. Here are the essential items you will need:
- Christmas lights: Choose a style and color that suits your preference. LED lights are energy-efficient and long-lasting.
- Gutter clips: These specially designed clips will securely hold the lights in place on your gutters. Make sure to get clips that are compatible with the size and shape of your gutters.
- Extension cords: Depending on the length of your gutters, you may need extension cords to reach the power source. Opt for outdoor-rated cords to ensure safety.
- Power source: Locate an outdoor electrical outlet or consider using battery-powered lights if access to an outlet is limited.
- Ladder or step stool: A sturdy ladder or step stool will help you reach higher areas of your gutters.
- Gloves: Protect your hands from sharp edges or rough surfaces by wearing gloves.
- Timer: A timer will allow you to automate when the lights turn on and off, saving you the trouble of manually switching them every day.
- Optional: Garland or other decorative elements can be used in conjunction with the lights to add extra flair.
Having these materials readily available will ensure a smooth and efficient installation process. Once you have everything prepared, you can move on to the next step of planning your layout.
Step 1: Gather Supplies
Before you begin hanging Christmas lights with gutters, it’s essential to gather all the necessary supplies. By doing this, you can ensure a smooth and seamless installation process. Here’s what you’ll need:
- Christmas lights: Choose the style and color of lights that best suit your taste and the overall aesthetic you want to achieve.
- Gutter clips: These special clips are designed to securely attach the lights to your gutters. Make sure to choose clips that are compatible with the size and shape of your gutters.
- Extension cords: Depending on the length of your gutters, you may need extension cords to connect the lights to the power source. Opt for outdoor-rated cords to ensure durability and safety.
- Ladder or step stool: A stable ladder or step stool will help you reach higher areas of your gutters safely.
- Gloves: It is advisable to wear gloves to protect your hands from sharp edges or rough surfaces.
- Electrical tape: This will come in handy for securing and hiding any exposed wires.
- Timer: Consider using a timer to automate when the lights turn on and off, eliminating the need for manual operation every day.
- Optional: You may also want to consider adding garlands, ribbons, or other decorative elements to enhance the overall display.
By having all these supplies on hand, you can ensure a smoother installation process and prevent any unnecessary delays or interruptions. Once you have everything gathered, you can move on to the next step of planning your layout.
Step 2: Plan Your Layout
Before you start hanging your Christmas lights with gutters, it’s important to plan your layout. Taking the time to carefully consider the placement of lights will help you achieve a balanced and visually appealing display. Here are some steps to follow:
- Measure your gutters: Start by measuring the length of your gutters to determine how many lights you will need. This will help you avoid purchasing too few or too many lights.
- Decide on the design: Think about the overall effect you want to achieve. Are you going for a minimalist look with lights only along the front edge of the roof, or do you want to cover the entire gutter system?
- Consider the power source: Plan the placement of lights around the proximity of outdoor electrical outlets or battery-powered options. This will ensure that the lights can be easily connected to a power source.
- Map out the pattern: Sketch a rough diagram of your gutters, indicating where the lights will go. Consider whether you want a symmetrical pattern or a more random arrangement.
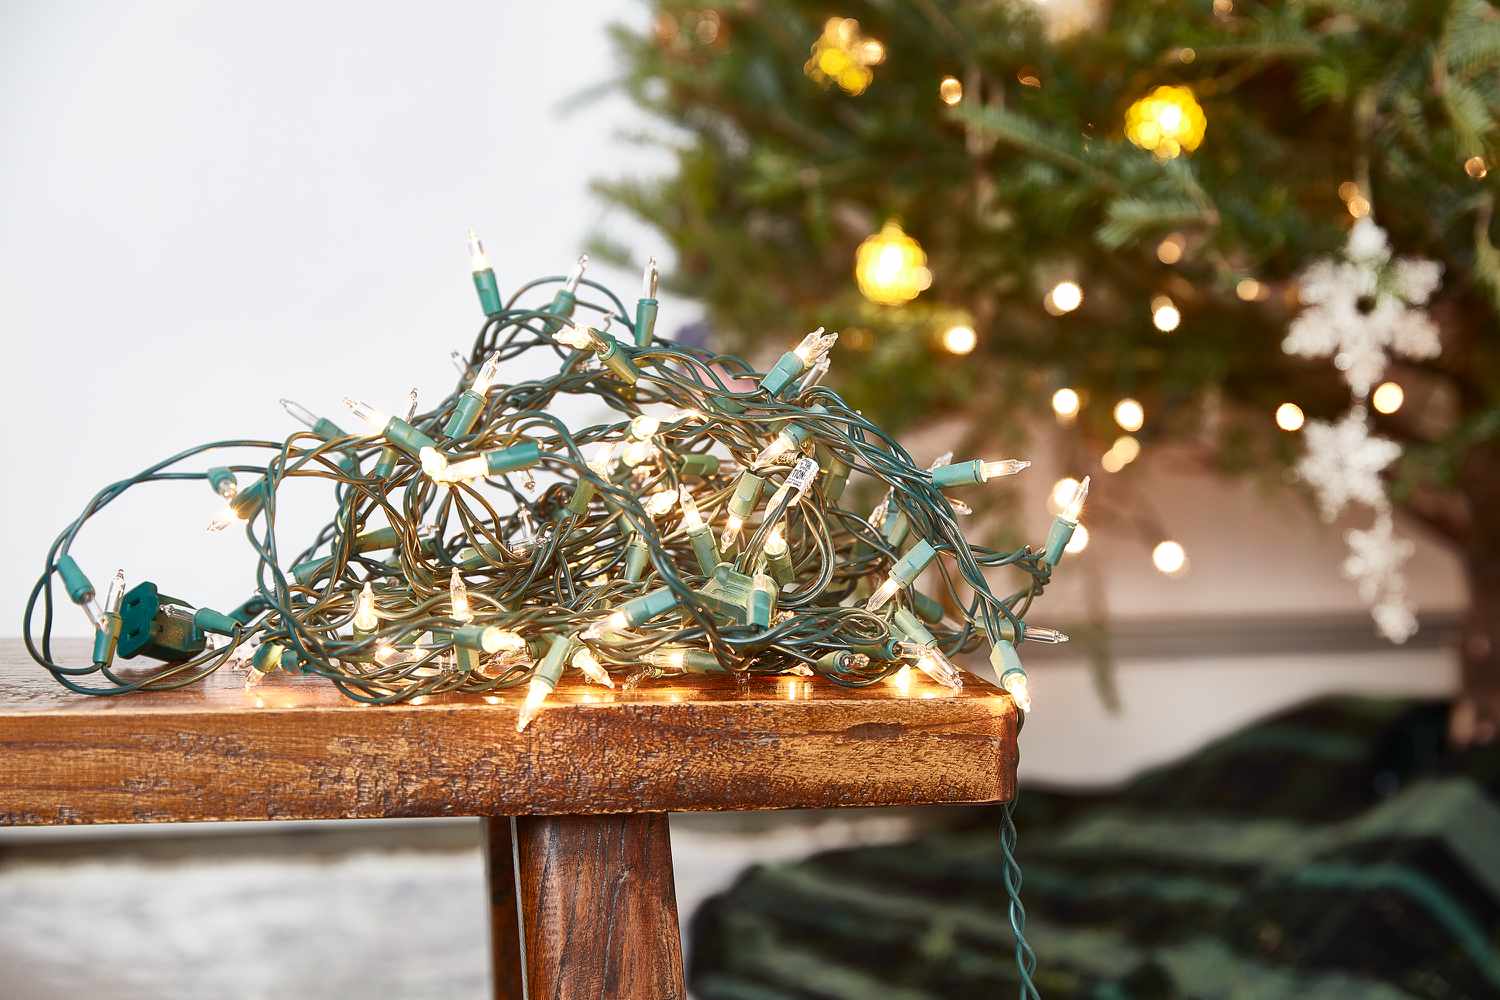
- Test the lights: Before hanging them, plug in the lights to ensure they are functioning properly. This will save you time and frustration later on.
Remember to always follow safety guidelines when using a ladder or step stool. Take note of any obstacles, such as trees or bushes, and plan accordingly.
By planning your layout in advance, you’ll have a clear vision of how your lights will be placed, making the installation process much smoother. Now that you have a plan, it’s time to move on to the next step of attaching the clips to your gutters.
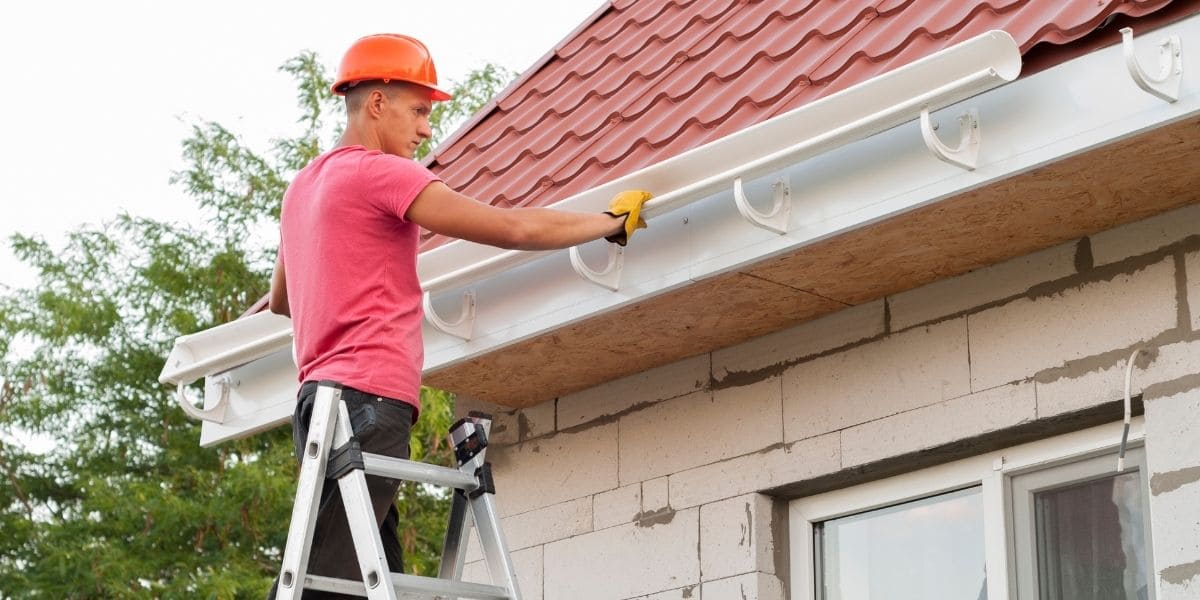
Step 3: Attach Clips to Gutter
With your layout planned out, it’s time to move on to attaching the clips to your gutter. These clips will serve as the anchor points for your Christmas lights, ensuring they stay securely in place. Follow these steps to attach the clips:
- Clean the gutters: Before attaching the clips, make sure your gutters are free from debris and dirt. This will provide a clean surface for the clips to adhere to.
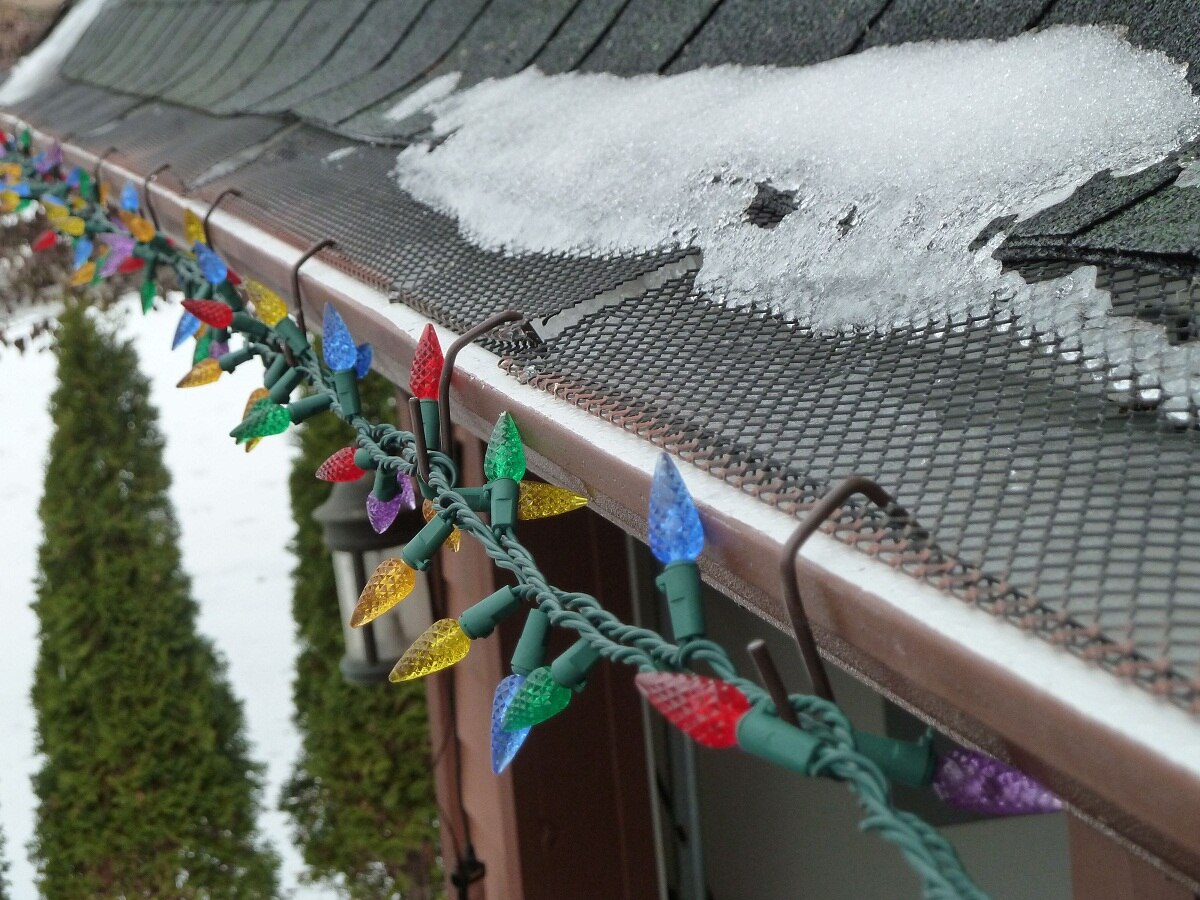
- Open the gutter clips: Most gutter clips are designed with a hinge mechanism. Open the clip and place it over the edge of the gutter, ensuring that it is securely in place.
- Insert the lights: Once the clips are in place, carefully thread the Christmas lights through the open side of each clip. Make sure the lights are securely held by the clip and not at risk of falling.
- Space the clips: As you continue attaching the clips, make sure to space them evenly along the gutters. This will create a balanced and aesthetically pleasing display.
When attaching the clips, it’s important to follow the manufacturer’s instructions and ensure they are firmly secured. This will prevent the lights from sagging or falling off the gutters over time. Additionally, keep in mind any safety precautions related to electricity and outdoor installation.
Once all the clips are attached, you’re ready to move on to the next step of hanging the lights themselves. Taking the time to properly attach the clips will result in a neat and professional-looking display. So, let’s move on to Step 4!
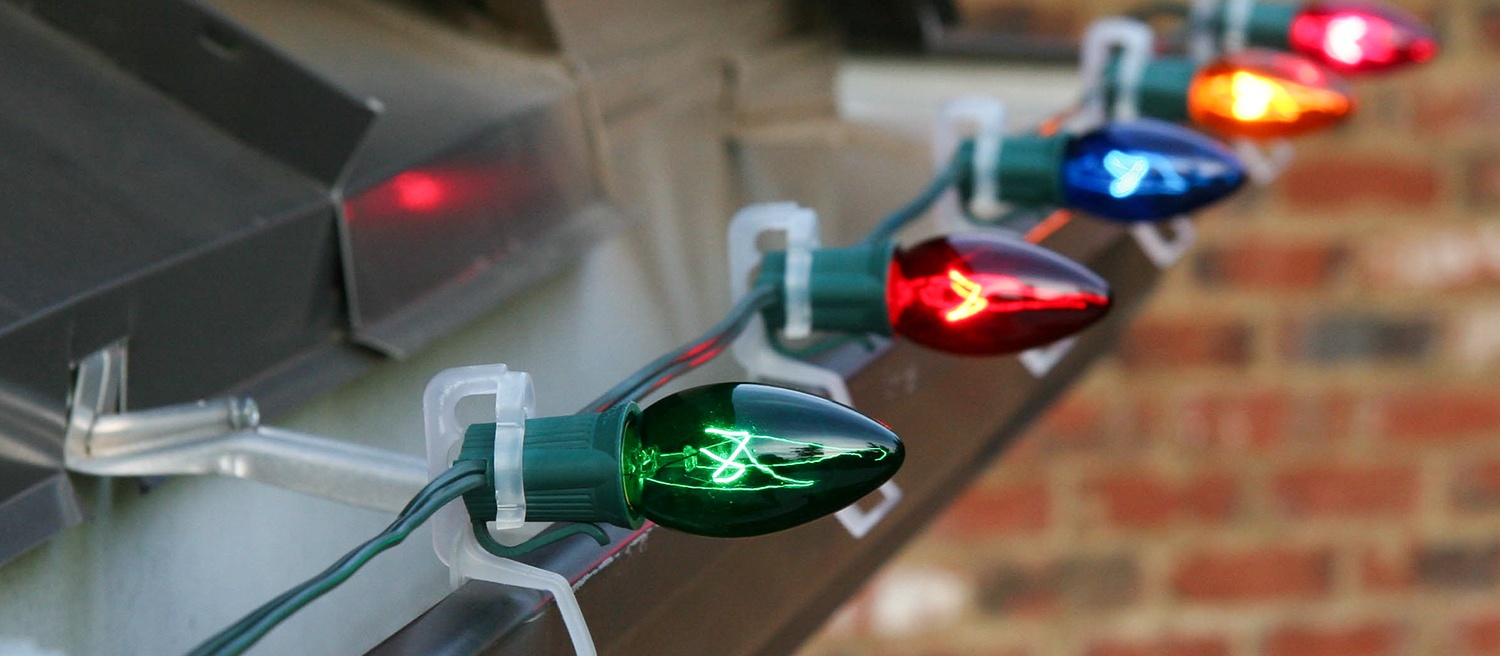
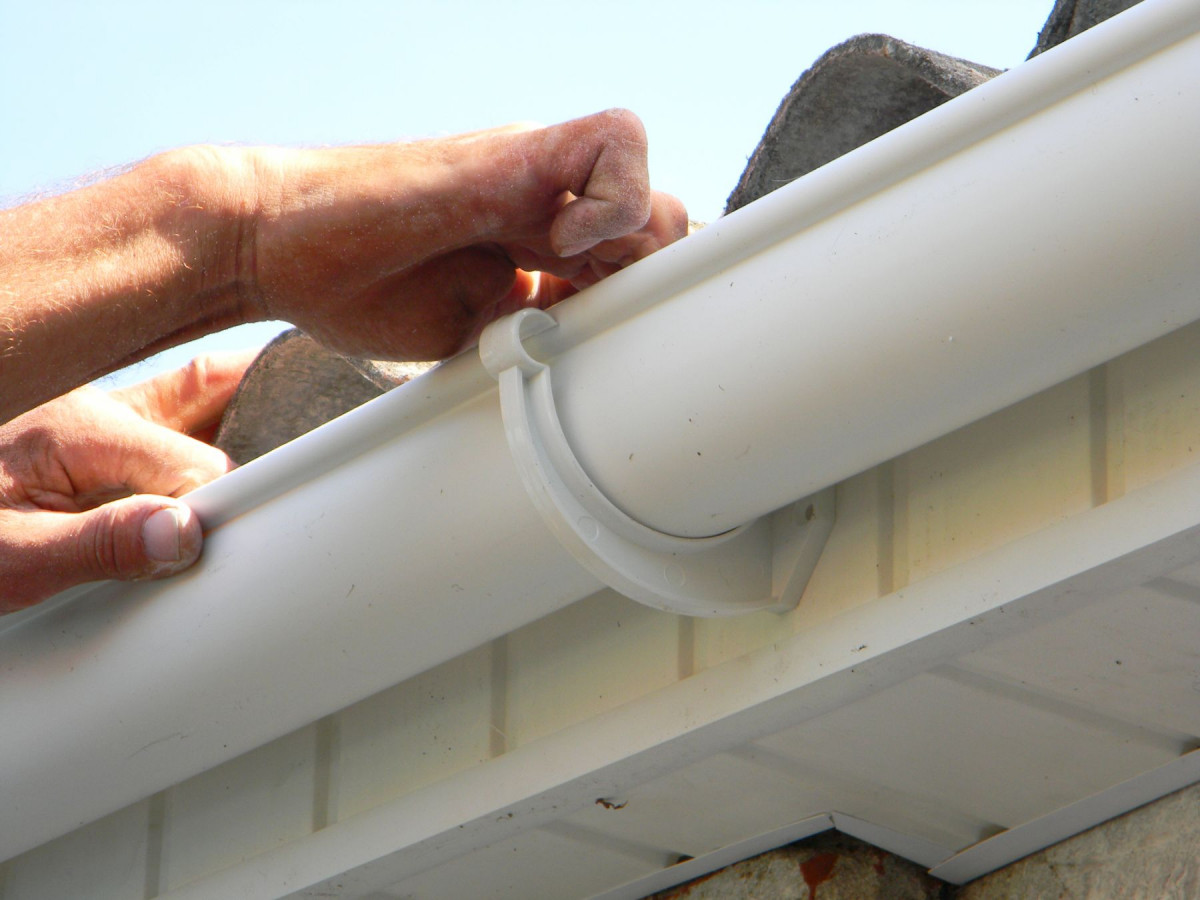
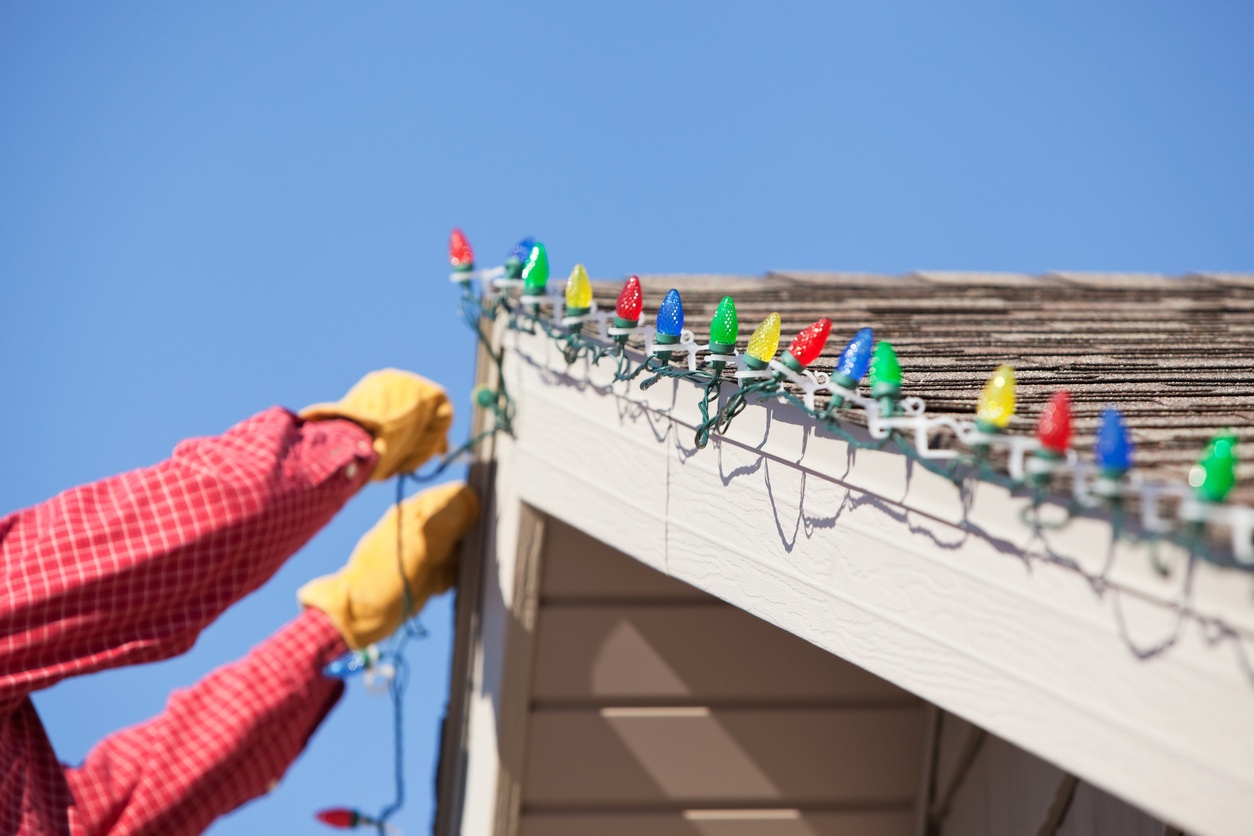
Use gutter clips to easily hang Christmas lights along the edge of your gutters. These clips are designed to securely hold the lights in place without damaging the gutters.
Read more: How To Hang Christmas Lights To Stucco
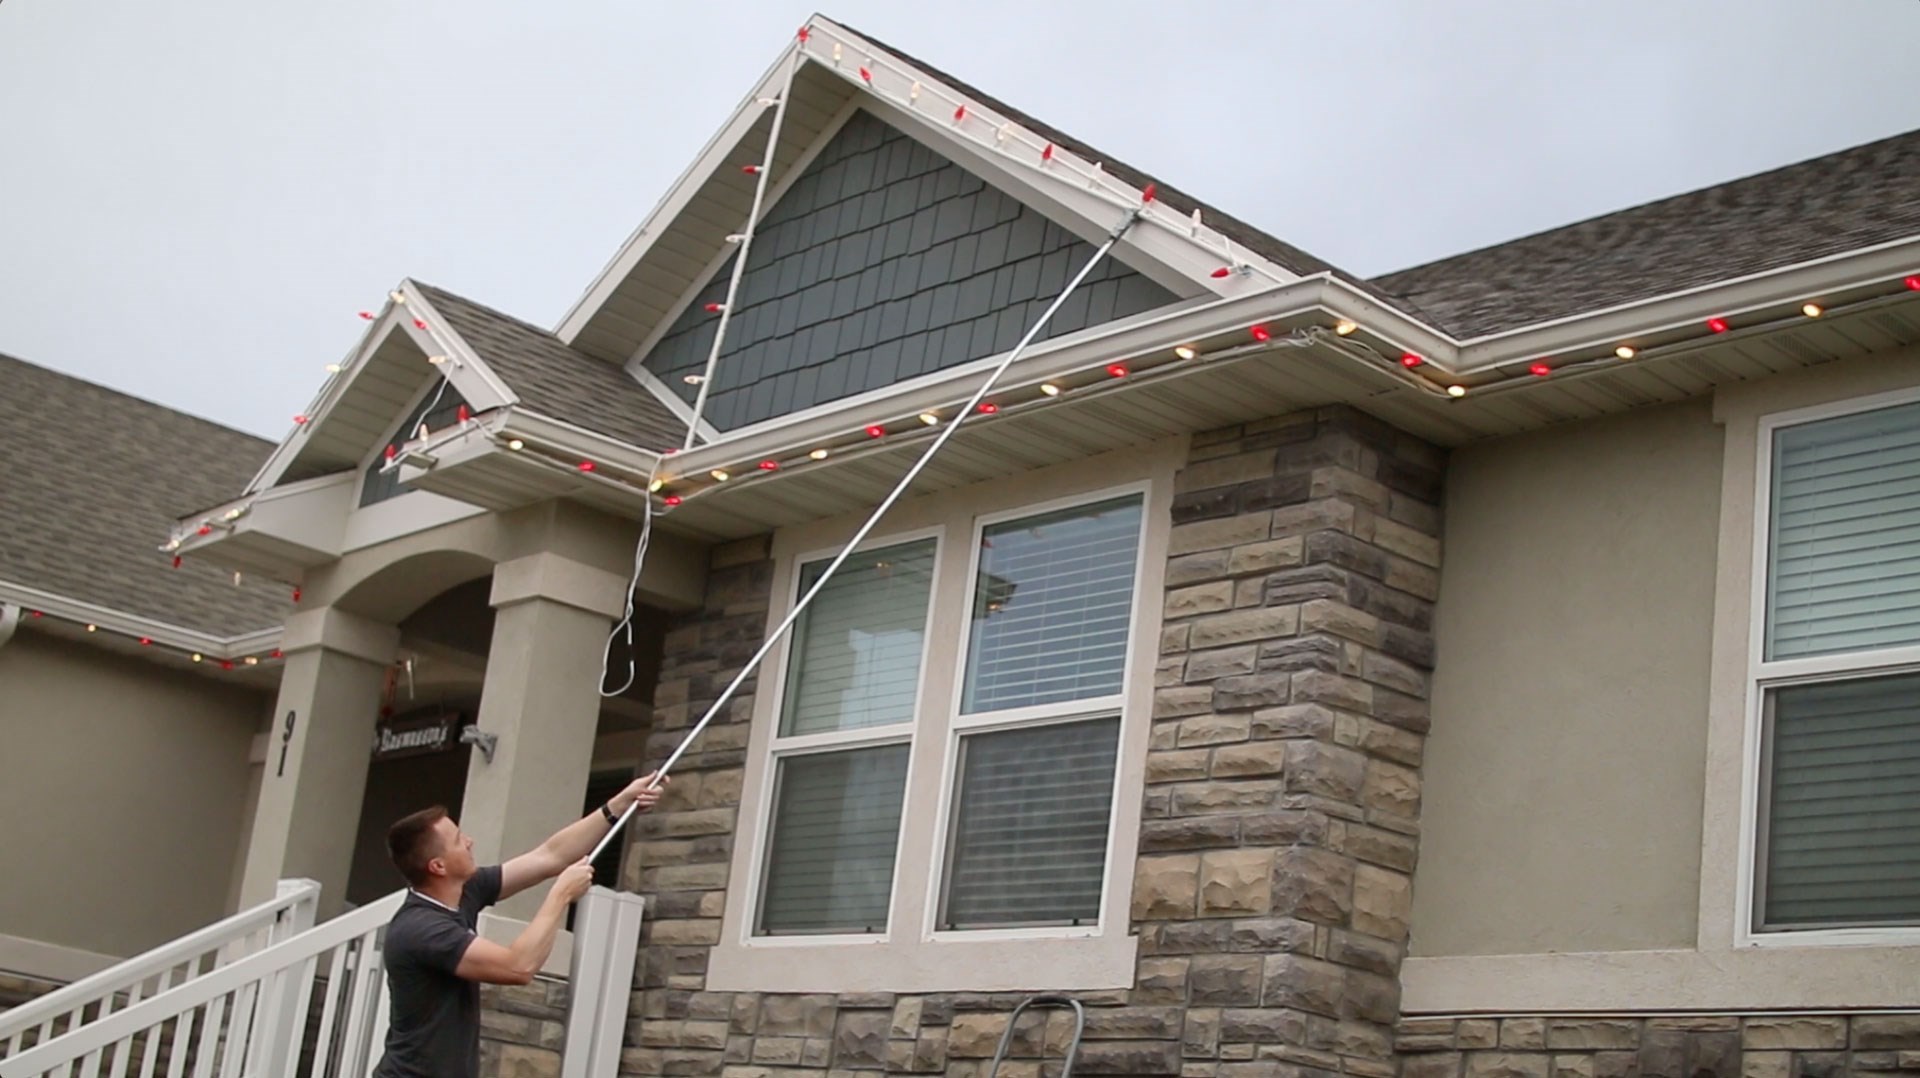
Step 4: Hang Lights
Now that the clips are securely attached to the gutters, it’s time to hang the Christmas lights. Here are the steps to follow:
- Start at the power source: Begin from the outlet where you will be connecting the lights. This will ensure you have enough slack in the cord to reach the power source.
- Secure the lights: Take the first section of lights and carefully insert it into the open side of the gutter clip. Make sure the lights are securely held in place.
- Continue along the gutters: Move along the gutters, inserting the lights into each clip as you go. Be mindful of maintaining a consistent spacing and alignment.
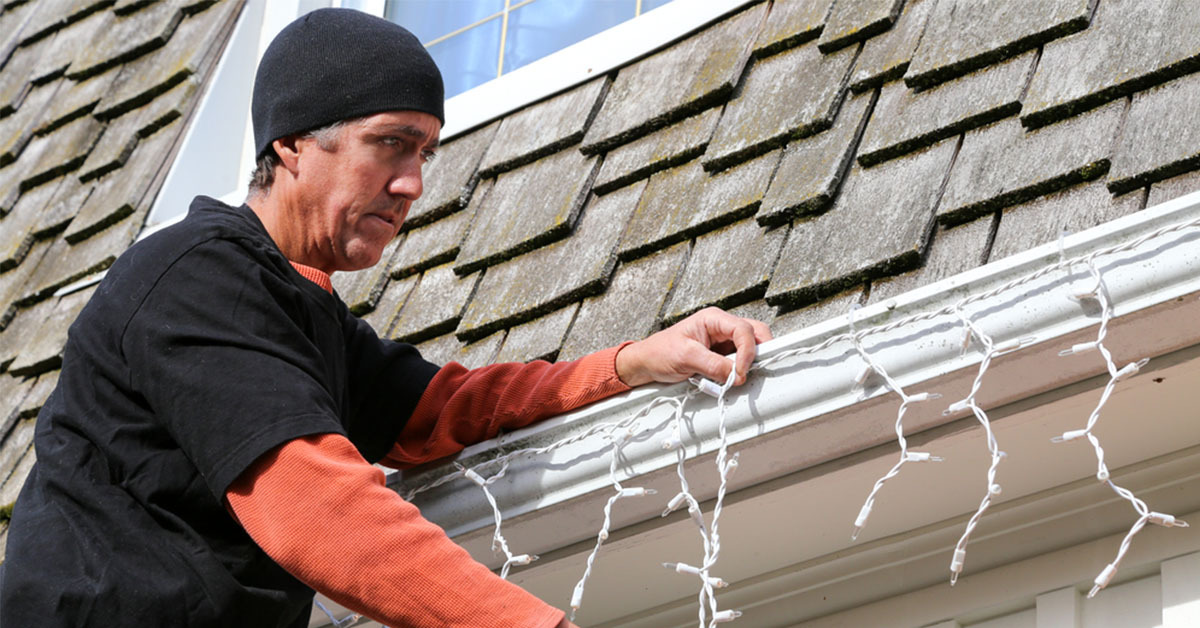
- Use a ladder or step stool: If necessary, use a sturdy ladder or step stool to reach higher areas of the gutters. Always prioritize safety and have someone assist you if needed.
As you hang the lights, step back occasionally to assess the overall appearance and make any necessary adjustments. Take your time to ensure that each section of lights is neatly and evenly hung along the gutters. This will result in a polished and professional-looking display.
Remember, different gutter clips may have specific instructions for attaching the lights. For instance, some clips may require you to slide the lights into a channel or clip them directly onto the clip itself. Follow the manufacturer’s guidelines for the best results.
Once the lights are hung, you’re almost ready to admire your beautiful display. But before that, let’s move on to the next step and learn how to secure the lights for added stability.
Step 5: Secure Lights
After hanging the Christmas lights along your gutters, it’s important to take the necessary steps to secure them. This will ensure that your lights stay in place, even during strong winds or inclement weather. Here’s what you need to do:
- Check for any loose lights: Take a moment to inspect the lights and make sure they are securely attached to the gutter clips. If you notice any loose sections, gently adjust them and reattach them to the clips.
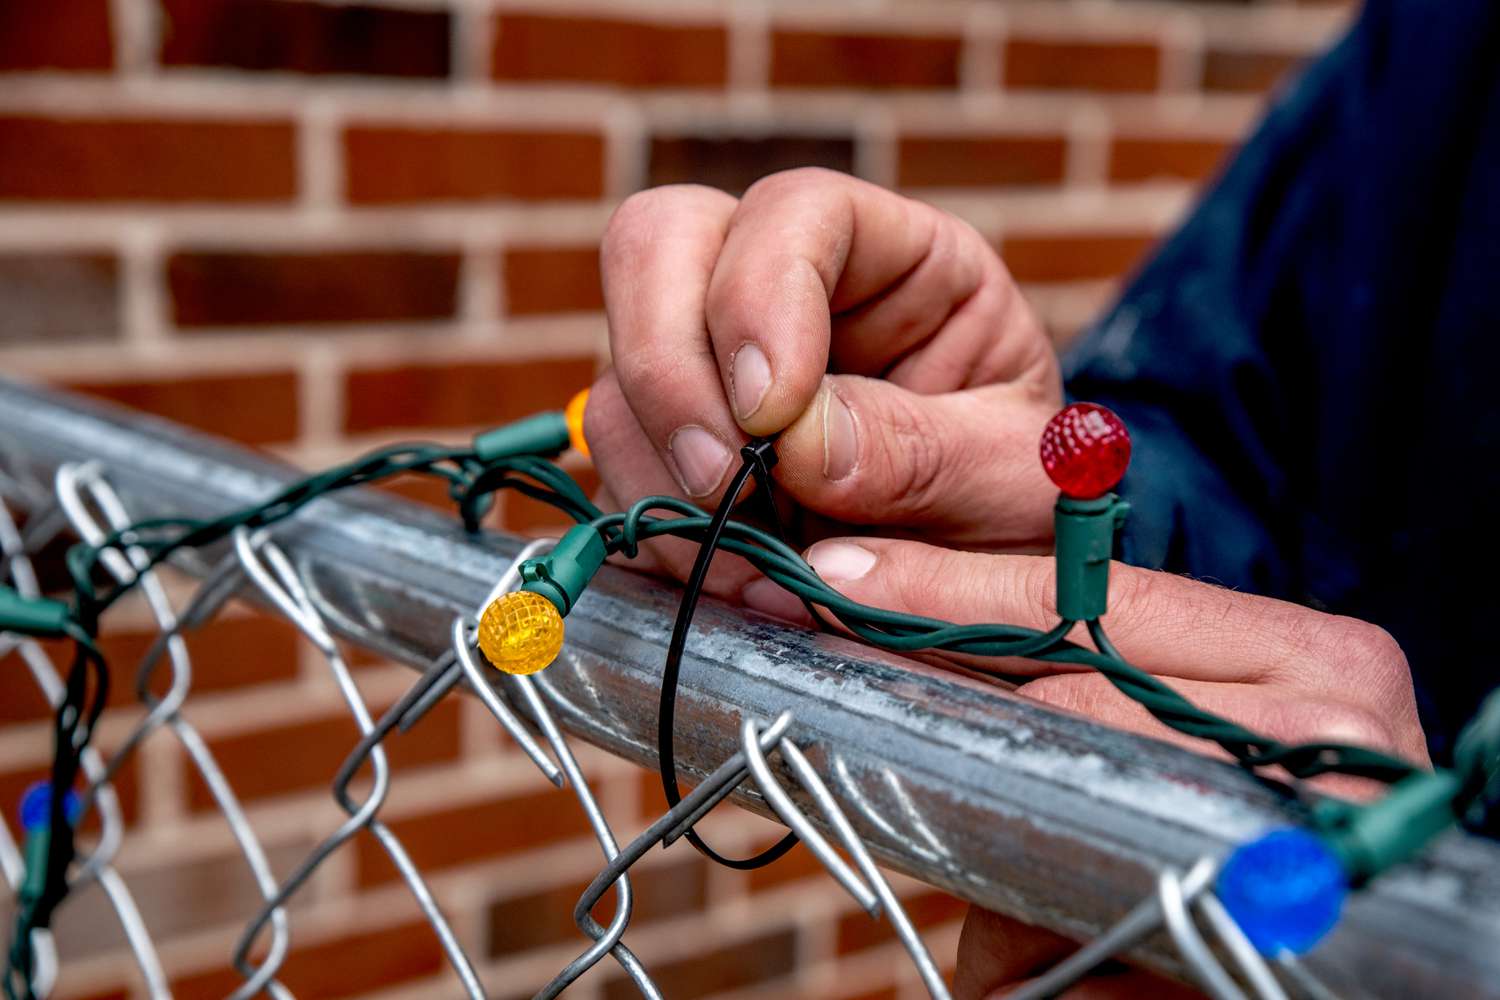
- Use zip ties or twist ties: For added stability, you can use zip ties or twist ties to fasten the lights to the gutter clips. Simply wrap the tie around the light strand and the clip, then tighten it securely.
- Secure loose ends: If you have excess light strands at the end of your gutter, use clips or hooks to secure them to nearby structures, such as trees or fences. This will prevent them from dangling or getting tangled.
- Secure extension cords: If you’re using extension cords, make sure they are safely tucked away and not at risk of becoming tripping hazards. Use electrical tape or cord clips to secure them to the gutters or other surfaces.
When securing the lights, be careful not to pull too tightly or strain the connections. This can potentially damage the lights or cause them to malfunction. It’s essential to find the right balance between secure attachment and gentle handling.
Once you’ve taken all the necessary steps to secure the lights, you’re almost ready to enjoy your beautifully lit home. But before that, let’s move on to Step 6 and make sure everything is working correctly with a quick test.
Step 6: Test Lights
Before you fully admire your Christmas light display, it’s important to test the lights to ensure they are functioning properly. Here’s what you need to do:
- Ensure the power source is connected: Make sure the Christmas lights are plugged into the power source, whether it’s an outdoor electrical outlet or a battery pack.
- Turn on the lights: Flip the switch or press the power button to turn on the lights. Observe each section to confirm that all the lights are turning on.
- Inspect for any issues: Check for any flickering lights, dim sections, or sections that are not lighting up at all. If you notice any problems, carefully inspect the lights to identify and resolve the issue.
- Adjust as needed: If you’re not satisfied with the arrangement or if you notice any areas that could use more lights, make any necessary adjustments now before moving on.
Testing the lights will ensure that you have a fully illuminated and visually pleasing display. It allows you to address any technical issues or aesthetic concerns before finalizing your installation.
If you encounter any problems, such as a section of lights not working, it’s important to troubleshoot the issue. Check for loose connections, damaged bulbs, or faulty wiring. Replace any non-functioning lights or seek professional assistance if needed.
Once you’re confident that all the lights are working and the display is as desired, you’re ready for the final step. Let’s move on to Step 7 and make any adjustments necessary to perfect your Christmas light arrangement.
Step 7: Adjust as Needed
As the final step in hanging Christmas lights with gutters, it’s time to step back and assess your display. This is your opportunity to make any necessary adjustments and ensure that your lights are creating the desired effect. Here’s what you can do:
- Step back and evaluate: Take a few steps back from your home and carefully examine your light display. Look for any areas that may appear unbalanced or could benefit from additional lights.
- Reposition lights if needed: If you notice any sections that are too sparse or unevenly lit, take the time to reposition the lights or add extra strands to create a more uniform effect.
- Consider adding extra decorations: If you feel like your light display could use an extra touch, consider incorporating other decorations such as garlands, ornaments, or wreaths. These can complement the lights and enhance the overall festive ambiance.
- Take note of safety concerns: Throughout the process, be mindful of any safety concerns. Check that all cords and wires are safely tucked away and protected from potential hazards, such as water or sharp objects.
Remember, your display is a creative expression of your personal style and holiday spirit. Feel free to adjust and experiment until you achieve the desired result. Take your time and have fun with the process!
Finally, step back one last time and admire the hard work you’ve put into transforming your home into a magical winter wonderland. Your beautifully hung Christmas lights with gutters will undoubtedly bring joy and festive cheer to all who see them.
Now, gather your loved ones, sip on some hot cocoa, and enjoy the warm glow of your stunning holiday light display!
Read more: How To Hang Christmas Lights On Siding
Conclusion
Congratulations! You have successfully learned how to hang Christmas lights with gutters, turning your home into a dazzling display of holiday cheer. By following the step-by-step guide outlined in this article, you have equipped yourself with the knowledge and skills needed to create a beautiful and well-organized light arrangement.
Remember, the key to a successful installation is careful planning, gathering all the necessary supplies, and taking the time to secure and position the lights properly. By doing so, you can create a festive and eye-catching display that will delight both your family and neighbors alike.
Throughout the process, always prioritize safety. Ensure that you are using outdoor-rated lights and extension cords, and be mindful of any potential hazards while working with ladders or step stools. The safety and well-being of you and those around you are paramount.
Don’t forget to test your lights before completing the installation to address any issues and make any necessary adjustments. This will ensure a consistent and beautiful glow throughout the holiday season.
Lastly, let your creativity shine! Consider adding additional decorations such as garlands, ribbons, or ornaments to enhance your light display. Tailor the design to your personal style and preferences to create a display that truly reflects your holiday spirit.
As you sit back and admire your handiwork, take joy in knowing that your beautifully hung Christmas lights with gutters will spread holiday cheer and make lasting memories for years to come.
Happy holidays and may your home be filled with warmth, happiness, and the radiant glow of your festive light display!
Frequently Asked Questions about How To Hang Christmas Lights With Gutters
Was this page helpful?
At Storables.com, we guarantee accurate and reliable information. Our content, validated by Expert Board Contributors, is crafted following stringent Editorial Policies. We're committed to providing you with well-researched, expert-backed insights for all your informational needs.


0 thoughts on “How To Hang Christmas Lights With Gutters”