Articles
How To Install End Caps On Gutters
Modified: October 18, 2024
Learn how to install end caps on gutters with our informative articles. Get step-by-step instructions and expert tips for a seamless installation.
(Many of the links in this article redirect to a specific reviewed product. Your purchase of these products through affiliate links helps to generate commission for Storables.com, at no extra cost. Learn more)
Introduction
When it comes to safeguarding your home from rainwater damage, gutters play a crucial role. They efficiently collect and redirect rainwater away from your house, protecting its foundation, walls, and landscaping. However, to ensure that your gutters function effectively, every component needs to be properly installed and maintained. One such component is the end cap, which helps to seal the ends of the gutters to prevent any leakage or water damage.
In this article, we will guide you through the process of installing end caps on gutters. Understanding the importance of this installation and having the necessary knowledge and tools will enable you to efficiently complete the task.
So, let’s dive in and explore how to install end caps on gutters to safeguard your home from potential water damage and prolong the life of your gutter system.
Key Takeaways:
- Properly installed end caps on gutters prevent water damage, enhance curb appeal, and maintain gutter functionality. Choose the right type and size, follow the step-by-step guide, and ensure regular maintenance for optimal protection.
- End caps are essential for sealing gutters, preventing water leakage, and adding aesthetic value. Understanding the types, gathering necessary tools and materials, and following installation steps will safeguard your home from potential water damage.
Read more: How To Install End Caps On Countertops
What Are End Caps for Gutters?
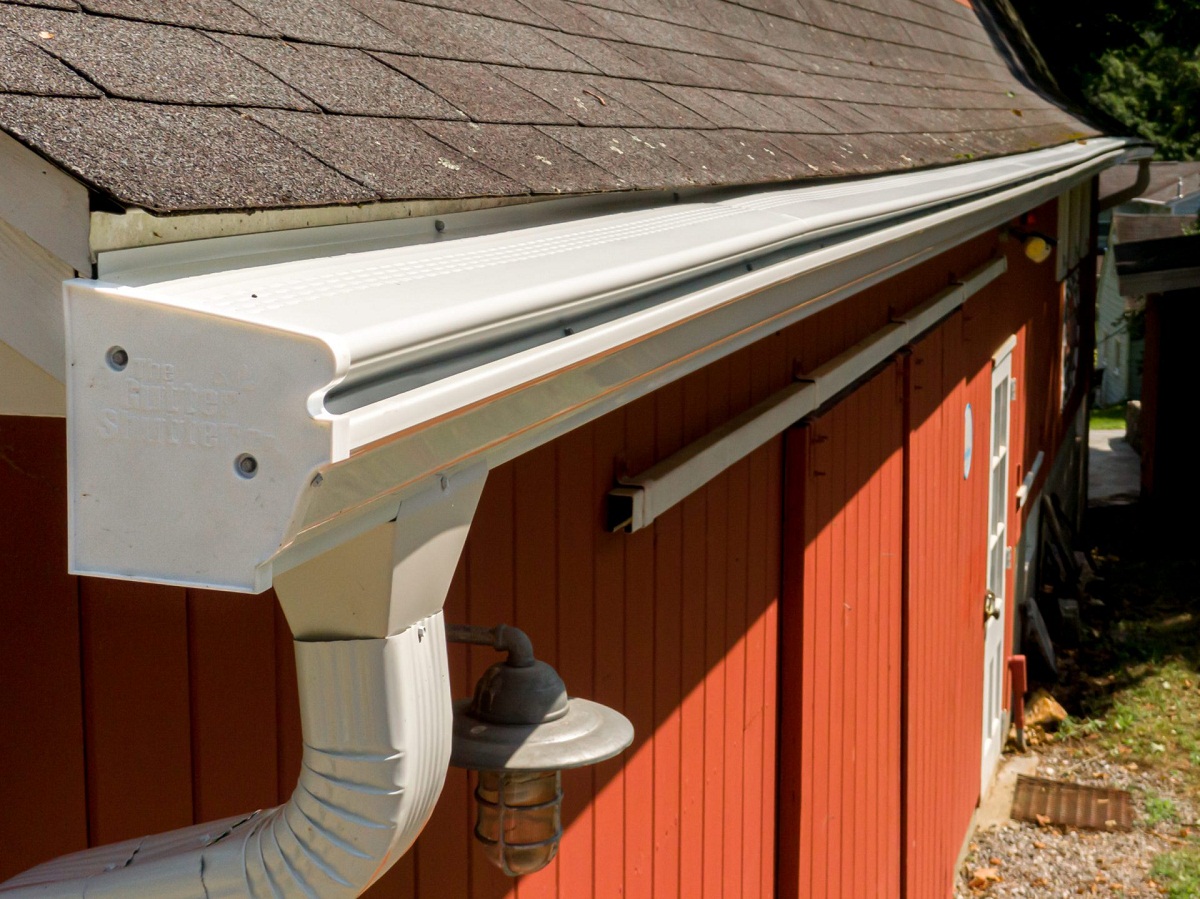
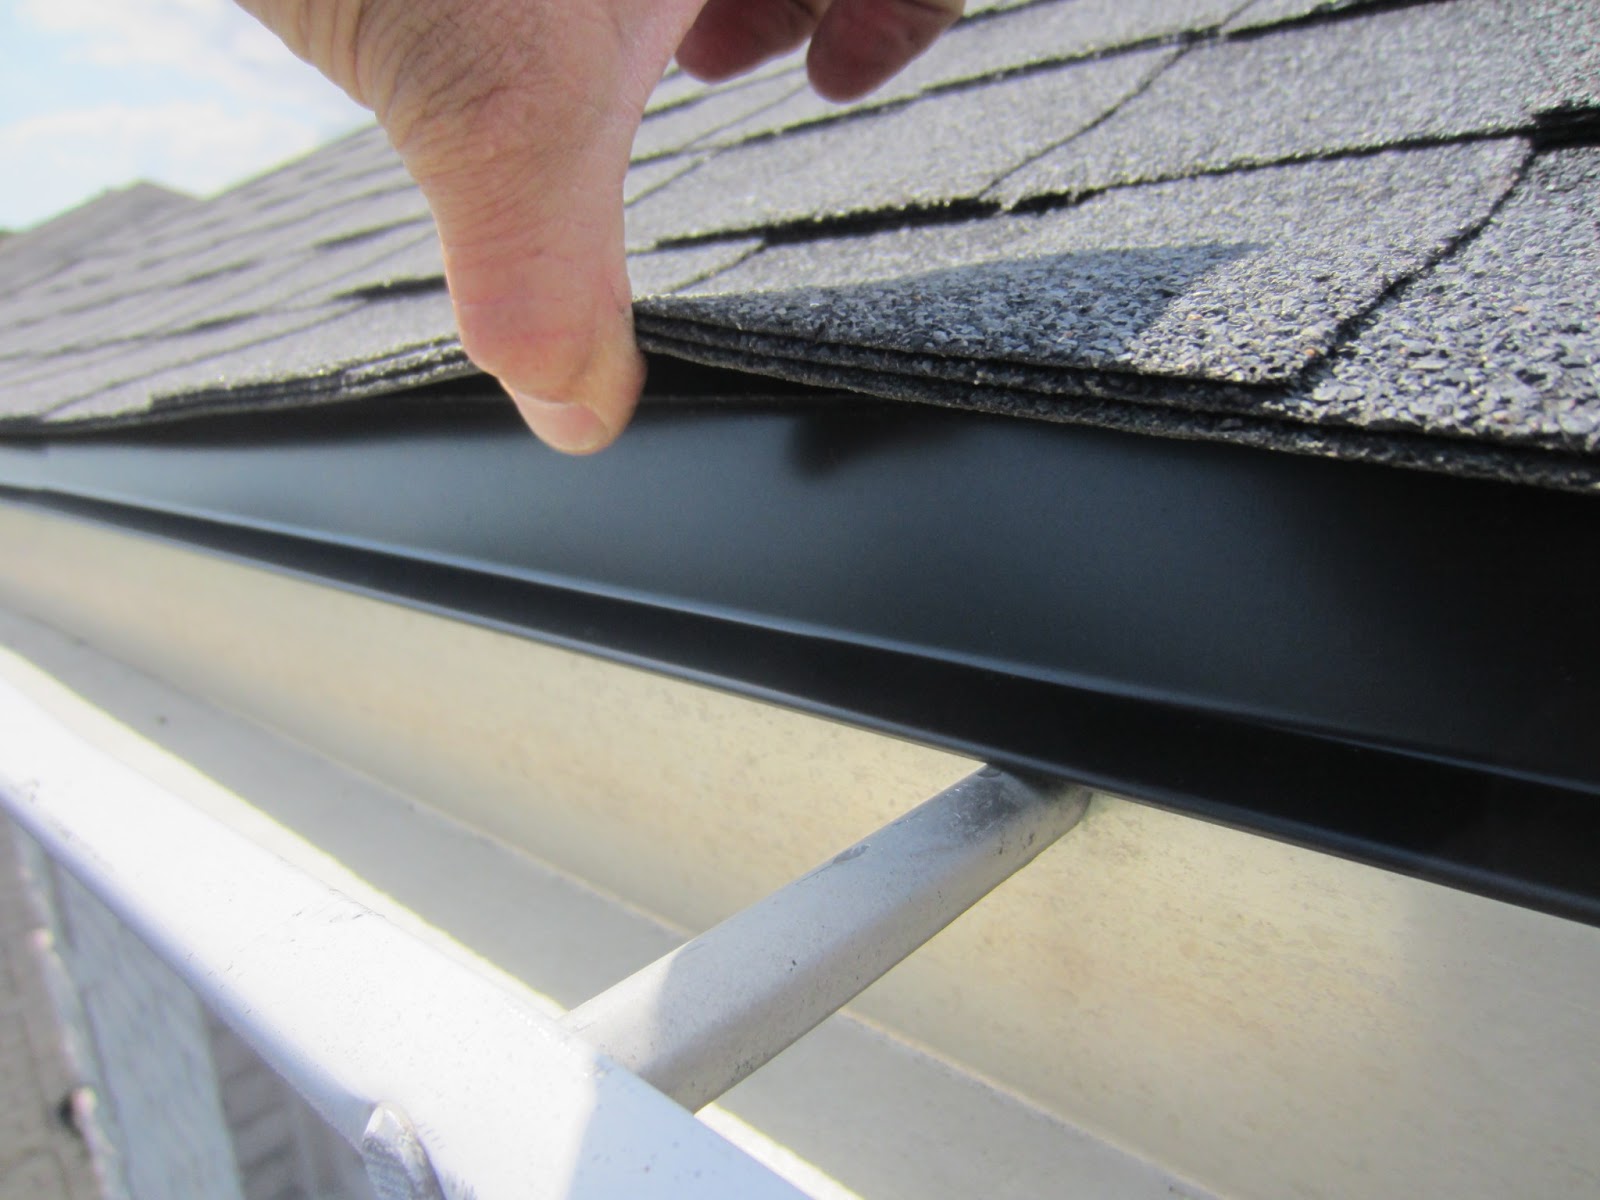
End caps are an essential component of any gutter system. They are designed to seal the ends of gutters, preventing water from leaking out and causing damage to your home. Without end caps, rainwater could pour out of the open ends of the gutters, resulting in erosion, foundation damage, and water infiltration into your home.
End caps come in various shapes and sizes, depending on the type of gutter system you have. They are typically made of durable materials such as aluminum, PVC, or galvanized steel to withstand constant exposure to the elements.
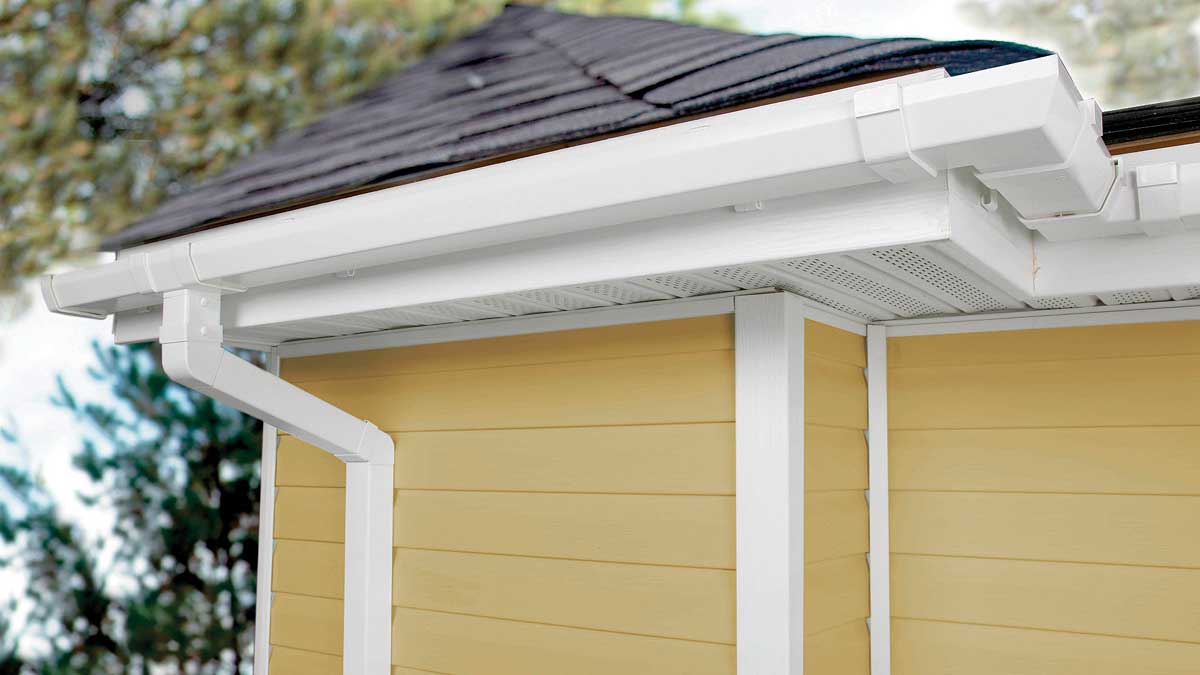
Not only do end caps provide a seal, but they also offer aesthetic value to your gutter system, giving it a finished and polished look. They are available in different styles, including plain end caps and decorative end caps, allowing you to choose the design that best complements your home’s exterior.
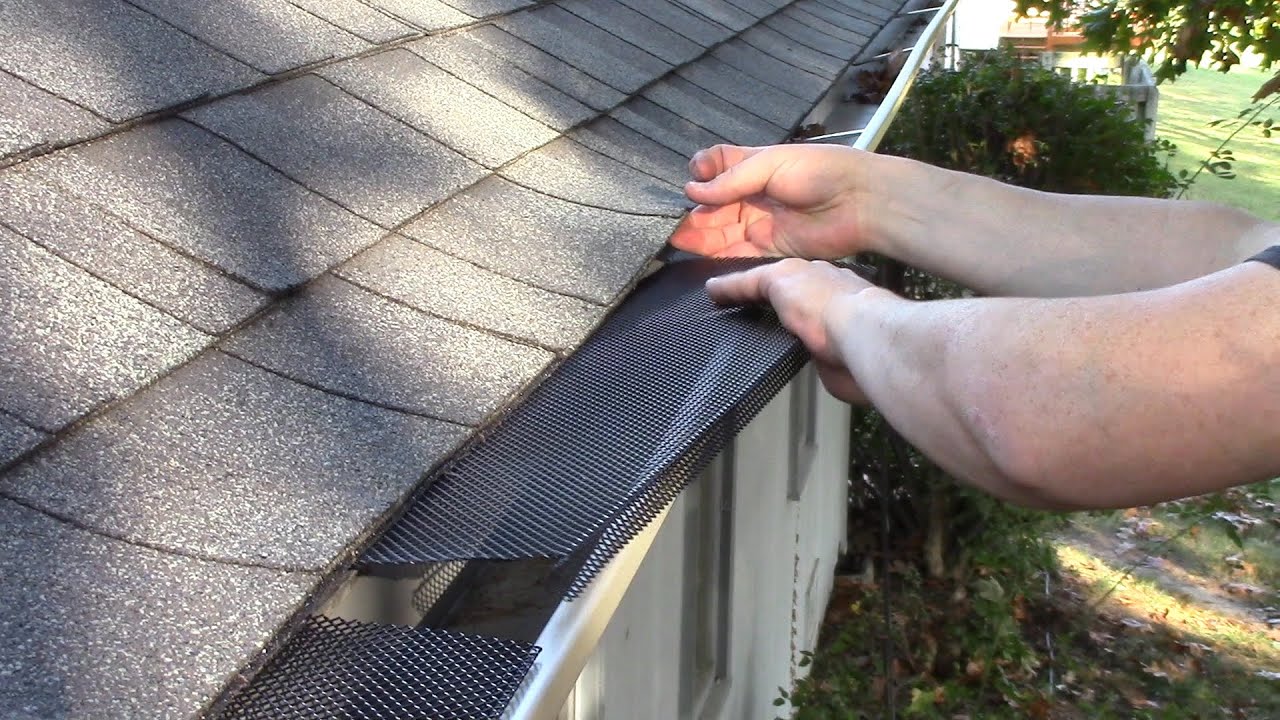
Additionally, end caps play a crucial role in preventing pests and debris from entering the gutter system. By sealing the ends, they help to keep out leaves, twigs, and other debris that could clog the gutters and impair their function.
Overall, end caps are an important component that helps in ensuring the efficiency and longevity of your gutter system. By properly installing end caps on your gutters, you can prevent water damage, enhance the appearance of your home, and maintain the functionality of your gutter system.
Types of End Caps
There are several different types of end caps available for gutters, each serving a specific purpose. Here are the most common types:
- Plain End Caps: Plain end caps are the most basic type of end caps and are typically used for standard gutter systems. They provide a simple and seamless finish to the ends of the gutters.
- Mitered End Caps: Mitered end caps are designed for use with mitered gutter corners. These end caps have a curved shape that matches the angle of the corner, ensuring a neat and snug fit.
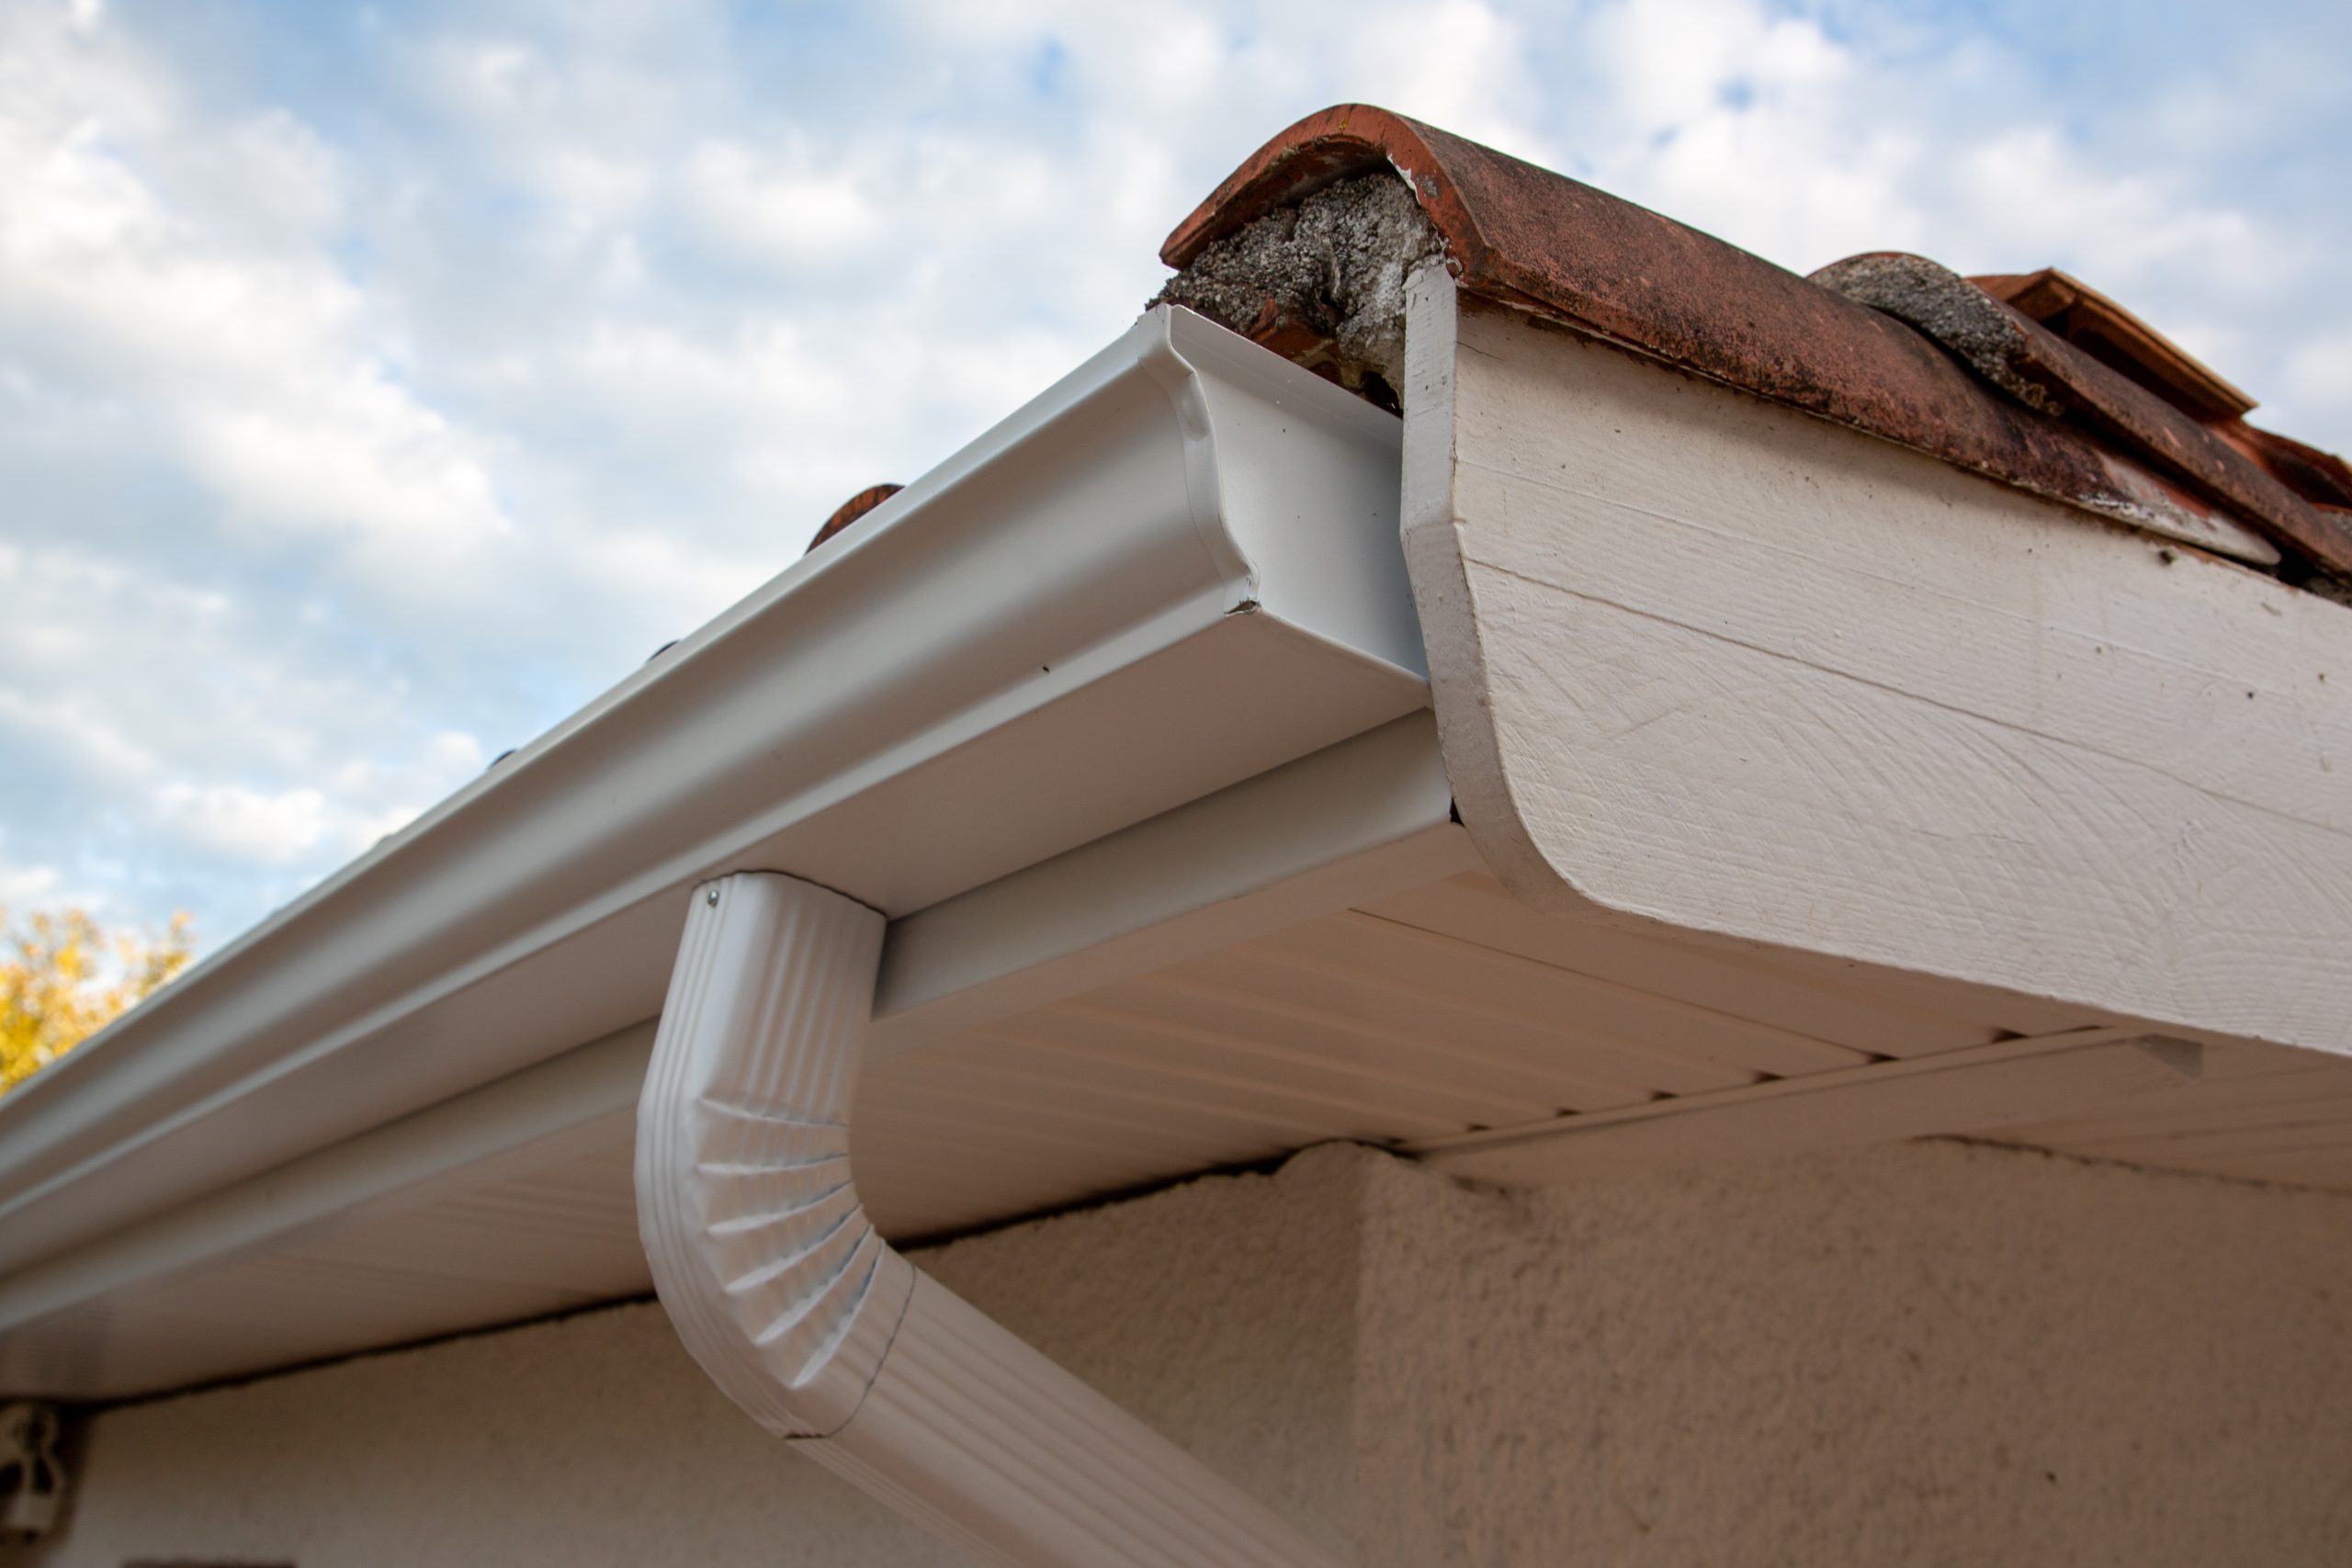
- Drop Outlet End Caps: Drop outlet end caps are used when you have a downspout located at the end of your gutter. These end caps feature a hole or opening that allows water to flow directly into the downspout, effectively directing it away from your home.
- Flip-Up End Caps: Flip-up end caps are a convenient option that allows for easy cleaning and maintenance of your gutters. These end caps can be flipped open, providing access to the inside of the gutter for removing debris or performing repairs.
- Decorative End Caps: Decorative end caps are ideal for those looking to enhance the aesthetics of their gutter system. These end caps feature decorative motifs or designs, adding a touch of elegance and style to your home’s exterior.
When choosing the type of end cap for your gutter system, consider the functionality, compatibility, and visual appeal that best suits your needs and preferences.
Now that you have an understanding of the different types of end caps available, let’s move on to the tools and materials you will need for installing end caps on your gutters.
When installing end caps on gutters, make sure to clean the ends of the gutter and the inside of the end cap before applying a generous amount of sealant. Press the end cap firmly in place and secure with screws for a tight and secure fit.
Tools and Materials Needed
Before you begin installing end caps on your gutters, it’s important to gather all the necessary tools and materials. Here is a list of what you will need:
Tools:
- Screwdriver
- Tape measure
- Hacksaw or tin snips
- Caulking gun
- Drill (optional)
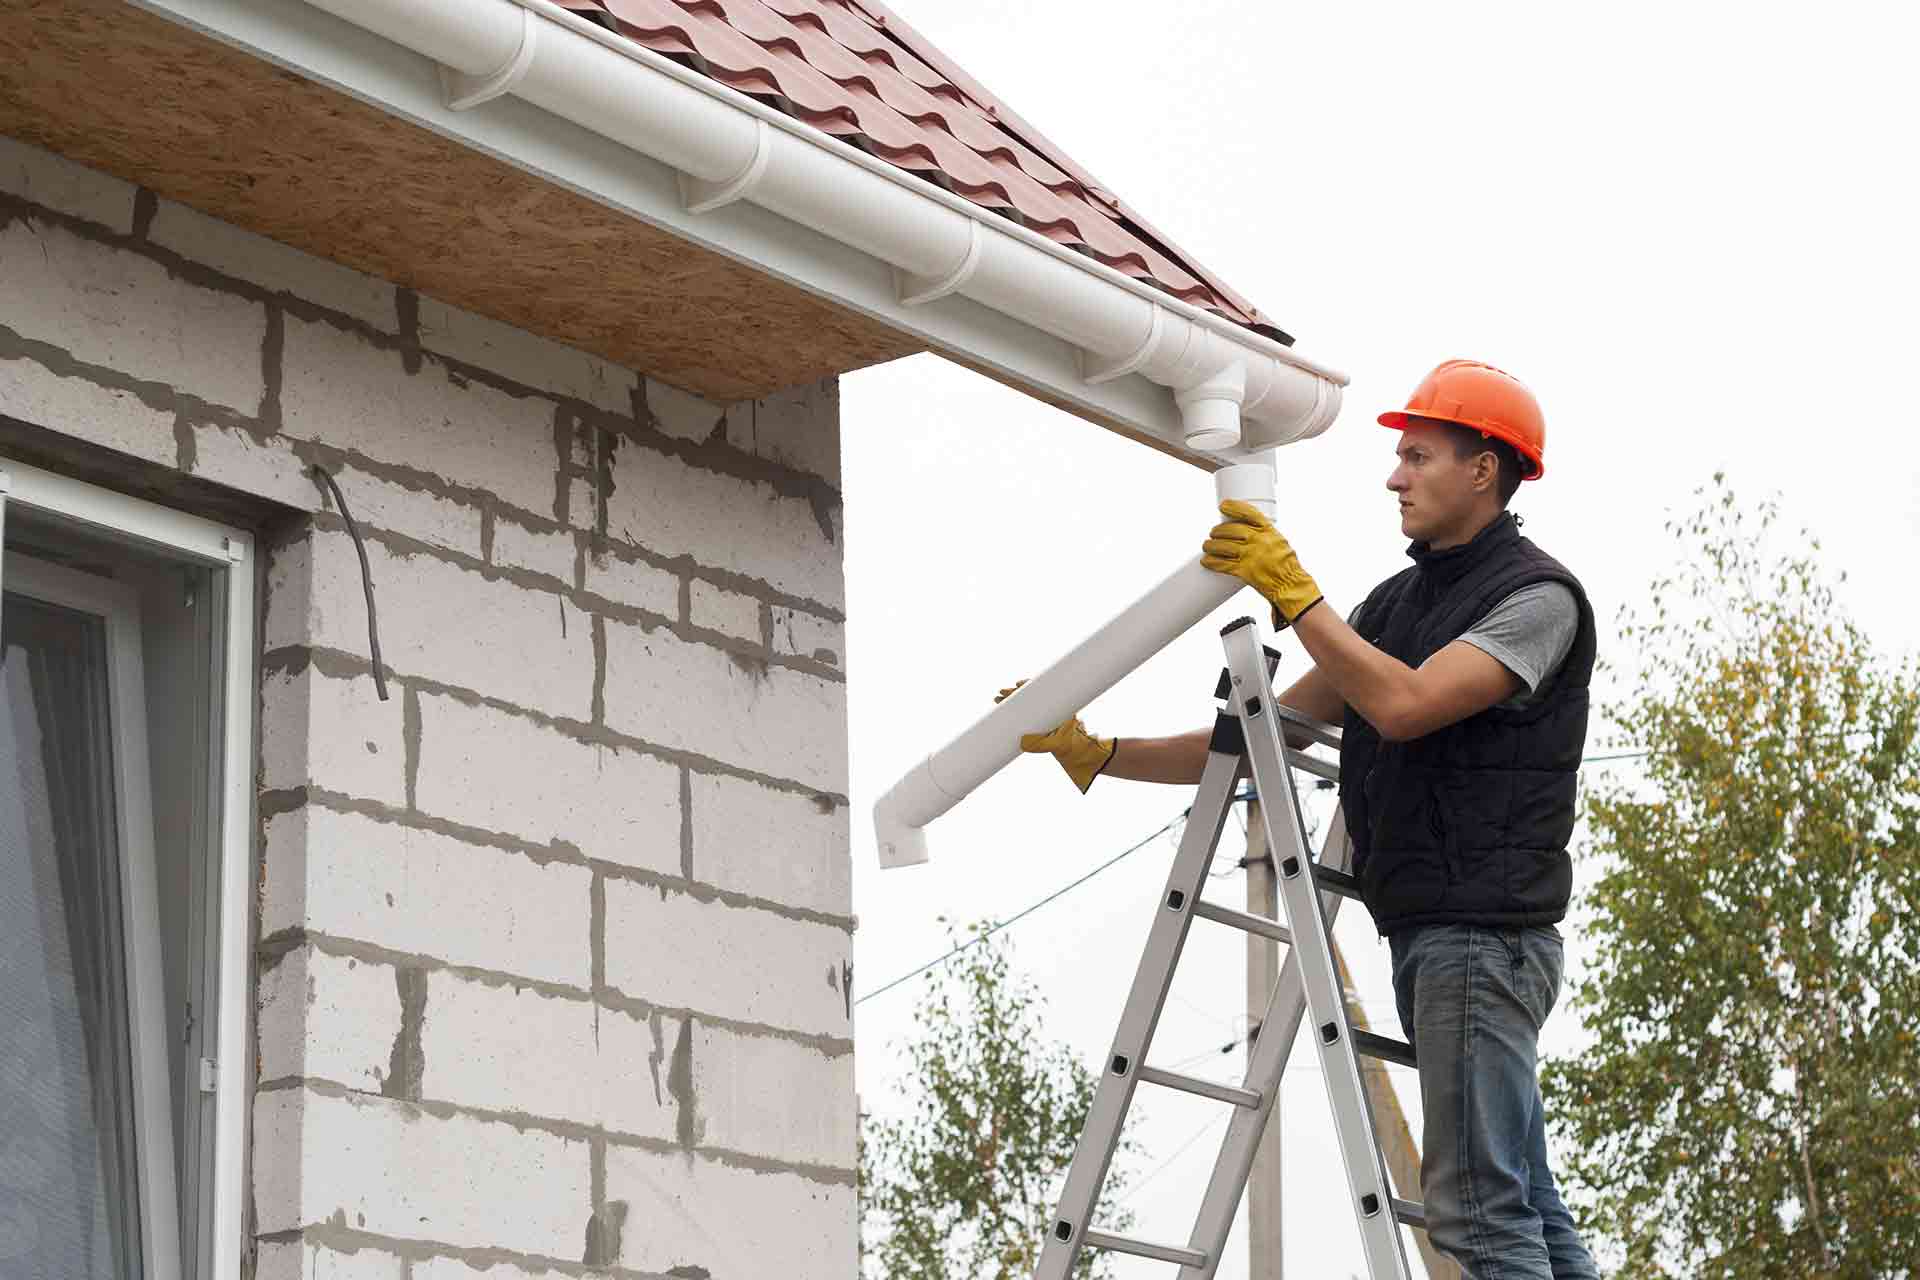
- Ladder or scaffolding
Materials:
- End caps (appropriate for your gutter system)
- Gutter sealant or silicone caulk
- Screws or rivets
- Measuring tape or ruler
- Gloves for hand protection
Make sure to choose end caps that are compatible with the type and size of your gutter system. The measurements should match and the materials should be appropriate for your specific gutter installation.
It’s also important to wear gloves to protect your hands during the installation process. Additionally, ensure that you have a sturdy ladder or scaffolding to safely reach the gutters.
Once you have gathered all the necessary tools and materials, you are ready to move on to the step-by-step guide for installing end caps on your gutters.
Step-by-Step Guide to Installing End Caps on Gutters
Now that you have all the tools and materials ready, follow these steps to install end caps on your gutters:
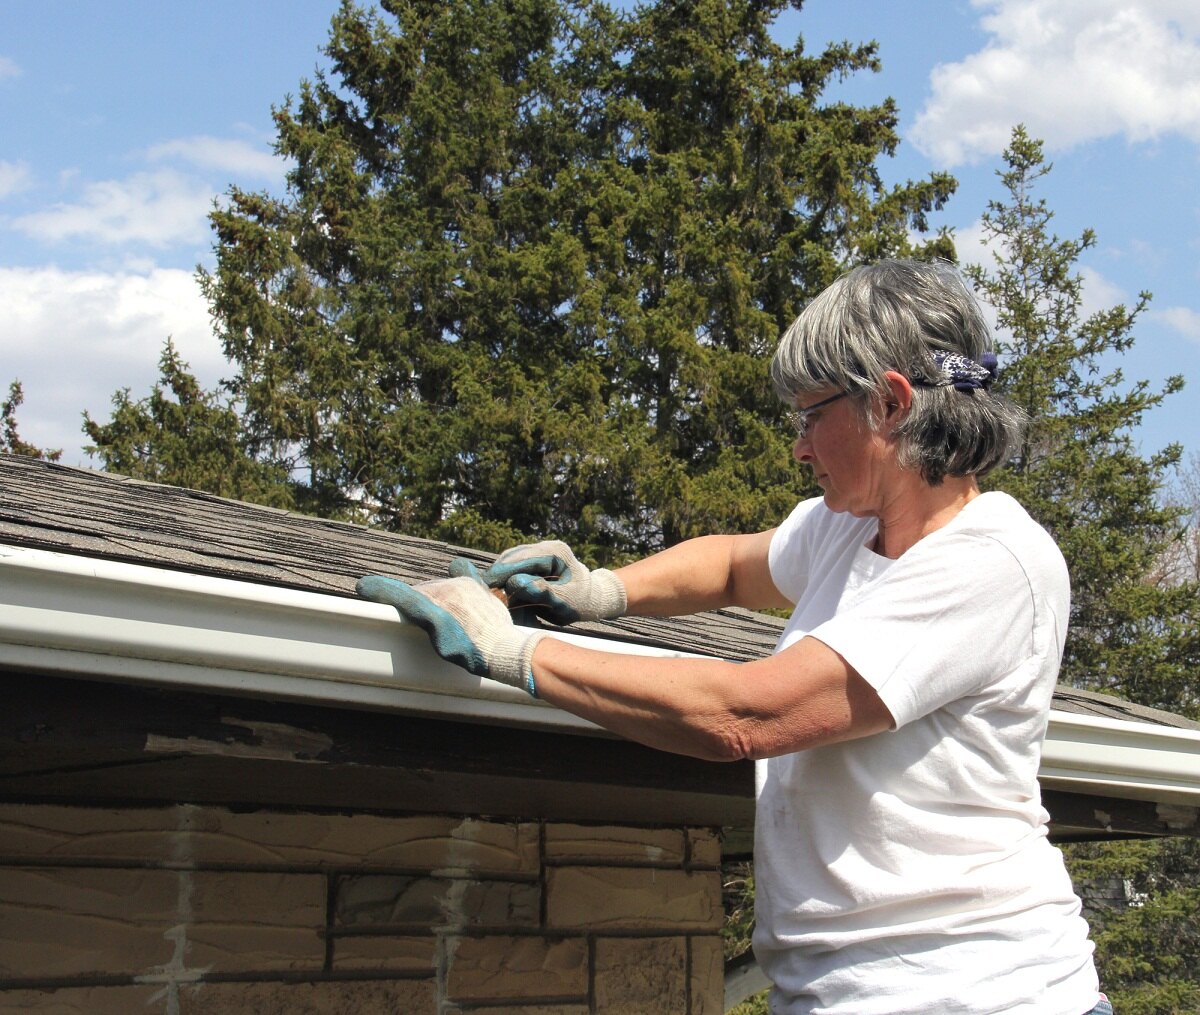
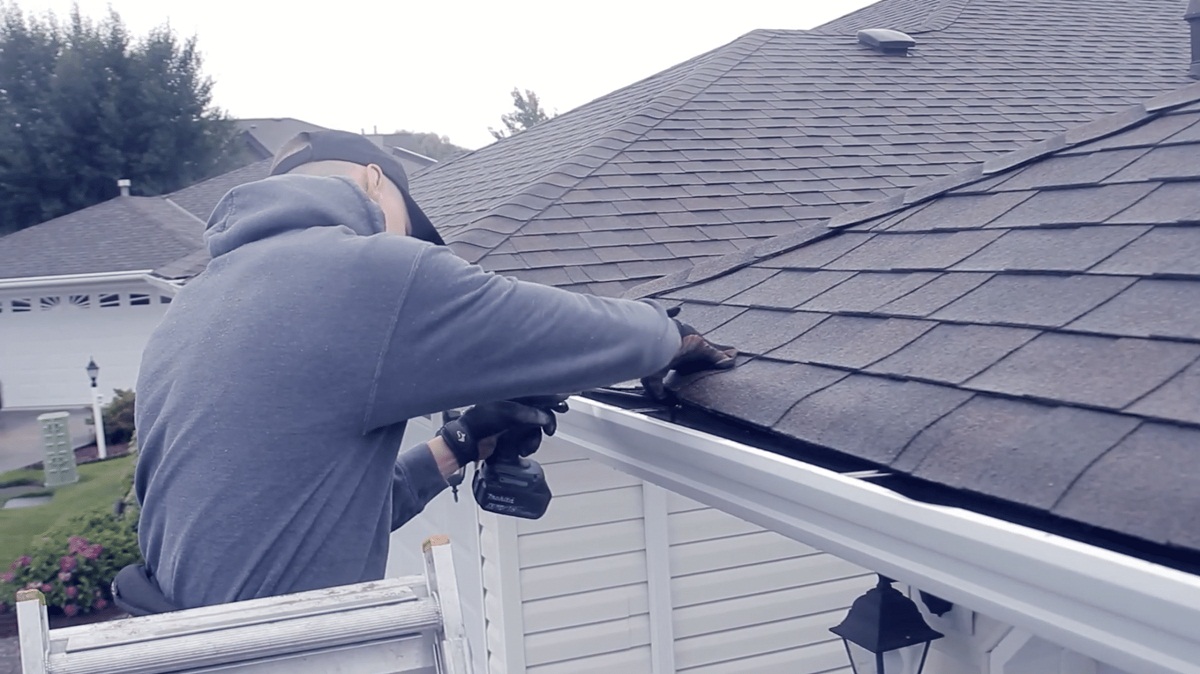
- Start by cleaning the ends of your gutters to ensure a clean and smooth surface for the installation. Remove any debris or dirt that may interfere with the attachment of the end caps.
- If your gutters have any existing end caps, carefully remove them using a screwdriver or appropriate tool.
- Measure the width of your gutter to determine the size of the end caps needed. Use a tape measure or ruler to ensure accurate measurements.
- Trim the end caps if necessary using a hacksaw or tin snips. Make sure to follow the manufacturer’s instructions for cutting the end caps.
- Apply a generous amount of gutter sealant or silicone caulk along the inside of the end caps. This will help create a watertight seal and prevent any leakage.
- Position the end caps firmly onto the ends of the gutters. Ensure that they fit securely and align with the gutter profile.
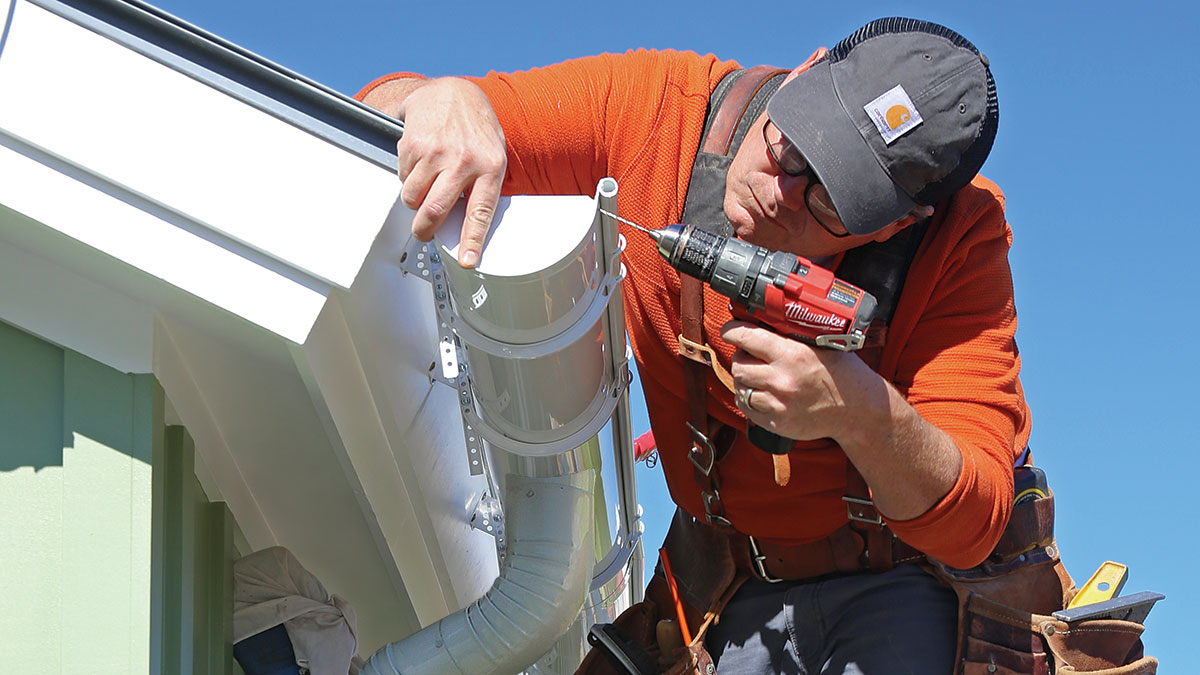
- Secure the end caps in place using screws or rivets. Use a screwdriver or drill to attach the end caps securely to the gutter ends.
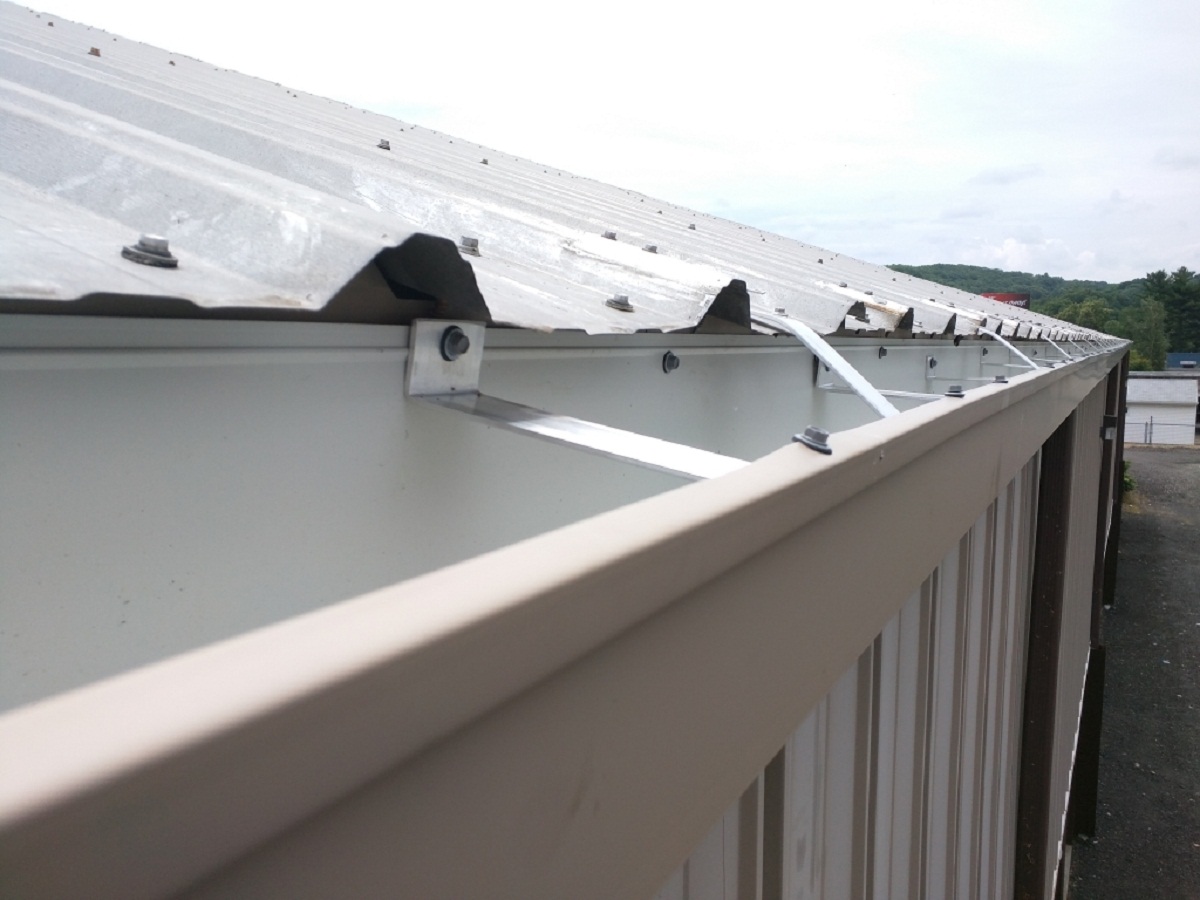
- If your gutter system has a downspout at the end, install a drop outlet end cap. Ensure that the opening aligns with the downspout, allowing water to flow directly into it.
- Once the end caps are securely attached, inspect the installation for any gaps or areas that may require additional caulk or sealant. Apply more sealant if needed to ensure a tight seal.
- Allow the sealant or caulk to dry completely before testing your gutter system. Follow the manufacturer’s instructions for the drying time.
Once the end caps are properly installed and the sealant is dry, you can rest assured that your gutter system is well-protected and ready to channel rainwater away from your home.
Remember to regularly inspect your gutters for any signs of damage or wear and maintain them to ensure their optimal functionality. With proper installation and maintenance, your gutter system will continue to safeguard your home for years to come.
Read more: How To Install A Chimney Cap
Conclusion
Installing end caps on your gutters is an important step in maintaining a functional and efficient gutter system. These simple components play a vital role in preventing water damage, boosting the curb appeal of your home, and preserving the longevity of your gutters.
By following the step-by-step guide outlined in this article and using the necessary tools and materials, you can easily install end caps on your gutters. Remember to choose the appropriate type and size of end caps for your specific gutter system and ensure a secure and watertight installation.
Regularly inspecting your gutters and performing routine maintenance will also help keep them in optimal condition. This includes checking for any signs of damage, cleaning out debris, and reapplying sealant as needed.
By taking the time to properly install end caps on your gutters and maintaining your gutter system, you can enjoy a well-protected home, free from any potential water damage or foundation issues caused by leaking gutters. Additionally, the added aesthetic value provided by the end caps will enhance the overall appearance of your home’s exterior.
Remember, a well-maintained gutter system is a vital part of your home’s overall protection. So, take the initiative to invest time and effort in installing end caps and keeping your gutters in the best possible condition.
Now that you have a comprehensive understanding of how to install end caps on gutters, you are well-equipped to tackle this task with confidence. Get started and ensure that your gutter system is in top-notch shape to effectively manage rainwater and protect your home for years to come.
Frequently Asked Questions about How To Install End Caps On Gutters
Was this page helpful?
At Storables.com, we guarantee accurate and reliable information. Our content, validated by Expert Board Contributors, is crafted following stringent Editorial Policies. We're committed to providing you with well-researched, expert-backed insights for all your informational needs.


0 thoughts on “How To Install End Caps On Gutters”