
Articles
How Do You Hang Drapes
Modified: December 7, 2023
Learn the best techniques for hanging drapes with our informative articles. Get expert tips and advice to achieve the perfect look for your windows.
(Many of the links in this article redirect to a specific reviewed product. Your purchase of these products through affiliate links helps to generate commission for Storables.com, at no extra cost. Learn more)
Introduction
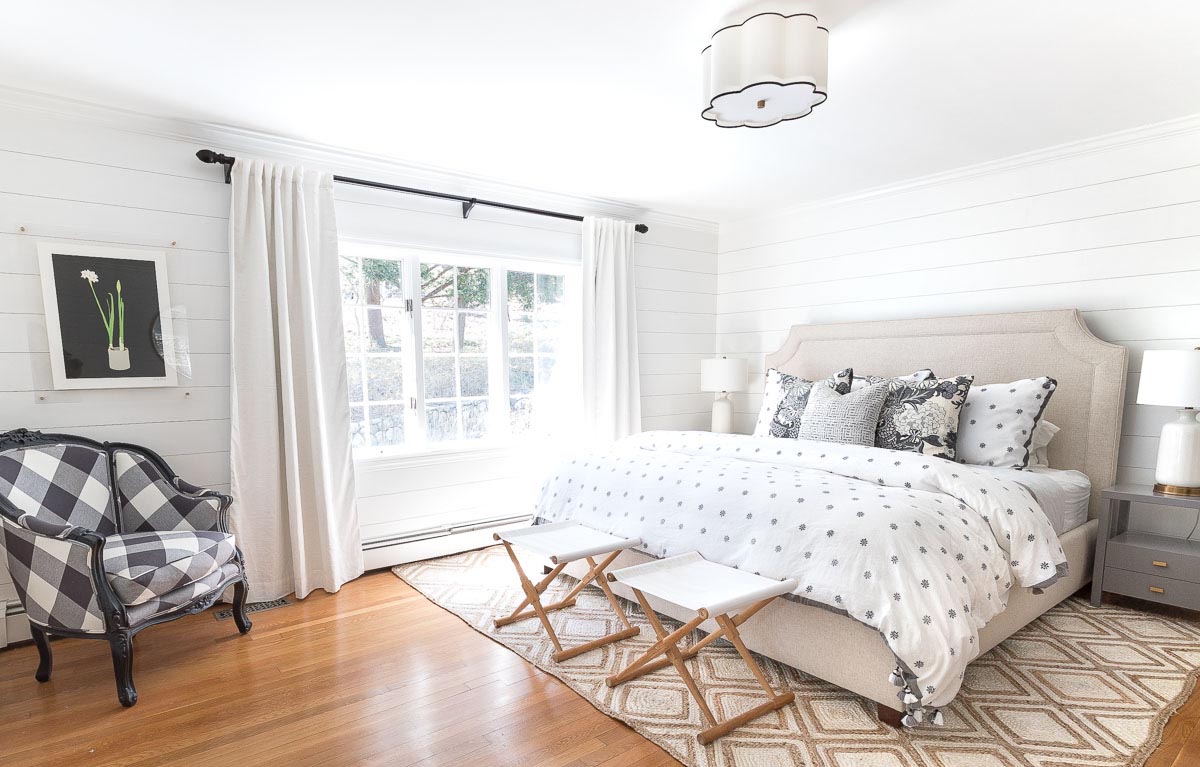
When it comes to adding style and functionality to your windows, drapes can make a significant difference. Whether you’re looking to create a cozy atmosphere, control light levels, or enhance the overall aesthetics of your space, properly hung drapes can do wonders. But how do you hang drapes with precision and achieve that perfect look?
In this comprehensive guide, we will take you through the step-by-step process of hanging drapes effectively. From choosing the right drapes to measuring and installing the necessary hardware, we will cover all the essential aspects to ensure a seamless installation.
Before we delve into the details, it’s essential to understand that hanging drapes is an art form that requires careful planning and execution. By following these guidelines, you’ll not only achieve the desired look but also optimize the functionality of your drapes.
So let’s get started and learn how to hang drapes like a pro!
Key Takeaways:
- Choosing the right drapes, measuring accurately, and prepping and styling the drapes are crucial steps in achieving a professional and visually appealing drape hanging process. Attention to detail and personal style play a significant role in creating the perfect ambiance for your living space.
- Regular maintenance and care, including cleaning, sun protection, and hardware inspection, are essential for preserving the appearance and functionality of your drapes. By following these guidelines and incorporating your unique style, you can ensure that your drapes continue to enhance your living space for years to come.
Read more: How To Hang Drapes With Clips
Choosing the Right Drapes
Choosing the right drapes is the first step towards achieving the desired look for your windows. Here are some factors to consider when selecting drapes:
1. Style: Consider the overall theme and style of your space. Are you going for a contemporary, traditional, or eclectic look? Choose drapes that complement the existing decor and enhance the ambiance.
2. Fabric: The choice of fabric will determine the functionality and appearance of your drapes. Opt for lightweight fabrics like linen or sheer for a breezy and airy feel. Heavier fabrics like velvet or brocade provide better insulation and light control.
3. Color and Pattern: Select colors and patterns that coordinate with your existing color scheme. Neutral or solid colors offer a timeless and elegant look, while patterns can add interest and personality to the space.
4. Length: Determine the desired length of your drapes. Floor-length drapes create a dramatic and formal look, while shorter drapes can be used to showcase decorative elements or create a casual vibe.
5. Lining: Consider adding a lining to your drapes for added privacy, insulation, and light control. Thermal lining can help regulate the temperature in your space, while blackout lining can block out unwanted light.
6. Maintenance: Keep in mind the ease of maintenance when selecting drapes. Some fabrics require dry cleaning, while others can be machine washed. Choose a fabric that suits your lifestyle and cleaning preferences.
7. Budget: Set a realistic budget for your drapes. Keep in mind that the cost of drapes can vary depending on the fabric, size, and additional features like lining or hardware. Factor in the cost of installation as well.
By considering these factors, you can narrow down your options and find the perfect drapes that meet your aesthetic and functional needs. Once you’ve selected the drapes, it’s time to move on to the next step: measuring for drapes.
Measuring for Drapes
Accurate measurements are crucial to ensure that your drapes fit perfectly and hang beautifully. Here’s a step-by-step guide to measuring for drapes:
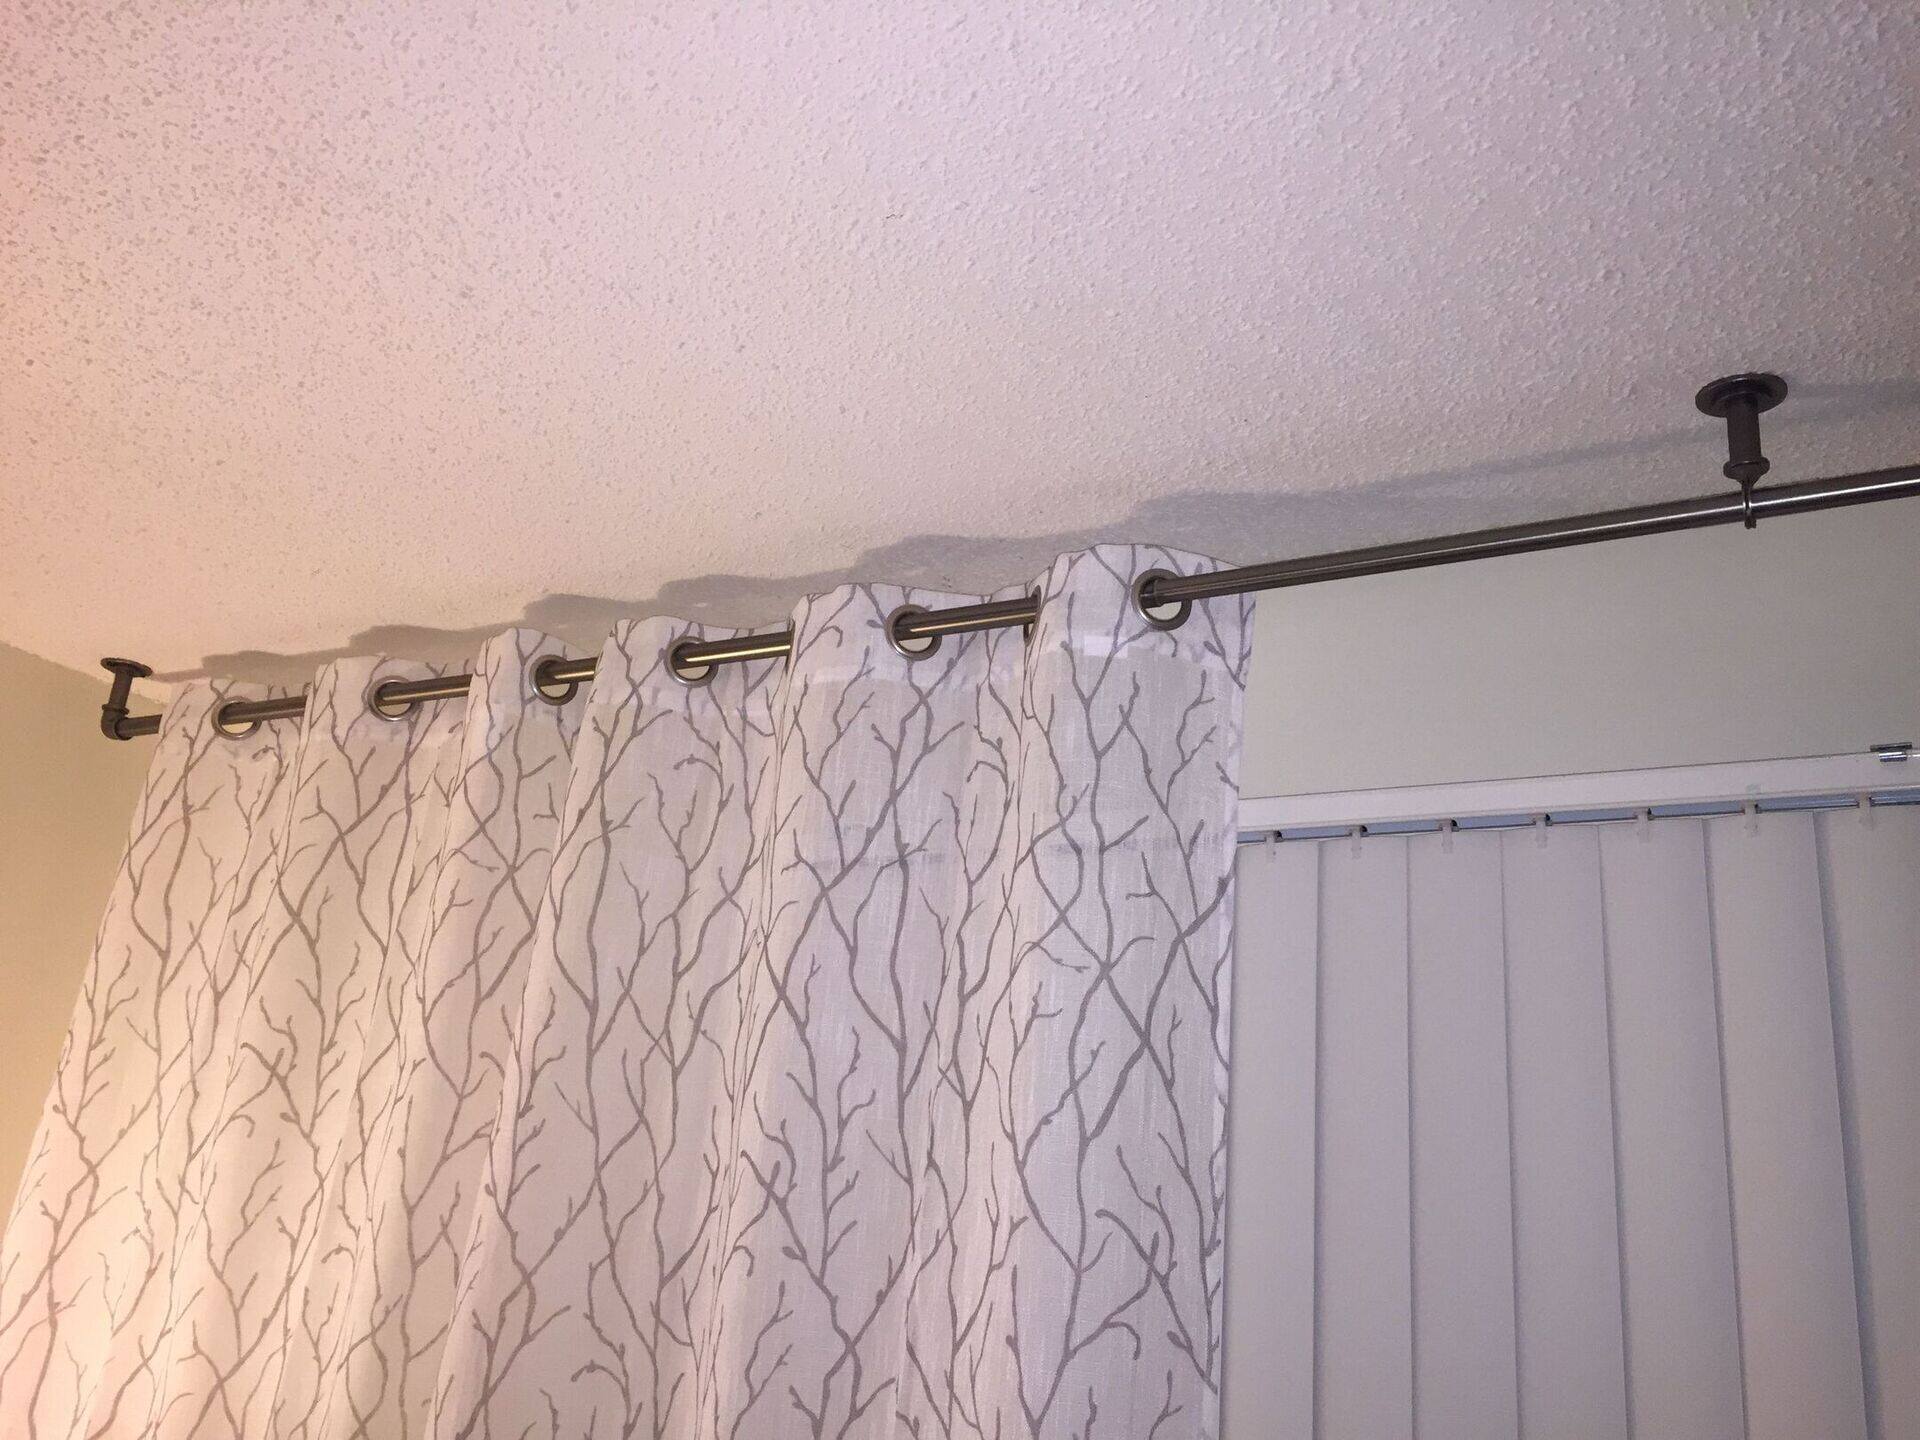
1. Determine the Curtain Rod Placement: Decide where you want to install the curtain rod. It’s typically placed a few inches above the window frame or at the ceiling for a more dramatic look. Measure the width of the window and add a few inches on each side to allow the drapes to fully cover the window when open.
2. Measure the Width: Measure the width of the curtain rod from end to end. This will be the width of your drapes. If you prefer a fuller look, add a few extra inches to the width measurement.
3. Measure the Length: Decide on the desired length of your drapes. Measure from the curtain rod placement point (above the window frame or ceiling) to where you want the drapes to end. For floor-length drapes, measure all the way to the floor. If you’re planning to puddle the drapes on the floor for a more luxurious look, add a few extra inches to the length measurement.
4. Consider the Hem: Take into account the desirable hem length for your drapes. Standard hems are usually 1-2 inches, but you can customize the length based on your preference and the overall style you’re aiming for.
5. Check for Obstructions: Take note of any obstructions such as furniture, radiators, or outlets near the window. Ensure that your drapes won’t interfere with these elements when fully open or closed.
It’s important to double-check your measurements before ordering or purchasing the drapes. If you’re unsure about measuring accurately, consider consulting with a professional or seeking assistance from the store where you plan to buy your drapes. Once you have the correct measurements, it’s time to move on to the next step: gathering the necessary hanging hardware and tools.
Hanging Hardware and Tools
To hang your drapes securely and efficiently, you’ll need the right hardware and tools. Here’s a list of the essential items you’ll need:
- Curtain Rod: Select a curtain rod that matches your aesthetic preferences and the weight of your drapes. Consider the length and type of rod based on your window measurements.
- Brackets: Brackets are used to hold the curtain rod in place. Make sure to choose sturdy and appropriately sized brackets that can support the weight of the drapes.
- Hanging Hardware: Depending on the type of curtain rod you choose, you may need additional hanging hardware such as rings, clips, or hooks. Ensure that they are compatible with your chosen curtain rod and drapes.
- Screws and Anchors: Use screws and anchors to secure the brackets to the wall. The type and size of screws and anchors will depend on your wall material, so choose accordingly for a secure installation.
- Tape Measure: A tape measure is essential for measuring your window dimensions accurately and determining the right lengths for your drapes.
- Pencil: Use a pencil to mark the desired placement of the curtain rod and brackets on the wall.
- Level: A level is necessary to ensure that your curtain rod is installed straight and level. This will prevent your drapes from hanging unevenly.
- Drill: If you’ll be installing the brackets onto a wall, a drill will be necessary. Make sure to have the appropriate drill bits for your wall material.
- Screwdriver: Use a screwdriver to tighten screws and anchors during the installation process.
Having these tools and hardware ready will make the installation process much smoother. Before moving on to hanging the drapes, it’s important to prep them to ensure they are wrinkle-free and ready to be displayed in their full glory.
Prepping the Drapes
Before hanging your drapes, it’s important to properly prep them to ensure a clean and polished look. Here are some steps to follow when prepping your drapes:
- Unpack and Inspect: Begin by unpacking your drapes and carefully inspect them for any damages or defects. Look for loose threads, stains, or uneven hems. If you notice any issues, address them before proceeding.
- Iron or Steam: Most drapes will have wrinkles from being packaged. To remove these wrinkles, use a steamer or iron with a gentle heat setting. Follow the manufacturer’s instructions for ironing or steaming to avoid damaging the fabric.
- Hang and Let Settle: Once the drapes are wrinkle-free, hang them on a curtain rod or a clothing rack. Allow them to hang for a few hours or overnight, so the fabric can settle and any remaining wrinkles can fall out naturally.
- Inspect Length and Hem: Check the length of the drapes once hung. Ensure that they fall evenly and reach the desired length. If adjustments are needed, consider hemming the drapes or adjusting the curtain rod placement accordingly.
- Check for Fullness: Assess the fullness of the drapes. If you desire a fuller look, consider adding additional panels or using wider drapes to achieve the desired effect.
- Inspect Hardware: Confirm that the curtain rod, brackets, and hanging hardware are securely in place and properly aligned. Make any necessary adjustments before proceeding to hang the drapes.
By taking the time to prep your drapes, you ensure that they hang beautifully and make a statement in your space. Once they are ready, it’s time to move on to the next step: installing the drapery rod.
When hanging drapes, make sure to measure the height and width of your window before purchasing. Hang the rod 4-6 inches above the window frame and extend it 6-12 inches on each side for a polished look.
Read more: How To Hang Grommet Drapes
Installing the Drapery Rod
Installing the drapery rod forms the foundation for hanging your drapes. Follow these steps to ensure a secure and level installation:
- Gather your Tools: Ensure you have all the necessary tools and hardware, including the curtain rod, brackets, screws, anchors, level, tape measure, pencil, and screwdriver.
- Measure and Mark: Use a tape measure to determine the correct position for the brackets. Measure and mark the placement of the brackets on the wall, confirming that they align with your desired curtain rod height.
- Install Brackets: Use a drill and the appropriate drill bit to create pilot holes for the screws. Insert anchors into the pilot holes (if necessary) to provide added stability. Secure the brackets to the wall using screws, ensuring they are level and properly aligned.
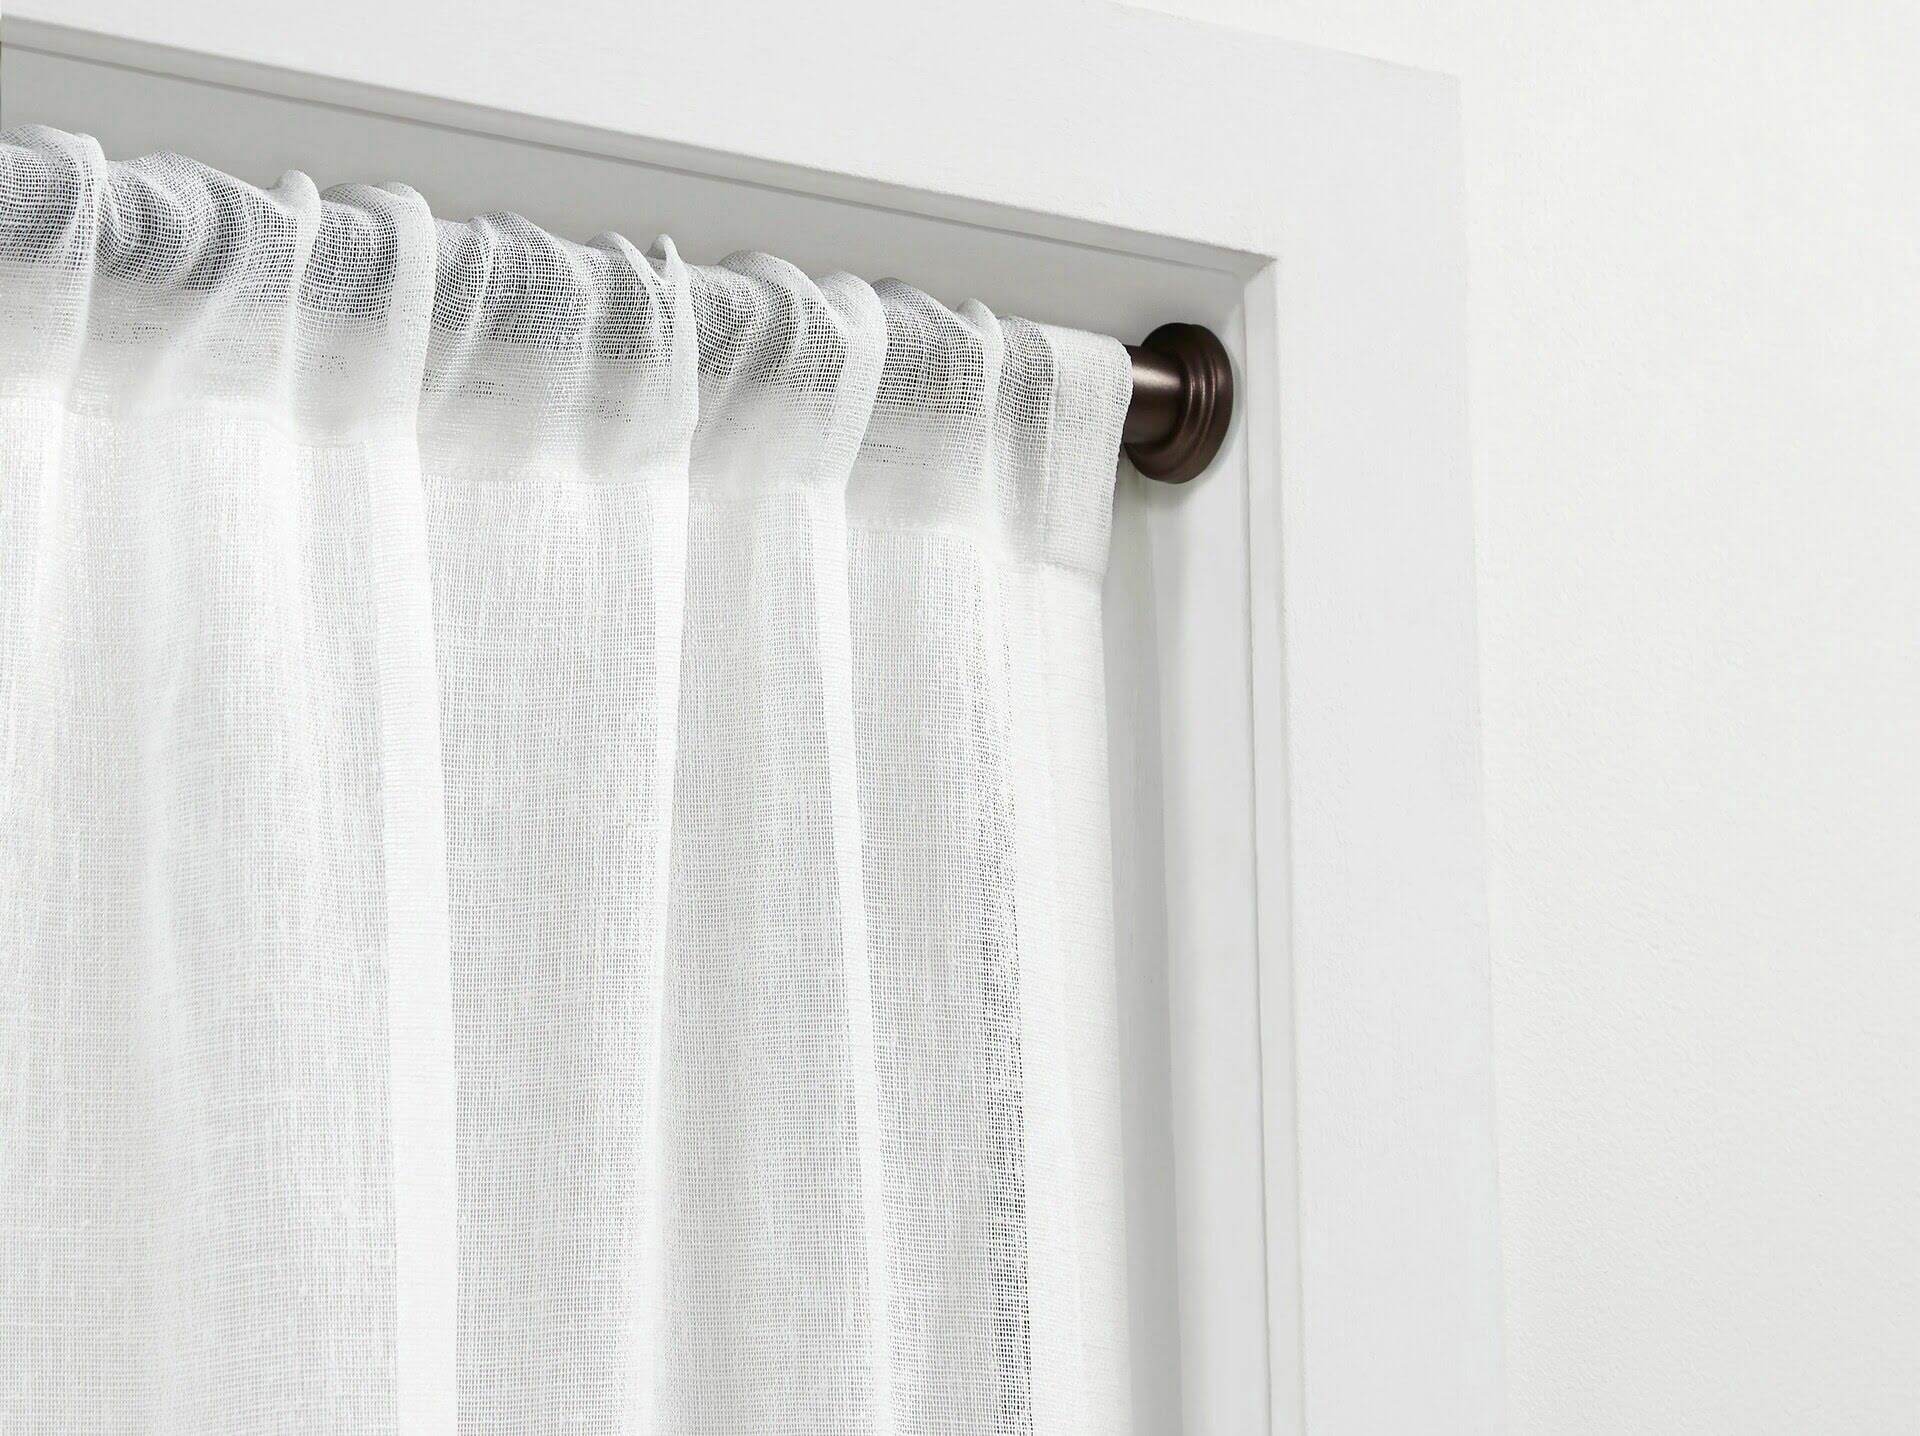
- Attach Curtain Rod: Depending on the type of curtain rod and brackets, follow the manufacturer’s instructions for attaching the curtain rod to the brackets. This may involve sliding the rod into place or securing it with screws or clips.
- Secure Curtain Rod: Once the curtain rod is attached, double-check that it is secure and properly aligned. Give it a gentle tug to ensure it can handle the weight of the drapes without sagging or coming loose.
- Use a Level: Place a level on top of the curtain rod to confirm that it is perfectly level. Make any necessary adjustments to ensure that the rod is straight.
- Test Movement: Before hanging the drapes, test the movement of the curtain rod. Ensure that it slides smoothly and easily, allowing for effortless opening and closing of the drapes.
By carefully installing the drapery rod, you lay the groundwork for a successful drape hanging process. With the rod securely in place, it’s time to move on to the exciting part: hanging the drapes themselves!
Hanging the Drapes
With the drapery rod installed, it’s time to hang your drapes and bring life to your windows. Follow these steps for a seamless and professional-looking drape hanging process:
- Prepare the Drapes: Start by arranging the drapes in the desired order, ensuring that you have the correct number of panels for your window size and desired look.
- Open the Drapes: Open the drapes fully and locate the top hem or header of each panel. This is where you will attach the drapery hooks or rings.
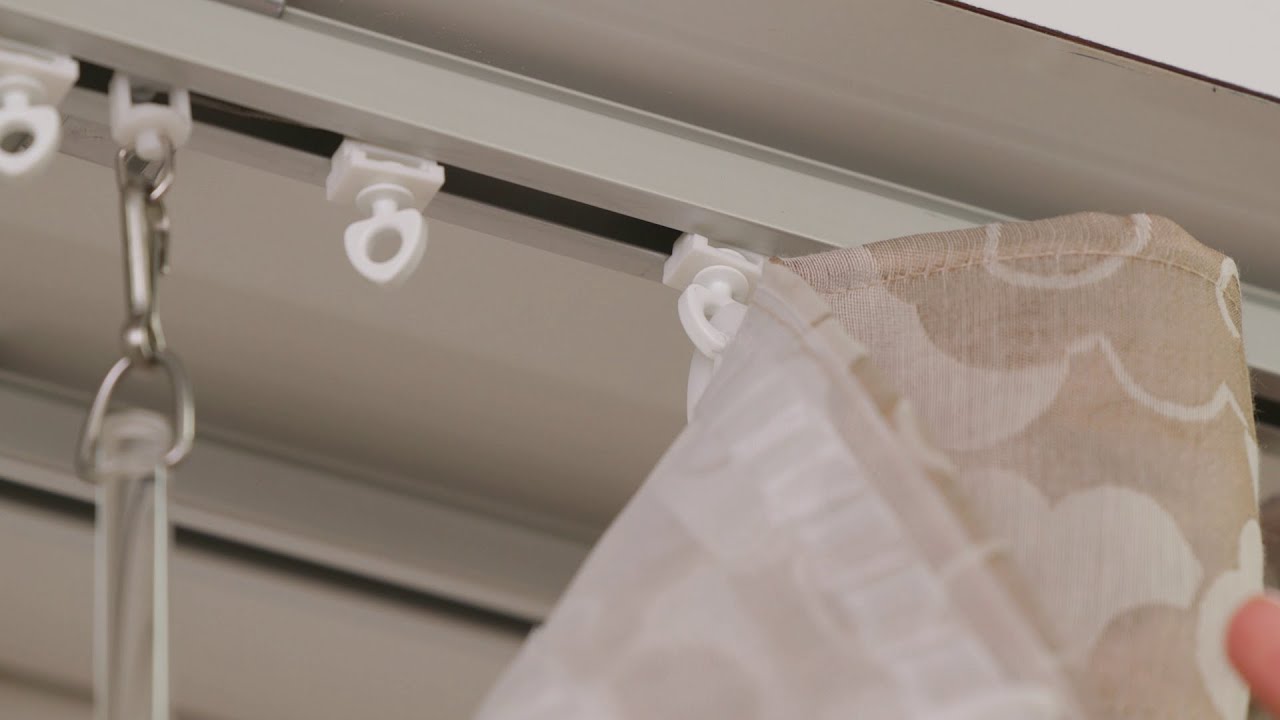
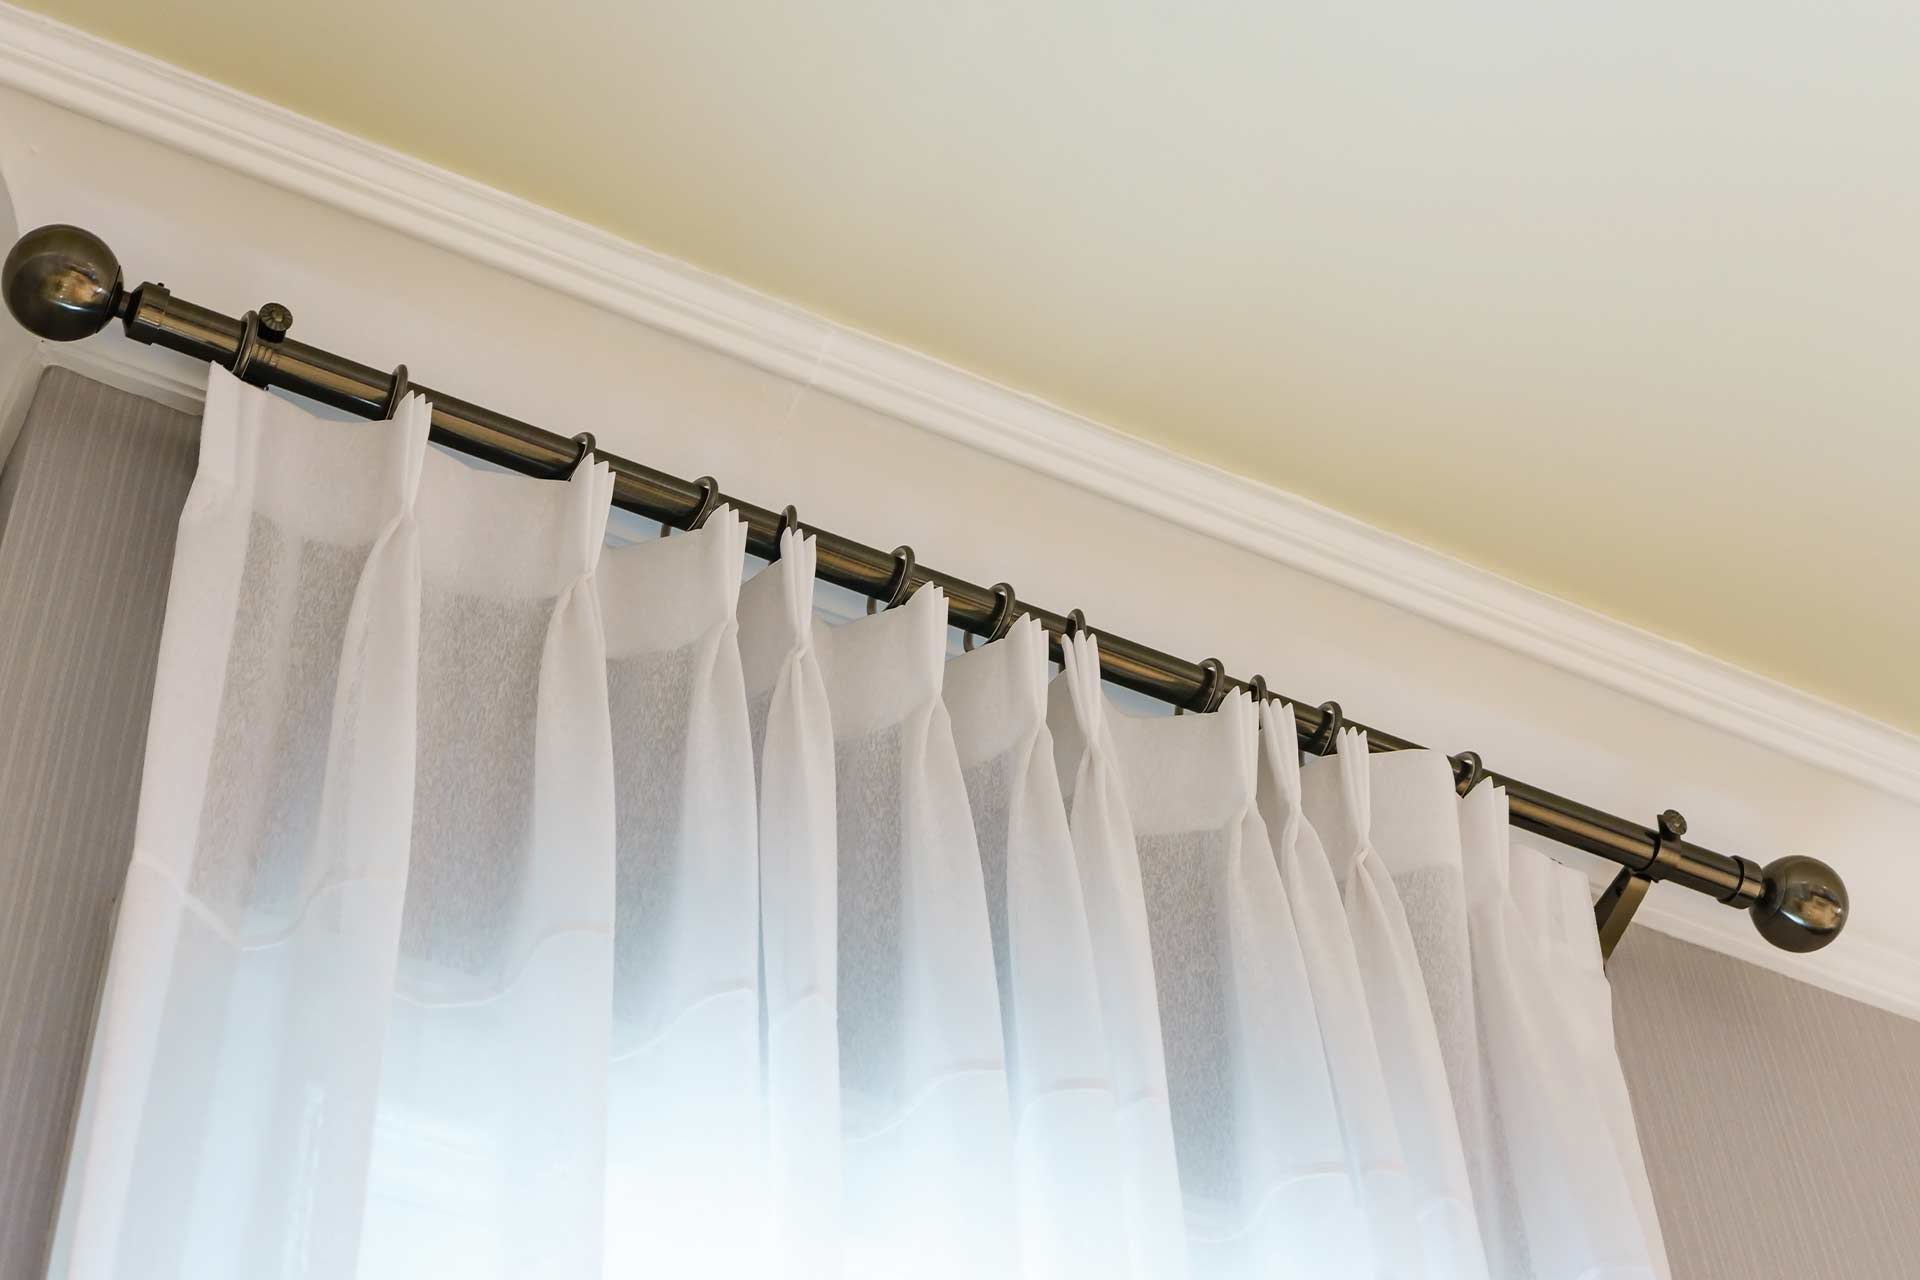
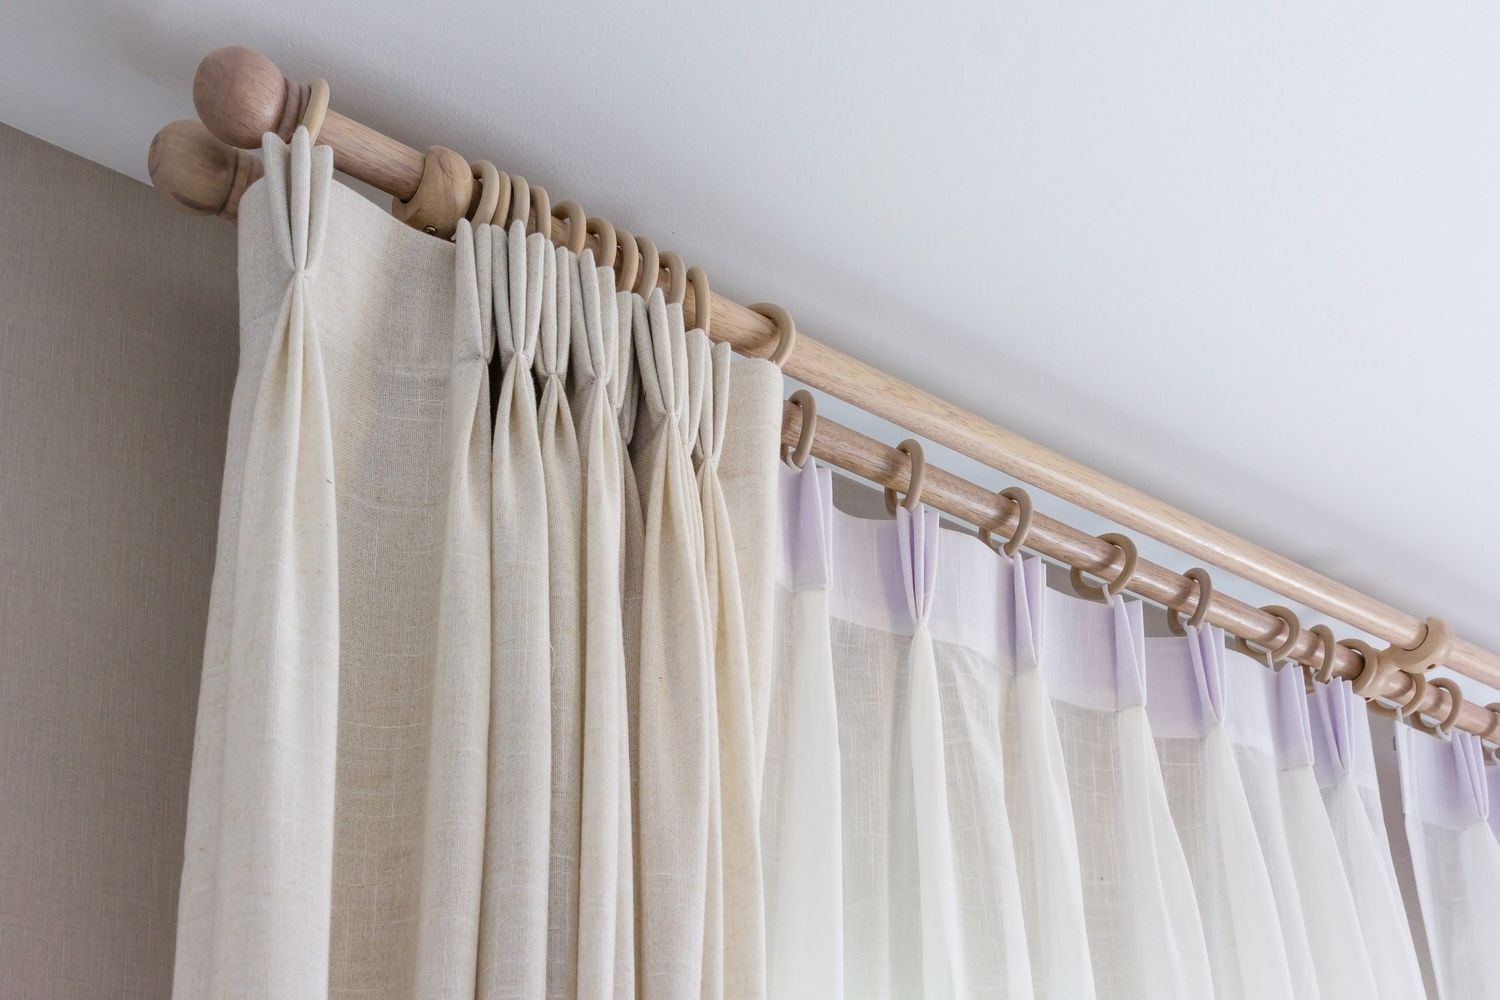
- Attach Drapery Hooks or Rings: If using drapery hooks, insert them into the top hem of the drapes at regular intervals. Ensure that the hooks are secure and evenly spaced. If using rings, slide them onto the curtain rod and position them at an equal distance apart.
- Hang the Drapes: Carefully lift each panel and attach the drapery hooks or rings onto the curtain rod. Start from one end and work your way across, ensuring that the panels hang straight and evenly spaced.
- Adjust the Panels: Once all the panels are hanging, step back and assess their alignment and length. Make any adjustments as needed to ensure that the drapes are hanging evenly and at the desired length.
- Smooth out and Style: Take a few moments to smooth out any wrinkles or folds in the drapes, ensuring that they hang neatly. Adjust the fullness and pleating of the fabric to achieve the desired look. Step back and assess the overall appearance of the drapes.
By following these steps, you can hang your drapes with precision and achieve a visually appealing result. Take your time during this process and pay attention to the details, as it will contribute to the overall aesthetics of the room.
Once the drapes are hung, it’s time to make any necessary adjustments and add those finishing touches to perfect the overall look.
Adjusting and Styling the Drapes
After hanging your drapes, it’s time to make any necessary adjustments to ensure they look their best and complement your space. Here are some tips for adjusting and styling your drapes:
- Check Alignment: Step back and assess the alignment of the drapes. Ensure that they are hanging evenly and at the desired height. Make any necessary adjustments to ensure they are straight.
- Pleating and Fullness: If your drapes have pleats, adjust them to achieve the desired fullness. Smooth out any wrinkles or folds for a neat and polished look.
- Curtain Tiebacks: Consider using curtain tiebacks to hold the drapes in place and add an elegant touch. Position them at the desired height and distance from the edge of the window.
- Puddle or Break: Decide on the desired length of your drapes. You can choose to let them pool on the floor for a luxurious and dramatic look, or opt for a slight break where the drapes just touch the floor.
- Styling Accents: Enhance the visual appeal of your drapes by adding decorative accents such as curtain rods with finials, tassels, or decorative tiebacks. These accents can tie in with the overall theme or style of the space.
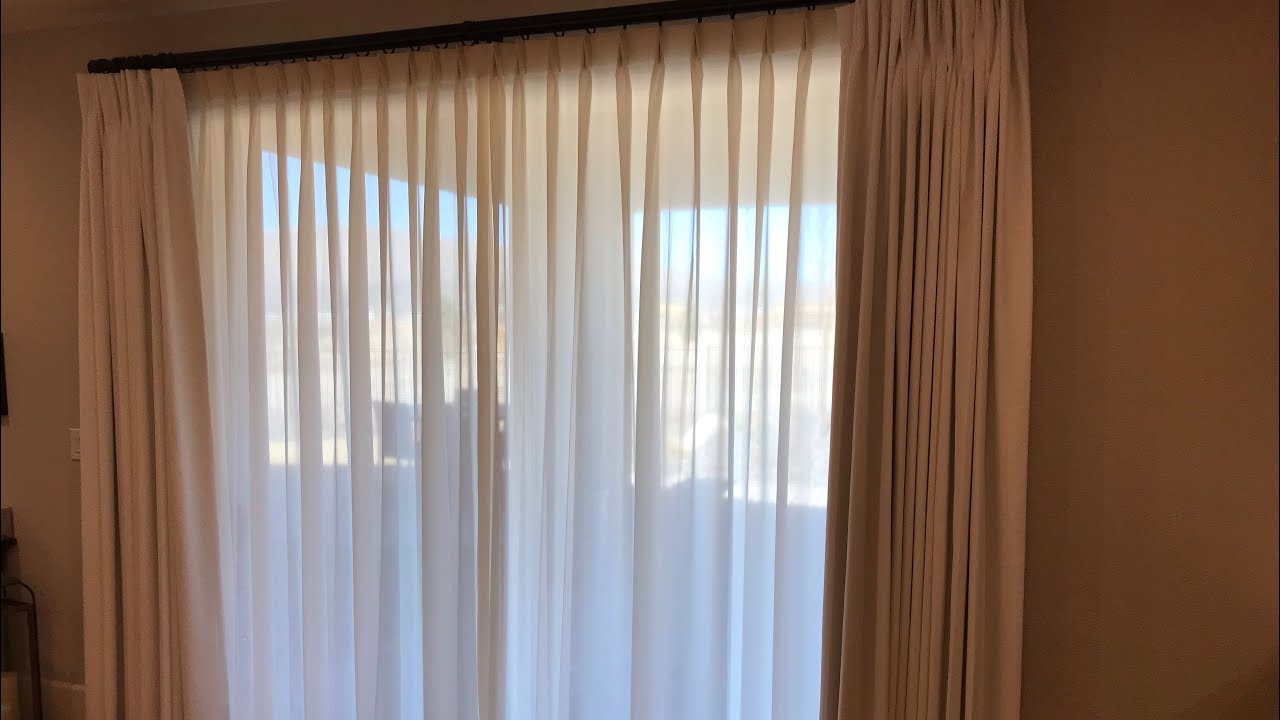
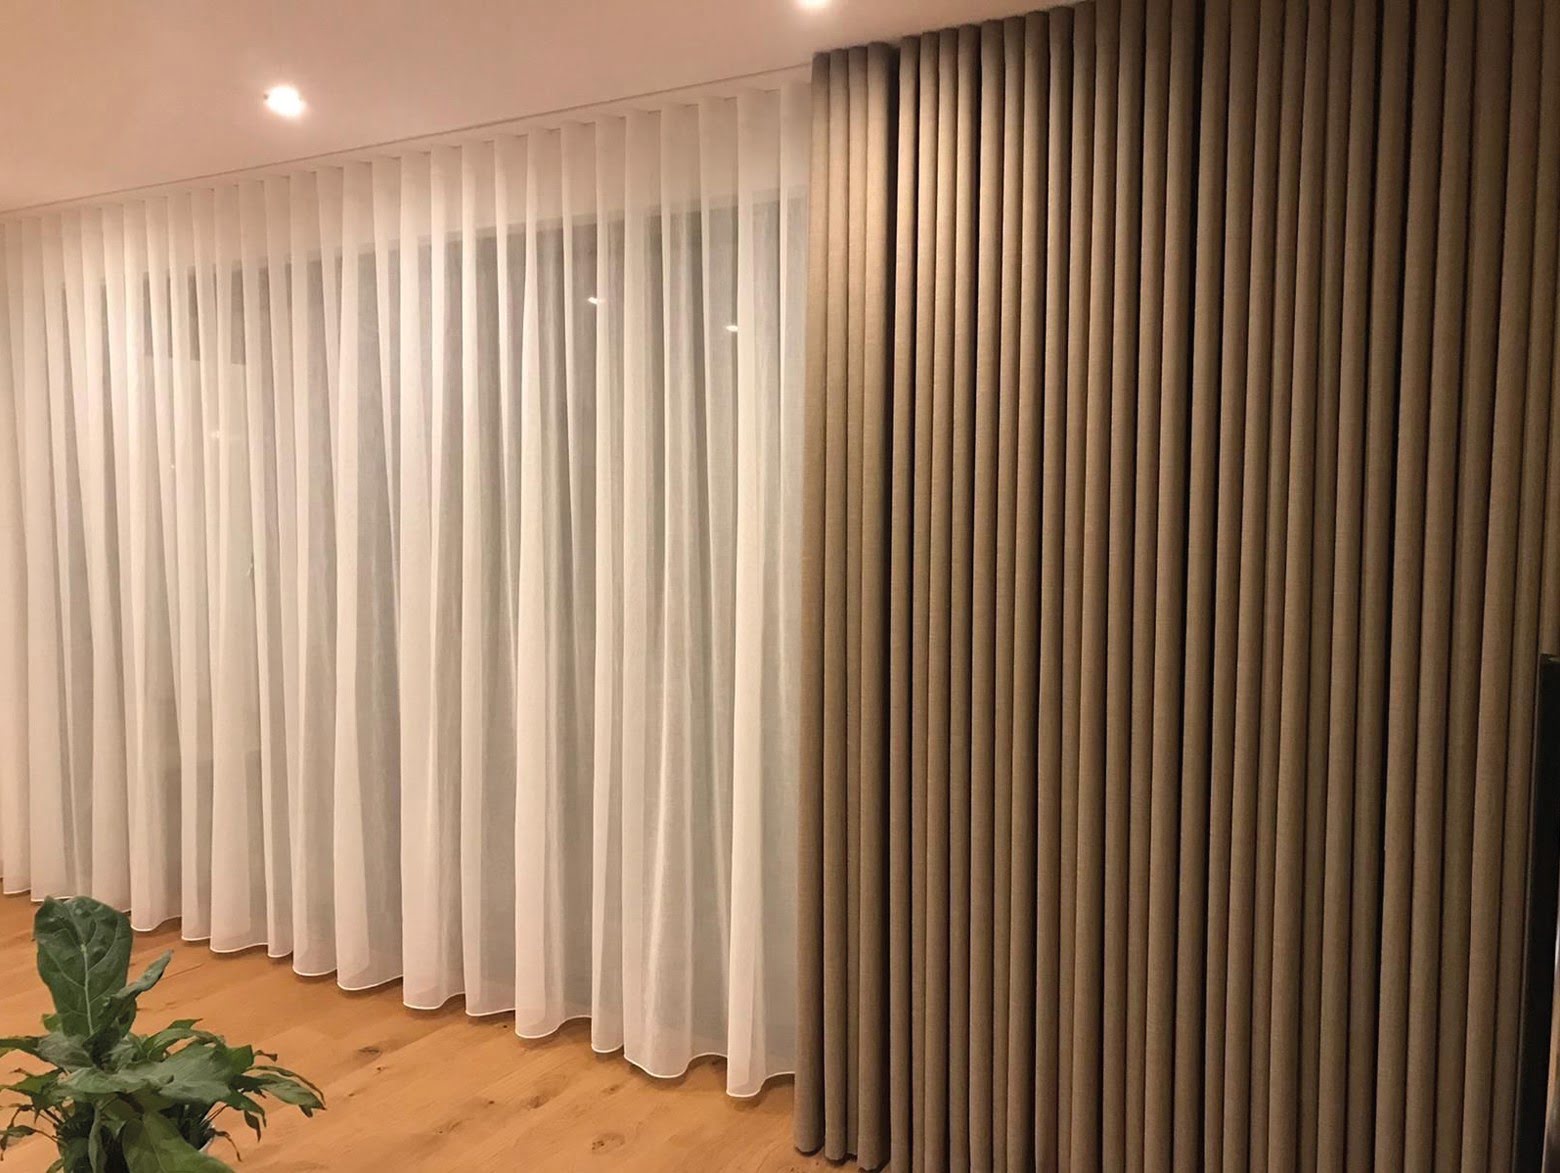
- Layering: Consider layering your drapes with sheer curtains or blinds. This not only adds depth and texture but also provides additional light control and privacy.
- Final Touches: Once you’re satisfied with the adjustments, take a step back and assess the overall appearance of the drapes. Smooth out any remaining wrinkles or uneven folds for a polished look.
Remember that styling and adjusting your drapes is a personal choice, based on your preferences and the overall aesthetic you’re trying to achieve. Take your time and experiment with different options until you’re satisfied with the final result.
Now that your drapes are perfectly adjusted and styled, it’s important to maintain their appearance and functionality through regular maintenance and care.
Maintenance and Care for Drapes
Proper maintenance and care are essential to keep your drapes looking fresh, clean, and in good condition. Here are some tips to help you maintain and care for your drapes:
- Regular Cleaning: Depending on the fabric and level of use, drapes should be cleaned regularly to remove dust, dirt, and allergens. Follow the manufacturer’s instructions for cleaning, which may include machine washing, dry cleaning, or spot cleaning.
- Dust and Vacuum: Regularly dust and vacuum your drapes to prevent the build-up of dust and debris. Use a soft brush attachment or a handheld vacuum on a low setting to avoid damaging the fabric.
- Spot Cleaning: Attend to spills and stains promptly by spot cleaning the affected area. Use a mild detergent or a specialized fabric cleaner, following the instructions. Blot the stain gently with a clean cloth, avoiding rubbing which can spread the stain.
- Sun Protection: Protect your drapes from excessive sun exposure to prevent fading or discoloration. Consider using UV-blocking window films or draw the drapes during the sunniest part of the day.
- Proper Storage: If you need to remove and store your drapes temporarily, ensure they are thoroughly cleaned and completely dry. Fold them carefully or roll them up to minimize wrinkles. Store them in a cool, dry place away from direct sunlight and moisture.
- Professional Cleaning: For delicate or heavily soiled drapes, it’s advisable to seek professional cleaning services. They have the expertise and equipment to clean and restore your drapes effectively.
- Inspect Hardware: Periodically check the condition of the curtain rod, brackets, and hardware. Tighten any loose screws or replace worn-out components to ensure the drapes remain securely hung.
By following these maintenance and care tips, you can prolong the lifespan of your drapes and keep them looking their best. Regular cleaning and proper care will help preserve their appearance and functionality over time.
Finally, remember that the maintenance and care routine may vary depending on the specific fabric and manufacturer’s recommendations. Always refer to the care instructions provided with your drapes for the best results.
With proper maintenance and care, your drapes will continue to bring beauty and functionality to your living space for years to come.
Read more: How To Hang Pleated Drapes
Conclusion
Congratulations! You have now learned the step-by-step process for hanging drapes like a pro. By carefully choosing the right drapes, measuring accurately, and installing the necessary hardware, you can transform your windows into stunning focal points that enhance the overall aesthetics of your space.
Remember, hanging drapes is an art form that requires attention to detail and a keen eye for design. Take your time during each step, ensuring that the drapes are properly prepped, the hardware is securely installed, and the drapes are hung evenly and at the desired length.
Once the drapes are in place, don’t forget to make adjustments, style them to your liking, and provide regular maintenance and care to keep them looking their best. By following these guidelines and incorporating your personal style, you can achieve the perfect combination of both functionality and aesthetics.
So go ahead, let your creativity flow and enjoy the process of transforming your windows with beautifully hung drapes. Whether you’re aiming for a cozy, elegant, or contemporary look, the right drapes can truly elevate the ambiance of your living space.
Now that you are equipped with the knowledge and skills to hang drapes with confidence, it’s time to put it into practice. Embrace the art of drapery hanging and create a space that reflects your unique style and personality.
Happy drapery hanging!
Frequently Asked Questions about How Do You Hang Drapes
Was this page helpful?
At Storables.com, we guarantee accurate and reliable information. Our content, validated by Expert Board Contributors, is crafted following stringent Editorial Policies. We're committed to providing you with well-researched, expert-backed insights for all your informational needs.





0 thoughts on “How Do You Hang Drapes”