Articles
How Do You Cut Gutters
Modified: October 18, 2024
Learn how to cut gutters with our informative articles. Find step-by-step guides and expert tips to help you achieve seamless results.
(Many of the links in this article redirect to a specific reviewed product. Your purchase of these products through affiliate links helps to generate commission for Storables.com, at no extra cost. Learn more)
Introduction
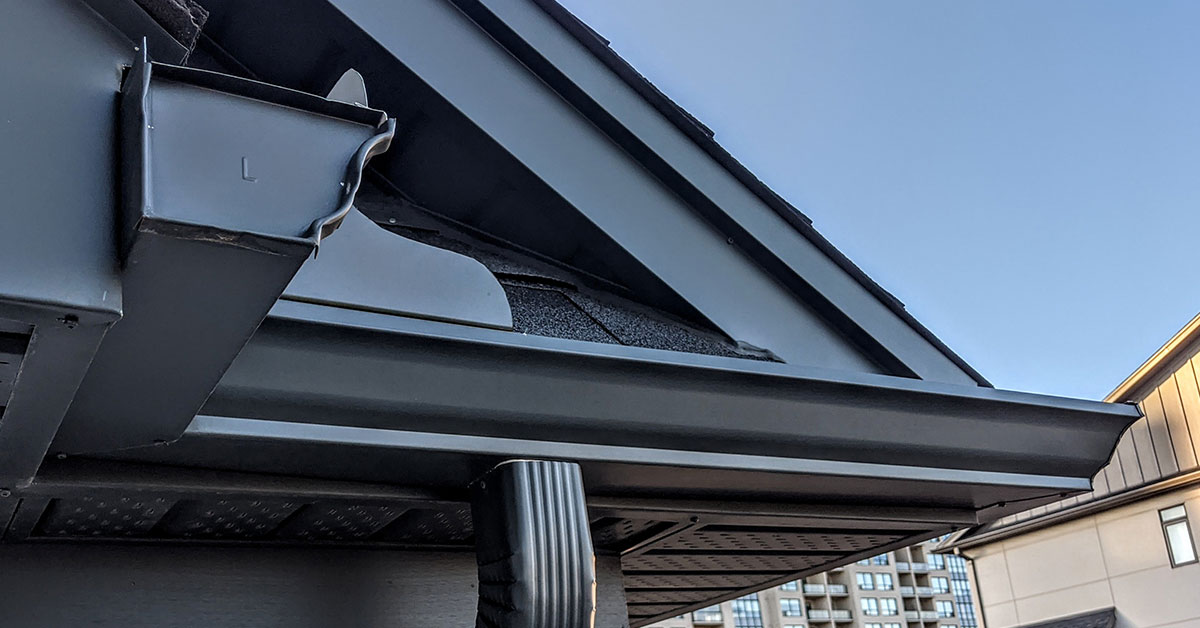
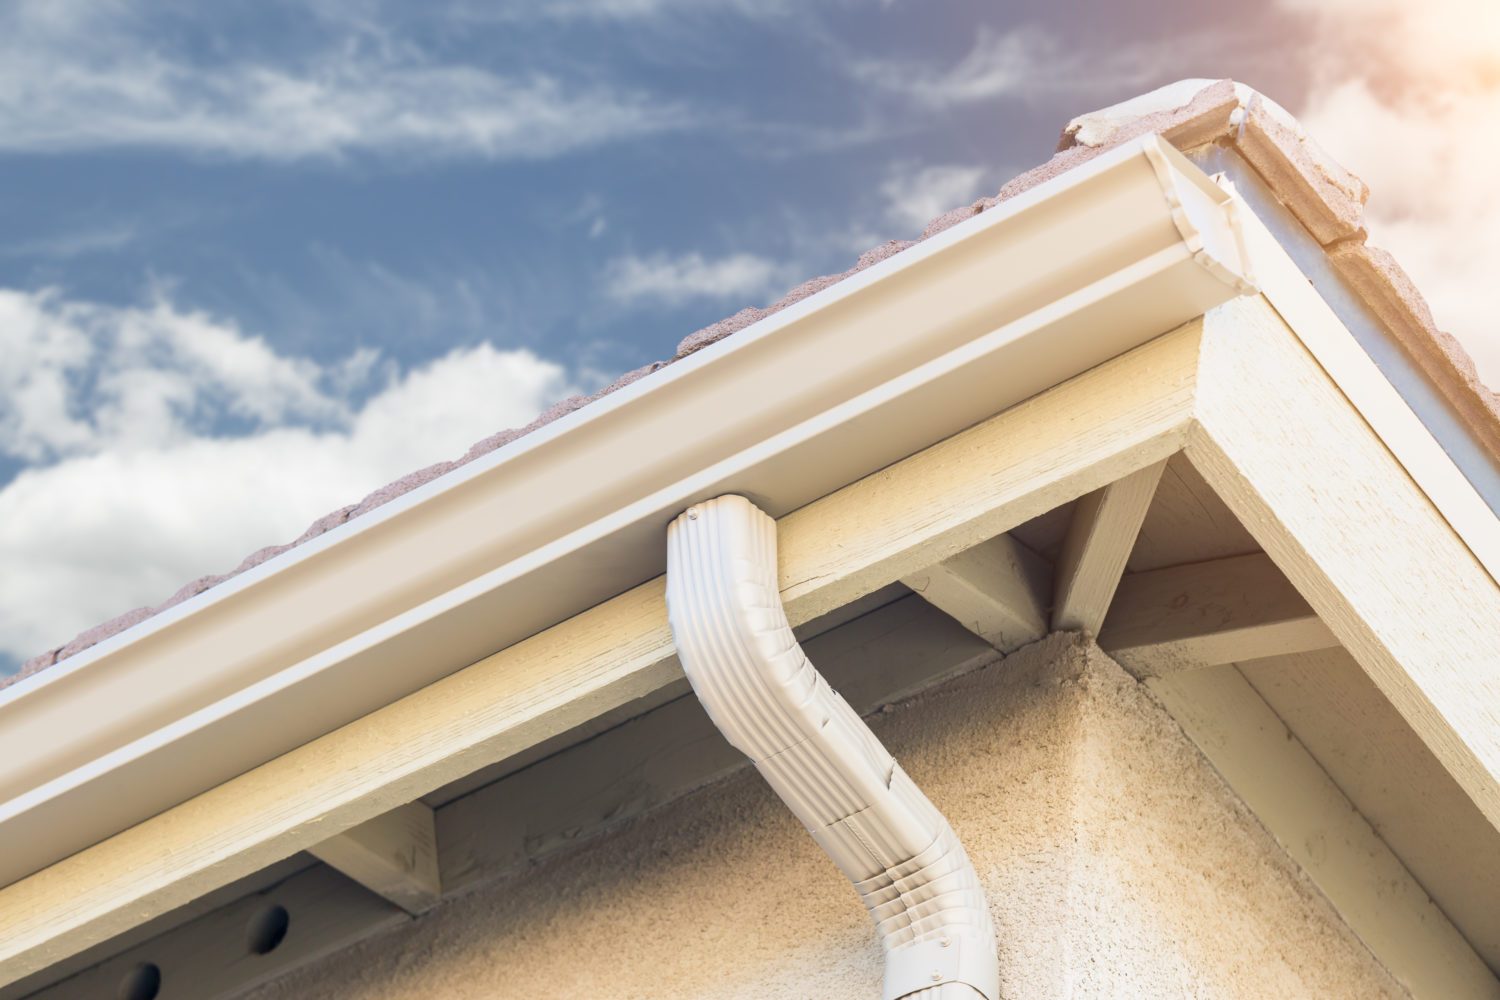
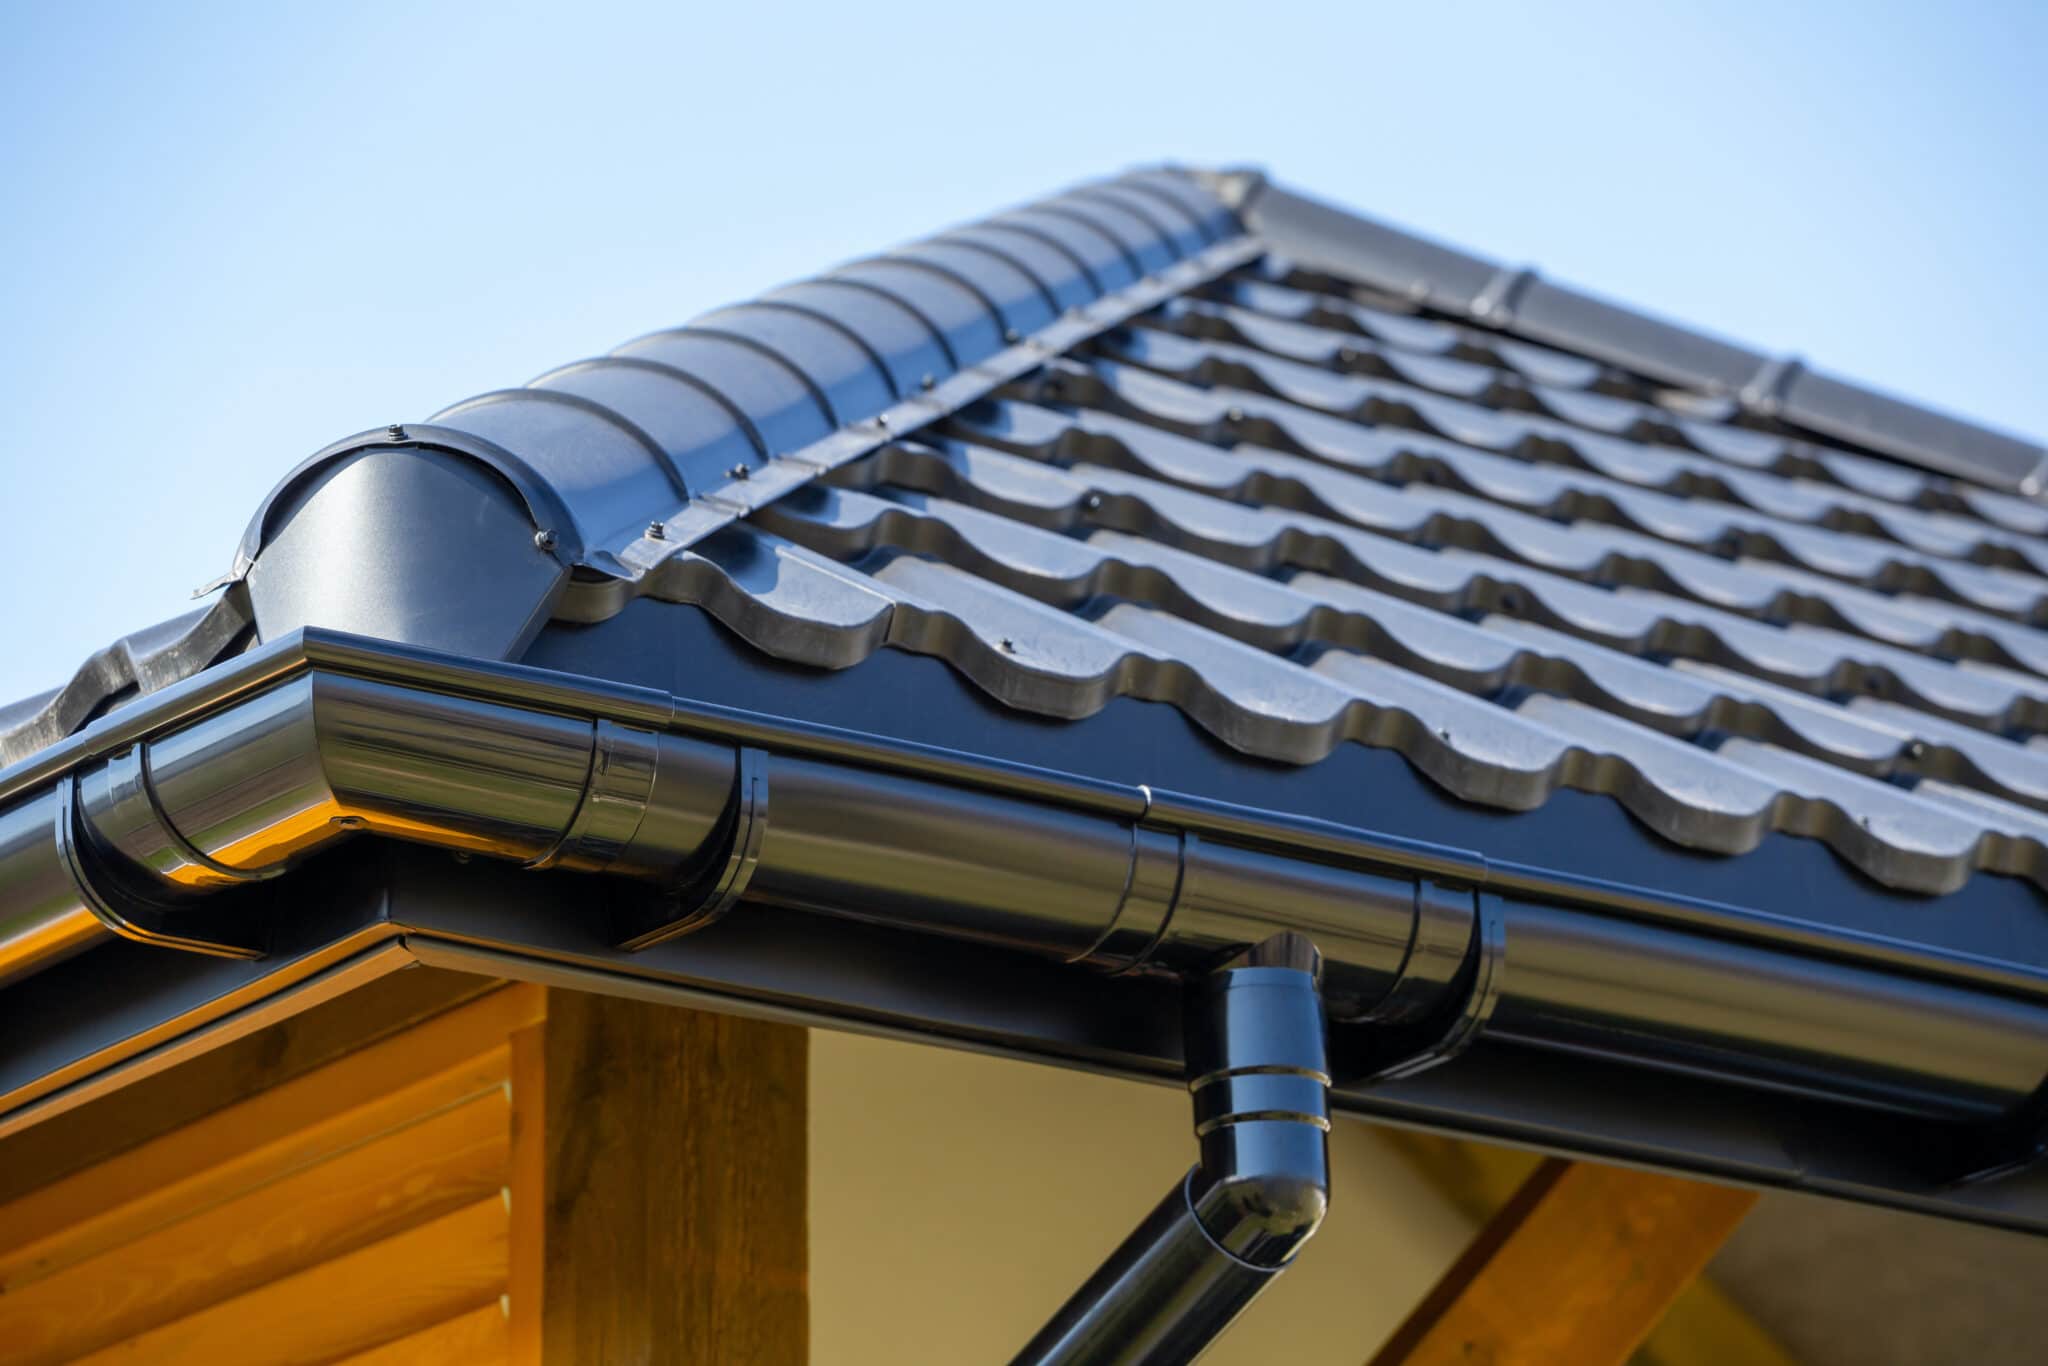
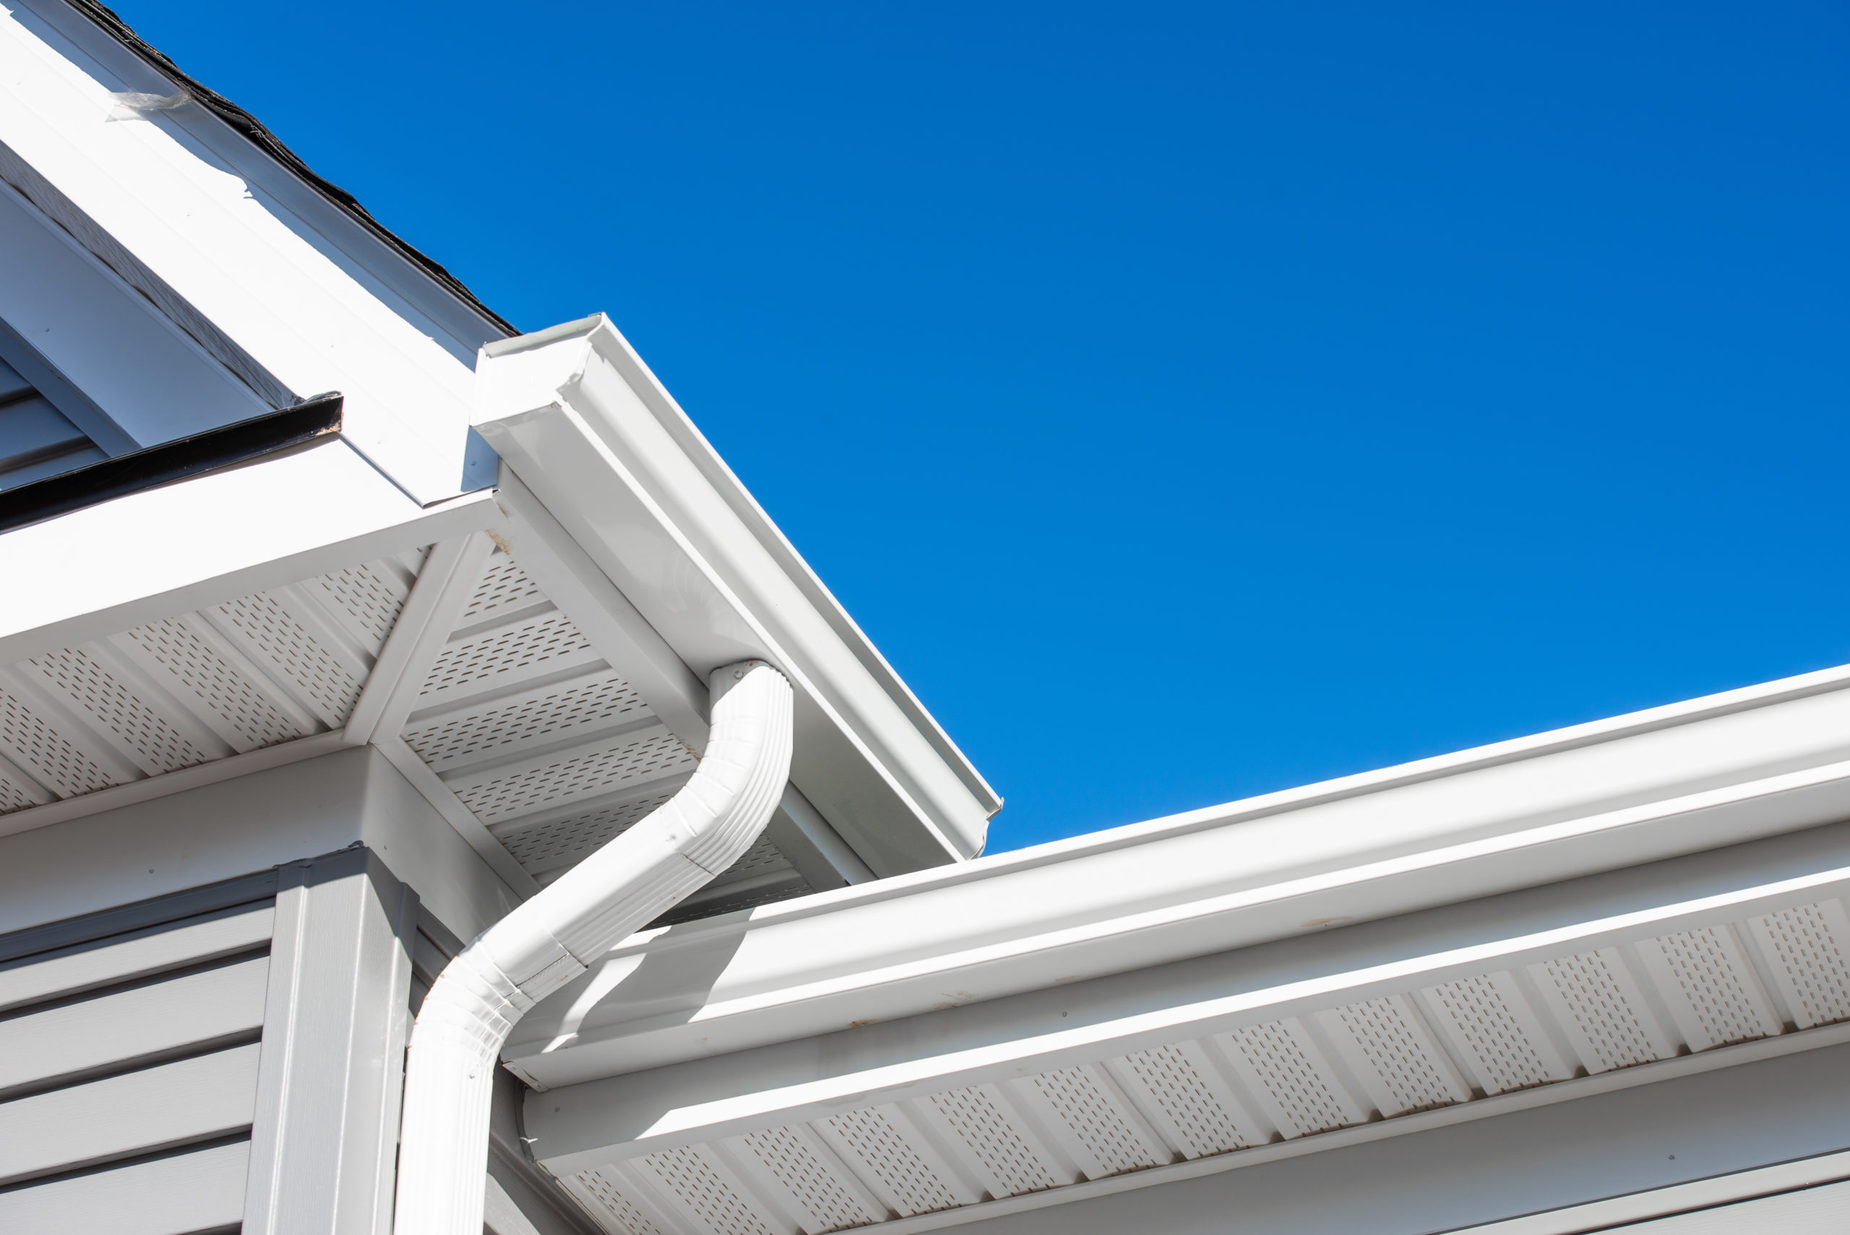
Gutters are an essential part of a home’s drainage system, directing rainwater away from the roof and foundation. However, there may be instances where you need to cut gutters to fit specific measurements or make repairs. Knowing how to cut gutters effectively can save you time and money, while ensuring a proper fit and functionality.
In this article, we will guide you through the steps of cutting gutters with ease and precision. Whether you are a beginner or have some DIY experience, this guide will provide you with the necessary knowledge and techniques to successfully complete the task.
Before we delve into the step-by-step process, let’s take a look at the tools and materials you will need for this project.
Key Takeaways:
- Master the art of cutting gutters by accurately measuring, marking, and cutting with precision. Prioritize safety, clean edges, and proper fit for a seamless installation process.
- Ensure a seamless gutter installation by checking the fit, securing the sections, and confirming proper alignment. Protect your home from water damage with well-cut and securely installed gutters.
Read more: How Do You Cut Laminate Countertops
Tools and Materials Needed
Before you start cutting gutters, gather the following tools and materials:
- Gutter sections
- Measuring tape
- Marker or pencil
- Gutter saw or hacksaw
- Gloves
- Safety goggles
- Workbench or sawhorses
- File or sandpaper
- Duct tape or gutter sealant
Make sure you have these items on hand before you begin the gutter cutting process. This will help ensure that you have a smooth and hassle-free experience.
Step 1: Measuring
Before you can cut the gutters, it’s important to accurately measure the length needed. This will help ensure a precise fit and minimize any potential waste or errors. Here’s how to do it:
- Using a measuring tape, measure the distance where you plan to install the gutter section. Take into account any end caps or fittings that will be attached.
- Add an extra inch or two to the measurement to allow for overlapping and a proper fit. This will help prevent any gaps where water could leak through.
- Once you have the desired length, mark it on the gutter section with a marker or pencil. Make sure the mark is visible and easily distinguishable.
Take your time during this step to ensure accurate measurements. Remember, it’s always better to measure twice and cut once to avoid any unnecessary mistakes.
Step 2: Marking the Cut
After measuring the gutter section, the next step is to mark the exact spot where you will make the cut. This marking will serve as a guide when you start cutting. Here’s how to do it:
- Place the gutter section on a workbench or sawhorses, ensuring it is stable and secure.
- Align the mark you made earlier with the edge of your work surface, making sure the gutter is flat and level.
- Using a marker or pencil, draw a straight line across the gutter where you want the cut to be made. Take your time to ensure the line is straight and accurately aligned with your measurement.
- If you need to make multiple cuts for angled or corner fittings, mark those spots as well, following the same process.
By marking the cut line, you provide yourself with a clear visual guide, making the cutting process much easier and more precise.
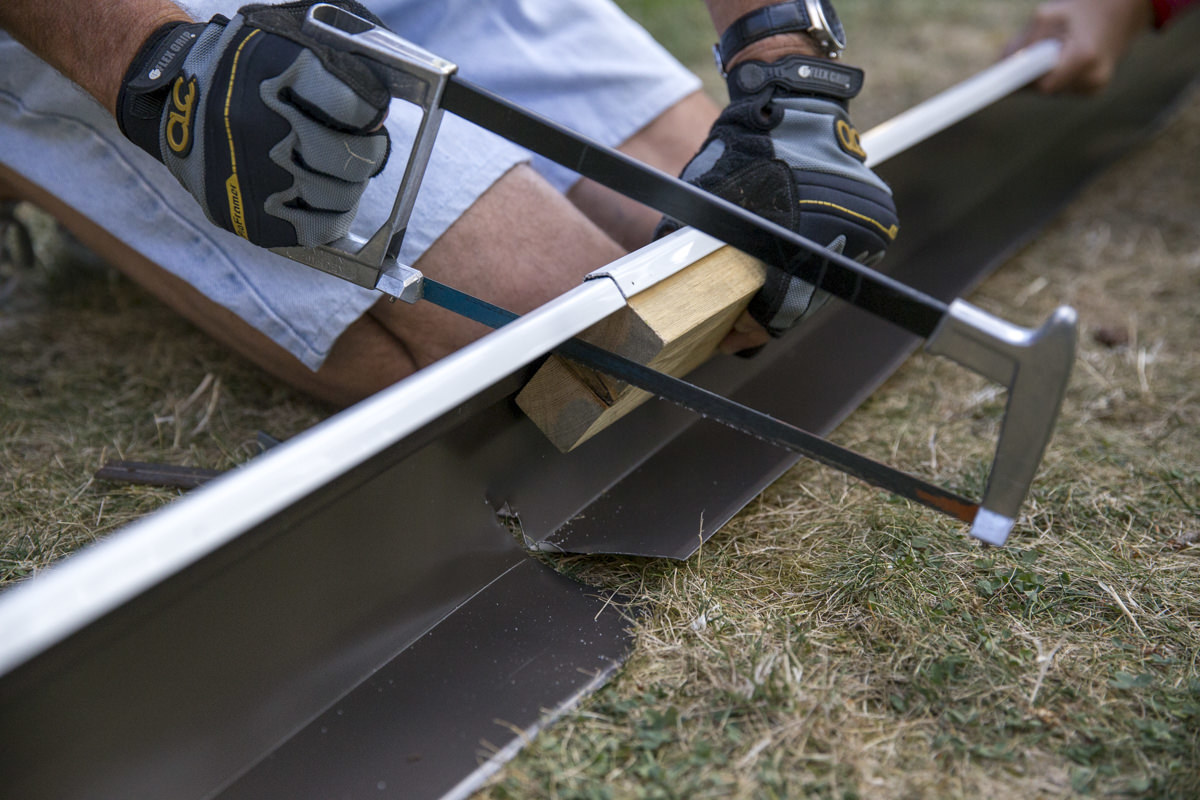
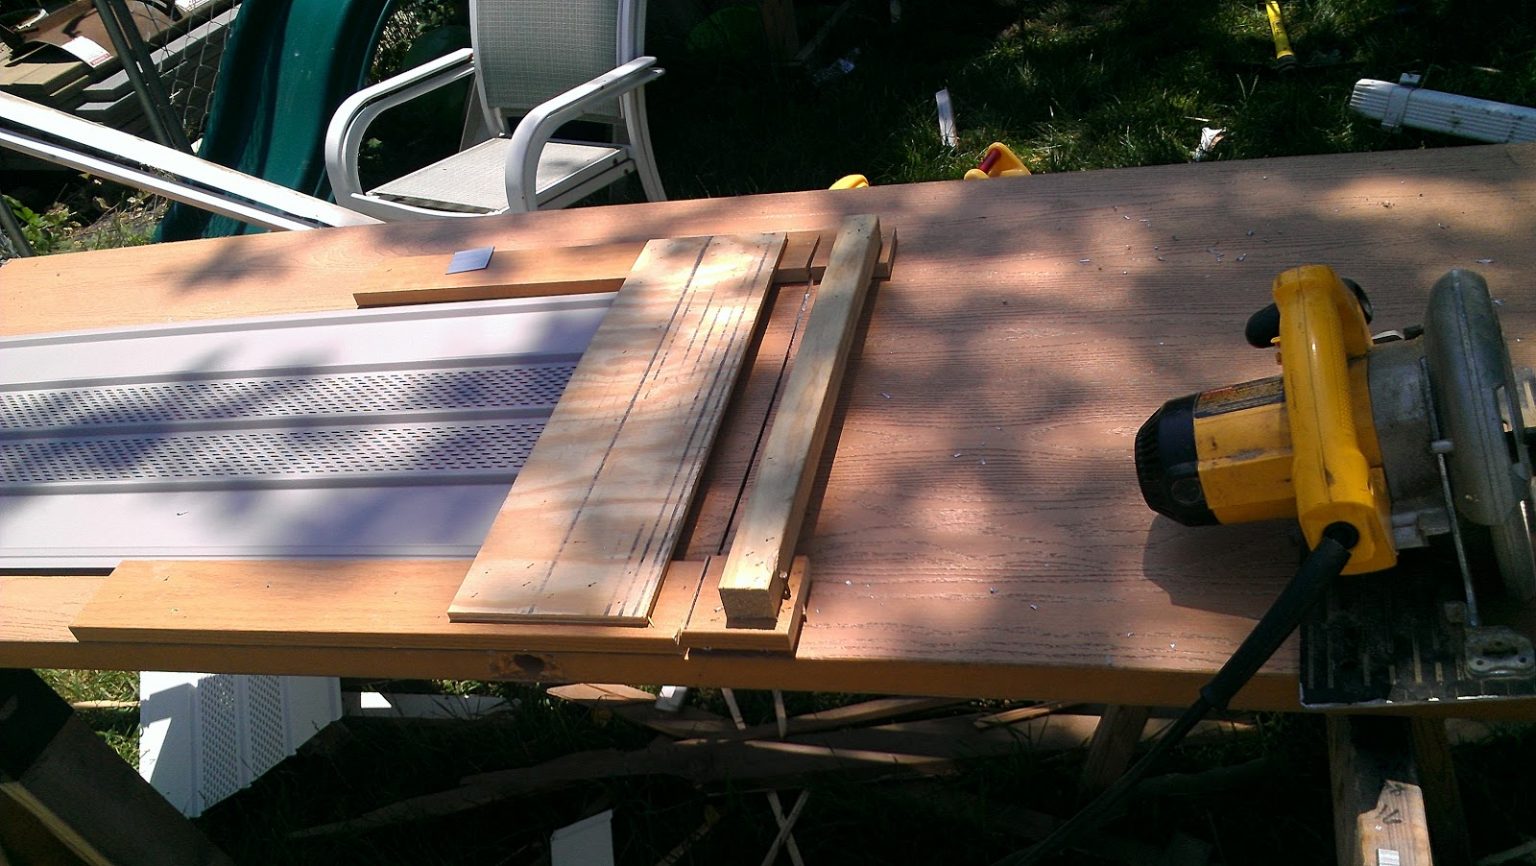
Step 3: Cutting the Gutters
Now that you have measured and marked the gutter section, it’s time to cut it. This step requires careful attention and the use of the proper tools. Follow these steps to cut the gutters effectively:
- Put on a pair of gloves and safety goggles to protect your hands and eyes during the cutting process.
- Secure the gutter section firmly on a workbench or sawhorses to prevent any movement or instability.
- Using a gutter saw or hacksaw, carefully cut along the marked line. Make slow and steady sawing motions to ensure a clean and straight cut.
- If you need to make angled or corner cuts, use a hacksaw to create the desired shape. Take your time and follow the marked lines accurately.
- Continue cutting until you have completed all necessary cuts for your gutter installation or repair.
Remember to be cautious while cutting gutters, as the material can be sharp and the process may generate debris. Take breaks when needed and maintain focus to ensure a precise and safe cut.
When cutting gutters, always measure twice and cut once to ensure accuracy. Use a hacksaw or tin snips for clean cuts, and wear gloves to protect your hands from sharp edges.
Read more: How Do You Cut A Glass Bottle
Step 4: Ensuring a Clean Cut
After cutting the gutters, it’s important to ensure that the edges are clean and free from any rough or jagged edges. This will not only enhance the appearance of the gutters but also prevent any potential issues when installing or connecting them. Follow these steps to achieve a clean cut:
- Inspect the cut edges of the gutter section to identify any rough areas or burrs.
- Using a file or sandpaper, gently smooth out the edges by running it along the cut surface.
- Pay attention to any sharp corners or edges and make sure to file or sand them down to avoid injury and facilitate easy installation.
- Continue filing or sanding until you achieve a smooth and even edge on all cut sections.
Ensuring a clean cut will not only make the gutters easier to handle and install but also help maintain their overall integrity in the long run.
Step 5: Checking the Fit
Before finalizing the installation of the cut gutters, it’s crucial to check their fit and alignment to ensure a proper connection. This step will help avoid any issues with water leakage or misalignment. Follow these steps to check the fit of your cut gutters:
- Place the cut gutter sections in their intended positions, ensuring that they align correctly with the existing gutters or fittings.
- Check the joints and connections for any gaps or misalignment. This includes the end caps, corners, and downspout connections.
- If you notice any gaps or misalignments, use duct tape or gutter sealant to fill in the spaces and create a secure connection.
- Make sure the gutters slope slightly downward toward the downspouts to facilitate proper water flow and drainage.
- Inspect the entire length of the gutters to ensure they are evenly spaced and aligned with the roofline.
Checking the fit of the cut gutters is crucial for their functionality and longevity. Taking the time to double-check and make any necessary adjustments will save you from potential problems down the line.
Step 6: Installing the Cut Gutters
Once you have confirmed that the cut gutters fit properly and are aligned correctly, it’s time to proceed with their installation. Follow these steps to install the cut gutters securely:
- Position the first gutter section in place, starting from the highest point of your gutter system.
- Attach the gutter section to the brackets or hangers, ensuring it is level and correctly aligned with the roofline.
- Secure the gutter section in place using screws or rivets. Make sure to follow the manufacturer’s specifications for the appropriate fastening method.
- Continue attaching and securing the remaining gutter sections, ensuring they overlap by a few inches for a proper water flow.
- Place end caps on the last section of the cut gutters to prevent water from leaking out.
- Connect downspouts to the designated locations, ensuring a tight and secure fit.
During the installation process, periodically check for any gaps, misalignment, or loose connections. Make necessary adjustments and tighten the fasteners as needed.
Once you have installed all the cut gutters and ensured their proper alignment and connection, take a final walk around to inspect the entire gutter system. Confirm that it is securely attached, free from any leaks, and ready to efficiently channel water away from your home.
Conclusion
Cutting gutters may seem like a daunting task, but with the right tools and knowledge, it can be a straightforward process. By following the step-by-step guide provided in this article, you can confidently measure, mark, cut, and install gutters to fit your specific needs.
Remember to prioritize safety by wearing gloves and safety goggles throughout the cutting process. Take your time to ensure accurate measurements, straight cuts, and clean edges. Checking the fit and alignment of the cut gutters before installation will prevent any issues with leakage or misalignment.
Installing the cut gutters properly is essential for the effective functioning of your home’s drainage system. Be diligent in securing the gutters with the appropriate fasteners and ensuring a tight connection between sections and downspouts.
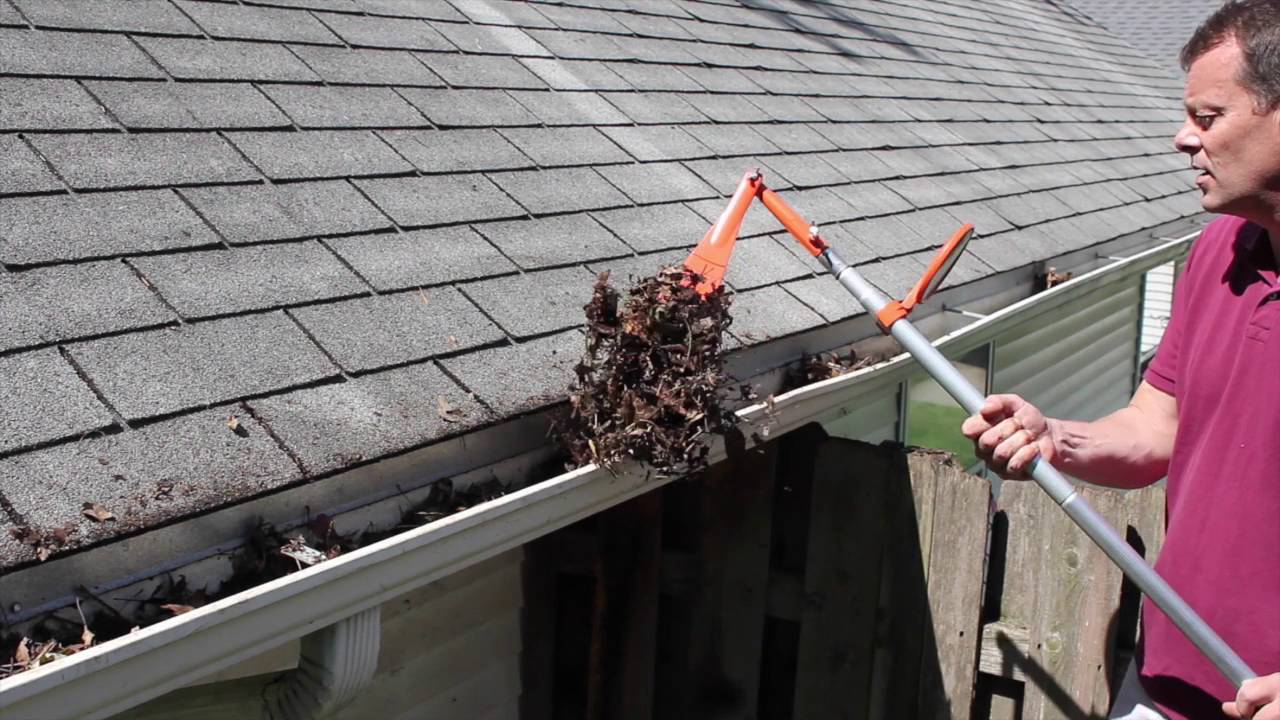
By successfully cutting and installing gutters, you can protect your home’s foundation and prevent water damage. Regular maintenance and cleaning of your gutters will further contribute to their longevity and performance.
Now that you have learned how to cut gutters, you can confidently take on your gutter projects with ease. Remember to refer back to this guide whenever you need a refresher on the process.
Happy gutter cutting!
Frequently Asked Questions about How Do You Cut Gutters
Was this page helpful?
At Storables.com, we guarantee accurate and reliable information. Our content, validated by Expert Board Contributors, is crafted following stringent Editorial Policies. We're committed to providing you with well-researched, expert-backed insights for all your informational needs.


0 thoughts on “How Do You Cut Gutters”