Articles
How Do You Make Rag Rugs
Modified: December 7, 2023
Learn how to make beautiful rag rugs with these informative articles. Find step-by-step instructions and expert tips to create your own unique designs.
(Many of the links in this article redirect to a specific reviewed product. Your purchase of these products through affiliate links helps to generate commission for Storables.com, at no extra cost. Learn more)
Introduction
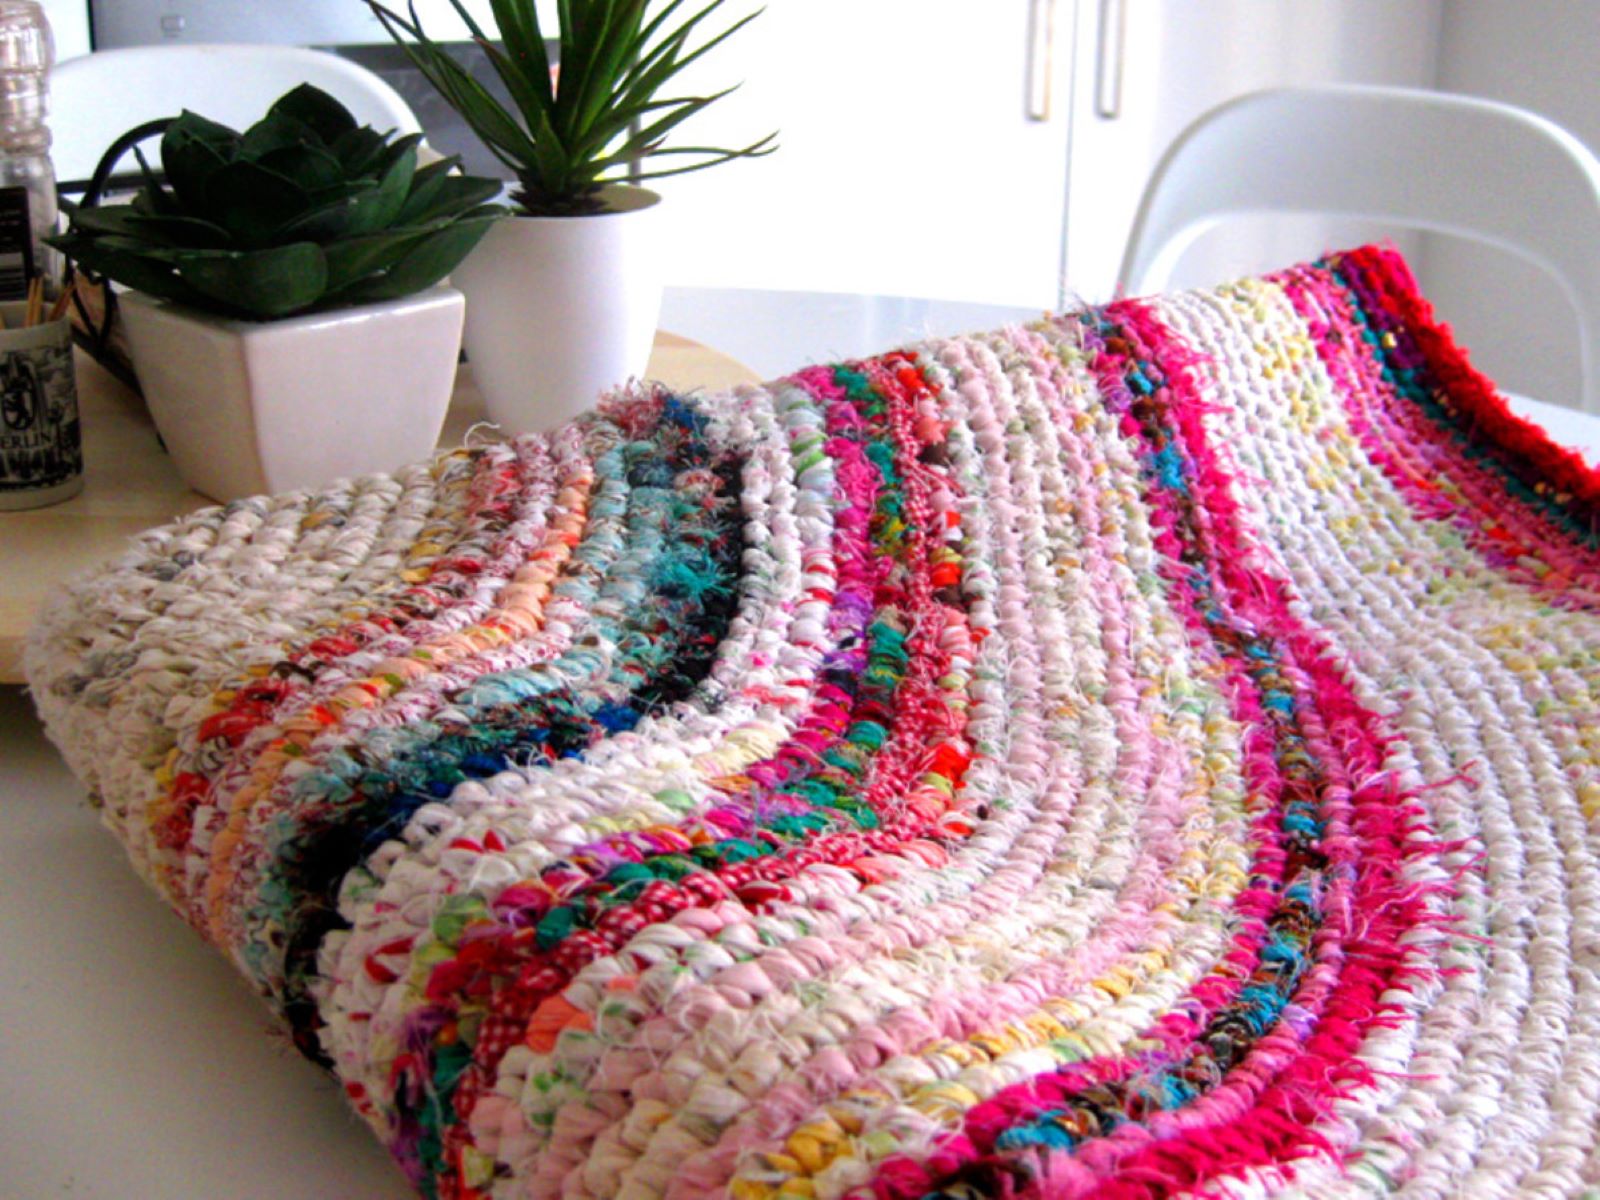
Have you ever walked into a room and been captivated by a beautifully crafted rag rug? These vibrant and unique floor coverings can add a touch of warmth and personality to any space. If you’ve ever wondered how to make your very own rag rug, you’re in luck. In this article, we’ll guide you through the process, step by step.
Making rag rugs is not only a fun and creative project but also a sustainable way to repurpose old fabric scraps. By using materials that might otherwise end up in the landfill, you can create something beautiful and functional.
In this article, we’ll cover the materials you’ll need, the steps involved, and some helpful tips and tricks along the way. Whether you’re a seasoned crafter or just starting out, making rag rugs is a rewarding endeavor that anyone can enjoy.
So, grab your scissors, gather all your fabric scraps, and let’s get started on this exciting rug-making journey!
Key Takeaways:
- Transform ordinary fabric scraps into beautiful, sustainable rag rugs with creativity and resourcefulness. Add warmth and personality to your home while repurposing materials that might have ended up in the landfill.
- Infuse your rag rug with unique style and personality by experimenting with different patterns, colors, and textures. Enjoy the creative and enjoyable process of making handmade, one-of-a-kind home decor.
Read more: How To Make Shaggy Rag Rugs
Materials Needed
Before diving into the process of making a rag rug, let’s gather all the materials you’ll need:
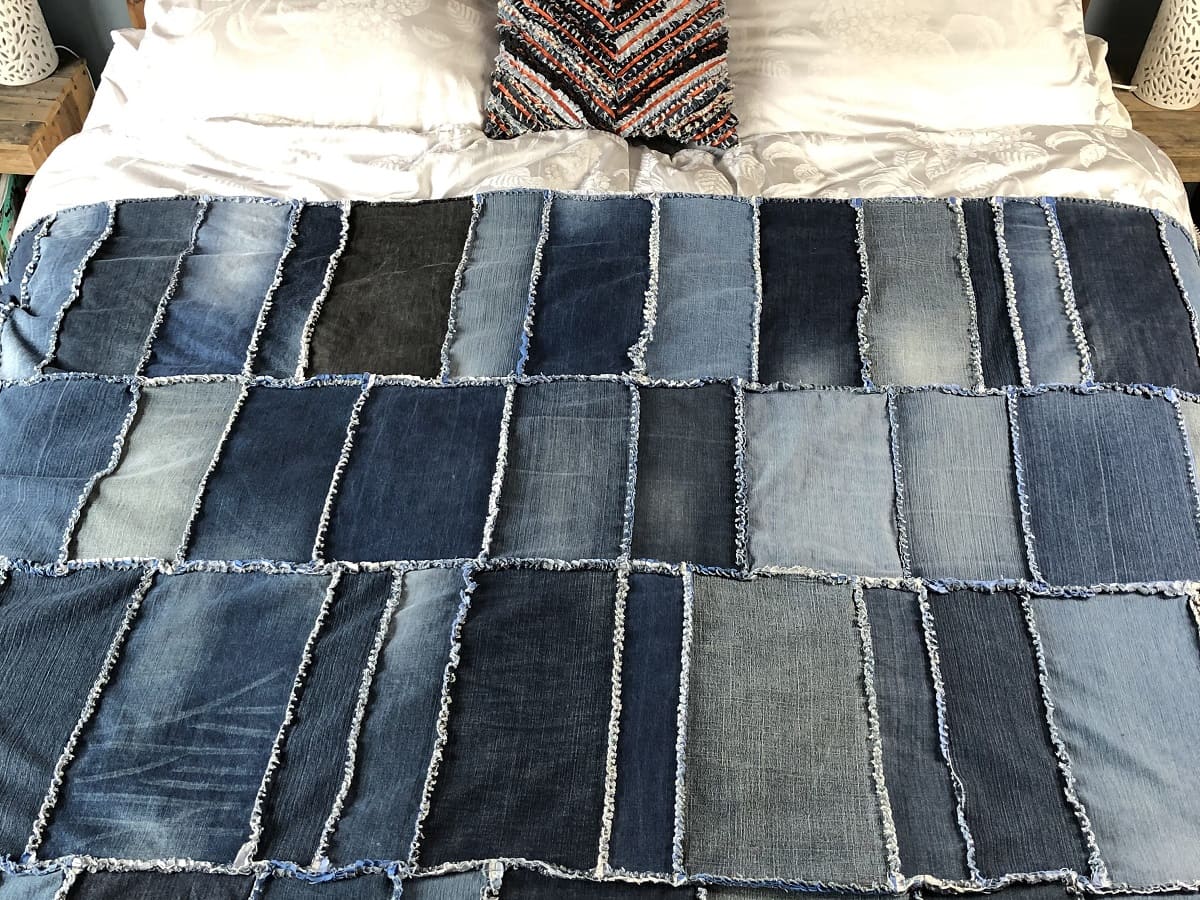
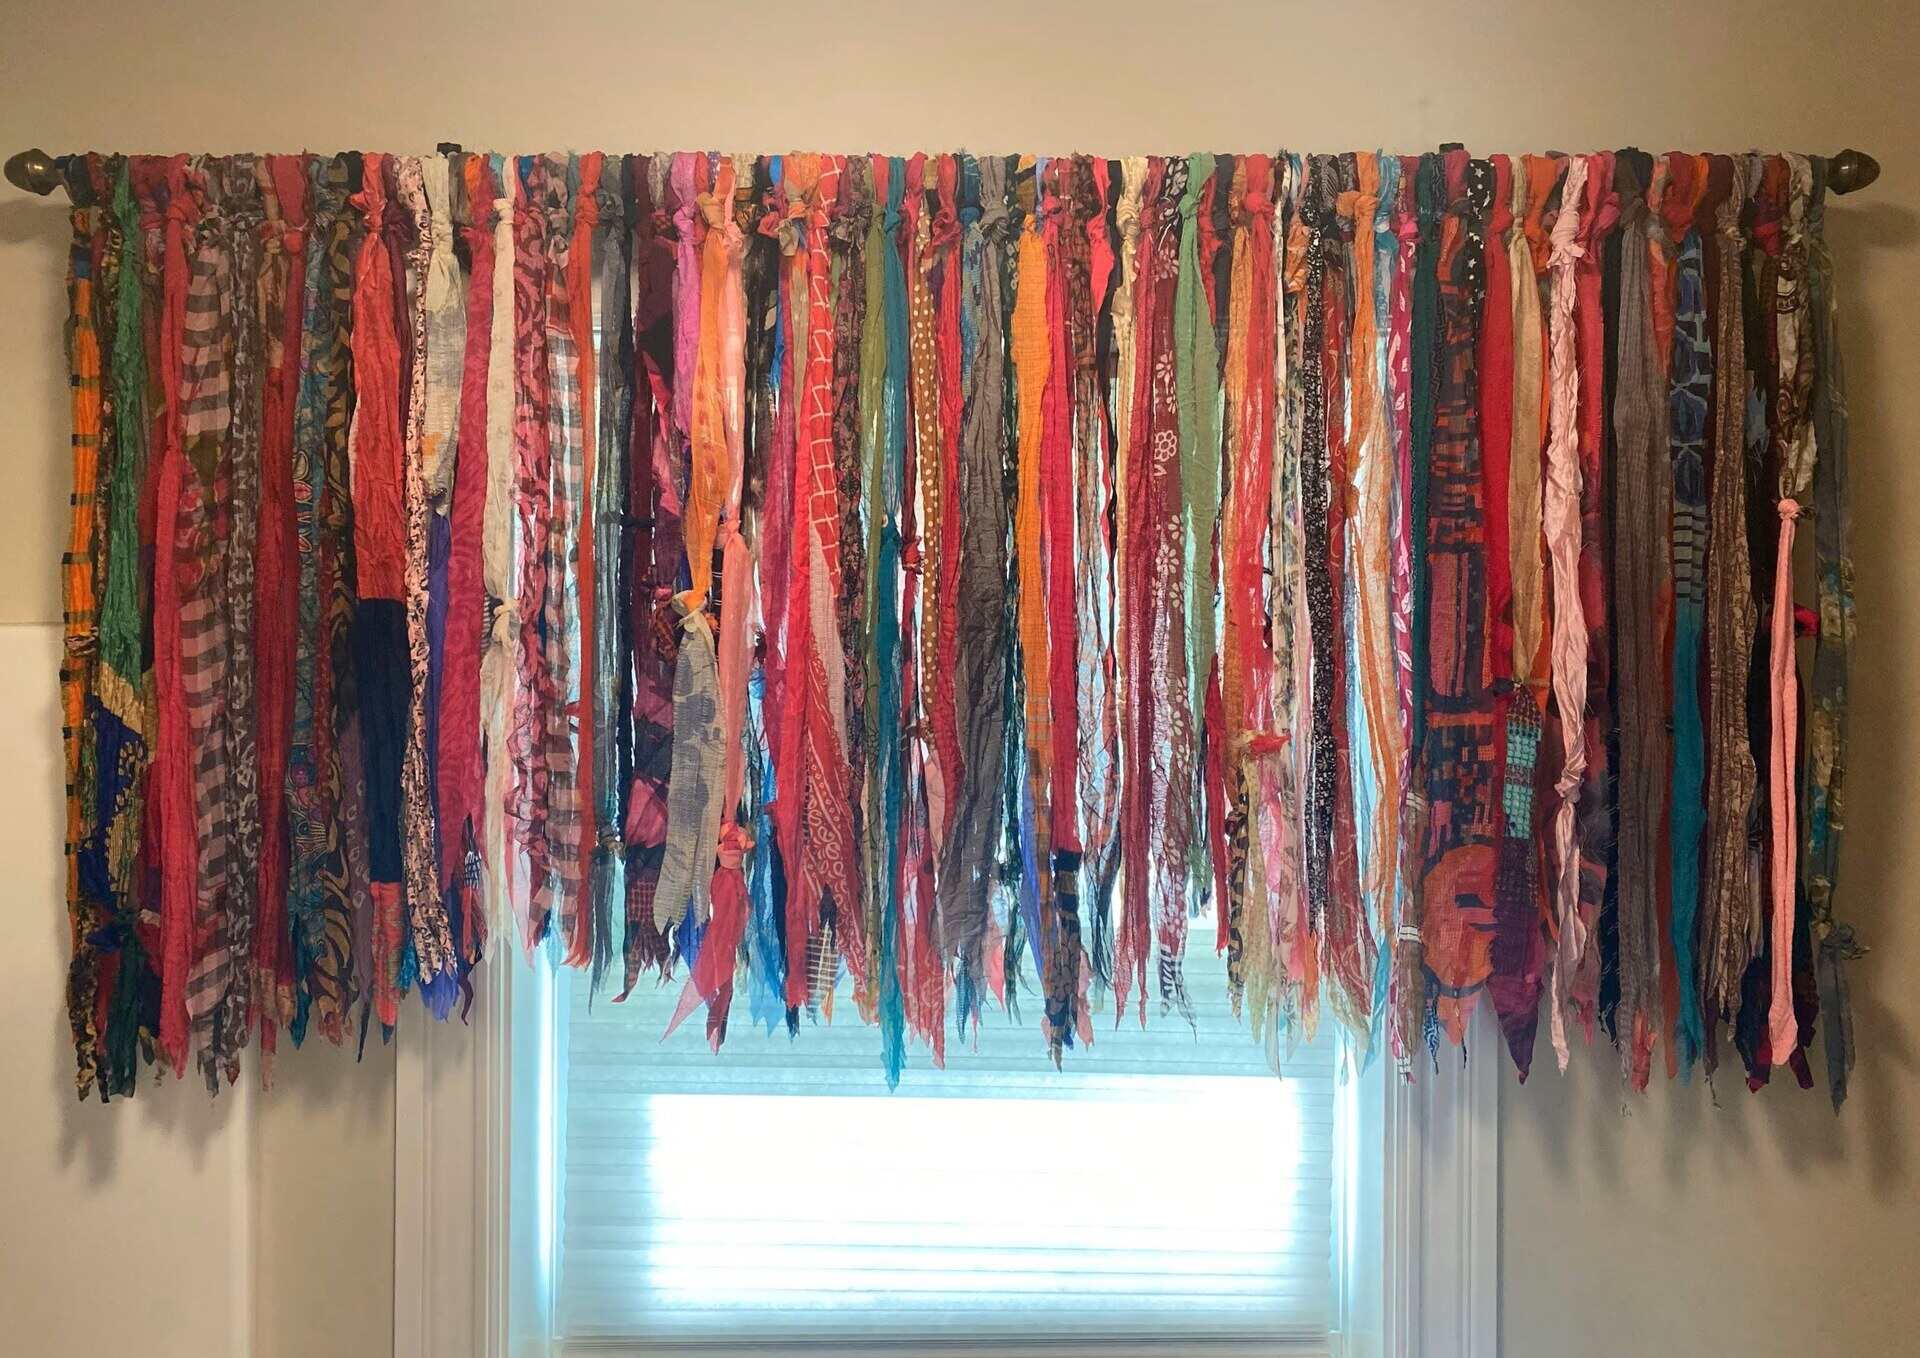
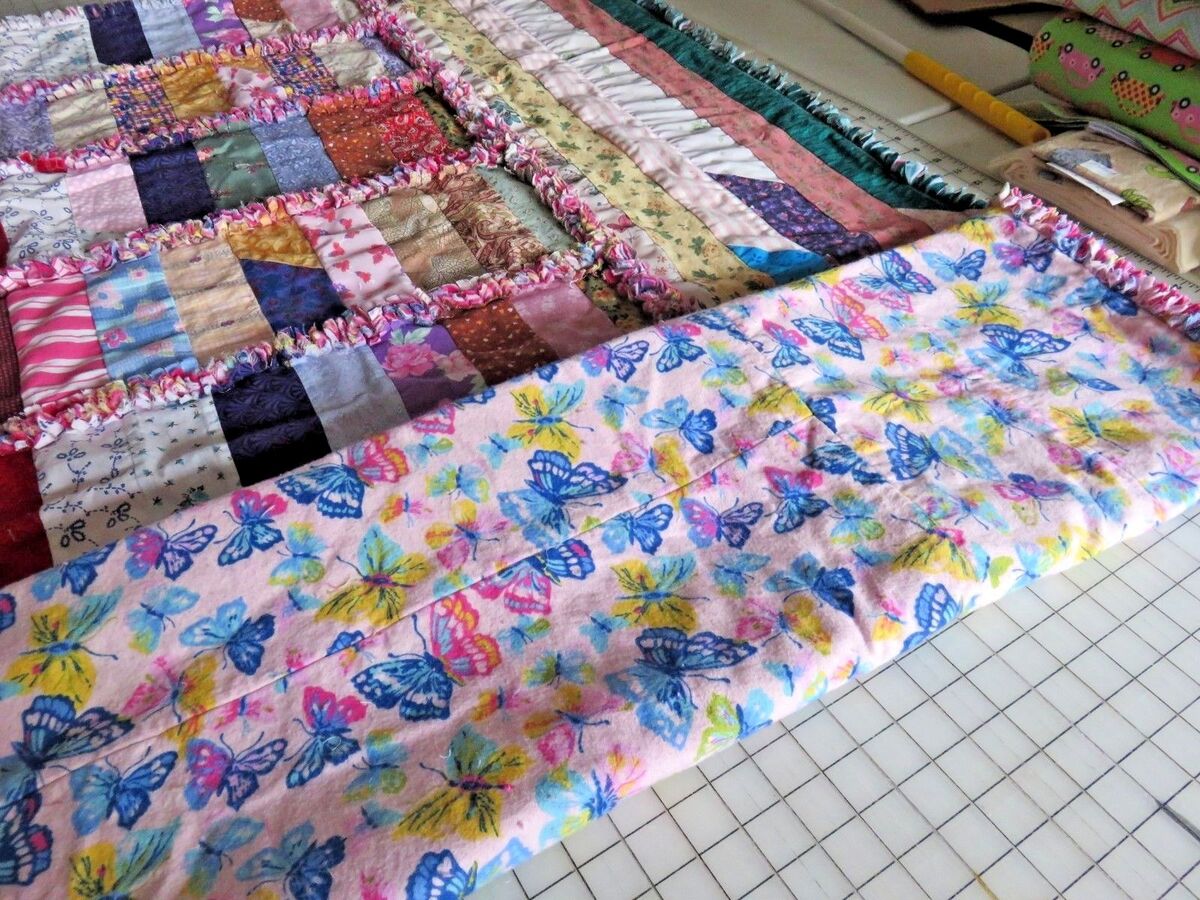
- Fabric Scraps: Look for old clothes, bed sheets, curtains, or any fabric that you no longer need. This is a great way to upcycle and repurpose materials.
- Scissors: A sturdy pair of fabric scissors will be essential for cutting the fabric into strips.
- Rug Base: You’ll need a base to attach the fabric strips to. This can be a non-slip rug pad, canvas, burlap, or even an old piece of fabric. Choose a base that suits your preference and the size you want your rug to be.
- Rug Hook or Latch Hook: This tool will help you weave the fabric strips into the base. There are different types of hooks available, so choose one that is comfortable for you to use.
- Measuring Tape or Ruler: To ensure that your rug is evenly sized, having a measuring tape or ruler handy will be helpful.
These are the basic materials needed to get started. However, feel free to get creative and add your own personal touches to the rug-making process. Additionally, keep in mind that the amount of fabric you need will depend on the size of the rug you want to make.
Now that we have all the necessary materials, let’s move on to the next step: choosing the fabric for your rag rug.
Step 1: Choosing the Fabric
When it comes to making a rag rug, one of the most exciting parts is selecting the fabric. You have the opportunity to unleash your creativity and give your rug a unique personality. Here are a few tips to consider when choosing your fabric:
- Texture: Look for fabrics with varying textures to add depth and interest to your rug. Consider using different weights of fabric, such as lightweight cotton or thicker upholstery material.
- Color: Choose colors that complement the room where your rug will be placed. You can opt for a monochromatic color scheme or go bold with vibrant patterns.
- Pattern: If you want to create a visually dynamic rug, mix and match fabrics with different patterns. Stripes, florals, and geometrical designs can all work together to create a visually stunning piece.
- Cohesion: While it may be tempting to use every fabric scrap you have, try to maintain a sense of cohesion in your rug. Choose fabrics that share a common color or pattern to tie the rug together.
Remember, there are no hard and fast rules when it comes to selecting the fabric for your rag rug. Let your creativity guide you and trust your instincts. This is your opportunity to experiment and create something truly unique.
Once you have chosen your fabric, it’s time to move on to the next step: preparing the fabric strips.
Step 2: Preparing the Fabric Strips
Now that you have selected your fabric, it’s time to transform them into strips that will be used to weave your rag rug. Follow these steps to prepare the fabric strips:
- Cut the fabric: Using your fabric scissors, cut your chosen fabric into long strips. The width of the strips can vary depending on your preference, but a common width is around 1-2 inches.
- Consider the length: The length of the strips will depend on the size of your rug and the weaving technique you plan to use. Cut the strips long enough so that you can easily weave them through the base.
- Join the strips (optional): If your fabric scraps are not long enough to create the desired strips, you can join them together by sewing or knotting the ends. This will ensure that you have continuous strips to work with.
- Prepare a bundle: Once you have cut all your fabric into strips, gather them together and create bundles. This will make it easier to handle and organize the strips during the weaving process.
Remember, the number of fabric strips you need will depend on the size and density of your rug. It’s always better to have more strips prepared than to run out halfway through the project.
With your fabric strips ready, you’re now set to move on to the next step: creating the base for your rag rug.
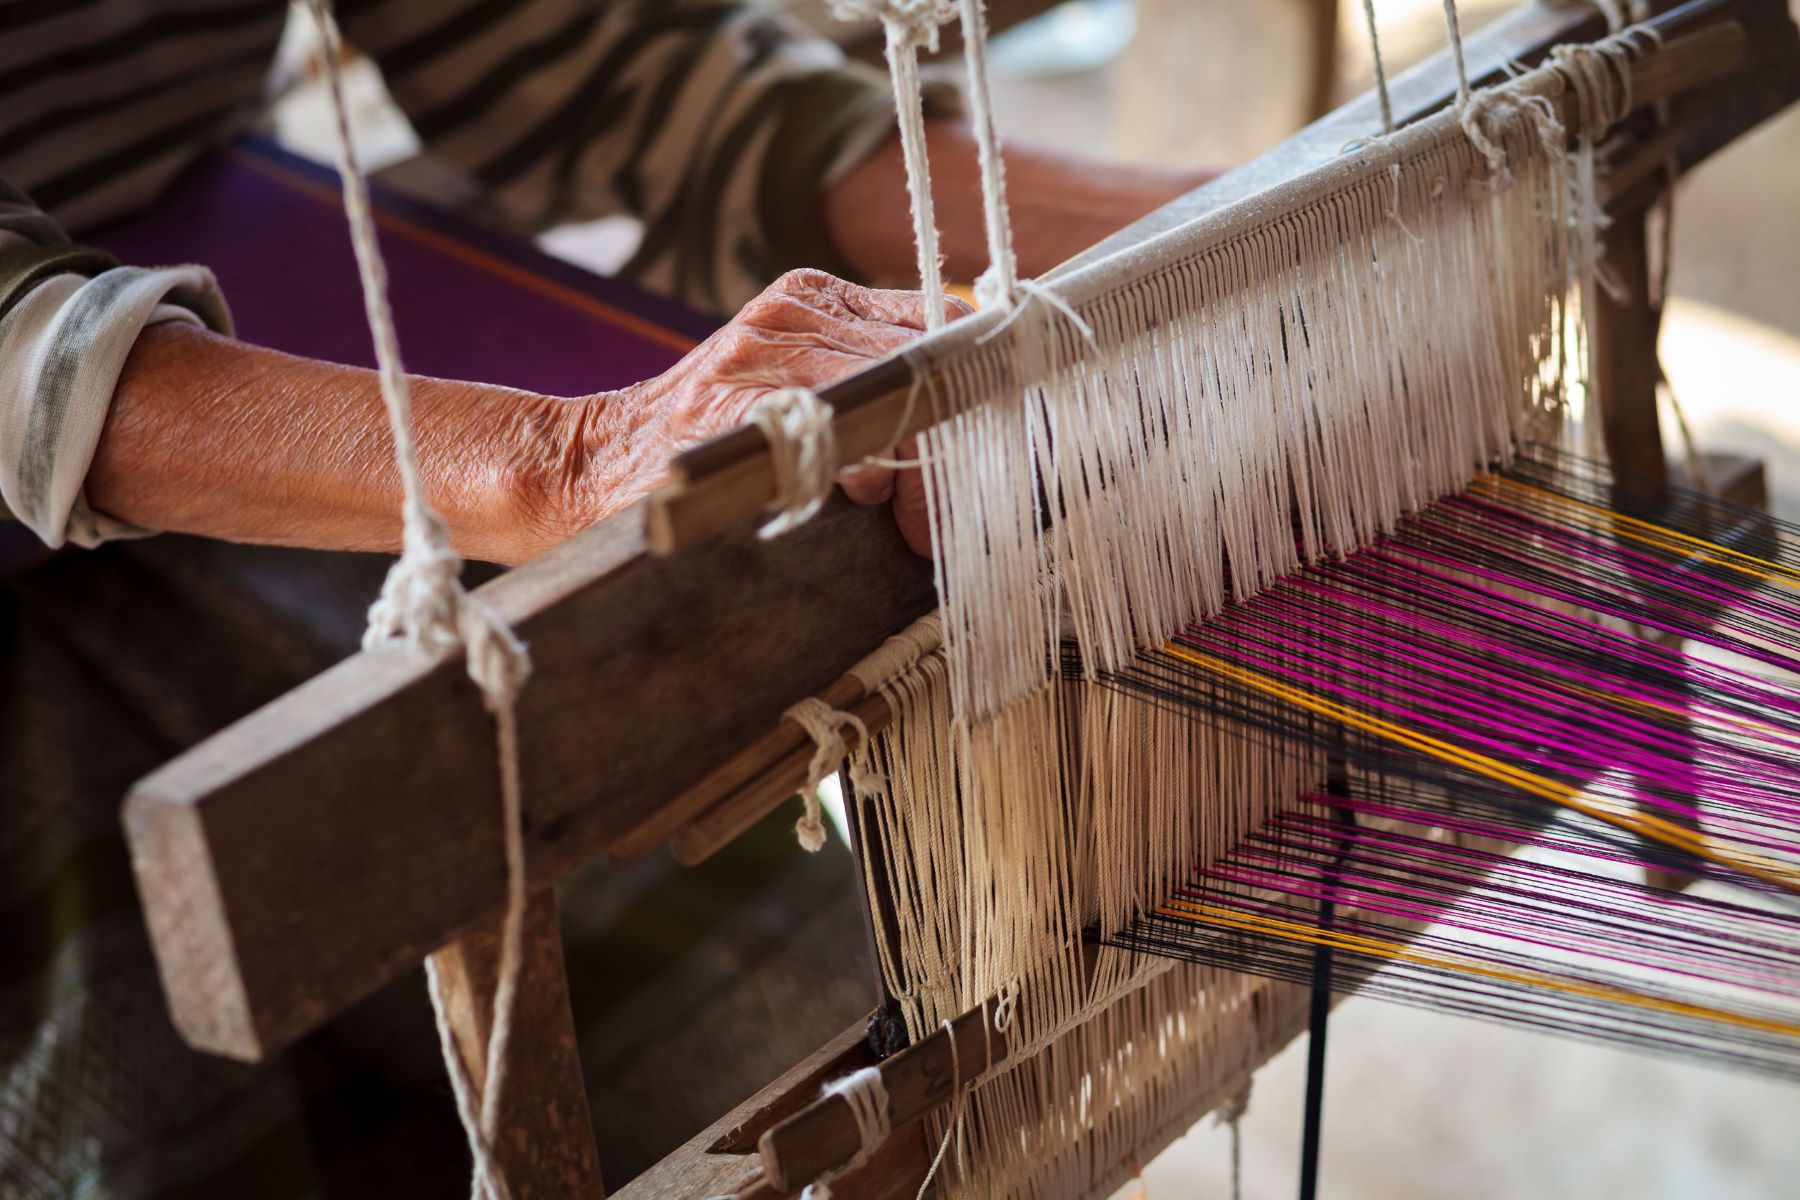
Step 3: Creating the Base
Now that you have your fabric strips prepared, it’s time to create the base for your rag rug. The base provides the foundation for your rug and holds the fabric strips in place. Here are a few methods you can use to create the base:
- Non-Slip Rug Pad: If you want a simple and easy option, a non-slip rug pad can serve as your base. This type of pad will keep your rug in place on the floor and provide a bit of cushioning.
- Canvas: Cut a piece of canvas fabric to your desired size, allowing a few inches extra on each side for the edges. The canvas will provide a durable and sturdy base for your rug.
- Burlap: Similar to canvas, burlap fabric can be used as a base for your rag rug. It has a rustic charm and allows for easy weaving of the fabric strips.
- Old Fabric: If you have a large piece of fabric that you no longer need, repurpose it as the base for your rug. Ensure that it is sturdy enough to withstand the weaving process and hold the fabric strips securely.
Once you have chosen your base material, cut it to the desired size of your rug. Make sure to leave a few extra inches on each side to create a border or fold over the edges for a neat finish.
With the base ready, you’re now ready to move on to the next step: starting your rag rug.
When making rag rugs, be sure to use a non-skid rug mat underneath to prevent slipping and sliding on hard floors. This will help keep the rug in place and prevent accidents.
Read more: How To Make Rag Rugs Crochet
Step 4: Starting the Rug
With your base prepared, it’s time to start weaving the fabric strips and bringing your rag rug to life. Follow these steps to begin:
- Choose a corner: Decide on a corner of your base to start weaving. This will serve as your starting point.
- Secure the fabric strip: Take one of your fabric strips and fold it in half. Insert the folded end through a hole or opening in the corner of the base.
- Create a loop: Pull the loose ends of the fabric strip through the folded end, creating a loop. This loop will anchor the strip to the base.
- Continue looping: Repeat the above step with additional fabric strips, looping them through adjacent holes of the base. Make sure to push the strips close together to create a dense and sturdy rug.
As you progress, gently pull the fabric strips to tighten them against the base. This will ensure that your rug remains secure and doesn’t have any loose or sagging strips.
Continue this looping pattern, working your way across the base from corner to corner. Make sure to keep the fabric strips closely packed together to achieve a uniform and visually appealing rug.
With the starting point established and the weaving process underway, it’s time to move on to the next step: weaving the fabric strips.
Step 5: Weaving the Strips
Now that you have started your rug by anchoring the fabric strips to the base, it’s time to weave them throughout the rug to create a beautiful pattern. Follow these steps to weave the fabric strips:
- Under and Over: Take a fabric strip and weave it under and over the anchored strips. This creates a crisscross pattern and adds texture to your rug.
- Alternate: Repeat the under and over weaving pattern with each successive fabric strip. Alternate the direction of weaving to create a balanced and visually appealing design.
- Pull Tight: As you weave, gently pull the fabric strips tight to ensure a snug fit. This will prevent any loose or sagging fabric, giving your rug a professional finish.
- Clip Excess: If a fabric strip becomes too short to continue weaving, simply clip it close to the rug’s surface and start a new strip. Make sure to anchor the new strip securely to continue the weaving pattern.
Continue weaving the fabric strips, working your way from one edge of the rug to the other. You can experiment with different weaving patterns or stick to a consistent style throughout.
Remember to maintain an even tension as you weave to ensure a consistent and well-shaped rug. This will require some patience and attention to detail, but the end result will be worth it.
With the fabric strips woven through the base, you’re almost done. The final step is to finish the rug and give it that polished, completed look.
Step 6: Finishing the Rug
You’re in the final stretch! It’s time to put the finishing touches on your rag rug. Follow these steps to complete the rug:
- Trim the edges: Once all the fabric strips are woven through the base, take your fabric scissors and carefully trim any excess fabric that extends beyond the edges of the rug. This will give your rug a neat and finished appearance.
- Secure the ends: To prevent the fabric strips from unraveling, secure the ends by knotting them or using fabric glue. This will ensure that your rug maintains its integrity even with regular use.
- Optional: Add a border: If you want to enhance the look of your rug, consider adding a decorative border. This can be done by folding over the edges of the base fabric and sewing or gluing them in place. Experiment with different trims, ribbons, or fringe to personalize your rug.
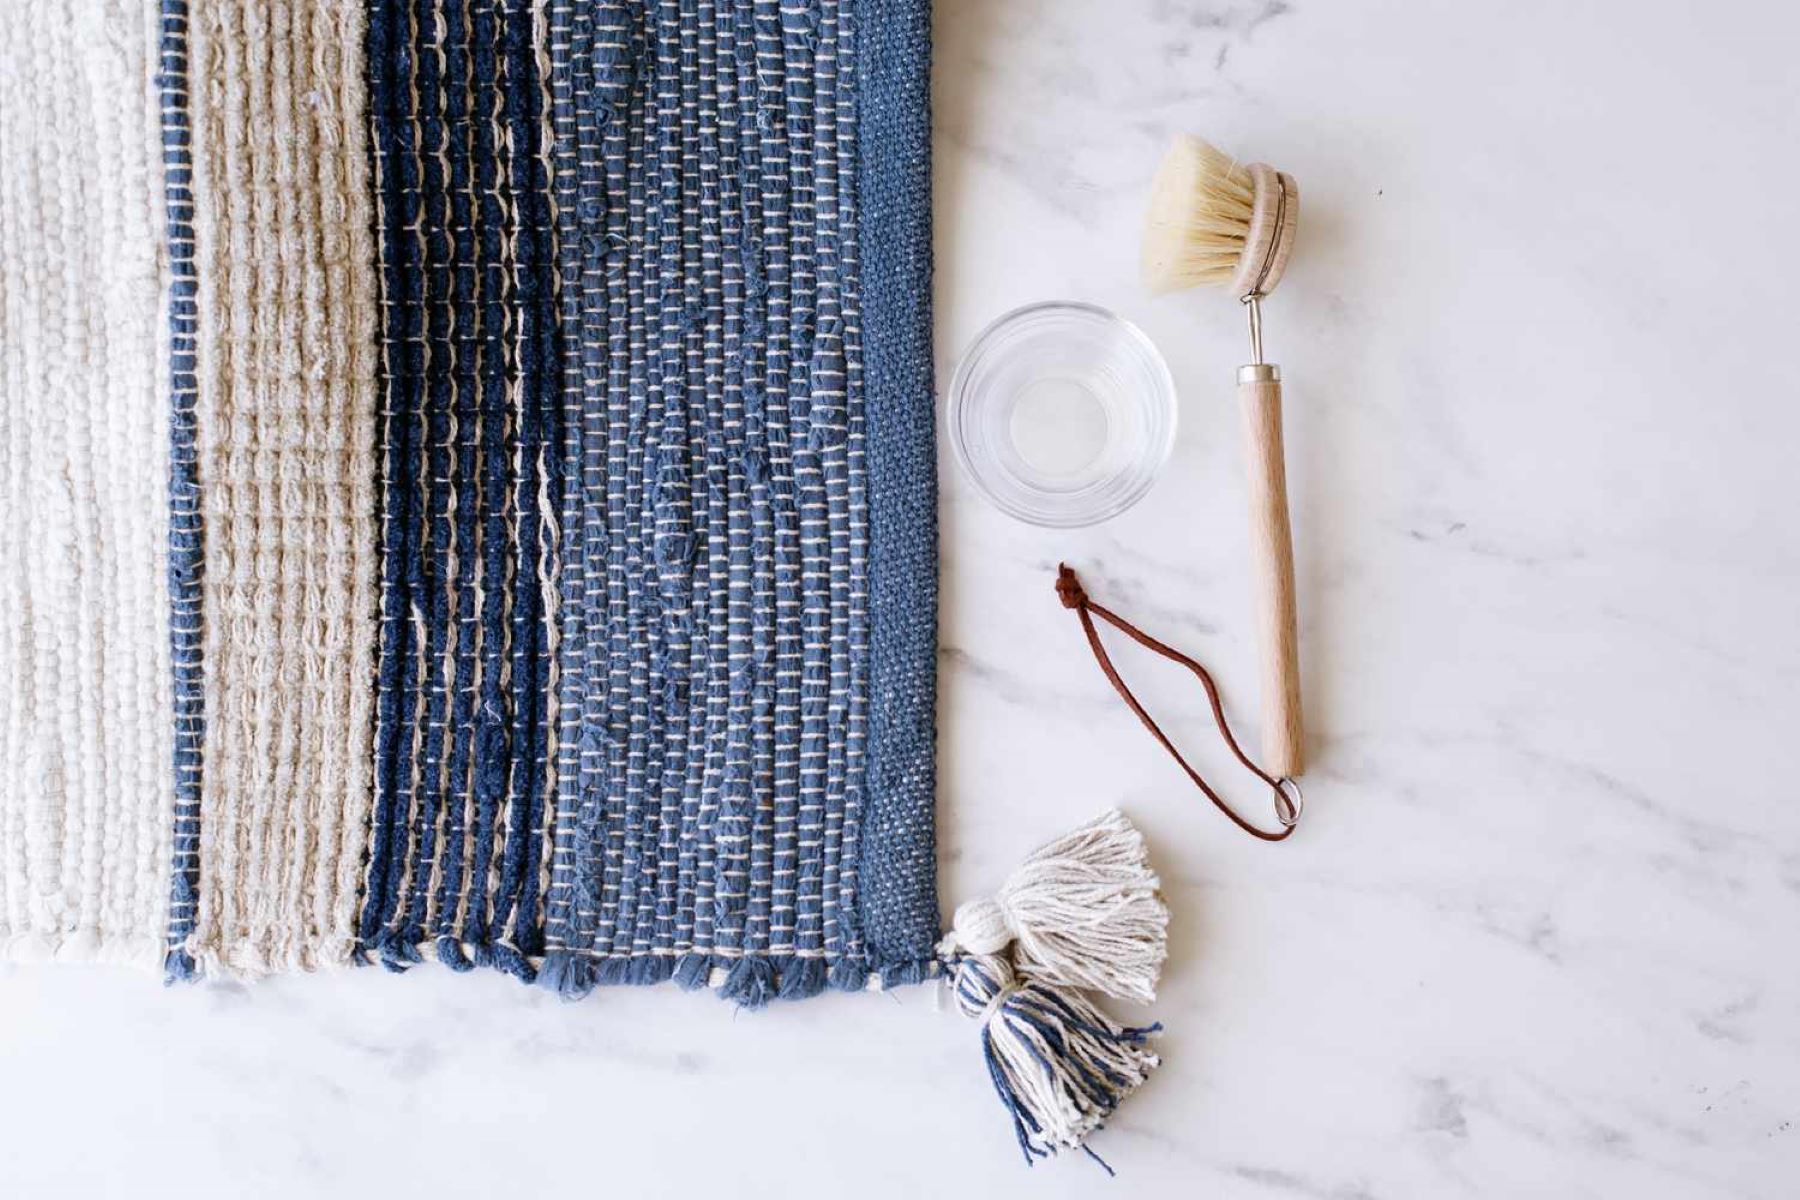
- Clean and flatten: Give your finished rug a thorough clean, whether it’s an initial wash or regular maintenance. Depending on the base material, you can either machine wash it or gently spot clean with a mild detergent. After cleaning, flatten your rug by placing it on a flat surface and pressing it with a heavy object to remove any wrinkles.
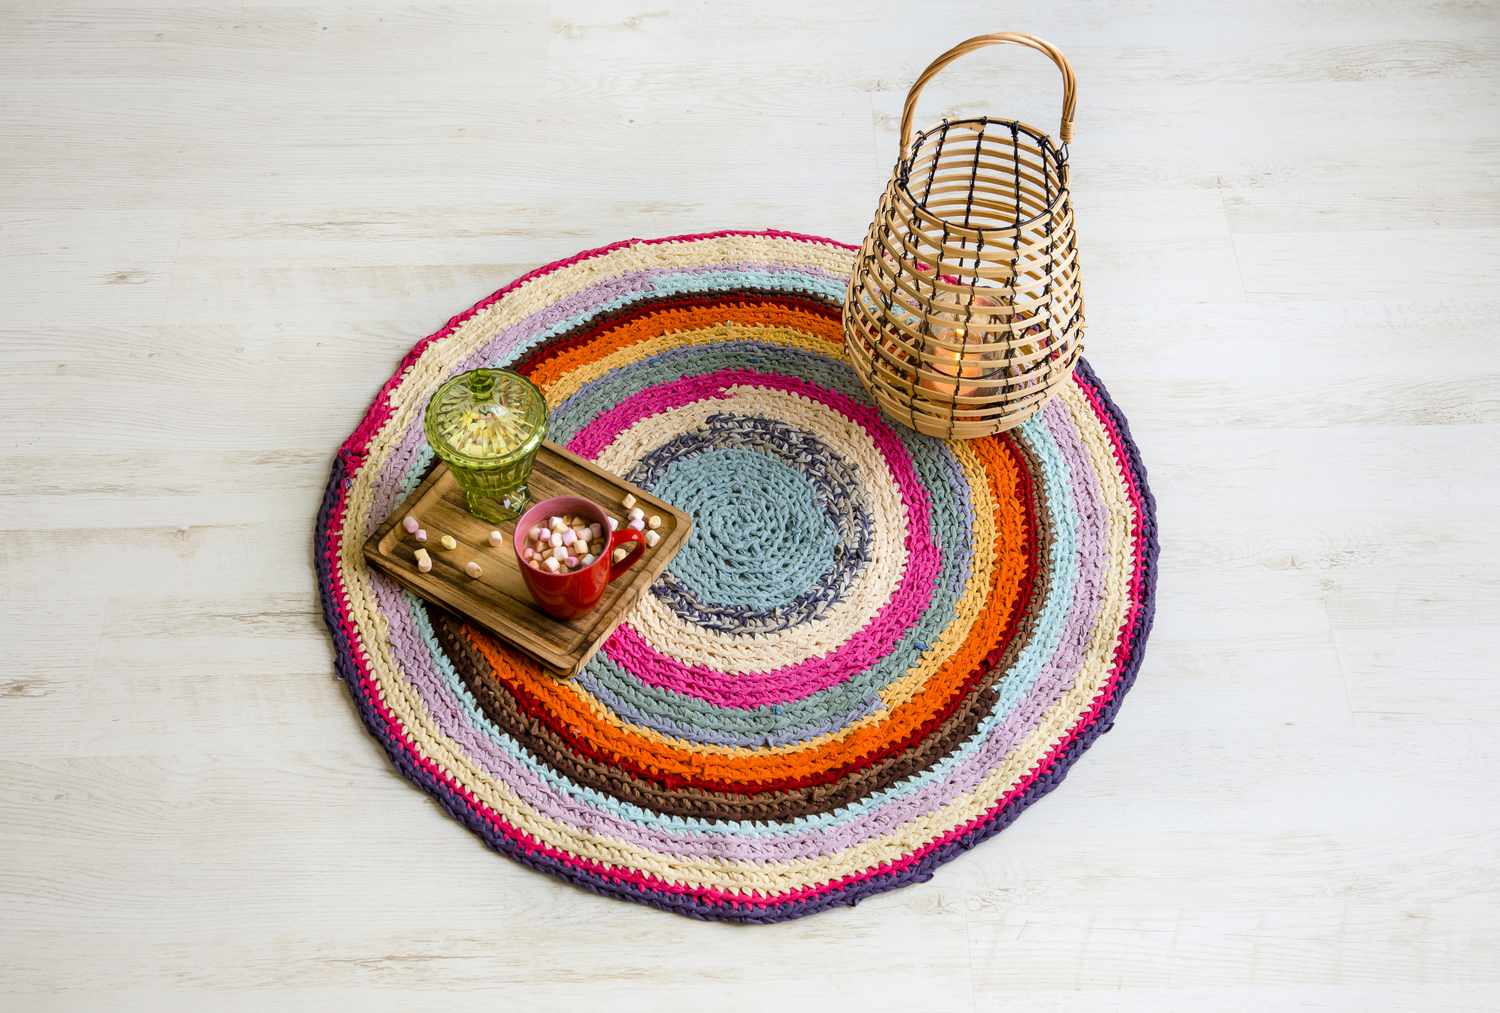
With these final touches complete, step back and admire your handiwork. You have successfully created your very own rag rug!
Remember, making rag rugs can be a creative and enjoyable process. Feel free to experiment with different patterns, colors, and materials to create rugs that reflect your unique style and personality.
Now that you’ve completed your rag rug, find the perfect spot in your home to showcase your creation. Whether it’s in the living room, bedroom, or even a cozy corner, your handmade rug is sure to add warmth and charm to any space.
Congratulations on completing your rug-making journey! Enjoy the satisfaction of knowing that you made something beautiful and sustainable with your own two hands.
Thank you for joining us on this rug-making adventure. We hope you had fun and feel inspired to continue exploring your creativity in other craft projects as well.
Conclusion
Congratulations on completing your rag rug! By following the step-by-step process outlined in this article, you have transformed ordinary fabric scraps into a beautiful and functional piece of home decor. Not only did you create something unique, but you also contributed to sustainability by repurposing materials that may have otherwise been discarded.
Making rag rugs is not only a creative and enjoyable craft, but it also allows you to customize your home with handmade items that reflect your personal style. From choosing the fabric to weaving the strips, every step is an opportunity to infuse your rug with your own artistic flair.
Remember, don’t be afraid to experiment and try out different patterns, colors, and textures. Allow your imagination to guide you and create rugs that are truly one-of-a-kind.
Now that you have the skills to create rag rugs, why not share your newfound knowledge with others? Consider organizing a crafting session with friends or family and guide them through the process. It’s a wonderful way to bond and create lasting memories together.
Rag rugs not only add warmth and character to your living space but also serve as a reminder of the creativity and resourcefulness within each of us. So, take a step back, admire your handiwork, and enjoy the cozy and inviting ambiance that your rag rug brings to your home.
Thank you for joining us on this rug-making journey. We hope you had fun and feel inspired to explore more creative endeavors in the future. Happy crafting!
Frequently Asked Questions about How Do You Make Rag Rugs
Was this page helpful?
At Storables.com, we guarantee accurate and reliable information. Our content, validated by Expert Board Contributors, is crafted following stringent Editorial Policies. We're committed to providing you with well-researched, expert-backed insights for all your informational needs.


0 thoughts on “How Do You Make Rag Rugs”