Furniture
How Do You Make A Lamp
Modified: August 17, 2024
Learn how to make a stunning lamp with our step-by-step guide. Turn your furniture into a functional piece of art and light up any room.
(Many of the links in this article redirect to a specific reviewed product. Your purchase of these products through affiliate links helps to generate commission for Storables.com, at no extra cost. Learn more)
Introduction
Welcome to the world of DIY lamp making! Making your own lamp can be a rewarding and creative project that not only adds a unique touch to your home decor but also allows you to showcase your personal style. Whether you are a seasoned DIY enthusiast or just starting out, this article will guide you through the process of making a lamp from scratch.
Creating your own lamp can be a fun and fulfilling experience. Not only do you get the satisfaction of crafting something with your own hands, but you also have the freedom to choose the materials, design, and style that align with your preferences. Plus, it can be a budget-friendly alternative to buying pre-made lamps.
Throughout this article, we will walk you through the step-by-step process of making a lamp. We will cover everything from gathering the necessary materials to wiring the lamp and attaching the lampshade. So, let’s dive in!
Key Takeaways:
- Create a personalized lamp by choosing a unique base, wiring it safely, and adding a stylish lampshade. Unleash your creativity and showcase your individuality with this fun and rewarding DIY project.
- Transform basic lamp parts into a one-of-a-kind light source that reflects your personal style and taste. Enjoy the warm glow of your homemade lamp and take pride in your craftsmanship and resourcefulness.
Read more: How Do You Make A Loofah
Materials Needed
Before you get started, it’s important to gather all the necessary materials. Here’s a list of the items you’ll need to make your own lamp:
- Lamp Kit: Purchase a lamp kit that includes a lamp socket, cord, and plug. These kits are readily available at hardware stores or online.
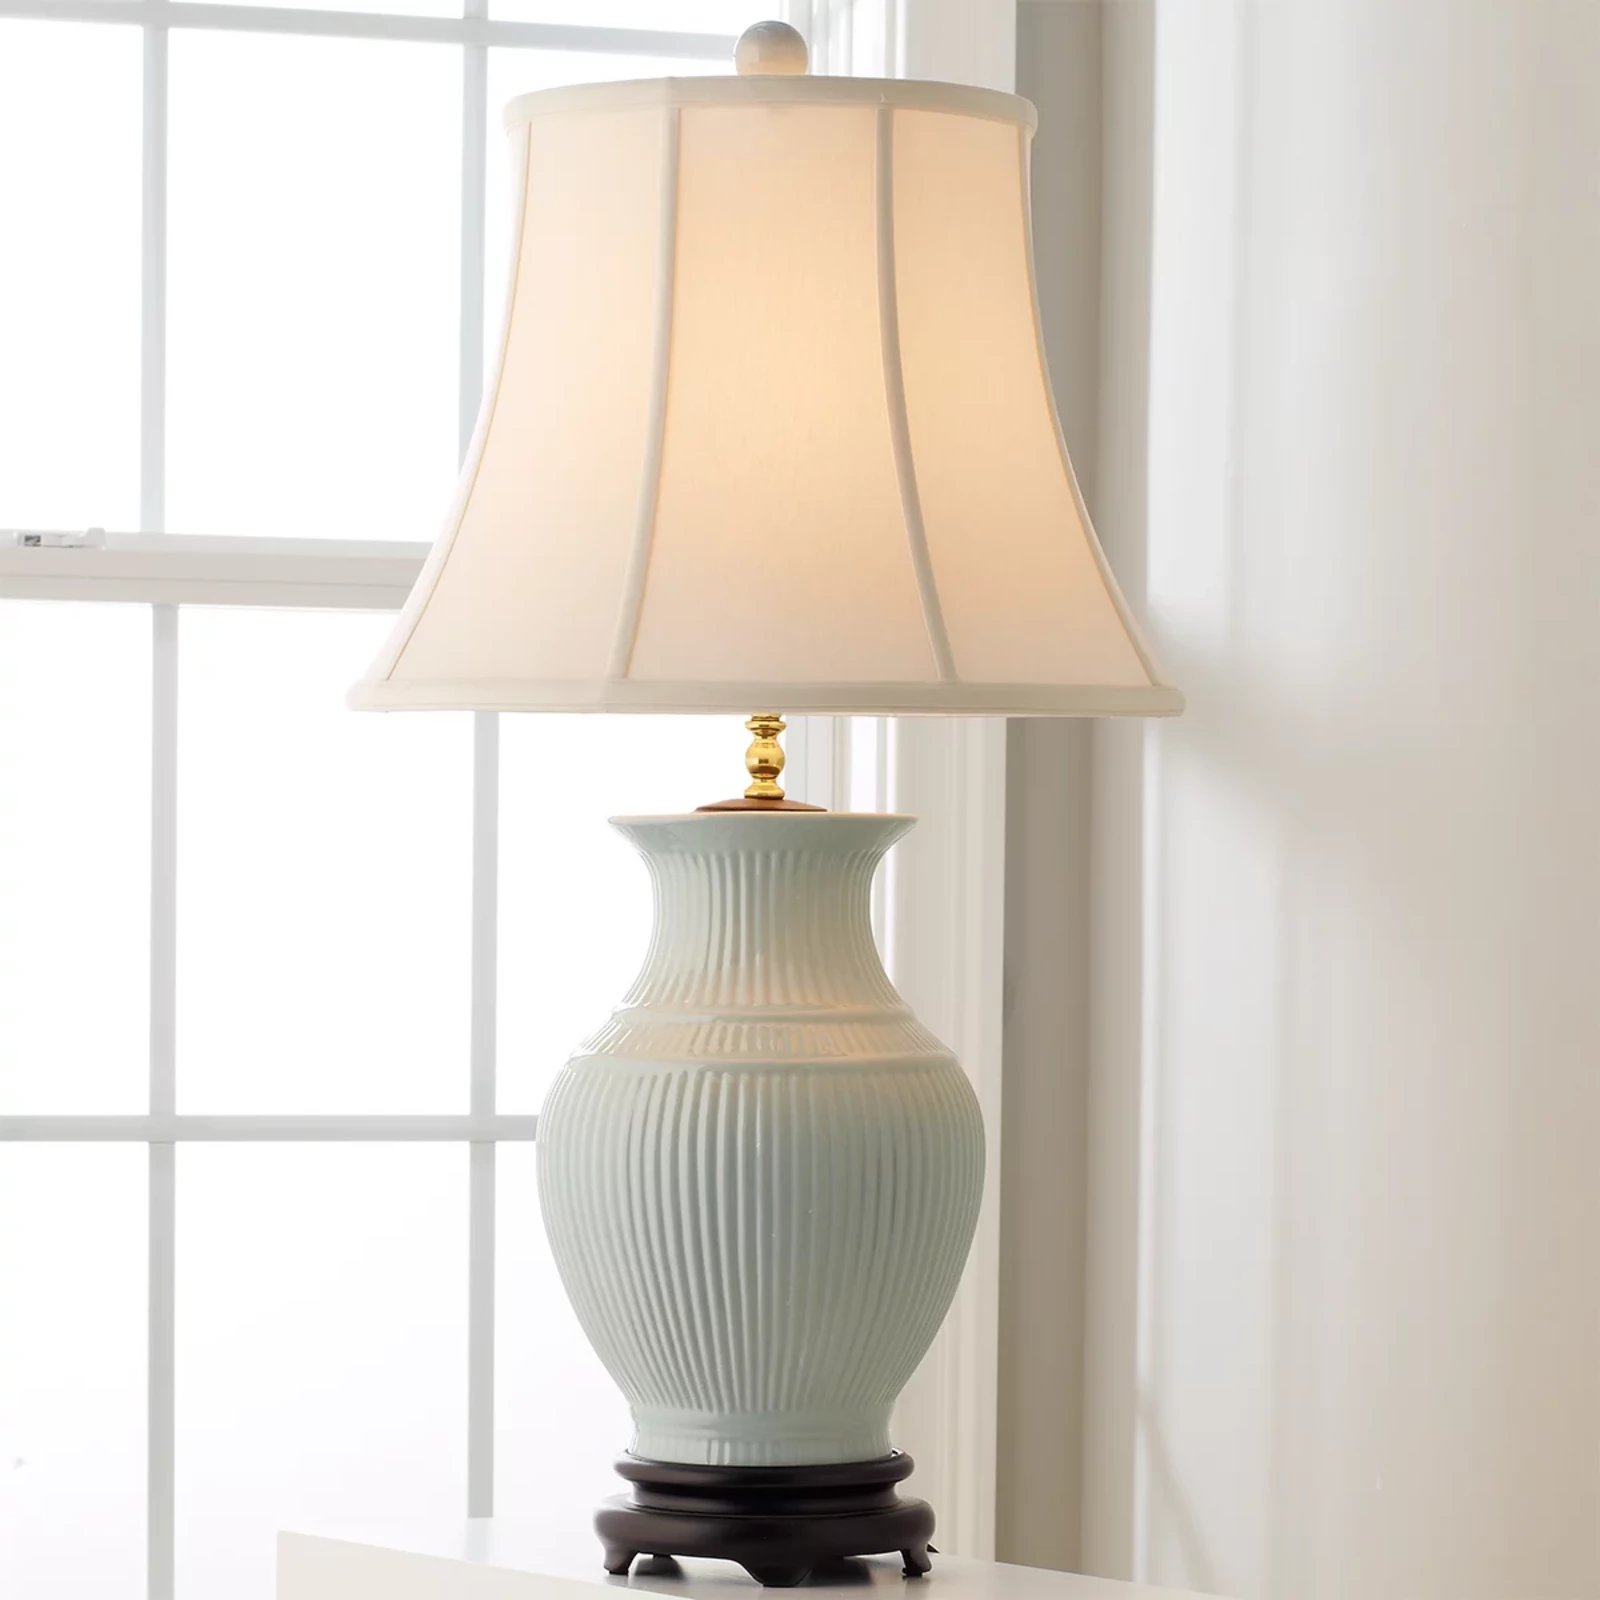
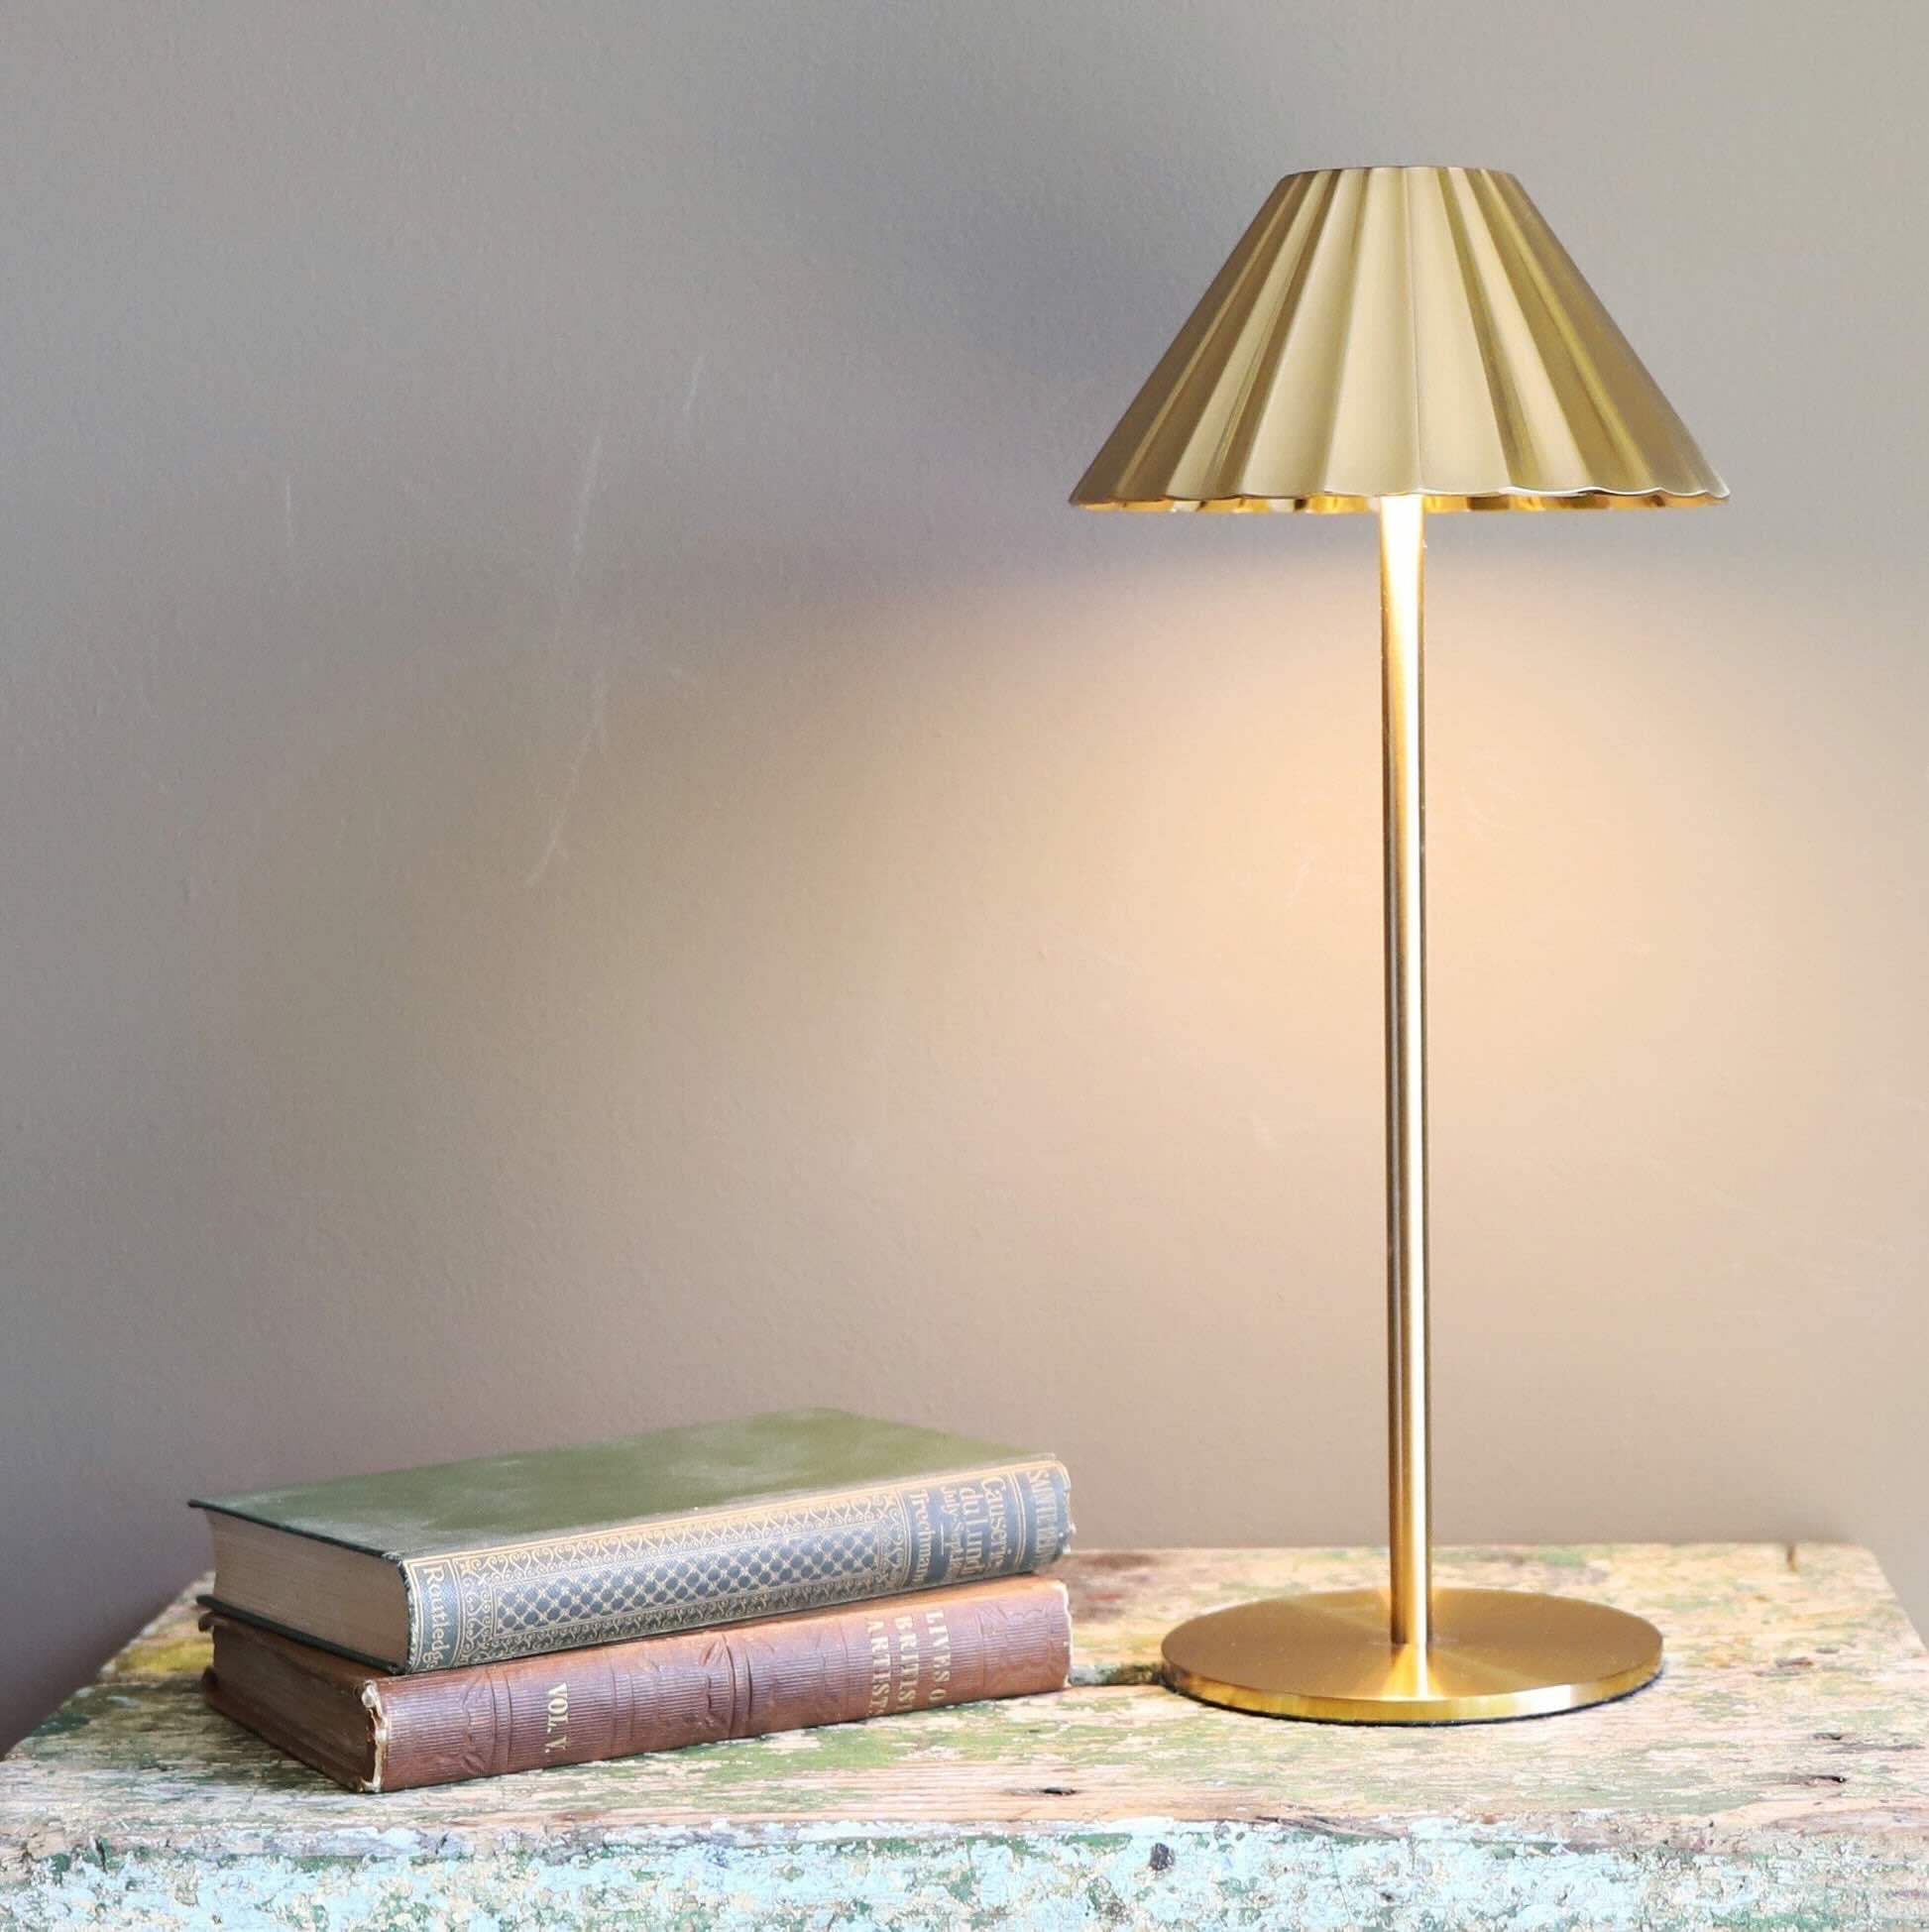
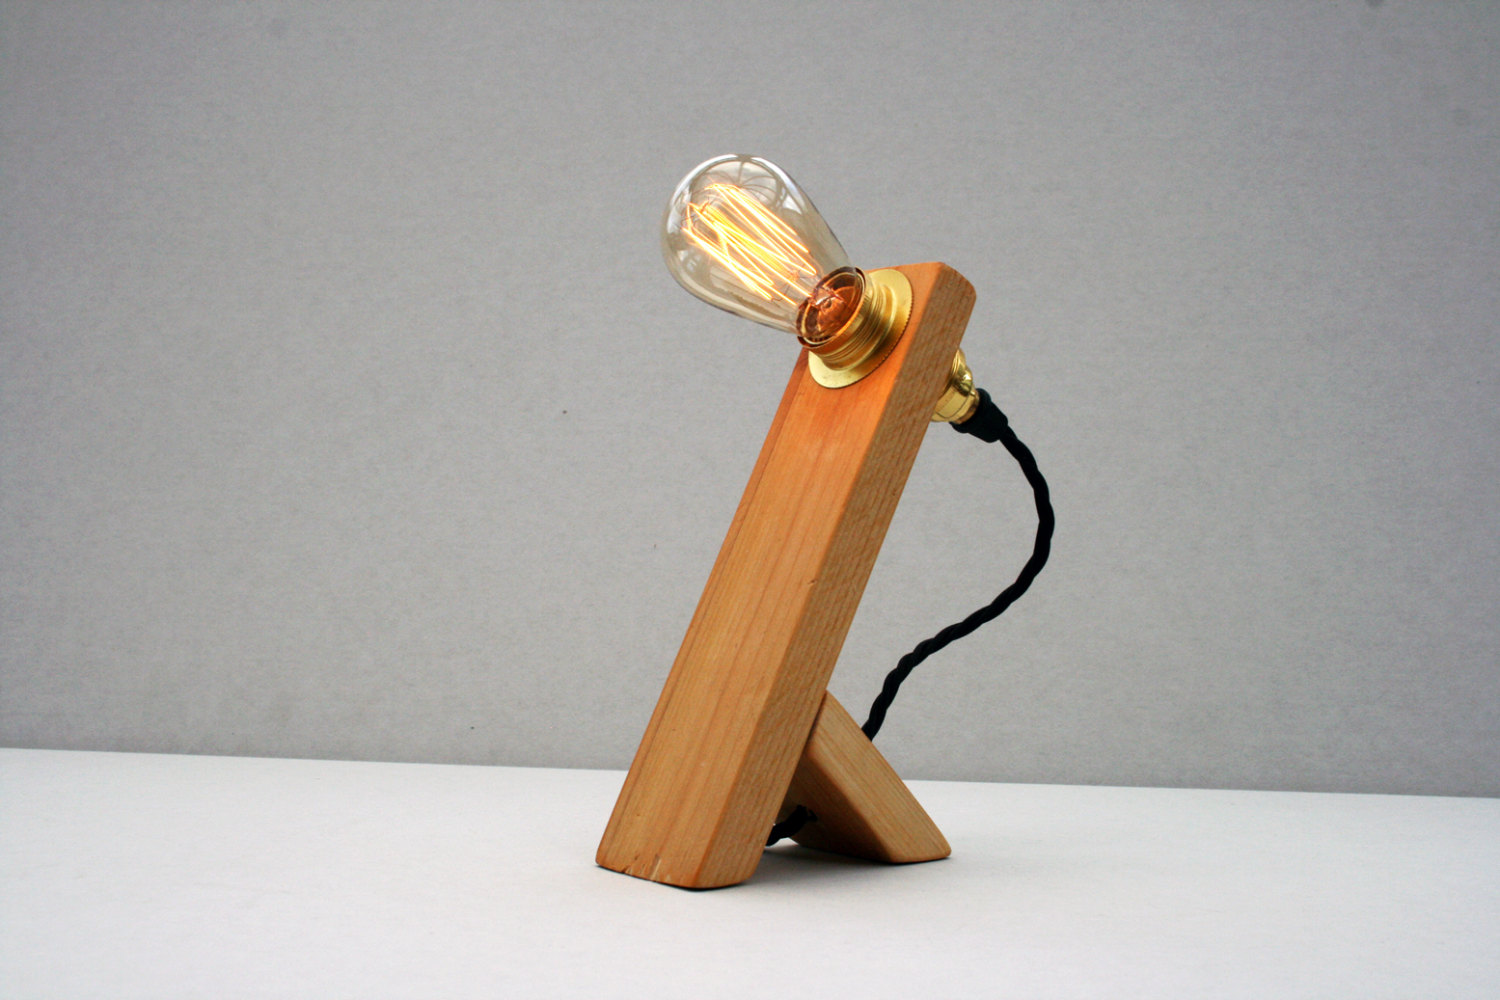
- Lamp Base: Choose a base for your lamp. This can be anything from a wine bottle, a ceramic vase, a wooden block, or even a stack of books. Get creative and pick something that matches your style.
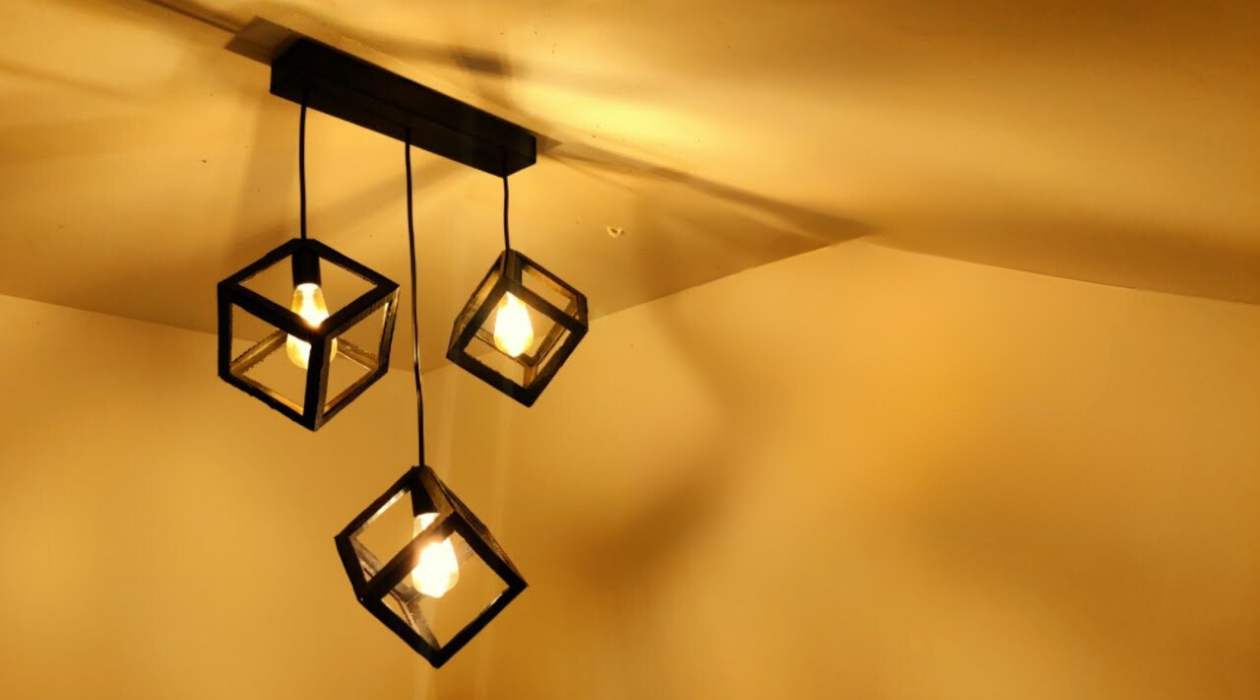
- Lampshade: Select a lampshade that complements your base. You can find a wide variety of lampshades in different sizes, shapes, and materials at home decor stores or online.
- Bulb: Pick a light bulb suitable for your lamp. Consider the wattage, color temperature, and type of bulb (incandescent, LED, etc.) based on your lighting needs.
- Tools: You’ll need a few tools to complete the lamp assembly, such as a screwdriver, wire strippers, pliers, and scissors.
- Decorative Elements: Optional decorative elements like buttons, beads, ribbons, or paint can be used to personalize and embellish your lamp base.
Having these materials readily available will make the DIY lamp-making process much smoother and enjoyable. It’s always a good idea to gather everything before you start so that you can work efficiently without any interruptions.
Step 1: Gather the Lamp Parts
The first step in making your own lamp is to gather all the necessary lamp parts. This includes the lamp base, lamp kit, lampshade, and any additional decorative elements. Let’s go through each part in detail:
Lamp Base: Choose a base for your lamp that suits your style and preferences. As mentioned earlier, this can be a wine bottle, a ceramic vase, a wooden block, or any other object that you find appealing. Make sure the base is stable and can support the weight of the lampshade.
Lamp Kit: A lamp kit typically includes a lamp socket, cord, plug, and sometimes a harp and finial. You can find lamp kits at hardware stores or online. Make sure to check that the kit includes all the necessary components for wiring your lamp.
Lampshade: Select a lampshade that adds an aesthetic touch to your lamp. Consider the size and shape of your lamp base when choosing the lampshade. Explore different materials, colors, and patterns to find the perfect match for your lamp.
Decorative Elements: If you want to add a personal touch to your lamp base, consider using decorative elements. Buttons, beads, ribbons, or even a coat of paint can transform a simple base into a unique and eye-catching piece.
Once you have gathered all the lamp parts, make sure they are clean and in good condition. Inspect the lamp base for any cracks or damage, and check that the lamp kit has all the necessary components. This initial step of gathering the lamp parts will ensure a smooth and organized assembly process.
Step 2: Assemble the Lamp Base
Now that you have gathered all the necessary lamp parts, it’s time to assemble the lamp base. Here’s a step-by-step guide on how to do it:
- Prepare the Lamp Base: Clean the lamp base and remove any labels or stickers. If you are using a bottle or a vase as your base, make sure to remove the cap or stopper.
- Attach the Lamp Socket: Take the lamp socket from the lamp kit and thread the lamp cord through the bottom opening of the socket. Secure the socket to the base by following the instructions provided in the lamp kit. This usually involves using a threaded rod or a nut to secure the socket firmly to the base.
- Wiring the Lamp: Strip the insulation from the ends of the lamp cord using wire strippers. Follow the wiring diagram provided in the lamp kit to connect the wires to the appropriate terminals on the socket. Twist the exposed wires together and secure them with wire nuts.
- Secure the Cord: Use adhesive tape or clips to secure the lamp cord to the base, keeping it neat and out of sight.
- Attach the Harp and Finial: If your lamp kit includes a harp and finial, attach them to the lamp socket according to the instructions provided. The harp holds the lampshade in place, and the finial adds a decorative touch.
Be sure to follow the instructions provided with your lamp kit, as the assembly process may vary slightly depending on the specific kit you purchased. Take your time and double-check your connections to ensure a safe and secure assembly.
Once you have assembled the lamp base, give it a final inspection to make sure everything is securely in place. Congratulations! You are now ready to move on to the next step of wiring the lamp.
When making a lamp, ensure that the electrical components are properly installed and insulated to prevent any risk of fire or electric shock. Always follow safety guidelines and use the appropriate tools and materials.
Step 3: Wire the Lamp
Now that you have assembled the lamp base, it’s time to wire the lamp. Wiring the lamp may seem daunting if you’re not familiar with electrical work, but don’t worry – with the right instructions and precautions, it can be done safely. Follow these steps to wire your lamp:
- Safety First: Before you begin, ensure that the lamp is unplugged and the power source is switched off. Safety should always be your top priority when working with electricity.
- Prepare the Lamp Cord: Measure the length of the lamp cord from the lamp base to the plug. Trim any excess cord, leaving a sufficient length to reach the outlet comfortably. Strip about ½ inch of insulation from the ends of the cord using wire strippers.
- Identify the Wires: Most lamp cords have two wires – one smooth and one ribbed or identified with a color stripe. The smooth wire is the “hot” wire, and the ribbed or stripe wire is the “neutral” wire. Refer to the instructions provided with your lamp kit for any specific color-coding.
- Connect the Wires: Twist together the exposed end of the smooth wire with the brass-colored screw terminal on the lamp socket. Twist together the exposed end of the ribbed wire with the silver-colored screw terminal on the lamp socket. Tighten the screws securely to ensure a proper connection.
- Secure the Wire Connections: After connecting the wires, it’s important to secure them properly. Wrap each wire connection with electrical tape to insulate and prevent any accidental contact.
- Test the Lamp: Before proceeding to the next step, it’s crucial to test the lamp for functionality. Plug in the lamp and turn on the switch to ensure that the bulb lights up properly. If the lamp does not work, double-check your wiring connections and troubleshoot any issues before proceeding.
Remember to always exercise caution and follow proper safety measures when working with electricity. If you are unsure or uncomfortable with wiring the lamp yourself, consult a professional electrician to ensure a safe installation.
Now that the lamp is wired and tested, you are ready to move on to the exciting final step: attaching the lampshade!
Read more: Landscaping: How Much Do You Make
Step 4: Attach the Lampshade
Once you have wired the lamp and tested its functionality, it’s time to complete the look by attaching the lampshade. Follow these steps to attach the lampshade securely:
- Select the Lampshade: Choose a lampshade that complements the style and size of your lamp base. Ensure that the lampshade has a fitting that matches the type of harp or attachment mechanism included in your lamp kit.
- Assemble the Harp: If your lamp kit includes a harp, attach it to the lamp socket by inserting the threaded end of the harp into the designated harp saddle and securing it with a finial nut. The harp holds the lampshade in place, allowing it to sit properly on the lamp base.
- Attach the Lampshade: Carefully position the lampshade on top of the harp, making sure it is centered and straight. Gently push it down onto the harp so that the shade rests securely. The harp should fit snugly into the lampshade’s fitting or bracket.
- Secure the Lampshade: Once the lampshade is correctly positioned, tighten the finial nut on top of the harp to secure the lampshade in place. Make sure not to overtighten, as it may cause damage to the lampshade or the harp.
Take a step back and admire your creation. The lampshade adds the final touch to your homemade lamp, transforming it into a functional and stylish light source. Adjust the lampshade if necessary to ensure it is level and straight.
Remember, the right lampshade can greatly enhance the overall appearance and ambience of your lamp. Choose a shade that complements the decor of the room and diffuses the light in a way that suits your needs.
With the lampshade securely attached, your DIY lamp is now complete and ready to illuminate your space with its unique charm.
Step 5: Test the Lamp
Congratulations! You have reached the final step of making your own lamp. Now it’s time to test your creation and ensure that everything is working perfectly before placing it in its intended location. Follow these steps to test the lamp:
- Double-Check Connections: Before plugging in the lamp, double-check all the wiring connections to ensure they are secure. Ensure that the lamp cord is properly attached to the lamp socket and that there are no loose wires.
- Plug in the Lamp: Insert the plug of the lamp cord into a nearby electrical outlet. Make sure the outlet is in good condition and functioning properly.
- Switch on the Lamp: Turn on the lamp by flipping the switch located on the lamp socket. If there is a switch on the cord itself, ensure it is in the “On” position.
- Check the Light: Observe the lamp and ensure that the light bulb illuminates properly. If the bulb does not light up, double-check the connections and troubleshoot any potential issues. It could be a faulty bulb, a loose connection, or an issue with the electrical supply.
- Adjust the Lighting: Assess the desired lighting effect of the lamp by adjusting the lampshade or using a dimmer switch, if available. This will allow you to create the perfect ambiance in your space.
If everything is working as expected, congratulations! Your DIY lamp is successfully completed and ready to be enjoyed. Admire the fruits of your labor and appreciate the uniqueness and personal touch that it brings to your home decor.
If you encounter any issues during the testing phase, carefully inspect the wiring, connections, and bulb. Make sure there are no loose wires, frayed cords, or faulty components. If you are unable to resolve the problem on your own, it is advisable to seek the assistance of a professional electrician for further troubleshooting.
Remember, safety is of utmost importance when working with electrical appliances. Always exercise caution and follow proper safety guidelines when testing and operating your lamp.
Once you have successfully tested your lamp, it’s time to find the perfect spot to showcase its beauty and enjoy the warm illumination it provides.
Conclusion
Congratulations on completing your DIY lamp-making journey! By following the step-by-step process outlined in this article, you have transformed basic lamp parts into a unique and personalized light source that adds style and functionality to your space.
Creating your own lamp allows you to unleash your creativity and showcase your individuality. From choosing the lamp base to wiring the lamp and attaching the lampshade, each step has contributed to the creation of a one-of-a-kind piece that reflects your personal style and taste.
Remember, safety is paramount when working with electricity. Always follow proper precautions and consult a professional if you have any concerns or uncertainties about the wiring process.
Your DIY lamp not only illuminates your space but also serves as a beautiful decoration that enhances the overall ambiance of the room. Whether it’s in the living room, bedroom, or office, your homemade lamp will undoubtedly become a conversation starter and a source of pride.
Take a moment to appreciate the effort and craftsmanship you put into creating your lamp. It is a testament to your creativity, resourcefulness, and ability to bring your ideas to life. Plus, making your own lamp can be a cost-effective alternative to purchasing pre-made lamps, allowing you to save money while still achieving a personalized look.
Now that you have completed your lamp-making project, continue to explore the world of DIY and unleash your creativity in other endeavors. Who knows what amazing crafts and creations you will come up with next!
Enjoy the warm and inviting glow of your DIY lamp, and may it bring joy and inspiration to your space for years to come.
Frequently Asked Questions about How Do You Make A Lamp
Was this page helpful?
At Storables.com, we guarantee accurate and reliable information. Our content, validated by Expert Board Contributors, is crafted following stringent Editorial Policies. We're committed to providing you with well-researched, expert-backed insights for all your informational needs.