Articles
How To Make Shaggy Rag Rugs
Modified: December 7, 2023
Discover the best techniques and tips for making stylish and cozy shaggy rag rugs in our informative articles. Start crafting your own unique rugs today!
(Many of the links in this article redirect to a specific reviewed product. Your purchase of these products through affiliate links helps to generate commission for Storables.com, at no extra cost. Learn more)
Introduction
Welcome to our comprehensive guide on how to make shaggy rag rugs! If you’re looking to add a cozy and rustic touch to your home decor, shaggy rag rugs are a fantastic choice. Not only are they easy to make, but they also repurpose old fabric scraps, making them an eco-friendly project.
In this article, we will walk you through the step-by-step process of creating your own shaggy rag rug. From choosing the right fabric to finishing the edges, we’ve got you covered. So let’s dive in and get started!
Before we begin, let’s gather the materials you’ll need for this project:
Key Takeaways:
- Transform old fabric scraps into a cozy shaggy rag rug with this comprehensive guide. Repurpose materials, reduce waste, and showcase your creativity while adding a rustic touch to your home decor.
- Select fabrics, cut strips, and secure them to the base to create a durable and visually appealing shaggy rag rug. Add final touches, showcase your creation, and enjoy the cozy charm it brings to your living space.
Read more: How To Make A Rag Quilt
Materials Needed
- Old fabric scraps or old T-shirts
- Scissors
- Rug base (can be a canvas or non-slip rug pad)
- Rug gripper tape
- Needle and thread (optional)
- Ruler or measuring tape
- Marker or fabric chalk
Now that you have your materials ready, let’s move on to the first step of making your shaggy rag rug.
Key Takeaways:
- Transform old fabric scraps into a cozy shaggy rag rug with this comprehensive guide. Repurpose materials, reduce waste, and showcase your creativity while adding a rustic touch to your home decor.
- Select fabrics, cut strips, and secure them to the base to create a durable and visually appealing shaggy rag rug. Add final touches, showcase your creation, and enjoy the cozy charm it brings to your living space.
Read more: How To Make A Rag Quilt
Materials Needed
Before we embark on creating your beautiful shaggy rag rug, it’s essential to gather all the necessary materials. Don’t worry; you won’t need anything too fancy. Most of these items can be found around your home or easily purchased at a craft store.
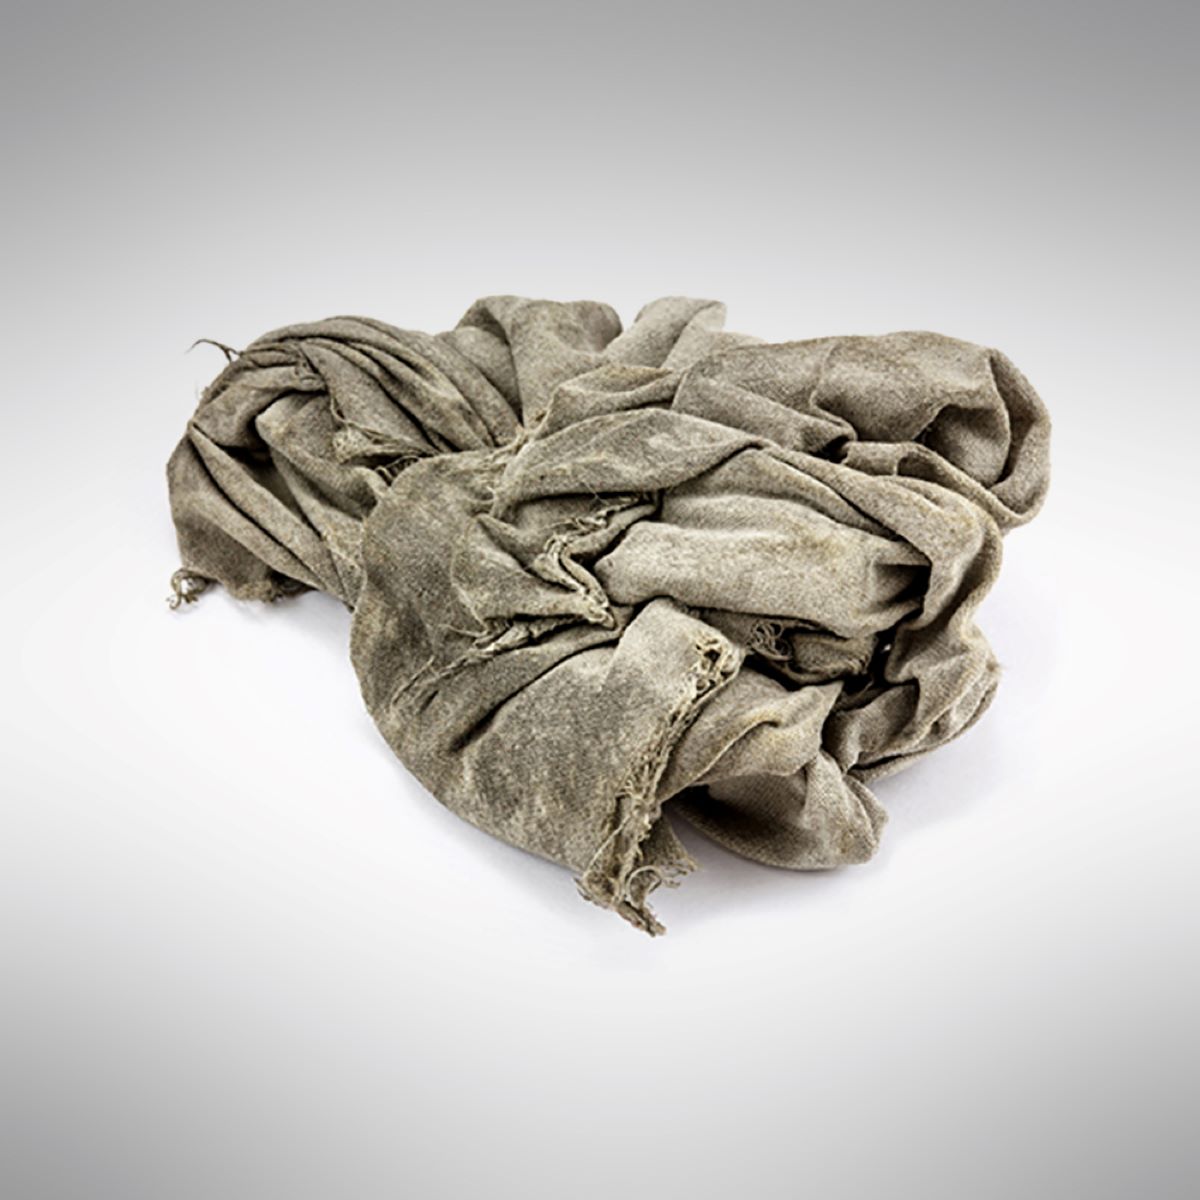
- Old fabric scraps or old T-shirts: Look around your house for any old, unused fabric. This can include old clothes, bedsheets, or even curtains. The key is to find fabric that is no longer needed but still in good condition.
- Scissors: A sharp pair of fabric scissors is essential for cutting the fabric into strips. Make sure they are comfortable to hold, as you’ll be using them quite a bit throughout the project.
- Rug base: You have a few options when it comes to the base of your rag rug. One popular choice is using a canvas drop cloth or a non-slip rug pad. The size of the base will depend on how large you want your rug to be. You can find these materials at your local home improvement or craft store.
- Rug gripper tape: This tape is used to secure the rug to the floor and prevent it from slipping. It’s an optional but helpful addition to ensure your rug stays in place.
- Needle and thread (optional): If you prefer a more secure finish, you can use a needle and thread to stitch the fabric strips together. This step is not necessary for a shaggy rug, but it can provide extra durability if desired.
- Ruler or measuring tape: Accurate measurements are essential for creating a neat and even rug. A ruler or measuring tape will come in handy for measuring and marking the fabric strips.
- Marker or fabric chalk: You’ll need a marker or fabric chalk to mark the fabric strips before cutting them. This will help ensure consistency in the length and width of the strips.
With all the materials gathered, you’re now ready to dive into the creative process of making your shaggy rag rug. Let’s move on to the next step: choosing the fabric.
Step 1: Choosing the fabric
The first step in making your shaggy rag rug is to choose the fabric. This is where your creativity can shine, as you have the opportunity to repurpose old fabric scraps or give new life to unused clothing items. The fabric you select will determine the overall style, color palette, and texture of your rug.
When choosing fabric for your shaggy rag rug, keep the following factors in mind:
- Color: Consider the color scheme of the room where the rug will be placed. You can opt for bold and vibrant colors to make a statement or choose neutral tones for a more subtle look. Mixing different shades and patterns can also add visual interest to the rug.
- Texture: Think about the desired texture of your rug. Different fabrics will create varying textures, from soft and smooth to more textured and rough. Experiment with different fabric types to achieve the desired tactile experience.
- Durability: Consider the durability of the fabric, especially if the rug will be placed in a high-traffic area. Fabrics like denim or canvas are sturdier and can withstand more wear and tear compared to delicate fabrics like silk.
- Theme or style: If you have a specific theme or style in mind for your room decor, select fabric that complements it. For example, if you have a rustic or bohemian style, consider using burlap or textured cotton fabrics.
- Size: Evaluate the size of your fabric scraps or old clothing items. If they are too small, you may need to sew them together to create larger strips. Alternatively, you can embrace the patchwork look and mix different fabric sizes.
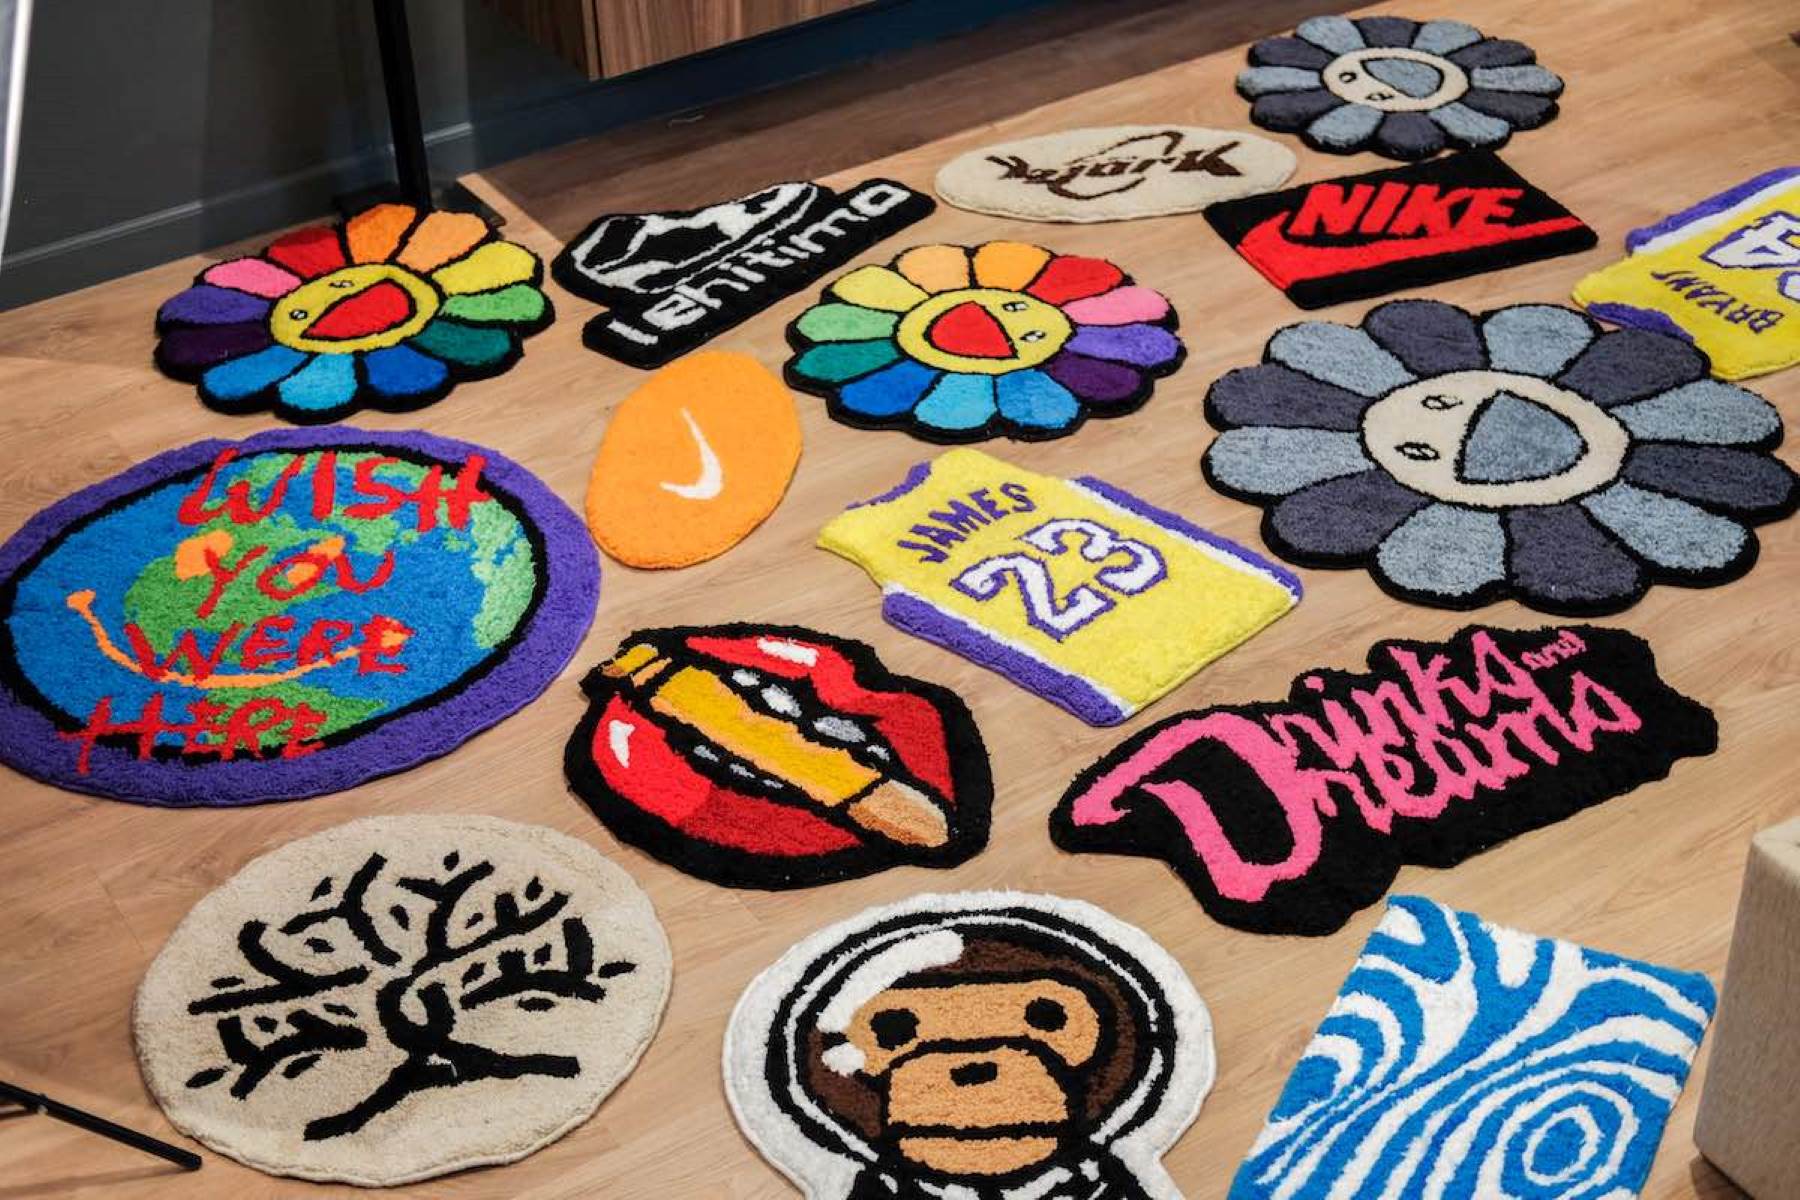
Remember, the beauty of shaggy rag rugs lies in the eclectic mix of colors and textures. Don’t be afraid to experiment and mix different fabrics to create a unique and visually appealing rug.
Once you have chosen your fabric, it’s time to move on to the next step: preparing the fabric for the rug-making process.
Step 2: Preparing the fabric
Now that you’ve chosen the fabric for your shaggy rag rug, it’s time to prepare it for the rug-making process. This step involves cleaning the fabric and cutting it into strips of the desired length and width.
Follow these steps to prepare your fabric:
- Clean the fabric: Before cutting the fabric into strips, make sure it’s clean. If you’re using old clothing items, wash them according to their care instructions. This will remove any dirt or stains and ensure that your rug looks fresh and clean.
- Smooth out the fabric: Iron the fabric to remove any wrinkles or creases. This will make it easier to cut and work with.
- Measure and mark: Use a ruler or measuring tape to measure and mark the desired length and width of the fabric strips. For a shaggy rug, a common width is around 1 to 1.5 inches, but feel free to adjust it according to your preference.
- Cut the fabric: Using sharp fabric scissors, cut along the marked lines to create the fabric strips. Take your time and ensure clean and even cuts. Repeat this process for all the fabric pieces you’ll be using.
- Check the length: Once you’ve cut a few strips, check the length to ensure they’re consistent. Trim any uneven ends so that all the strips are the same length.
As you’re cutting the fabric into strips, remember that the length and width of the strips will affect the final look and feel of your shaggy rag rug. Longer strips will create a shaggier appearance, while shorter strips will result in a more compact texture.
Now that the fabric is prepared, it’s time to move on to the next step: cutting the fabric strips. Stay tuned!
Read also: 15 Incredible Rag Rugs for 2025
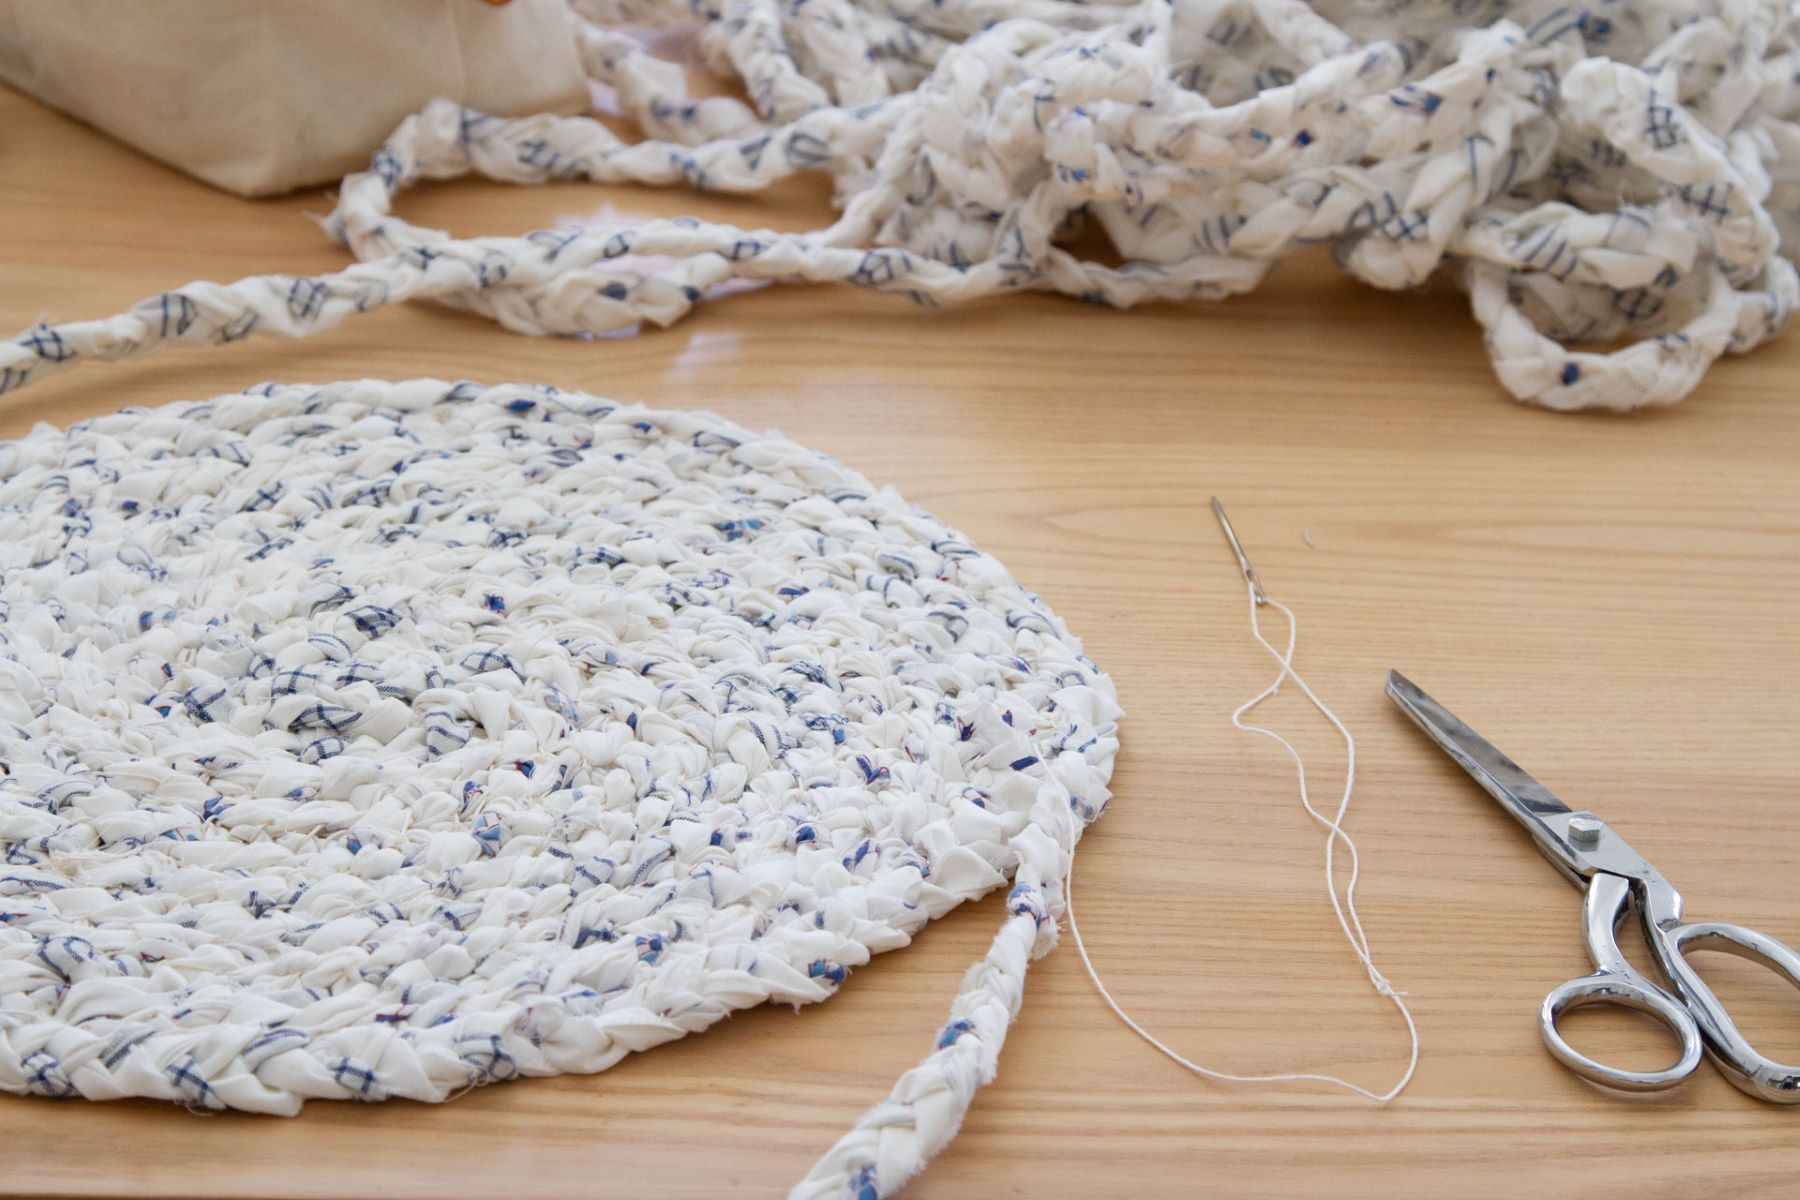
Step 3: Cutting the fabric
Now that you have your fabric prepared, it’s time to cut it into the desired fabric strips. These strips will serve as the building blocks for your shaggy rag rug. The length and width of the strips will determine the overall thickness and texture of the finished rug.
Follow these steps to cut the fabric into strips:
- Choose the strip width: Decide on the width of your fabric strips. A common width for a shaggy rag rug is around 1 to 1.5 inches. You can adjust this according to your preference to achieve a denser or fluffier texture.
- Measure and mark: Use a ruler or measuring tape to measure and mark the width on the fabric strips. You can use a marker or fabric chalk to make this process easier.
- Cut the fabric: Using sharp fabric scissors, carefully cut along the marked lines to create your fabric strips. Take your time to ensure clean and straight cuts. Repeat this process for all the fabric pieces you’re working with.
- Check the length: Once you’ve cut a few strips, check their length to ensure they’re consistent. Trim any uneven ends so that all the strips are the same length. This will ensure a tidy and neat appearance for your finished rug.
- Continue cutting: Repeat the process of measuring and cutting until you have enough fabric strips to cover the desired size of your rug. It’s better to cut more strips than you think you’ll need, as it’s always easier to trim the excess later on than to run out of strips and have to cut more in the middle of the project.
Remember, the length and width of your fabric strips will directly impact the final appearance of your shaggy rag rug. You can experiment with different strip widths and lengths to achieve the desired texture and thickness.
Now that you have your fabric strips ready, it’s time to move on to the next step: preparing the base for your shaggy rag rug. Let’s keep the momentum going!
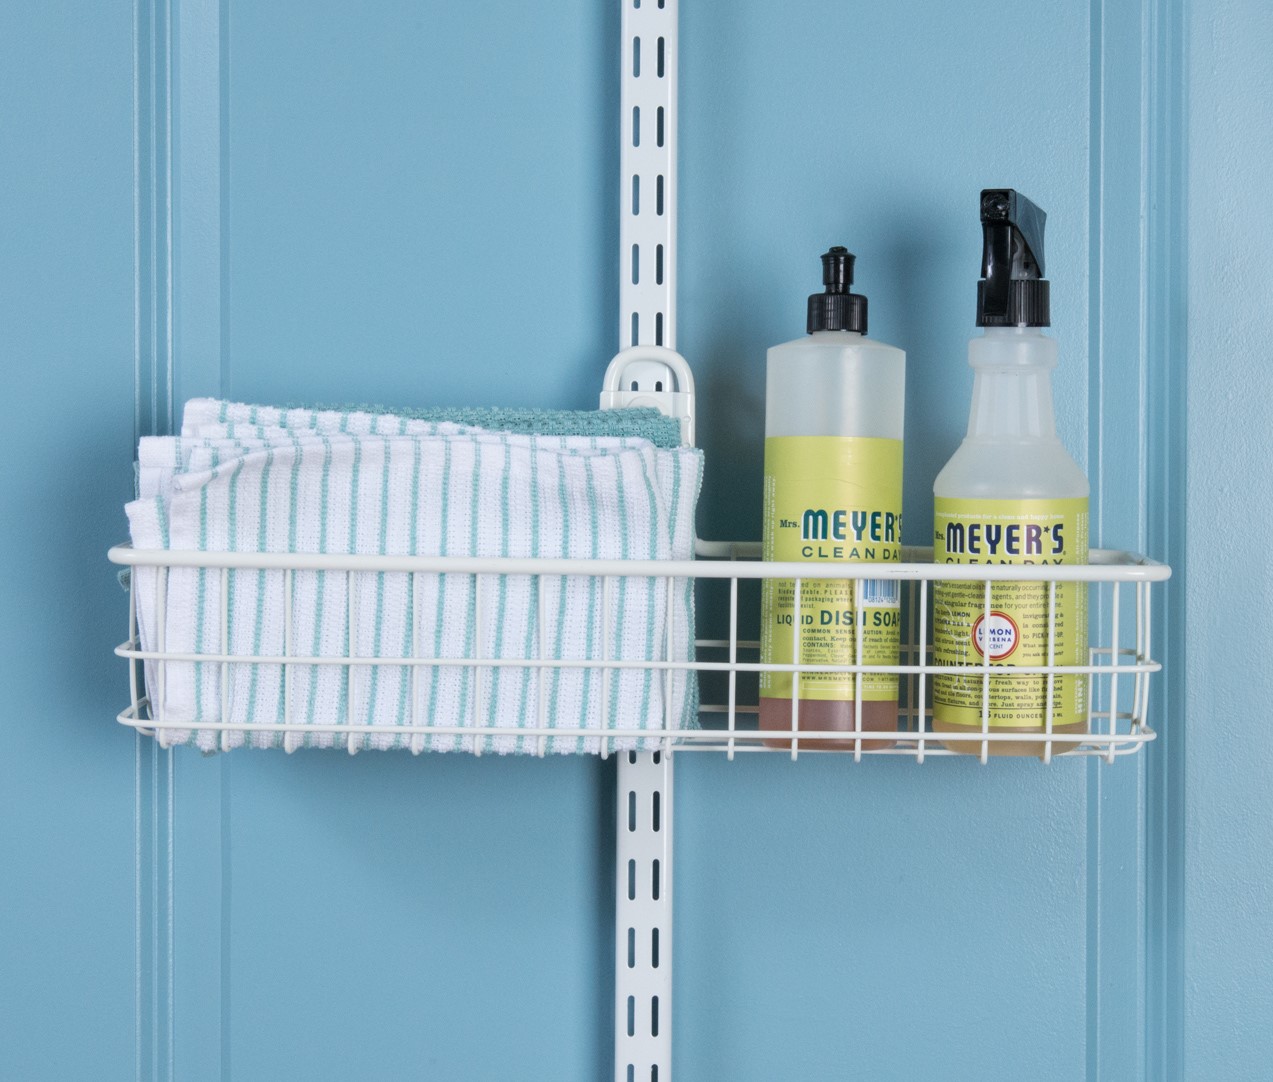
When making shaggy rag rugs, be sure to use a non-skid rug mat underneath to prevent slipping and sliding on hard floors.
Step 4: Preparing the base
With your fabric strips cut and ready to go, it’s time to prepare the base for your shaggy rag rug. The base will provide structure and stability to your rug, ensuring that it stays in place and maintains its shape over time. There are a few different options for the base of your rug, depending on your preference and availability of materials.
Follow these steps to prepare the base for your shaggy rag rug:
- Select a base: Choose a base material for your rug. One popular choice is a canvas drop cloth, which provides a sturdy and durable foundation. Alternatively, you can use a non-slip rug pad, which ensures that your rug stays in place on smooth surfaces.
- Measure and mark: Lay your base material flat on the floor and use a ruler or measuring tape to measure out the desired dimensions for your rug. Mark the measurements with a marker or fabric chalk.
- Cut the base: Use fabric scissors or a utility knife to cut along the marked lines, trimming the base material to the correct size. Take your time to ensure clean and straight cuts.
- Secure the edges: If you’re using a canvas drop cloth, fold over the edges of the base material and use a sewing machine or needle and thread to create a finished edge. This will prevent fraying and give your rug a polished look. If you’re using a non-slip rug pad, it usually comes with pre-finished edges, so no additional sewing or trimming is necessary.
Preparing the base of your shaggy rag rug is an important step to ensure the longevity and stability of your finished piece. Take the time to measure accurately and secure the edges for a professional result.
Now that the base is prepared, it’s time to move on to the exciting part: starting the shaggy rug-making process. Stay tuned for the next step!
Step 5: Starting the shaggy rug
Now that you have your fabric strips and the base of your shaggy rag rug prepared, it’s time to start assembling the rug. In this step, you will begin attaching the fabric strips to the base to create the shaggy texture and design.
Follow these steps to start your shaggy rag rug:
- Position the base: Lay your prepared base flat on the floor or a large work surface. Make sure it’s clean and free from any debris.
- Secure the base: If you’re using a canvas drop cloth base, use rug gripper tape or a similar adhesive material to secure the rug to the floor. This will prevent it from moving around as you work on it. Skip this step if you’re using a non-slip rug pad.
- Choose a corner: Select one corner of the base to start attaching the fabric strips. This will be your starting point for creating the shaggy texture.
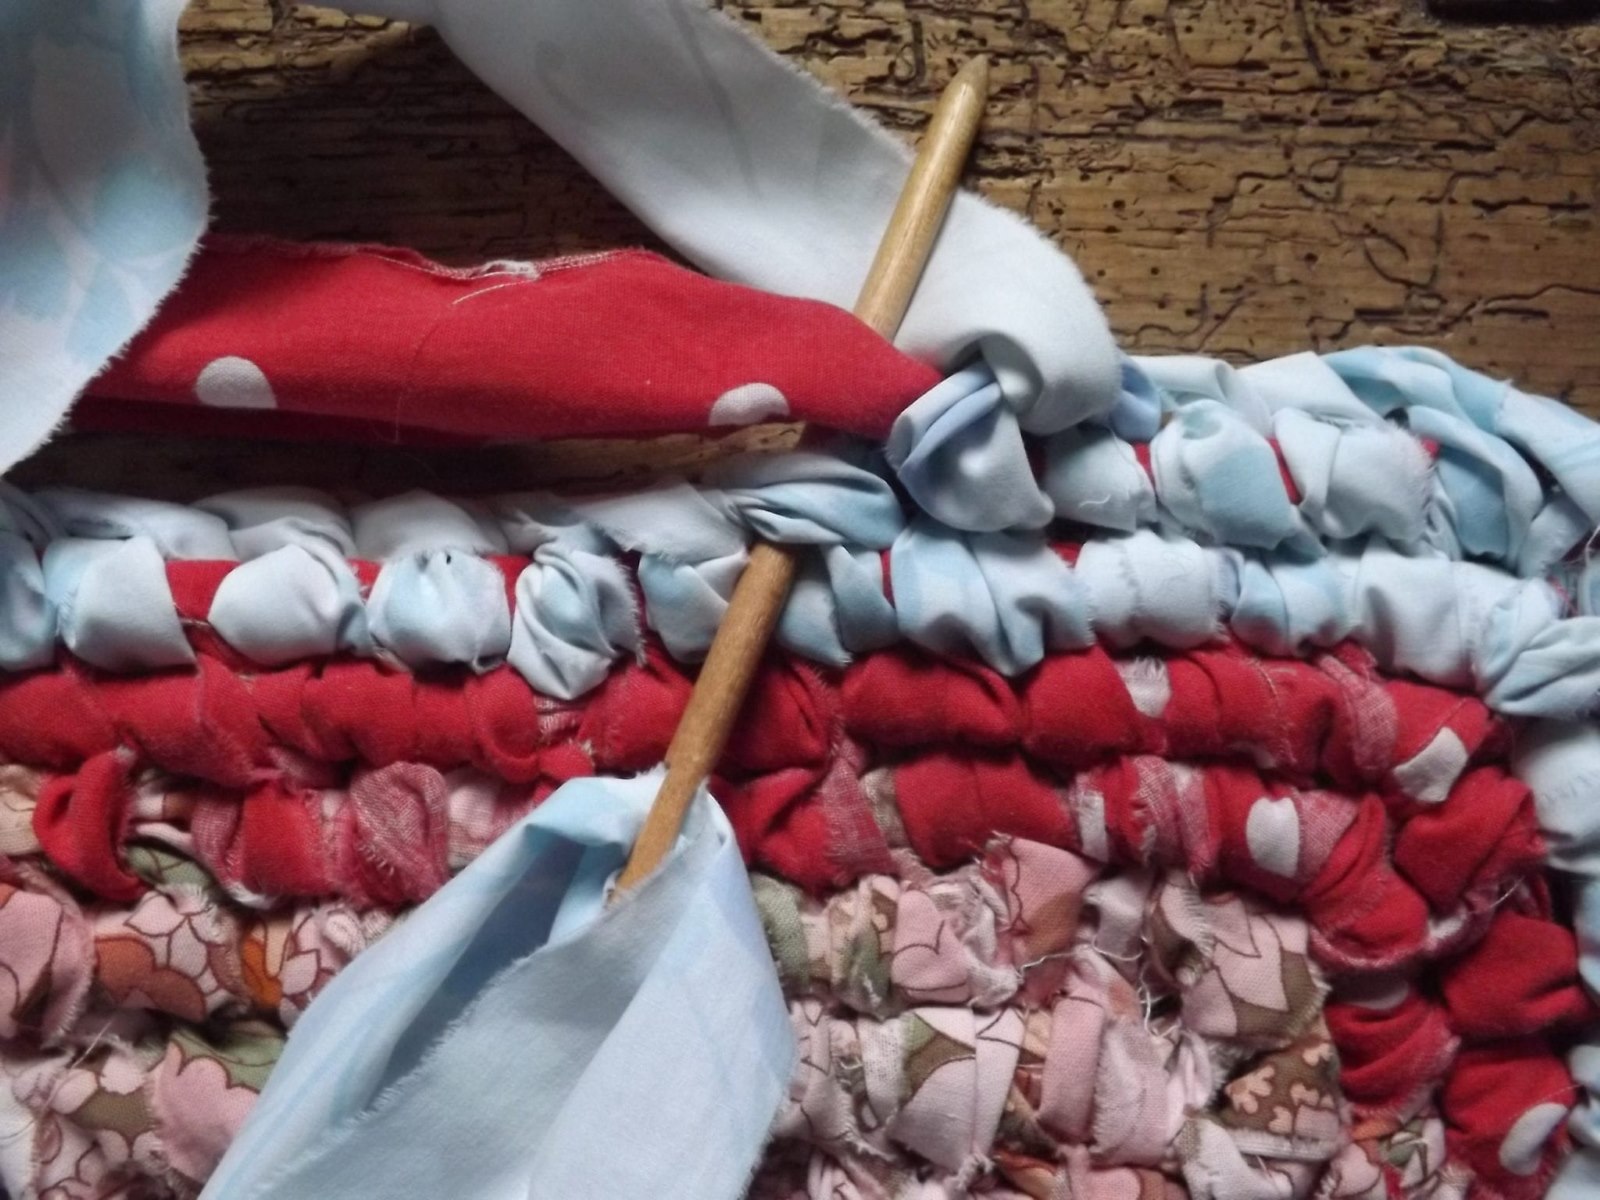
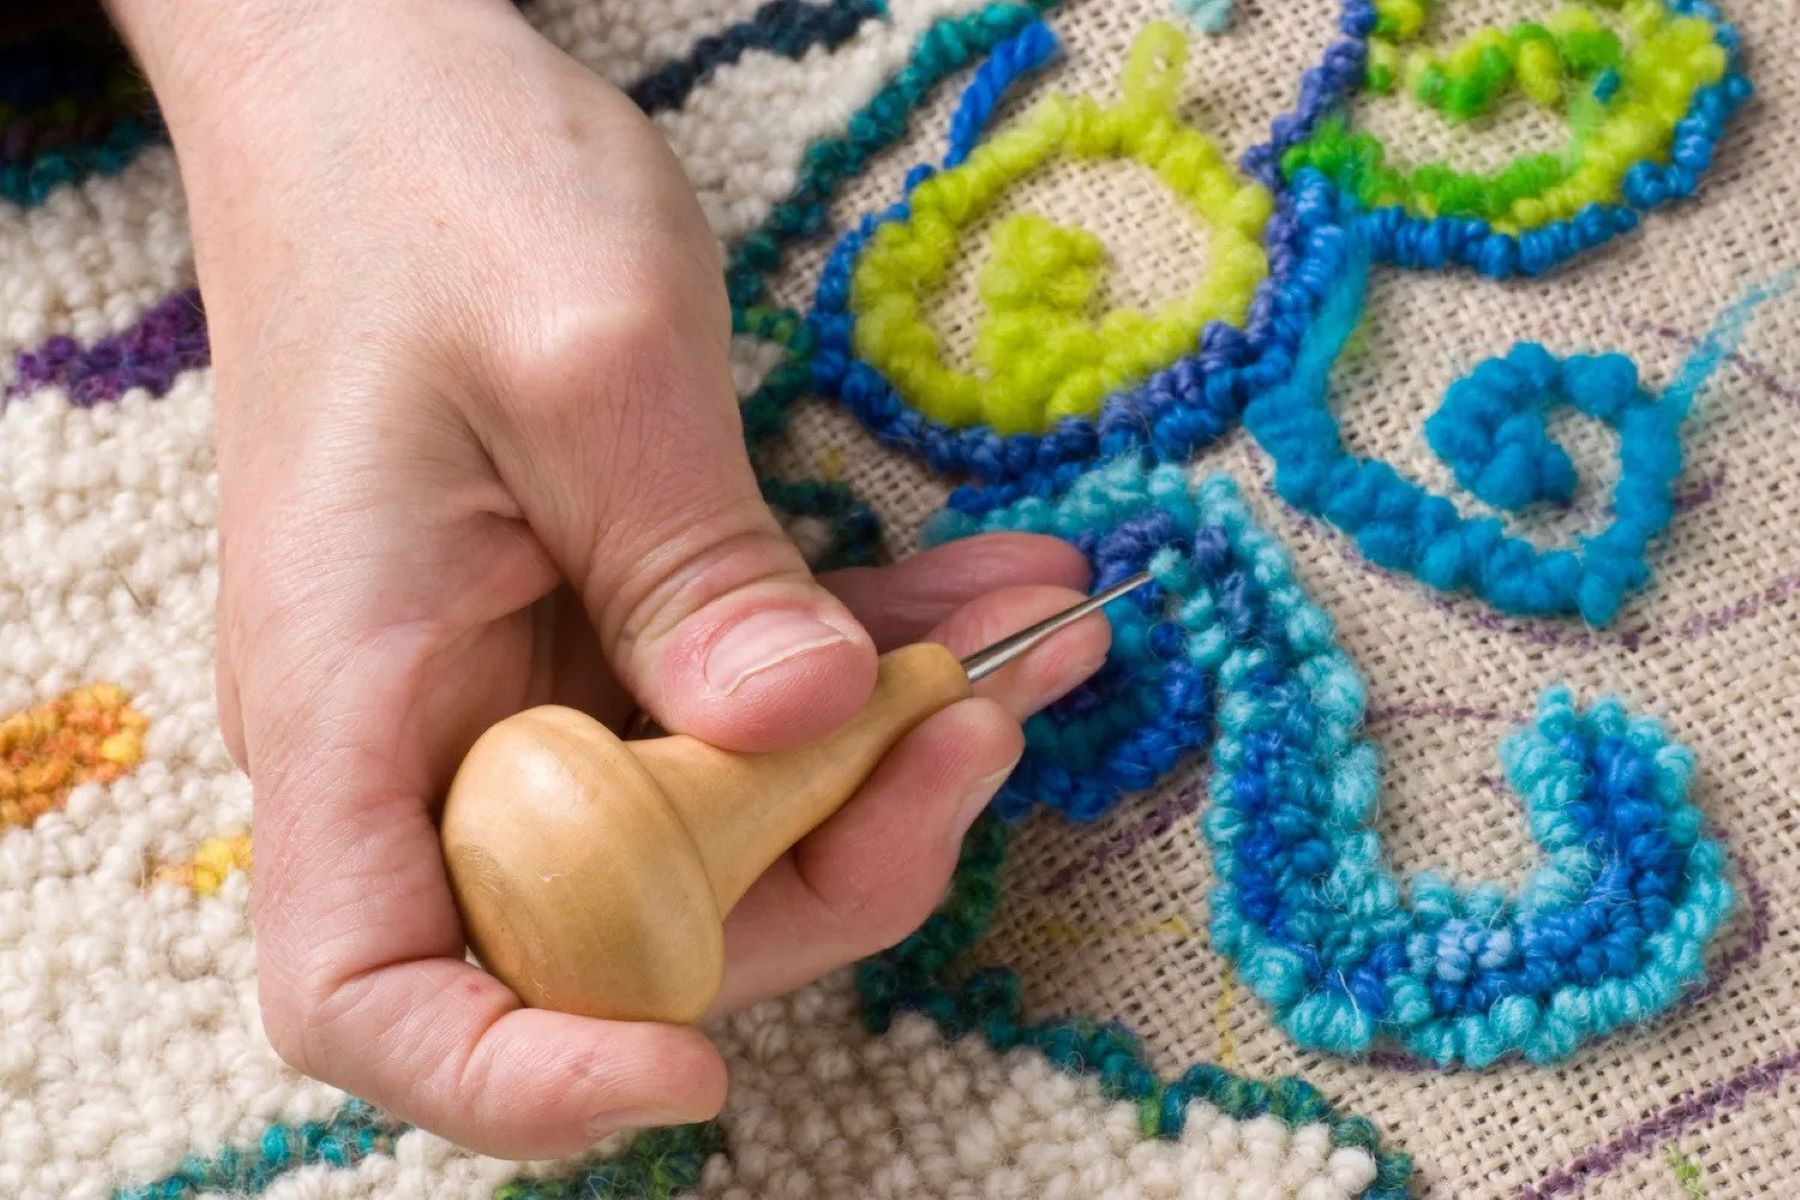
- Tuck and knot: Take a fabric strip and fold it in half. At the chosen corner of the rug base, insert the folded end of the strip through the base and create a small loop or knot to secure it in place. This loop will serve as the foundation for the shaggy texture.
- Continue attaching the fabric strips: With the first strip securely attached, continue adding fabric strips in the same manner. Insert the folded end of each strip through the base, close to the previous strip, and create a loop or knot to secure it.
- Adjust the placement: As you attach the fabric strips, you can adjust their placement and density to achieve your desired look. You can create a more uniform texture by evenly spacing the strips or opt for a more random placement for an eclectic vibe.
- Work towards the edges: Continue attaching the fabric strips, working your way from the chosen corner towards the edges of the rug. Make sure to push the loops or knots close together to create a dense and full shaggy texture.
- Trim any excess: Once you’ve covered the desired area with fabric strips, trim any excess length if needed. This will ensure that the rug has a neat and finished appearance.
Remember to take breaks as needed and step back occasionally to assess the overall look of your shaggy rag rug. Adjust the placement of the fabric strips or add or remove strips as necessary to achieve the desired texture.
Now that you’ve started the shaggy rug-making process, you’re well on your way to creating a beautiful and cozy addition to your home decor. In the next step, we’ll cover how to finish the edges of your rug. Stay tuned!
Step 6: Finishing the edges
As you near the completion of your shaggy rag rug, it’s time to focus on finishing the edges. This step will give your rug a polished and professional look, while also ensuring that the fabric strips stay securely in place over time. There are a few different methods you can use to finish the edges, depending on your preference and the materials you have available.
Follow these steps to finish the edges of your shaggy rag rug:
- Trim the fabric strips: Carefully trim any excess fabric strip length so that the ends are flush with the edge of the rug base. This will create a clean and even border.
- Secure the fabric strips: There are a few different ways you can secure the fabric strips along the edges of the rug. Here are a few options:
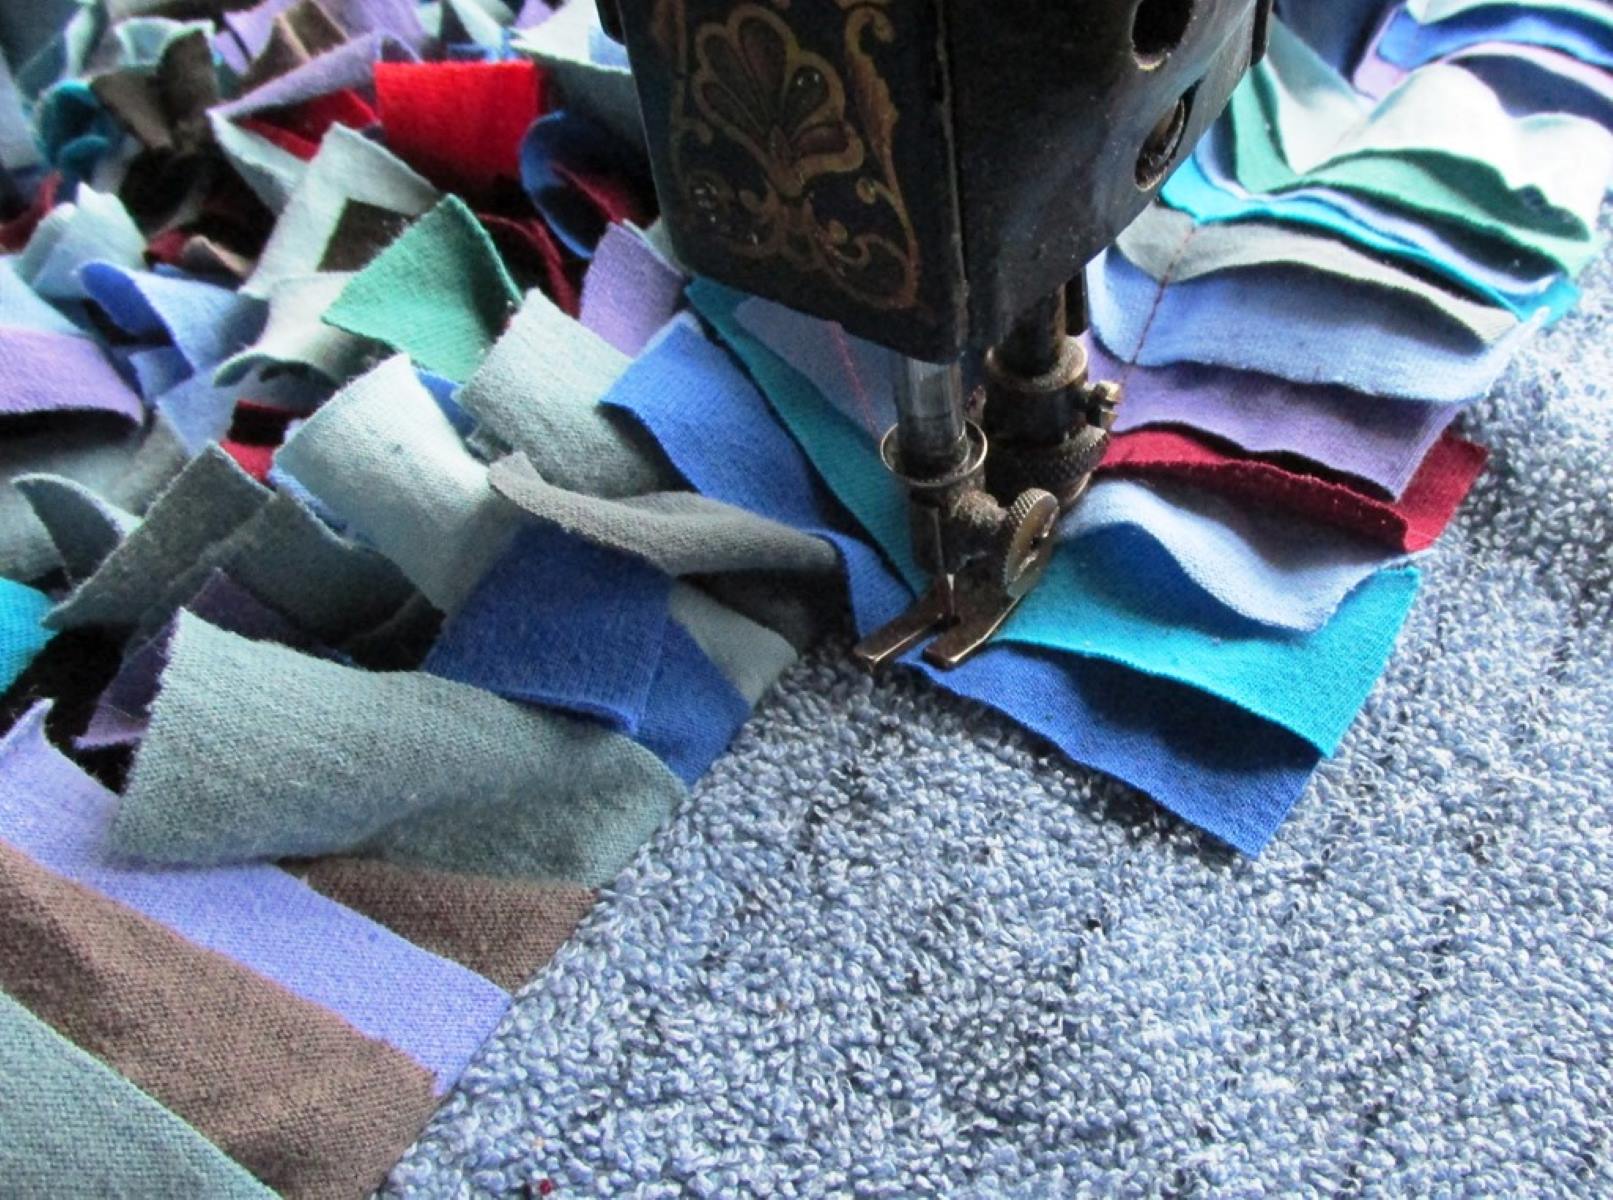
- Sewing: If you have basic sewing skills, you can use a needle and thread to stitch the fabric strips along the edges of the rug. This will provide a secure and durable finish. Simply fold over the edge of the rug and sew the fabric strips in place, making sure to catch both the fabric and the base material.
- Hot glue: If you prefer a quicker and more convenient method, you can use a hot glue gun to attach the fabric strips to the edges of the rug. Apply a thin line of hot glue along the folded edge of the rug and press the fabric strip into place. Be careful not to use too much glue or let it seep through the fabric.
- Rug binding tape: Another option is to use rug binding tape, which is specifically designed for finishing the edges of rugs. The tape has adhesive on one side and a fabric strip on the other. Simply fold the fabric strip over the edge of the rug and attach the tape, following the manufacturer’s instructions.
- Trim any excess: After securing the fabric strips along the edges, trim any excess tape or thread to create a neat and tidy finish.
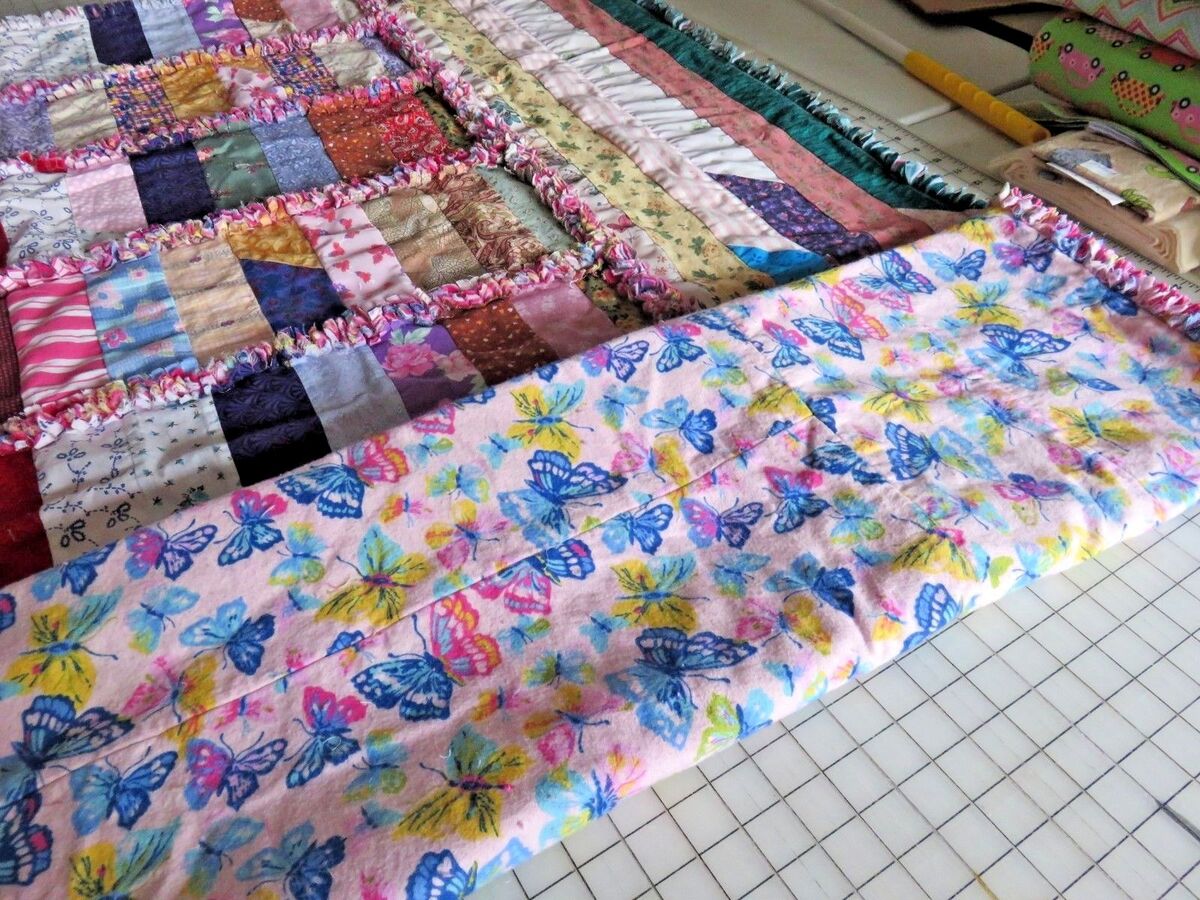
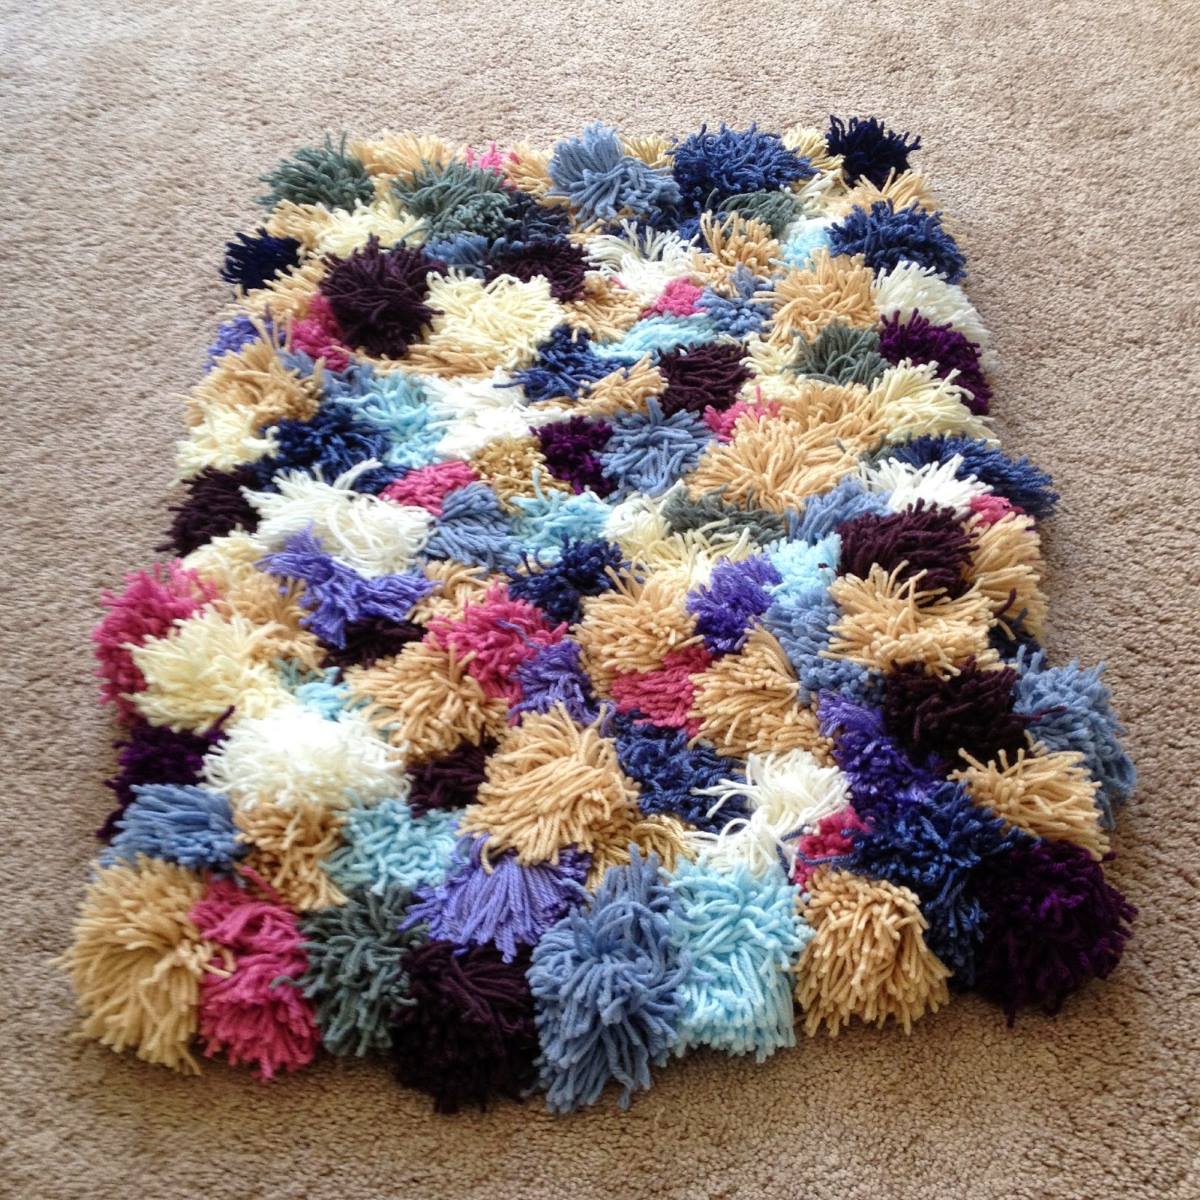
- Optional: Add decorative elements: If you want to give your shaggy rag rug an extra touch of style, you can add decorative elements along the finished edges. Consider attaching tassels, pom-poms, or braided fabric strips to create a unique and personalized look.
By finishing the edges of your shaggy rag rug, you’ll not only provide a clean and polished appearance but also ensure that the fabric strips stay in place and maintain their shape over time. Take your time and pay attention to detail to achieve the best result.
Now that you’ve finished the edges, it’s time for the final step: adding the final touches to your shaggy rag rug. Let’s complete this project!
Read more: How To Make A Denim Rag Quilt
Step 7: Adding the final touches
Congratulations, you’ve made it to the final step of creating your shaggy rag rug! It’s time to add those final touches that will take your rug from beautiful to truly exceptional. These finishing touches will enhance the overall appearance and ensure that your rug is ready to be displayed.
Follow these steps to add the final touches to your shaggy rag rug:
- Inspect and trim: Take a close look at your rug and inspect the overall appearance. Trim any stray fabric threads or uneven edges to create a neat and well-defined rug.
- Clean and fluff: Give your rug a thorough cleaning by gently shaking it or vacuuming it with a brush attachment. This will remove any loose fibers or debris and freshen up the rug’s appearance. Use a comb or your fingers to fluff up the shaggy fabric and give it a full and textured look.
- Accessorize: To make your shaggy rag rug truly stand out, consider adding accessories or embellishments. You can place it on a non-slip rug pad to provide extra cushioning and stability. Or, layer it with other rugs or decorative elements to create a visually interesting and cozy space.
- Show it off: Finally, find the perfect spot to showcase your shaggy rag rug in your home. Whether it’s in the living room, bedroom, or entryway, make sure it’s in a place where it can be admired and enjoyed by all.
By following these final steps, you’ll ensure that your shaggy rag rug looks its best and adds a touch of warmth and style to your living space.
Now that you’ve added the final touches, take a step back and marvel at your beautiful creation. You’ve successfully made your own shaggy rag rug, repurposing fabric scraps and showcasing your creativity. Give yourself a well-deserved pat on the back!
Thank you for joining us on this step-by-step journey of making a shaggy rag rug. We hope you’ve enjoyed the process and are thrilled with the results. Happy rug making!
Conclusion
Congratulations on completing your shaggy rag rug! By following this comprehensive guide, you’ve learned how to transform old fabric scraps into a beautiful and cozy addition to your home decor. Making a shaggy rag rug is not only a creative and fun project, but it also allows you to repurpose materials and reduce waste.
Throughout the process, we covered the essential steps, from choosing the fabric and preparing it for the rug-making process to cutting the fabric into strips and attaching them to the base. We also explored how to finish the edges and add those final touches that take your rug from ordinary to extraordinary.
Remember, the key to a successful shaggy rag rug lies in selecting fabrics that complement your decor, cutting the fabric into consistent strips, and securing them to the base in an organized and deliberate manner. By paying attention to detail and taking your time, you can create a rug that not only looks beautiful but also stands the test of time.
Now that you have completed your shaggy rag rug, take a moment to appreciate your hard work and creativity. Showcase your rug in a special place, and enjoy the cozy and rustic charm it brings to your home. You can even share your creation with friends and family, inspiring them to embark on their own rug-making journey.
Remember, making a shaggy rag rug is a delightful and satisfying craft that allows you to express your creativity and add a personal touch to your living space. So gather your materials, unleash your imagination, and start creating your very own shaggy rag rug masterpiece!
Thank you for joining us on this rug-making adventure. We hope you’ve enjoyed this guide and found it helpful in your rug-making journey. Happy crafting!
Frequently Asked Questions about How To Make Shaggy Rag Rugs
Was this page helpful?
At Storables.com, we guarantee accurate and reliable information. Our content, validated by Expert Board Contributors, is crafted following stringent Editorial Policies. We're committed to providing you with well-researched, expert-backed insights for all your informational needs.


0 thoughts on “How To Make Shaggy Rag Rugs”