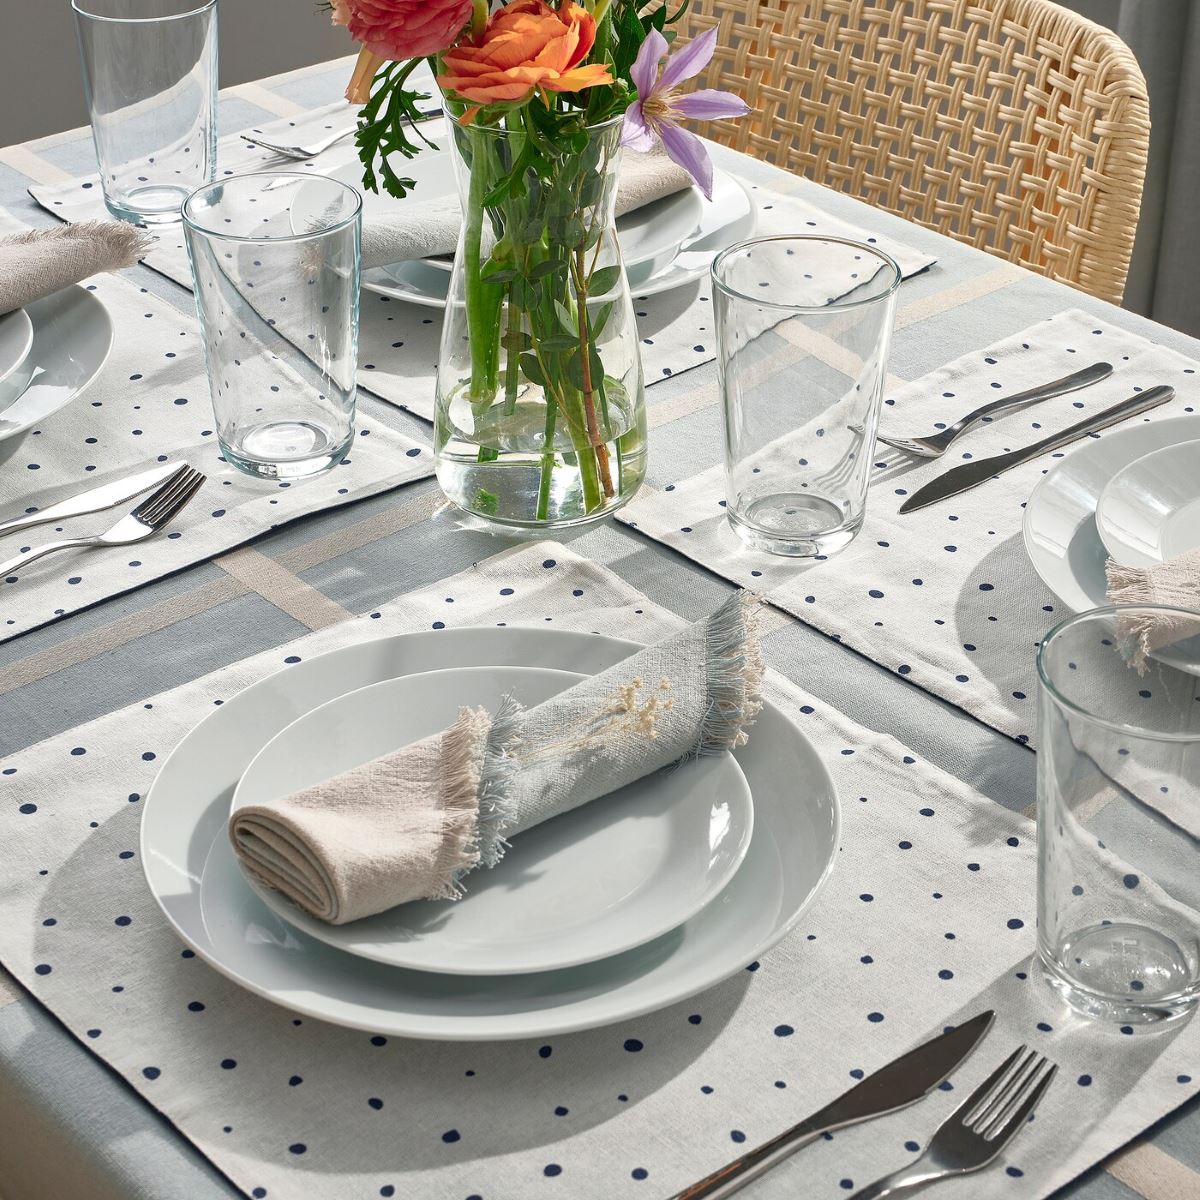

Tableware
How Do You Make Placemats
Modified: January 6, 2024
Discover easy steps to create beautiful tableware placemats. Get creative with your designs and wow your guests during mealtime.
(Many of the links in this article redirect to a specific reviewed product. Your purchase of these products through affiliate links helps to generate commission for Storables.com, at no extra cost. Learn more)
Introduction
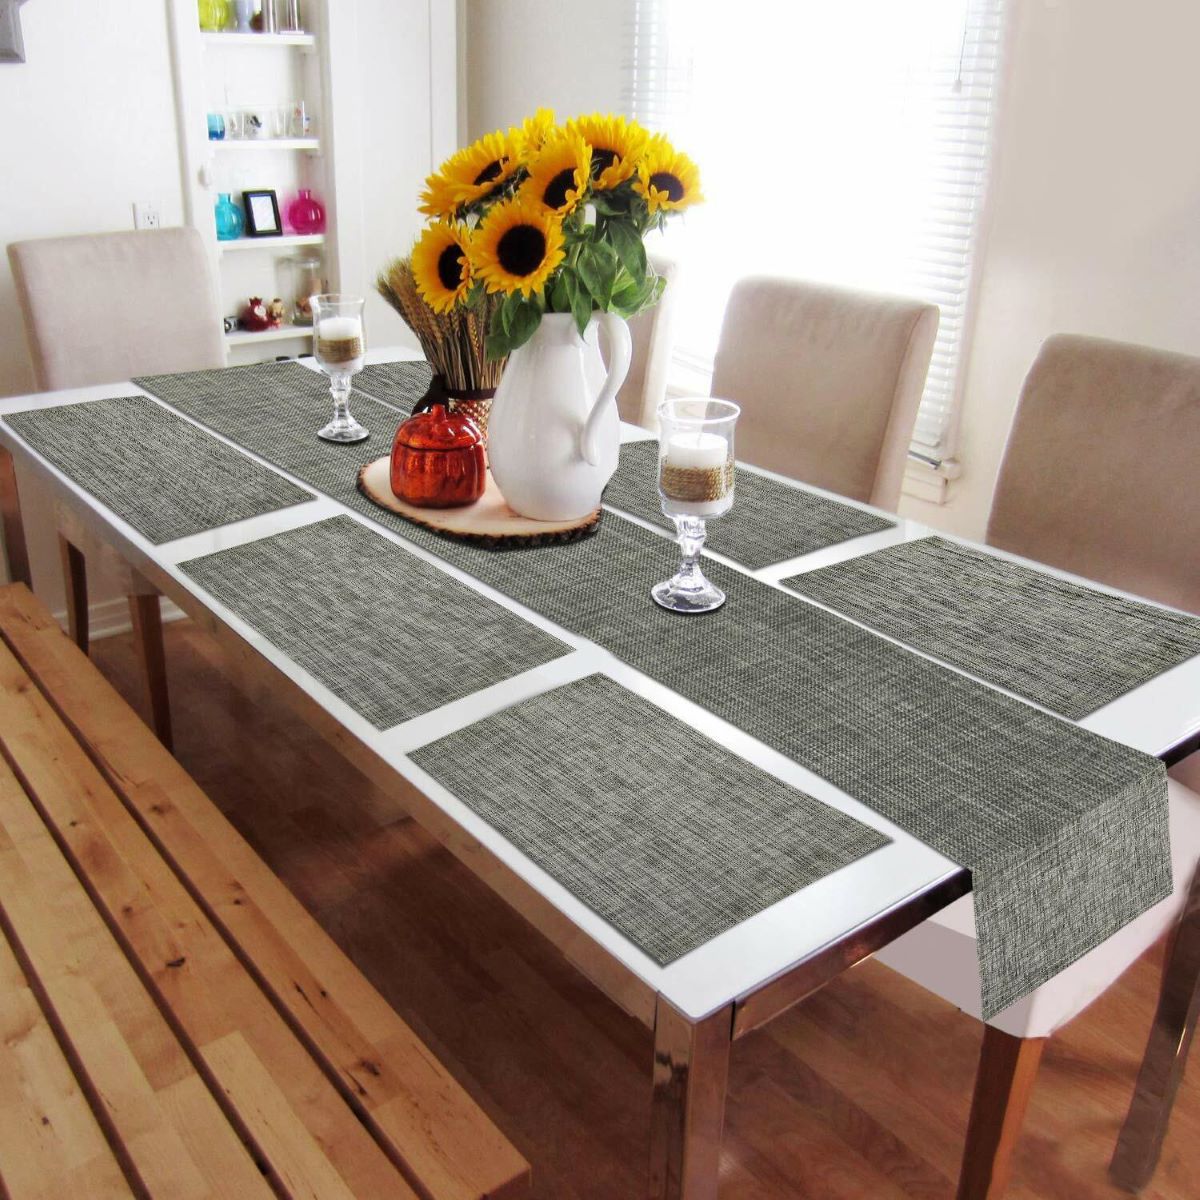
Placemats are not only functional but also add a touch of style and personality to your table settings. They provide a designated space for each person and protect your table from spills and stains. Making your own placemats allows you to customize them to match your decor and express your creativity. Whether you’re hosting a formal dinner party or simply looking to enhance your everyday dining experience, creating your own placemats is a rewarding and enjoyable DIY project.
In this article, we will guide you through the process of making placemats from scratch. We will cover everything from selecting the right fabric to adding decorative elements and finishing touches. By the end of this article, you’ll be equipped with the knowledge and confidence to create beautiful placemats that will impress your guests and elevate your dining experience.
So, gather your materials and let’s get started on this exciting tableware project!
Key Takeaways:
- Elevate your dining experience by creating personalized placemats that reflect your style and creativity. From fabric selection to decorative elements, DIY placemats add a unique touch to your table setting.
- Making placemats is a rewarding DIY project that allows you to customize your tableware. Choose the right fabric, add decorative elements, and care for your handmade placemats to impress your guests and elevate your dining space.
Read more: How To Make A Quilted Placemat
Materials Needed
Before you begin making your placemats, it’s important to gather all the necessary materials. Here’s what you’ll need:
- Fabric: Choose a fabric that suits your taste and complements your table decor. Consider factors like color, pattern, and texture. Cotton and linen fabrics are popular choices for placemats due to their durability and easy maintenance.
- Measuring tape or ruler: This will help you accurately measure the dimensions of your placemats.
- Sewing machine: While it’s possible to sew placemats by hand, a sewing machine will make the process faster and more efficient.
- Thread: Select a thread color that matches or complements your fabric.
- Scissors: A good pair of fabric scissors will make cutting your fabric a breeze.
- Pins: Pins will help keep your fabric in place while you sew.
- Iron: An iron is essential for pressing and flattening your fabric.
- Ironing board or a flat surface: You’ll need a smooth surface to iron your fabric on.
- Optional: If you want to add decorative elements to your placemats, you may need additional materials such as appliques, trims, or fabric paint.
Make sure you have all these materials ready before you start the placemat-making process. Having everything prepared in advance will make the project run smoothly and efficiently.
Step 1: Selecting Fabric
The first step in making your own placemats is selecting the right fabric. Consider the following factors when choosing your fabric:
- Style and Theme: Determine the style and theme you want to achieve for your table setting. Do you prefer a classic and formal look or a casual and modern vibe? The fabric you choose should align with your desired aesthetic.
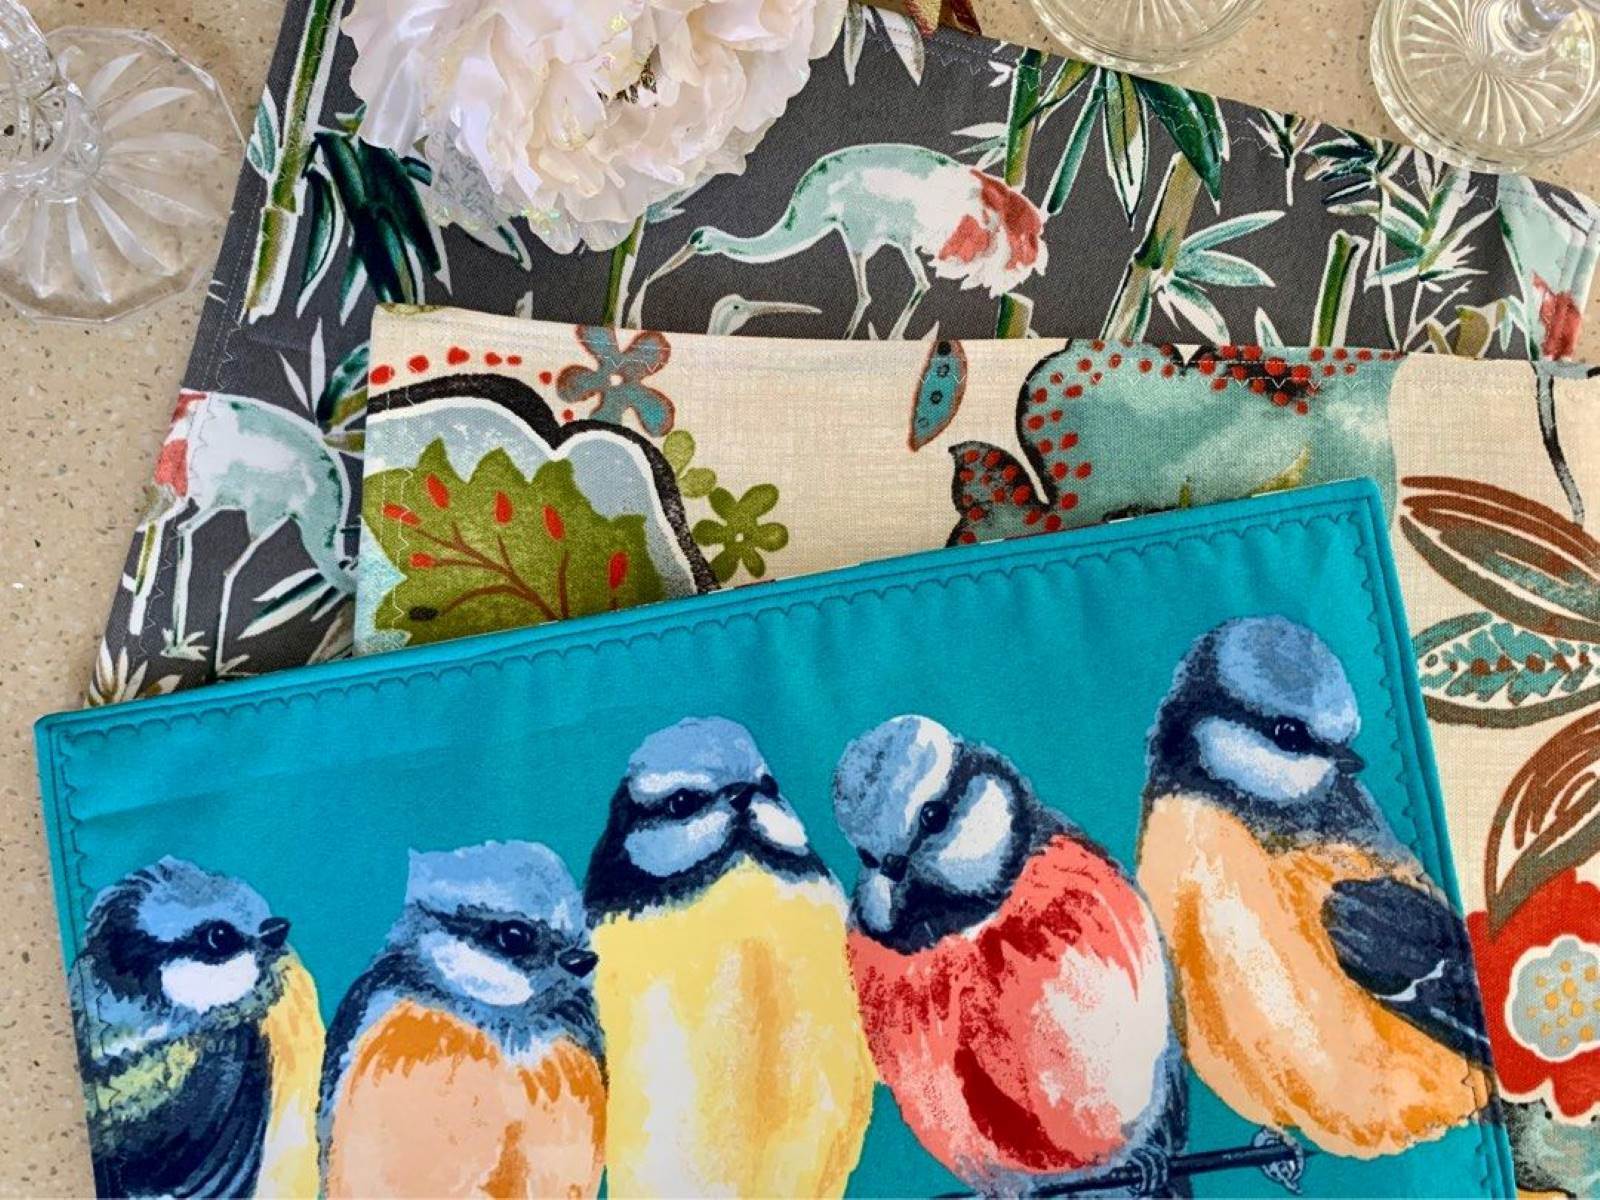
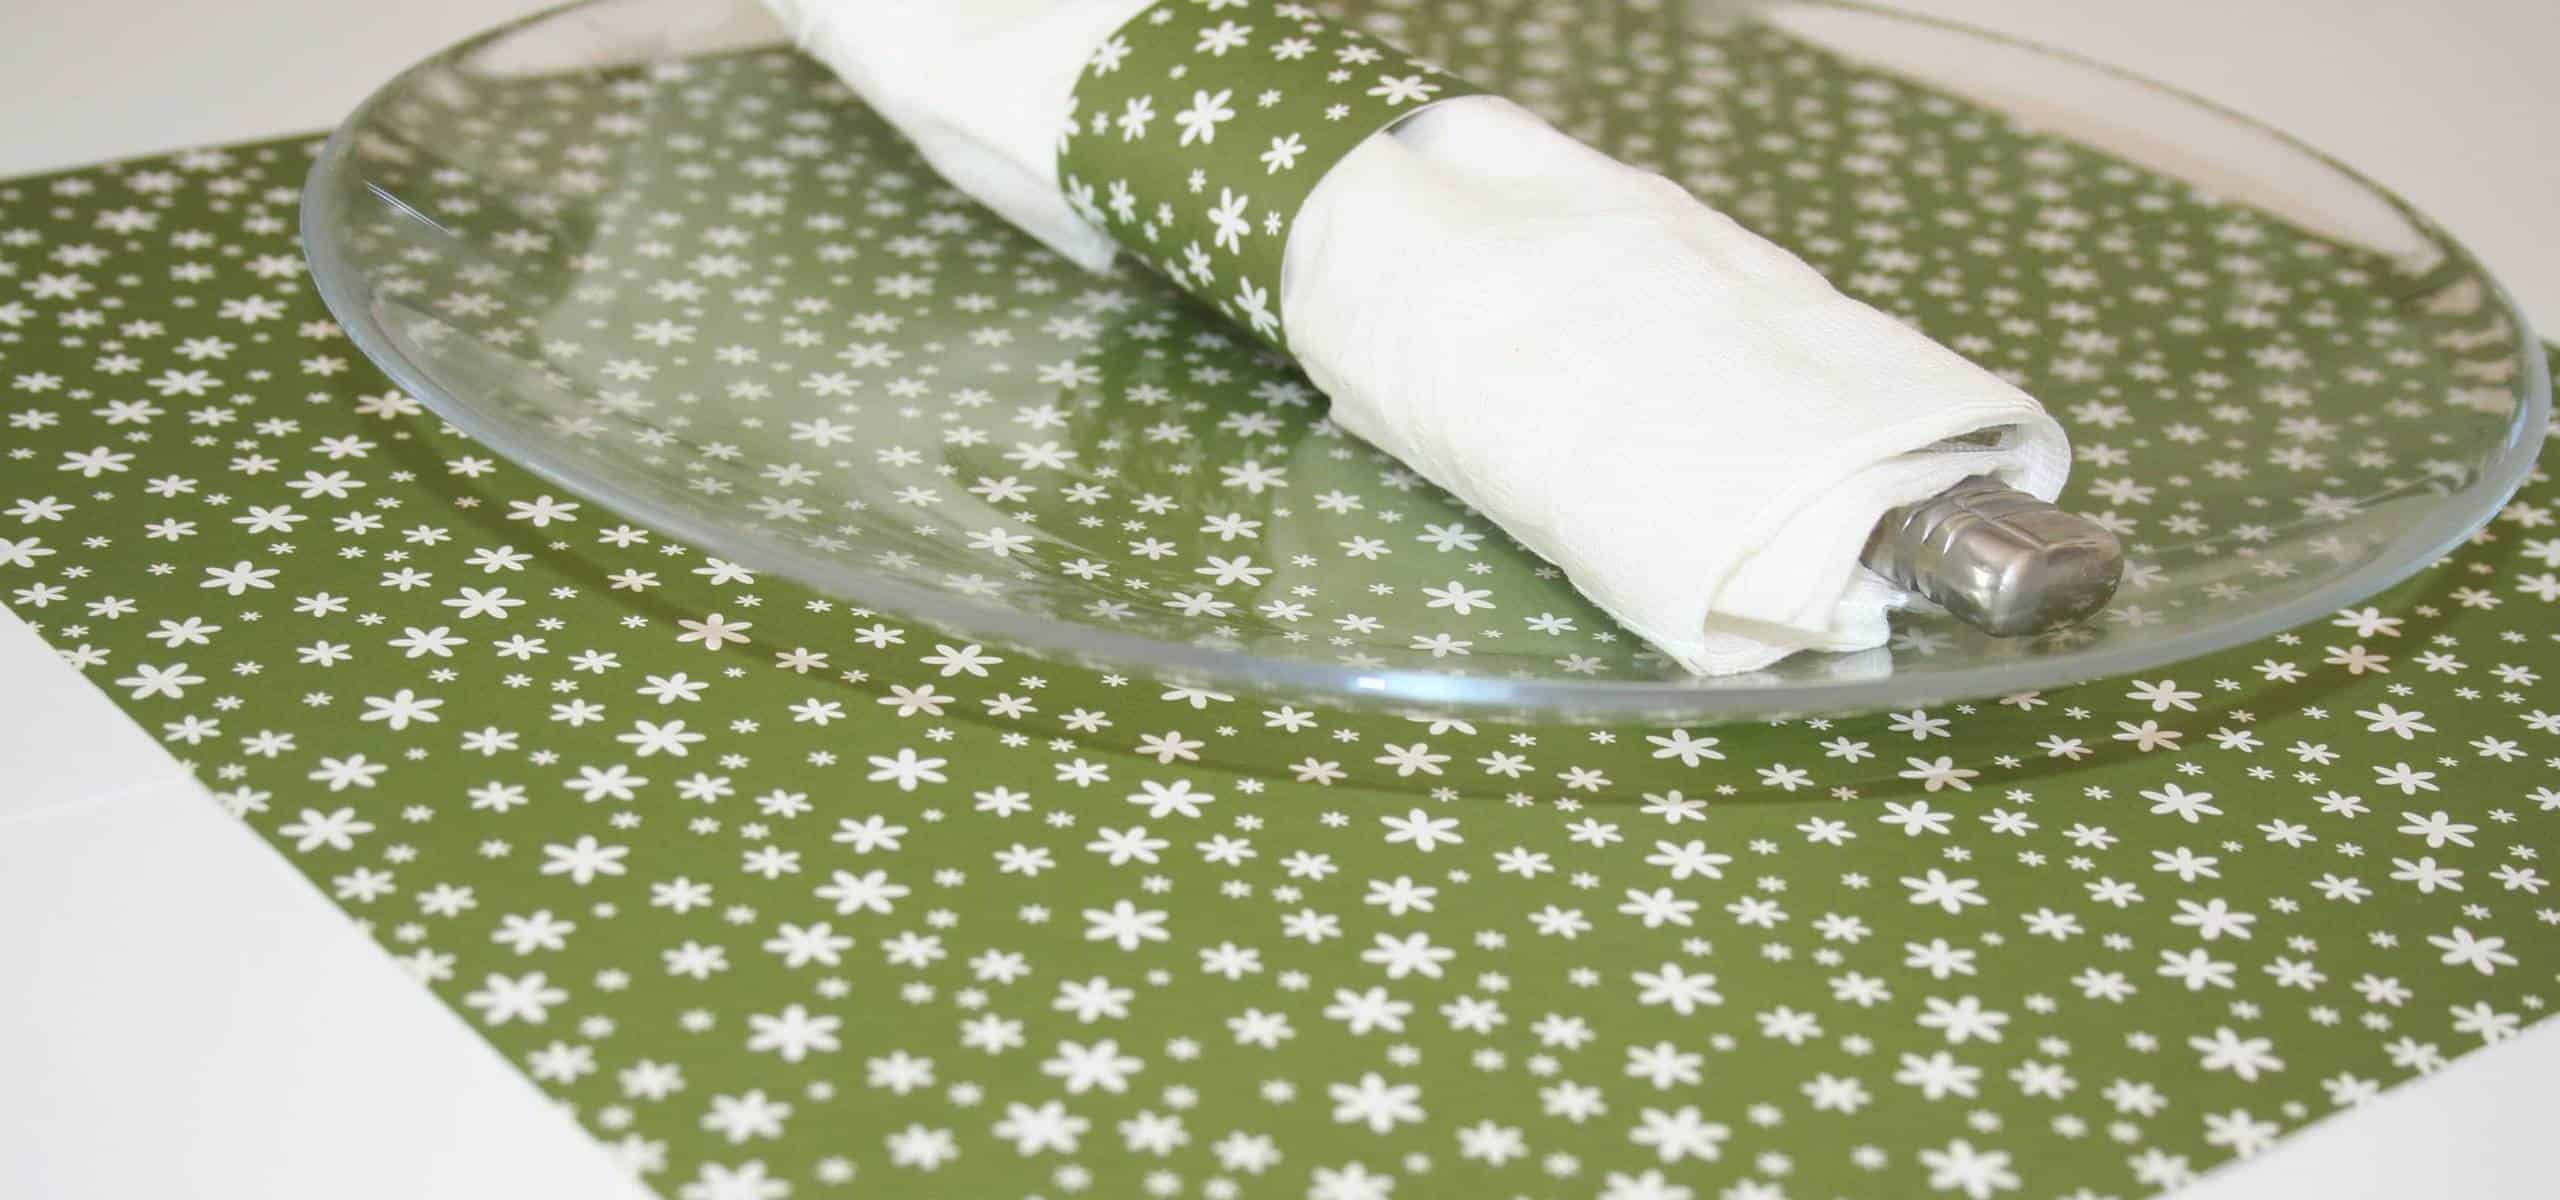
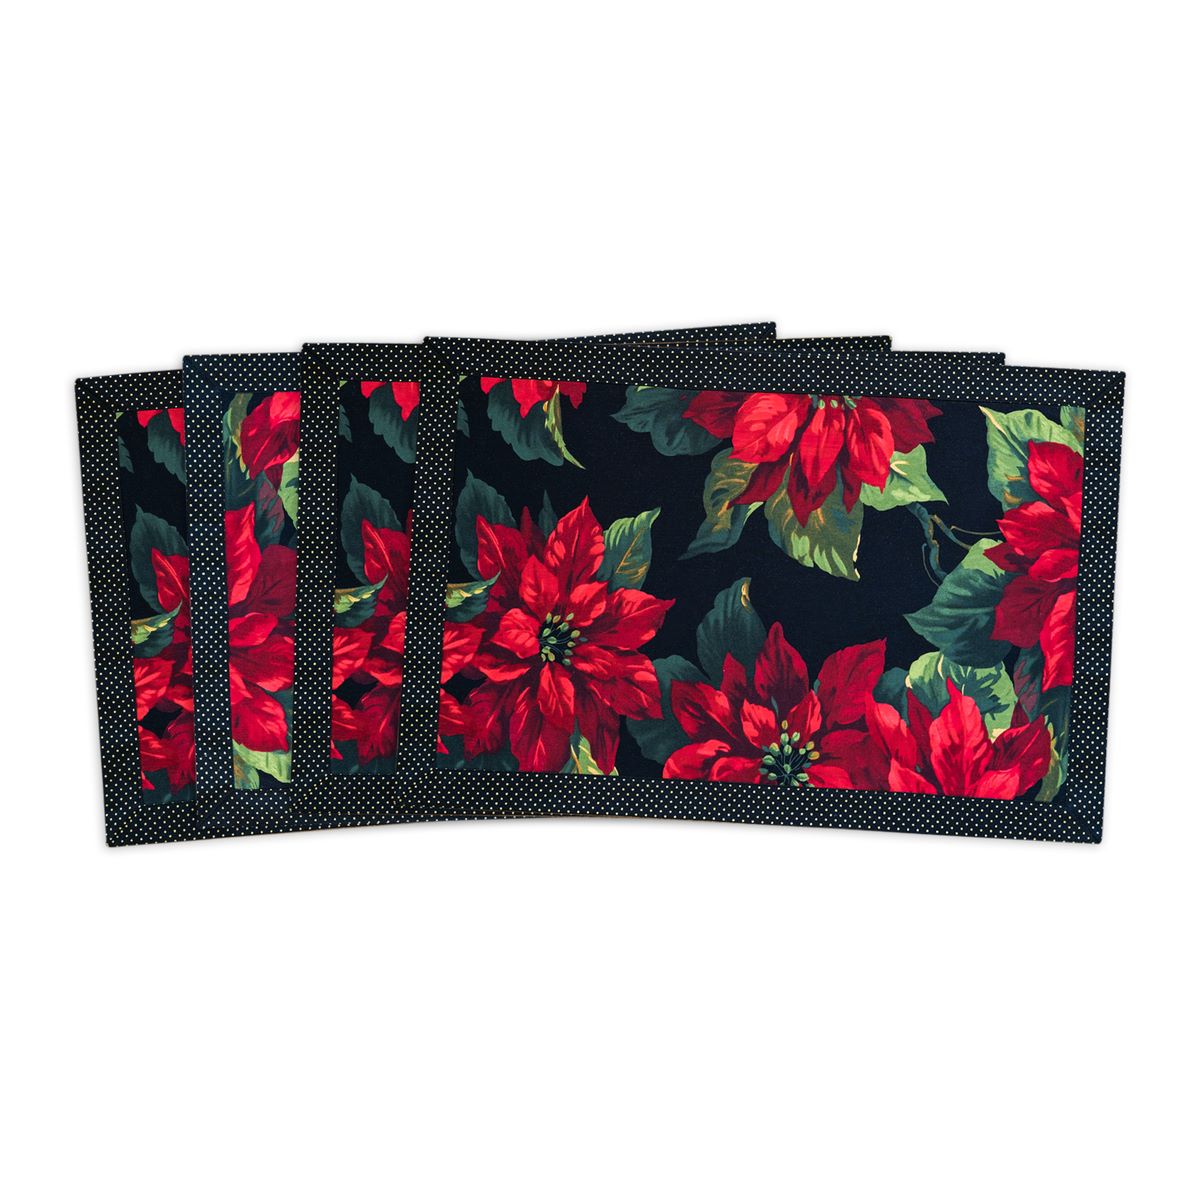
- Color and Pattern: Take into account the color palette of your dining area and the overall ambiance you want to create. Choose a fabric color that complements your tableware and other decor elements. Additionally, consider the pattern of the fabric, whether it’s a solid color, stripes, floral, or any other design that suits your personal preference.
- Texture and Durability: Consider the texture and durability of the fabric. Opt for a material that can withstand frequent use and washing. Cotton and linen fabrics are popular choices for placemats due to their durability and ease of maintenance.
Once you have a clear understanding of your desired style, color, pattern, and texture, head to your local fabric store or search online for a wide range of options. Don’t be afraid to take swatches or samples of fabric home to see how they look in your dining space before making a final decision.
Remember, selecting the right fabric is key to achieving the look and feel you desire for your placemats. Take your time and explore different options until you find the perfect fabric that reflects your personal style and enhances your dining experience.
Step 2: Measuring and Cutting
Once you have selected your fabric, it’s time to move on to the next step: measuring and cutting the fabric for your placemats. Follow these guidelines to ensure precise measurements:
- Measure your table: Start by measuring the width and length of your table. Determine how long and wide you want your placemats to be. Remember to leave room for the plates, utensils, and glassware on the table.
- Add seam allowance: To account for the seam allowance, add an extra inch to both the width and length measurements. This will ensure that your placemats have a nicely finished edge.
- Mark and cut the fabric: Using a ruler or measuring tape, mark the dimensions of your placemats on the fabric. Double-check your measurements and use fabric scissors to cut along the marked lines.
It’s important to cut the fabric precisely to achieve professional-looking placemats. Take your time and use proper cutting tools to ensure clean and straight edges.
As you cut the fabric, you can either make all your placemats the same size or vary the dimensions for a more eclectic look. It’s entirely up to your personal preference and the style you want to achieve.
Once you have finished cutting, set aside the excess fabric for future projects or to use as backups for your placemats. Now you’re ready to move on to the next step: hemming the edges.
When making placemats, consider using durable and easy-to-clean materials such as cotton or polyester. Adding a layer of interfacing can also help to give the placemats more structure and stability.
Step 3: Hemming the Edges
After cutting the fabric to the desired dimensions for your placemats, it’s time to hem the edges. Hemming not only gives a polished and finished look to your placemats but also prevents fraying of the fabric over time. Follow these steps to hem the edges:
- Fold the fabric: Start by folding the raw edge of the fabric over by 1/2 inch on all sides. Use your fingers to fold it neatly and ensure a clean edge. Pin the fold in place to secure it temporarily.
- Press the folds: Using an iron, press the folded edges to create a crisp crease. This will make it easier to sew the hem and maintain its shape.
- Sew the hem: Set up your sewing machine with a matching thread color. Remove the pins and sew a straight stitch along the folded edge, approximately 1/4 inch from the edge. Continue sewing all around the placemat, pivoting at the corners to maintain a continuous stitch.
- Backstitch: When you reach the starting point of your stitching, backstitch a few stitches to secure the thread. Cut the thread, leaving a small tail, and remove the placemat from the sewing machine.
Make sure to sew the hem smoothly and consistently to create a professional-looking finish. Take your time and sew carefully, paying attention to the corners and maintaining a straight line of stitching. This will ensure that your placemats have a tidy and durable hem.
Once you have completed hemming the edges of all your placemats, you can move on to the next step: adding decorative elements if desired.
Read more: How To Make Woven Placemats
Step 4: Adding Decorative Elements
If you want to add a personal touch or enhance the visual appeal of your placemats, you can incorporate decorative elements. Here are a few ideas to inspire you:
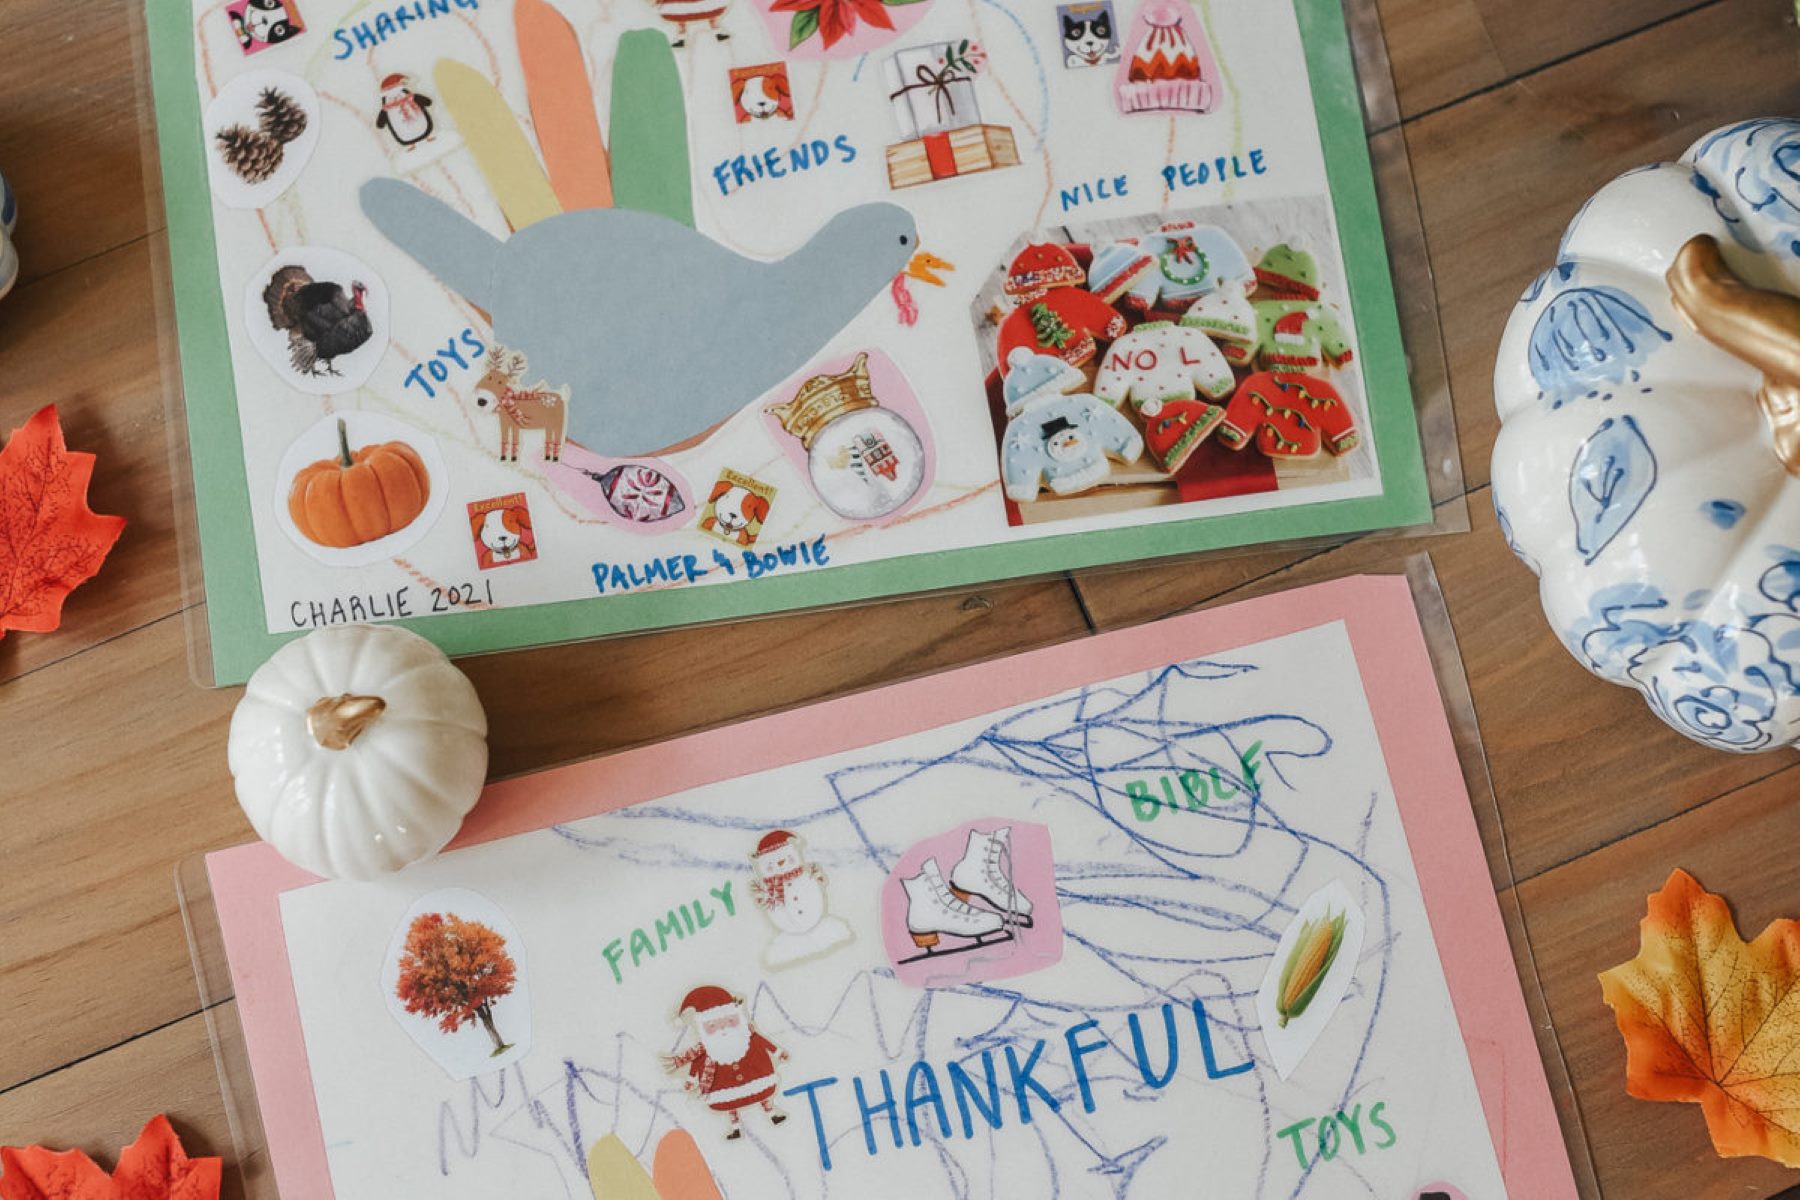
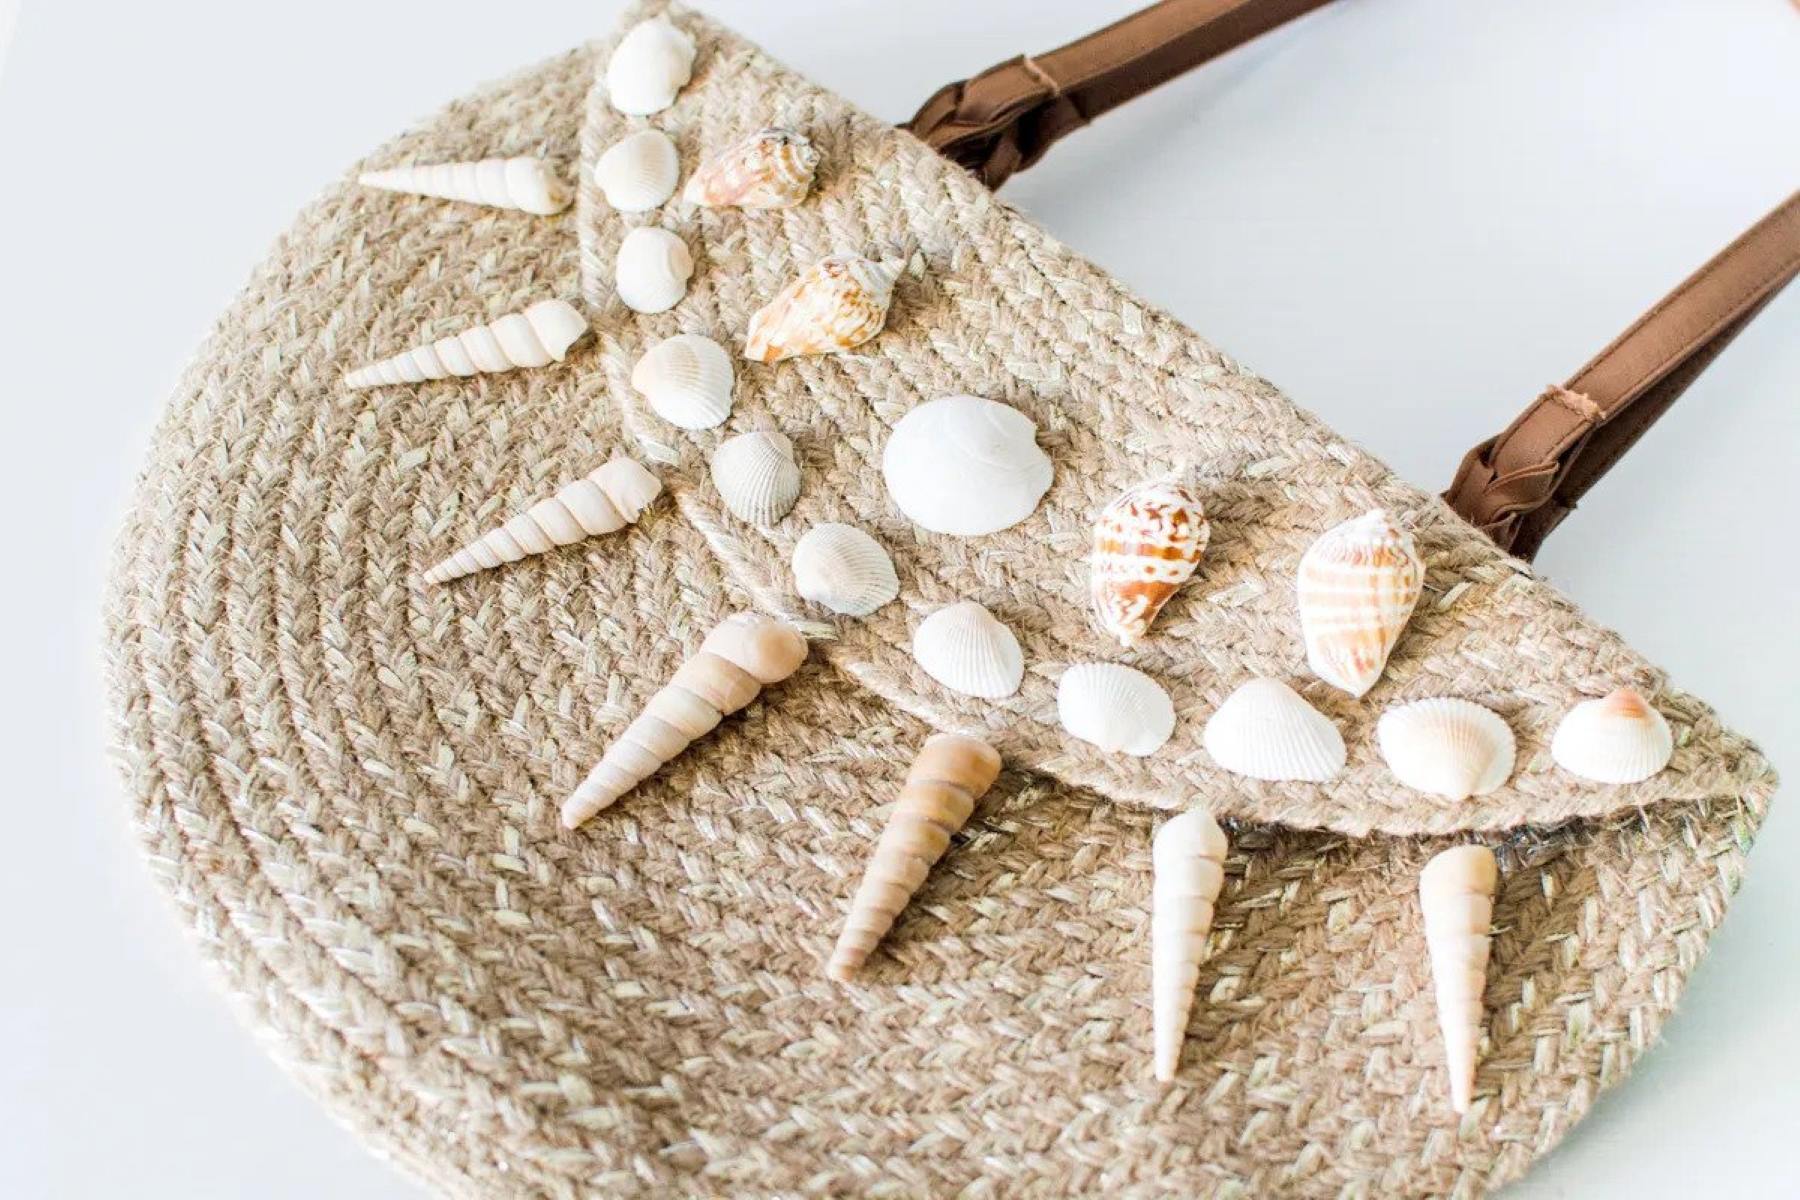
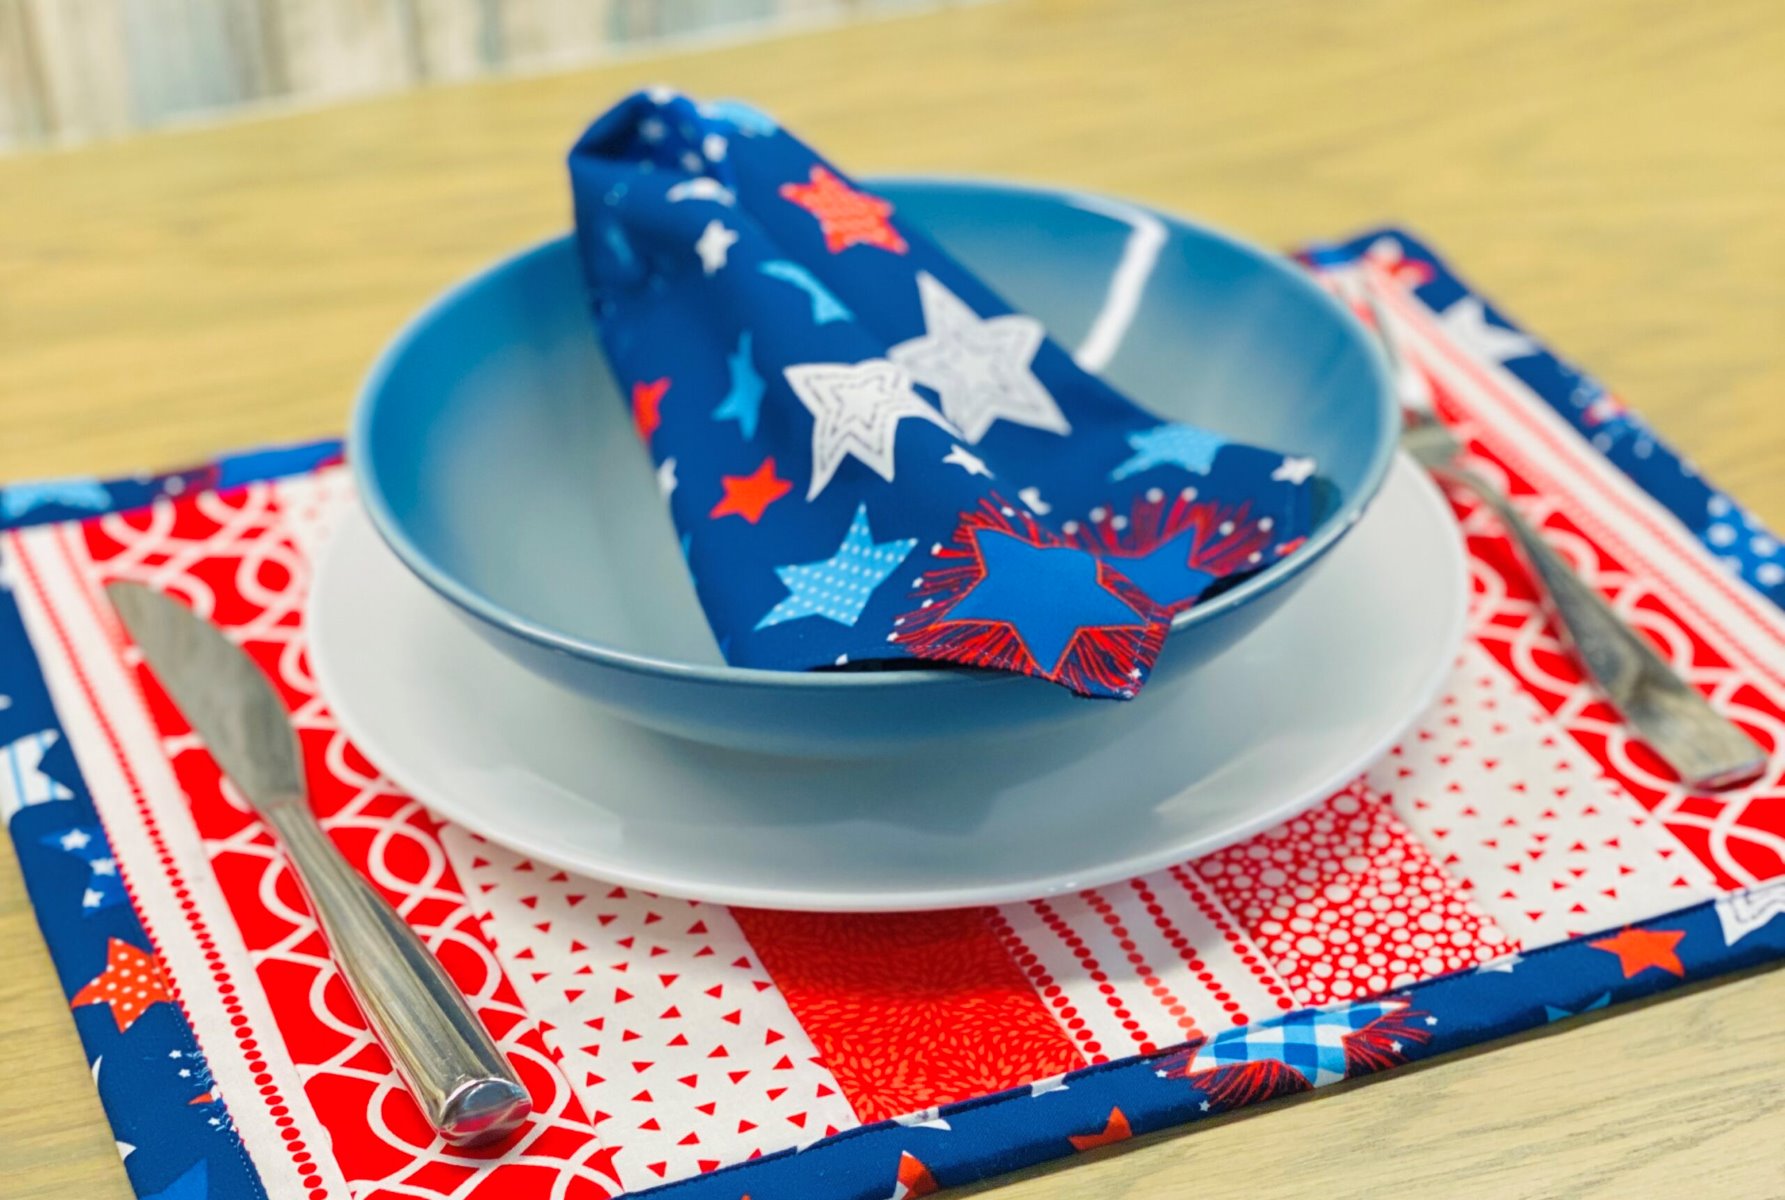
- Appliques: Adding fabric appliques can create a decorative focal point on your placemats. Choose appliques that complement the fabric or match the theme of your table setting. You can hand-stitch or use fabric glue to attach the appliques to the placemats.
- Trims and Ribbons: Adding trims or ribbons along the edges of your placemats can add a touch of elegance and sophistication. Sew or glue the trims onto the placemats, ensuring they are securely attached.
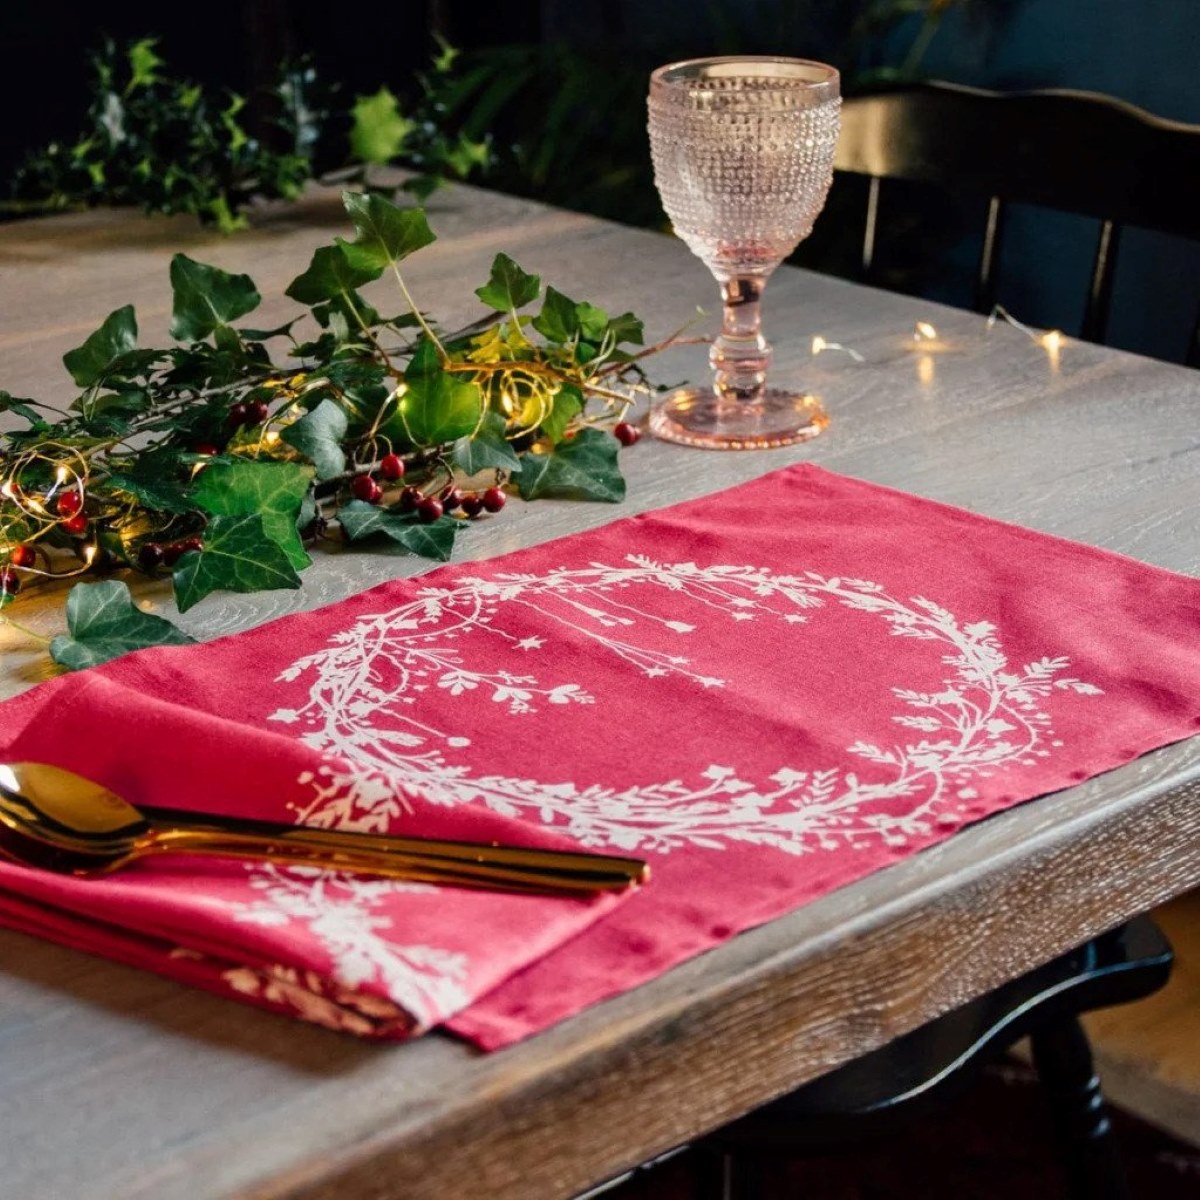
- Fabric Paint: If you’re feeling artistic, you can use fabric paint to create unique designs or patterns on your placemats. Use stencils or freehand your designs to add your personal flair. Let the paint dry completely before moving on to the next step.
- Embroidery or Monograms: For a more intricate and personalized touch, consider embroidering or monogramming your placemats. Use embroidery thread and needles to stitch your desired designs onto the fabric.
Remember, the goal is to enhance the overall aesthetic of your placemats while maintaining their functionality. Choose decorative elements that align with your personal style and the ambiance you want to create for your dining space.
Once you have added the desired decorative elements, make sure to let them dry or set according to the manufacturer’s instructions before proceeding to the next step. This will ensure that your placemats retain their charm and durability.
With the decorative elements in place, it’s time to move on to the final step: ironing and adding finishing touches.
Step 5: Ironing and Finishing Touches
The final step in creating your own placemats is to give them a polished and professional look through ironing and adding finishing touches. Follow these steps to complete the process:
- Iron the placemats: Lay each placemat flat on an ironing board or a flat surface. Use an iron on a medium heat setting to press and smooth out any wrinkles or creases. Ironing will give your placemats a crisp and clean appearance.
- Inspect and trim: Take a close look at each placemat for any loose threads or uneven edges. Trim any excess fabric or threads to ensure a neat and tidy finish.
- Final touch-ups: Give your placemats a final once-over, making sure all the decorative elements are securely attached and any necessary repairs have been made. This will ensure that your placemats are ready for use.
Once you have ironed and inspected your placemats, they are now ready to be placed on your dining table or used for any special occasion. Admire your beautiful and unique creations, knowing that you have added a personalized touch to your dining experience.
It’s important to remember that placemats should be cared for properly to maintain their beauty and functionality. Follow the fabric care instructions and, if necessary, wash and iron your placemats accordingly to keep them in the best condition.
Now that you have successfully completed all the steps, you can enjoy your homemade placemats and impress your guests with your creativity and attention to detail. Happy dining!
Conclusion
Creating your own placemats allows you to add a personal touch of style and creativity to your dining table. By following the steps outlined in this article, you have learned how to make your own placemats from selecting the fabric to adding decorative elements and giving them a finished look.
With the right fabric choice, precise measurements, and careful hemming, you can achieve professional-looking placemats that protect your table and enhance your dining experience. Adding decorative elements such as appliques, trims, or fabric paint allows you to express your personal style and create unique placemats that reflect your taste and preference.
Remember to take your time throughout the process, paying attention to detail. It’s important to measure accurately, sew neatly, and iron the placemats for a polished finish. By putting effort into the creation of your placemats, you can elevate your table setting and impress your guests.
Additionally, caring for your placemats is important to prolong their lifespan. Follow the fabric care instructions, wash and iron them as needed, and store them properly when not in use. This will ensure that your placemats stay in good condition and continue to beautify your dining table for years to come.
So, why settle for store-bought placemats when you can create your own? Let your creativity shine and enjoy the satisfaction of showcasing handmade placemats that perfectly complement your dining space and reflect your unique style. Start your DIY placemat project today and elevate your dining experience to a whole new level!
Frequently Asked Questions about How Do You Make Placemats
Was this page helpful?
At Storables.com, we guarantee accurate and reliable information. Our content, validated by Expert Board Contributors, is crafted following stringent Editorial Policies. We're committed to providing you with well-researched, expert-backed insights for all your informational needs.

0 thoughts on “How Do You Make Placemats”