
Articles
How To Make Rag Rugs Crochet
Modified: January 6, 2024
Learn how to make beautiful rag rugs with crochet techniques in our collection of informative articles. Discover tips, patterns, and step-by-step instructions for creating your own unique rugs.
(Many of the links in this article redirect to a specific reviewed product. Your purchase of these products through affiliate links helps to generate commission for Storables.com, at no extra cost. Learn more)
Introduction
Are you looking for a creative and sustainable way to add warmth and charm to your home? Consider making rag rugs through crochet! Rag rugs are not only beautiful and functional, but they also provide an excellent opportunity to upcycle old fabrics and give them a new life.
In this comprehensive guide, we will explore the art of making rag rugs using crochet techniques. Whether you are a beginner or an experienced crocheter, this article will provide you with all the information you need to get started on your rag rug project.
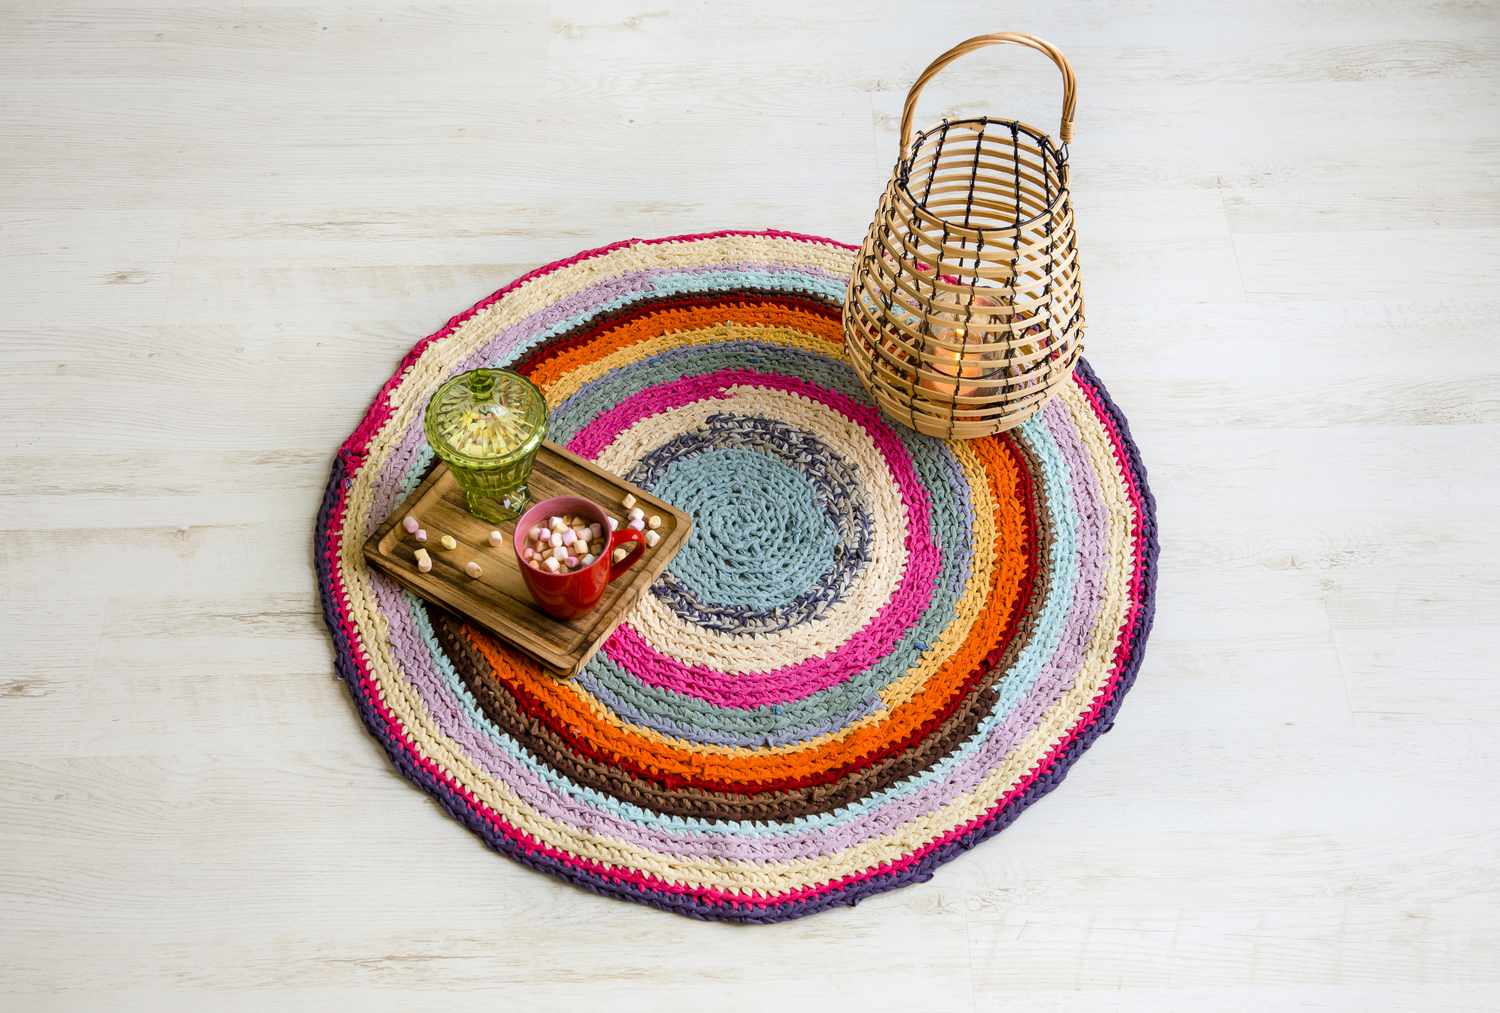
Before we delve into the details, it’s important to understand what rag rugs are and why they are so popular. Rag rugs are durable, rustic rugs made by crocheting strips of fabric into a sturdy and decorative design. Traditionally, they were created to make use of leftover or worn-out textiles, such as old clothes, bedsheets, or curtains. Nowadays, rag rugs have become a trendy and eco-friendly way to add a touch of handmade charm to any room.
In this article, we will cover the materials needed to make rag rugs, the crochet stitches used, tips for choosing the right yarn, and step-by-step instructions for starting and completing your own rag rug masterpiece. We will also provide variations and customization ideas to help you personalize your rug and make it truly unique.
Not only will you learn how to create a beautiful rag rug, but you will also be contributing to a more sustainable lifestyle by repurposing textiles that would otherwise end up in landfills. So let’s jump in and discover the joy of making rag rugs through crochet!
Key Takeaways:
- Transform old fabrics into beautiful, eco-friendly rag rugs through crochet, adding charm and warmth to your home while contributing to sustainable living.
- Unleash your creativity by customizing rag rugs with unique designs, color combinations, and textures, creating one-of-a-kind pieces that reflect your personal style.
Read more: How To Make Shaggy Rag Rugs
Materials Needed
To get started on your rag rug crochet project, you will need a few essential materials. Here’s a list of what you’ll need:
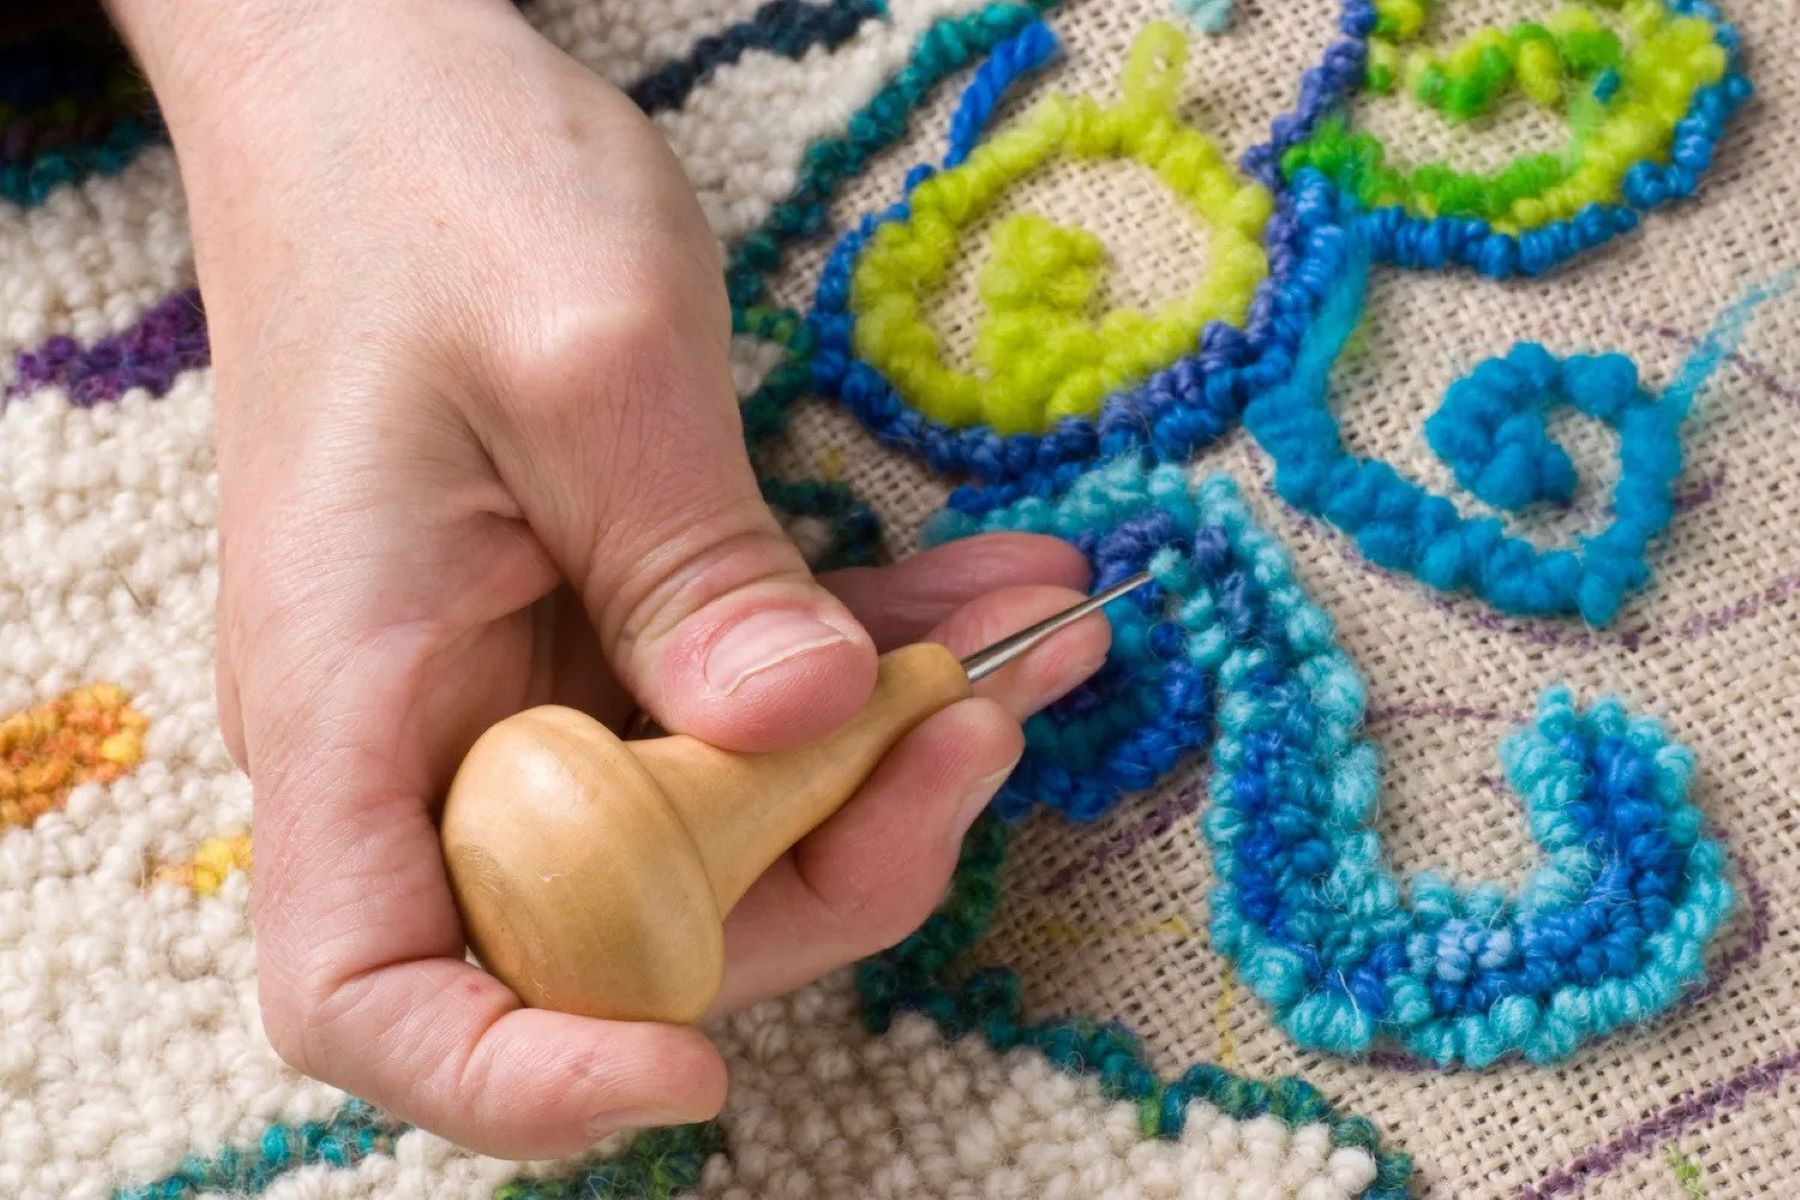
- Crochet hook: Choose a crochet hook size that is compatible with the thickness of your chosen yarn.
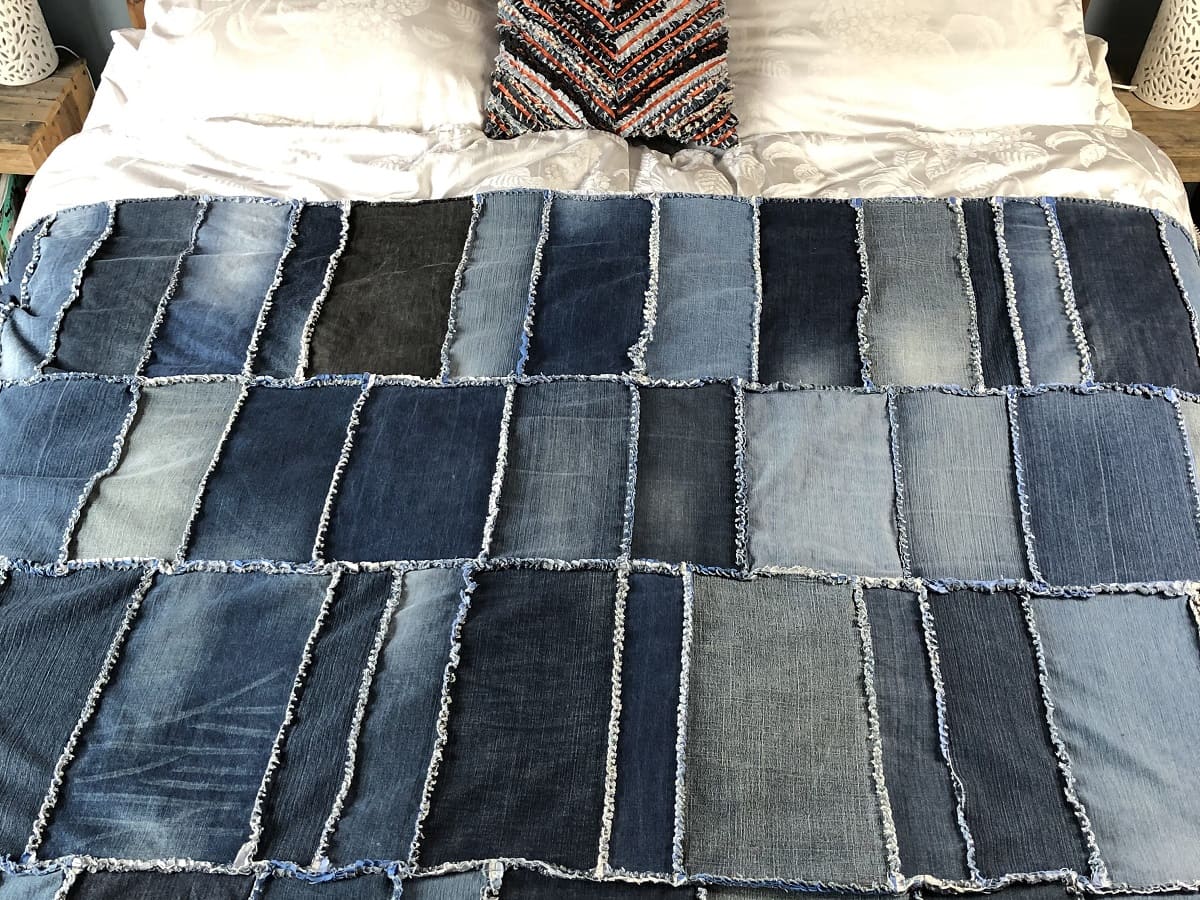
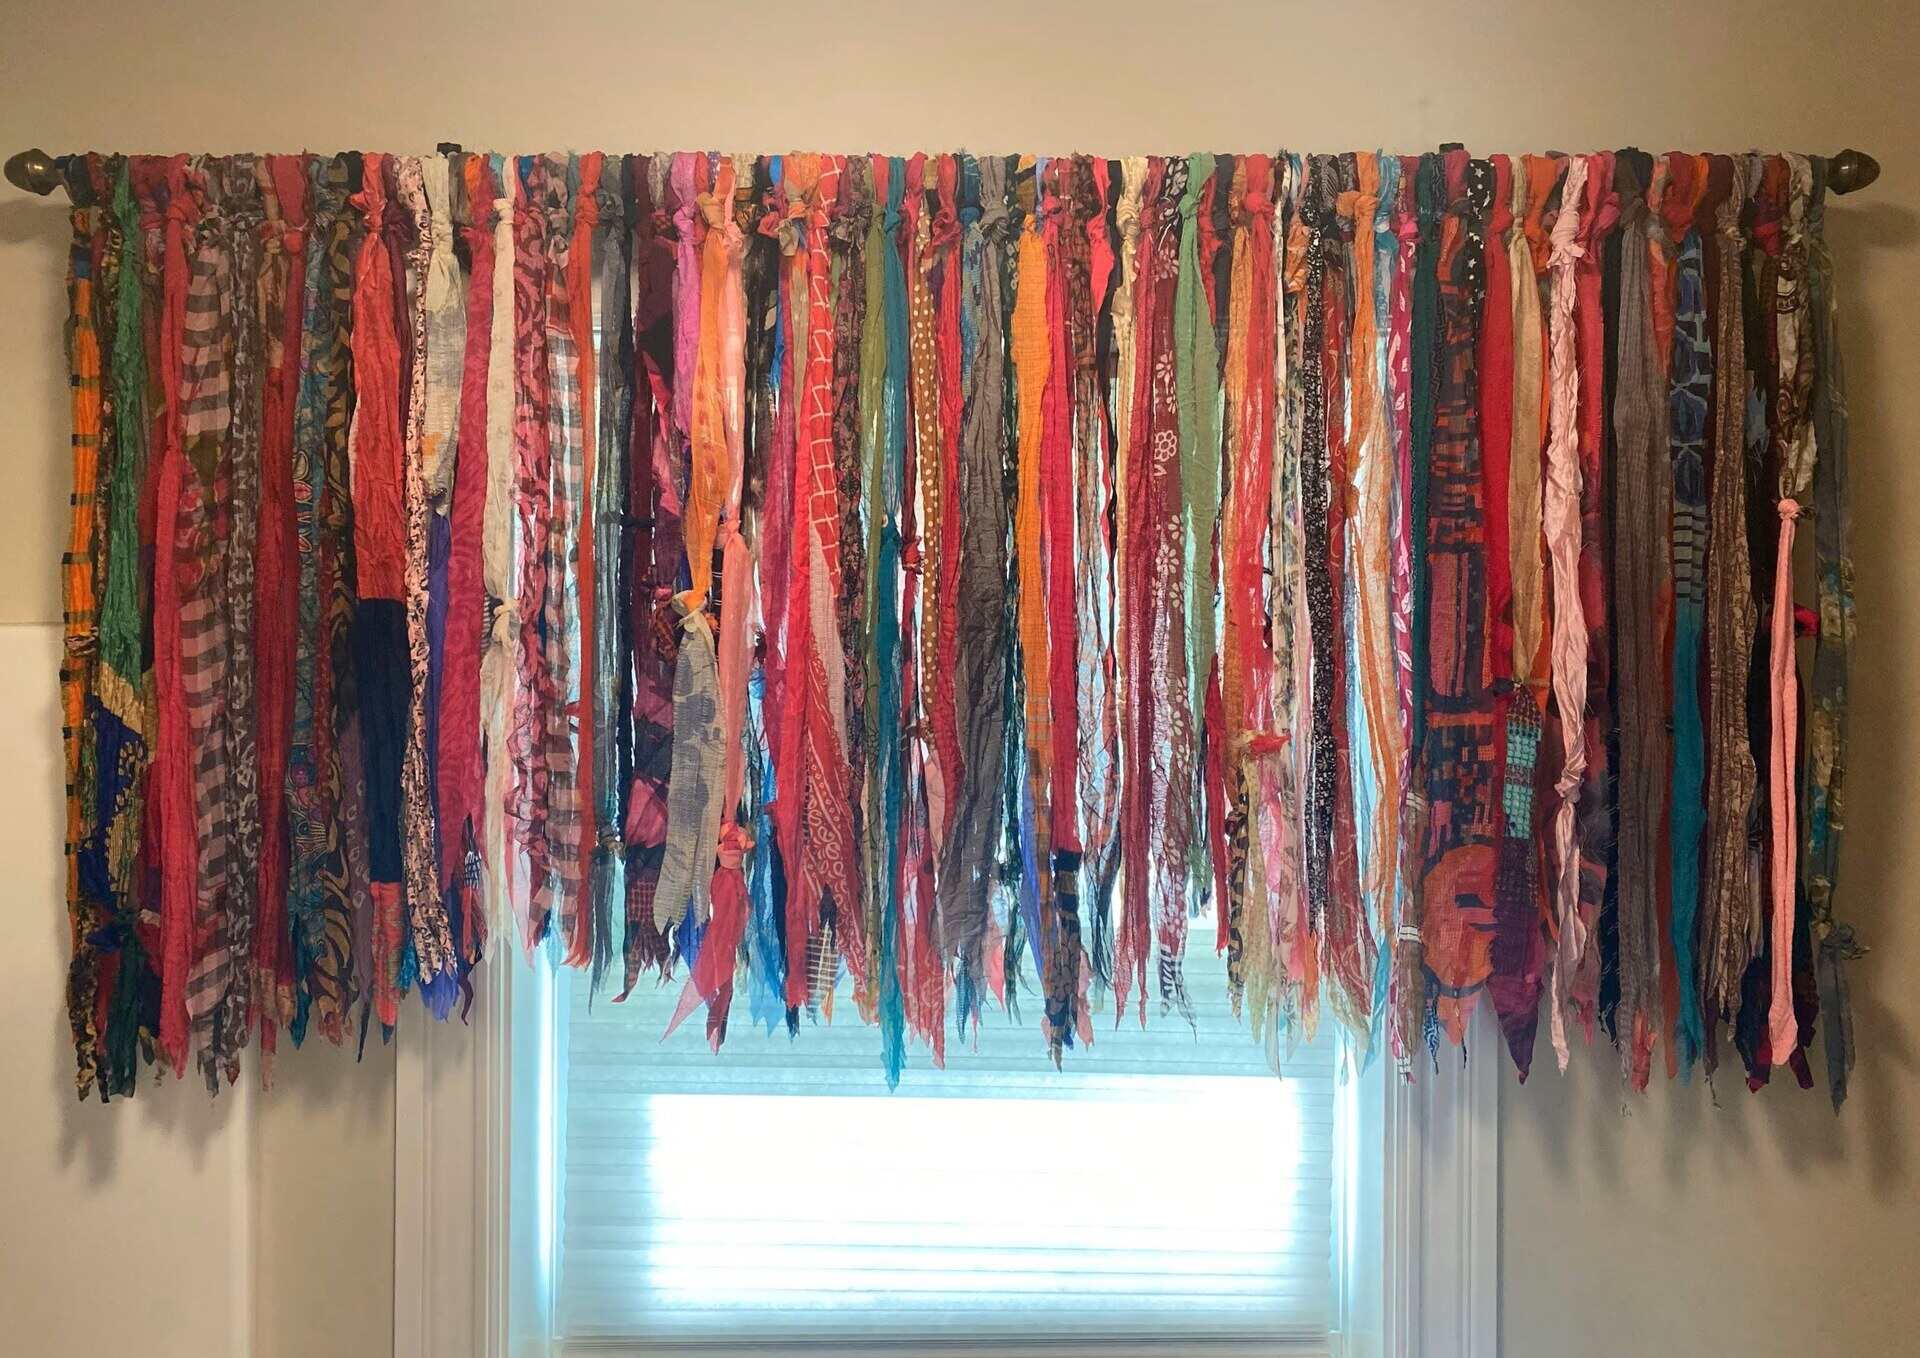
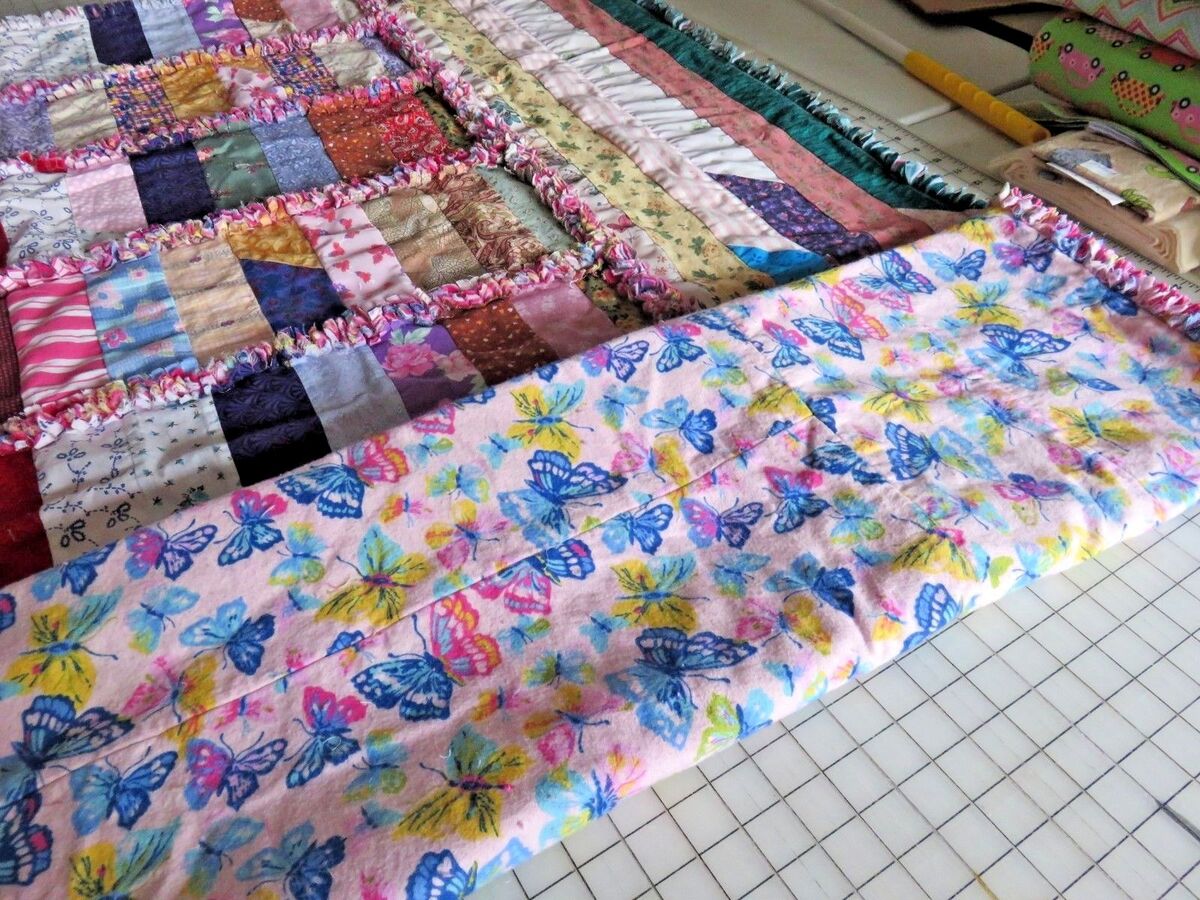
- Yarn: Rag rugs are traditionally made using fabric strips, but you can also use yarn made specifically for rag rug crochet, which is thicker and more durable. Alternatively, you can upcycle old t-shirts, bed sheets, or other fabric scraps by cutting them into strips.
- Fabric strips: If you choose to use fabric strips, ensure they are cut into uniform widths and approximately 1-2 inches in length. You can choose a variety of colors and patterns to create a unique design.
- Scissors: A pair of sharp fabric scissors will be essential for cutting fabric strips and trimming yarn.
- Measuring tape: This will come in handy for measuring the size of your rag rug.
- Needle and thread: You will need these for sewing ends together or for any other finishing touches.
- Non-slip rug pad (optional): If you plan to use your rag rug on a slippery surface, a non-slip rug pad can provide extra stability and safety.
Once you have gathered all the necessary materials, you will be ready to embark on your rag rug crochet journey. The type and quality of materials you choose will play a significant role in the final outcome of your rug, so take your time in selecting the perfect colors, textures, and thickness to match your vision.
Now that you have your materials at the ready, let’s move on to the crochet stitches used in making rag rugs.
Crochet Stitches Used
When it comes to making rag rugs through crochet, there are a few basic stitches that you will need to become familiar with. Here are the main stitches used in crocheting rag rugs:
- Chain stitch (ch): The chain stitch is the foundation of most crochet projects. It creates a row of linked loops and acts as a starting point for other stitches.
- Single crochet (sc): The single crochet stitch produces a tight and sturdy fabric. It involves inserting the hook into a stitch, pulling through a loop, and then yarn over, and pulling through both loops.
- Double crochet (dc): The double crochet stitch is taller than the single crochet stitch and creates a looser fabric. To do a double crochet, yarn over, insert the hook into a stitch, yarn over again, pull through a loop, yarn over, and pull through two loops at a time.
These three stitches are the foundation for most rag rug crochet projects. However, depending on the design or pattern you choose, you may also come across other stitches such as half-double crochet (hdc) or treble crochet (tr). It’s essential to have a solid understanding of these basic stitches before attempting more complex patterns.
To practice these stitches, you can create small swatches using scrap yarn or fabric strips. This will help you get comfortable with the tension, rhythm, and overall technique necessary for crocheting rag rugs.
Now that you know the basic stitches, let’s move on to choosing the right yarn for your rag rug project.
Choosing the Right Yarn
When it comes to choosing yarn for your rag rug crochet project, there are a few key factors to consider. The yarn you select will determine the overall look, feel, and durability of your rag rug. Here are some tips to help you make the right choice:
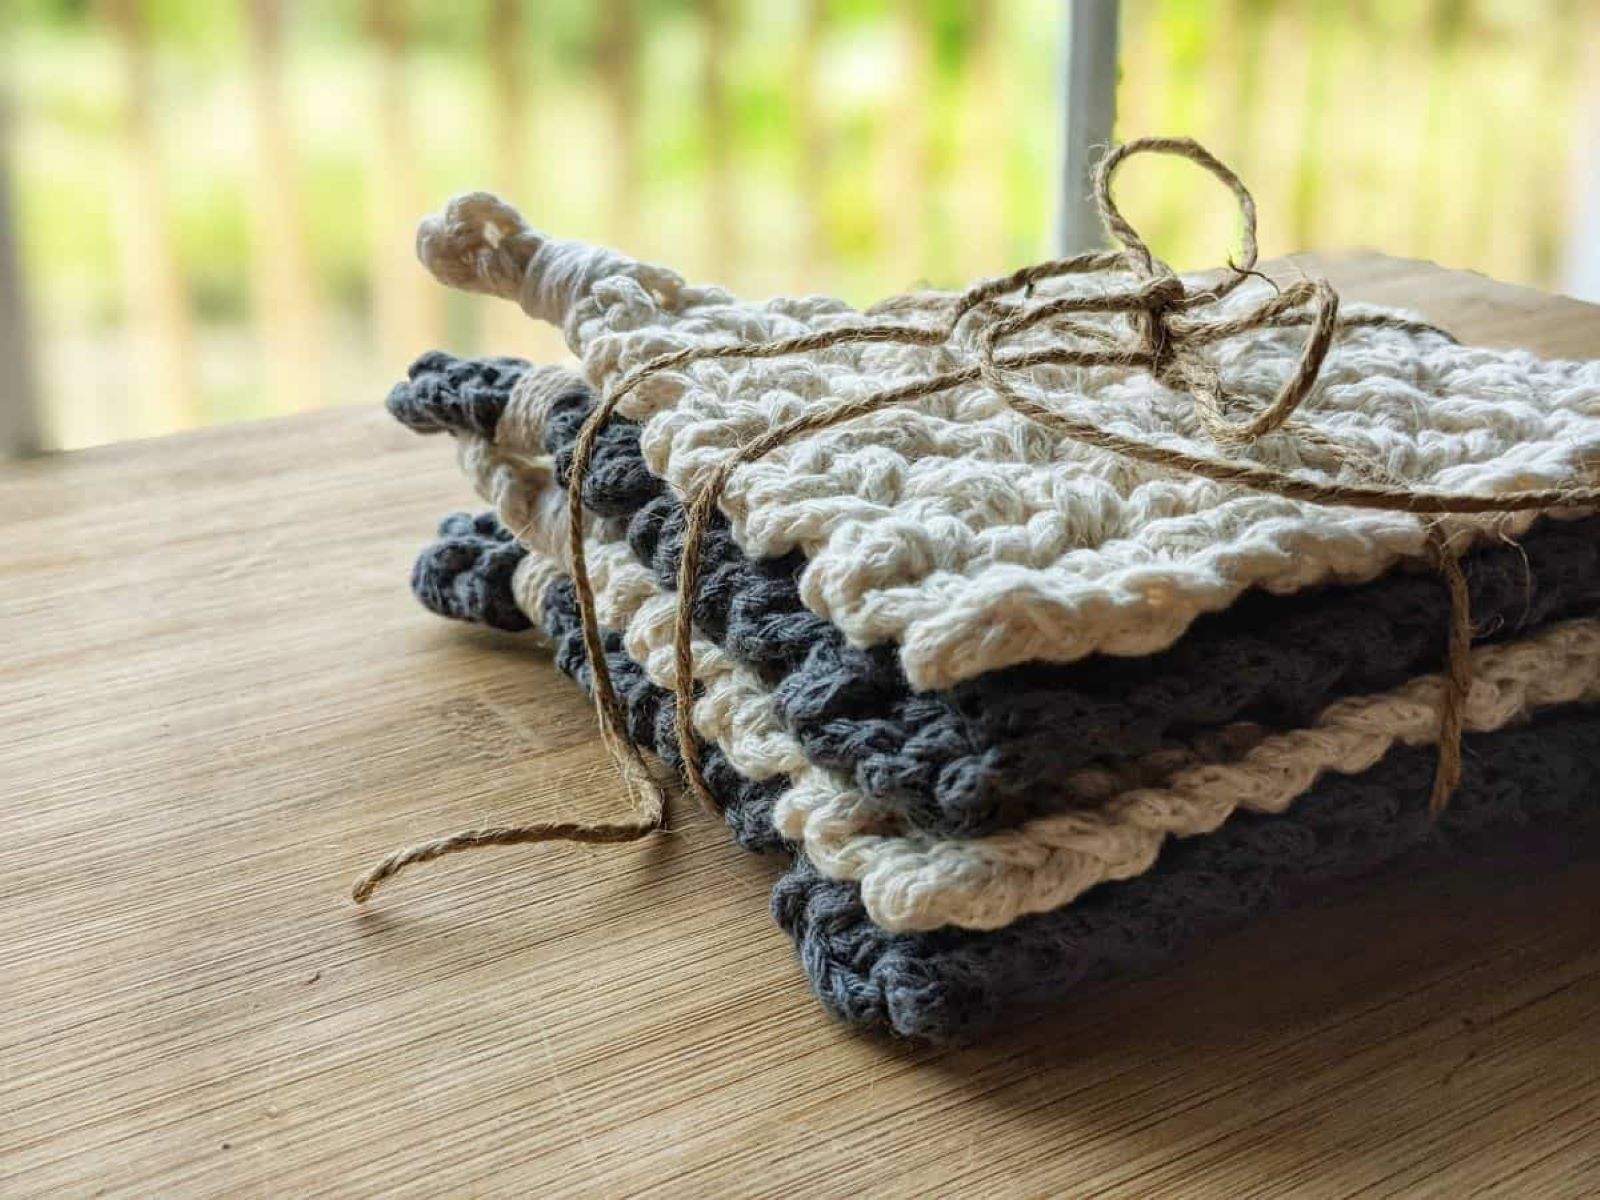
- Thickness: For rag rugs, it’s recommended to use a thicker yarn or fabric strips. Thicker yarn will create a sturdier rug that can withstand the wear and tear of everyday use. Look for yarn labeled as “rag rug yarn” or consider cutting fabric strips to achieve the desired thickness.
- Material: Consider the material composition of the yarn. Depending on your preference, you can choose natural fibers like cotton or synthetic fibers like acrylic. Natural fibers provide a more organic and eco-friendly feel, while synthetic fibers offer a wider range of colors and may be more affordable.
- Color: The color of the yarn will greatly impact the aesthetic of your rag rug. You can choose a single color for a more minimalist look or opt for a variety of colors to create a vibrant and playful design. Consider the overall color scheme of your space and choose yarn that complements it.
- Durability: Since rag rugs are meant to be used on the floor, it’s important to choose a yarn that is durable and can withstand frequent foot traffic. Look for yarn that is labeled as “tough” or “heavy-duty” to ensure it will hold up over time.
Keep in mind that the choice of yarn is ultimately a personal preference. Experiment with different options to find the yarn that you enjoy working with and that fits your desired aesthetic.
Now that you have your yarn ready, let’s move on to starting the rag rug and creating the base.
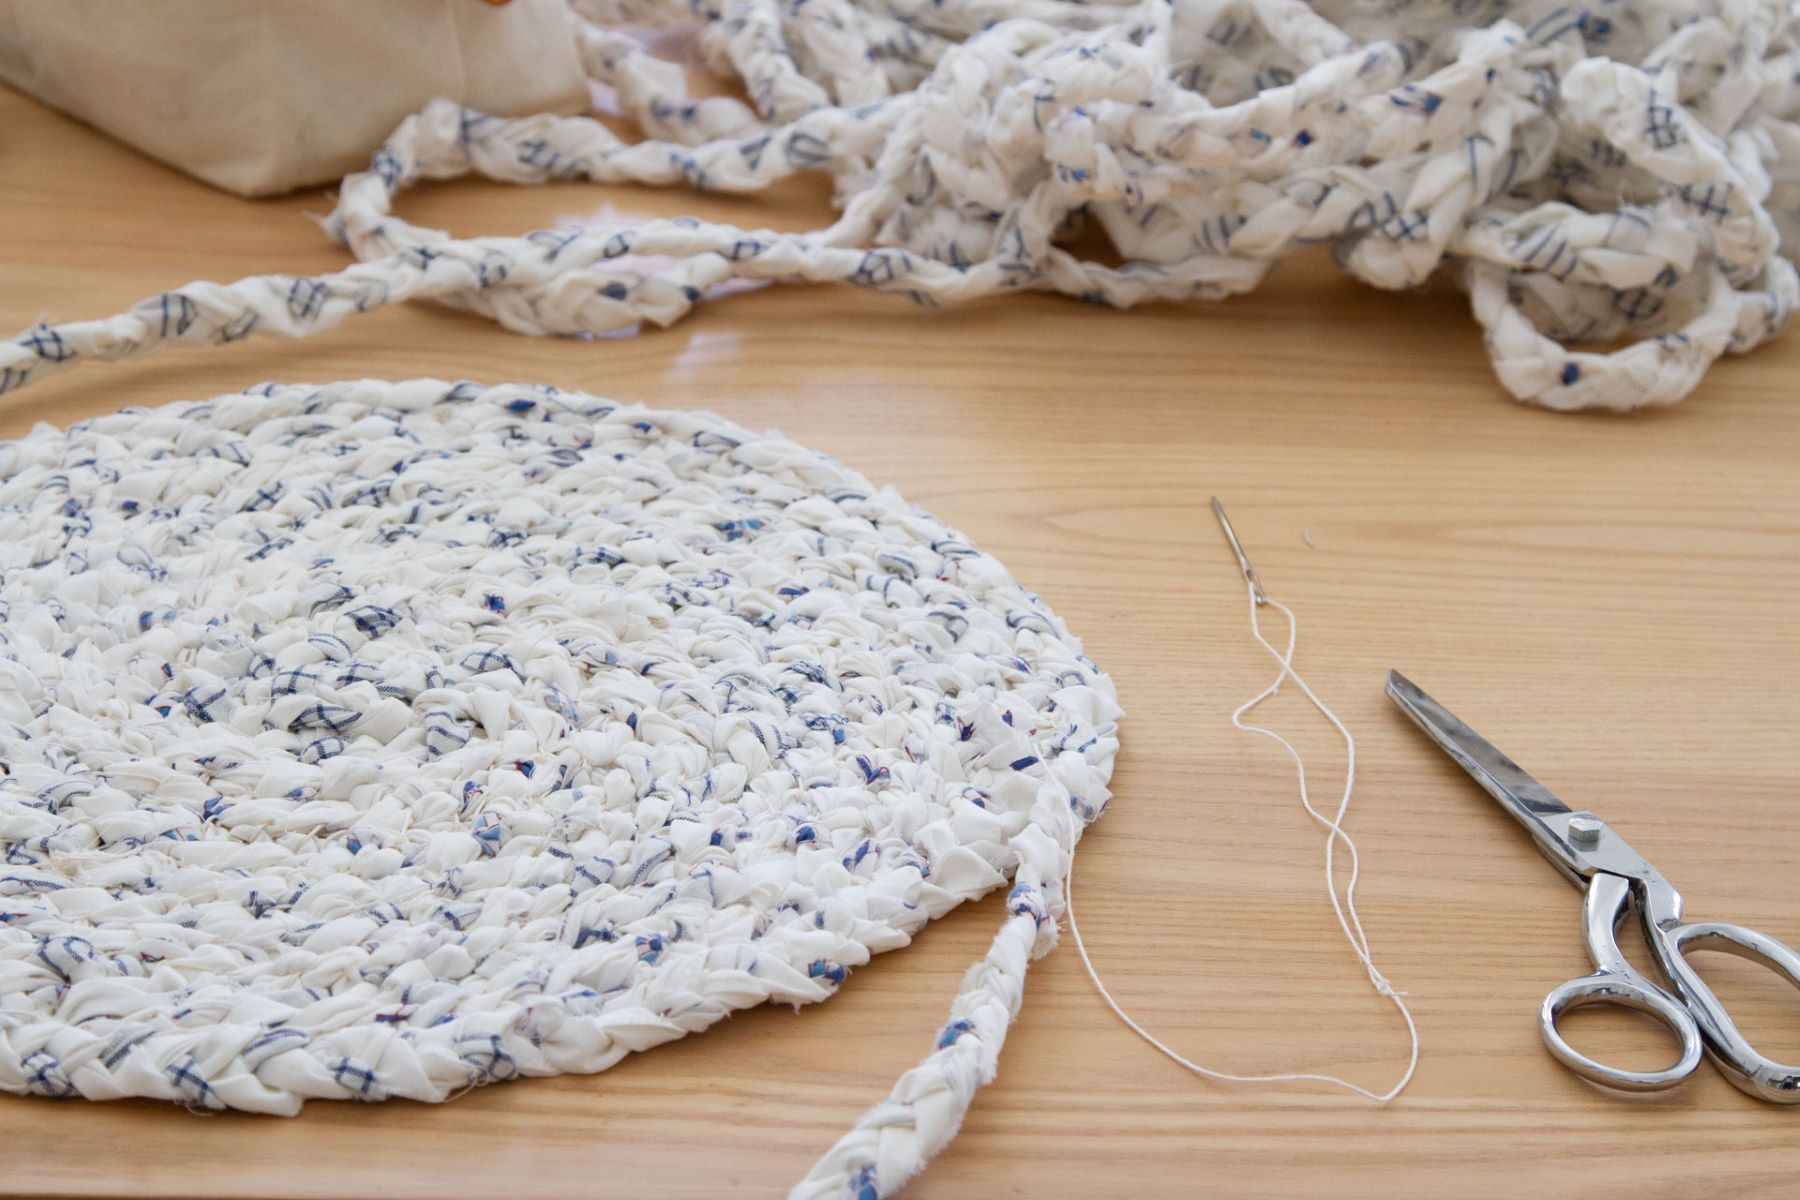
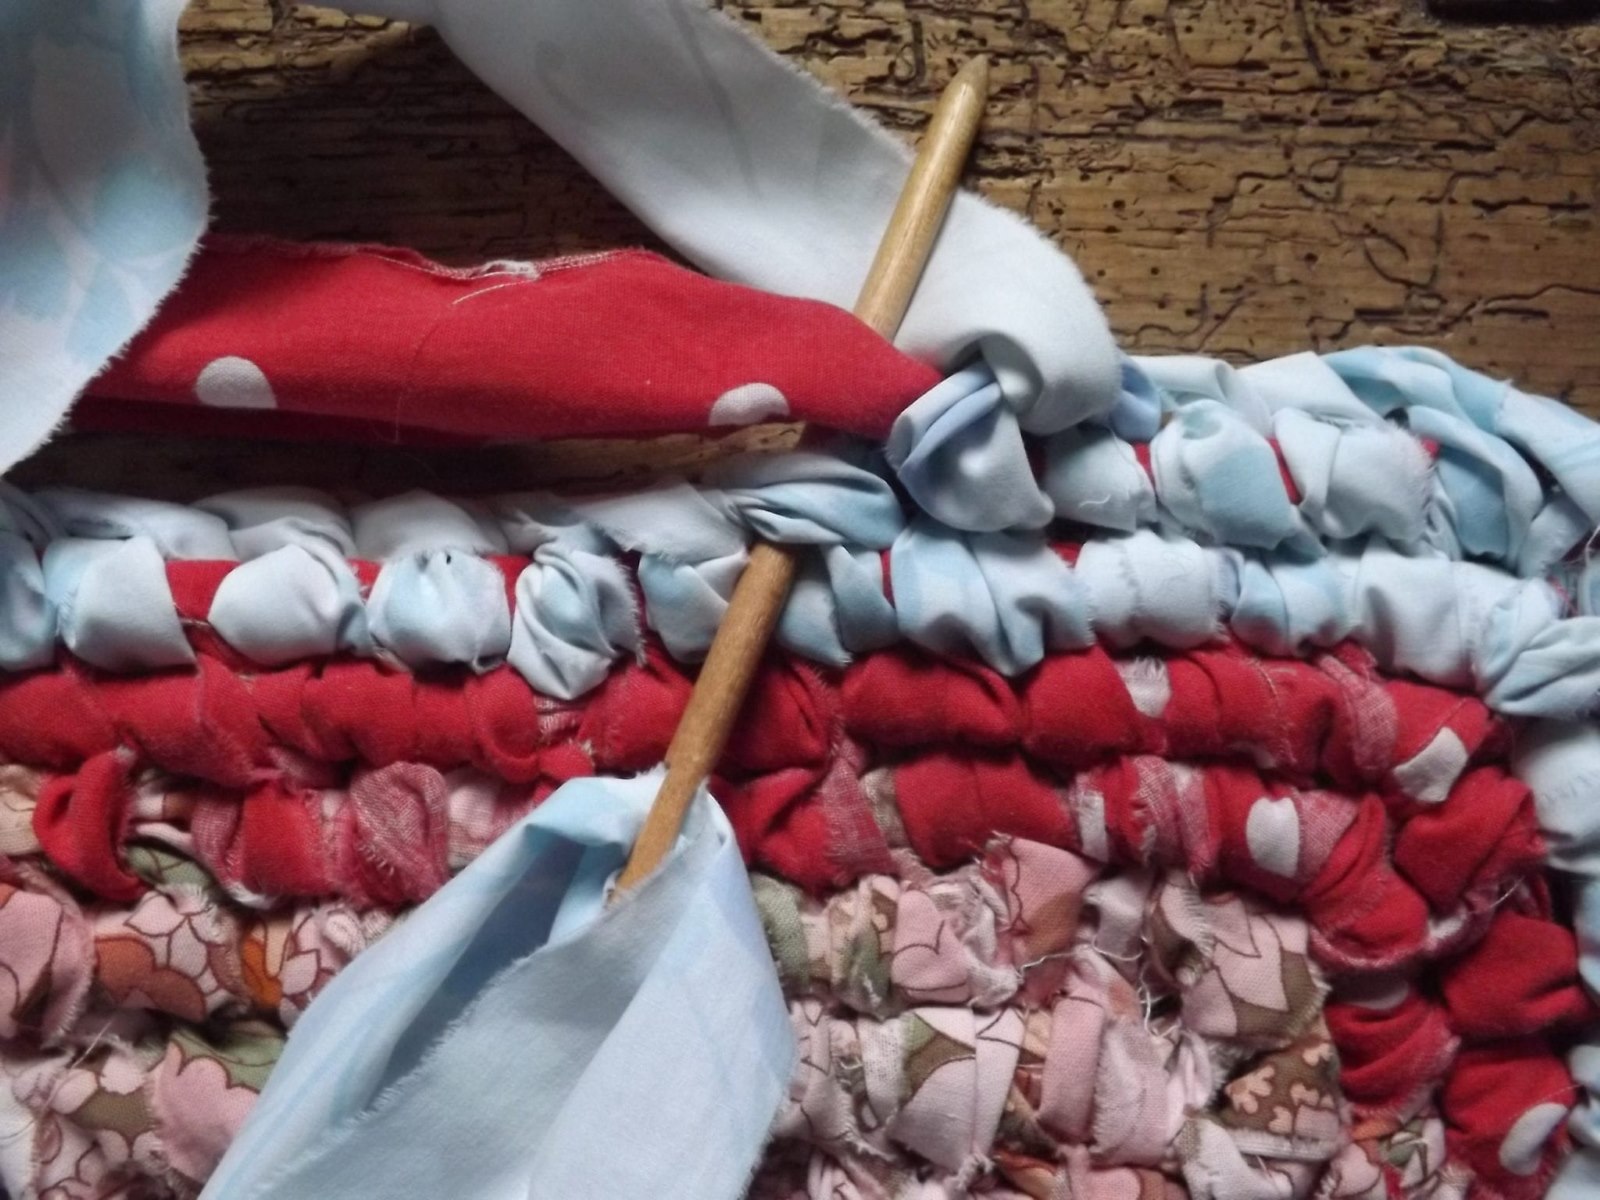
Starting the Rag Rug
Now that you have your materials ready and have chosen the perfect yarn for your rag rug project, it’s time to start crocheting! The first step is to create a base for your rug.
- Start with a slipknot: To begin, make a slipknot by creating a loop with the yarn and pulling the working end through. Insert your crochet hook into the slipknot and tighten it slightly. This will serve as your starting point.
- Create a chain: Next, create a chain by making several chain stitches. The number of chain stitches you make will depend on the desired width of your rug. Experiment with different chain lengths until you achieve the width you desire. Remember to keep the stitches loose to ensure flexibility.
- Turn and single crochet: Once you have created the desired number of chain stitches, turn your work and start single crocheting into the second chain from the hook. Insert your hook into the stitch, yarn over, and pull through a loop. Yarn over again and pull through both loops on the hook. This completes one single crochet stitch.
- Continue single crocheting: Continue single crocheting across the row until you reach the end. Be sure to work into each stitch, maintaining a consistent tension throughout. This will create a solid and sturdy base for your rag rug.
Once you have finished the first row of single crochets, turn your work and repeat the process of single crocheting into each stitch across the row. Continue this pattern until your rag rug reaches the desired length. Remember to periodically measure your rug to ensure it is growing according to your desired proportions.
As you progress, you may find it helpful to use stitch markers to keep track of your rows or place a safety pin on your working row to easily identify it. This can be especially useful when working on larger projects.
Now that you have established the base of your rag rug, it’s time to move on to adding color, design, and further customization.
Read more: How Do You Make Rag Rugs
Crocheting the Base
With the foundation of your rag rug in place, it’s time to start crocheting the base. This is where you can get creative and add color, design, and texture to your rug. Here’s how to continue crocheting the base:
- Change colors (optional): If you wish to incorporate different colors into your rug, you can change yarn colors at the beginning of a new row. To do this, complete the last single crochet stitch of the previous row until you have two loops remaining on your hook. Then, drop the current color of yarn and pick up the new color. Yarn over with the new color and pull through both loops to complete the stitch.
- Single crochet across the row: After changing colors (if desired), continue single crocheting across the row, working into each stitch. This will continue to build the base of your rug and maintain the same stitch pattern as the previous rows.
- Repeat the color change and single crochet: Repeat the color change (if desired) and the single crochet across the row for each subsequent row. You can create stripes of alternating colors, incorporate a gradient effect, or even experiment with different stitch patterns to add visual interest to your rug.
Remember to maintain consistent tension and spacing between stitches to ensure an even and sturdy base. Crocheting the base is the perfect opportunity to let your creativity shine. Feel free to explore different color combinations, patterns, or even incorporate multiple strands of yarn to create a thicker and more textured surface.
As you continue crocheting the base, periodically measure your rug to ensure that it is growing according to your desired dimensions. Keep in mind that larger rugs may require more time and effort, so be patient and enjoy the process.
Now that you have crocheted the base of your rag rug, let’s move on to adding color and design elements.
When making a rag rug with crochet, use a large hook size to accommodate the thickness of the rag strips. This will make the process easier and the rug more durable.
Adding Color and Design
Adding color and design elements to your rag rug can elevate its visual appeal and make it truly unique. Here are some techniques and ideas to consider when adding color and design to your rug:
- Stripes: One simple way to incorporate color is by creating stripes. You can alternate between different colors in each row or create wider stripes by crocheting multiple rows of the same color. Stripes can add a bold and modern look to your rug.
- Color blocks: Another option is to create color blocks by crocheting a section of the rug in one color and then transitioning to another color for the next section. This creates a visually striking pattern and allows you to play with color combinations.
- Patterns and motifs: If you want to take your design to the next level, consider incorporating patterns or motifs into your rag rug. This can be done by changing the crochet stitch pattern or using different colors to create shapes or designs within the rug.
- Texture: To add texture to your rug, you can experiment with different stitches and techniques. For example, you can try using popcorn stitches, bobble stitches, or even create raised or looped sections to create interesting textures.
- Integrate fabric strips: If you are using fabric strips instead of or in addition to yarn, you can incorporate them strategically to introduce additional pops of color or create unique patterns within the rug. Combine fabric strips with yarn in complementary colors to achieve a vibrant and textured look.
Remember to plan your design and color scheme ahead of time or experiment as you go along to create a visually pleasing rug that suits your style and the intended space. Consider the overall aesthetic of the room where the rug will be placed to ensure it complements the existing decor.
Now that you’ve added color and design to your rag rug, let’s move on to the finishing touches and binding the edges.
Finishing and Binding
After you have crocheted your rag rug and added the desired color and design elements, it’s time to finish the rug and bind the edges to ensure a neat and polished look. Here’s how to complete the finishing touches:
- Trim any loose ends: Throughout the crocheting process, you may have loose ends of yarn or fabric strips. Trim these ends to create a clean and tidy appearance.
- Secure the last stitch: When you reach the desired size for your rug, finish the final row and cut the yarn, leaving a long tail. Insert the end of the yarn through the last stitch and secure it by making a knot. This will prevent the rug from unraveling.
- Bind the edges: To bind the edges of your rug, you have several options. You can either crochet a border, sew a fabric binding, or use a no-sew method such as fabric glue or fringe. Choose the method that suits your preference and desired aesthetic.
- Crocheted border: To create a crocheted border, start by single crocheting around the entire perimeter of the rug. You can choose to work in a continuous round or join each round with a slip stitch. Experiment with different stitch patterns, such as picot or scallop edging, to add a decorative touch.
- Fabric binding: If you prefer a fabric binding, cut fabric strips approximately 2-3 inches wide. Fold the strips in half lengthwise and sew them along the edges of the rug using a sewing machine or by hand. This will provide a durable and finished edge.
- No-sew options: If you want to avoid sewing, you can use fabric glue or a hot glue gun to attach fabric strips along the edges of the rug. Alternatively, you can create a fringe by cutting evenly spaced slits along the edges of the rug and cutting fabric strips to attach in those slits.
Once you have completed the finishing touches and the edges are bound, take a moment to inspect your rug for any loose stitches or uneven sections. Make any necessary adjustments or repairs to ensure the rug is sturdy and aesthetically pleasing.
Now that your rag rug is complete, it’s time to explore variations and customizations to make it even more unique!
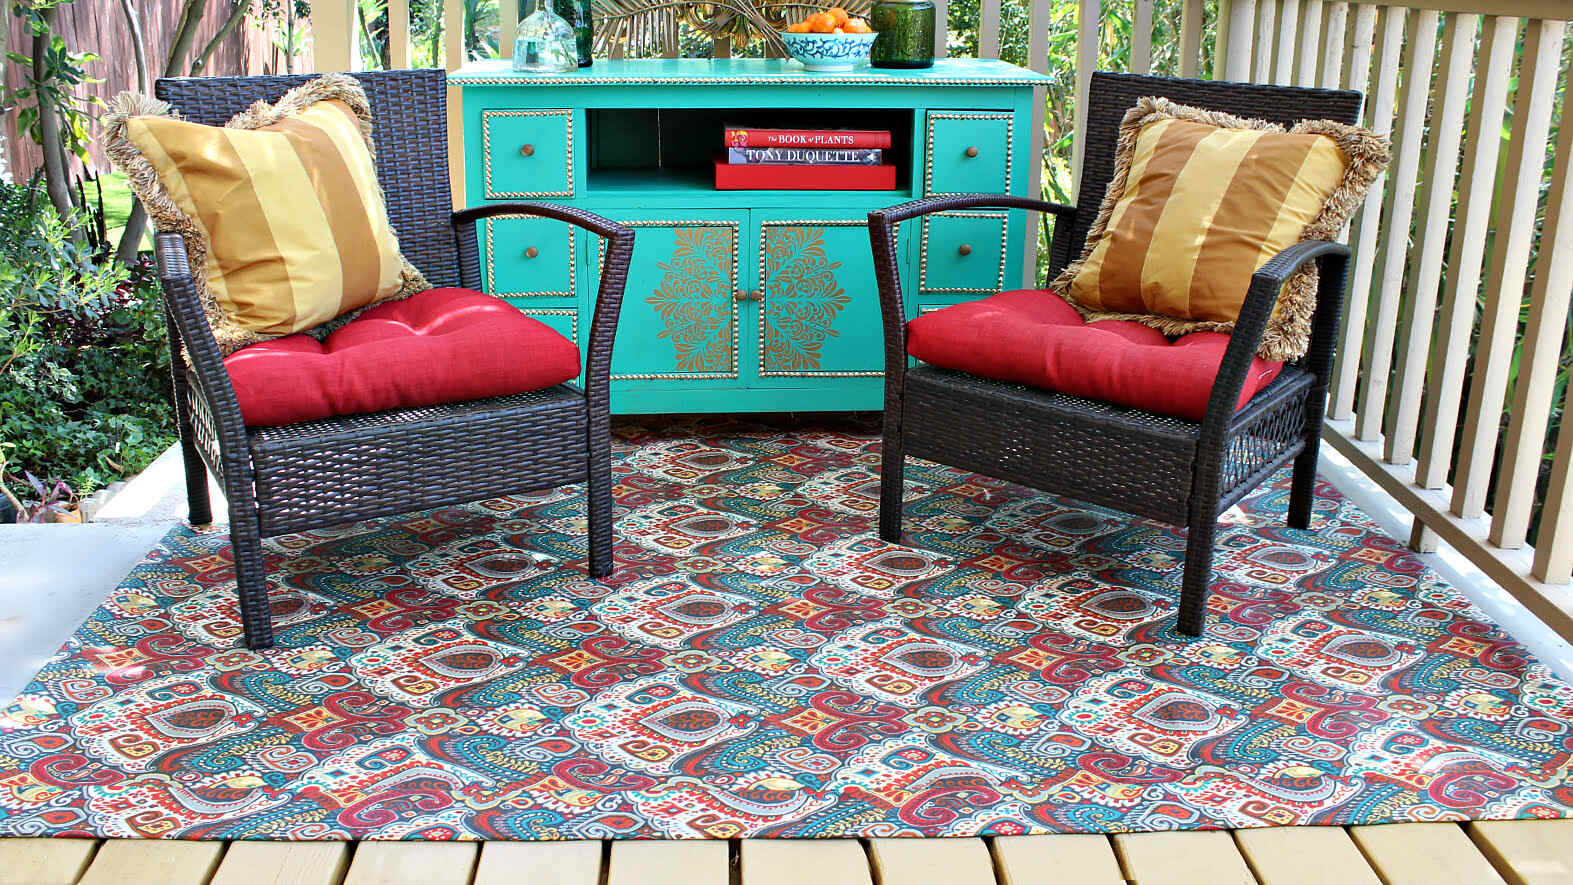
Variations and Customizations
When it comes to making rag rugs through crochet, the possibilities for variations and customizations are endless. Here are some ideas to inspire you to make your rug even more unique:
- Shape: While traditional rag rugs are rectangular, you can experiment with different shapes such as round, oval, or even free-form designs. Adjust the pattern accordingly to accommodate the desired shape.
- Size: Customize the size of your rag rug to fit the space where you intend to place it. Whether you want a small accent rug or a large statement piece, adjust the number of stitches and rows accordingly.
- Pattern stitches: Explore different crochet stitch patterns to create interesting textures or visual effects within your rug. Try out stitches like shell stitch, popcorn stitch, or cable stitch to add depth and dimension to your design.
- Pattern combinations: Combine different stitch patterns or incorporate alternating rows of different stitches to create a unique pattern. You can use contrasting colors or shades of the same color to highlight the pattern and add visual interest.
- Mix yarn and fabric: Incorporate both yarn and fabric strips into your rug design. This allows you to play with different textures, colors, and patterns. Use yarn for the base and fabric strips for accent rows or create a patchwork effect by alternating fabric strips with yarn in the main body of the rug.
- Add embellishments: Consider adding embellishments to your rag rug, such as buttons, beads, or embroidery. These details can add a touch of individuality and elevate the overall appearance of your rug.
Don’t be afraid to experiment and let your creativity shine. Making a rag rug through crochet allows you the opportunity to create a one-of-a-kind piece that reflects your personal style and artistic vision.
Now that you have explored variations and customizations, let’s discuss how to care for and maintain your completed rag rug.
Read more: How To Clean Rag Rugs
Care and Maintenance
Proper care and maintenance are essential to ensure the longevity and beauty of your rag rug. Follow these tips to keep your rug looking its best:
- Regular vacuuming: Vacuum your rag rug regularly to remove any dust, dirt, or debris. Use a vacuum cleaner with a brush or beater-bar attachment to gently clean the rug’s surface. For thicker rugs, it might be helpful to use the upholstery attachment or gently shake out the rug outdoors to remove excess dirt.
- Avoid high-traffic areas: While rag rugs are durable, it’s best to avoid placing them in high-traffic areas. Constant foot traffic can accelerate wear and tear. Consider using a rug pad underneath to provide extra cushioning and prevent slipping.
- Spot cleaning: Attend to spills or stains promptly by spot cleaning the affected area. Blot the stain with a clean cloth or sponge, using a mixture of mild detergent and water. Avoid rubbing or scrubbing as it can spread the stain or damage the fibers. Allow the area to air dry completely before using the rug again.
- Deep cleaning: Periodically give your rug a deep clean to remove any built-up dirt or odor. You can do this by either hand-washing or machine-washing your rug, depending on its size. Follow the care instructions for your specific type of yarn or fabric. After washing, allow the rug to air dry completely before using or storing it.
- Rotate your rug: To ensure even wear, rotate your rug occasionally. This will help prevent excessive wear in certain areas and keep the colors and patterns looking balanced.
- Avoid direct sunlight: Prolonged exposure to direct sunlight can cause fading and damage to your rug. If possible, place your rug in an area where it is shielded from direct sunlight or use curtains or blinds to minimize sun exposure.
By following these care and maintenance tips, you can keep your rag rug in excellent condition and enjoy its beauty for years to come.
As we conclude this guide to making rag rugs through crochet, we hope you feel inspired to embark on your own rag rug project. Remember to have fun, experiment, and let your creativity flow. Whether you’re a beginner or an experienced crocheter, making rag rugs is a satisfying and sustainable way to add charm and warmth to your home.
Happy crocheting!
Conclusion
Congratulations on completing this comprehensive guide to making rag rugs through crochet! You have gained the knowledge and techniques needed to embark on your own rag rug journey. By repurposing old fabrics and utilizing your crochet skills, you can create beautiful, functional, and environmentally-friendly rugs to enhance your home’s decor.
We explored the materials needed, crochet stitches used, choosing the right yarn, starting the rag rug, crocheting the base, adding color and design, finishing and binding, and variations and customizations. Each step along the way allows you to infuse your rug with your personal style, creativity, and even memories by utilizing different color schemes, stitch patterns, and embellishments.
Remember to care for and maintain your rag rug to preserve its beauty. Regular vacuuming, spot cleaning, and appropriate rotation will keep your rug looking fresh and vibrant for years to come.
As you start your rag rug project, enjoy the process and see it as an opportunity to express yourself through crochet. Whether you’re making a small rug for an intimate space or a large statement piece for a room, the possibilities are endless. Feel free to experiment with different stitches, colors, shapes, and textures to create a truly unique masterpiece.
Not only will your rag rug add warmth, comfort, and style to your home, but you’ll also be contributing to a more sustainable lifestyle by repurposing old fabrics and promoting eco-friendly practices.
So gather your materials, select your favorite colors, and let your crochet hook guide you in creating a rag rug that reflects your personal style and adds a touch of handmade charm to your living space.
Happy crocheting, and enjoy the satisfaction of bringing your rag rug vision to life!
Frequently Asked Questions about How To Make Rag Rugs Crochet
Was this page helpful?
At Storables.com, we guarantee accurate and reliable information. Our content, validated by Expert Board Contributors, is crafted following stringent Editorial Policies. We're committed to providing you with well-researched, expert-backed insights for all your informational needs.

0 thoughts on “How To Make Rag Rugs Crochet”