
Articles
How To Make Rugs Out Of T Shirts
Modified: December 7, 2023
Learn how to repurpose your old t-shirts into beautiful rugs with our step-by-step articles. Turn clutter into stylish home decor!
(Many of the links in this article redirect to a specific reviewed product. Your purchase of these products through affiliate links helps to generate commission for Storables.com, at no extra cost. Learn more)
Introduction
Welcome to the world of DIY crafting! If you’re someone who likes to repurpose old items and create something new and beautiful, then making rugs out of t-shirts might be the perfect project for you. Not only is it a great way to recycle your old t-shirts, but it also allows you to add a personal touch to your home decor.
Creating rugs out of t-shirts is a fun and eco-friendly way to add color and texture to any room. Plus, it’s a great opportunity to showcase your creativity and DIY skills. Whether you’re an experienced crafter or just starting out, this project is suitable for all skill levels.
In this article, we will provide you with a step-by-step guide on how to make rugs out of t-shirts. We will walk you through the materials needed, the preparation process, and the weaving techniques. So gather your old t-shirts, put on your crafting hat, and let’s get started on this exciting journey!
Key Takeaways:
- Repurpose old t-shirts into vibrant, eco-friendly rugs using simple weaving techniques. Showcase your creativity and reduce textile waste with this fun and sustainable DIY project.
- Transform sentimental or unused t-shirts into personalized, functional rugs that add warmth and character to your home. Enjoy the satisfaction of creating beautiful decor while contributing to a more sustainable lifestyle.
Materials needed
Before diving into the rug-making process, it’s important to gather all the necessary materials. Here is a list of items you will need:
- Old t-shirts: Look for t-shirts that are no longer in use or ones you don’t mind cutting up. The number of t-shirts will depend on the size of the rug you want to make.
- Scissors: Make sure you have a pair of sharp fabric scissors to cut the t-shirts into strips.
- Rug base material: You will need a base material to weave the t-shirt strips onto. This can be a non-slip rug pad, a canvas fabric, or an old rug that you want to revamp.
- Measuring tape: This will come in handy to measure and cut the t-shirts into uniform strips.
- Optional: Fabric glue or needle and thread: If you want to secure the t-shirt strips in place, you can use fabric glue or sew them together using a needle and thread.
These are the basic materials you will need to get started. Depending on your personal preference and creativity, you can also consider adding additional decorations or embellishments to your rug, such as beads or patches.
Now that you have gathered all the necessary materials, let’s move on to the next step: preparing the t-shirts for weaving!
Step 1: Gather old t-shirts
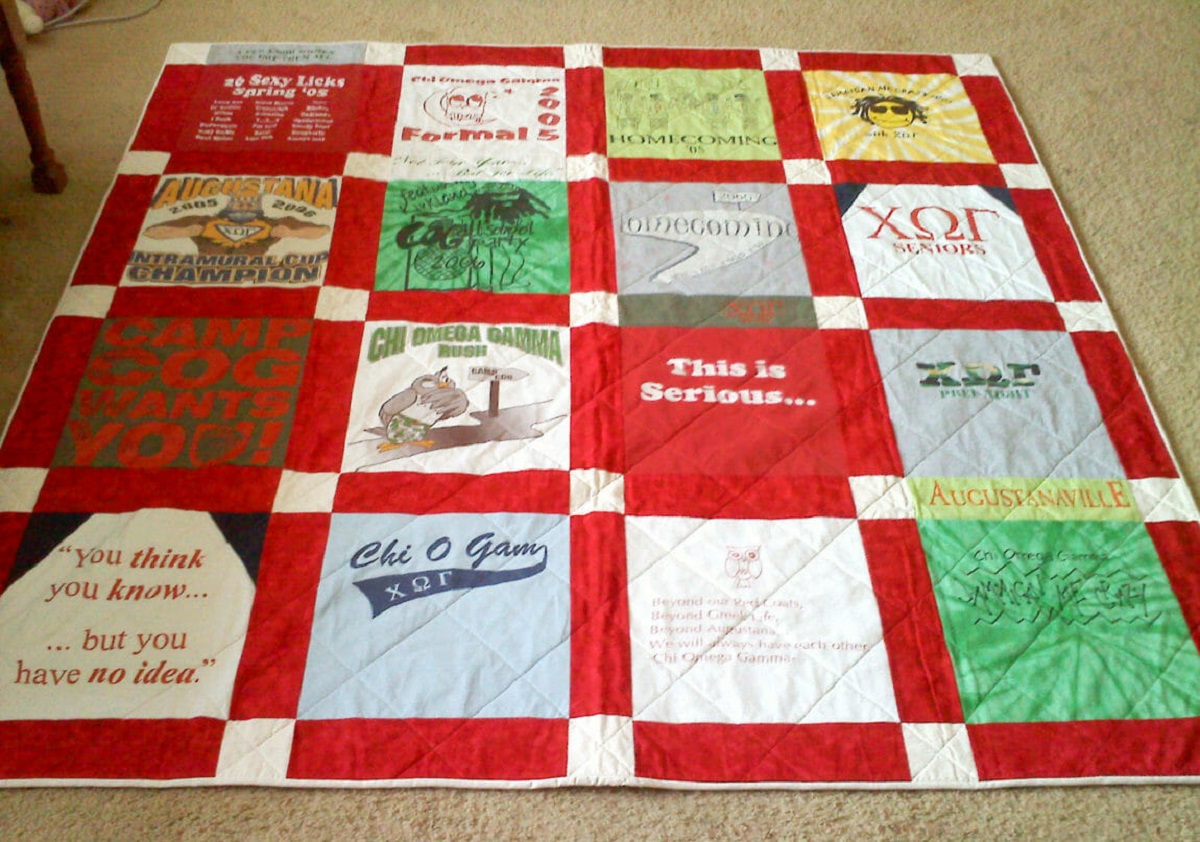
The first step in making rugs out of t-shirts is to gather your old t-shirts. Look through your wardrobe and find t-shirts that you no longer wear or that have sentimental value but are not suitable for wearing anymore. This is a great opportunity to repurpose those shirts and give them new life as a cozy rug.
You can also ask family members, friends, or neighbors if they have any old t-shirts they no longer need. If you don’t have enough t-shirts, consider visiting thrift stores or online marketplaces where you can find inexpensive shirts in a variety of colors and patterns. Remember, the more t-shirts you have, the bigger and more colorful your rug can be!
When selecting t-shirts, keep in mind that you want ones made from stretchy jersey fabric. This type of fabric is perfect for weaving and creating a soft and durable rug.
Once you have gathered your t-shirts, it’s time to move on to the next step: preparing the t-shirts for the rug-making process.
Step 2: Prepare the t-shirts
Now that you have gathered your old t-shirts, it’s time to prepare them for the rug-making process. Follow these steps to get your t-shirts ready:
- Wash and dry: Start by washing and drying the t-shirts. This will ensure that they are clean and free from any dirt or odors.
- Cut off the sleeves and collar: Using a pair of scissors, carefully cut off the sleeves and collar of each t-shirt. This will make it easier to cut the fabric into strips.
- Smooth out the fabric: Lay each t-shirt flat on a table or the floor and smooth out any wrinkles or creases. This will make it easier to cut the fabric into even strips.
- Cut the fabric into strips: Starting from the bottom of the t-shirt, cut straight across to create the first strip. The width of the strip will depend on your preference, but a width of about 1-2 inches works well. Continue cutting strips until you reach the top of the t-shirt. Repeat this process for all the t-shirts you have.
- Tie the strips together: Once you have cut all the t-shirt strips, you can tie them together to create long continuous strips. Take two ends of different t-shirt strips and tie them into a knot, ensuring they are securely fastened. This will allow you to have longer strips for weaving without the need for excessive sewing.
By following these steps, you have successfully prepared the t-shirts for the rug-making process. The next step is to cut the t-shirt strips into the desired lengths and start creating the base for your rug.
Step 3: Cut the t-shirts into strips
Now that you have prepared the t-shirts, it’s time to cut them into strips. Follow these steps to cut the t-shirts into the desired strips:
- Decide on the strip width: Determine the width of the strips you want for your rug. This will depend on your personal preference and the desired look of your rug. A width of around 1-2 inches is a good starting point.
- Measure and mark: Use a measuring tape or ruler to measure and mark the width of the strips on the edge of the t-shirt. Make sure the marks are evenly spaced along the edge.
- Cut the strips: Using a pair of fabric scissors, carefully cut along the marked lines to create the strips. Take your time and ensure that the cuts are straight and even.
- Continue cutting: Repeat the marking and cutting process for the entire length of the t-shirt, creating as many strips as needed. If the t-shirt has a design or logo on it, you may need to adjust the cutting process accordingly to maintain the integrity of the design.
- Set the strips aside: Once you have cut the t-shirt into strips, set them aside and repeat the process for the rest of your t-shirts.
By cutting the t-shirts into strips, you are preparing the material for weaving. The next step is to create the base for your rug using a rug base material of your choice.
When making rugs out of t-shirts, be sure to use a non-slip rug pad underneath to prevent slipping and sliding on hard floors. This will help keep the rug in place and provide a safer surface for walking.
Step 4: Create the base for the rug
With your t-shirt strips ready, it’s time to create the base for your rug. The base will provide structure and support for the weaving process. Follow these steps to create the base:
- Select a rug base material: Choose a rug base material that suits your needs and preferences. Some options include a non-slip rug pad, a piece of canvas fabric, or even an old rug that you want to revamp.
- Cut the base material: Measure and cut the base material to the desired size and shape for your rug. Ensure that it is large enough to accommodate the weaving of the t-shirt strips.
- Secure the edges (optional): If you’re using a fabric or canvas base material, you can consider folding and sewing the edges to prevent fraying. This step is optional but can provide a neater finish.
The choice of base material is up to you, depending on the look and feel you want to achieve. A non-slip rug pad is ideal if you want a flexible and lightweight rug, while a canvas fabric base can provide a sturdier foundation.
Once you have created the base for your rug, you are ready to start weaving the t-shirt strips to bring your rug to life. In the next step, we will explore the weaving technique in detail.
Step 5: Start weaving the t-shirt strips
Now that you have your base ready, it’s time to start weaving the t-shirt strips. Follow these steps to begin the weaving process:
- Secure the first strip: Take one of the t-shirt strips and secure it to the base material. You can use fabric glue or a needle and thread to attach it, or simply tie it in a knot around the base material.
- Weave the strip: Once the first strip is secured, start weaving it through the base material. In an over-and-under pattern, bring the strip over one strand of the base material, then under the next strand, and repeat. Continue this weaving pattern until you reach the end of the strip.
- Secure the end of the strip: Once you reach the end of the strip, securely fasten it to the base material. You can use the same method as before, either by tying a knot or using fabric glue or a needle and thread.
- Continue weaving: Take another t-shirt strip and repeat the weaving process, starting from where you left off. Alternate the colors and patterns of the strips to create an interesting and visually appealing design.
- Push the strips tightly together: As you weave the strips, make sure to push them tightly together to create a dense and sturdy rug. This will prevent gaps and create a more cohesive look.
Continue this process, adding more t-shirt strips and weaving them in an over-and-under pattern, until you have covered the entire base with the t-shirt strips. The weaving technique may take a bit of practice, but as you continue, you will become more comfortable with it.
Once you have completed the weaving process, your rug will start to take shape. In the next step, we will explore how to continue weaving until the desired size of the rug is reached.
Step 6: Continue weaving until desired size is reached
As you continue weaving the t-shirt strips, you’ll notice your rug taking shape. Follow these steps to continue weaving until you reach your desired rug size:
- Add new t-shirt strips: Once you reach the end of a t-shirt strip, simply add a new strip by tying or securing it to the base material. Make sure to position the new strip close to the end of the previous strip, ensuring a seamless transition.
- Continue weaving: Using the same over-and-under weaving pattern, continue weaving the new t-shirt strip with the existing ones. Push the strips tightly together to create a solid and uniform surface.
- Alternate colors and patterns: To add variation and visual interest to your rug, alternate the colors and patterns of the t-shirt strips as you weave. This will create a vibrant and dynamic design.
- Measure your progress: Periodically measure the size of your rug to ensure it’s reaching your desired dimensions. You can use a tape measure or ruler to keep track of its length and width.
- Weave until desired size: Continue the weaving process, adding new strips and pushing them tightly together, until your rug reaches the desired size. This will depend on your personal preference and the space where you intend to use the rug.
Remember to take breaks during the weaving process if needed. It can be a time-consuming project, so pace yourself and enjoy the process of creating your very own t-shirt rug.
Once you have reached your desired rug size, you’re almost done! In the next step, we will explore how to finish off the rug and give it a polished appearance.
Step 7: Finish off the rug
Congratulations on reaching the final step of your t-shirt rug-making adventure! Now it’s time to finish off the rug and give it a polished appearance. Follow these steps to complete your rug:
- Trim any excess fabric: Once you have finished weaving the t-shirt strips, take a pair of fabric scissors and carefully trim any excess fabric that extends beyond the edges of the rug. This will give your rug clean and neat edges.
- Secure the ends: To ensure that the ends of the t-shirt strips are secure, tie or fasten them to the base material. You can use fabric glue or needle and thread for a more permanent solution.
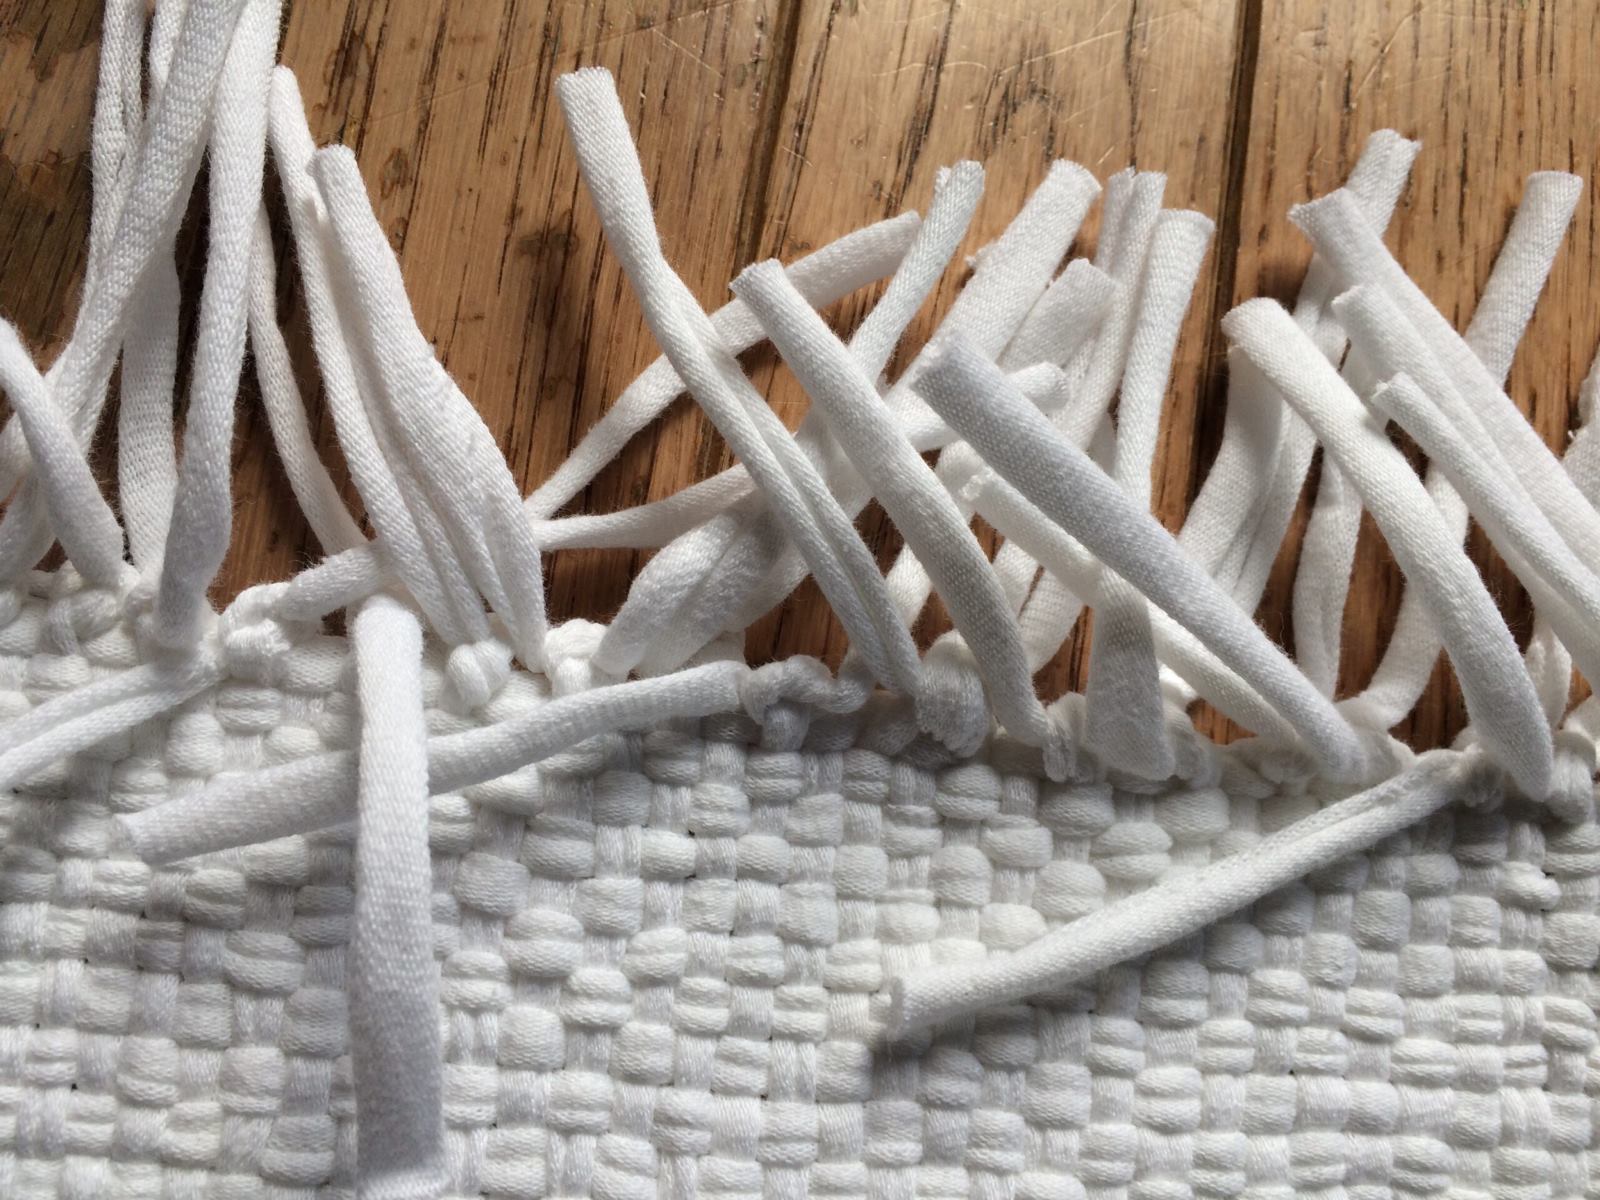
- Optional: Add fringe or tassel: If you want to add a decorative touch to your rug, consider adding a fringe or tassel to the edges. You can use additional t-shirt strips or yarn to create this embellishment.
- Give it a final clean: Once all the finishing touches are in place, give your rug a final clean by shaking it out or gently vacuuming it to remove any loose threads or debris.
With these steps, your t-shirt rug is complete! Take a step back and admire your handiwork. You’ve transformed old t-shirts into a beautiful and unique rug that adds warmth and personality to your home.
Now, find the perfect spot to display your rug and enjoy the satisfaction of creating something beautiful from recycled materials. Your t-shirt rug will not only serve as a functional piece but also be a conversation starter and a testament to your creativity and eco-consciousness.
We hope you’ve enjoyed this journey of making rugs out of t-shirts. Happy crafting!
Read more: How To Store T-Shirts On Shelves
Conclusion
Congratulations! You have successfully learned how to make rugs out of t-shirts. By repurposing old t-shirts, you have created a personalized and eco-friendly addition to your home decor. This DIY project not only allows you to showcase your creativity but also helps reduce textile waste.
Throughout the process, you’ve gathered old t-shirts, prepared them, cut them into strips, created a sturdy base, and weaved the strips together to form a unique and colorful rug. Each step was an opportunity to exercise your crafting skills and bring your vision to life.
By infusing new life into old t-shirts, you’ve transformed them into something functional and beautiful. Your t-shirt rug not only adds comfort and warmth to your space but also serves as a conversation piece that tells a story of creativity and sustainability.
Remember, the possibilities for t-shirt rugs are endless. You can experiment with different color combinations, patterns, and weaving techniques to create rugs that reflect your personal style. Have fun exploring different designs and let your imagination guide you.
As you display your t-shirt rug in your home, take pride in the fact that you’ve not only created a unique piece of decor but also contributed to a more sustainable lifestyle. Your rug serves as a reminder that even simple DIY projects can make a positive impact on the environment.
We hope you have enjoyed this journey of making rugs out of t-shirts and that it has inspired you to continue exploring your creativity through upcycling and repurposing. So, gather your old t-shirts, sharpen your scissors, and let the weaving begin! Happy crafting!
Frequently Asked Questions about How To Make Rugs Out Of T Shirts
Was this page helpful?
At Storables.com, we guarantee accurate and reliable information. Our content, validated by Expert Board Contributors, is crafted following stringent Editorial Policies. We're committed to providing you with well-researched, expert-backed insights for all your informational needs.




0 thoughts on “How To Make Rugs Out Of T Shirts”