
Articles
How To Make Penny Rugs
Modified: December 7, 2023
Learn how to make beautiful and intricate penny rugs with our informative articles. Discover the best techniques and materials for creating stunning designs.
(Many of the links in this article redirect to a specific reviewed product. Your purchase of these products through affiliate links helps to generate commission for Storables.com, at no extra cost. Learn more)
Introduction
Penny rugs are a unique and charming form of folk art that originated in early America. These decorative rugs were made by repurposing wool scraps and transforming them into colorful and intricate designs. While the name implies the use of pennies, actual currency was rarely used in the construction of these rugs. Instead, round pieces of fabric, often made from felt or wool, were used to create the illusion of coins.
This article will guide you through the process of making your own penny rug, from selecting the fabric to adding the finishing touches. Whether you are a seasoned crafter or a beginner looking for a creative project, making a penny rug can be a satisfying and enjoyable endeavor.
Creating a penny rug allows you to express your creativity while also paying homage to a rich historical tradition. These rugs were originally made by thrifty homemakers as a way to add warmth and beauty to their homes without breaking the bank. Today, penny rugs are not only functional pieces but also decorative works of art that can be proudly displayed and cherished.
So, gather your materials and let’s dive into the wonderful world of penny rugs, where stitches tell stories and patterns come alive.
Key Takeaways:
- Embrace the rich tradition of penny rugs by repurposing fabric scraps into a unique and charming work of art. From selecting materials to adding embellishments, this craft allows for creativity and personal expression.
- Create a visually appealing and durable penny rug by carefully arranging fabric pieces, sewing appliques, and adding embellishments. The finishing touches will result in a beautiful and cherished piece of folk art.
Read more: How To Make A Penny Backsplash
Materials Needed
Before you embark on your penny rug-making journey, gather the following materials:
- Fabric: Choose a variety of wool or felt fabrics in different colors and patterns. You can also use cotton fabric for a different texture.
- Scissors: A good pair of fabric scissors is essential for cutting out the shapes and sizes needed for your rug.
- Needles: Use sharp, sturdy needles that are suitable for sewing through fabric layers.
- Thread: Select a thread color that matches your fabric or contrasts for a decorative effect.
- Embroidery floss: Optional, but it adds extra depth and texture to your designs.
- Template material: Cardstock or cardboard for creating templates of your desired shapes and designs.
- Fabric glue: This will come in handy for securing appliques and small embellishments.
- Pins: Use straight pins to hold your fabric pieces in place as you sew.
- Embellishments: Buttons, beads, ribbons, and other decorative items to personalize your rug.
- Rug base: Choose a sturdy fabric or felt for the base of your rug.
These basic materials will set you on the right path to creating your own stunning penny rug. Feel free to add your own personal touches and experiment with different textures and colors. Recycling old fabrics or repurposing clothing can also add a touch of nostalgia to your project.
In the next steps, we will guide you through the process of choosing the fabric and cutting it into the desired shapes for your rug.
Step 1: Choosing Fabric
When making a penny rug, the choice of fabric is crucial as it sets the foundation for your design. Wool and felt fabrics are the most commonly used options, as they are sturdy, easy to work with, and provide a cozy texture. However, you can also get creative with other fabric types like cotton or even upcycling old clothing.
Consider the following factors when choosing fabric for your penny rug:
- Color and Pattern: Select a variety of colors that complement each other and fit the theme of your rug. Consider using both solid colors and patterns to create visual interest.
- Texture: Wool and felt fabrics have a soft, fuzzy texture that adds warmth and depth to your design. Cotton fabric, on the other hand, has a smoother texture that can create a different visual effect.
- Weight: Choose fabrics that are not too thick or heavy, as they may become difficult to work with when layering and sewing.
- Durability: Opt for fabrics that are durable and can withstand regular handling and washing, especially if your penny rug will be used as a functional piece.
While it is important to choose fabrics that appeal to your personal taste, keep in mind that contrasting colors and patterns can make your designs pop. Experiment with different combinations to find the right balance that suits your style.
Once you have gathered your fabrics, it’s time to move on to the next step: cutting the fabric into the desired shapes for your penny rug.
Step 2: Cutting the Fabric
Now that you have chosen your fabric, it’s time to start cutting out the shapes needed for your penny rug design. This step requires precision and attention to detail to ensure that your appliques fit together seamlessly.
Follow these guidelines when cutting the fabric:
- Create Templates: Start by making templates of the shapes you want to use for your design. You can trace these shapes onto a cardboard or cardstock material, which will serve as a guide for cutting your fabric.
- Trace and Cut: Place your template on the fabric and trace around it using a fabric pen or chalk. Cut along the traced lines to create your fabric pieces. Repeat this process for each shape and color you want to include in your design.
- Experiment with Sizes: Play around with different sizes of the same shape to add depth and dimension to your rug. Layering different sizes of circles or squares, for example, can create a visually appealing effect.
It’s important to use sharp fabric scissors when cutting to ensure clean and precise edges. Take your time and be careful not to fray or stretch the fabric as you cut.
If you prefer a more organic and free-form design, you can also cut the fabric shapes without using templates. This approach allows for artistic freedom and can result in unique and asymmetrical patterns.
Once you have cut out all your fabric pieces, lay them out on your work surface and arrange them according to your desired design. This will give you a visual sense of how your penny rug will look and help you make any necessary adjustments before sewing.
With the fabric pieces cut and arranged, we can now move on to the exciting part – creating the templates for your appliques in the next step.
Step 3: Creating Templates
Creating templates for your appliques is an essential step in the penny rug-making process. Templates serve as guides for cutting out the fabric pieces in the desired shapes and sizes, ensuring consistency and precision in your design.
Follow these steps to create your templates:
- Choose a Sturdy Material: Select a thick cardboard or cardstock material for your templates. This will help create durable and reusable guides.
- Trace and Cut: Place your desired shape onto the cardboard or cardstock and trace around it. You can find templates online or draw your own shapes based on your design preferences.
- Cut Out the Templates: Use sharp scissors or a craft knife to cut along the traced lines and create your templates. Ensure that the edges are smooth and even.
- Label the Templates: To avoid confusion during the sewing process, label each template with the corresponding fabric color or design. This will help you stay organized and easily identify which template to use for each fabric piece.
Creating templates allows you to replicate shapes consistently and efficiently. It also ensures that your fabric pieces fit together seamlessly, resulting in a visually pleasing penny rug.
It’s helpful to have a variety of different shapes and sizes for your templates, as this will allow you to experiment with different designs and create more intricate patterns. Circles, squares, hearts, and stars are common shapes used in penny rugs, but feel free to get creative and incorporate your own unique shapes.
Once you have your templates ready, you can move on to the next step, where we will explore how to arrange the fabric pieces to bring your design to life.
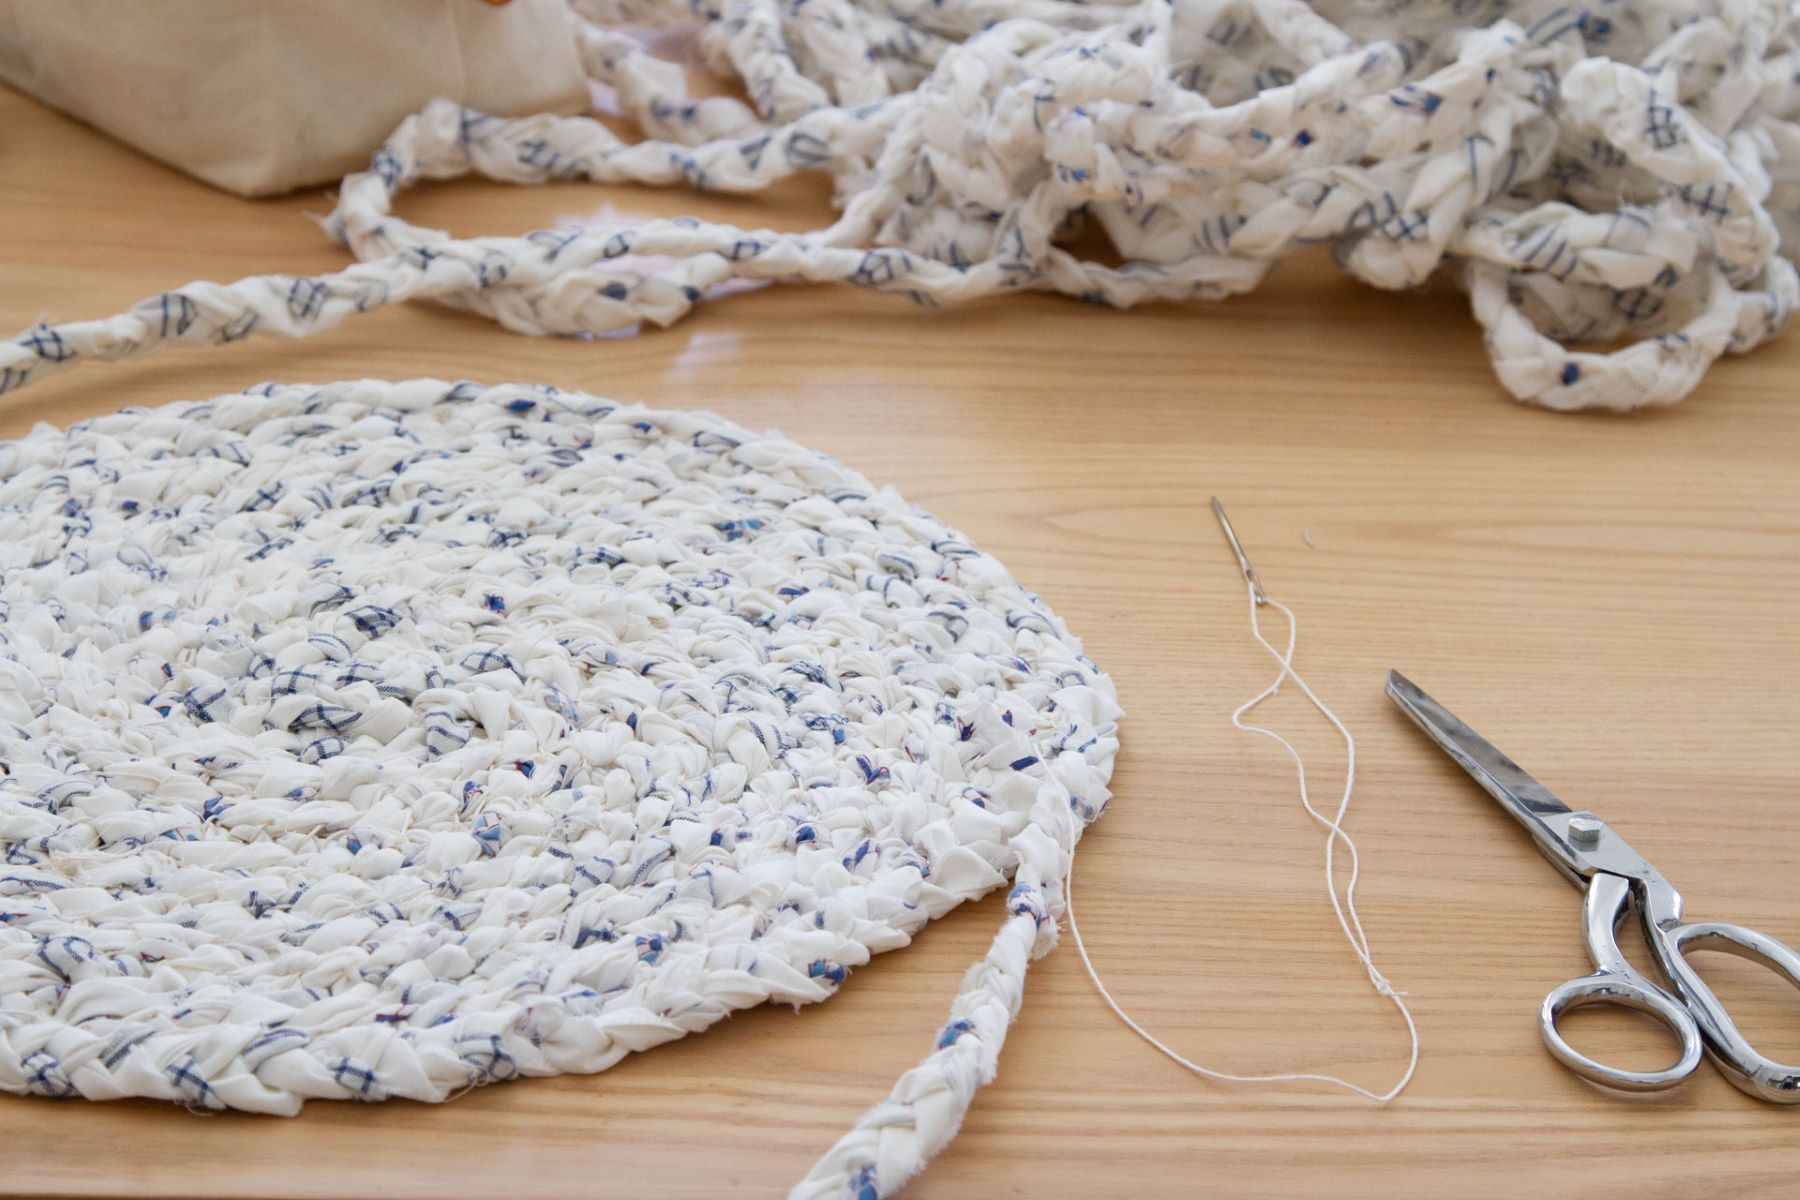
Read more: How To Make Yarn Rugs
Step 4: Arranging the Design
Now that you have your fabric pieces cut out and your templates ready, it’s time to bring your penny rug design to life by arranging the pieces in a visually appealing way.
Follow these steps to arrange your design:
- Choose a Rug Base: Start by selecting a sturdy fabric or felt for the base of your penny rug. This will provide a foundation for your appliques and help hold everything together.
- Lay Out the Base: Lay your rug base flat on your work surface. This will be the canvas on which you will arrange and attach your fabric pieces.
- Arrange the Appliques: Begin arranging your fabric pieces on the rug base, using the template shapes as a guide. Play around with different color combinations and orientations to find the arrangement that is most pleasing to you.
- Overlap for Depth: To add depth and dimension to your design, overlap some of the fabric pieces. This will create a layered effect and make your penny rug visually interesting.
- Create a Balanced Composition: Keep in mind the overall composition and balance of your design. Distribute the colors and shapes evenly throughout the rug, ensuring that no one area feels overwhelming or empty.
- Step Back and Assess: Once you have arranged your design, take a step back and assess how it looks as a whole. Make any necessary adjustments or fine-tune the arrangement until you are satisfied with the overall aesthetic.
Arranging the design of your penny rug is a creative process that allows you to express your artistic vision. Trust your instincts and have fun with it!
Once you are happy with the layout of your design, it’s time to move on to the next step: sewing the fabric appliques onto the rug base.
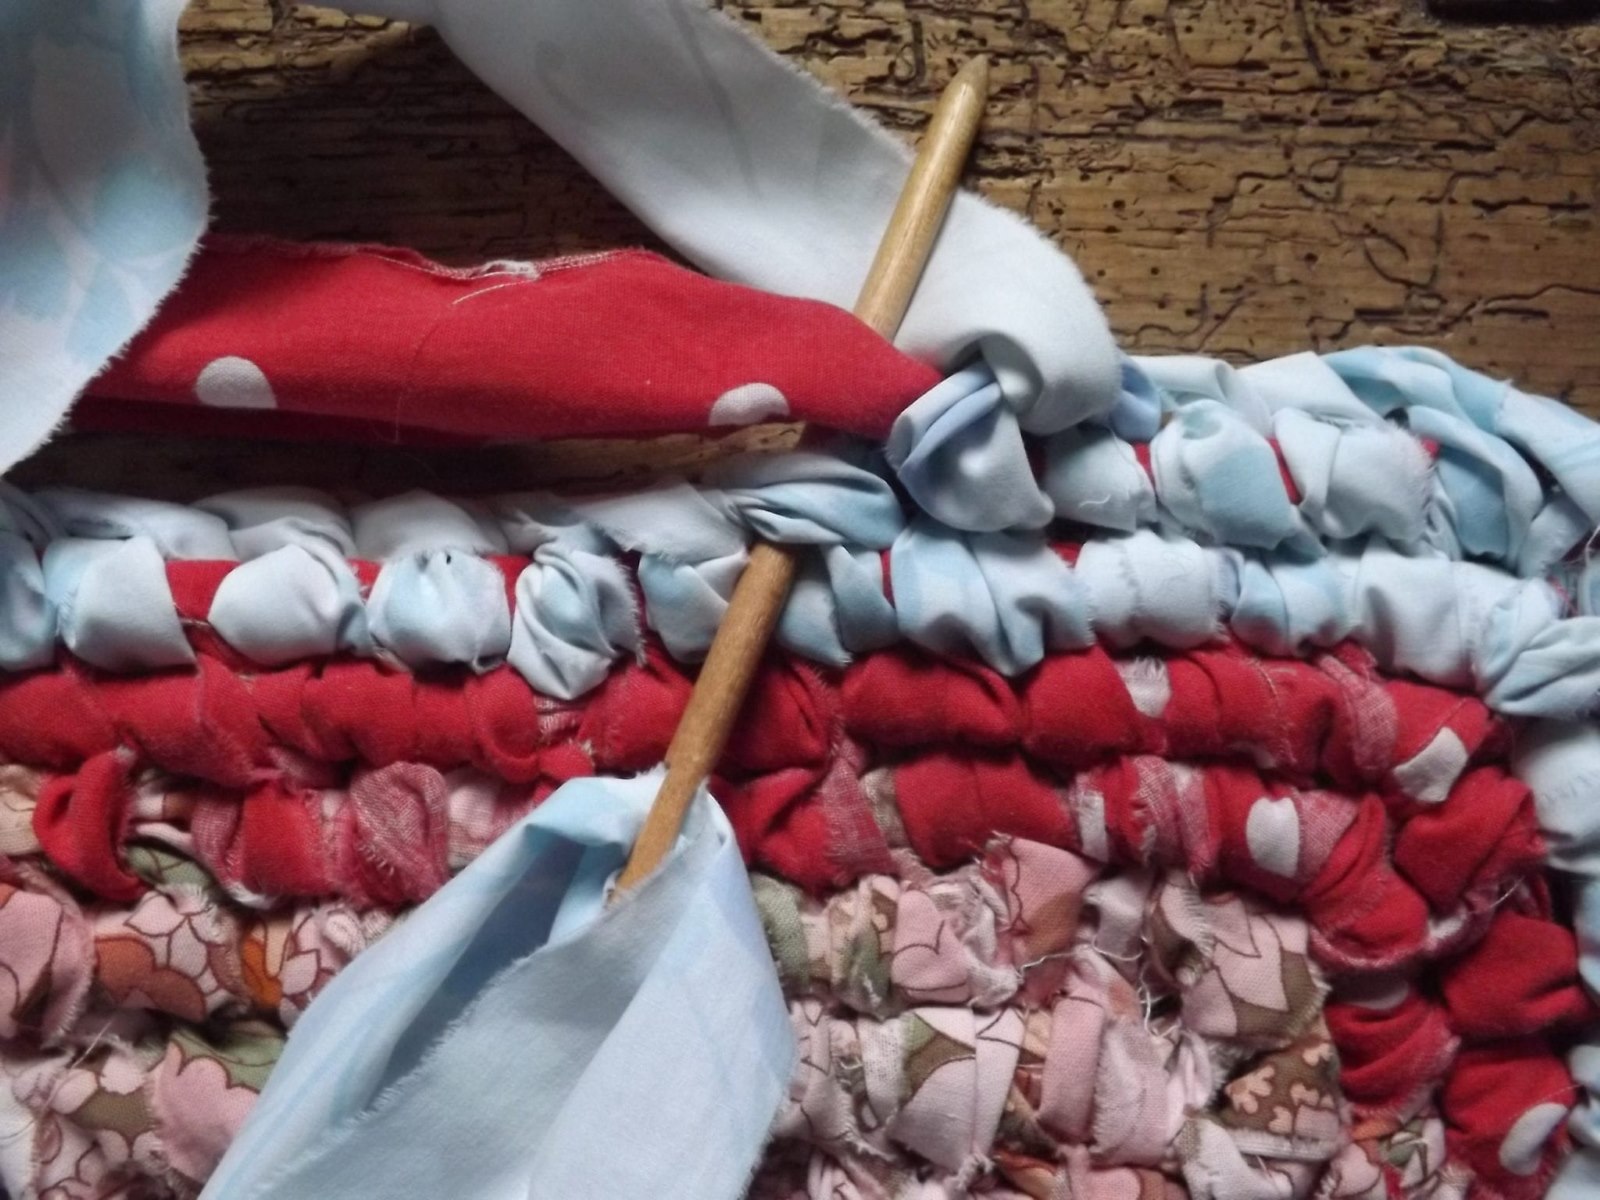
When making penny rugs, use a sturdy fabric for the base and wool felt for the circles. Secure the circles with a blanket stitch for durability.
Step 5: Sewing the Appliques
With your fabric pieces arranged on the rug base, it’s time to secure them in place by sewing the appliques onto the base. This step requires patience and precision to ensure that your rug remains durable and visually appealing.
Follow these steps to sew the appliques:
- Thread the Needle: Choose a thread color that matches or complements the fabric pieces you are working with. Thread your needle and tie a knot at the end.
- Pick a Starting Point: Decide where you want to begin sewing on your rug. It is often best to start in the center and work your way outward.
- Attach the Appliques: Position the first fabric piece onto the rug base, aligning it with your design layout. Hold it in place and insert the needle through both the fabric piece and the base, then pull the thread through.
- Sew the Edges: Secure the fabric piece by sewing along its edges. Use small, even stitches to keep it firmly in place. Be careful not to sew through the entire rug base, as you want the stitches to be hidden.
- Continue Sewing: Move on to the next fabric piece and repeat the process. Sew around the edges of each fabric piece, making sure they are securely attached to the rug base.
- Overlap Seam Allowances: When sewing overlapping pieces, tuck the seam allowances of the fabric under the top piece to create a clean and seamless look.
- Use Thimbles and Needle Holders: Depending on the thickness of the fabric and the number of layers, you may want to use a thimble and needle holder to protect your fingers and provide better control while sewing.
- Hide Knots and Thread Ends: As you sew, periodically hide the knots and thread ends by weaving them under the stitches or between fabric layers. This will keep your rug looking neat and tidy.
Take your time while sewing, ensuring that each fabric piece is securely attached. As you progress, periodically step back to check your work and make any necessary adjustments to the arrangement.
Once all the fabric pieces are sewn onto the rug base, it’s time to move on to the next step: attaching the appliques to the base.
Step 6: Attaching the Appliques to the Base
After sewing the fabric appliques onto the rug base, the next step is to ensure that they are securely attached. This will ensure the longevity and durability of your penny rug.
Follow these steps to attach the appliques to the base:
- Assess the Sewn Appliques: Start by examining the fabric pieces you have sewn onto the rug base. Ensure that they are firmly attached and there are no loose threads or areas that require additional reinforcement.
- Use Fabric Glue: Apply a small amount of fabric glue to the back of each fabric piece. This will provide an extra layer of adhesion and help keep the pieces in place.
- Press and Hold: After applying the fabric glue, press the fabric pieces firmly onto the rug base and hold them in place for a few seconds. This will allow the glue to bond securely.
- Allow Drying Time: Give the fabric glue sufficient time to dry before moving on to the next step. Follow the manufacturer’s instructions for drying time, as it may vary depending on the brand of glue used.
Fabric glue is particularly useful for securing small or delicate fabric pieces that may have been more challenging to sew. It provides an extra layer of reinforcement and ensures that your appliques will stay in place even with regular use.
Once the fabric pieces are securely attached to the rug base, you can move on to the next step, which involves adding embellishments to enhance the visual appeal of your penny rug.
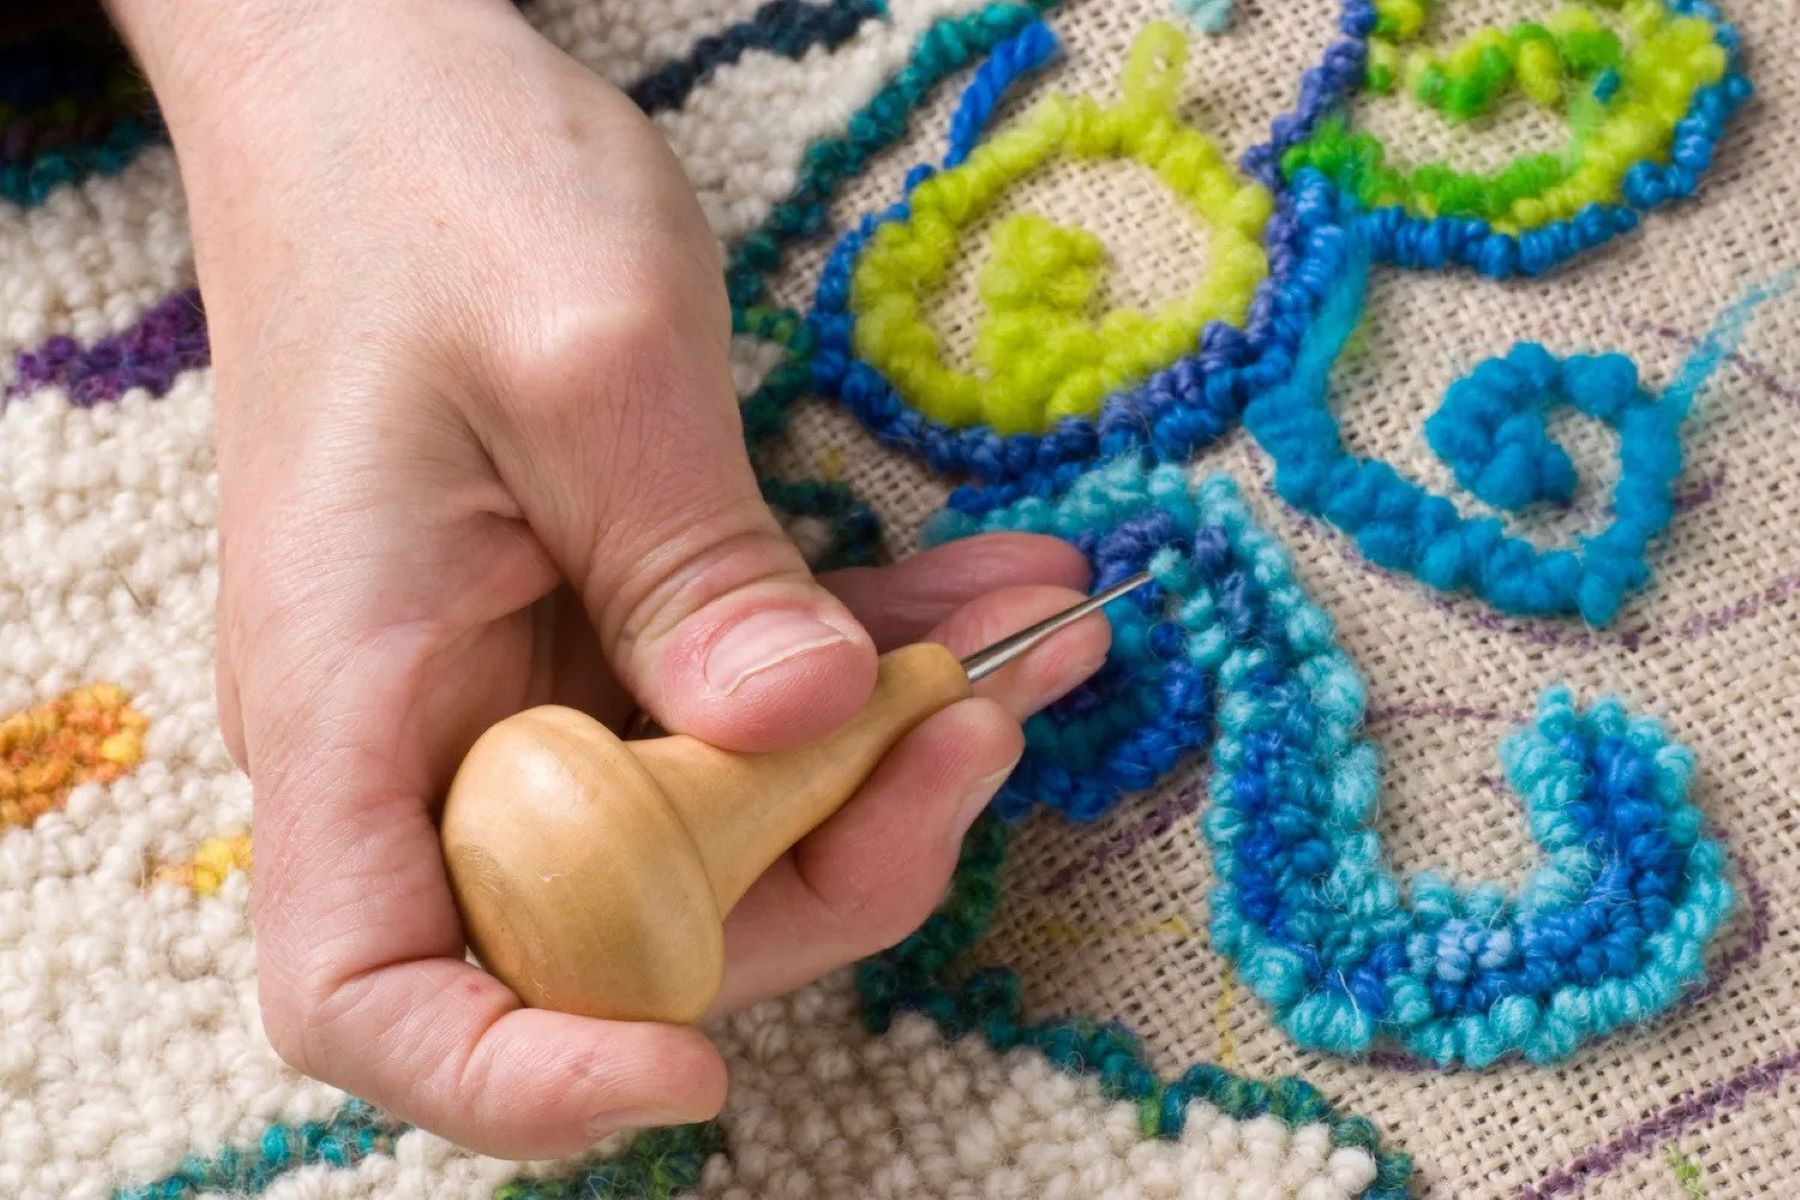
Step 7: Adding Embellishments
Adding embellishments to your penny rug is a wonderful way to enhance its beauty and personalize your design. Embellishments can range from small decorative elements to intricate stitching details, allowing you to add your own creative touch to the rug.
Follow these steps to add embellishments to your penny rug:
- Choose Your Embellishments: Select the embellishments you want to incorporate into your design. This can include buttons, beads, sequins, ribbons, embroidery floss, or any other decorative items that complement your design.
- Plan Your Placement: Before attaching the embellishments, plan their placement on the rug. Consider the overall design and the areas where the embellishments will add the most impact or visual interest.
- Secure the Embellishments: Once you have decided on the placement, use fabric glue or needle and thread to attach the embellishments to the rug. Ensure they are securely fastened and won’t come loose with regular use.
- Add Embroidery Details: To further enhance your design, incorporate embroidery stitches or additional stitching details. This can be done using embroidery floss or a contrast-colored thread to create texture and depth.
- Experiment and Personalize: Don’t be afraid to experiment with different embellishments and stitching techniques. This is your opportunity to make your penny rug truly unique and reflect your own personal style.
The choice of embellishments is entirely up to you and can be tailored to match the theme or mood of your penny rug. Be creative and have fun with this step!
Once you are satisfied with the added embellishments, it’s time to move on to the final step: adding the finishing touches to complete your penny rug.
Read more: How To Make Tufted Rugs
Step 8: Finishing Touches
As you reach the final step of creating your penny rug, it’s time to give it the finishing touches that will bring your design together and ensure a polished and professional result.
Follow these steps to add the finishing touches to your penny rug:
- Clean Up Loose Threads: Trim any loose threads or excess fabric that may be sticking out from the appliques or embellishments. This will give your rug a clean and polished appearance.
- Inspect for Imperfections: Take a moment to inspect your penny rug for any imperfections or areas that may require some touch-ups. Check for any loose stitching, missing embellishments, or uneven edges.
- Make Necessary Repairs: If you notice any issues, make the necessary repairs. Reinforce loose stitches, reattach any loose embellishments, or fix any other imperfections to ensure the rug is in its best condition.
- Steam or Press the Rug: If needed, steam or press the completed penny rug to remove any wrinkles or creases. Be careful not to use too much heat, especially if using wool fabric, as it can cause shrinkage.
- Showcase and Enjoy: Once you have given your penny rug the finishing touches, it’s time to showcase it in your home and enjoy the beauty and warmth it adds to your space.
By paying attention to these final details, you can elevate the overall quality and appearance of your penny rug and ensure that it stands the test of time.
Remember, your penny rug is not just a functional piece; it is a work of art that reflects your creativity and dedication. Take pride in your creation and display it proudly!
Congratulations on completing your very own penny rug. Your hard work and attention to detail have resulted in a beautiful and unique piece that will be cherished for years to come.
Happy crafting!
Conclusion
Congratulations on completing your journey into the world of penny rugs! By following the steps outlined in this article, you have learned how to create a beautiful and unique piece of folk art that reflects your creativity and personal style.
From selecting the fabric and cutting it into the desired shapes, to arranging the design and sewing the appliques, each step has been carefully crafted to guide you through the process. The addition of embellishments and the final finishing touches have added depth and character, transforming your penny rug into a true work of art.
As you finished each step, you have not only gained a new skill but also became part of a rich historical tradition. Penny rugs have long been admired for their intricate designs and the stories they tell through stitches. Your own penny rug is now a part of that legacy, woven with care and creativity.
Remember, these steps serve as a foundation for your creativity. Feel free to experiment with different fabric combinations, shapes, and embellishments to put your own unique spin on this traditional craft. Let your imagination run wild as you explore new possibilities and techniques.
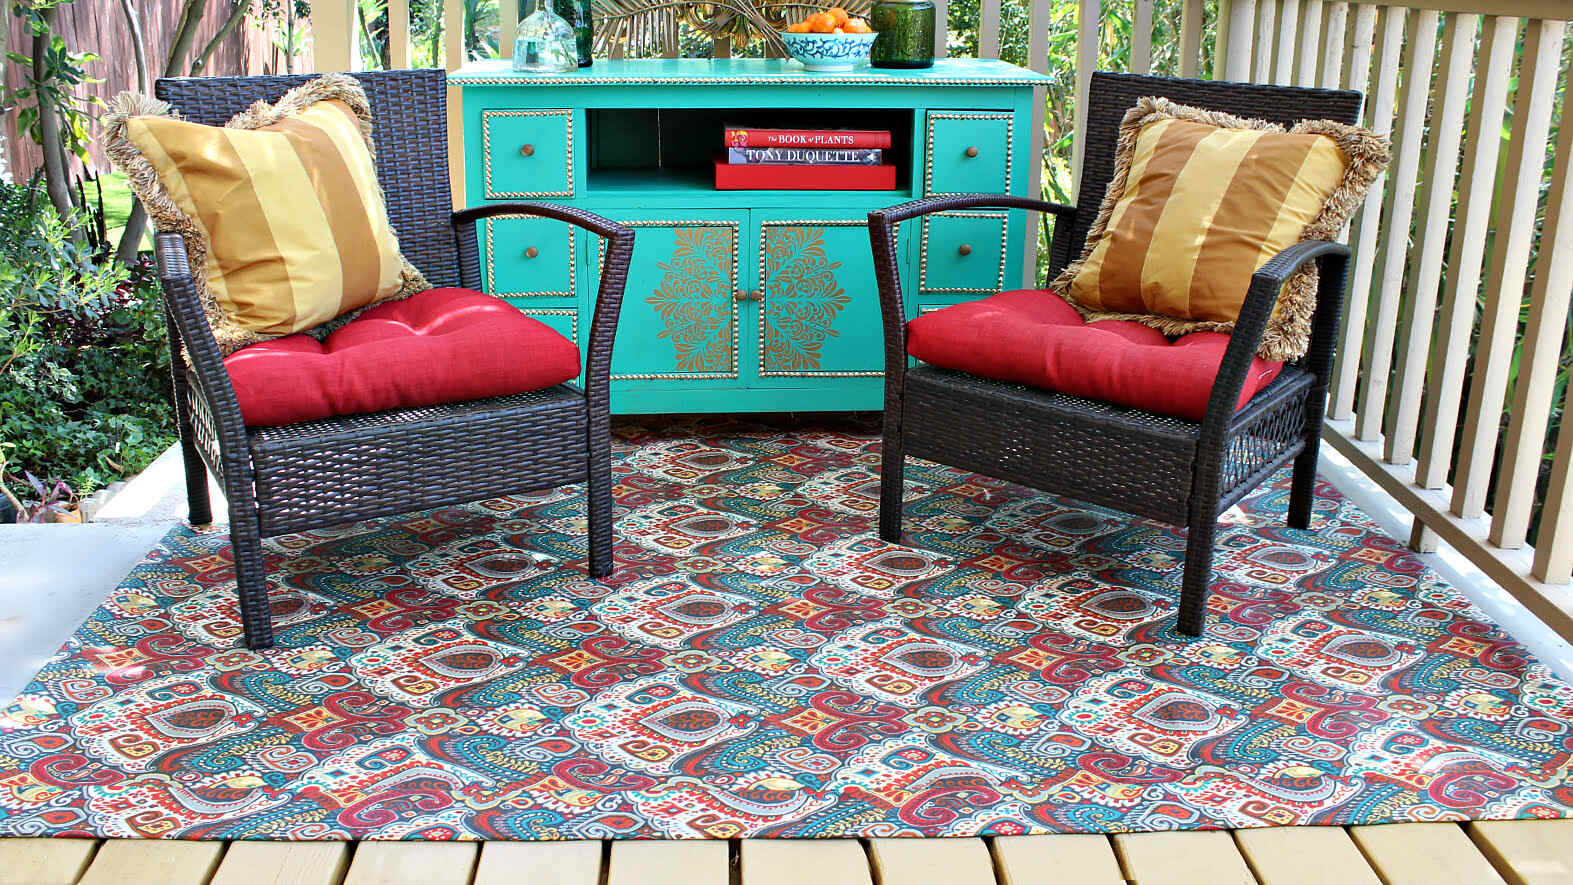
Whether you choose to display your penny rug as a decorative piece or use it as a cozy and functional accent in your home, it is sure to bring warmth and charm to any space. Take a moment to appreciate the time and effort you have poured into this project, and be proud of your accomplishment.
Now, it’s time to showcase your penny rug to the world or perhaps gift it to a loved one, passing on the beauty and joy that comes with this time-honored craft. Share the story behind your creation and inspire others to embark on their own creative journeys.
Thank you for joining us on this adventure into the art of making penny rugs. We hope you had a fulfilling and enjoyable experience. Remember, the possibilities are endless in the world of crafting, so keep exploring, creating, and expressing your unique voice through your handmade treasures.
Frequently Asked Questions about How To Make Penny Rugs
Was this page helpful?
At Storables.com, we guarantee accurate and reliable information. Our content, validated by Expert Board Contributors, is crafted following stringent Editorial Policies. We're committed to providing you with well-researched, expert-backed insights for all your informational needs.

0 thoughts on “How To Make Penny Rugs”