Articles
How To Make Tufted Rugs
Modified: December 7, 2023
Learn how to make tufted rugs with our helpful articles. Find step-by-step instructions and tips for creating beautiful and cozy rugs.
(Many of the links in this article redirect to a specific reviewed product. Your purchase of these products through affiliate links helps to generate commission for Storables.com, at no extra cost. Learn more)
Introduction
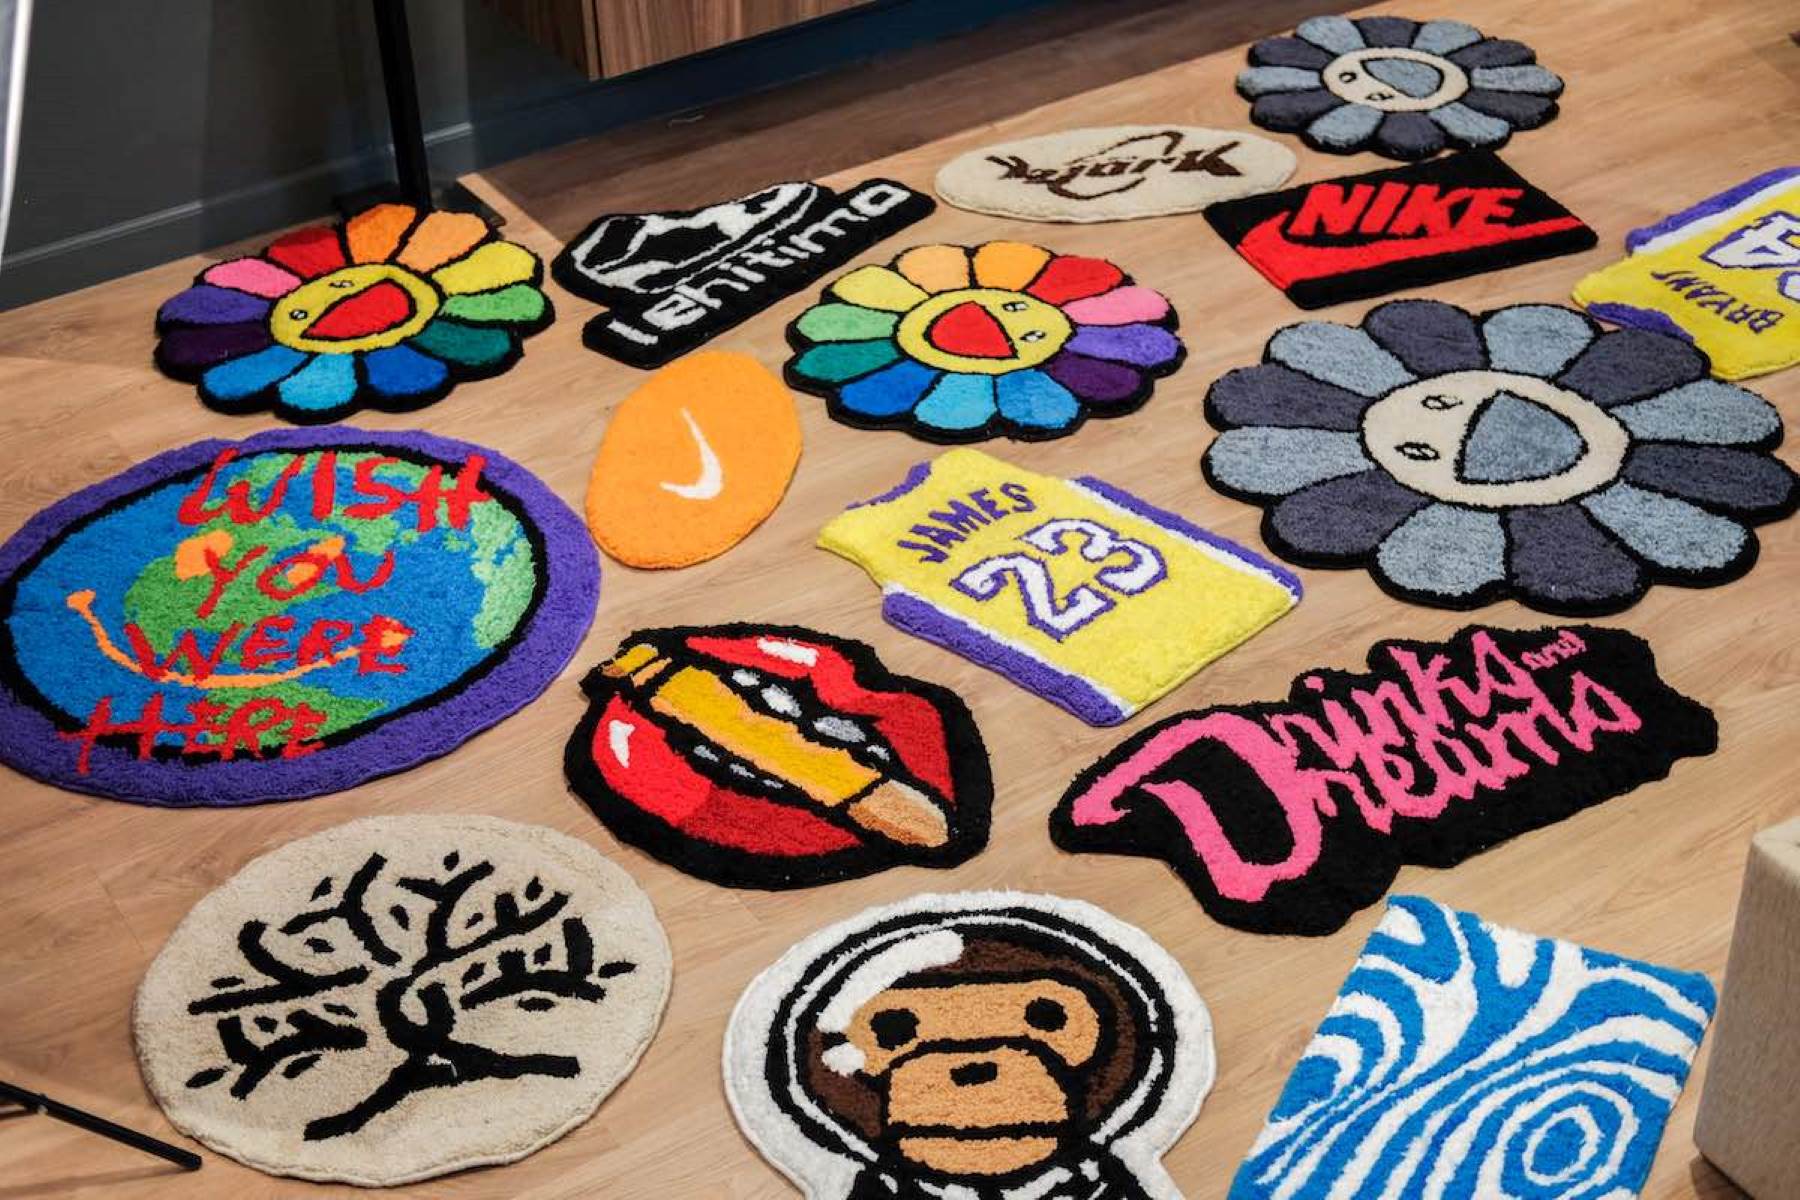
Welcome to the world of tufted rugs! Tufted rugs are not only a beautiful addition to any space, but they also offer a soft and plush surface underfoot. Whether you are looking to add a touch of elegance to your living room or want to create a cozy atmosphere in your bedroom, tufted rugs are the perfect choice.
This comprehensive guide will walk you through the process of making your own tufted rug from scratch. We will cover everything from selecting the right materials to the final finishing touches. So, grab your creativity and let’s get started!
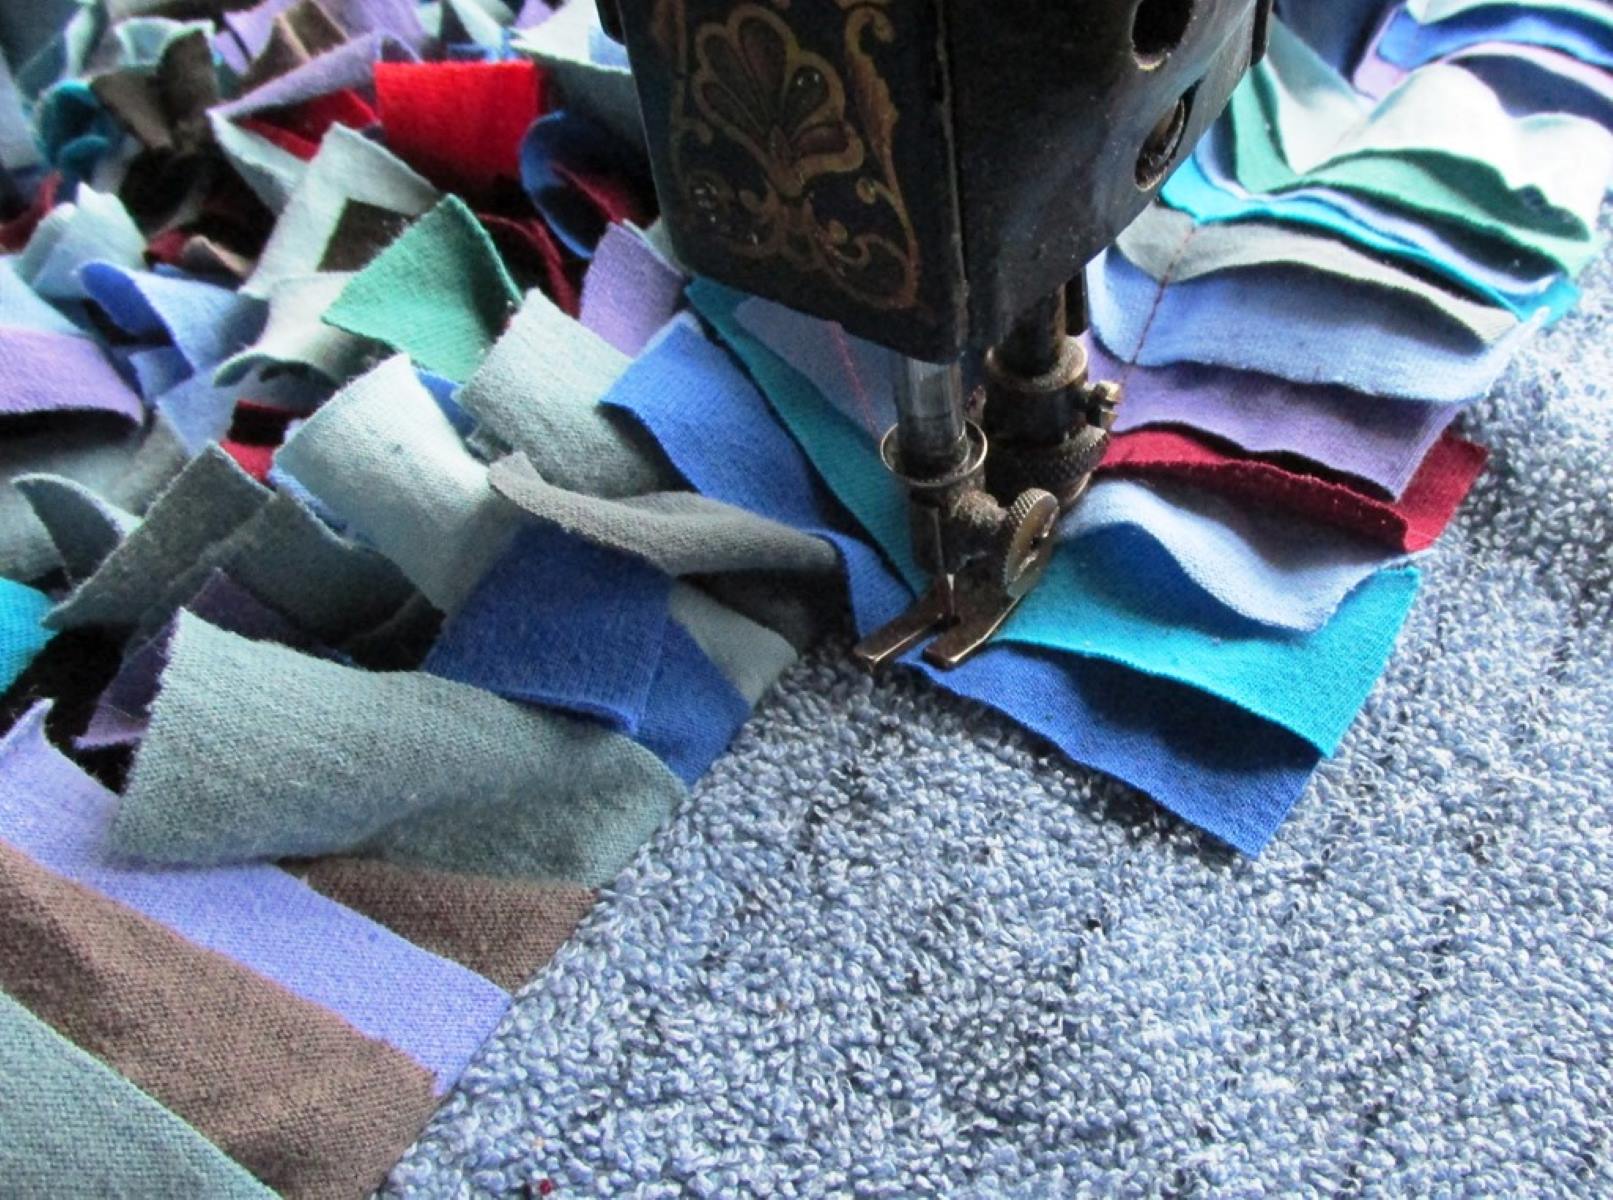
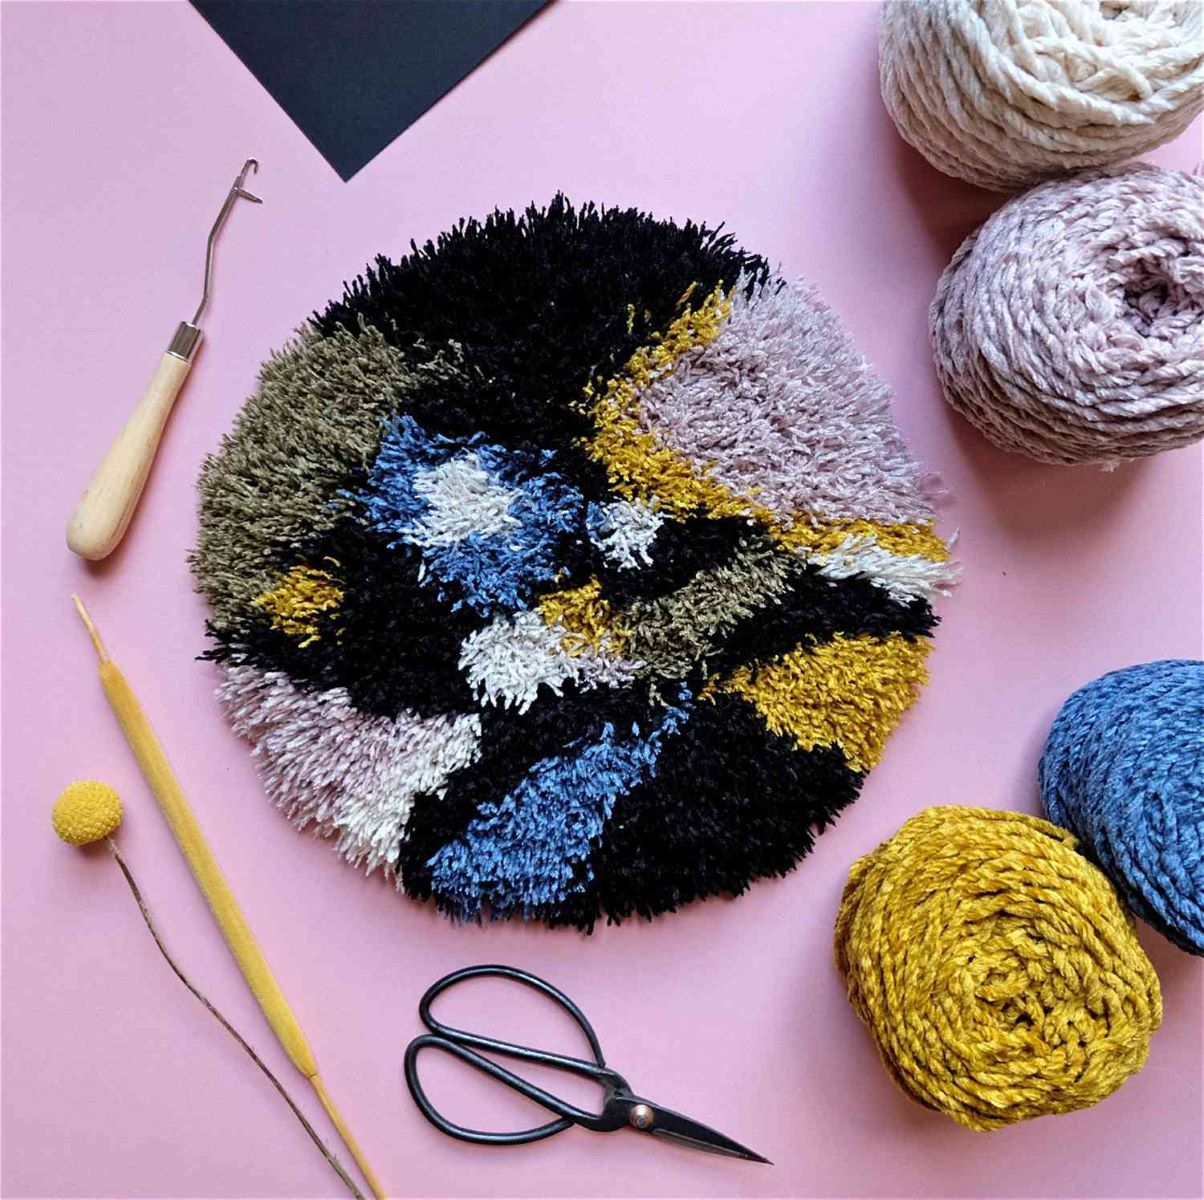
Before we dive in, it’s important to understand what tufting is. Tufting is a technique where loops of yarn are punched or woven through a backing fabric to create a pattern or design. The loops can be left as is for a loop pile rug or cut to create a plush, cut pile rug. Tufted rugs are known for their versatility, as they can be customized in terms of size, shape, and design to suit your personal style.
To make your own tufted rug, you will need a few materials. Here’s a list of what you’ll need:
- Rug backing fabric: This serves as the base for your tufted rug. Look for a heavyweight fabric that can withstand the tufting process.
- Yarn: Choose a yarn that is suitable for tufting. It should be durable, easy to work with, and available in a variety of colors for your desired design.
- Tufting needle/tufting gun: This tool is used to punch the yarn through the backing fabric. There are manual hand needles for smaller projects and electric tufting guns for larger rugs.
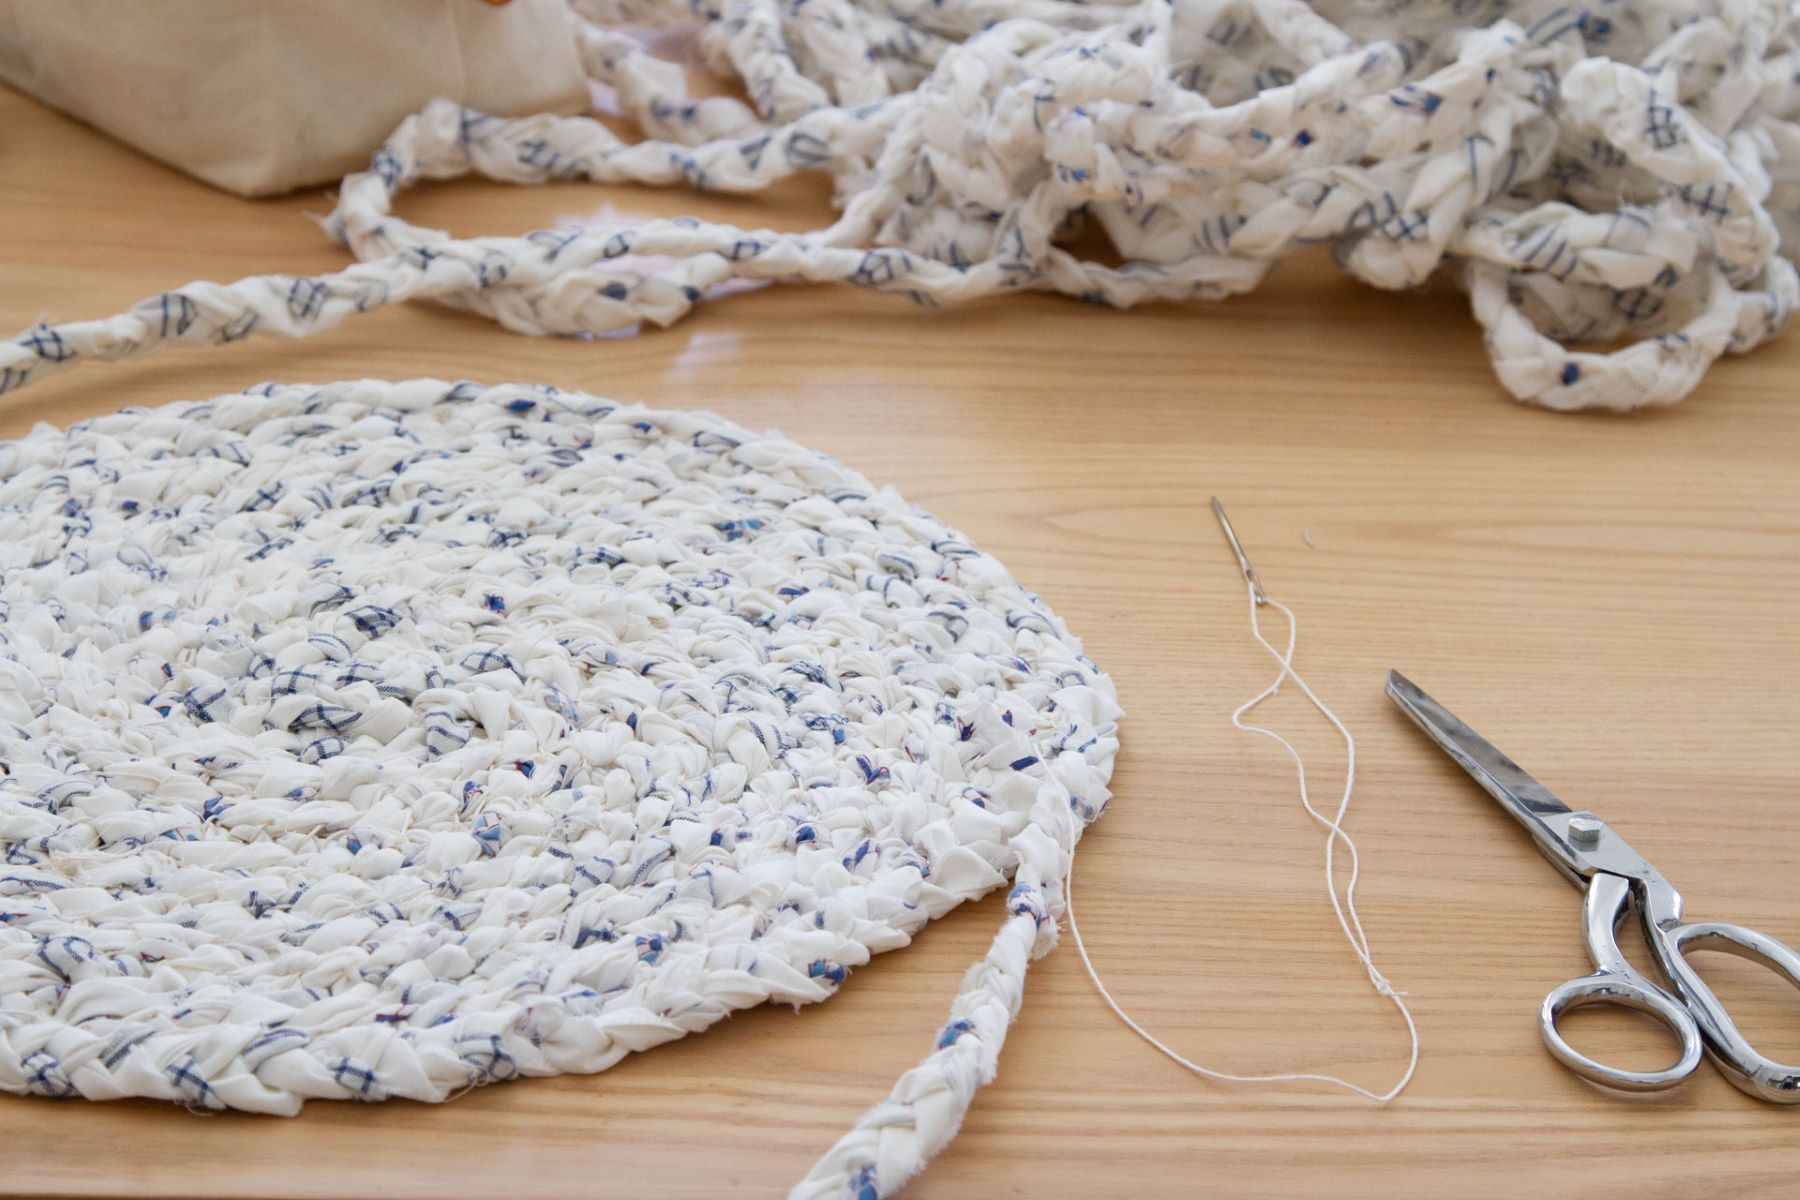
- Scissors: You’ll need a sharp pair of scissors for trimming the yarn and fabric.
- Measuring tape: This will help you measure and mark out the dimensions of your rug.
- Rug binding tape: This is optional but can be used to bind the edges of the rug for a clean and finished look.
Now that you have your materials ready, let’s proceed to the first step: cutting the fabric.
Key Takeaways:
- Transform basic materials into a personalized tufted rug that adds warmth and style to any space. Experiment with colors, textures, and designs to create a unique expression of your artistic vision.
- Master the art of tufting through practice and experimentation. Create durable, visually appealing rugs that reflect your creativity and style. Enjoy the beauty and warmth of your handcrafted tufted rug!
Read more: What Are Tufted Cushions
Materials Needed
To embark on your tufted rug-making journey, you will need a few essential materials. Here’s a breakdown of what you will need:
- Rug backing fabric: This serves as the base for your tufted rug. Look for a heavyweight fabric that can withstand the tufting process. Options include linen, burlap, or monk’s cloth.
- Yarn: Choose a yarn that is suitable for tufting. It should be durable, easy to work with, and available in a variety of colors for your desired design. Wool, acrylic, and polyester yarns are commonly used for tufted rugs.
- Tufting needle/tufting gun: This tool is used to punch the yarn through the backing fabric. There are manual hand needles for smaller projects and electric tufting guns for larger rugs. Select the tool that suits the size and complexity of your rug.
- Scissors: You’ll need a sharp pair of scissors for trimming the yarn and fabric. Opt for fabric scissors or embroidery scissors to ensure clean cuts.
- Measuring tape: This will come in handy for measuring and marking out the dimensions of your rug accurately.
- Rug binding tape: This is optional but can be used to bind the edges of the rug for a clean and finished look. It is available in various colors and widths.
- Rug gripper pad: If you want to prevent your tufted rug from slipping and sliding on the floor, consider investing in a rug gripper pad. This will provide added stability and safety.
- Rug backing adhesive: This is necessary if you decide to use a non-sew rug backing fabric. The adhesive will help secure the fabric in place during the tufting process.
Make sure you gather all the materials before you begin your rug-making project. Having everything within reach will ensure a smooth and enjoyable experience as you bring your tufted rug to life.
Now that we have our materials sorted, let’s move on to the first step: cutting the fabric.
Step 1: Cutting the Fabric
The first step in making your tufted rug is to cut the fabric according to your desired size and shape. Follow these steps:
- Measure and mark the dimensions of your rug on the backing fabric using a measuring tape and fabric marker. Make sure to add a few extra inches to the measurements to account for seam allowances and any adjustments during the tufting process.
- Using a pair of sharp fabric scissors, carefully cut along the marked lines to create your rug shape. If you’re creating a rectangular or square rug, a ruler or straight edge can help guide your cuts for clean and straight lines.
- Once the fabric is cut to the desired shape, inspect the edges for any fraying. If you notice any frayed edges, trim them with your scissors to ensure a neat and tidy finish.
It’s important to take your time with this step to ensure accuracy and precision in cutting the fabric. Keep in mind that the fabric will serve as the foundation for your tufted rug, so it’s crucial to have a well-cut base.
Now that you have your fabric cut, you’re ready to move on to the next step: preparing the tufting needle.
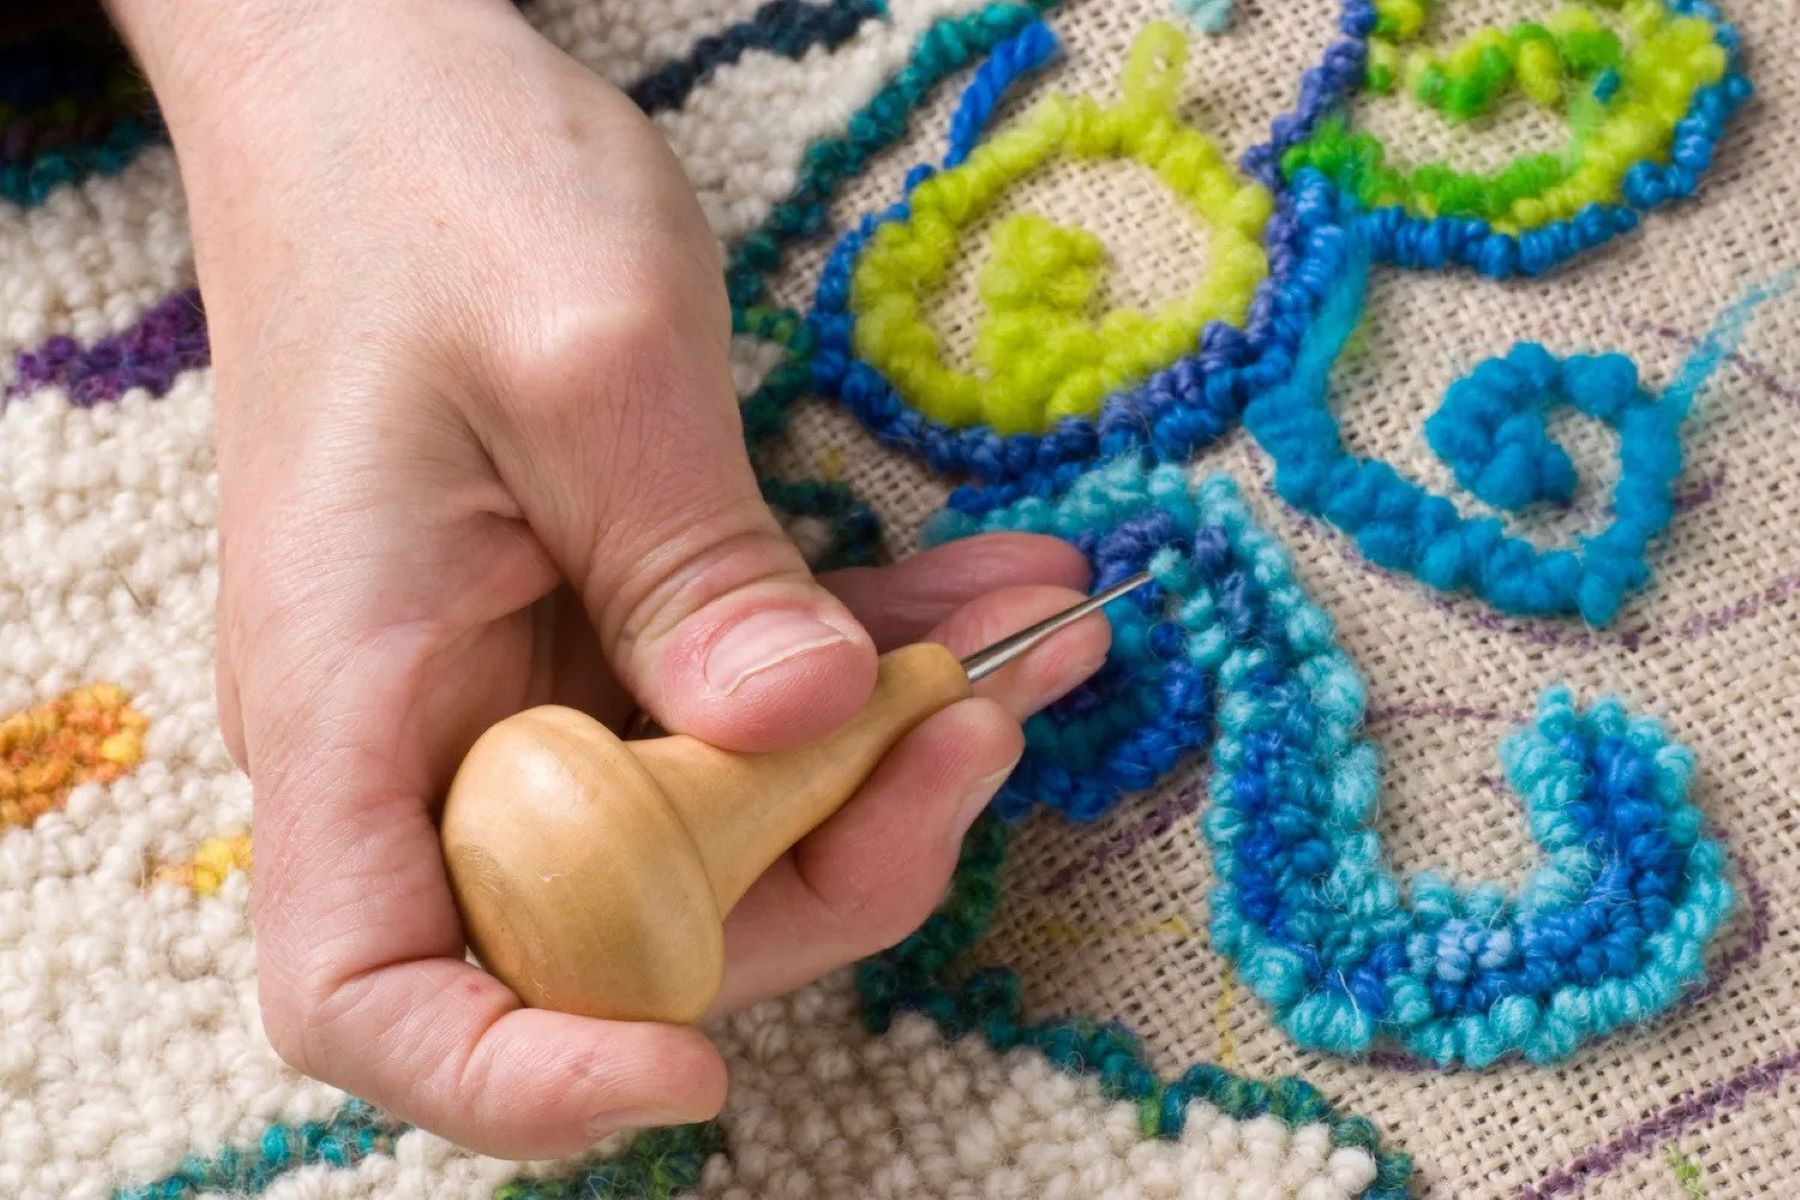
Step 2: Preparing the Tufting Needle
Before you can start tufting your rug, you need to prepare your tufting needle or tufting gun. This step ensures that your tool is ready for seamless and efficient yarn insertion. Follow these steps:
- If you are using a manual tufting needle, make sure the needle is threaded with your chosen yarn. Thread the yarn through the eye of the needle, leaving a tail of yarn at least a few inches long.
- If you are using an electric tufting gun, ensure that it is plugged in and loaded with the appropriate yarn. Some tufting guns require you to adjust the tension and speed settings based on your rug’s thickness and the desired tufting technique.
- Hold the tufting needle or gun in your dominant hand, making sure you have a comfortable grip and control over the tool.
- If your tufting needle has an adjustable loop length feature, set it to the desired length. This will determine the height and spacing of the tufts on your rug.
- Once your tufting needle or gun is prepared, conduct a test run on a scrap piece of fabric or in an inconspicuous area of your rug backing. This will help you ensure that the needle or gun is functioning properly and that the yarn is being inserted smoothly.
By preparing your tufting needle or gun before you start, you can minimize any interruptions or issues while tufting your rug. It’s important to have a well-prepared tool to achieve uniform and consistent tufts throughout your rug.
Now that your tufting needle or gun is ready to go, it’s time to move on to the exciting part: tufting the rug!
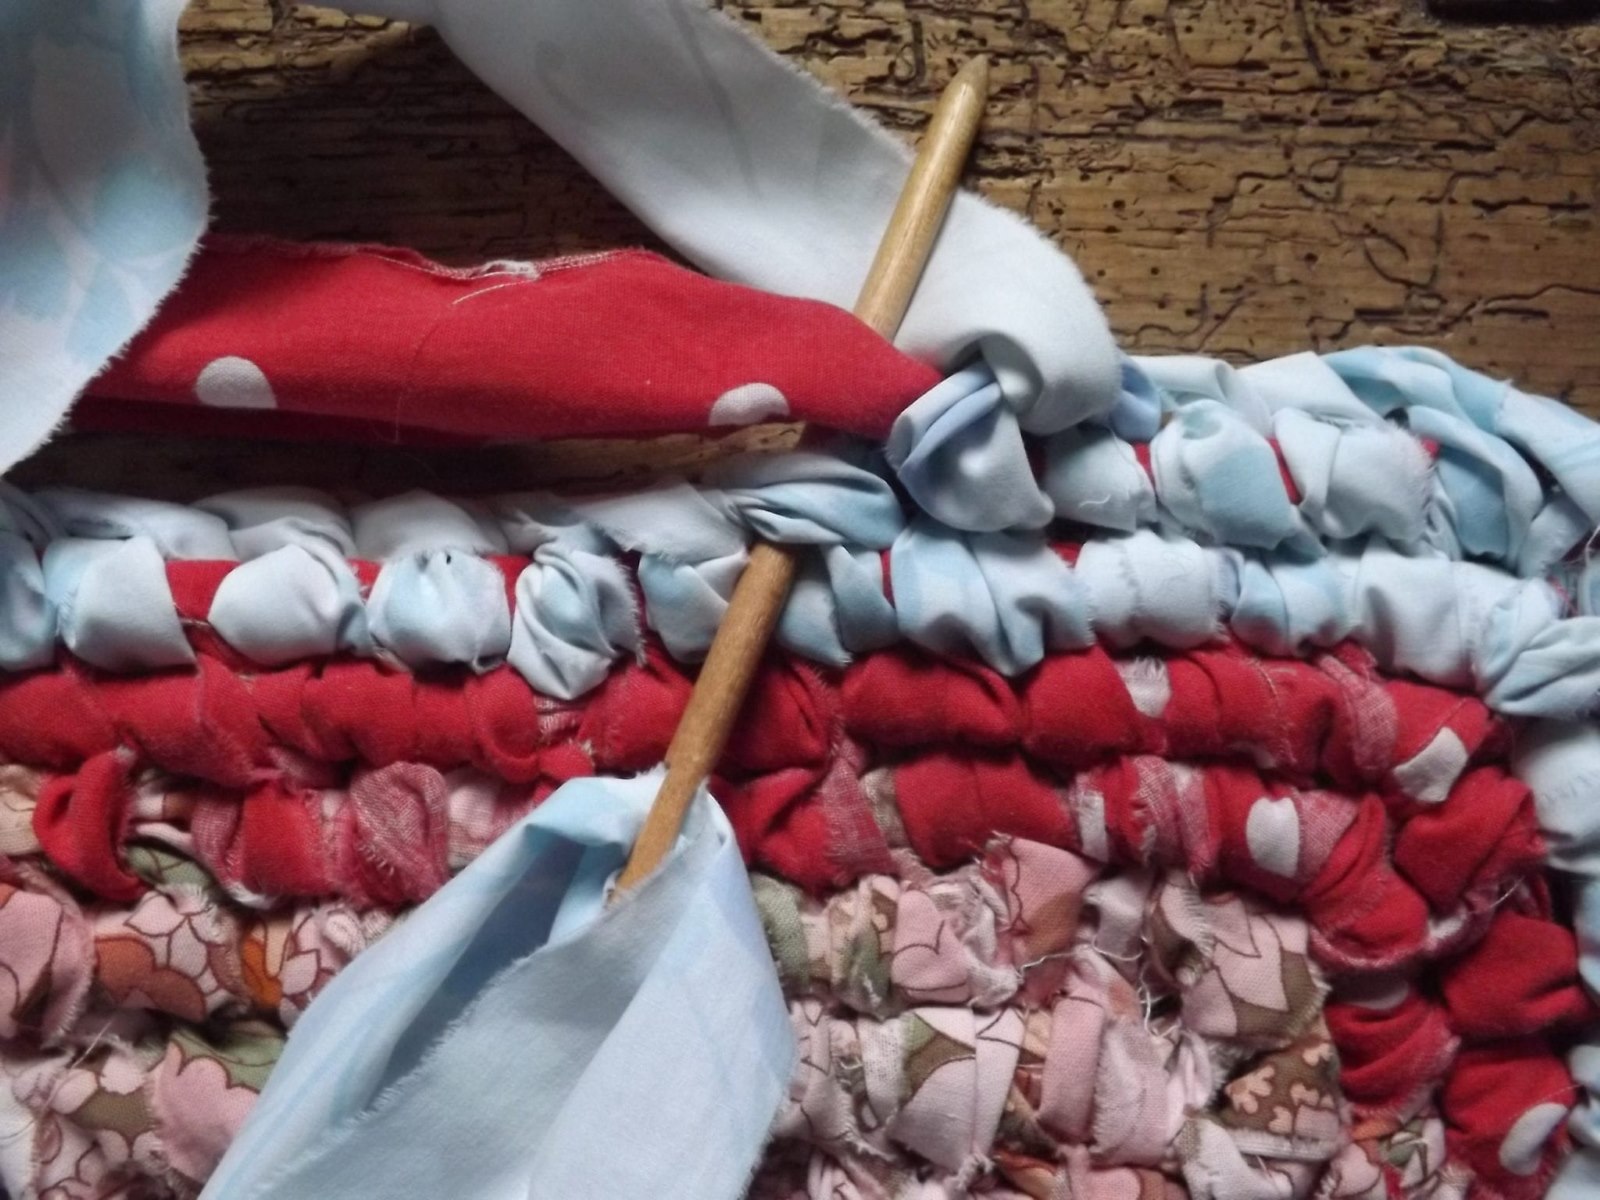
Step 3: Tufting the Rug
Now that you have your fabric cut and your tufting needle or gun prepared, it’s time to start tufting your rug. This step involves punching or weaving the yarn through the backing fabric to create the tufts. Follow these steps:
- Select an area on your fabric to start tufting. It can be at one corner or in the center, depending on your preference and design.
- If you’re using a tufting gun, aim it at the chosen spot on the fabric. Gently press the trigger to release the yarn, ensuring that it penetrates the fabric. If you’re using a manual tufting needle, insert the needle through the front of the fabric, pushing it all the way to the back.
- Hold onto the tail end of the yarn as you release it from the tufting gun or needle, allowing it to form a loop on the front side of the fabric.
- Move the tufting needle or gun to the next tufting spot, spacing the tufts according to your desired design. Continue creating loops by releasing the yarn and move along the pattern or design of your rug.
- For a loop pile rug, keep the loops as is. For a cut pile rug, use your scissors to carefully cut the loops on the front side of the fabric, creating a plush surface.
- Continue tufting and creating loops or cutting them until you have covered the entire area of your rug or achieved the desired pattern or design.
During the tufting process, it’s important to maintain even tension on the yarn to ensure uniformity in the height and spacing of your tufts. Practice consistency in your tufting technique for a polished and professional-looking finish.
Remember, tufting can be a time-consuming process, especially for larger or more intricate designs. Take breaks and stretch your hands to avoid fatigue or strain.
Now that you have tufted your rug, it’s time to secure the tufts in place in the next step: securing the tufts.
When making tufted rugs, be sure to use a sturdy backing fabric to hold the tufting in place. This will ensure that your rug is durable and long-lasting.
Read more: How To Make Yarn Rugs
Step 4: Securing the Tufts
After tufting your rug and creating the desired pattern or design, it’s important to secure the tufts in place. This step ensures that the tufts remain intact, preventing them from unraveling or becoming loose over time. Follow these steps to secure the tufts:
- Turn your rug over to the backside, and inspect the tufts on the front side. Look for any tufts that may appear loose or have excess yarn.
- Using a tufting gun or needle, carefully push the excess yarn or loose tufts to the backside of the rug.
- If you’re using a manual tufting needle, you can secure the tufts by hand stitching or tying a knot at the base of each tuft. This will prevent them from pulling through and ensure their longevity.
- If you’re using an electric tufting gun, gently press the gun against the base of each tuft to secure it in place. The force from the gun will secure the tuft, eliminating the need for manual stitching or knotting.
- Continue securing each tuft until all of them are properly anchored to the backing fabric.
Securing the tufts is a crucial step in the rug-making process, as it ensures the durability and longevity of your tufted rug. Taking the time to adequately secure each tuft will prevent them from becoming loose or unraveling over time.
Once you have secured the tufts, it’s time to move on to the next step: trimming the rug for a clean and finished look.
Step 5: Trimming the Rug
After securing the tufts, it’s time to trim your tufted rug for a clean and finished look. Trimming the rug will ensure that the tufts are all uniform in height and create a smooth surface. Follow these steps to trim your rug:
- Turn your rug over to the backside and lay it flat on a clean and flat surface.
- Using a pair of sharp fabric scissors, carefully trim any excess yarn or tufts that are sticking out above the desired pile height. This will create an even and uniform surface.
- Work your way across the entire rug, paying attention to the edges and corners to ensure consistency in the pile height.
- Periodically flip the rug over to the front side and run your hand over the surface to check for any tufts that may need to be trimmed further.
- Take your time and trim in small increments to avoid cutting the yarn too short. You can always trim more if needed, but it’s challenging to add length back.
Trimming the rug requires precision and attention to detail. Take your time to ensure that all tufts are the desired length and that the surface is smooth and even.
Once you are satisfied with the trimming, you can move on to the next step: backing the rug to provide structure and stability.
Step 6: Backing the Rug
Backing your tufted rug is an important step that adds structure, stability, and longevity to your creation. The backing fabric reinforces the tufts, prevents them from coming loose, and provides a finished look to the backside of the rug. Follow these steps to back your rug:
- Lay your tufted rug flat on a clean surface with the front side facing down.
- Measure and cut a piece of rug backing fabric slightly larger than the size of your tufted rug. This extra fabric will allow you to fold and secure the edges later.
- Center the rug backing fabric over the backside of your tufted rug.
- Starting from one side, fold the excess backing fabric over the edges of your tufted rug. Use rug binding tape or a whipstitch to secure the folded edges in place, creating a clean and finished look.
- Continue folding and securing the remaining sides of the rug backing fabric until all edges are neatly folded and secured.
- If desired, you can also apply a rug backing adhesive to the backside of your rug to further secure the tufts and backing fabric together. This adhesive will provide extra reinforcement.
Backing your tufted rug not only enhances its durability but also provides a professional and polished finish. Take your time in folding and securing the backing fabric to ensure a neat and tidy final result.
Once you have backed your rug, you are ready for the final step: adding the finishing touches to complete your tufted rug.
Step 7: Finishing Touches
Congratulations! You’re in the final step of creating your tufted rug. Step 7 involves adding the finishing touches to perfect your masterpiece. Follow these steps to complete your tufted rug:
- Inspect your tufted rug for any loose threads or stray tufts. Trim them carefully with scissors, ensuring that the rug looks tidy and free from any loose ends.
- If you opted for rug binding tape, check that all edges are securely bound and trim off any excess tape.
- Flip the rug to the front side and give it a gentle shake to remove any loose fibers or debris.
- Vacuum or brush the surface of your tufted rug to fluff and enhance the appearance of the yarn tufts. This will help give your rug a more luxurious and plush look.
- Consider adding an anti-slip rug pad or rug gripper underneath your tufted rug to prevent it from sliding or shifting on the floor. This will provide added safety and stability.
- Finally, take a step back and admire your completed tufted rug. Celebrate your hard work and creativity!
By paying attention to the finishing touches, you can ensure that your tufted rug looks flawless and ready to be displayed in your home. These final steps will add that extra touch of professionalism and help maximize the longevity of your rug.
With the finishing touches complete, your tufted rug is now ready to become a focal point in any room, providing comfort, style, and a sense of accomplishment from your handmade creation.
Remember, each tufted rug is unique, and with practice, you’ll develop your own style and techniques. So don’t be afraid to experiment and explore different designs, colors, and textures to create tufted rugs that reflect your personal taste and creativity.
Now go ahead and enjoy the beauty and warmth of your own handcrafted tufted rug!
I hope this step-by-step guide has been helpful in your rug-making journey. If you have any questions or need further assistance, feel free to reach out. Happy tufting!
Read more: How To Make Penny Rugs
Conclusion
Congratulations on completing your journey in creating a tufted rug from scratch! By following the steps outlined in this guide, you have learned how to transform basic materials into a beautiful, customized tufted rug that adds warmth and style to any space.
Throughout this process, you have gained an understanding of the techniques and considerations involved in tufting, from cutting the fabric to securing the tufts and adding the finishing touches. By choosing the right materials and implementing proper techniques, you have created a durable and visually appealing rug that reflects your personal style and creativity.
Remember that tufting is a skill that improves with practice. The more tufted rugs you create, the more refined your technique and designs will become. Don’t be afraid to experiment with different colors, textures, and patterns to make each rug a unique expression of your artistic vision.
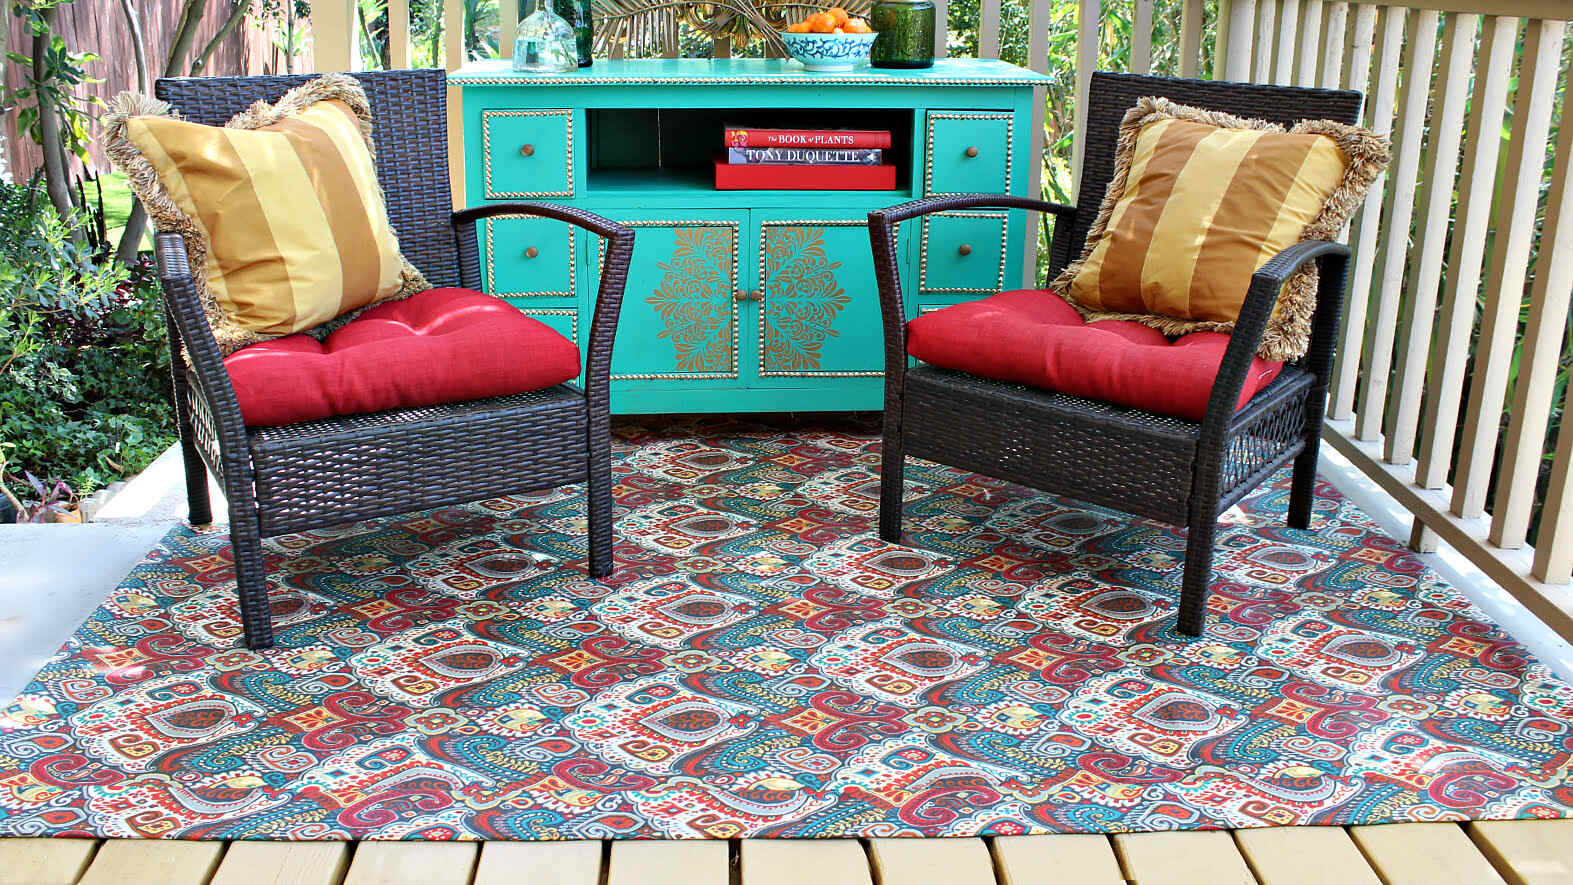
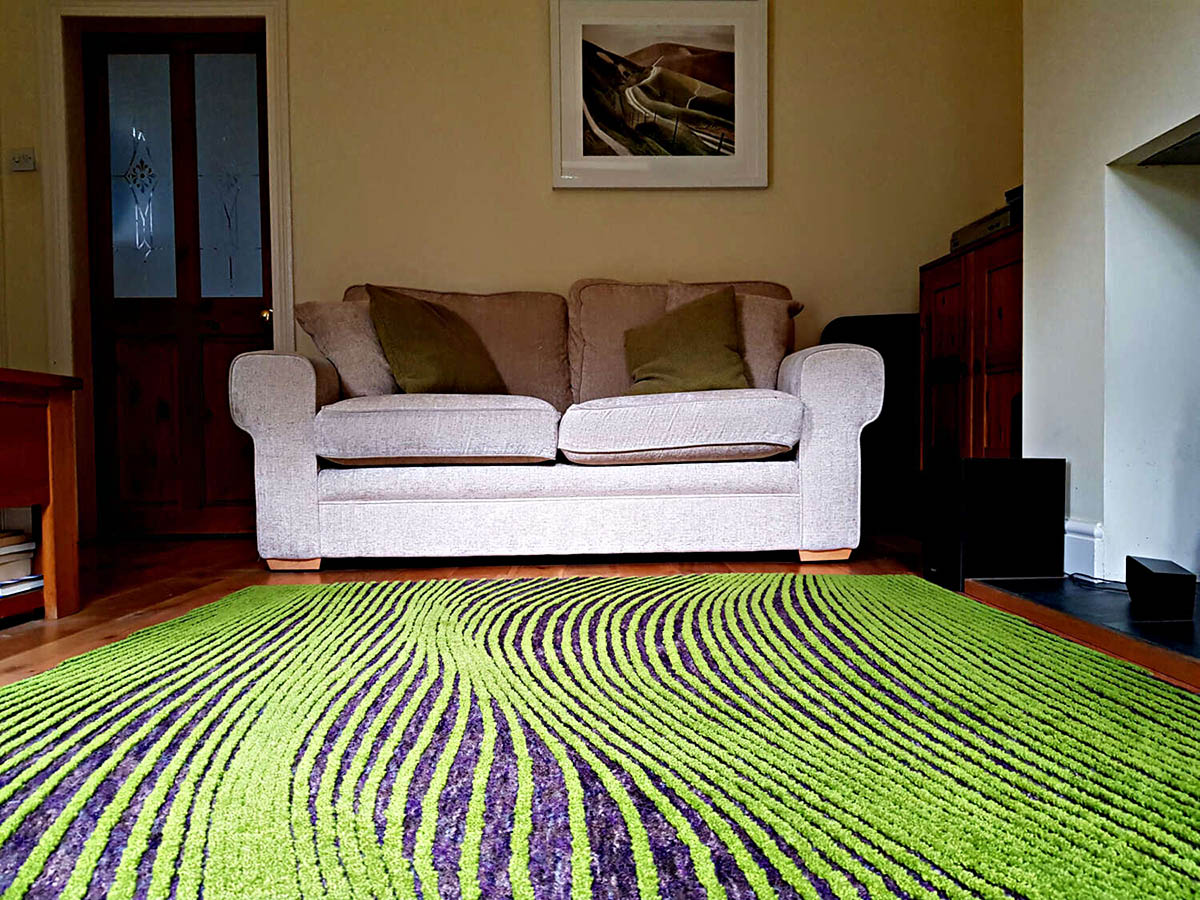
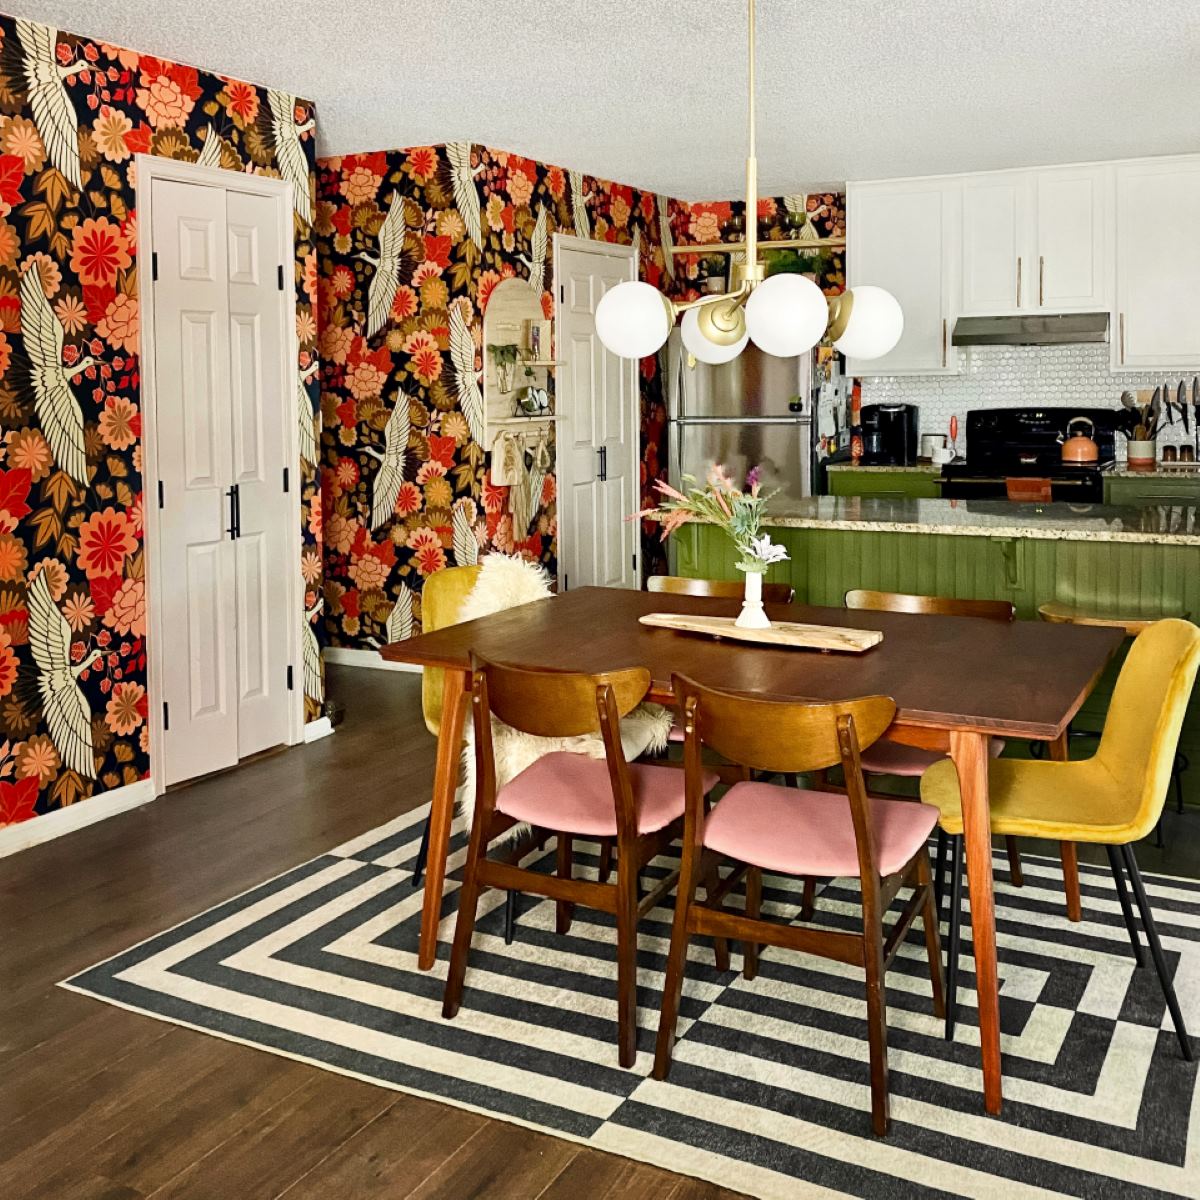
Tufted rugs make a wonderful addition to any home or space. They provide comfort underfoot, add a pop of color or pattern, and can be custom-made to suit your specific preferences. Your handmade tufted rug is not just a functional item, but also a piece of art that can be cherished and admired for years to come.
Now, it’s time to showcase your tufted rug in your living room, bedroom, or any other area that could benefit from a touch of warmth and style. Sit back, relax, and enjoy the fruits of your labor as you bask in the admiration and compliments that will surely come your way.
Thank you for joining us on this tufted rug-making journey. We hope this guide has equipped you with the knowledge and inspiration to continue your creative pursuits. If you have any questions or need further assistance, don’t hesitate to reach out. Happy tufting!
Frequently Asked Questions about How To Make Tufted Rugs
Was this page helpful?
At Storables.com, we guarantee accurate and reliable information. Our content, validated by Expert Board Contributors, is crafted following stringent Editorial Policies. We're committed to providing you with well-researched, expert-backed insights for all your informational needs.

0 thoughts on “How To Make Tufted Rugs”