Articles
How To Make Yarn Rugs
Modified: August 27, 2024
Learn how to make beautiful yarn rugs with these helpful articles. Discover step-by-step instructions and tips for creating your own unique and cozy designs.
(Many of the links in this article redirect to a specific reviewed product. Your purchase of these products through affiliate links helps to generate commission for Storables.com, at no extra cost. Learn more)
Introduction
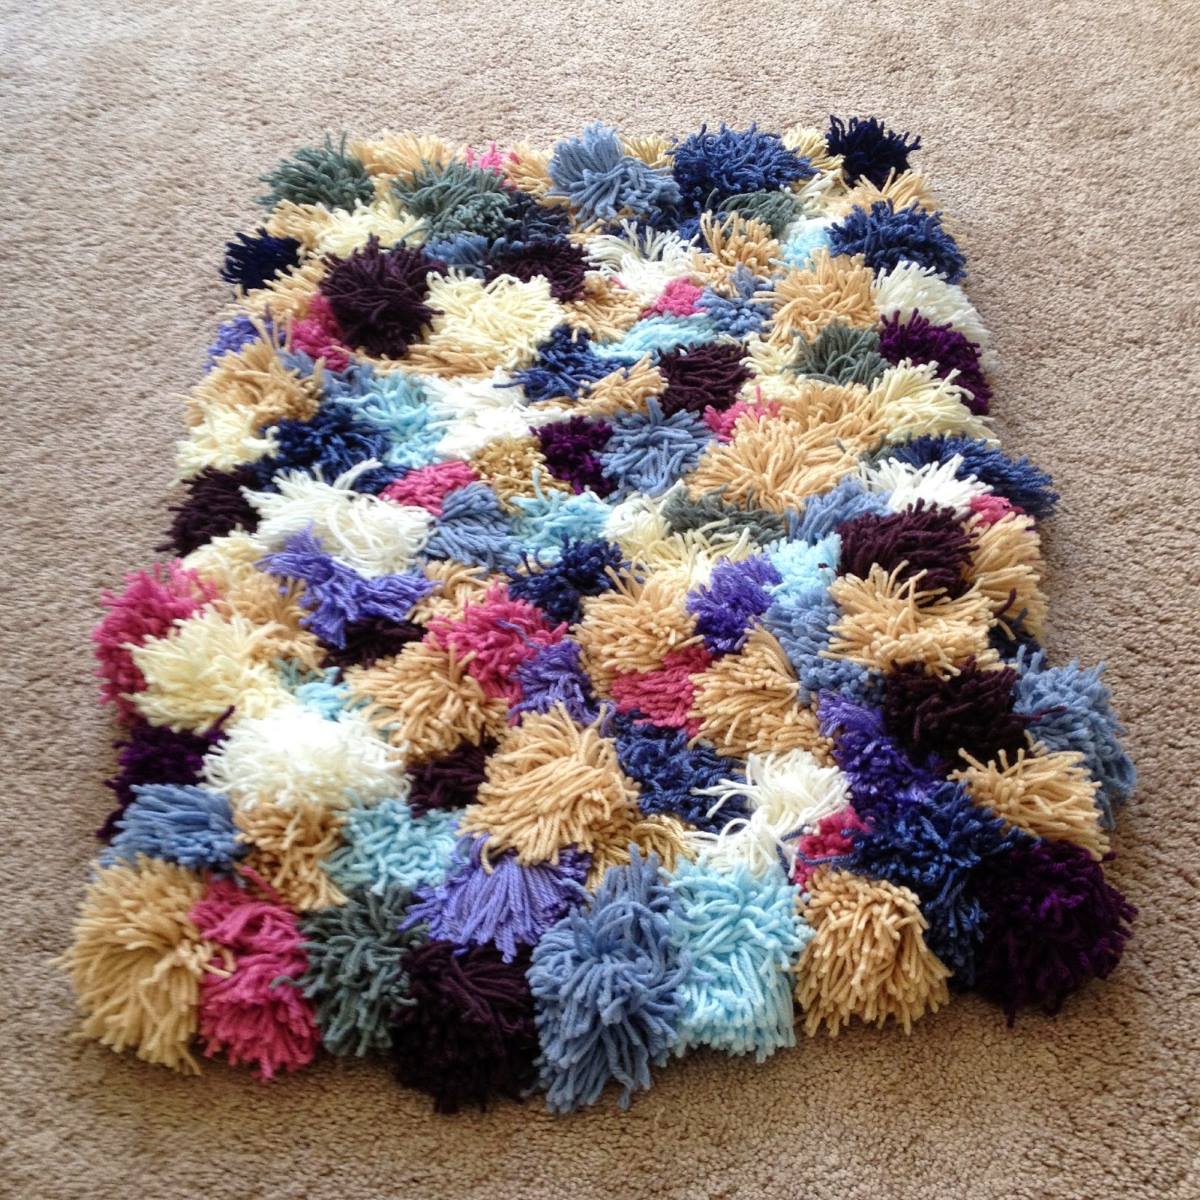
Welcome to the world of yarn rugs! Whether you are a seasoned crafter or a beginner looking for a new project, making your own yarn rug can be a rewarding and creative endeavor. Yarn rugs not only add warmth and texture to any room, but they also allow you to personalize your space with unique designs and colors.
In this article, we will guide you through the process of creating your own beautiful yarn rug. From choosing the right yarn and needle size to understanding basic rug patterns and finishing techniques, we will cover everything you need to know to get started on your rug-making journey.
Before we dive into the practical aspects, it’s important to note that making a yarn rug requires patience and a bit of time commitment. However, the end result is well worth it. The process of creating a rug allows you to unleash your creativity and bring your vision to life.
So, without further ado, let’s jump into the wonderful world of yarn rugs and discover how you can make your own masterpiece!
Key Takeaways:
- Choosing the right yarn and needle size, understanding basic rug patterns, and adding finishing touches are crucial for creating a beautiful and unique yarn rug that reflects your creativity and personal style.
- Proper care and maintenance, including regular vacuuming, rotating the rug, and addressing spills promptly, are essential for preserving the beauty and longevity of your yarn rug, making it a cherished piece in your home.
Read more: What Is The Best Yarn For Rugs
Choosing the Right Yarn
When it comes to making yarn rugs, selecting the right yarn is essential for a successful outcome. There are several factors to consider when choosing the appropriate yarn for your project:
- Fiber: The first decision you’ll need to make is the type of fiber you want for your rug. Some popular options include wool, cotton, acrylic, and blends. Each type of fiber has its own characteristics, so it’s important to consider factors such as durability, softness, and maintenance requirements.
- Weight: Yarns come in different weights, ranging from super bulky to laceweight. The weight of the yarn will impact the thickness and density of your rug. Bulky or super bulky yarns are great for creating plush and cozy rugs, while lighter weights can be used for more delicate or decorative pieces.
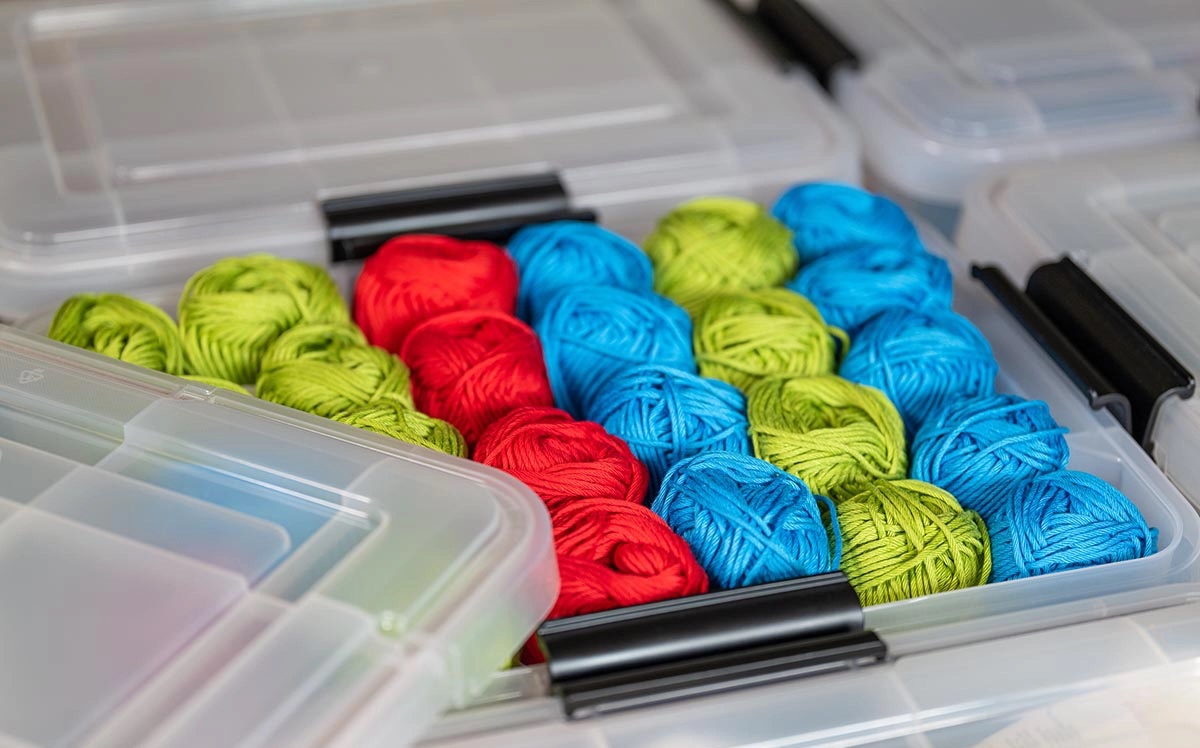
- Color: The color of the yarn will play a significant role in the overall aesthetic of your rug. Consider the color scheme of the room where the rug will be placed and choose yarn colors that complement or contrast nicely with the existing decor. You can opt for solid colors, variegated yarns, or even create your own custom color combinations.
- Texture: If you want to add some extra texture to your rug, consider yarns with unique textures, such as boucle or chenille. These yarns can add depth and interest to your design.
It’s also a good idea to check the label of each yarn you are considering. The label will provide important details such as the recommended needle size, gauge, and care instructions. Pay attention to these recommendations, as they will greatly influence the final result of your project.
Additionally, it’s worth considering the intended use of your rug. If you’re making a rug for a high-traffic area, such as a hallway or entryway, you’ll want to choose a durable yarn that can withstand frequent use and cleaning. For rugs intended for less foot traffic, you may have more flexibility in choosing softer, more delicate yarns.
Ultimately, the choice of yarn for your rug will depend on your personal preferences and the specific requirements of your project. Don’t be afraid to experiment and try different yarns to achieve the desired look and feel for your rug.
Selecting the Proper Needle Size
Now that you have chosen the perfect yarn for your yarn rug project, it’s time to select the proper needle size. The needle size you use will affect the overall appearance and structure of your rug. Here are some guidelines to help you choose the right needle size:
- Gauge: The gauge refers to the number of stitches and rows per inch. It is important to achieve the recommended gauge specified in your pattern or yarn label. This ensures that your rug will have the desired dimensions and maintains a consistent tension throughout.
- Yarn Weight: Consider the weight of the yarn you are using. Bulkier yarns will generally require larger needles to create a loose and airy texture, while lighter weight yarns may require smaller needles to create a tighter and more defined stitch.
- Desired Texture: Think about the texture you want to achieve in your yarn rug. If you want a dense and sturdy rug, you may opt for smaller needles to create a tighter stitch. On the other hand, if you prefer a more open and lacy look, larger needles will help you achieve that effect.
- Comfort: Consider your own comfort and preference when it comes to needle size. Some crafters may find larger needles more comfortable to work with, while others may prefer the control and precision of smaller needles.
It’s important to note that the recommended needle size for your chosen yarn may vary depending on the specific project or pattern you are following. Always check the pattern instructions or yarn label for the recommended needle size. If you are creating your own design, you may need to swatch and experiment with different needle sizes to achieve the desired look.
Remember, the needle size you choose is not set in stone. If you find that your stitches are too loose or too tight, don’t hesitate to switch to a different needle size to achieve the desired tension. It’s all about finding the right balance that creates the look and feel you envision for your yarn rug.
Now that you know how to select the proper needle size, you’re ready to move on to understanding basic rug patterns and starting your rug-making journey. Get ready to unleash your creativity and bring your unique vision to life!
Understanding Basic Rug Patterns
When it comes to creating a yarn rug, understanding basic rug patterns is essential. Patterns not only provide a guide for your project but also allow you to explore different designs and textures. Here are some key aspects to consider when working with rug patterns:
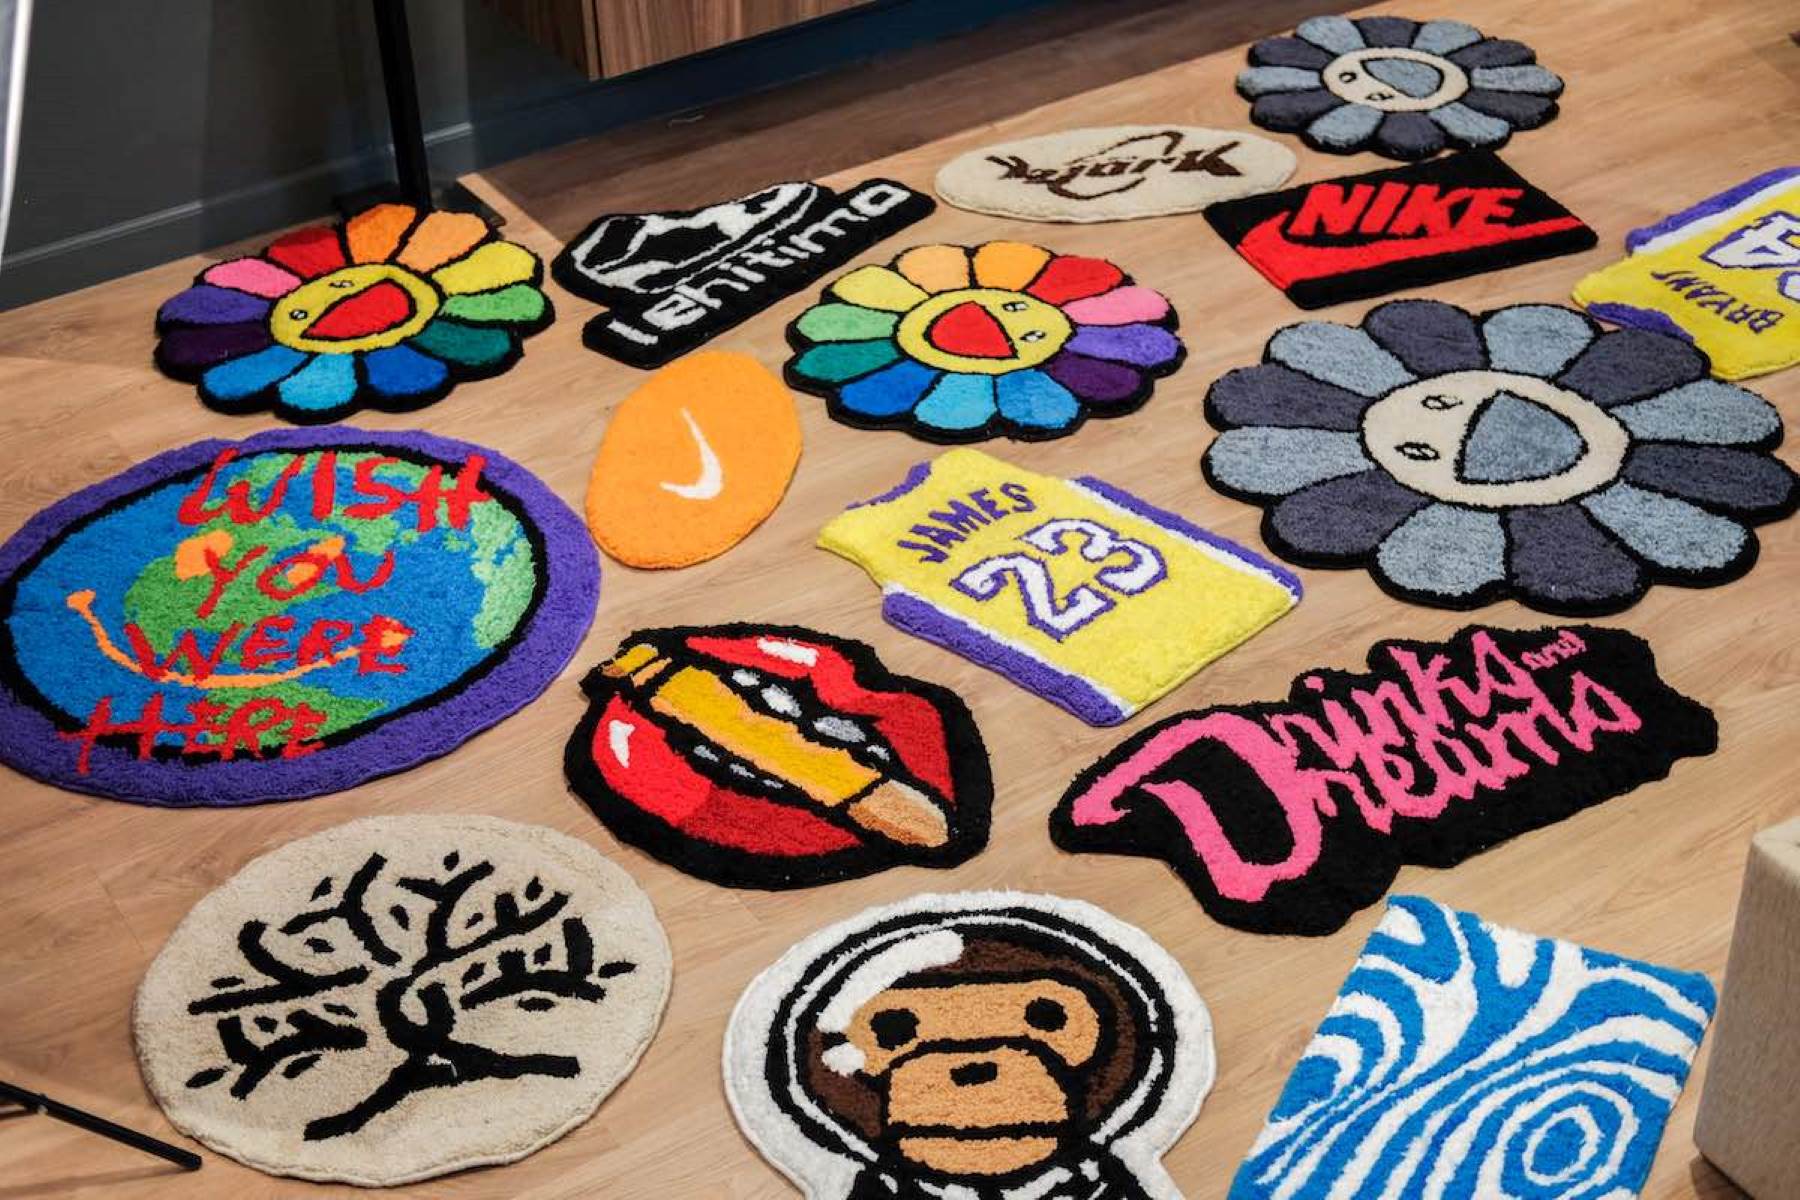
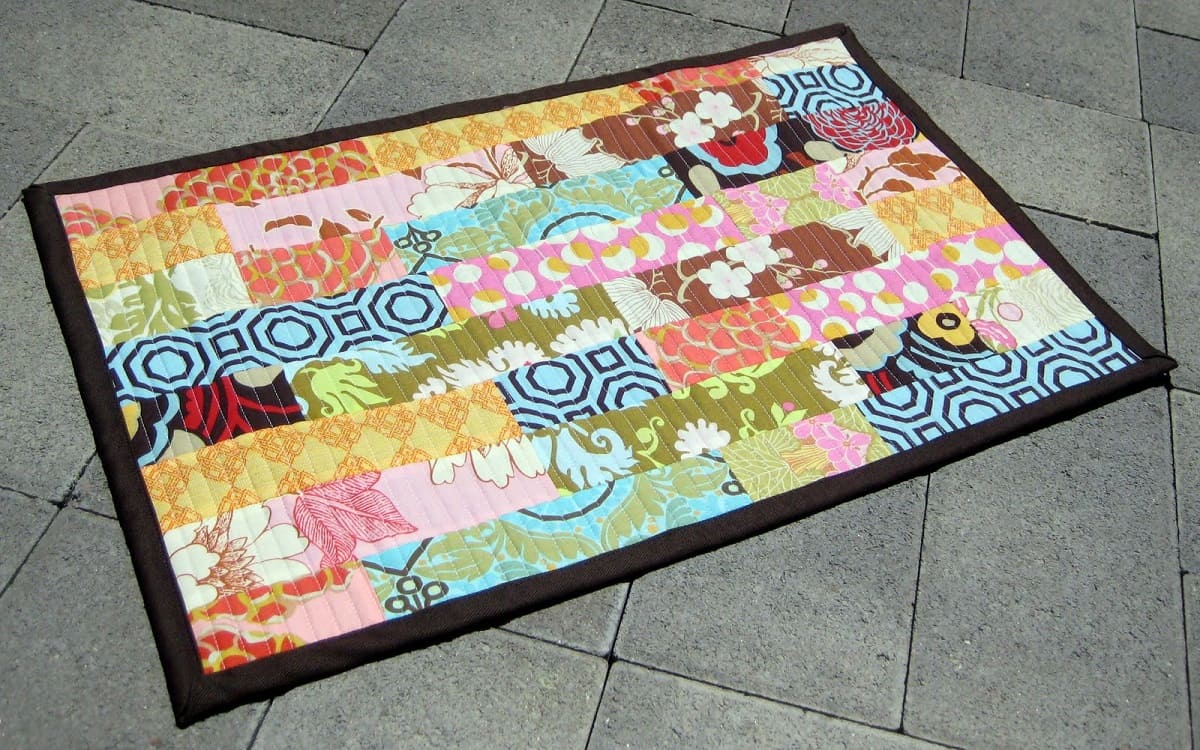
- Traditional Rug Patterns: Traditional rug patterns can serve as a great starting point for your project. These patterns often feature geometric shapes, repeating motifs, or intricate floral designs. They offer a classic and timeless look to your rug.
- Custom Designs: If you want to add a personal touch to your yarn rug, consider creating your own custom design. You can sketch out your ideas or use design software to experiment with different patterns. Custom designs allow you to express your creativity and make a rug that truly reflects your style.
- Texture and Stitch Patterns: Beyond the visual design, you can also incorporate texture and stitch patterns into your rug. Consider using different stitches, such as cables, bobbles, or popcorn stitches, to add depth and visual interest to your rug.
- Color Work: Another way to enhance your rug pattern is through color work. Experiment with color blocking, stripes, or even color gradients to create a unique and eye-catching design. Remember to choose yarn colors that complement each other and align with the overall theme of your rug.
- Pattern Resources: There are many resources available for rug patterns, both online and in print. Websites, crochet or knitting books, and pattern databases offer a wide selection of rug patterns, ranging from simple to complex. Explore different sources to find patterns that inspire and challenge you.
As you work with rug patterns, it’s important to understand the instructions and symbols used in the pattern. Take the time to read through the pattern thoroughly before starting and familiarize yourself with any special stitches or techniques required. If you encounter any difficulties, don’t hesitate to seek clarification or consult online tutorials and forums for help.
Remember, patterns are not set in stone. Feel free to modify and adapt patterns to suit your preferences or make them more unique. You have the creative freedom to make your yarn rug truly one-of-a-kind.
Now that you have a good understanding of basic rug patterns, it’s time to move on to preparing the yarn and getting started on your yarn rug project. Let’s continue our journey towards creating a beautiful and cozy rug!
Preparing the Yarn
Before you can begin creating your yarn rug, it’s important to properly prepare the yarn. Preparing the yarn ensures that it is ready for use and helps with the overall quality and durability of your rug. Here are some steps to follow when preparing your yarn:
- Washing and Blocking: Depending on the type of yarn you are using, it may be necessary to wash and block it before starting your project. This step helps to remove any oils or residue from the yarn and allows it to relax and unwind. Follow the care instructions on the yarn label or refer to specific washing guidelines for the type of yarn you have chosen.
- Joining Yarn: If you are using multiple skeins or balls of yarn for your rug, it’s important to properly join the yarn to ensure a seamless transition. There are several methods you can use to join yarn, such as the “magic knot” or Russian join. Choose a method that suits your preference and ensures a secure and invisible join.
- Winding Yarn: Winding the yarn into a ball or cake can make it easier to work with and prevent tangles. You can use a yarn winder or even wind the yarn by hand. Take care to wind the yarn evenly and avoid any twists or kinks that could affect the finished appearance of your rug.
Additionally, it’s important to consider the length of yarn you will need for your rug. Measure the desired length or diameter of your rug, taking into account any border or fringe that you plan to add. It’s always better to have more yarn than you think you will need to avoid running out in the middle of your project.
Preparing the yarn sets a strong foundation for your rug-making journey. It ensures that your yarn is clean, well-joined, and easy to work with. By following these simple preparation steps, you can be confident that your yarn is ready to be transformed into a beautiful rug.
Now that your yarn is prepared and ready to go, it’s time to dive into the exciting process of starting your yarn rug. Get ready to see your creation come to life stitch by stitch!
Read more: How To Make A Loop Yarn Blanket
Starting the Rug
Now that you have prepared your yarn, it’s time to start creating your yarn rug! Here are some steps to help you get started:
- Choose a Starting Point: Determine where you want to begin your rug. You can start from the center and work your way out, or begin along one edge and work back and forth. Consider the desired shape and design of your rug when choosing the starting point.
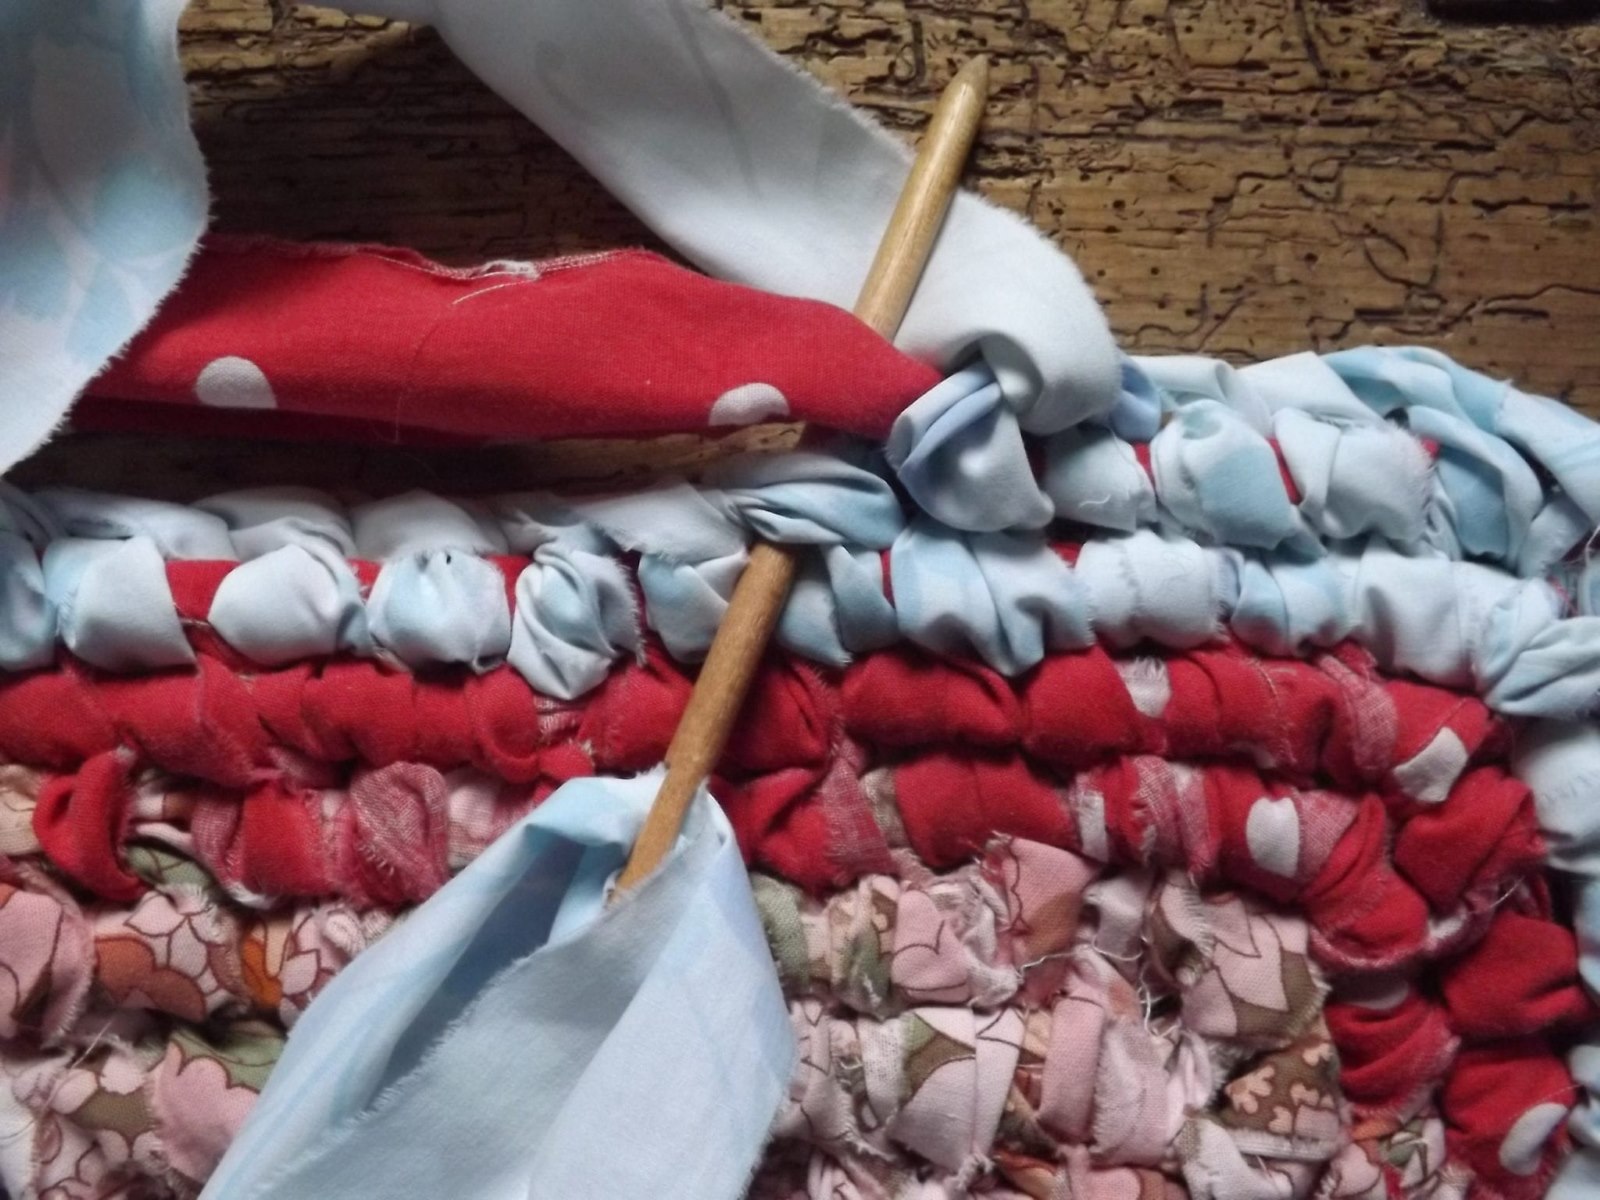
- Create a Foundation: To create a sturdy foundation for your rug, you’ll need to decide on the method of construction. There are several options to choose from, including crochet, knit, punch needle, or even braiding. Select the technique that you are most comfortable with or that best suits your desired outcome.
- Follow the Pattern: If you are using a pattern, carefully follow the instructions to create the initial stitches or rows. Pay attention to any color changes or stitch variations specified in the pattern. If you are working on a custom design, refer to your sketch or design plan to guide your beginning stitches.
- Maintain Consistent Tension: As you work on your rug, it’s important to maintain a consistent tension. This ensures that your stitches are uniform in size and create an even and professional-looking rug. If needed, use stitch markers or check your tension periodically to ensure consistency.
- Work in Sections: Depending on the size of your rug, it may be more manageable to work in sections rather than tackling the whole project at once. Break the rug into smaller portions, working on one section at a time and joining them together as you progress.
Starting the rug is an exciting moment when you see the first stitches come together. Take your time, enjoy the process, and don’t be afraid to make adjustments or modifications along the way to achieve the desired look for your rug.
Remember to take breaks and give your hands and wrists some rest if needed. Rug-making can be a repetitive process, and it’s important to avoid strain and fatigue by taking regular breaks and stretching your muscles.
Now that you have started your yarn rug, continue working diligently, stitch by stitch. With every passing row or round, you are one step closer to completing your beautiful creation!
When making yarn rugs, be sure to use a non-slip rug pad underneath to prevent slipping and sliding. This will also help protect the rug and the floor underneath.
Creating Different Textures and Patterns
As you continue working on your yarn rug, experimenting with different textures and patterns can elevate its visual appeal and add depth to the design. Here are some techniques you can use to create unique textures and patterns in your rug:
- Stitch Variations: Explore different stitch variations to create texture and visual interest. For example, you can incorporate bobbles, popcorn stitches, or cables into your design. These stitches will stand out and add a three-dimensional element to your rug.
- Color Changes: Introducing color changes within your rug can create unique patterns and motifs. You can alternate between different colors in specific rows or rounds, creating stripes, blocks, or even intricate colorwork patterns. Experiment with different color combinations to achieve the desired effect.
- Surface Embellishments: Consider adding surface embellishments to your rug, such as embroidery, appliqué, or even tassels. These embellishments can enhance the overall texture and give your rug a personalized touch. You can sew on fabric patches, attach decorative buttons, or even use contrasting yarn to create textured designs.
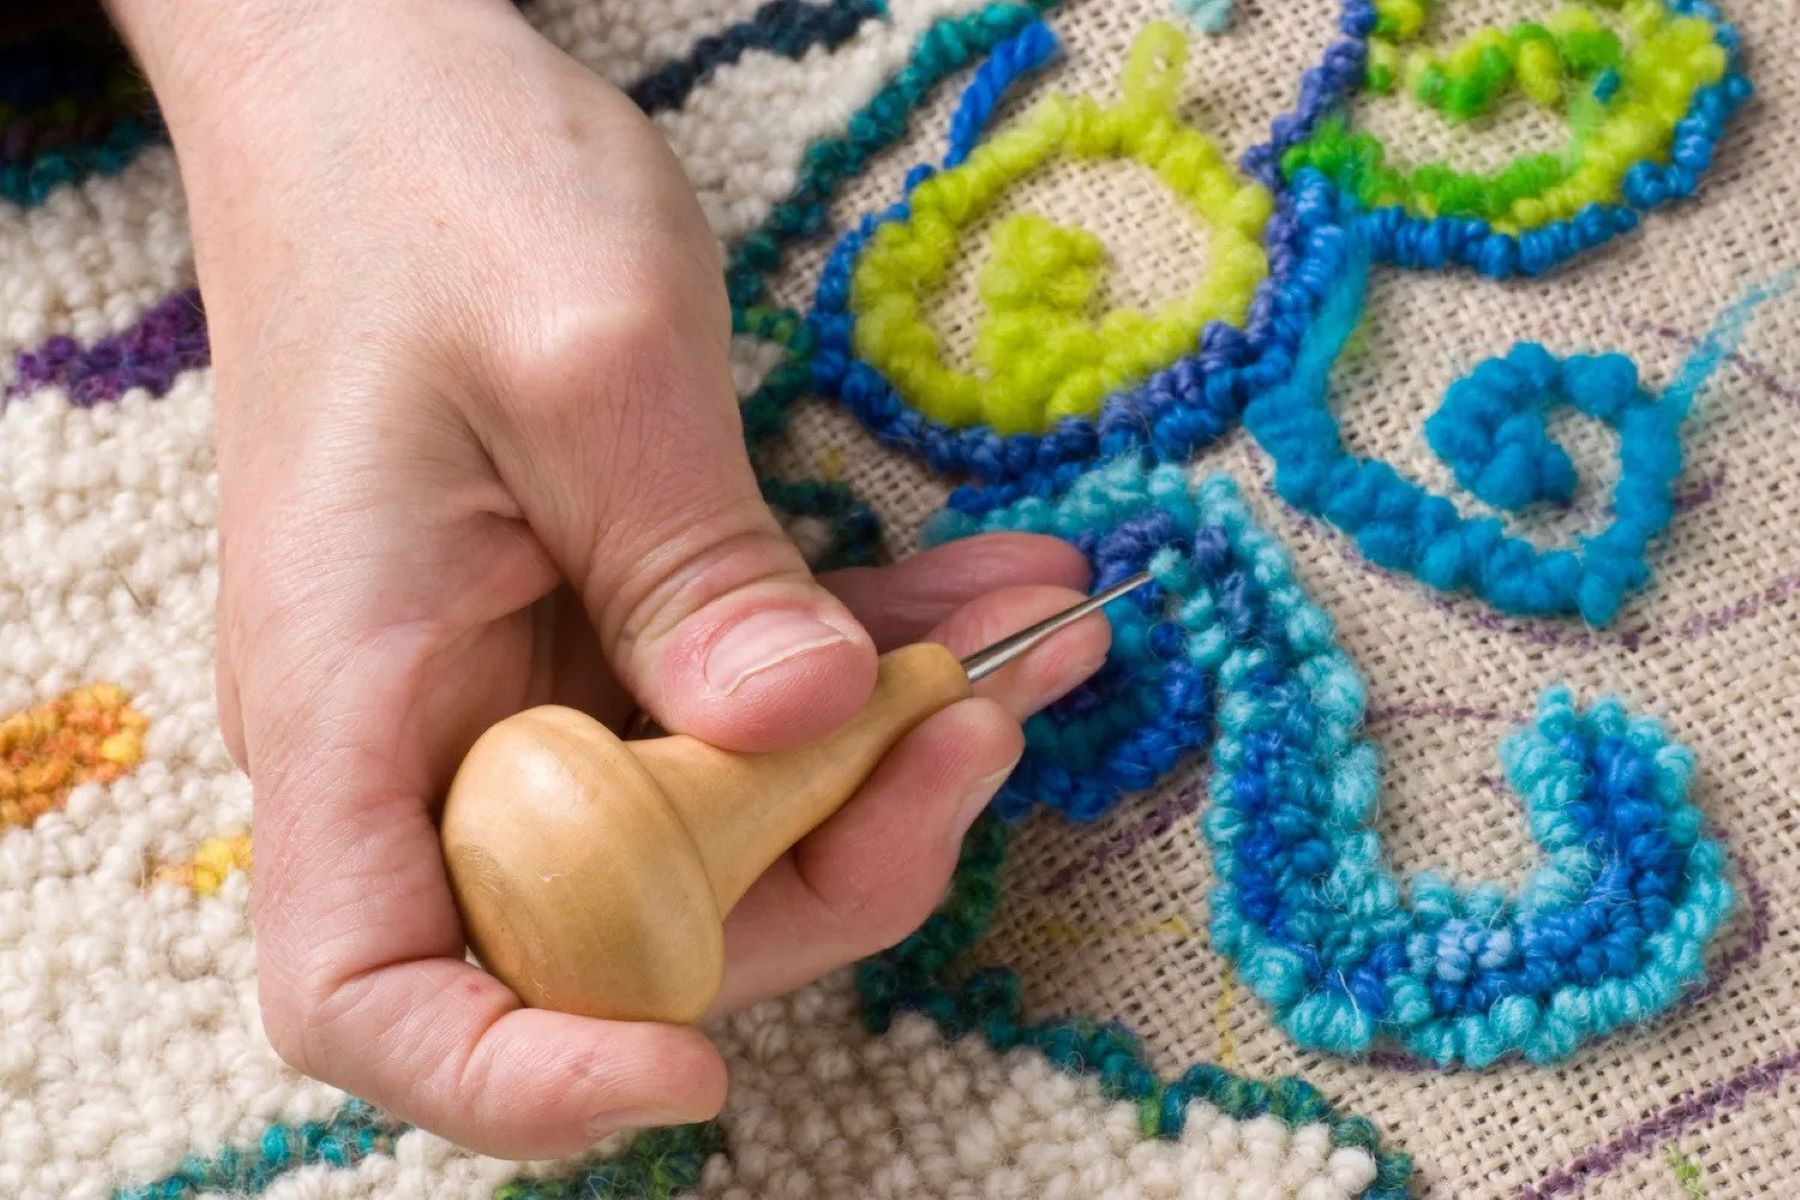
- Looped or Pile Textures: If you want to add a plush and luxurious feel to your rug, consider incorporating looped or pile textures. Techniques like latch hooking or using a rug tufting tool can create raised loops or a shaggy pile, giving your rug a cozy and tactile quality.
It’s important to carefully plan and experiment with different textures and patterns before incorporating them into your rug. Sketch out your ideas or create sample swatches to visualize how the texture or pattern will look in your overall design.
While creating different textures and patterns can add excitement and uniqueness to your yarn rug, it’s essential to maintain consistency in your tension and stitch size. This ensures that your rug remains flat and even and that the different textures flow seamlessly throughout the design.
Take your time to incorporate these various techniques, allowing your creativity to shine through. With each added texture or pattern, your yarn rug will become a true work of art that reflects your individual style and vision.
Adding Fringe or Tassels
To give your yarn rug a finished and polished look, you may consider adding fringe or tassels to the edges. Fringe and tassels not only add a decorative touch but also provide a sense of texture and movement. Here are some steps to help you add fringe or tassels to your yarn rug:
- Assess the Design: Determine if fringe or tassels will complement the overall design of your rug. Consider the style, size, and color palette of your rug to ensure that the fringe or tassels enhance the aesthetics.
- Measure and Plan: Decide on the length and thickness of the fringe or tassels. Measure your rug’s edges to determine the amount of yarn you will need. Plan where you want the fringe or tassels to be placed, whether it’s the entire perimeter or specific sections.
- Cut the Yarn: Cut lengths of yarn to create the fringe or tassels. Ensure that each piece of yarn is twice the desired length, as you will be folding it in half to create the fringe or tassel.
- Attach the Fringe: To attach fringe, fold a piece of yarn in half and slide the folded end through a stitch along the edge of your rug. Create a loop and pull the loose ends of the yarn through the loop, securing the yarn in place. Repeat this process along the desired edge, spacing the fringe evenly.
- Create Tassels: For tassels, gather a group of folded yarn lengths. Secure the center of the group with another piece of yarn, forming the tassel’s head. Fold the tassel in half to create a loop and attach it to a stitch along the edge of your rug. Repeat this process to add as many tassels as desired.
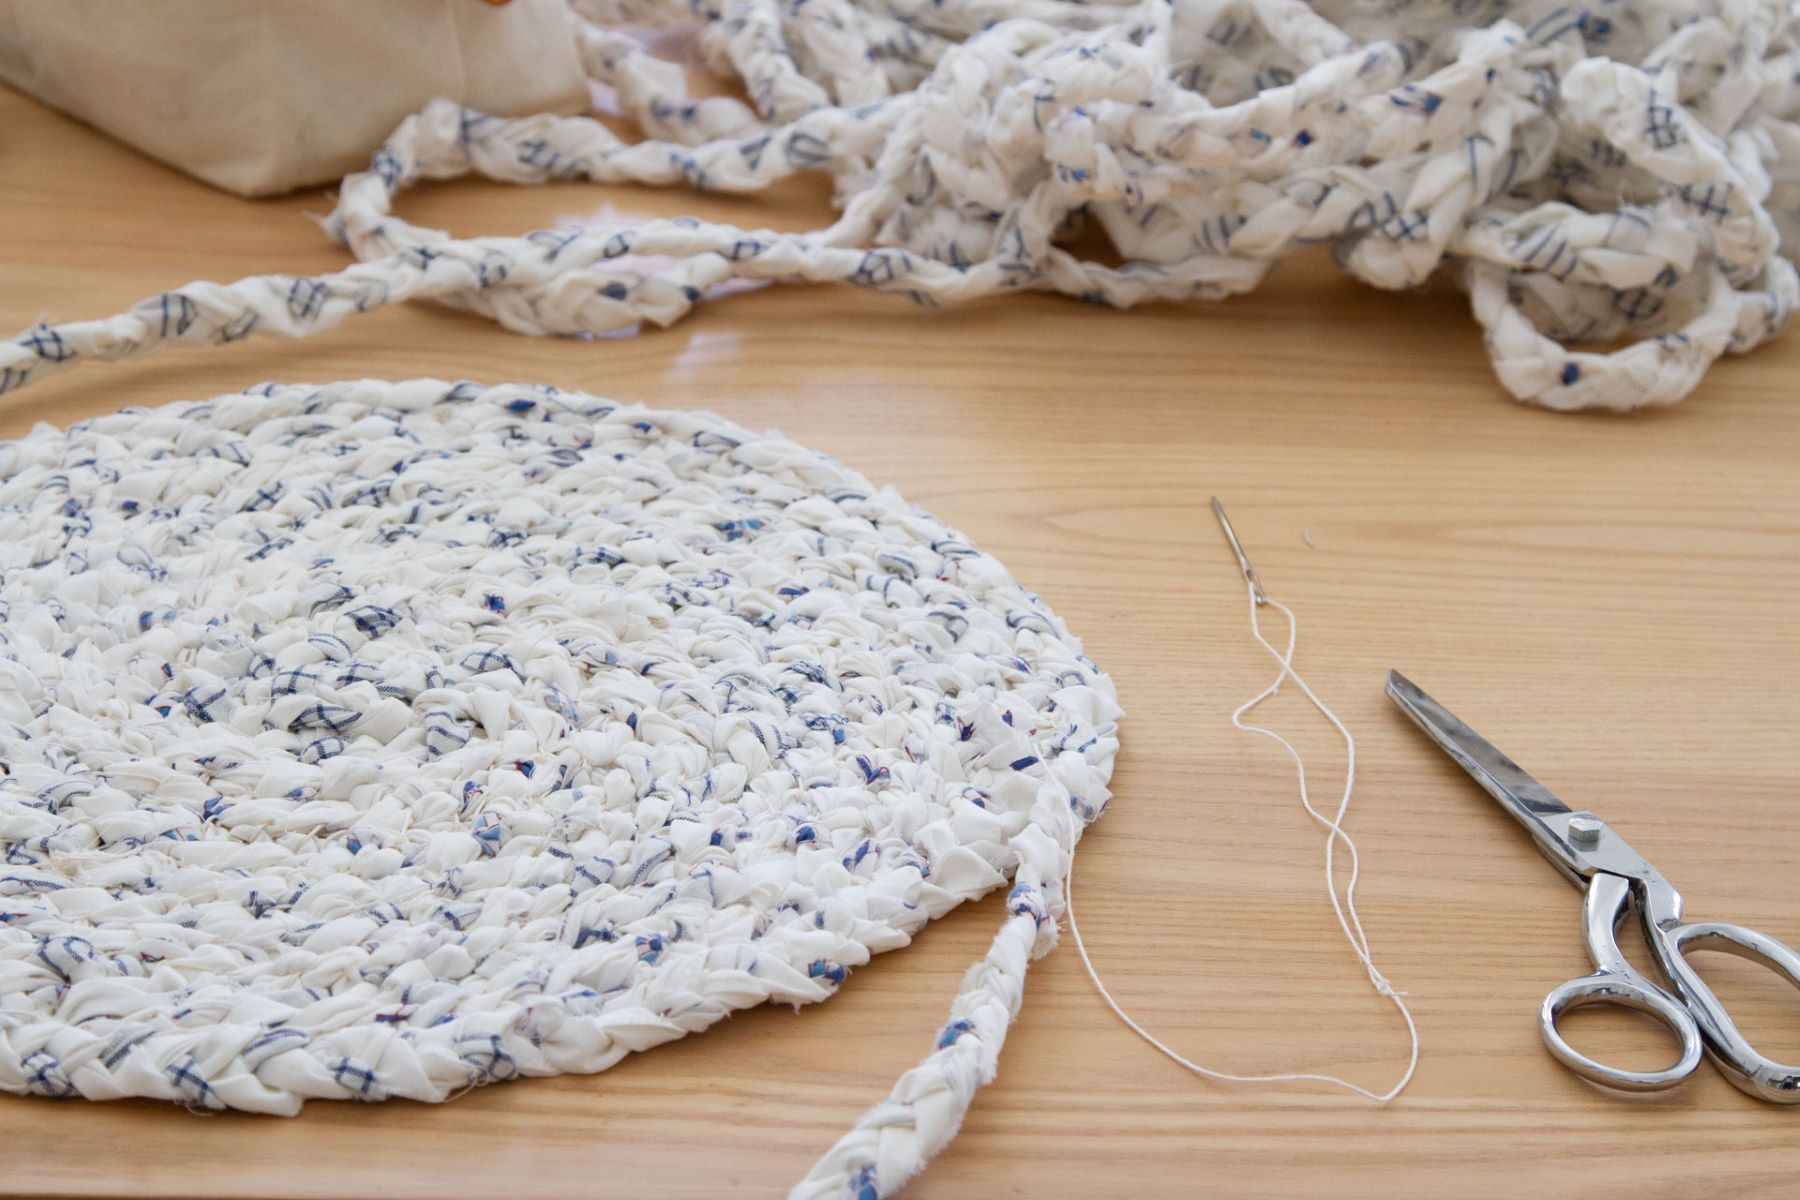
- Trim and Even Out: Once you have attached the fringe or tassels, trim them to your desired length. Use scissors to ensure that all the pieces of yarn are even and create a neat and uniform appearance.
Adding fringe or tassels to your yarn rug can provide a finishing touch that adds character and visual interest. It’s important to carefully attach and arrange the fringe or tassels to achieve a balanced and pleasing effect.
Keep in mind that fringe and tassels may require some maintenance over time. Regularly check them for any loose or unraveled yarn and make necessary repairs to ensure that your rug continues to look its best.
With the addition of fringe or tassels, your yarn rug is now complete. Step back and admire your handiwork – a beautiful and cozy rug that showcases not only your crafting skills but also your attention to detail.
Finishing and Blocking the Rug
Once you have completed the main body of your yarn rug, it’s time to give it a professional and polished finish. Finishing and blocking the rug helps to enhance its overall appearance and shape. Here are some steps to follow:
- Weaving in Ends: Take the time to weave in any loose ends of yarn that are remaining from color changes or joining new yarn. Use a yarn needle to thread the ends through the stitches on the backside of the rug to secure them. This will ensure that the ends are hidden and won’t unravel over time.
- Blocking: Blocking is a process that helps to shape and flatten your rug. Lay the rug on a clean and flat surface, making sure it is stretched out to its desired dimensions. Mist the rug lightly with water, or use a damp cloth, then place weights or pins around the edges to hold the rug in place. Allow the rug to dry completely while maintaining its stretched-out shape.
- Trimming and Checking: Carefully inspect the rug for any uneven edges or stray fibers. Use fabric shears or scissors to trim any excess yarn or errant fibers to create clean and straight edges. Take the time to make any necessary adjustments to ensure that the rug lies flat and looks polished.
- Finishing Touches: Consider adding a non-slip backing or rug pad beneath your rug to keep it in place and prevent shifting. This will help to protect your rug and provide added safety, especially on hard flooring surfaces. Additionally, give the rug a final gentle press with a warm iron (using a protective cloth or towel) to smooth out any remaining wrinkles or creases.
Finishing and blocking your yarn rug is a crucial step in achieving a professional and refined result. It allows the rug to lay flat, improves its overall appearance, and ensures that all your hard work is showcased to its fullest potential.
After the rug is finished and blocked, take a moment to step back and admire your creation. Celebrate the accomplishment of completing a beautiful and handmade yarn rug that will add warmth and charm to any space it graces!
Care and Maintenance Tips
Proper care and maintenance are key to ensuring the longevity and continued beauty of your yarn rug. Here are some tips to help you keep your rug looking its best:
- Vacuum Regularly: Use a vacuum cleaner with a brush attachment or a handheld vacuum to gently remove dust and debris from the surface of your rug. Regular vacuuming helps to prevent dirt from settling into the fibers and keeps the rug looking clean and fresh.
- Rotate Periodically: To prevent uneven wear, rotate your rug periodically. This is especially important if your rug is placed in a high-traffic area. Rotating the rug will distribute the foot traffic more evenly, extending the life of the rug.
- Spot Clean Spills: Accidents happen, so it’s important to address spills and stains promptly. Blot the area with a clean, absorbent cloth to remove as much liquid as possible. Avoid rubbing or scrubbing the stain, as it can push it deeper into the fibers. Use a mild detergent or specialized rug cleaner, following the manufacturer’s instructions, if necessary.
- Protect from Sunlight: Prolonged exposure to direct sunlight can cause fading and damage to the colors of your yarn rug. If possible, place the rug away from windows or use window coverings to minimize exposure to harmful UV rays. Consider using window films or blinds that filter sunlight to protect your rug.
- Avoid Moisture: Excessive moisture can lead to mold and mildew growth, which can damage your rug. Avoid placing the rug in damp areas or areas prone to spills. If your rug gets wet, dry it thoroughly and ensure proper ventilation to prevent moisture buildup.
- Professional Cleaning: Depending on the size and material of your rug, professional cleaning may be recommended. Consult with a professional rug cleaner who specializes in the care of yarn rugs. They will have the expertise and equipment to deep clean and restore the rug’s vibrancy.
By implementing these care and maintenance tips, you can effectively preserve the beauty and condition of your yarn rug for years to come. Remember that prevention is key, so being proactive in caring for your rug will help maintain its appearance and durability.
Lastly, always refer to the specific care instructions provided by the yarn manufacturer or any additional guidelines that came with your rug. Each yarn and rug may have specific requirements that should be followed to ensure proper care.
With regular care and attention, your yarn rug will continue to bring warmth, comfort, and style to your space, making it a cherished piece in your home.
Conclusion
Congratulations! You have reached the end of our guide on making yarn rugs. By now, you have learned the essential steps and tips to create your own beautiful and unique yarn rug. From choosing the right yarn and needle size to understanding basic rug patterns, preparing the yarn, and adding finishing touches, you now have the knowledge and confidence to embark on your rug-making journey.
Creating a yarn rug allows you to showcase your creativity and bring a personal touch to your home décor. Whether you prefer intricate designs, bold colors, or textured patterns, your yarn rug will be a testament to your craftsmanship and imagination.
Remember to have fun and enjoy the process. Rug-making is a labor of love that requires time and patience, but the end result is well worth the effort. Feel free to experiment with different yarns, stitches, and patterns to create a rug that truly reflects your style and personality.
Additionally, caring for your yarn rug is crucial to maintaining its beauty and longevity. Follow the care and maintenance tips we provided to ensure that your rug remains fresh, clean, and vibrant for years to come.
Now, armed with the knowledge and inspiration to create your own yarn rug, it’s time to gather your materials and get started. Unleash your creativity, let your hands guide you, and watch as your vision materializes into a stunning yarn rug that will bring warmth, comfort, and joy to your space.
Happy rug-making!
Frequently Asked Questions about How To Make Yarn Rugs
Was this page helpful?
At Storables.com, we guarantee accurate and reliable information. Our content, validated by Expert Board Contributors, is crafted following stringent Editorial Policies. We're committed to providing you with well-researched, expert-backed insights for all your informational needs.


0 thoughts on “How To Make Yarn Rugs”