Home>Articles>How Long Does It Take To Install Siding On A New House
Articles
How Long Does It Take To Install Siding On A New House
Modified: October 20, 2024
Learn how long it takes to install siding on a new house with our informative articles. Discover expert tips and insights for a smooth installation process.
(Many of the links in this article redirect to a specific reviewed product. Your purchase of these products through affiliate links helps to generate commission for Storables.com, at no extra cost. Learn more)
Introduction
When it comes to giving your new house a fresh look and protecting it from the elements, installing siding is a crucial step. Siding not only enhances the aesthetic appeal of your home but also provides insulation and serves as a barrier against moisture and pests.
One common question that homeowners often have is how long it takes to install siding on a new house. The answer can vary depending on several factors, including the type of siding material, the size of the house, and whether you hire professionals or decide to tackle the installation as a DIY project.
In this article, we will explore the various factors that affect the time it takes to install siding on a new house. We will also provide you with a step-by-step guide to help you understand the installation process and offer tips for an efficient and successful siding installation.
Before we dive into the details, it’s important to note that every house is unique, and the timeline for siding installation can vary. However, having a general understanding of the factors involved will help you plan and set realistic expectations for your own project.
So, let’s take a closer look at the key factors that can affect the duration of siding installation on a new house.
Key Takeaways:
- Factors such as house size, siding material, and experience level can impact siding installation time. Proper preparation, planning, and understanding of these factors are crucial for managing expectations and ensuring a successful project.
- Whether hiring professionals or opting for a DIY approach, weighing the advantages and considerations is essential. Following a step-by-step guide and implementing efficient installation tips can lead to a visually appealing and durable exterior for your new house.
Factors Affecting Siding Installation Time
Several factors can influence the time it takes to install siding on a new house. Understanding these factors will help you estimate the duration of your own project. Here are the main factors to consider:
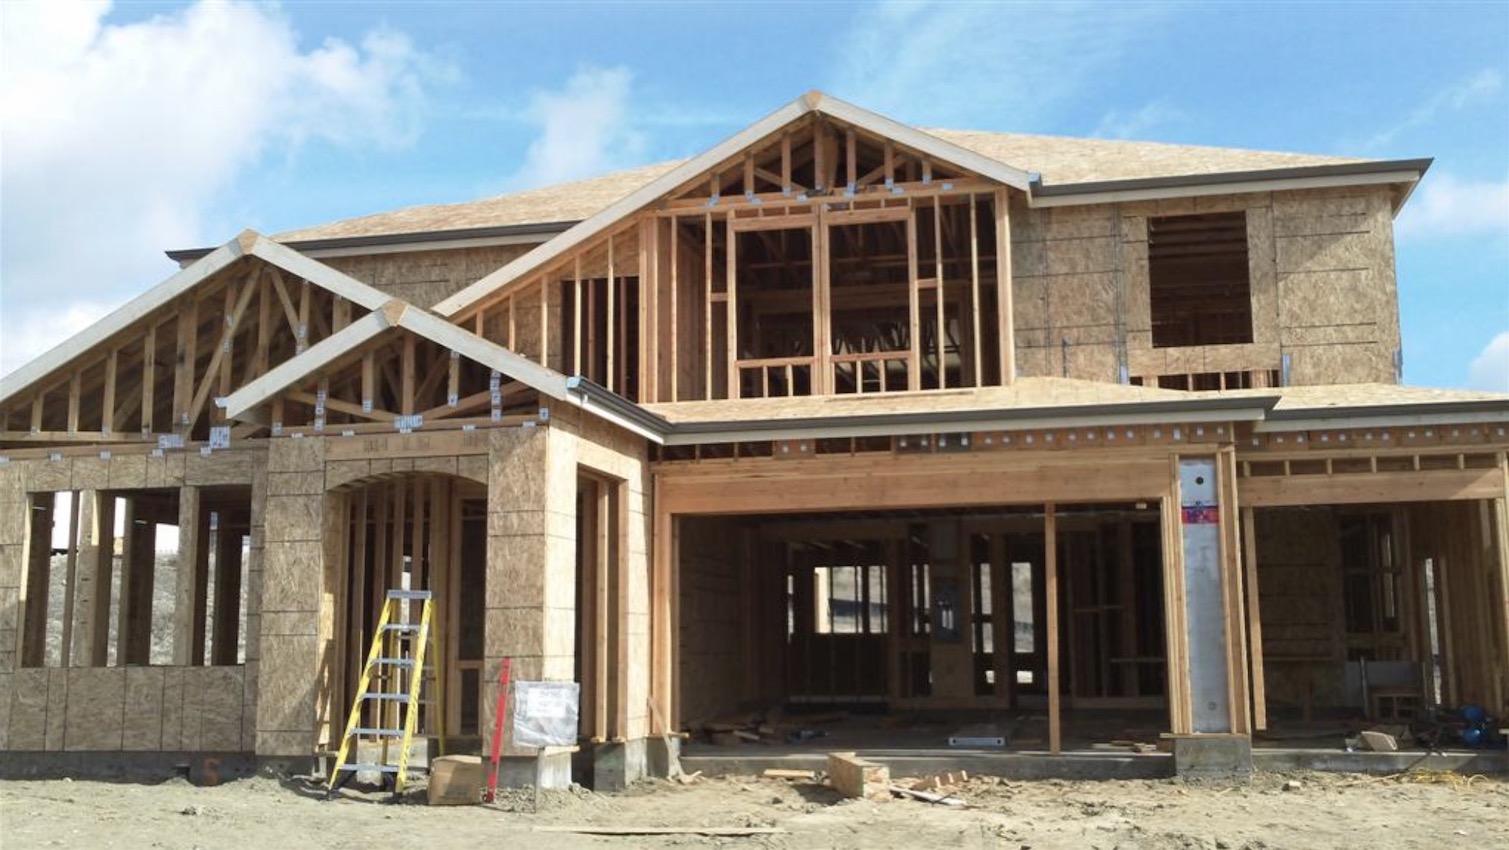
- Size of the House: The size of your house plays a significant role in determining the time needed for siding installation. Larger houses naturally require more time to complete the installation process compared to smaller ones.
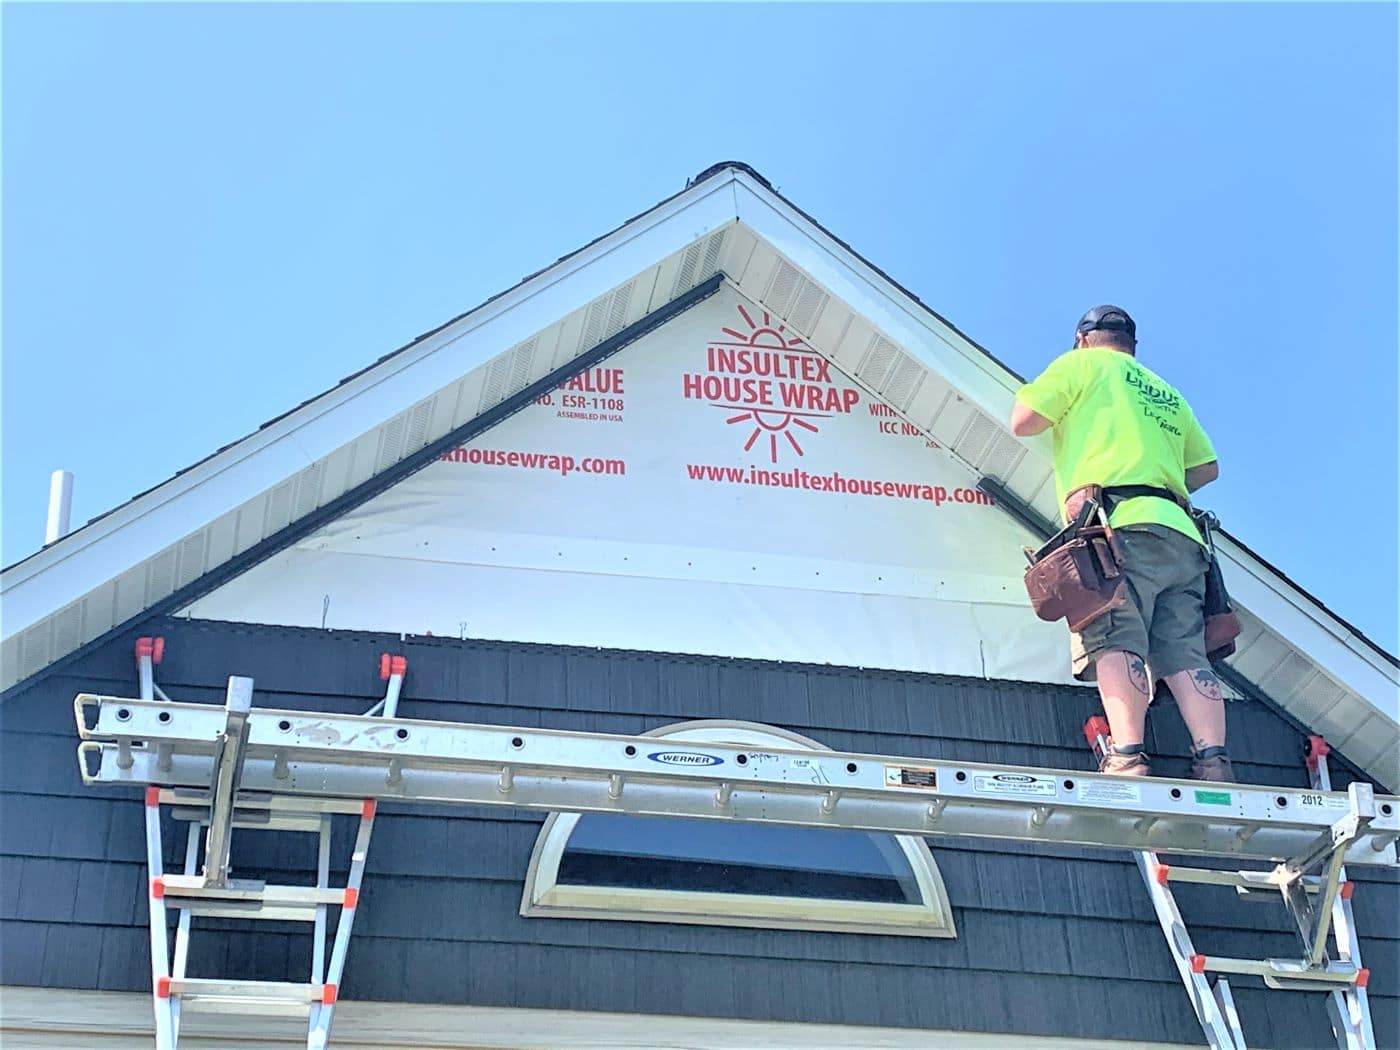
- Type of Siding Material: The type of siding material you choose can have a direct impact on installation time. Different materials have varying installation techniques and complexities. For example, vinyl siding is typically easier and faster to install compared to fiber cement or natural stone siding.
- Preparation and Planning: Adequate preparation and planning can help streamline the installation process and save time. This includes measuring and ordering the correct amount of materials, preparing the surface, and ensuring all necessary tools and equipment are readily available.
- Weather Conditions: Inclement weather can significantly delay siding installation. Rain, snow, or extreme temperatures can make it unsafe or impractical to work on the exterior of your house. It’s essential to consider the weather forecast and plan the installation accordingly.
- Additional Exterior Features: The presence of additional exterior features such as windows, doors, trim, or architectural details can increase the complexity of the installation and require more time. These features often require careful cutting and fitting to ensure a seamless and professional finish.
- Accessibility: The accessibility of your house can affect installation time. Factors such as the height of the walls, the presence of obstacles, and the ease of reaching certain areas can all impact how quickly the siding can be installed.
- Experience and Skill Level: Whether you hire professionals or opt for a DIY installation, the experience and skill level of the individuals involved can influence the time it takes to complete the project. Experienced professionals may be able to work more efficiently and complete the installation faster compared to those who are less experienced.
Keep in mind that these factors are not mutually exclusive and can interact to determine the overall installation time. It’s important to assess your specific project and consider these factors when estimating the duration of your siding installation.
Now that we have explored the factors that affect siding installation time, let’s delve into the necessary preparation and planning required before starting the installation process.
Preparation and Planning
Proper preparation and planning are crucial for a successful and efficient siding installation. Taking the time to carefully prepare and plan your project will help minimize delays, ensure you have the necessary materials and tools, and ultimately save you time in the long run. Here are some essential steps to consider:
- Assess the Condition of Your House: Before starting the installation, thoroughly inspect the exterior of your house. Look for any signs of damage, rot, or moisture issues. Address any necessary repairs or remediation before proceeding with the siding installation.
- Choose the Right Siding Material: Research different siding materials and choose one that suits your preferences, budget, and maintenance requirements. Consider factors such as durability, insulation properties, and resistance to weather conditions. Additionally, ensure that the chosen material is compatible with the structure of your house.
- Measure and Order Sufficient Materials: Accurate measurements are crucial for ordering the right amount of siding materials. Measure the length and height of each wall, accounting for windows, doors, and any other features. Consult with a professional or refer to manufacturer guidelines to ensure you order the correct quantity of siding, trim, and accessories.
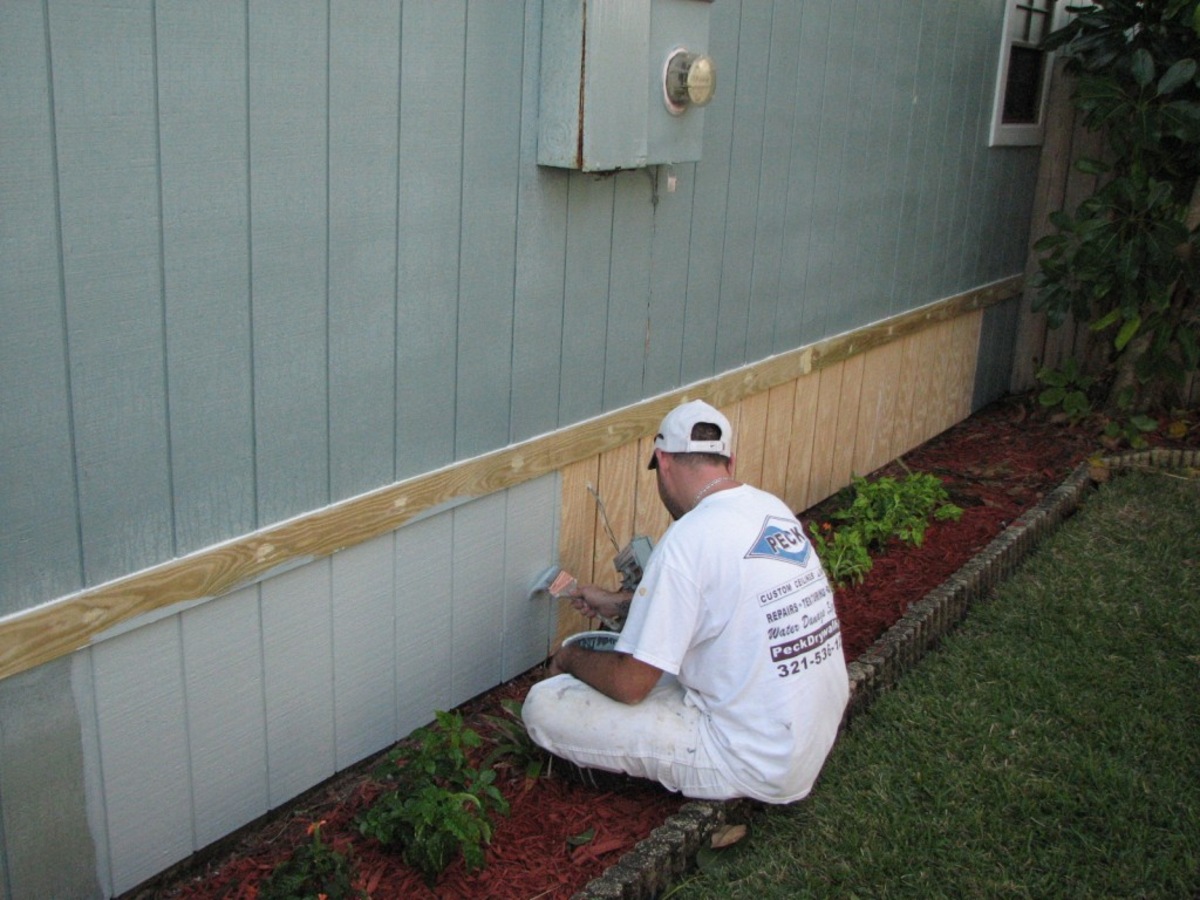
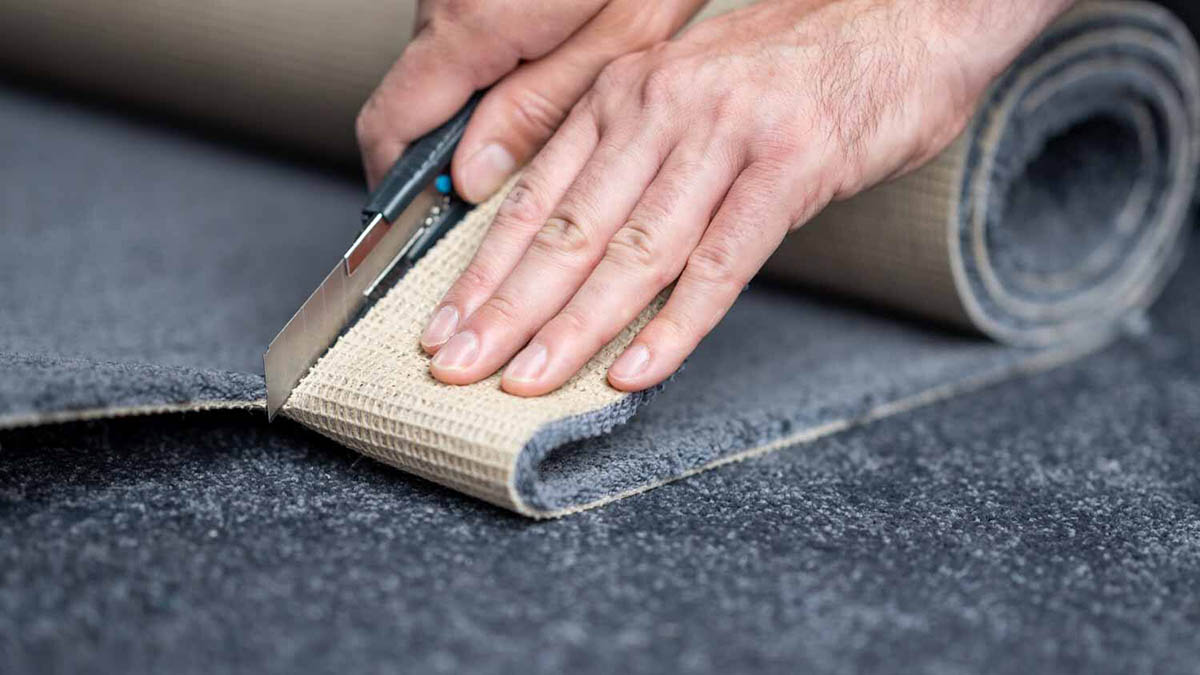
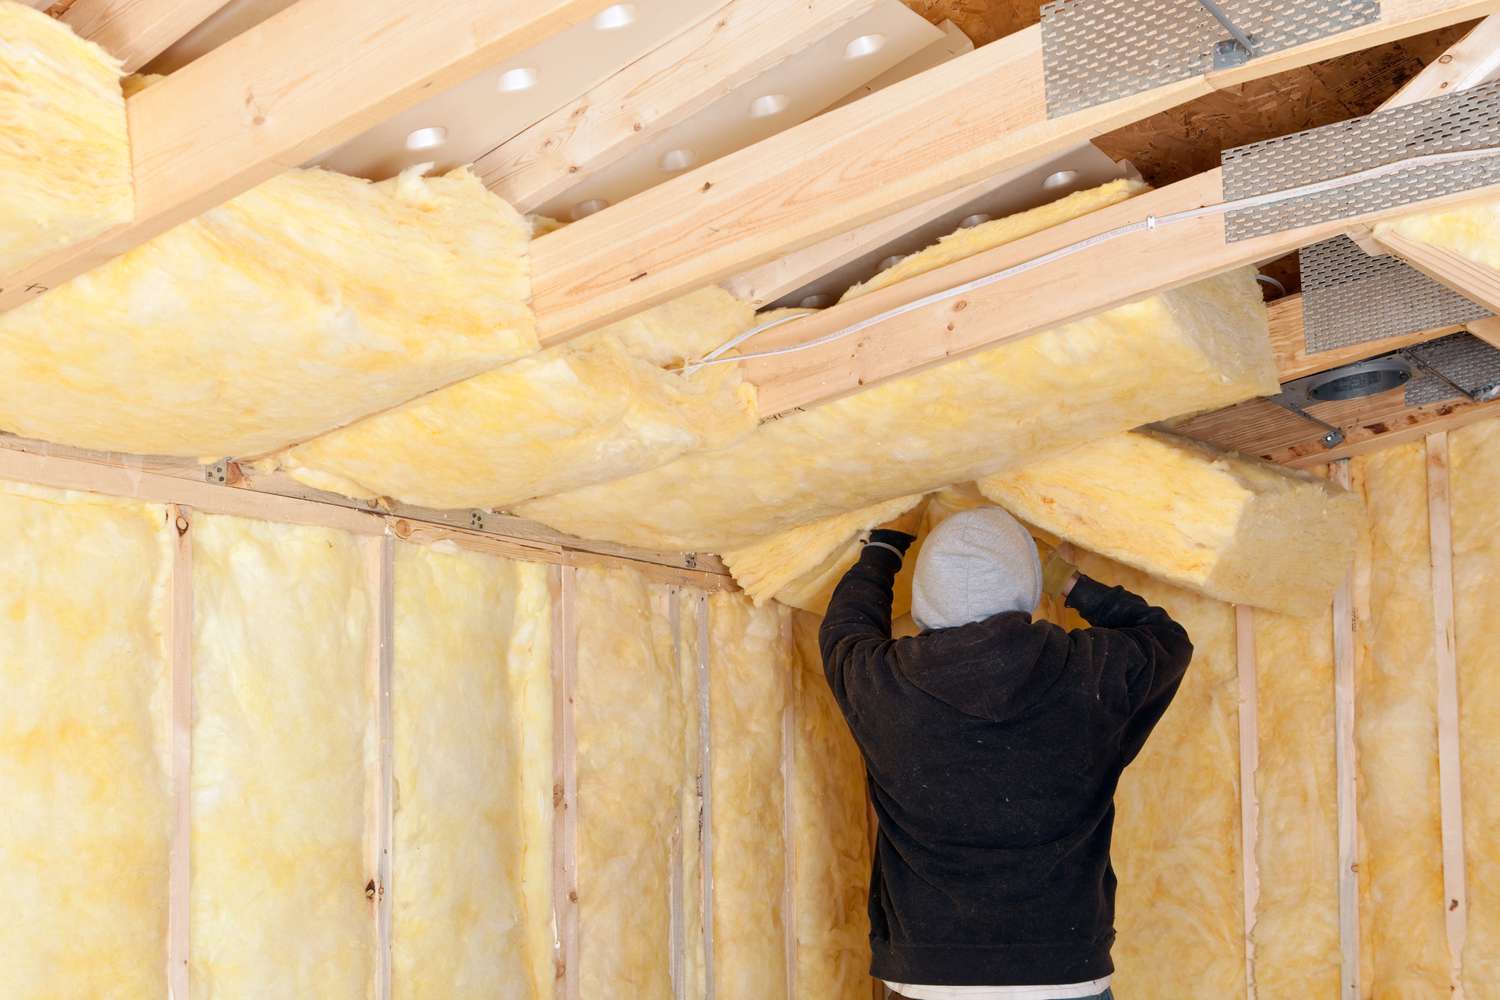
- Prepare the Surface: Properly preparing the surface of your house is essential for a smooth and long-lasting siding installation. Remove any existing siding, debris, or loose paint. Inspect and repair the sheathing and framing if needed. Ensure that the surface is clean, dry, and free of any obstacles that may hinder the installation process.
- Gather the Necessary Tools and Equipment: To streamline the installation process, gather all the required tools and equipment beforehand. This may include a saw, tape measure, hammer, level, utility knife, chalk line, and a siding nail gun. Having everything readily available will save you time and prevent interruptions during the installation.
- Obtain Permits and Comply with Local Regulations: Depending on your location, you may need to obtain permits for the siding installation. Research the local building codes and regulations and ensure that you comply with all necessary requirements. Failing to do so can lead to delays and potential fines or penalties.
By properly preparing and planning your siding installation, you will set a solid foundation for a smooth and efficient process. Taking the time to address any necessary repairs, order the correct materials, and gather the tools required will streamline the installation and help you avoid unnecessary delays.
Next, let’s explore the different types of siding materials and their respective installation times to give you a better understanding of the options available to you.
Types of Siding Materials and Their Installation Time
There are several different types of siding materials available in the market, each with its own unique characteristics and installation techniques. The type of siding material you choose will not only impact the appearance of your house but also influence the time it takes to install. Here are some common siding materials and their respective installation times:
- Vinyl Siding: Vinyl siding is one of the most popular choices due to its durability, affordability, and low maintenance requirements. Its installation is relatively quick and straightforward, making it a popular option for both professionals and DIY enthusiasts. On average, vinyl siding installation can take around 1-2 weeks, depending on the size of the house and the complexity of the project.
- Fiber Cement Siding: Fiber cement siding is known for its strength, versatility, and resistance to rot and insects. The installation process for fiber cement siding can be more time-consuming compared to vinyl due to its heavier weight and the need for precision cutting. Depending on the experience and skill level of the installer, fiber cement siding installation can take anywhere from 2-4 weeks.
- Wood Siding: Wood siding provides a natural and traditional look to your house. The installation time for wood siding can vary depending on the type of wood, the size of the planks, and the desired finish. Installing wood siding typically involves more labor-intensive steps, such as sealing and staining. On average, wood siding installation can take 2-4 weeks or longer, depending on the complexity of the project.
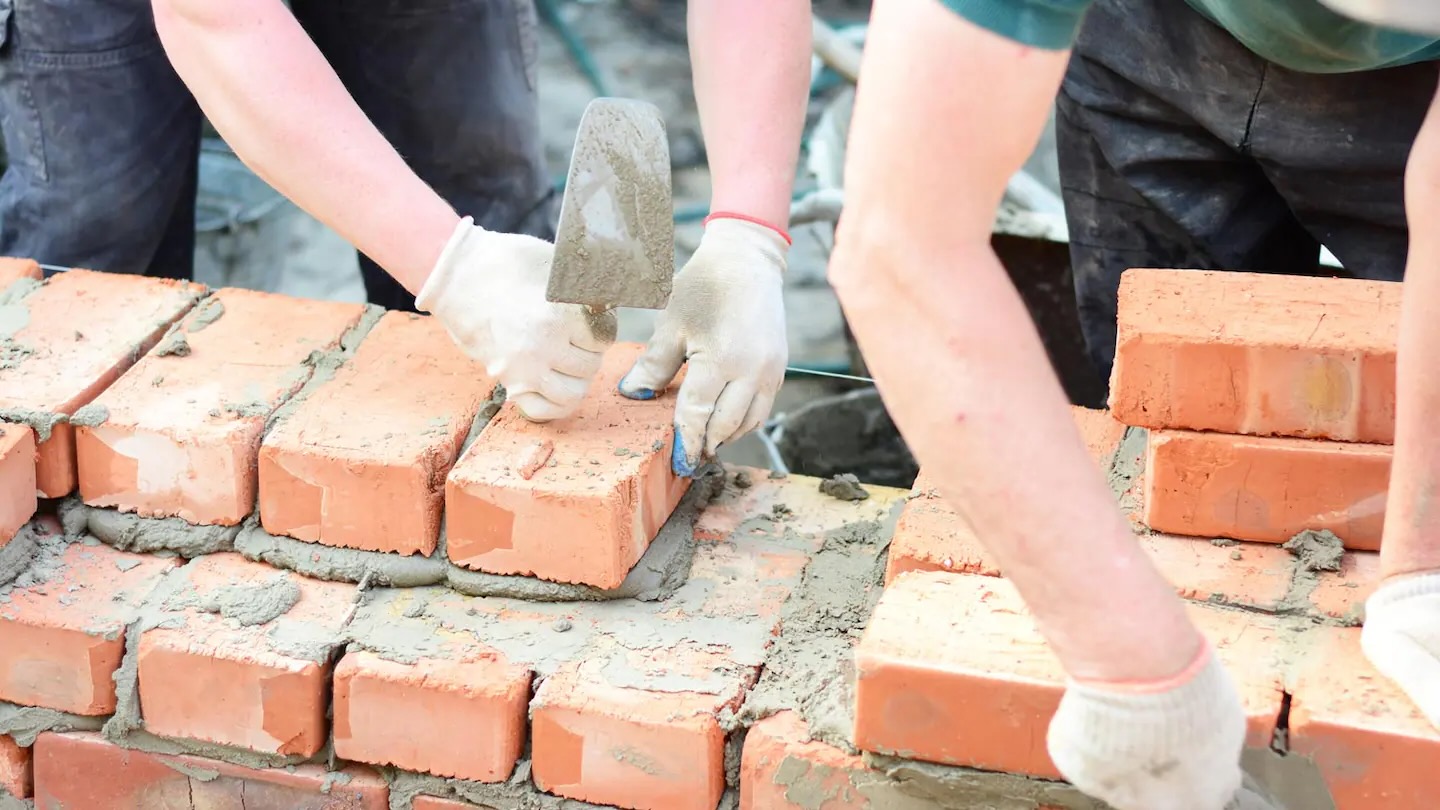
- Brick Veneer Siding: Brick veneer siding offers a classic and elegant appearance to your house. The installation of brick veneer siding requires expertise and precision, as it involves creating a structural support system and adhering the bricks to the surface. Due to its complexity, brick veneer siding installation can take 4-6 weeks or more, depending on the size and intricacy of the design.
- Natural Stone Siding: Natural stone siding creates a luxurious and timeless look and is known for its durability. The installation of natural stone siding can be a labor-intensive and time-consuming process. Each stone needs to be carefully installed and secured, which can take several weeks or even months, depending on the size and complexity of the project.
These are just a few examples of the various siding materials available. It’s important to consult with professionals and consider your specific needs, budget, and timeline when choosing the right siding material for your new house. Remember that the installation time can also be influenced by factors such as the size of the house, additional features, and the experience of the installers.
Now that we have explored the different siding materials and their estimated installation times, let’s discuss the advantages and considerations of hiring professionals versus DIY installation.
When installing siding on a new house, the time it takes can vary depending on the size of the house, the type of siding, and the experience of the installation crew. On average, it can take anywhere from 2 to 3 weeks for the installation process.
Hiring Professionals vs. DIY Installation
When it comes to installing siding on a new house, you have the option to hire professionals or take on the project as a DIY endeavor. Both approaches have their advantages and considerations, which you should carefully evaluate before making a decision. Here are some key points to consider when weighing the pros and cons of hiring professionals versus DIY installation:
- Experience and Expertise: Professionals bring years of experience and expertise to the table. They have the knowledge and skills to handle various siding materials, navigate potential challenges, and ensure a high-quality installation. DIY installation, on the other hand, requires you to invest time in learning the installation techniques and may involve a learning curve.
- Time and Convenience: Hiring professionals can save you a significant amount of time and effort. They are equipped with the necessary tools and equipment, have a team to help with the installation, and can complete the job efficiently. DIY installation, while potentially more time-consuming, allows you to work at your own pace and can be a rewarding experience for those who enjoy hands-on projects.
- Safety Considerations: Siding installation can involve working at heights and handling power tools. Professionals are trained to prioritize safety and take necessary precautions to protect themselves and your property. If you are not comfortable with heights or lack experience with power tools, hiring professionals is the safer option.
- Warranty and Insurance: Reputable siding installation professionals often provide warranties on their workmanship and may have liability insurance in case of accidents or damages. These protections provide peace of mind and ensure that any issues that arise after installation can be addressed. DIY installations typically do not come with these warranties or insurance coverage.
- Cost Considerations: Cost can be a significant factor in your decision-making process. Hiring professionals typically involves labor costs, which can vary based on the size of the project and the region you are located in. DIY installation can save you money on labor but may require upfront investments in tools, equipment, and materials. It’s important to carefully assess your budget and compare the costs associated with each option.
- Personal Skill and Time Availability: Consider your own skill level and the time you can dedicate to the project. If you have previous experience with construction projects and feel confident in your abilities, DIY installation may be a viable option. However, if you lack the necessary skills or have a busy schedule, hiring professionals ensures a higher chance of a successful and timely installation.
Ultimately, the decision between hiring professionals and DIY installation depends on your individual circumstances, budget, and personal preferences. Consider the advantages and considerations discussed above, and weigh them against your specific needs and capabilities.
Now that you have a better understanding of the hiring professionals versus DIY installation debate, let’s move on to the step-by-step guide for installing siding on a new house.
Read more: How Long Does New Construction Take
Step-by-Step Guide to Installing Siding on a New House
Installing siding on a new house can be a rewarding and fulfilling project. While the specific steps may vary depending on the type of siding material you choose, the general framework remains similar. Here is a step-by-step guide to help you navigate the process:
- Preparation: Ensure that the surface of the house is clean, dry, and free of any obstacles. Remove any existing siding, debris, or loose paint. Inspect and repair the sheathing and framing if needed.
- Install the Vapor Barrier: Before installing the siding, apply a moisture-resistant barrier to protect against water infiltration. This helps to maintain the integrity of the structure and prolong the life of the siding.
- Start with the Corner Pieces: Begin by installing the corner pieces of the siding. These pieces provide structure and guide the installation process. Ensure that they are securely fastened and properly aligned.
- Install the Starter Strip: Nail a starter strip along the bottom of the wall, ensuring that it is level and straight. This strip provides a secure base for the first row of siding panels.
- Start Siding Installation: Begin attaching siding panels to the house, starting from the bottom and working your way up. Follow the manufacturer’s instructions for the specific installation method and spacing requirements.
- Properly Align and Secure: Ensure each siding panel is properly aligned and secured with nails or fasteners. Use a level to maintain a straight and even installation. Leave a small gap between each panel to allow for expansion and contraction due to temperature changes.
- Cut and Trim as Needed: Use a saw and other appropriate tools to cut the siding panels as needed to fit around windows, doors, corners, and other architectural features. Take your time to achieve precise and clean cuts.
- Continue Installation: Repeat the siding installation process row by row, ensuring that each panel is securely fastened and properly aligned. Take breaks and step back occasionally to assess the overall appearance and make any necessary adjustments.
- Complete the Top Row: Install the final row of siding panels at the top of the wall, making sure they are properly aligned and securely fastened. Use trim and flashing as needed to provide a finished look and protect against water intrusion.
- Inspect and Clean: Once the siding installation is complete, thoroughly inspect the entire installation for any imperfections or loose panels. Make necessary adjustments and clean the siding to remove any debris or marks.
Remember, this is a general guide, and the specific steps may vary depending on the type of siding material you choose. Always refer to the manufacturer’s instructions and guidelines for the proper installation method and best practices.
Now that you have a better understanding of the step-by-step process, let’s explore some tips for efficient siding installation.
Tips for Efficient Siding Installation
Efficient siding installation not only saves time but also ensures a professional-looking and long-lasting result. To help make your siding installation process more efficient, consider the following tips:
- Read and Understand the Instructions: Before starting the installation, thoroughly read and understand the manufacturer’s instructions for your specific siding material. This will help you familiarize yourself with the installation process, recommended tools, and any specific requirements.
- Prepare and Organize Tools and Materials: Gather and organize all the necessary tools and materials before starting the installation. This includes siding panels, trim pieces, fasteners, and any specialized tools required for cutting and securing the siding. Having everything readily available will minimize interruptions and save time.
- Work in a Systematic Way: Start from one end of the wall and work your way across in a systematic manner. This will help maintain a consistent installation pattern and ensure that each panel is properly aligned and secured. Avoid jumping around randomly, as it can lead to confusion and mistakes.
- Use Proper Safety Equipment: Prioritize safety by wearing protective gear such as gloves, safety glasses, and a dust mask when working with siding materials. If working at heights, use appropriate safety equipment like a sturdy ladder, scaffolding, or safety harnesses.
- Double-Check Measurements: Accurate measurements are crucial for a seamless siding installation. Double-check your measurements before cutting siding panels to avoid wastage or incorrect fits. It’s always better to measure twice and cut once.
- Make Precise and Clean Cuts: Use the appropriate tools and techniques to make precise and clean cuts on siding panels. Straight and accurate cuts contribute to a professional finish. Take your time, and don’t rush through the cutting process.
- Check Alignment Regularly: Regularly check the alignment and levelness of the siding installation. Using a level or a straight edge, ensure that each row is straight and even. Small adjustments during the installation process can save time later on when correcting crooked panels.
- Seal Joints and Gaps: Pay attention to sealing joints and gaps between siding panels to prevent water penetration. Apply caulk or weatherproof sealant to ensure a tight and secure installation, especially around windows, doors, and corners.
- Maintain a Clean and Organized Work Area: Keep your work area clean and organized throughout the installation process. This will not only save time searching for tools but also prevent accidents or damage to the siding materials.
- Seek Professional Help When Needed: If you encounter challenges or feel overwhelmed during the siding installation, don’t hesitate to seek professional help. Hiring experienced contractors can ensure a smooth and efficient installation process.
By following these tips, you can streamline your siding installation process, save time, and achieve a professional-looking result. Remember, attention to detail and patience are key elements for an efficient and successful siding installation.
With these tips in mind, you are well-equipped to embark on your siding installation project. As you progress, remember to take breaks when needed, step back to assess the overall appearance, and don’t hesitate to ask for assistance or clarification if something is unclear.
As a recap, we discussed the factors that affect siding installation time, the importance of preparation and planning, the different types of siding materials and their installation times, the pros and cons of hiring professionals versus DIY installation, a step-by-step guide to installing siding, and tips for a more efficient installation process.
Now you’re ready to give your new house a fresh and visually appealing exterior with a high-quality siding installation.
Conclusion
Installing siding on a new house is an important step in enhancing its appearance, protecting it from the elements, and improving energy efficiency. While the time it takes to complete a siding installation can vary, understanding the factors that affect the duration and following proper preparation and planning can help streamline the process.
Factors such as the size of the house, the type of siding material chosen, the experience level of the installers, and the availability of tools and equipment can all influence the overall installation time. By carefully considering these factors, you can set realistic expectations and effectively manage your siding installation project.
Whether you decide to hire professionals or embark on a DIY installation, it is important to weigh the advantages and considerations of each option. Hiring professionals can save time and ensure a high-quality installation, while DIY installation offers a more hands-on experience and potential cost savings. Consider your skill level, time availability, and budget when making this decision.
Following a step-by-step guide and implementing tips for an efficient installation process can help ensure a successful outcome. From properly preparing the surface and selecting the right siding material to installing it with precision and attention to detail, each step contributes to a seamless and visually appealing result.
Remember to accurately measure, make clean cuts, check alignment regularly, and seal joints and gaps to maintain a professional finish. Prioritizing safety, keeping a clean work area, and seeking professional help when needed are also important considerations in achieving an efficient and successful siding installation.
By understanding the factors involved, preparing adequately, selecting the right siding material, and following proper installation techniques, you can achieve a beautiful and durable exterior for your new house.
Now that you have the knowledge and insights necessary, it’s time to embark on your siding installation journey. With careful planning, patience, and attention to detail, you’ll be able to transform the look and protection of your new house, creating a visually appealing and long-lasting result that you can enjoy for years to come.
Frequently Asked Questions about How Long Does It Take To Install Siding On A New House
Was this page helpful?
At Storables.com, we guarantee accurate and reliable information. Our content, validated by Expert Board Contributors, is crafted following stringent Editorial Policies. We're committed to providing you with well-researched, expert-backed insights for all your informational needs.


0 thoughts on “How Long Does It Take To Install Siding On A New House”