Home>Articles>How Long Does It Take To Install A Ceiling Fan
Articles
How Long Does It Take To Install A Ceiling Fan
Modified: August 28, 2024
Discover how long it takes to install a ceiling fan with our informative articles. Get expert tips and tricks for a quick and efficient installation process.
(Many of the links in this article redirect to a specific reviewed product. Your purchase of these products through affiliate links helps to generate commission for Storables.com, at no extra cost. Learn more)
Introduction
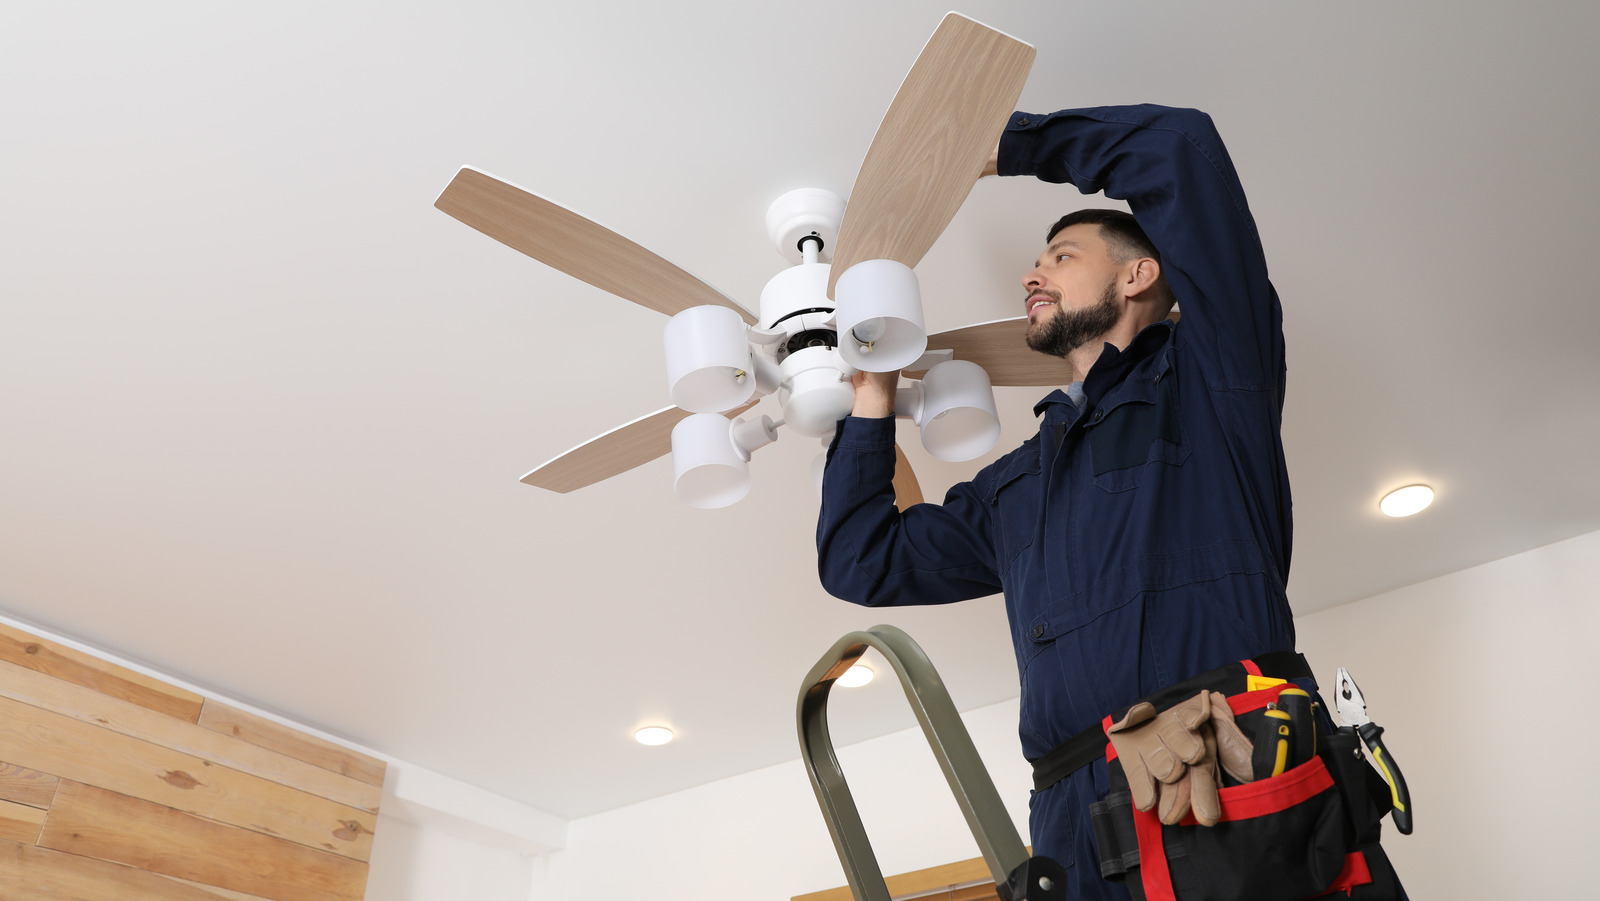
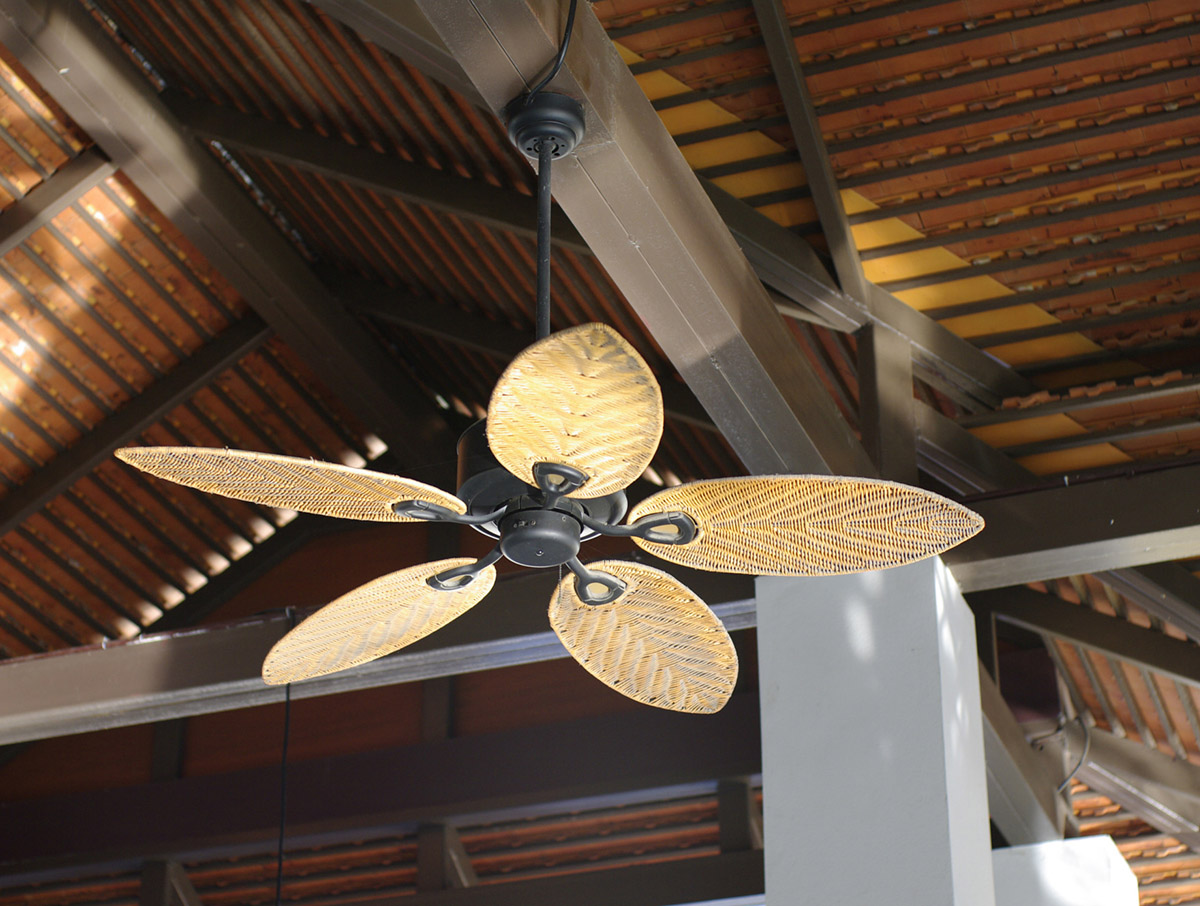
Installing a ceiling fan can be a great way to improve the comfort and functionality of any room. Not only do ceiling fans provide a cooling breeze in the summer months, but they can also help to circulate warm air during the winter, making your home more energy efficient. However, if you’ve never installed a ceiling fan before, you may be wondering how long it takes to complete the installation process.
The time it takes to install a ceiling fan can vary depending on various factors. In this article, we will explore these factors and provide you with a comprehensive understanding of the installation process. Whether you decide to tackle the installation yourself or hire a professional, understanding the time involved can help you plan accordingly and ensure a successful installation.
Factors Affecting Installation Time
Several factors can impact the time it takes to install a ceiling fan. These factors include the ceiling height, wiring and electrical connections, the type of mounting required, and the existing condition of the ceiling. Let’s take a closer look at each of these factors.
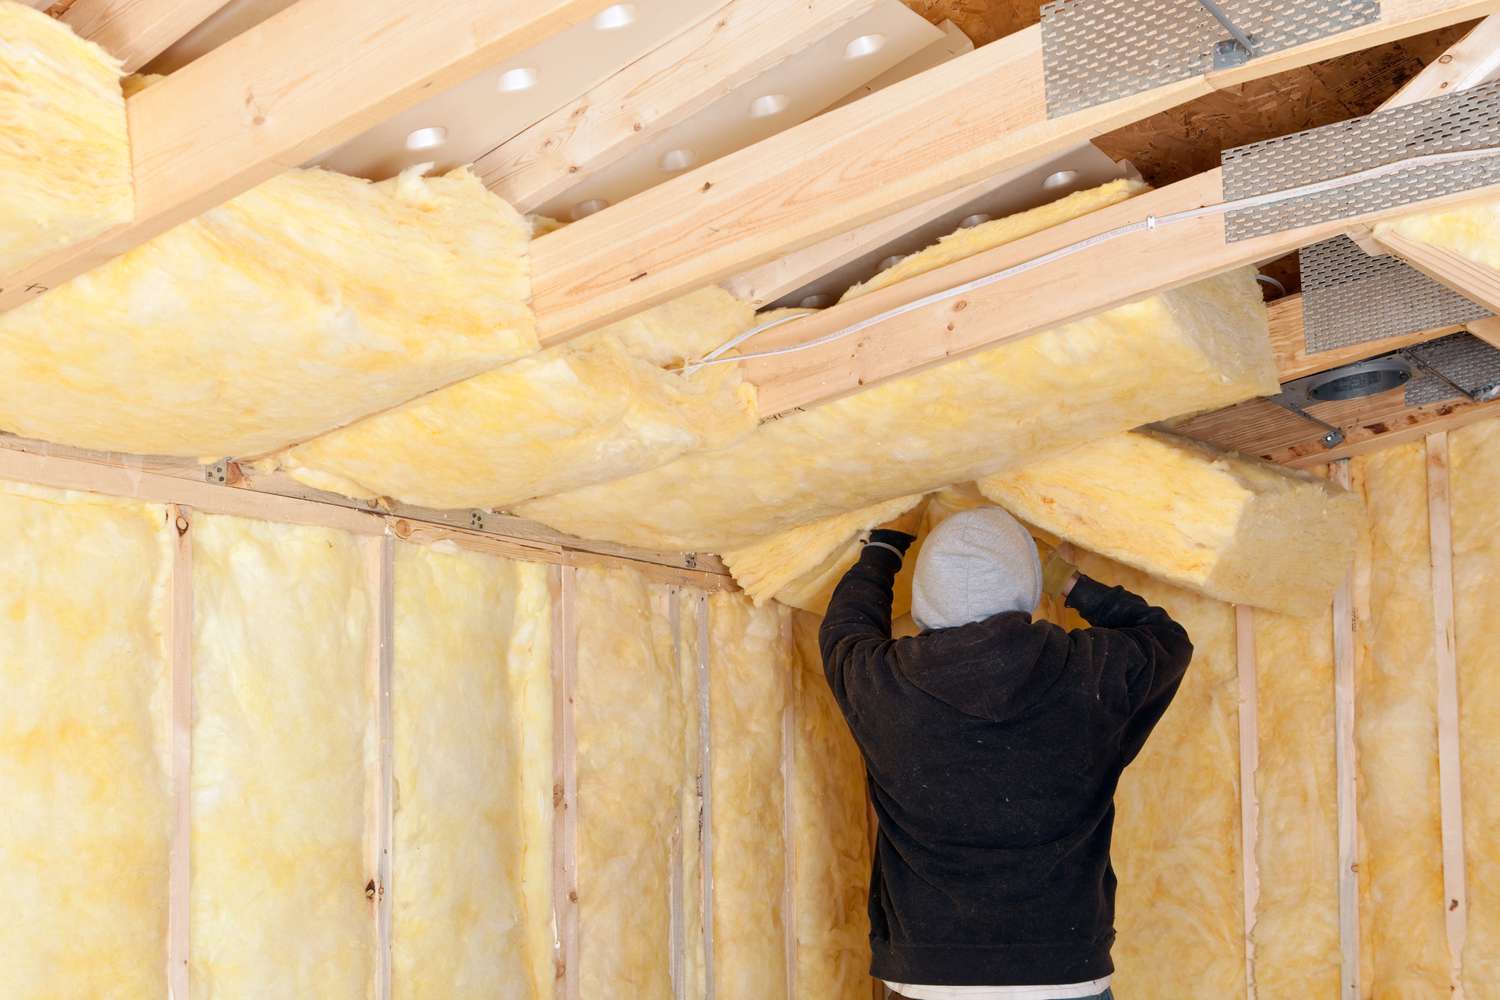
Ceiling Height: The height of the ceiling can significantly impact the installation time. If the ceiling is higher than average, additional equipment such as ladders or scaffolding may be required, resulting in a longer installation process.
Wiring and Electrical Connections: The complexity of the wiring and electrical connections in your home can affect the installation time. If you have existing wiring or electrical infrastructure in place, the installation process may be faster. However, if additional electrical work is needed to accommodate the ceiling fan, such as installing a new junction box or running new wires, it may take longer.
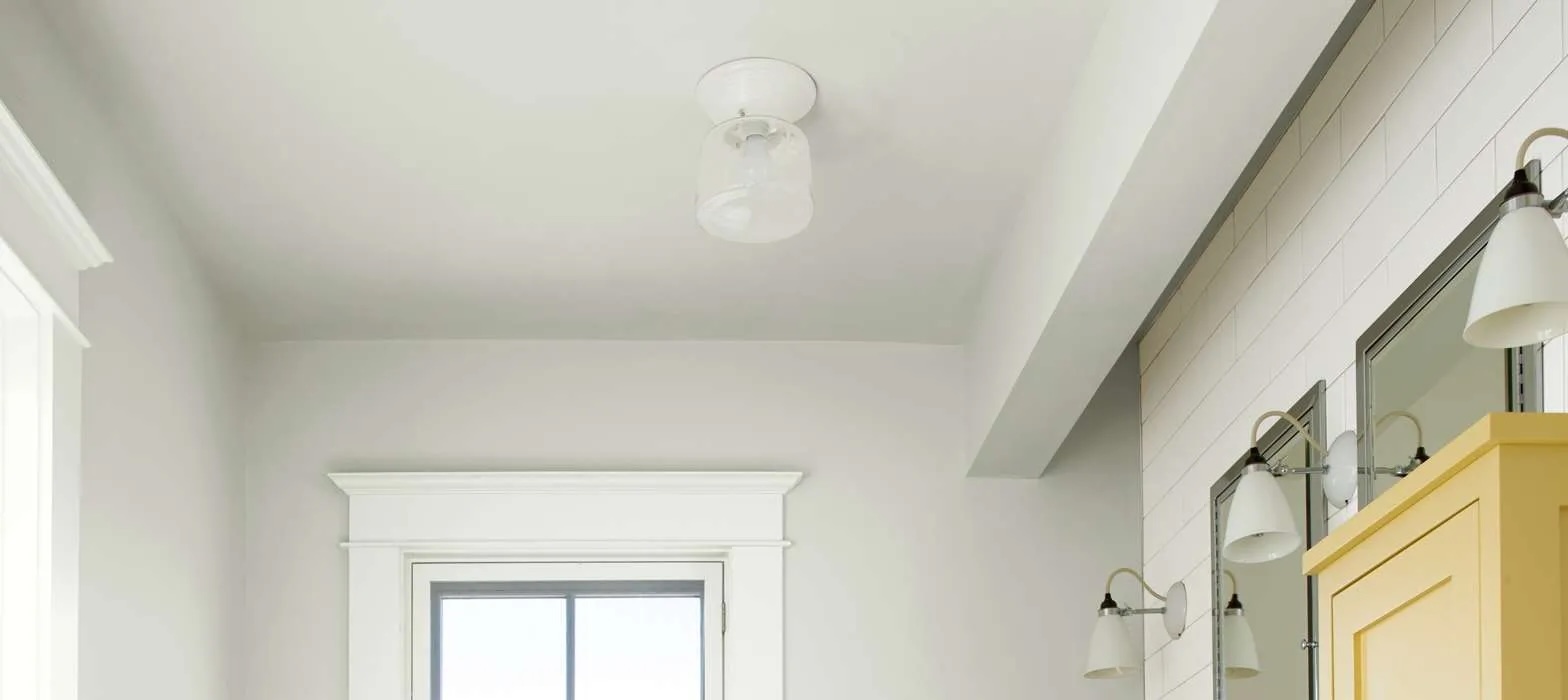
Ceiling Fan Mounting Type: The type of mounting required for the ceiling fan can also impact the installation time. There are typically two types of mounts: standard mounts and angled mounts. Standard mounts are installed on flat ceilings, while angled mounts are used for sloped or vaulted ceilings. Installing an angled mount may require additional time and effort compared to a standard mount.
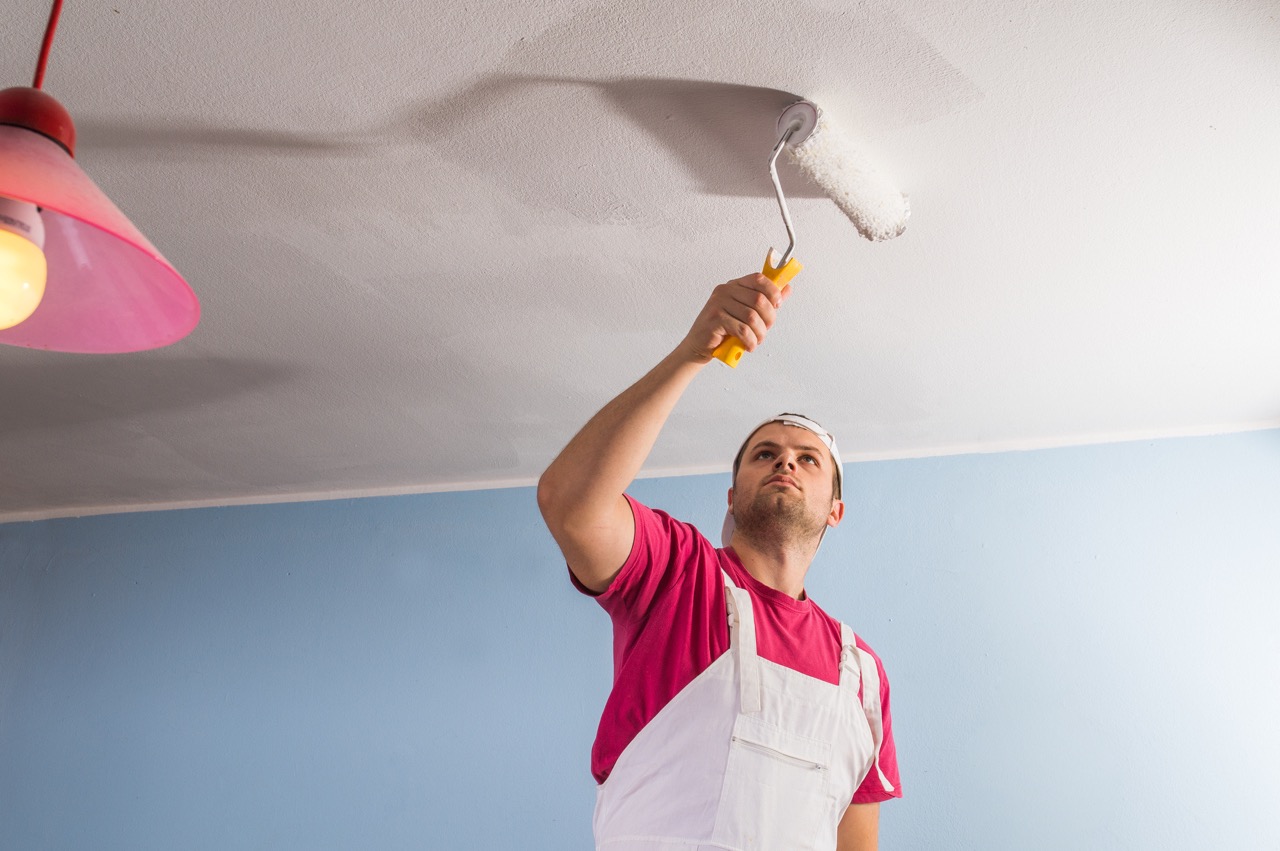
Existing Ceiling Conditions: The condition of your existing ceiling can also affect installation time. For example, if your ceiling has a popcorn or textured finish, additional time may be required to remove or prepare the surface before installing the fan. Similarly, if the ceiling is uneven or requires reinforcement, it may take longer to ensure a secure installation.
Tools and Equipment Needed for Installation
Key Takeaways:
- Installing a ceiling fan involves various factors such as ceiling height, wiring complexity, and mounting type, which can impact the installation time. Proper planning and consideration of these factors are essential for a successful installation.
- Whether opting for DIY or professional installation, allocating enough time and prioritizing safety are crucial. DIY installation allows for more control but may take longer, while professional installation offers expertise and efficiency for a quicker process.
Read more: How Install Ceiling Fan
Factors Affecting Installation Time
Installing a ceiling fan involves several factors that can impact the overall time it takes to complete the installation process. These factors include the ceiling height, wiring and electrical connections, ceiling fan mounting type, and existing ceiling conditions. Let’s explore each of these factors in more detail.
Ceiling Height: The height of the ceiling is an important consideration when installing a ceiling fan. Standard ceiling heights typically range from 8 to 10 feet. If your ceiling is higher than the average height, additional equipment such as ladders or scaffolding may be required, which can extend the installation time. It’s important to have the necessary equipment and assistance to safely reach and install the fan at higher ceiling heights.
Wiring and Electrical Connections: The complexity of the electrical connections in your home can affect the overall installation time. If you have existing wiring and electrical infrastructure in place, the installation process may be relatively straightforward. However, if additional electrical work is needed to accommodate the ceiling fan, such as installing a new junction box or running new wires, it may add significant time to the installation process. It is crucial to follow electrical safety guidelines and consult a professional electrician if necessary.
Ceiling Fan Mounting Type: The type of mounting required for the ceiling fan can affect the installation time as well. There are typically two types of mounts: standard mounts and angled mounts. Standard mounts are used for flat ceilings, while angled mounts are designed for sloped or vaulted ceilings. Installing an angled mount may require additional time and effort compared to a standard mount, as it requires precise measurements and adjustments to ensure a secure installation.
Existing Ceiling Conditions: The condition of your existing ceiling can also impact the installation time. For example, if your ceiling has a popcorn or textured finish, additional time may be required to remove or prepare the surface before installing the fan. Similarly, if the ceiling is uneven or requires reinforcement, it may take longer to ensure a stable and secure installation. It’s important to assess the condition of your ceiling before beginning the installation process to determine any necessary preparations or repairs.
Considering these factors can help you estimate the time required for installing a ceiling fan. It’s important to plan accordingly, allocate enough time for the installation, and have the necessary tools and equipment on hand. If you’re unsure about any aspect of the installation process, it’s recommended to consult a professional electrician or contractor who can ensure a safe and efficient installation.
Tools and Equipment Needed for Installation
Before embarking on the installation of a ceiling fan, it’s essential to gather the necessary tools and equipment. Having the right tools at hand will not only make the installation process smoother but also ensure a safe and efficient installation. Here are some of the tools and equipment you may need for installing a ceiling fan:
1. Screwdrivers: A set of screwdrivers, including both Phillips and flat-head screwdrivers, will be required for removing screws and assembling various parts of the ceiling fan.
2. Pliers: Pliers are handy for gripping, bending, and twisting wires during the electrical connections.
3. Wire Cutters/Strippers: Wire cutters/strippers enable you to cut and strip the insulation off electrical wires, allowing for proper connections.
4. Voltage Tester: A voltage tester is essential for checking whether the power to the ceiling fan is turned off before starting any electrical work. It ensures safety during the installation process.
5. Ladder or Step Stool: Depending on the height of the ceiling, a ladder or step stool may be necessary to reach the installation area safely.
6. Measuring Tape: A measuring tape is essential for accurately determining the placement of the ceiling fan, ensuring proper clearance from walls, and measuring the distance between electrical components.
7. Stud Finder: A stud finder helps locate ceiling joists or support beams to ensure a secure mounting of the ceiling fan.
8. Wire Connectors: Wire connectors, such as wire nuts, are needed to connect the wires securely and ensure proper electrical connections. These connectors come in different sizes, so make sure to have a variety on hand.
9. Electrical Tape: Electrical tape is used to insulate and secure wire connections, providing an added layer of protection.
10. Adjustable Wrench: An adjustable wrench is handy for tightening and loosening nuts and bolts during the installation process.
11. Ceiling Fan Mounting Kit: Depending on the specific ceiling fan model, a mounting kit may be necessary, which typically includes the mounting bracket, screws, and any additional hardware required for installation.
12. Safety Gear: It’s important to prioritize safety during the installation process. Consider wearing safety goggles, gloves, and a hard hat to protect yourself from potential hazards.
Having these tools and equipment readily available before starting the ceiling fan installation will save time and ensure a smoother process. Always follow the manufacturer’s instructions and safety guidelines provided with your ceiling fan to ensure a successful and safe installation. If you’re unsure about any aspect of the installation process, don’t hesitate to consult a professional for assistance.
When installing a ceiling fan, make sure to turn off the power at the circuit breaker before starting. This will ensure your safety while working with electrical components.
Steps for Installing a Ceiling Fan
Installing a ceiling fan may seem like a complex task, but by following a systematic approach, you can complete the installation process successfully. Here are the steps you need to follow for installing a ceiling fan:
Step 1: Turn off Power
Before starting any electrical work, it’s crucial to turn off the power to the area where the ceiling fan will be installed. Locate the circuit breaker panel and switch off the corresponding breaker. Use a voltage tester to verify that there is no power running to the area.
Step 2: Assemble the Fan
Refer to the manufacturer’s instructions and assemble all the components of the ceiling fan. This typically involves attaching the fan blades to the motor housing and securing them with screws or clips. Make sure to follow the instructions carefully to ensure proper alignment and secure attachment.
Step 3: Prepare the Ceiling
Clear the area of any furniture or objects beneath the installation spot to ensure a safe and unobstructed workspace. Place drop cloths or plastic sheets on the floor to protect it from any debris or dust that may be produced during the installation process.
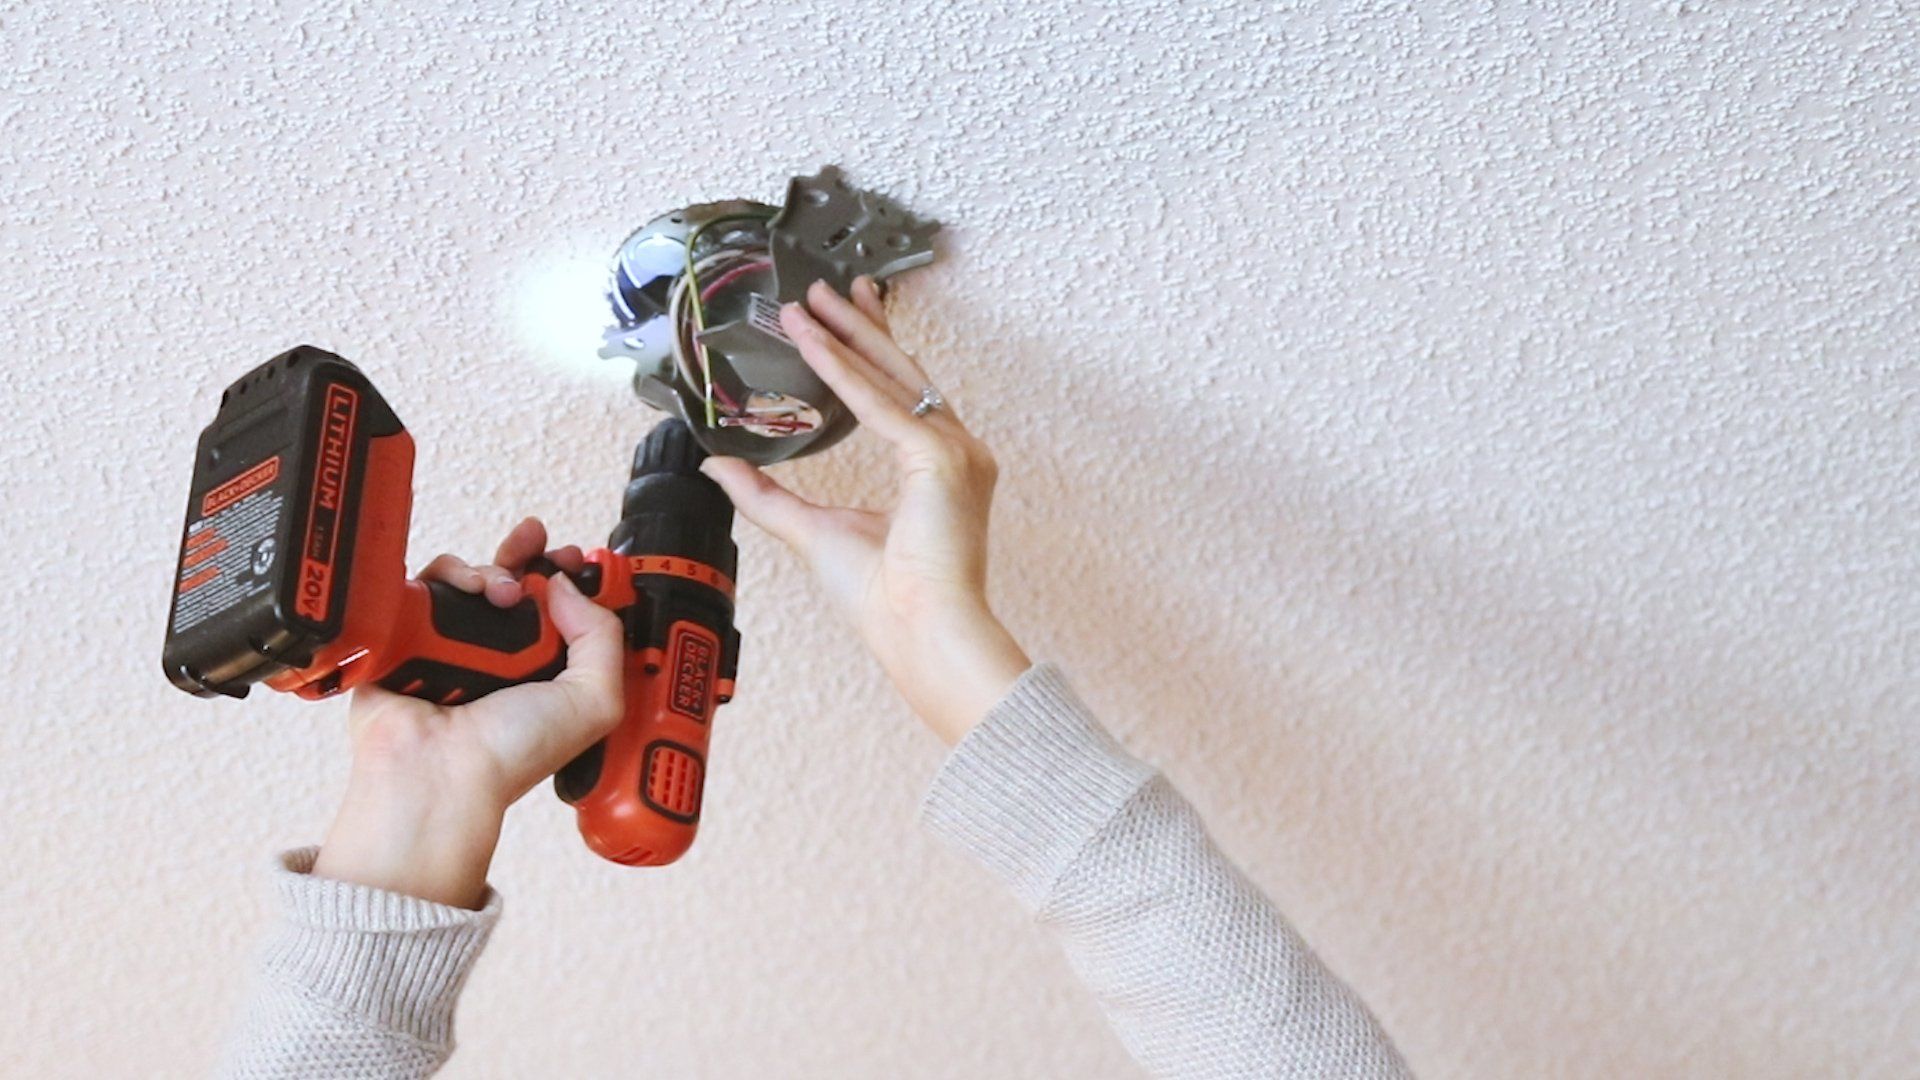
Step 4: Install the Mounting Bracket
Attach the mounting bracket to the ceiling using the provided screws and secure it to a ceiling joist or support beam. Use a stud finder to locate the joist, as this will provide the necessary support for the weight of the ceiling fan. Ensure that the bracket is level before tightening the screws.
Step 5: Install the Fan Housing
Lift the fan housing and slide it onto the mounting bracket, aligning the holes on the housing with the corresponding holes on the bracket. Secure the housing to the bracket using the screws provided. Make sure the housing is properly seated and stable.
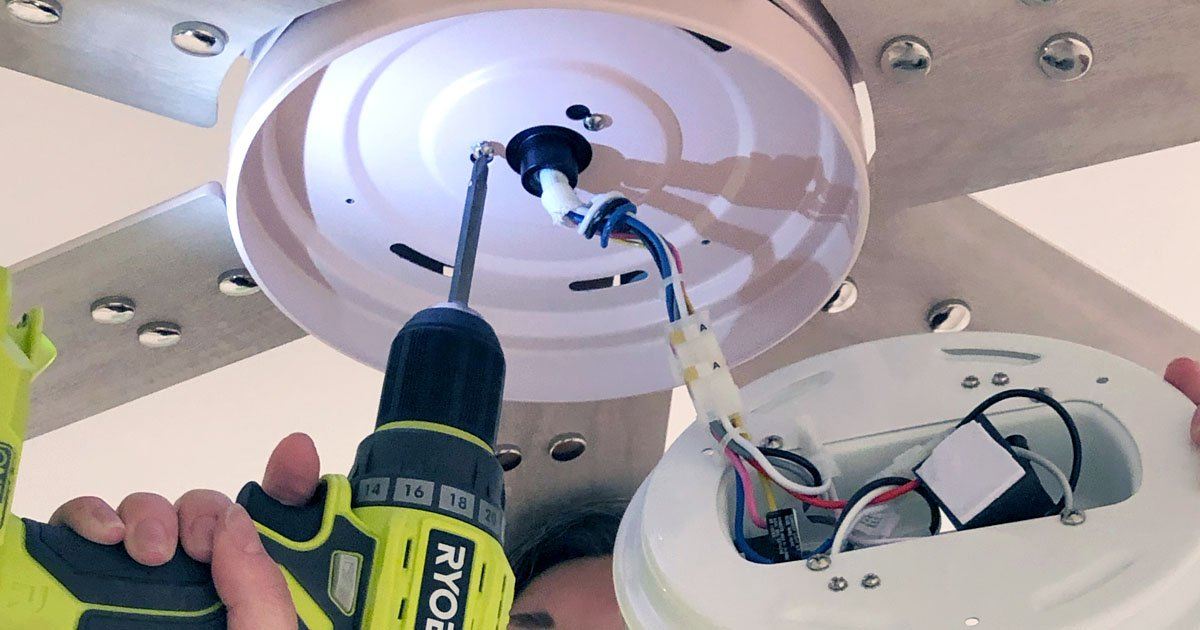
Step 6: Connect Wiring and Electrical Connections
With the fan housing installed, connect the electrical wires from the fan to the corresponding wires in the ceiling. Match the wire colors (black to black, white to white, and green/copper to green/copper) and use wire connectors to secure the connections. Ensure that the connections are tight and well-insulated with electrical tape.
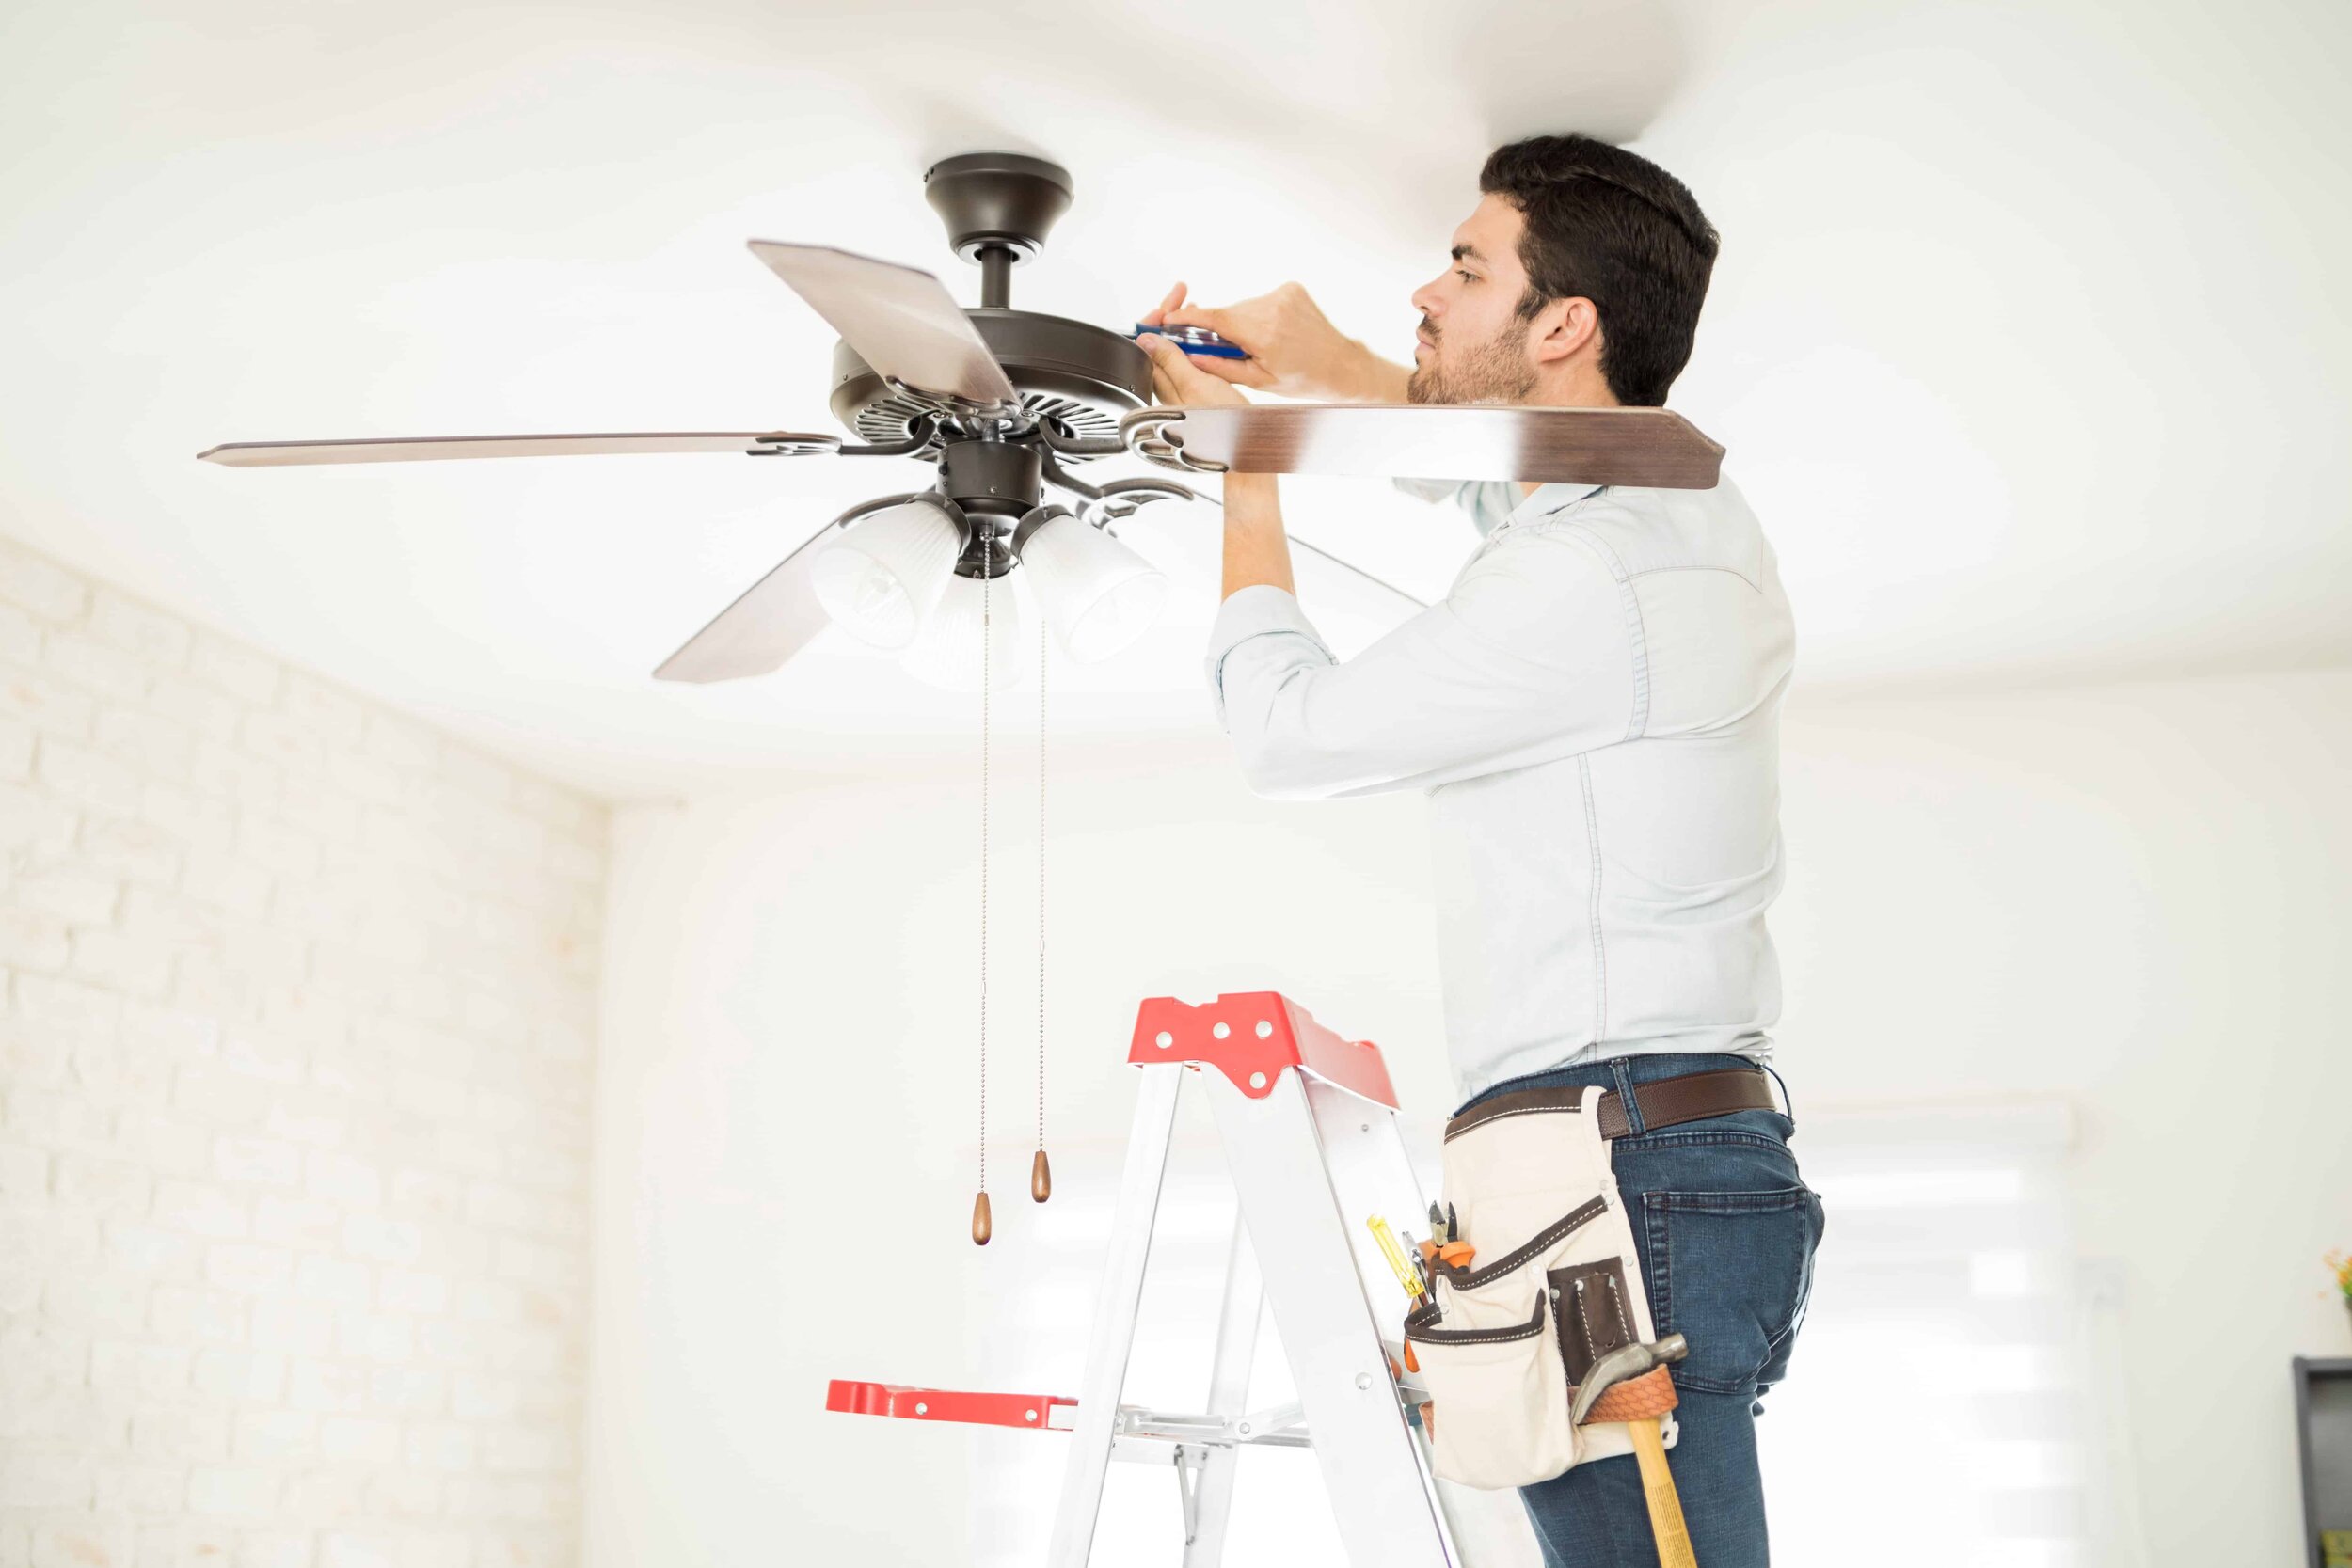
Step 7: Attach Fan Blades
Attach the fan blades to the motor housing, following the manufacturer’s instructions. Each blade is usually secured with screws or clips. Tighten the screws firmly but avoid over-tightening, as this could lead to imbalance or motor strain.
Step 8: Install the Light Kit (if applicable)
If your ceiling fan has a light kit, follow the manufacturer’s instructions to install it. This typically involves attaching the light kit to the fan housing and connecting the wiring. Make sure the light kit is secure and aligned properly.
Step 9: Confirm Fan Stability
Before turning on the power, double-check all the connections and ensure that the fan is stable and secure. Give the fan a gentle shake to ensure it does not wobble or move excessively. If needed, tighten any loose screws or attachments to improve stability.
Step 10: Turn On Power and Test
Once you are confident that everything is properly installed and secure, turn on the power at the circuit breaker. Test the fan and light functions to ensure they are working correctly. Adjust the fan speed and check for any unusual noises or vibrations. If any issues are detected, turn off the power and troubleshoot the problem before continuing use.
By following these step-by-step instructions, you can successfully install a ceiling fan in your chosen location. Remember to always follow the manufacturer’s guidelines and seek professional assistance if you are unsure about any aspect of the installation process. Enjoy the comfort and functionality that a ceiling fan brings to your space!
Time Estimates for Ceiling Fan Installation
When it comes to installing a ceiling fan, the time required can vary depending on several factors. These factors include the complexity of the installation, the installer’s level of experience, and whether you choose to install the fan yourself or hire a professional. Let’s explore the typical installation time range and the differences between DIY and professional installation.
Typical Installation Time Range:
On average, a ceiling fan installation can take anywhere from 1 to 4 hours to complete. This time range includes the process of assembling the fan, preparing the ceiling and electrical connections, and mounting the fan in place. The specific time needed for installation may vary based on individual circumstances, such as the complexity of the wiring and the type of ceiling mount required.
DIY vs. Professional Installation:
Deciding whether to install a ceiling fan yourself or hire a professional can have a significant impact on the installation time and the overall process. Let’s explore the differences between the two options:
DIY Installation:
If you have some experience with basic electrical work and feel comfortable working with tools, installing a ceiling fan as a DIY project can be a viable option. DIY installation allows you to have more control over the process and potentially save money on installation costs. However, it’s important to consider that DIY installation may take longer than professional installation, especially if you’re not familiar with the process. You may need extra time to research instructions, troubleshoot any issues, and ensure proper electrical connections.
While it is possible to successfully install a ceiling fan yourself, it’s essential to prioritize safety and follow all necessary precautions. Make sure to turn off the power before starting any electrical work, read and follow the manufacturer’s instructions carefully, and consult a professional if you’re unsure about any aspect of the installation.
Professional Installation:
Hiring a professional electrician or handyman to install your ceiling fan can provide several advantages. Professionals have the knowledge, experience, and tools necessary to complete the installation efficiently and effectively. They are well-versed in electrical work and can ensure that all wiring and connections are done correctly and safely.
Professional installation generally takes less time compared to DIY installation since the installer is experienced and proficient in carrying out the necessary tasks. Additionally, professionals can offer valuable insights and recommendations, ensuring that the fan is installed in the most optimal location and providing the best airflow for the room.
It’s important to note that hiring a professional will incur additional costs beyond the price of the ceiling fan itself. However, if you are uncertain about your own abilities or want to ensure a hassle-free and expert installation, professional help is worth considering.
Regardless of whether you choose the DIY route or opt for professional installation, it’s essential to allocate enough time for the project and carefully follow all safety precautions. By doing so, you can enjoy the benefits of a properly installed ceiling fan in your space.
Read more: How Long Does It Take To Install Blinds
Conclusion
Installing a ceiling fan can be a rewarding project that adds comfort and functionality to any room. While the time required for installation can vary depending on various factors like ceiling height, wiring complexity, mounting type, and ceiling conditions, following a step-by-step approach can ensure a successful installation.
By turning off the power, assembling the fan, preparing the ceiling, installing the mounting bracket and fan housing, connecting the wiring, attaching the fan blades, and optionally installing a light kit, you can complete the installation process effectively. Taking the time to confirm fan stability before turning on the power is crucial for safety.
When estimating the time required for installation, it’s important to consider whether you will be tackling the project as a DIY endeavor or hiring a professional. DIY installations may take longer as you familiarize yourself with the process and overcome any challenges along the way. On the other hand, professional installation offers the benefit of expertise and efficiency, resulting in a quicker installation.
Regardless of the installation approach you choose, always prioritize safety and follow manufacturer instructions and guidelines. If you’re unsure about any aspect of the installation process, don’t hesitate to seek professional assistance to ensure a safe and reliable installation.
Now that you have a comprehensive understanding of the factors affecting installation time, the tools needed, the step-by-step process, and the time estimates for DIY versus professional installation, you can confidently embark on your ceiling fan installation journey. Enjoy the comfort, energy efficiency, and improved airflow that a ceiling fan brings to your space!
Frequently Asked Questions about How Long Does It Take To Install A Ceiling Fan
Was this page helpful?
At Storables.com, we guarantee accurate and reliable information. Our content, validated by Expert Board Contributors, is crafted following stringent Editorial Policies. We're committed to providing you with well-researched, expert-backed insights for all your informational needs.


0 thoughts on “How Long Does It Take To Install A Ceiling Fan”