Home>Articles>How To Install Tongue-and-Groove Siding For A Rustic Look
Articles
How To Install Tongue-and-Groove Siding For A Rustic Look
Modified: August 27, 2024
Learn how to install tongue-and-groove siding articles for a rustic look. Step-by-step guide and tips for achieving the perfect rustic aesthetic with tongue-and-groove siding installation.
(Many of the links in this article redirect to a specific reviewed product. Your purchase of these products through affiliate links helps to generate commission for Storables.com, at no extra cost. Learn more)
Introduction
Welcome to our comprehensive guide on how to install tongue-and-groove siding for a rustic look! If you’re interested in adding character and charm to your home’s exterior, tongue-and-groove siding is an excellent choice. This type of siding not only offers a visually appealing aesthetic but also provides durability and long-lasting protection for your walls.
Whether you’re planning to install tongue-and-groove siding on a new construction project or considering an upgrade for your existing home, we’ve got you covered. In this step-by-step guide, we’ll walk you through the entire installation process, from preparing your materials and tools to applying a protective finish.
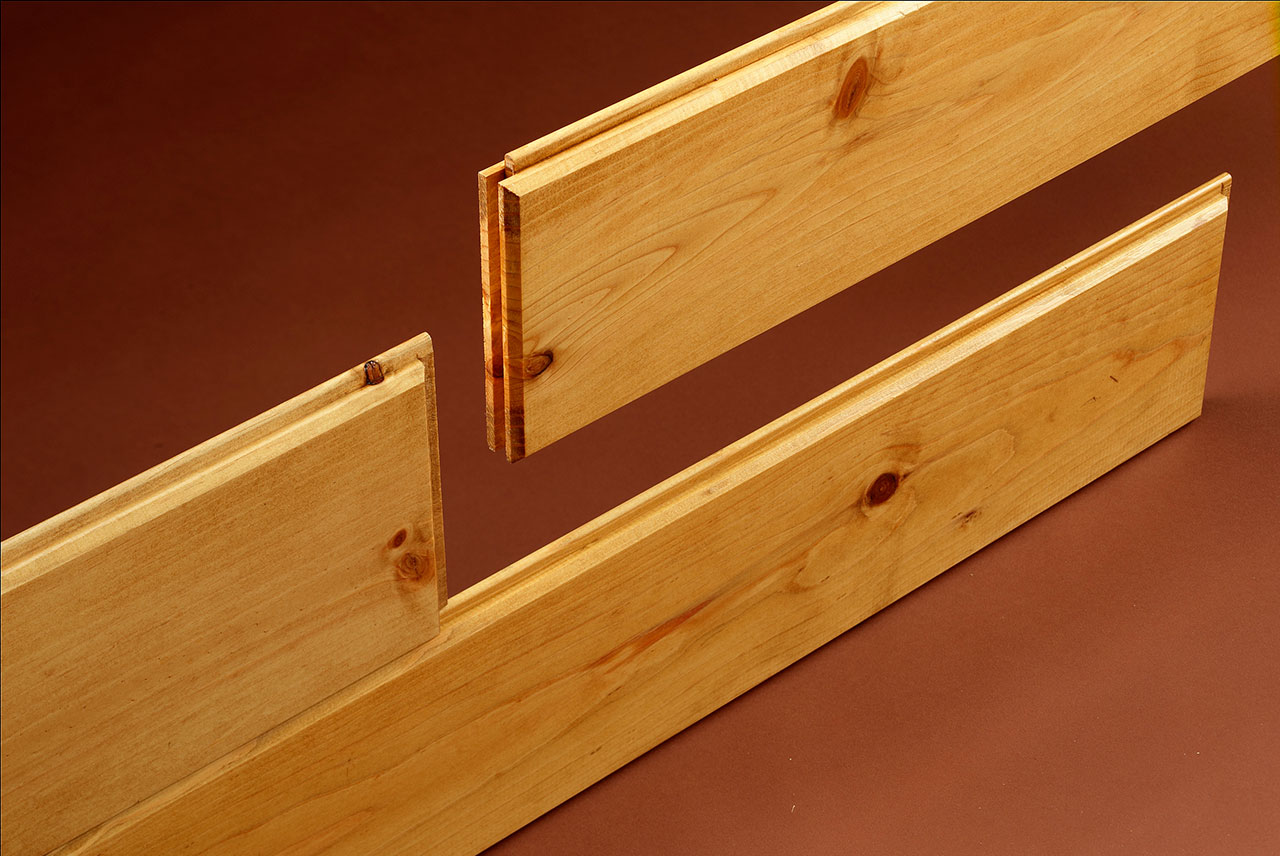
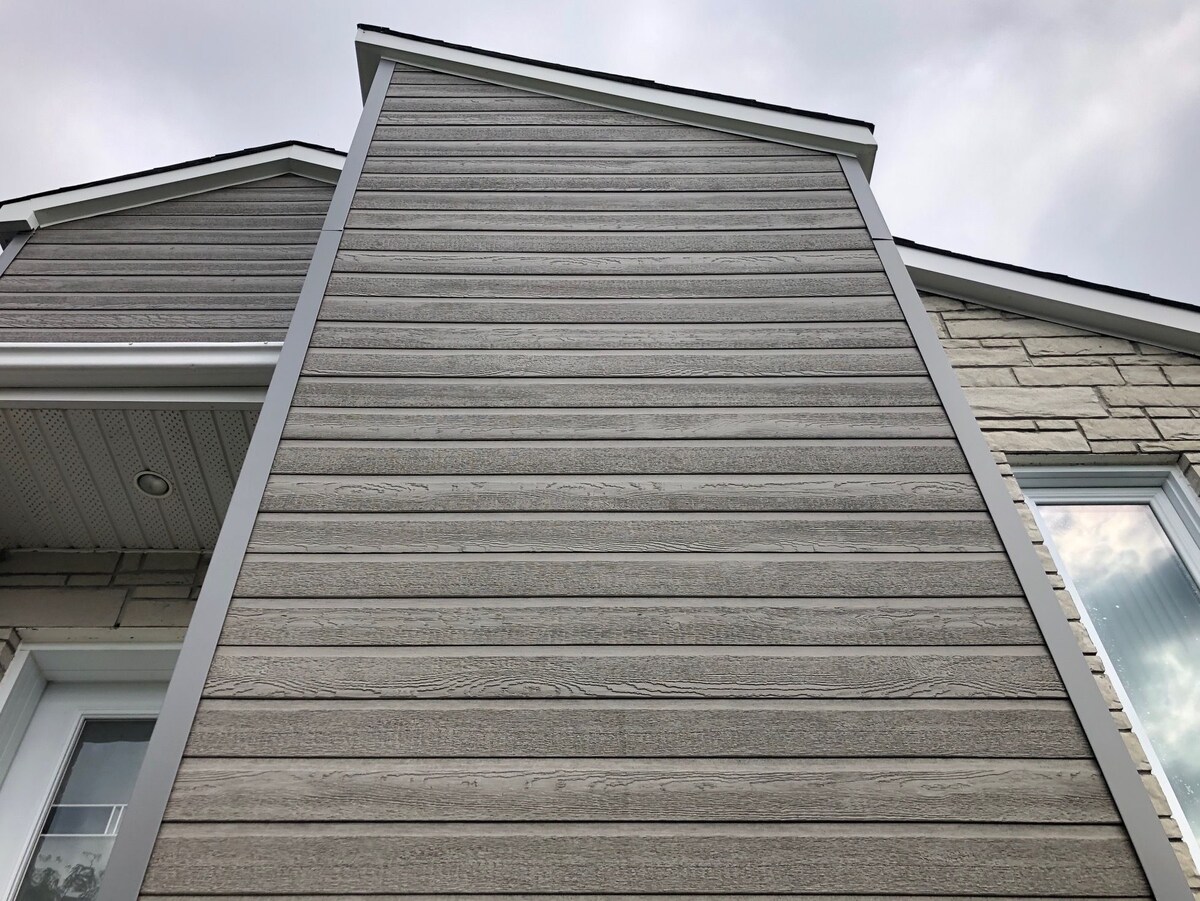
Before getting started, it’s important to note that tongue-and-groove siding refers to individual boards with interlocking edges. These boards fit together snugly, creating a tight seal that helps to keep out moisture and drafts. This feature makes tongue-and-groove siding ideal for climates with varying weather conditions.
Now, without further ado, let’s dive into the first step of installing tongue-and-groove siding – preparing your materials and tools!
Key Takeaways:
- Prepare for a successful tongue-and-groove siding installation by gathering the right materials and tools, measuring and planning the layout, and ensuring the wall surface is ready for the transformation. Attention to detail at this stage sets the foundation for a visually appealing and durable rustic look.
- Achieve a professional and polished finish by meticulously installing each row of tongue-and-groove siding, adding trim for a clean appearance, and considering the optional protective finish for enhanced durability. The careful execution of these steps elevates the exterior of your home, creating a timeless and charming aesthetic.
Step 1: Prepare Your Materials and Tools
Before you start installing tongue-and-groove siding, it’s essential to gather all the necessary materials and tools. This will ensure a smooth and efficient installation process. Here’s a list of what you’ll need:
- Tongue-and-groove siding boards: Purchase enough boards to cover the desired area, accounting for any wastage or mistakes.
- Nails or screws: Choose corrosion-resistant options suitable for outdoor use.
- Hammer or nail gun: If using nails, a hammer will suffice. However, a nail gun can significantly speed up the process.
- Power saw or miter saw: You’ll need a saw to cut the tongue-and-groove boards to the required length.
- Measuring tape and level: Accurate measurements and leveling are crucial for a professional-looking installation.
- Chalk line: This will help you create straight reference lines for aligning the siding boards.
- Exterior-grade construction adhesive: This optional but useful adhesive can provide additional strength and stability.
- Safety equipment: Don’t forget your goggles, gloves, and ear protection when working with power tools.
Now that you have all your materials and tools ready, you’re one step closer to transforming the look of your home. Remember to double-check that you have everything on the list before moving on to the next step. It’s better to be prepared than to have to pause the installation midway to fetch missing items.
Once you’re confident that you have everything you need, it’s time to move on to the next step: measuring and planning your siding layout. This crucial step will help you determine the exact positioning and ensure a seamless and visually pleasing installation. Let’s continue to step 2!
Step 2: Measure and Plan Your Siding Layout
Now that you have your materials and tools ready, it’s time to measure and plan your siding layout. This step is essential to ensure a seamless installation and achieve a polished look for your tongue-and-groove siding. Here’s how to proceed:
- Start by measuring the height and width of the area where you’ll be installing the siding. Use a tape measure to get accurate measurements, and jot them down for reference.
- Consider the width of the tongue-and-groove boards you’ll be using. This will affect the number of boards you’ll need to cover the area. Divide the width of the area by the width of one board to determine the approximate number of boards required.
- Take into account any windows, doors, or other obstacles on the wall. You’ll need to measure their dimensions and plan how the tongue-and-groove siding will fit around them.
- Create a plan or diagram to visualize the layout of the siding. Start at one corner of the wall and work your way horizontally or vertically, depending on your preference. This will help you determine the starting point of your installation and ensure a balanced and symmetrical appearance.
- Use a chalk line to mark reference lines on the wall, indicating the bottom and top edges of the first row of siding. This will serve as a guide during installation.
- Double-check your measurements and layout plan before proceeding to the actual installation. This will help prevent errors and save you time and effort in the long run.
By carefully measuring and planning your siding layout, you’ll set yourself up for success in the installation process. Taking the time to prepare in advance will ensure that your tongue-and-groove siding fits perfectly and enhances the overall aesthetic of your home. Once you’ve completed this step, it’s time to move on to Step 3: preparing the wall surface. Let’s continue!
Step 3: Prepare the Wall Surface
Now that you have measured and planned your siding layout, it’s time to prepare the wall surface for the installation of tongue-and-groove siding. Proper preparation is crucial to ensure a secure and long-lasting installation. Here’s what you need to do:
- Remove any existing siding or trim from the wall, if applicable. This will create a clean and even surface for the new tongue-and-groove siding.
- Inspect the wall for any damage or rot. Repair or replace any deteriorated areas before proceeding. This will ensure the stability and durability of the siding installation.
- Clean the wall surface thoroughly to remove dirt, debris, and any loose paint. A pressure washer or a scrub brush and mild detergent can be used for this purpose. Allow the wall to dry completely before moving on.
- If necessary, apply a weather-resistant barrier or house wrap to the wall. This extra layer of protection will help prevent moisture infiltration and enhance the longevity of your tongue-and-groove siding.
- Inspect the wall for any protrusions, such as electrical outlets or vents. Mark their locations on the wall for reference during the installation process. You’ll need to cut around these areas to ensure a seamless fit.
- Consider using furring strips if the wall surface is uneven or irregular. These wooden strips can be attached vertically to the wall, providing a flat and level surface for the tongue-and-groove siding.
By properly preparing the wall surface, you create an ideal foundation for the installation of tongue-and-groove siding. This step ensures that the siding will adhere securely and maintain its integrity over time. Once you’ve completed the wall preparation, it’s time to move on to the exciting part – installing the first row of tongue-and-groove siding. Let’s proceed to Step 4!
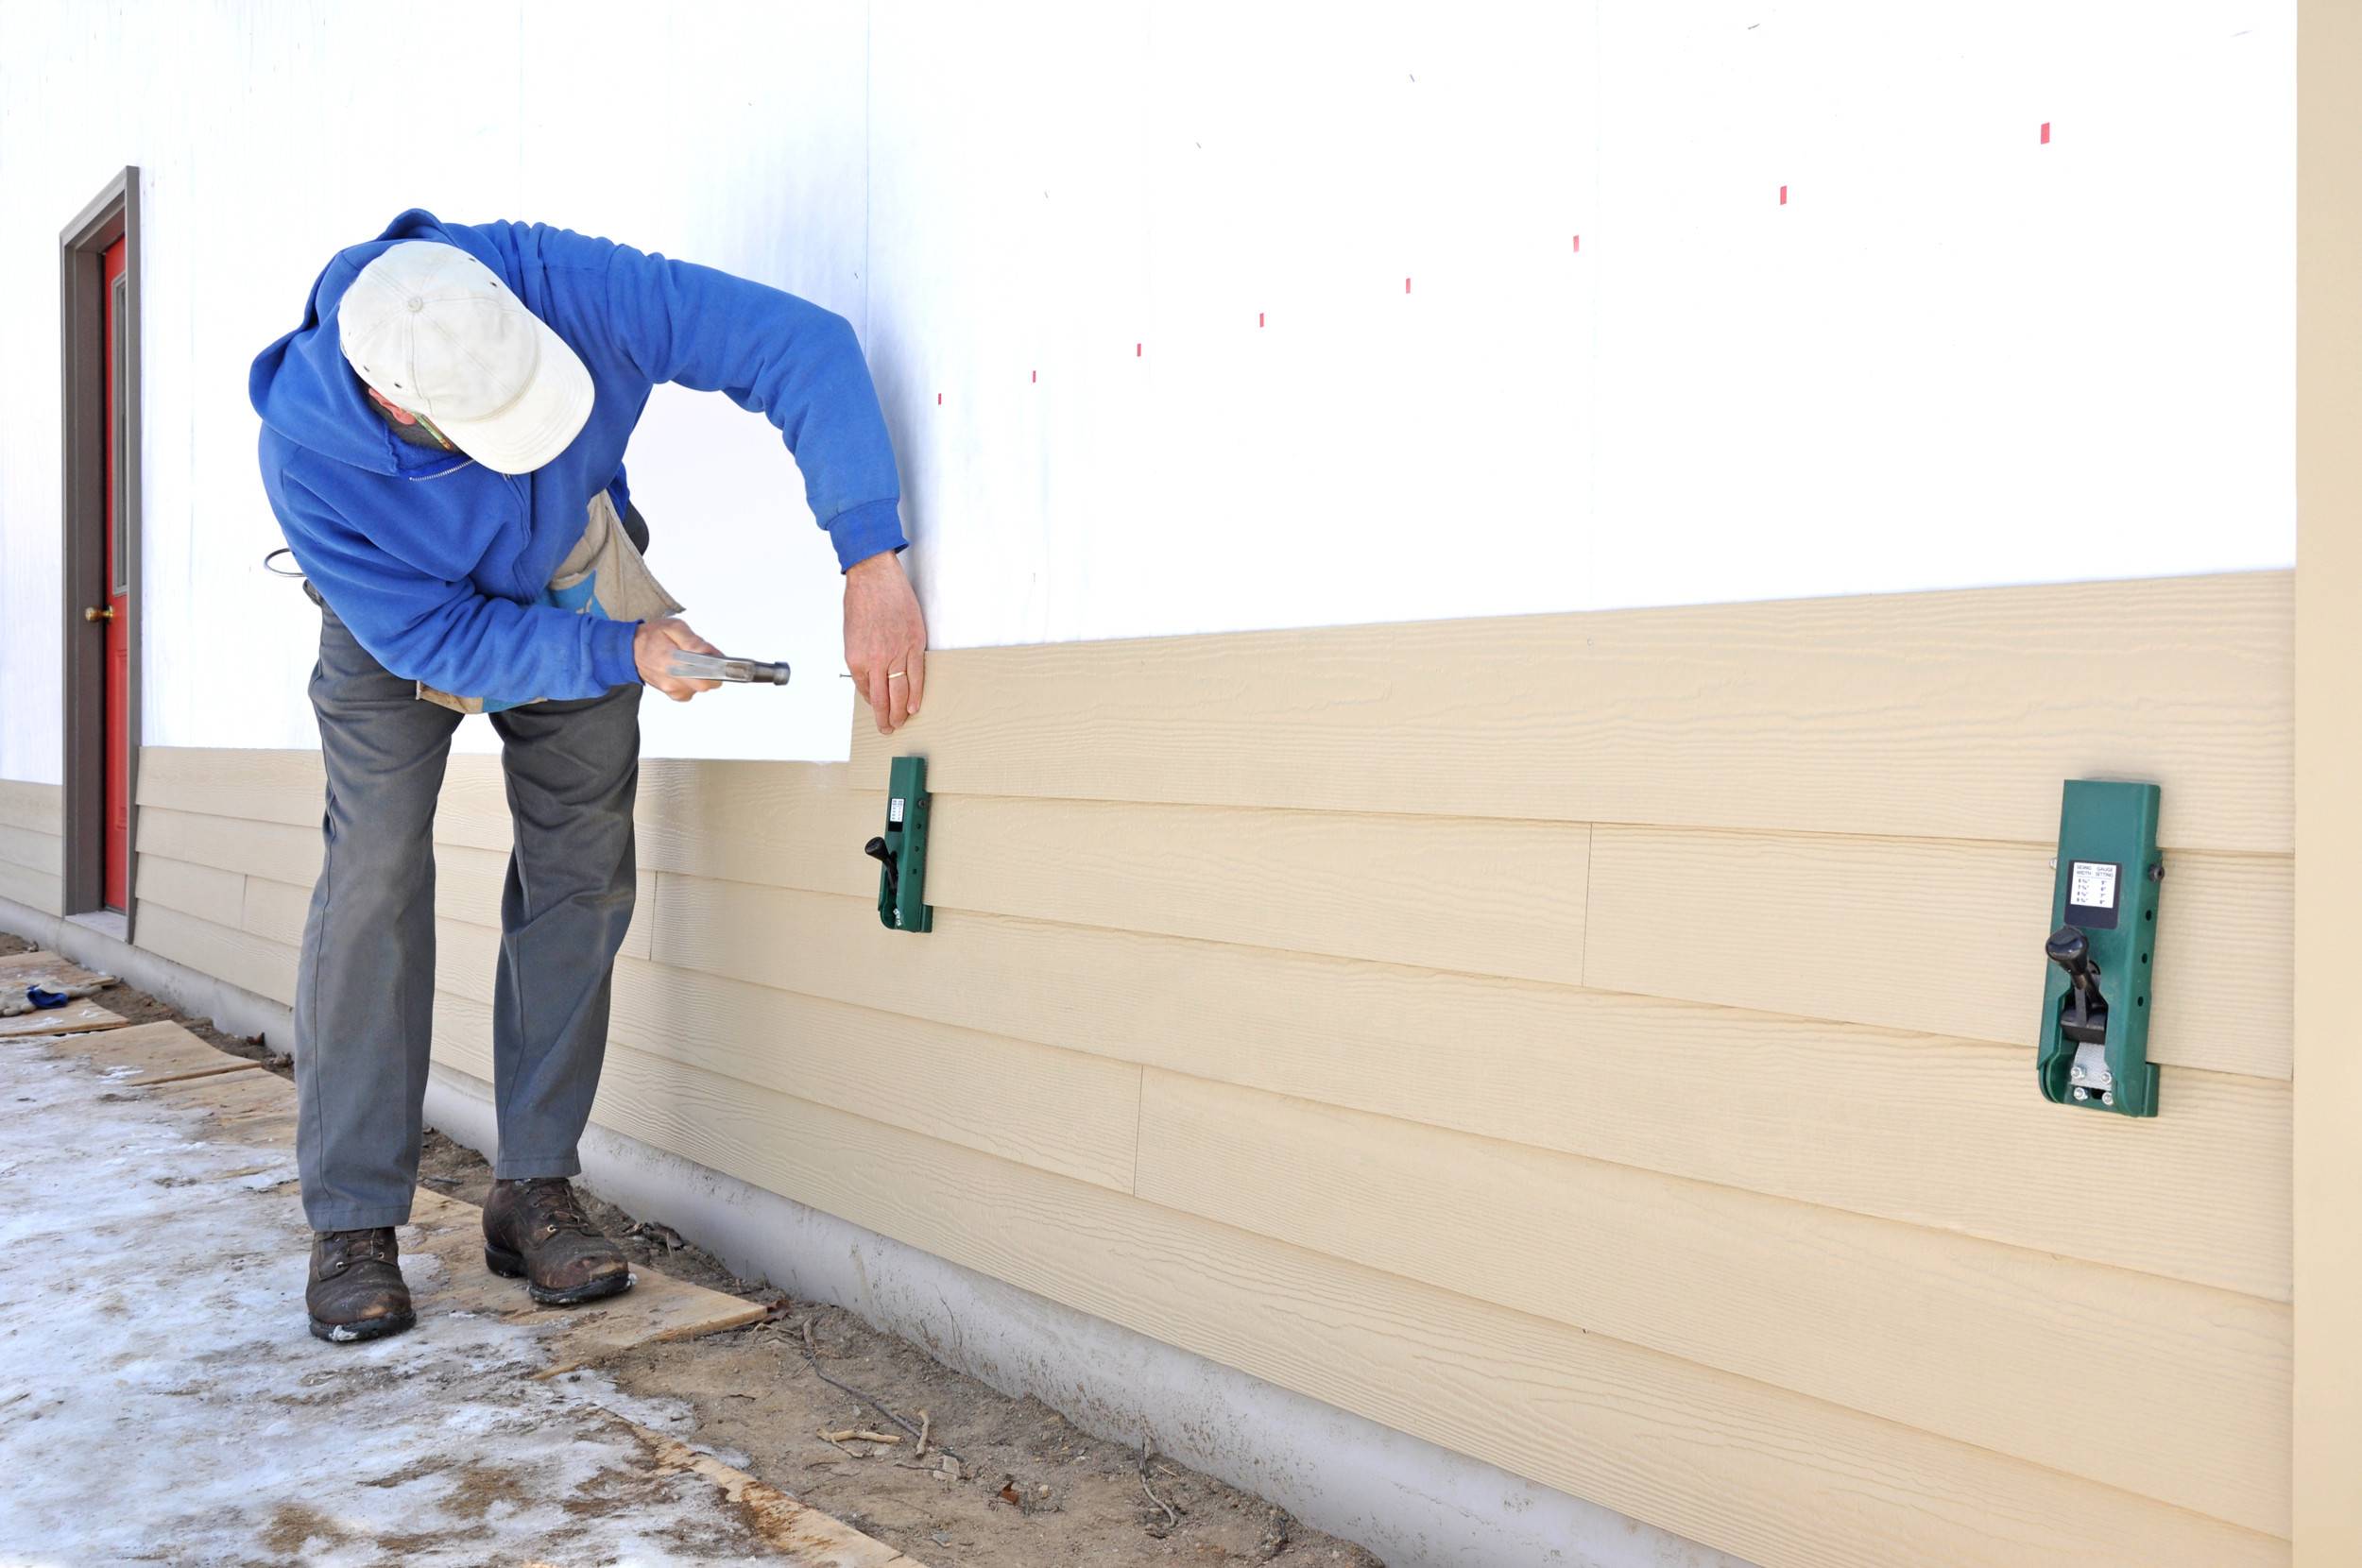
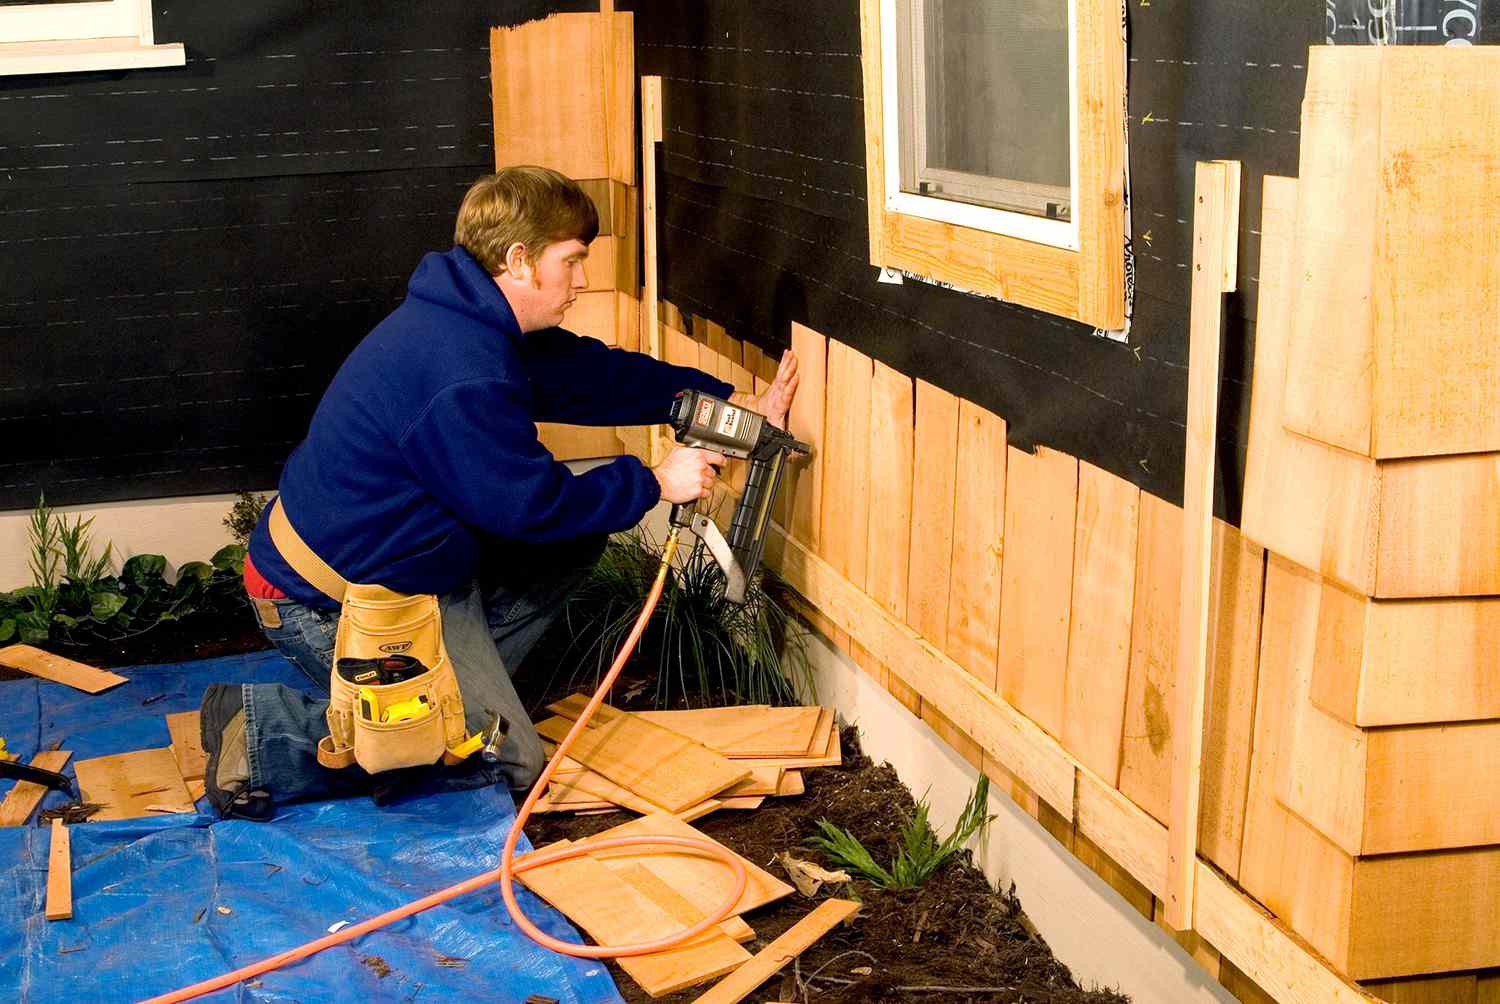
Step 4: Start Installing the First Row
With the wall surface prepared, it’s time to begin the installation of the tongue-and-groove siding. Starting with the first row sets the foundation for the rest of the siding installation. Follow these steps to ensure a seamless and secure installation:
- Measure the length of the wall and cut the first board to fit using a power saw or miter saw. Remember to account for any necessary overhang or trim.
- Apply a thin bead of exterior-grade construction adhesive along the back of the first board. This extra step helps to enhance the adhesion of the siding and provides added stability.
- Align the board with the reference lines you created in Step 2 and press it firmly against the wall. Make sure the board is level, using a level or straight edge to verify its positioning.
- Secure the first board to the wall using nails or screws. Place the fasteners at the top and bottom of the board, ensuring they are evenly spaced. Be careful not to overdrive the fasteners, as this can damage the siding.
- Continue cutting and installing the remaining boards for the first row, following the same process. Remember to leave a small gap (usually around 1/8 inch) between boards to accommodate for expansion and contraction due to temperature changes.
- To install the last board in the first row, measure and cut it to fit. Apply construction adhesive to the back, align it with the reference lines, and secure it in place.
By carefully installing the first row of tongue-and-groove siding, you set the stage for the rest of the siding installation. Take your time to ensure that the boards are level, secure, and properly aligned. Once the first row is in place, you can move on to the subsequent rows and continue the installation process. We’ll cover that in the next step, Step 5. Let’s keep the momentum going!
Make sure to leave a small gap between each board to allow for expansion and contraction. Use stainless steel nails to prevent rust stains on the wood.
Step 5: Continue Installing the Remaining Rows
With the first row securely installed, it’s time to continue installing the remaining rows of tongue-and-groove siding. This step will bring your project to life and further enhance the rustic look of your home’s exterior. Follow these steps for a smooth and successful installation:
- Measure and cut the first board for the second row to the appropriate length, accounting for any necessary overhang or trim.
- Apply a thin bead of construction adhesive to the back of the board and align it with the tongue of the first row.
- Insert the groove of the second row board onto the tongue of the first row, creating a tight and secure fit. Use a rubber mallet or block of wood to gently tap the boards together, ensuring a snug connection.
- Secure the second row board in place with nails or screws, following the same process as in Step 4.
- Repeat steps 1 to 4 for each subsequent row, making sure to stagger the end joints of the siding boards. This will provide added strength and visual appeal to the installation.
- Continue installing the remaining rows of tongue-and-groove siding until you reach the top of the wall. Remember to leave the appropriate gap between boards for expansion and contraction.
As you progress through each row, take the time to ensure that the boards are level, properly aligned, and securely fastened. Regularly check for any gaps or inconsistencies, adjusting as necessary. This attention to detail will result in a professional-looking installation.
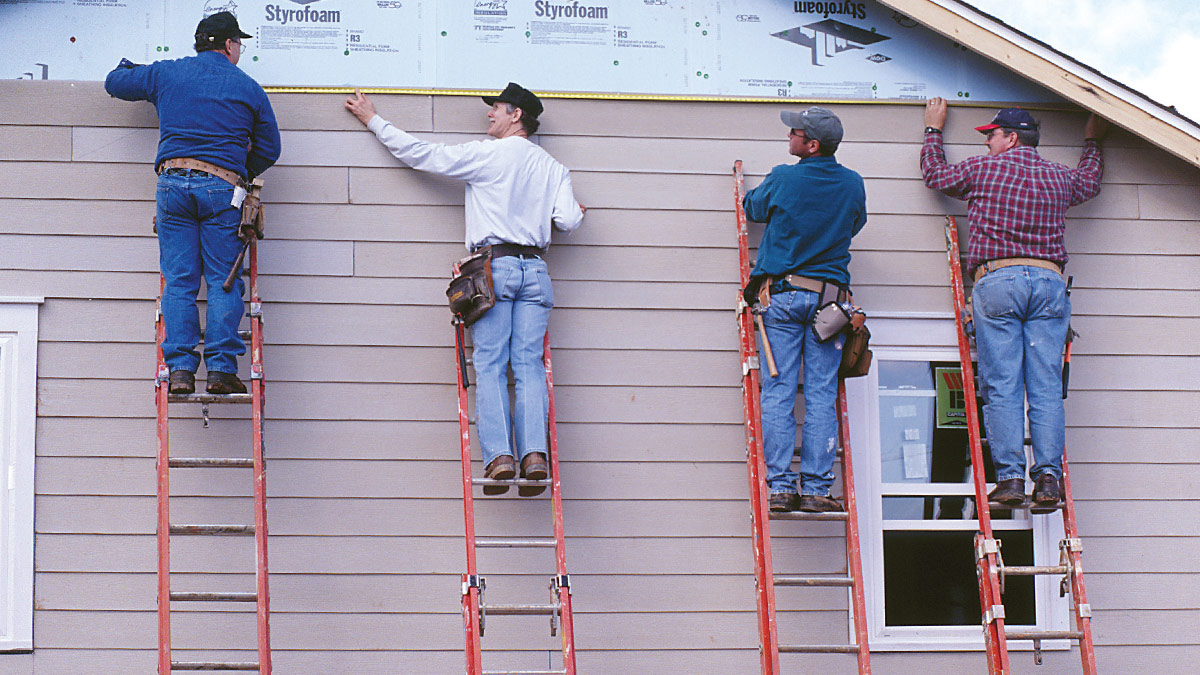
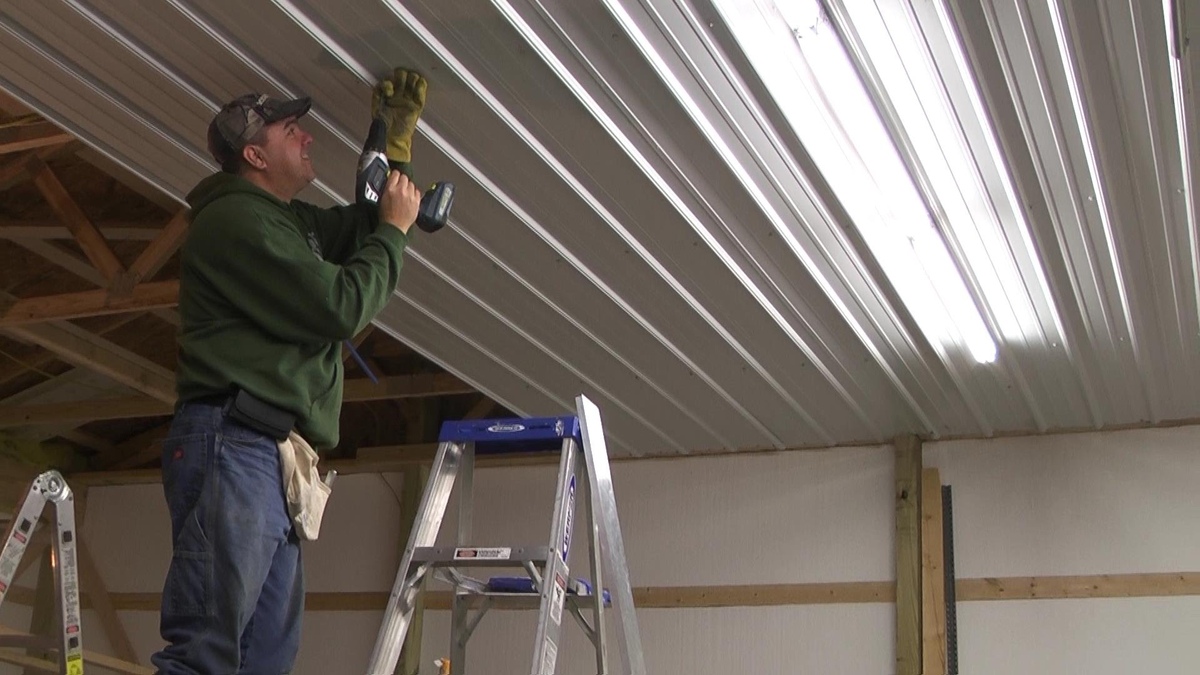
Depending on the height of the wall, you may need to use a ladder or scaffolding to safely reach the upper rows. Always prioritize your safety and use appropriate equipment when working at heights.
Now that you have completed the installation of the tongue-and-groove siding rows, it’s time for the final steps to give your project a polished finish. Keep reading to learn how to trim and finish the siding in Step 6!
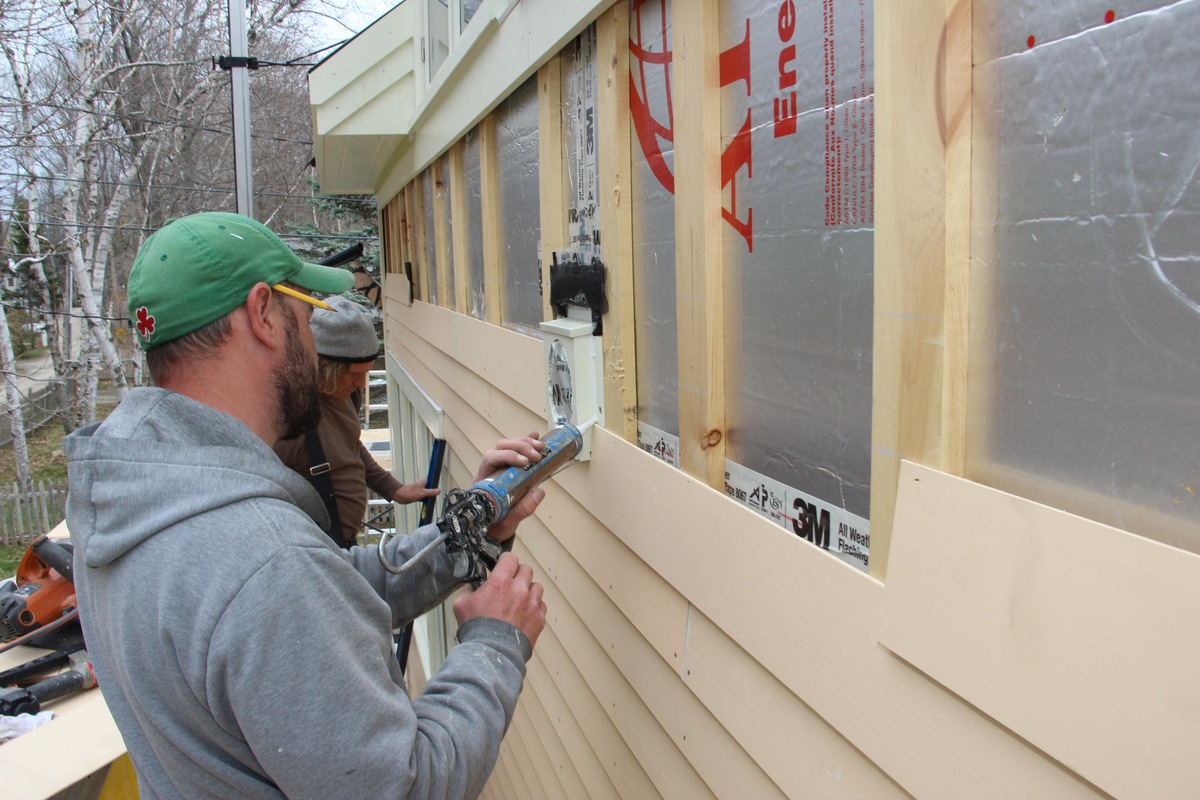
Step 6: Trim and Finish the Siding
With the tongue-and-groove siding installed, it’s time to add those finishing touches that will elevate the appearance of your project. Trimming and finishing the siding will create a cohesive and polished look for your home’s exterior. Here’s how to complete this step:
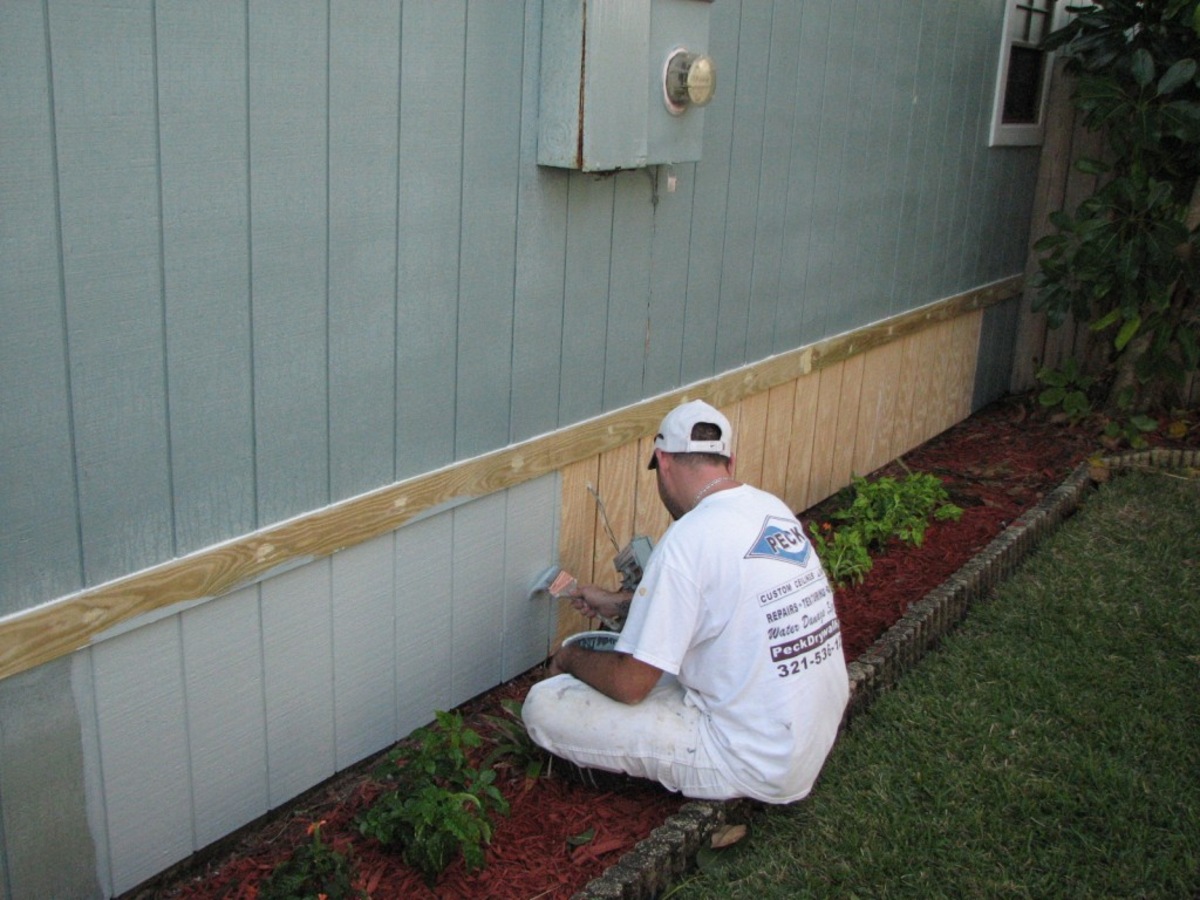
- Measure and cut trim boards to fit around windows, doors, corners, and any other areas that require a clean and finished appearance.
- Attach the trim boards using nails or screws, ensuring they are securely fastened to the wall.
- If desired, fill any nail holes or gaps in the siding and trim with exterior-grade caulk or wood filler. Smooth the surface with a putty knife or your finger, and allow it to dry according to the manufacturer’s instructions.
- At this stage, you may choose to protect your tongue-and-groove siding with a protective finish. This can be a stain, paint, or clear sealant designed for exterior use. Follow the manufacturer’s instructions for application, and allow the finish to dry thoroughly.
The trim boards add a clean and stylish accent to your tongue-and-groove siding installation. They also help to cover any gaps and provide a finished look to the overall project. Additionally, applying a protective finish will help to prolong the lifespan of the siding and maintain its appearance over time.
Take your time during this step to ensure precise cuts, proper alignment, and neat finishing. Attention to detail will make a significant difference in the final result, creating a stunning and professional-looking installation.
Now that you’ve completed the trimming and finishing, give yourself a pat on the back – you’re almost done! Let’s explore the optional final step in the next section: applying a protective finish.
Step 7: Apply a Protective Finish (Optional)
Applying a protective finish is the final step in the tongue-and-groove siding installation process. While optional, a protective finish can provide added durability and enhance the overall appearance of your siding. If you choose to apply a protective finish, follow these guidelines:
- Choose the appropriate finish for your tongue-and-groove siding. Options include stains, paints, or clear sealants designed for outdoor use. Consider the desired look and level of protection when selecting your finish.
- Prepare the surface by ensuring it is clean and free of any dust, debris, or loose particles. Use a brush or broom to remove any surface dirt that may affect the application of the finish.
- Apply the protective finish according to the manufacturer’s instructions. This may involve using a brush, roller, or sprayer. Follow any recommended drying times and application techniques to achieve the best results.
- Allow the finish to dry completely before exposing it to the elements. This will ensure that the protective layer is fully formed and able to withstand weather conditions.
By applying a protective finish, you add an extra layer of defense against the elements, such as UV rays, moisture, and temperature fluctuations. This can help to preserve the beauty and longevity of your tongue-and-groove siding for years to come.
Remember, the choice of a protective finish is a personal preference. Some homeowners prefer the natural look of the wood, while others enjoy the added color and protection provided by a stain or paint. Ultimately, the decision is yours to make based on your aesthetic preferences and maintenance goals.
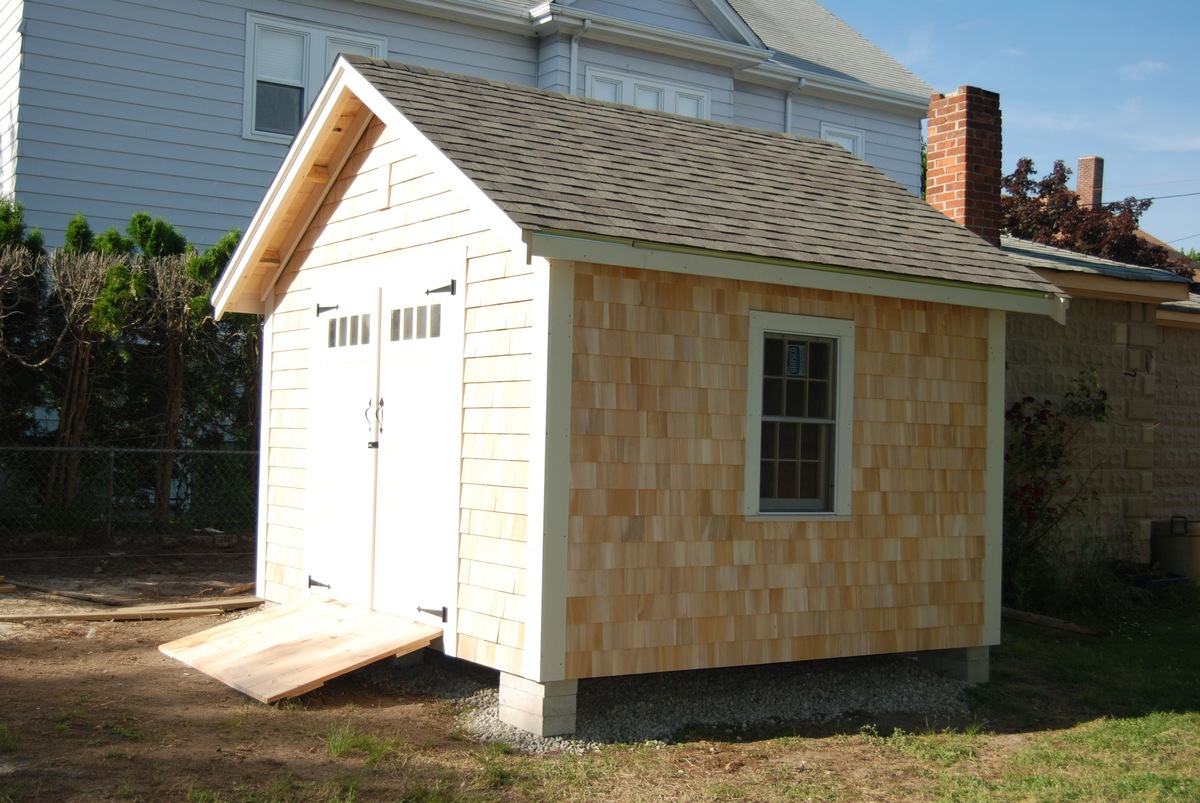
With the final step completed, congratulations on successfully installing tongue-and-groove siding for a rustic look! Step back and admire the transformation you’ve achieved, knowing that your home’s exterior now boasts a timeless and charming appearance.
We hope this comprehensive guide has been helpful in your tongue-and-groove siding installation journey. Enjoy the beauty and durability of your new siding and make lasting memories in your enhanced outdoor space!
If you have any further questions or need additional assistance, please don’t hesitate to reach out. Happy siding installation!
Conclusion
Congratulations! You’ve reached the end of our comprehensive guide on how to install tongue-and-groove siding for a rustic look. By following the step-by-step instructions outlined in this article, you have gained the knowledge and skills necessary to transform the exterior of your home and enhance its visual appeal.
We began by preparing the materials and tools needed for the installation process. We then delved into measuring and planning the siding layout, ensuring a precise and symmetrical installation. Preparing the wall surface was the next crucial step, providing a sturdy foundation for the siding boards.
With the wall prepped, we moved on to installing the first row of tongue-and-groove siding, securing the boards tightly together. Continuing on, we installed the remaining rows, ensuring a seamless and balanced appearance.
To add those finishing touches, we trimmed the siding and applied any necessary caulking or wood filler. Plus, we explored the option of applying a protective finish, which can enhance the longevity and beauty of the siding over time.
By following these steps, you’ve taken your home’s exterior to the next level. The rustic charm and durability of tongue-and-groove siding create a lasting impression and elevate the overall aesthetic of your property.
Remember, safety should always be a top priority when working with tools and materials. Take the necessary precautions, such as wearing appropriate protective gear and following manufacturer instructions, to ensure a safe and enjoyable installation process.
If you have any additional questions or require further assistance, don’t hesitate to seek professional advice or reach out to experts in the field. They can provide valuable insights and guidance tailored to your specific needs.
Thank you for joining us on this journey to transform your home’s exterior with tongue-and-groove siding. We hope you’ve found this guide informative and empowering. Now, go forth and enjoy your newly enhanced outdoor space!
Frequently Asked Questions about How To Install Tongue-and-Groove Siding For A Rustic Look
Was this page helpful?
At Storables.com, we guarantee accurate and reliable information. Our content, validated by Expert Board Contributors, is crafted following stringent Editorial Policies. We're committed to providing you with well-researched, expert-backed insights for all your informational needs.


0 thoughts on “How To Install Tongue-and-Groove Siding For A Rustic Look”