Home>Articles>How Long Should Shower Arm Be For Glacier Bay Handheld Shower And Showerhead?
Articles
How Long Should Shower Arm Be For Glacier Bay Handheld Shower And Showerhead?
Modified: December 7, 2023
Discover the ideal shower arm length for your Glacier Bay handheld shower and showerhead with this informative article. Find out how to achieve the perfect setup.
(Many of the links in this article redirect to a specific reviewed product. Your purchase of these products through affiliate links helps to generate commission for Storables.com, at no extra cost. Learn more)
Introduction
When it comes to creating the perfect shower experience, the length of the shower arm plays a crucial role. The shower arm acts as a conduit for water, directing it from the plumbing infrastructure to the showerhead. This seemingly small component can have a significant impact on the water pressure, reach, and overall functionality of your shower.
In this article, we will focus on finding the ideal shower arm length for a Glacier Bay handheld shower and showerhead. By understanding the importance of shower arms and considering various factors, you’ll be equipped to make an informed decision when choosing the right length for your specific needs.
Key Takeaways:
- Choosing the right shower arm length is crucial for a comfortable and functional shower experience. Consider factors like bathroom layout, personal preferences, and water pressure to make an informed decision.
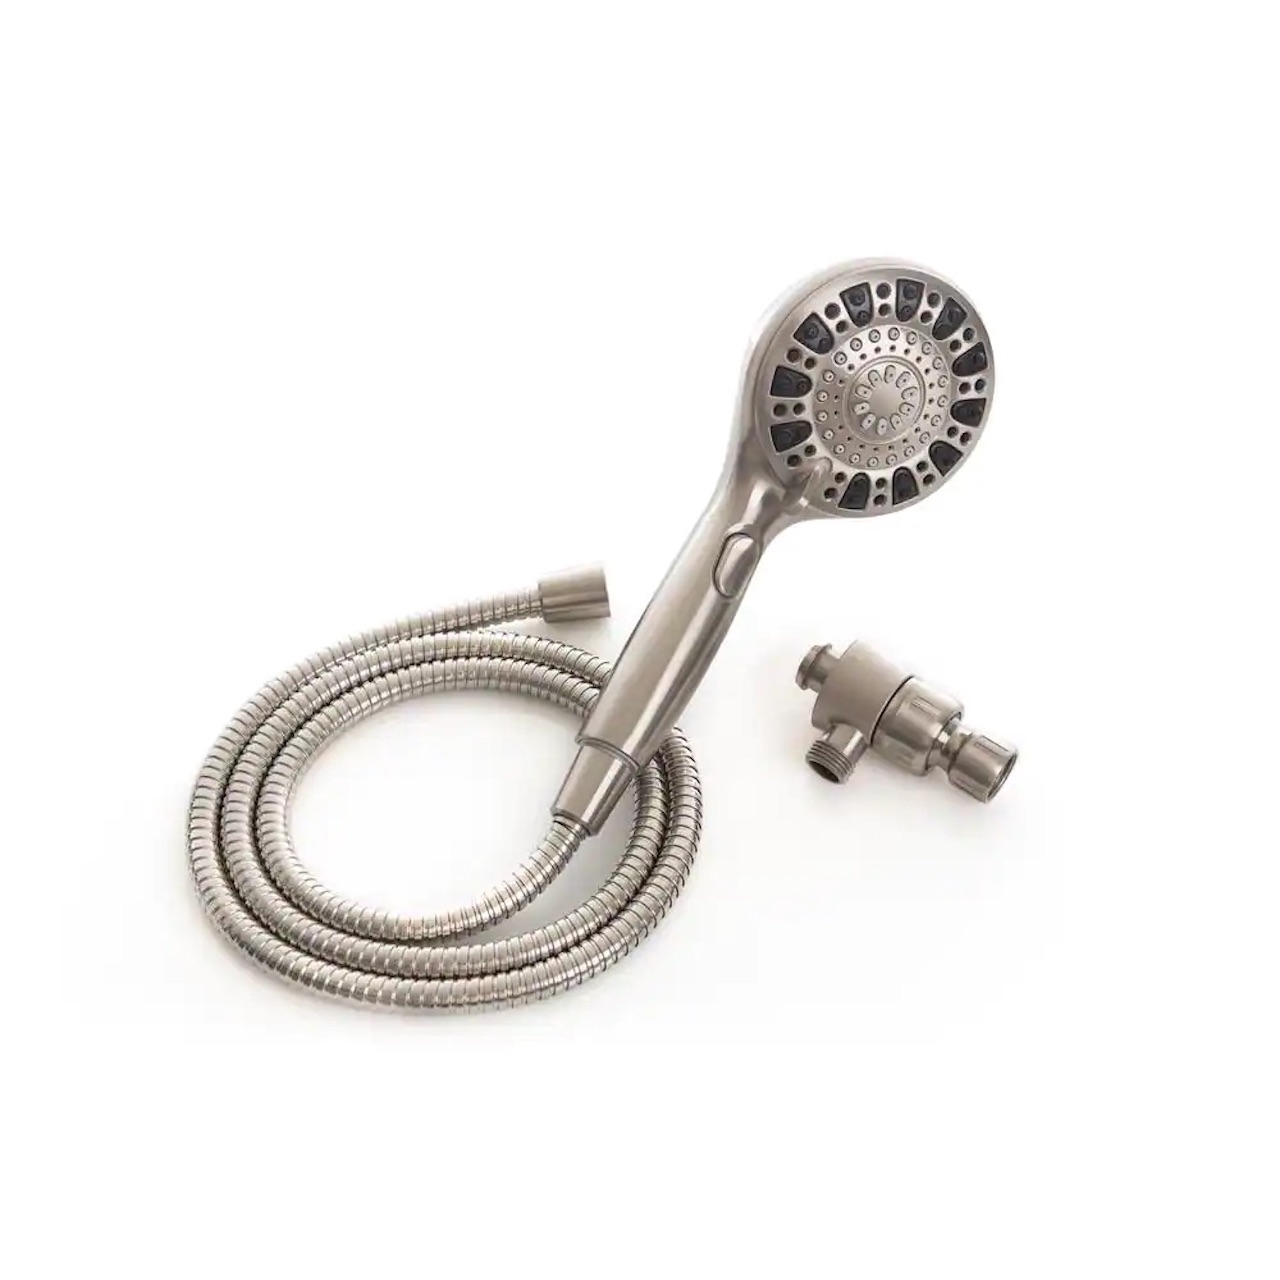
- For Glacier Bay handheld showers, a 6 to 8-inch shower arm length is generally suitable, but consult the manufacturer’s guidelines for precise recommendations. Opt for a slightly longer arm for added flexibility with a handheld showerhead.
Read more: How To Change Showerhead Arm
Understanding shower arms and their importance
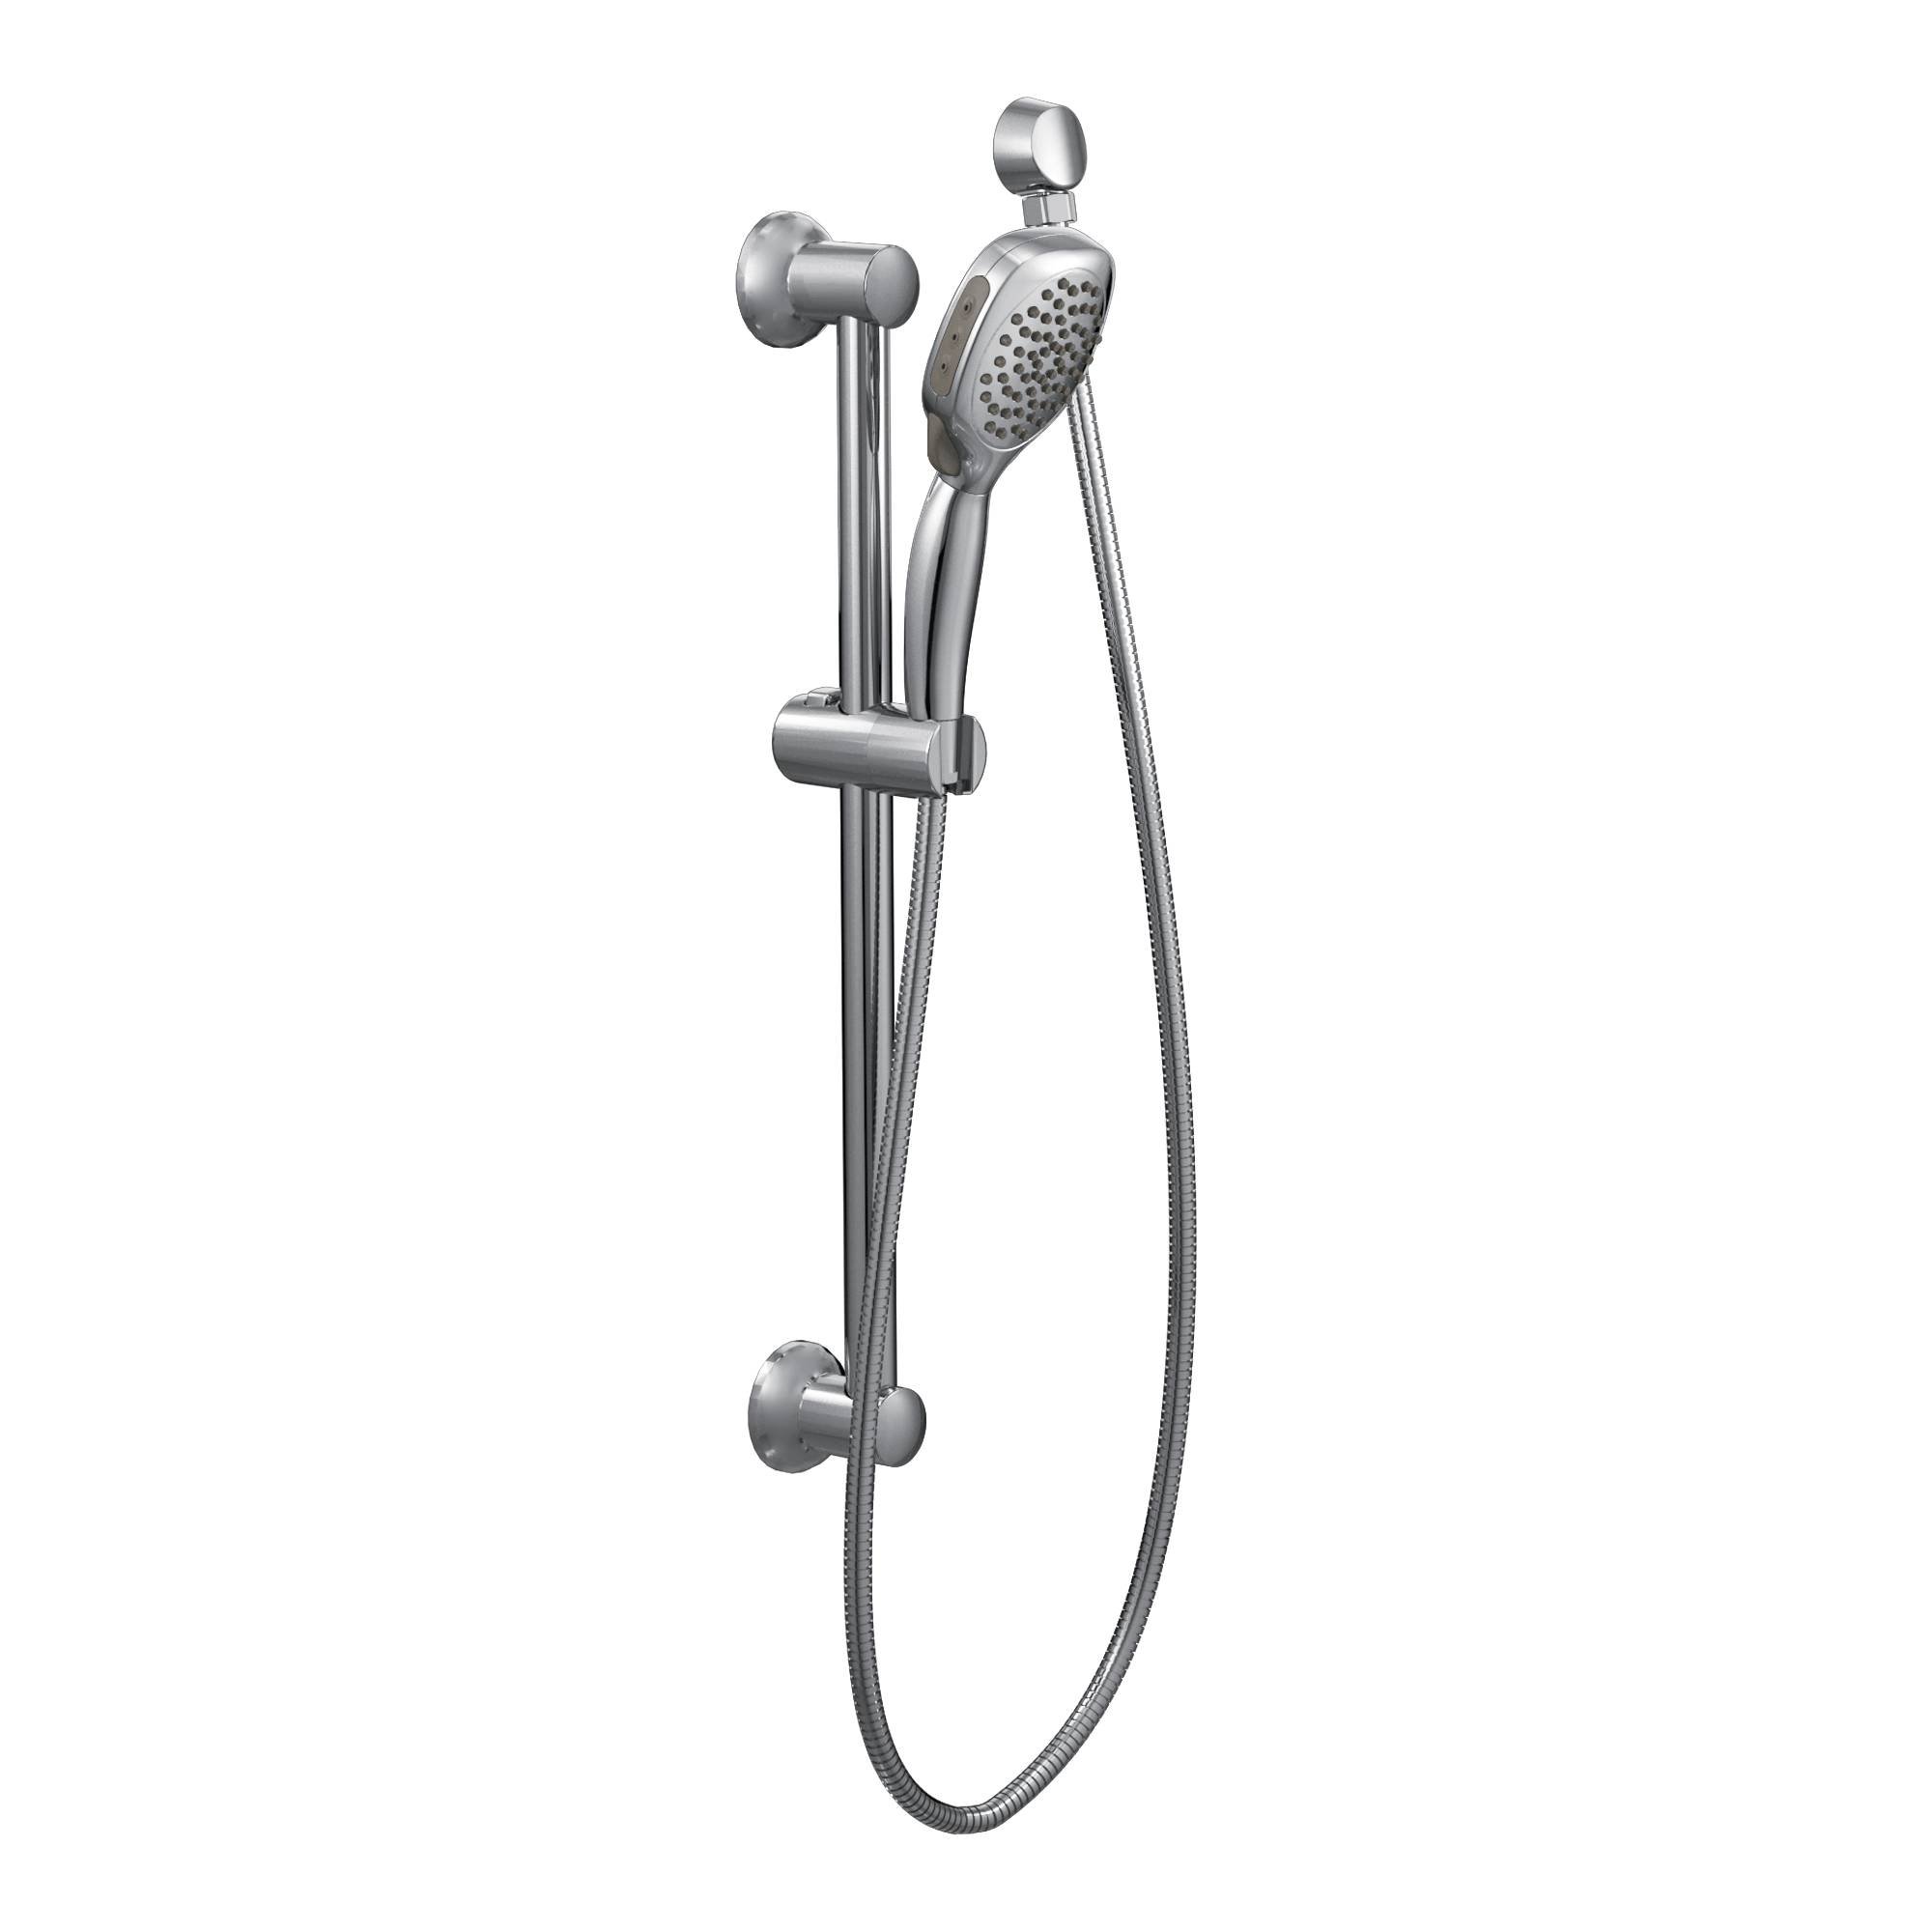
A shower arm is a metal pipe that connects the showerhead to the plumbing system. It serves as the extension between the wall pipe and the showerhead, allowing water to flow efficiently. While it may seem like a simple component, the shower arm plays a critical role in determining the functionality of your shower.
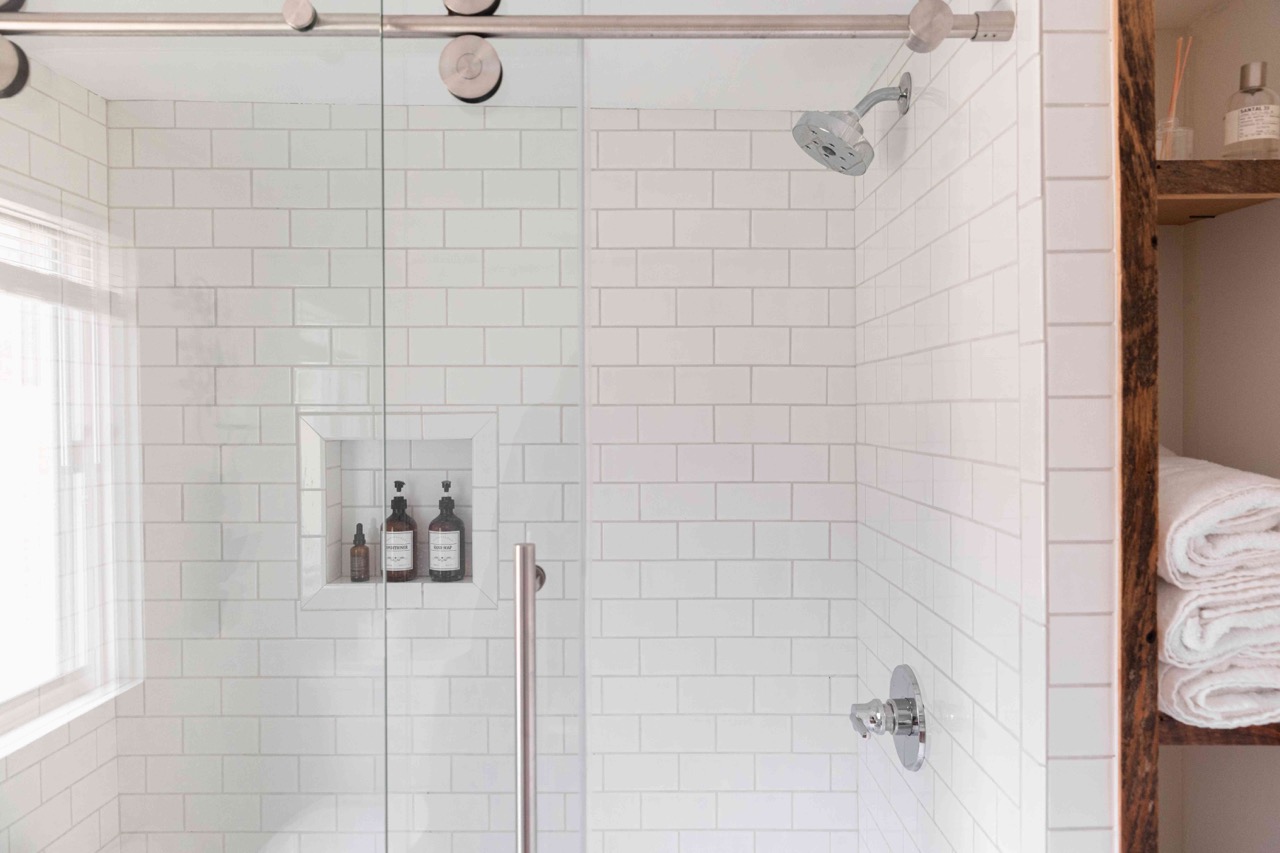
The length of the shower arm significantly affects the distance between the showerhead and the wall, influencing the overall shower experience. If the shower arm is too short, the showerhead may be positioned too close to the wall, limiting the range of motion and potentially causing discomfort. On the other hand, a shower arm that is too long may cause the showerhead to protrude too far from the wall, leading to a less visually appealing appearance.
Aside from aesthetics and comfort, the length of the shower arm also impacts water pressure and reach. A shorter arm typically results in higher water pressure, as the water has less distance to travel. However, this may create a more concentrated stream of water, which might not be ideal for those who prefer a gentle flow. In contrast, a longer shower arm can provide a wider water dispersion, covering a larger area.
Additionally, the positioning of the showerhead can influence the accessibility and functionality of a handheld shower. If the shower arm is too short, it might be challenging to maneuver the handheld shower properly. A longer shower arm allows for more flexibility and ease of use, particularly for individuals who rely on handheld showers for specific tasks such as bathing children or pets, or for those with mobility issues.
Factors to consider when choosing the right shower arm length
When determining the appropriate length for your shower arm, there are several factors to consider:
- Bathroom layout: Assess the layout of your bathroom, including the distance between the shower wall and the plumbing infrastructure. This will help you determine the feasible range of shower arm lengths that can be accommodated.
- Shower preferences: Consider your personal preferences and shower habits. Do you prefer a concentrated stream or a wider coverage? Would you like the flexibility of a handheld shower? These preferences will influence the optimal length for your shower arm.
- Height and size: Take into account the height of the individuals using the shower. Taller individuals may require a longer shower arm to ensure a comfortable showering experience. Additionally, consider the size of the shower space and the size of the showerhead to ensure a balanced and proportionate aesthetic.
- Wall construction: The construction of your shower wall can impact the installation of the shower arm. If your wall is made of a fragile or delicate material, it may not be able to support the weight of a longer shower arm.
- Water pressure: Consider the water pressure in your location. If you have low water pressure, a shorter shower arm might help increase the pressure. Conversely, if you have high water pressure, a longer shower arm could help reduce the intensity of the flow.
By considering these factors, you can narrow down the options for your shower arm length and make a more informed decision that meets your specific needs and preferences.
The standard length for a shower arm is around 6-12 inches. However, for a handheld shower and showerhead combo, it’s best to measure the distance from the wall to the desired height of the showerhead to determine the appropriate length for the shower arm.
Recommended shower arm length for Glacier Bay handheld shower and showerhead
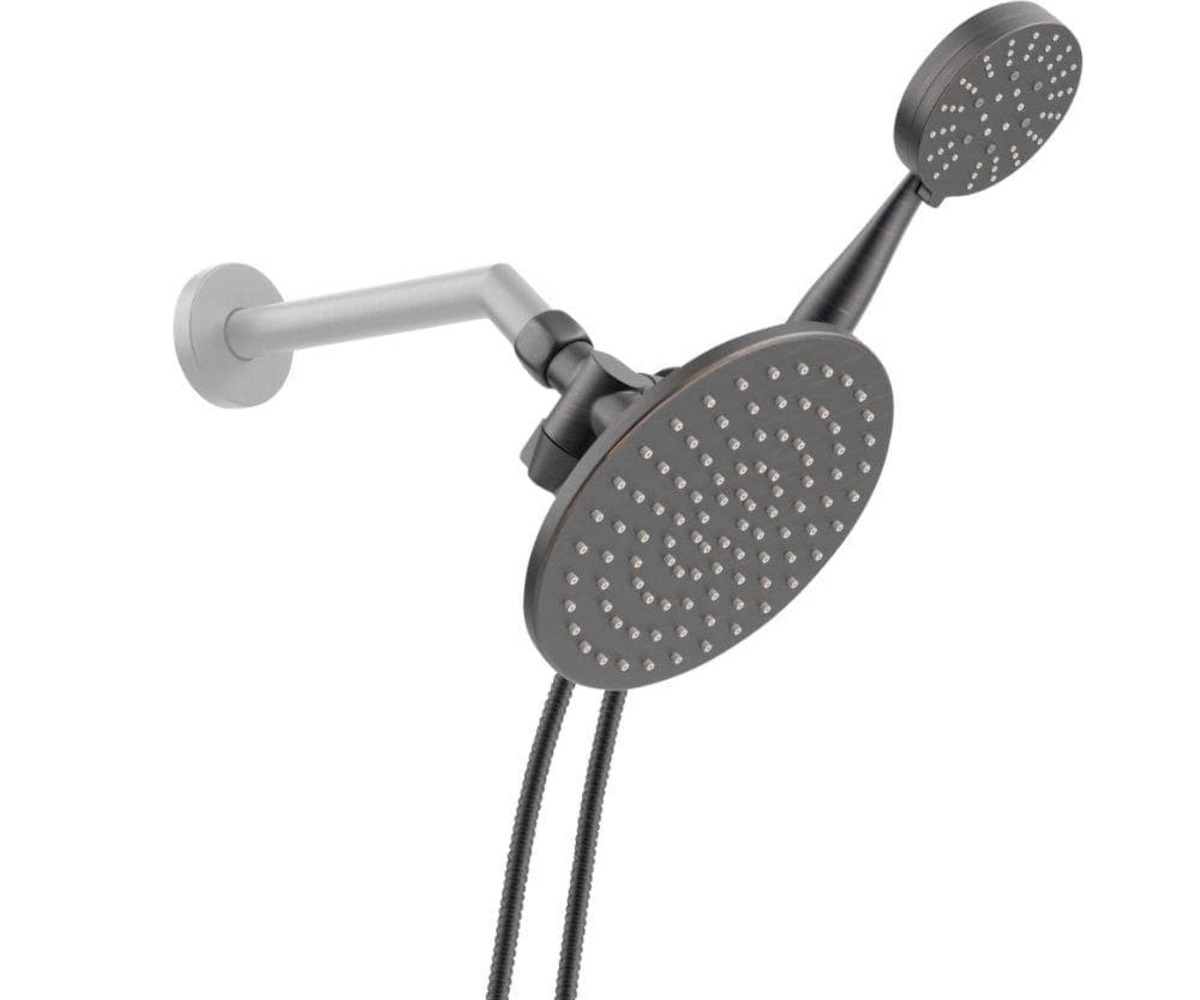
When it comes to choosing the ideal shower arm length for a Glacier Bay handheld shower and showerhead, there are a few considerations to keep in mind. While the specific length will vary depending on individual needs and preferences, a recommended range can help guide your decision-making process.
For most standard bathrooms with average ceiling heights, a shower arm length between 6 to 8 inches is typically suitable. This provides a comfortable distance between the wall and the showerhead, allowing for ease of use while maintaining an aesthetically pleasing appearance.
However, it’s important to note that Glacier Bay handheld showers and showerheads may have different recommended shower arm lengths depending on their specific design and features. It is advisable to consult the manufacturer’s guidelines or product specifications for precise recommendations.
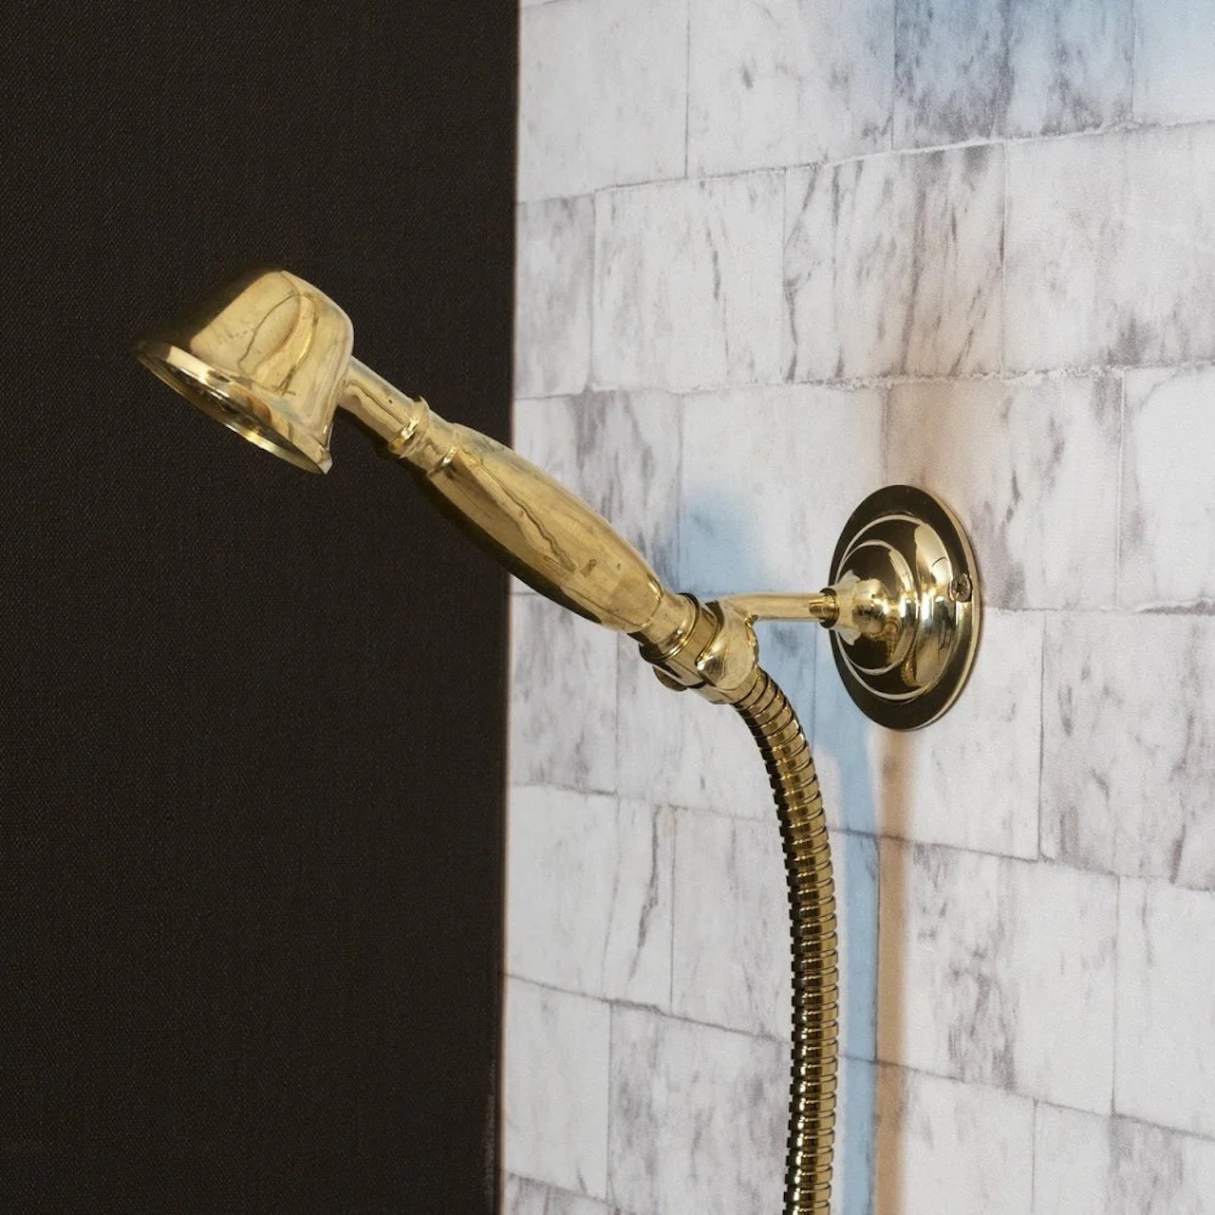
Additionally, if you prefer a more versatile showering experience with a handheld showerhead, opting for a slightly longer shower arm may be beneficial. A length of around 8 to 10 inches can provide the flexibility needed for maneuvering the handheld showerhead comfortably.
Remember to take into account the factors mentioned earlier, such as bathroom layout, personal preferences, and water pressure, when selecting the optimal shower arm length for your Glacier Bay handheld shower and showerhead.
If you’re unsure about the ideal length or want to explore different options, consulting with a plumbing professional or contacting the manufacturer’s customer support can provide valuable insights and guidance in making an informed decision.
Ultimately, finding the right shower arm length is about striking the perfect balance between functionality, aesthetics, and personal preferences to create an enjoyable and satisfying shower experience.
Installing the shower arm for optimal performance
Once you have chosen the appropriate shower arm length for your Glacier Bay handheld shower and showerhead, it’s time to install it. Follow these steps to ensure optimal performance:
- Prepare the area: Before installing the shower arm, make sure the shower area is clean and free from any obstructions. Clear the space of any shower products or accessories that may interfere with the installation process.
- Turn off the water supply: Locate the shut-off valve for your shower. Turn off the water supply to prevent any water flow during the installation.
- Remove the existing shower arm (if applicable): If you are replacing an existing shower arm, use a wrench or pliers to unscrew and remove it from the wall. Be cautious while removing the old arm to avoid damaging the plumbing connections.
- Apply plumber’s tape: Wrap a few layers of plumber’s tape around the threads of the new shower arm. This will create a tight seal and prevent any water leakage.
- Thread the new shower arm: Carefully thread the new shower arm into the wall pipe opening. Use your hand to tighten it, ensuring a snug fit. Avoid overtightening, as this can potentially damage the threads or create leaks.
- Align the showerhead: With the shower arm in place, attach the Glacier Bay handheld shower or showerhead to the arm. Ensure that it is properly aligned and securely attached, following the manufacturer’s instructions.
- Test for leaks: Once the shower arm and showerhead are installed, turn on the water supply and check for any leaks. Monitor the connections closely and tighten them further if necessary.
- Adjust the showerhead angle and height: Position the showerhead to your desired angle and height for optimal showering experience. Some shower arms are adjustable, allowing you to fine-tune the positioning to suit your preferences.
- Check for proper functionality: Run the water and test the showerhead for proper functionality. Ensure that the water pressure and flow are as desired, and that the handheld showerhead works smoothly.
If you encounter any difficulties during the installation process or are unsure about any steps, it is always advisable to consult a professional plumber for assistance.
By following these installation steps, you can ensure that your Glacier Bay handheld shower and showerhead are properly installed, resulting in optimal performance and an enjoyable showering experience.
Read more: How To Clean A Glacier Bay Water Dispenser
Conclusion
Choosing the right shower arm length is a crucial aspect of creating a functional and enjoyable shower experience. By understanding the importance of shower arms and considering various factors such as bathroom layout, personal preferences, and water pressure, you can make an informed decision and select the optimal shower arm length for your Glacier Bay handheld shower and showerhead.
While the recommended range for most standard bathrooms is typically between 6 to 8 inches, it is essential to consult the manufacturer’s guidelines for precise recommendations specific to your Glacier Bay model. If you prefer a more versatile showering experience with a handheld showerhead, a slightly longer shower arm of around 8 to 10 inches can provide the necessary flexibility.
During the installation process, ensure that you follow proper techniques and consult professionals if needed to ensure optimal performance. Threading the shower arm correctly, using plumber’s tape, and checking for leaks are crucial steps to take to prevent any issues and ensure a seamless installation process.
With the right shower arm length and proper installation, you can create an enjoyable and personalized shower experience that meets your specific needs and preferences. Remember to regularly maintain and clean your shower arm and showerhead to keep them functioning at their best.
By investing time and effort into selecting the right shower arm length and understanding its importance, you can enhance your showering experience and transform your bathroom into a space of comfort and relaxation.
Frequently Asked Questions about How Long Should Shower Arm Be For Glacier Bay Handheld Shower And Showerhead?
Was this page helpful?
At Storables.com, we guarantee accurate and reliable information. Our content, validated by Expert Board Contributors, is crafted following stringent Editorial Policies. We're committed to providing you with well-researched, expert-backed insights for all your informational needs.


0 thoughts on “How Long Should Shower Arm Be For Glacier Bay Handheld Shower And Showerhead?”