Articles
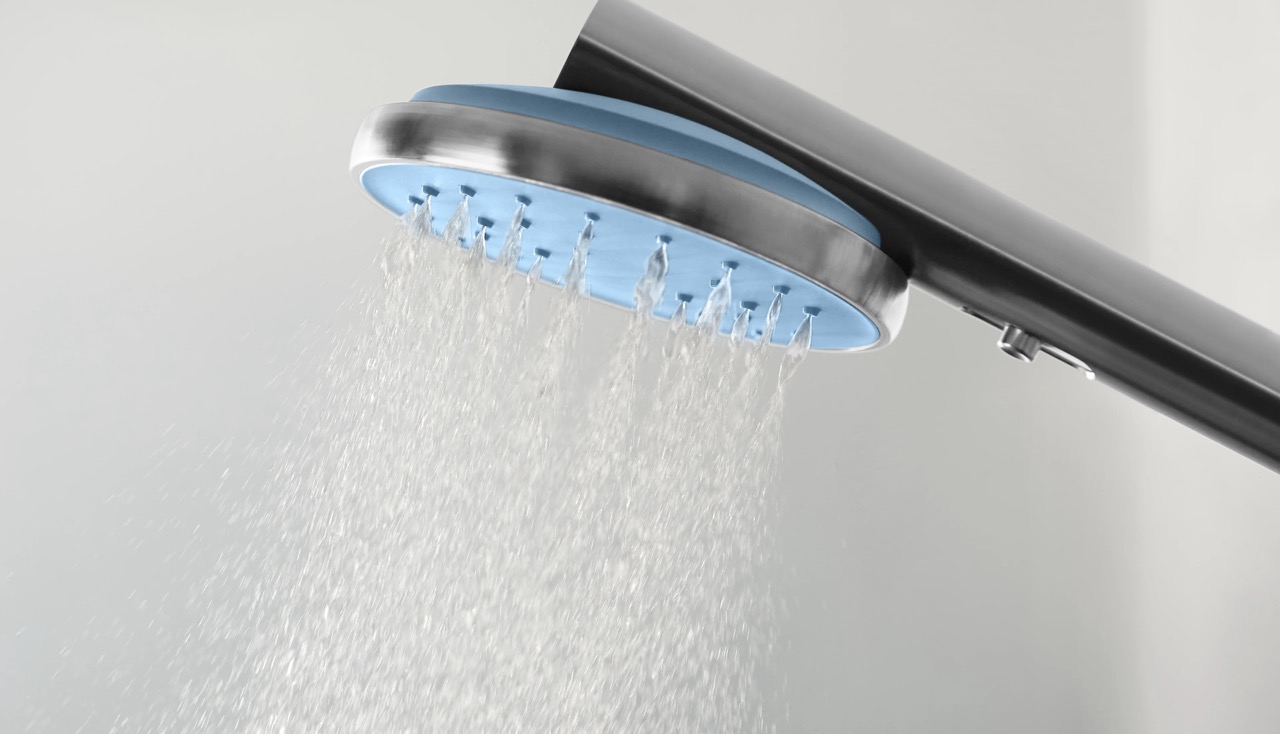
How To Change Showerhead Arm
Modified: August 26, 2024
Learn how to change a showerhead arm with this step-by-step guide. Find helpful articles and tips on replacing showerhead arms for a quick and easy upgrade.
(Many of the links in this article redirect to a specific reviewed product. Your purchase of these products through affiliate links helps to generate commission for Storables.com, at no extra cost. Learn more)
Introduction
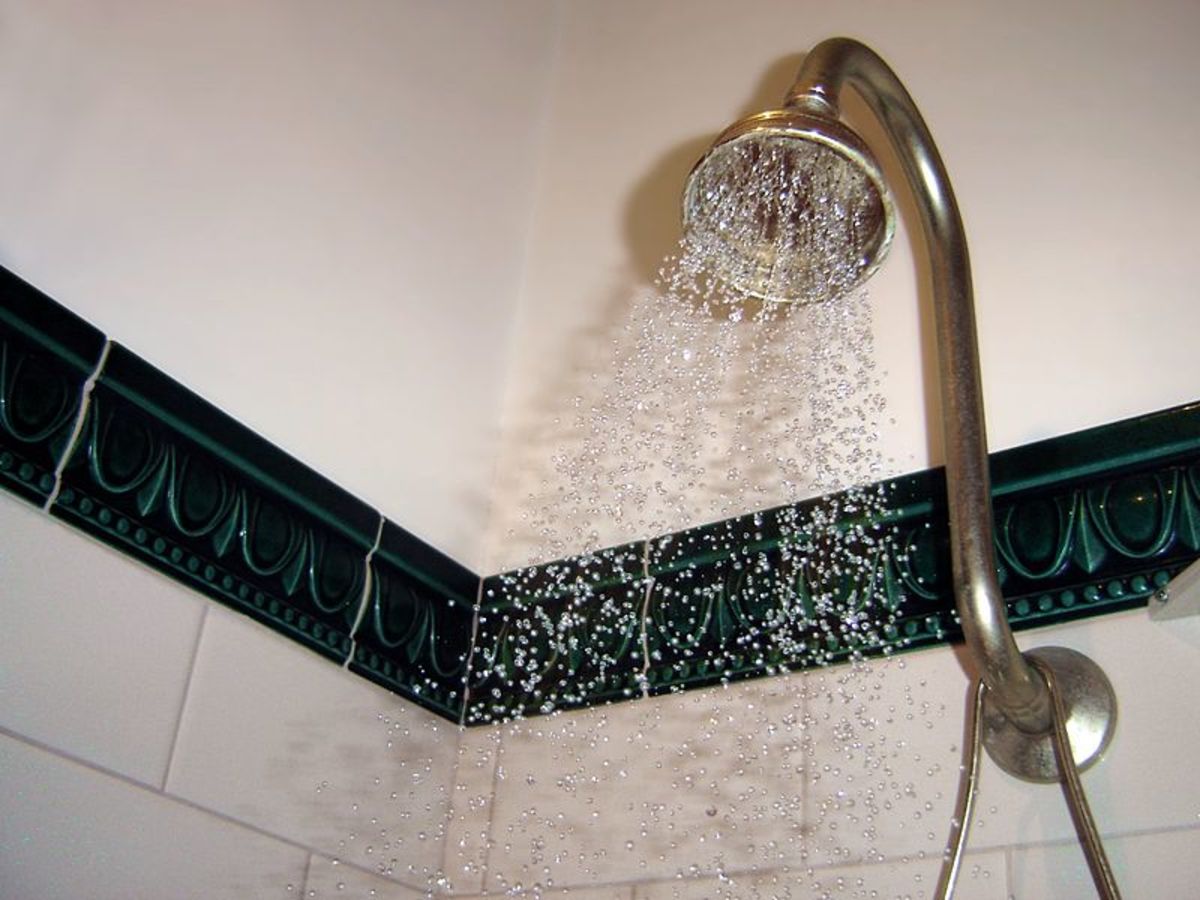
When it comes to bathroom upgrades, changing the showerhead arm can make a noticeable difference in the functionality and appearance of your shower. Whether you’re looking to replace a worn-out arm or simply want to upgrade to a new style, this do-it-yourself project is easier than you might think. By following a few simple steps, you can successfully change the showerhead arm and enjoy a better shower experience.
In this guide, we will take you through each step of the process, from gathering the necessary tools and materials to testing for leaks at the end. Whether you’re a seasoned DIY enthusiast or a beginner, this article will provide you with all the information you need to successfully accomplish this project.
Before you start, it’s important to note that safety should always be your top priority. Make sure to turn off the water supply before beginning any work and follow all safety precautions. If you’re uncertain about any step, it’s advisable to consult a professional plumber.
Now, let’s dive into the process of changing a showerhead arm and transform your shower into a more functional and appealing space.
Key Takeaways:
- Upgrade your shower with a new showerhead arm to enhance functionality and style. Follow the step-by-step guide for a successful DIY project and enjoy a leak-free installation.
- Prioritize safety, gather necessary tools, and test for leaks to ensure a satisfying shower upgrade. Enjoy the satisfaction of a job well done and personalized shower experience.
Read more: How Do You Change A Showerhead?
Step 1: Gather the necessary tools and materials
Before you can start the process of changing the showerhead arm, it’s important to gather all the necessary tools and materials. Having everything you need on hand will help make the process smoother and more efficient. Here’s what you’ll need:
- Adjustable wrench or pliers: You’ll need a wrench or pliers to loosen and tighten the connections.
- Teflon tape: This is used to create a watertight seal between the fittings.
- New showerhead arm: Choose a showerhead arm that suits your style and meets your desired specifications.
- Rag or towel: This will come in handy to clean up any excess water during the process.
Once you have all the necessary tools and materials ready, you can move on to the next step.
Step 2: Turn off the water supply
Before you begin any work on changing the showerhead arm, it’s crucial to turn off the water supply to avoid any accidents or water leakage. Here’s how you can do it:
- Locate the main water shut-off valve: Depending on your plumbing system, the shut-off valve can be found near the water meter, in the basement, or outside your house. It is usually a round or lever handle.
- Turn off the water supply: Rotate the valve clockwise or switch the lever to the “off” position. This will stop the flow of water to your shower.
- Open the shower faucet: To release any remaining water pressure, turn on the shower faucet and let the water run until it stops.
- Close the shower faucet: Once the water stops running, close the shower faucet to prevent any accidental water leakage during the process.
It’s important to double-check that the water supply is completely turned off before proceeding to the next step. This will ensure your safety and make the rest of the process smoother.
Step 3: Remove the existing showerhead
Now that the water supply is turned off, it’s time to remove the existing showerhead. Follow these steps:
- Wrap the showerhead with a rag or towel: This will protect the finish and prevent any damage during the removal process.
- Loosen the showerhead: Using an adjustable wrench or pliers, grip the showerhead firmly and turn it counterclockwise to loosen it. Apply steady pressure until the showerhead is completely detached from the shower arm.
- Remove any residual tape or debris: Once the showerhead is removed, check the shower arm for any tape or debris left behind. Use a clean cloth or a small brush to clean the shower arm threads.
By following these steps, you should be able to easily remove the existing showerhead and have a clear shower arm ready for the next step.
Step 4: Remove the shower arm
With the showerhead removed, it’s now time to remove the shower arm itself. Follow these steps:
- Wrap the shower arm with a rag or towel: This will protect the finish and prevent any damage during the removal process.
- Using an adjustable wrench or pliers, grip the shower arm collar: The collar is the piece that connects the shower arm to the wall. Turn it counterclockwise to loosen it.
- Continue to loosen the collar until the shower arm is completely free from the wall.
- Once the shower arm is loose, gently pull it straight out of the wall. Be careful not to damage the surrounding tiles or plumbing.
Removing the shower arm may require some effort, especially if it has been in place for a long time. If you’re having trouble, you can use a penetrating oil to help loosen any stubborn connections. Apply the oil and let it sit for a few minutes before attempting to remove the shower arm again.
Once you have successfully removed the shower arm, you’re now ready to move on to the next step of preparing the new showerhead arm.
When changing a showerhead arm, use a wrench to loosen the existing arm by turning it counterclockwise. Once removed, clean the threads of the pipe before installing the new arm to ensure a secure fit.
Step 5: Prepare the new showerhead arm
Now that the old shower arm has been removed, it’s time to prepare the new showerhead arm for installation. Follow these steps:
- Inspect the new showerhead arm: Check the threads of the new arm to ensure they are clean and free from any debris or damage. If needed, use a clean cloth or small brush to remove any dirt or residue.
- Apply Teflon tape: Take the Teflon tape and wrap it around the threads of the new showerhead arm in a clockwise direction. Make sure to wrap it tightly and evenly, covering the entire threaded area. This will help create a watertight seal once the arm is installed.
- Trim the excess tape: Once the tape is applied, trim any excess tape with a sharp pair of scissors. Be careful not to cut into the threads.
By preparing the new showerhead arm, you are ensuring a secure and leak-free installation. Taking the time to apply Teflon tape is crucial for creating a tight seal and preventing any water leakage once the arm is installed.
Step 6: Install the new showerhead arm
With the new showerhead arm prepared, it’s time to install it in your shower. Follow these steps:
- Take the new showerhead arm and align it with the opening in the wall where the old arm was removed.
- Start threading the new arm into the wall by hand. Rotate it in a clockwise direction to ensure a tight and secure fit.
- Continue tightening the arm with an adjustable wrench or pliers. Be careful not to overtighten, as this can damage the arm or the plumbing connections.
- Use a rag or towel to hold the arm in place while tightening to prevent any scratches or damage to the arm’s finish.
Once the new showerhead arm is securely installed, you can move on to the final step of testing for leaks.
It’s important to note that when installing the new showerhead arm, make sure it is positioned at the desired height and angle for your showerhead. This will ensure a comfortable and enjoyable shower experience.
Step 7: Test for leaks
After installing the new showerhead arm, it’s crucial to test for any potential leaks before fully completing the installation. Follow these steps:
- Ensure that the water supply to the shower is still turned off.
- Turn on the main water supply to your house.
- Inspect the new showerhead arm and its connection to the wall for any signs of water leakage.
- If you notice any leaks, use an adjustable wrench or pliers to tighten the connection further. Be careful not to overtighten.
- Once you are satisfied that there are no leaks, turn off the water supply again.
Testing for leaks is an essential step to ensure that the new showerhead arm is installed correctly and that there are no potential water waste or damage. Make sure to inspect the connections carefully and take the necessary steps to fix any leaks before proceeding.
Now that you have successfully tested for leaks, you can move on to the final step of turning on the water supply and enjoying your new showerhead arm.
Step 8: Turn on the water supply
With the new showerhead arm installed and the leaks tested, it’s time to turn on the water supply and enjoy your upgraded shower. Follow these steps:
- Ensure that all faucets and valves in your house are closed.
- Slowly turn on the main water supply to your house. Do this gradually to allow any air to escape from the pipes.
- Once the water is flowing steadily, check the new showerhead arm for any signs of leakage or drips.
- If you notice any leaks, turn off the main water supply again and troubleshoot the issue. You may need to recheck the connections or apply more Teflon tape to create a better seal.
- If there are no leaks, you can go ahead and turn on the shower faucet to check the water flow and experience your newly installed showerhead arm.
By following these steps, you can ensure that the water supply is turned on safely and without any issues. It’s essential to double-check for leaks and make any necessary adjustments before enjoying the full benefits of your new showerhead arm.
Congratulations! You have successfully changed the showerhead arm and upgraded your shower experience. Take some time to enjoy the improved functionality and style of your shower, and relish the satisfaction of a DIY project completed.
Conclusion
Changing the showerhead arm is a simple yet impactful DIY project that can enhance the functionality and aesthetics of your shower. By following the step-by-step guide outlined in this article, you can successfully replace the showerhead arm and enjoy a better shower experience.
Starting with gathering the necessary tools and materials, to turning off the water supply, removing the existing showerhead and shower arm, preparing and installing the new showerhead arm, testing for leaks, and finally turning on the water supply, each step is crucial in ensuring a successful and leak-free installation.
Remember to prioritize safety throughout the process, turning off the water supply and seeking professional assistance if needed. Take your time to carefully inspect the connections and test for leaks to avoid any potential issues.
By successfully completing this DIY project, you have not only improved the functionality of your shower but also added a touch of personalization and style. Enjoy the satisfaction of a job well done and revel in the rejuvenating showers that await you.
So, go ahead and change that showerhead arm. Your new and improved shower experience awaits!
Frequently Asked Questions about How To Change Showerhead Arm
Was this page helpful?
At Storables.com, we guarantee accurate and reliable information. Our content, validated by Expert Board Contributors, is crafted following stringent Editorial Policies. We're committed to providing you with well-researched, expert-backed insights for all your informational needs.
0 thoughts on “How To Change Showerhead Arm”