Articles
How To Install A Handheld Showerhead
Modified: February 22, 2024
Learn how to install a showerhead with a handheld attachment. Step-by-step guide and expert tips to make your showering experience more convenient and enjoyable.
(Many of the links in this article redirect to a specific reviewed product. Your purchase of these products through affiliate links helps to generate commission for Storables.com, at no extra cost. Learn more)
Introduction
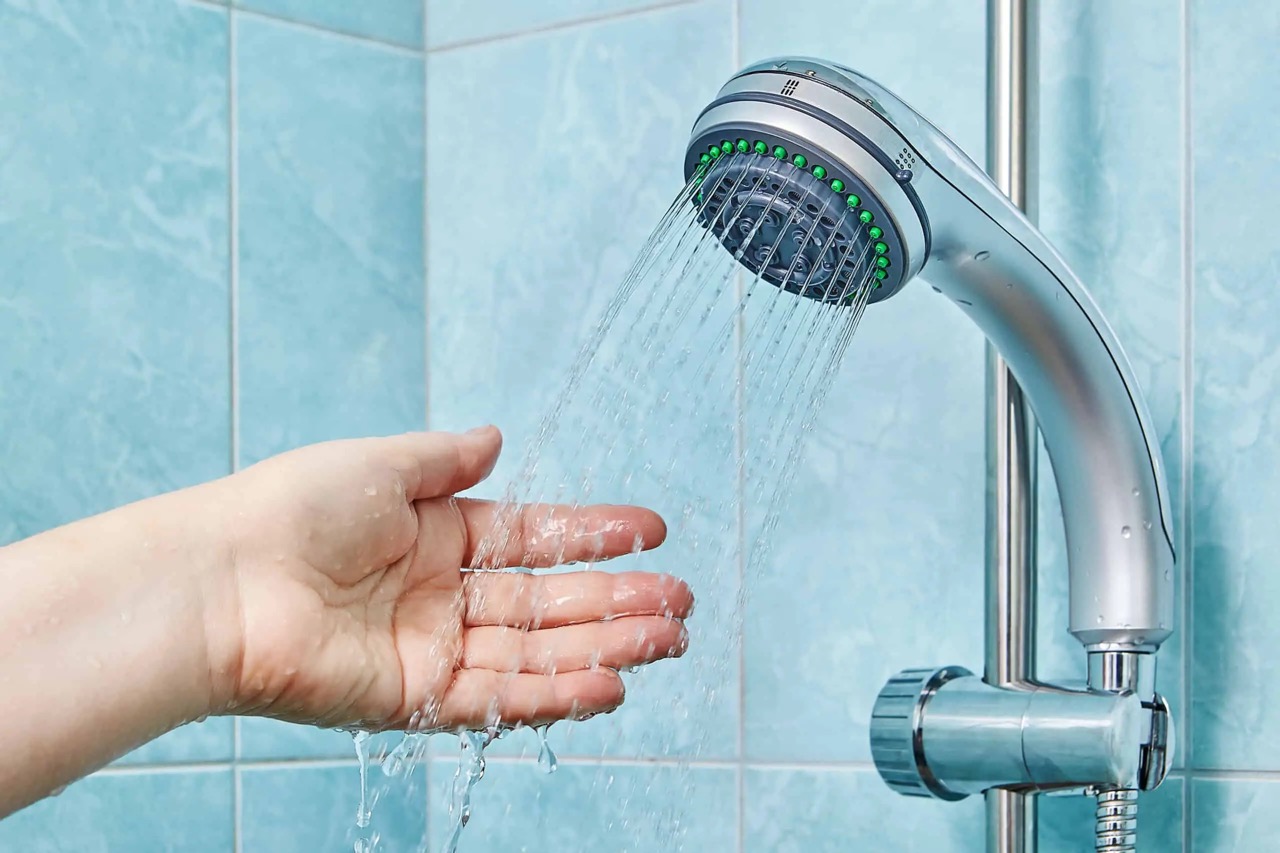
Installing a handheld showerhead is a great way to add convenience and versatility to your shower routine. Whether you want to enjoy the freedom of moving the showerhead around or need a flexible option for bathing children or pets, a handheld showerhead can offer you a more personalized and efficient bathing experience.
In this article, we will provide you with a step-by-step guide on how to install a showerhead with a handheld feature. We will cover everything from gathering the necessary tools and materials to attaching the handheld showerhead to the mount. By following these simple instructions, you’ll be able to upgrade your shower and enjoy the benefits of a handheld showerhead in no time.
Let’s dive in and get started!
Key Takeaways:
- Upgrade your shower experience by installing a handheld showerhead with ease. Enjoy personalized spray patterns, adjustable water flow, and the convenience of bathing pets or kids.
- Transform your daily shower routine with a versatile handheld showerhead. Embrace flexibility, involve the whole family, and enjoy a luxurious, personalized bathing experience.
Tools and Materials Needed
Before you begin the installation process, make sure you have the following tools and materials on hand:
- Adjustable wrench
- Plumber’s tape
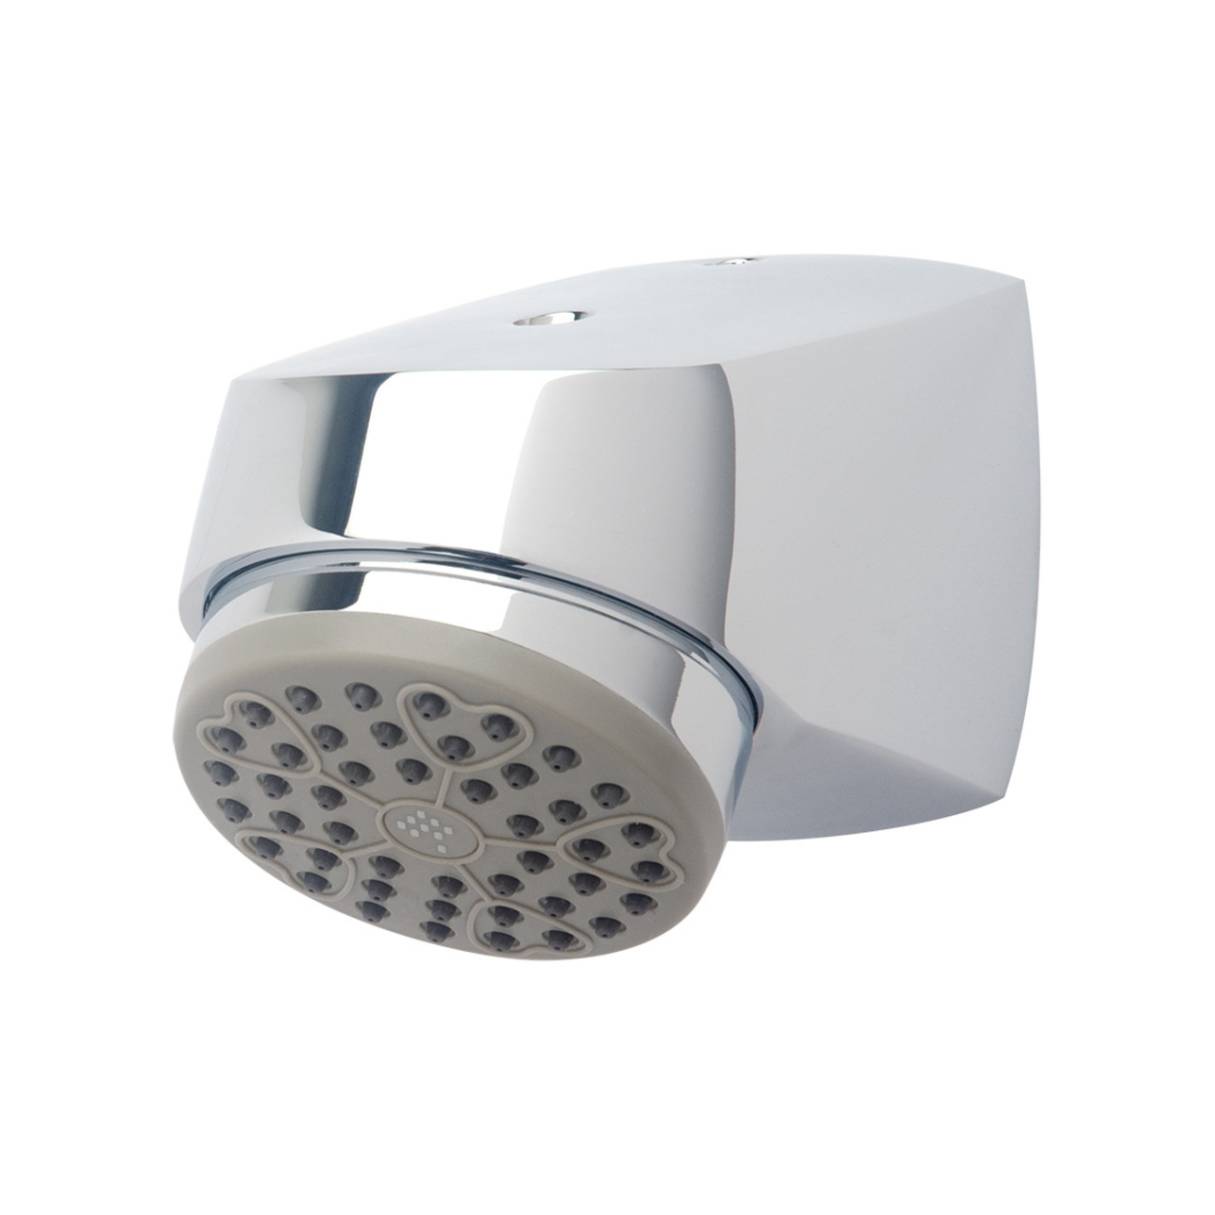
- Handheld showerhead kit (including the hand shower, hose, and mount)
- Clean cloth or rag
- Teflon tape
- Bucket or container (to catch any residual water)
Having these tools and materials ready will ensure a smooth and successful installation process. Take a moment to gather everything and have it within reach before you proceed to the next step.
Step 1: Gather Necessary Tools
Before you start the installation process, it’s important to gather all the necessary tools and materials. This will save you time and ensure a smooth and efficient installation. Here’s a quick recap of the tools you’ll need:
- Adjustable wrench: This tool is essential for loosening and tightening connections. Make sure you have a wrench that can accommodate the size of your showerhead fittings.
- Plumber’s tape: Also known as Teflon tape, this thin white tape is used to create a watertight seal. It’s important to apply plumber’s tape to the shower arm threads to prevent leaks.
- Handheld showerhead kit: This kit should include the handheld showerhead, hose, and mount. Make sure you have all the components before you begin the installation.
- Clean cloth or rag: You’ll need a clean cloth or rag to wipe any excess water or debris from the shower arm and fittings.
- Teflon tape: This tape is used to provide a secure and leak-free connection between threaded fittings. It’s important to apply a few wraps of Teflon tape to the showerhead connections to ensure a tight seal.
- Bucket or container: It’s a good idea to have a bucket or container on hand to catch any water that may drip during the installation process. This will prevent water from pooling on the floor and make cleanup easier.
Once you have all the necessary tools and materials, you’re ready to move on to the next step: removing the existing showerhead.
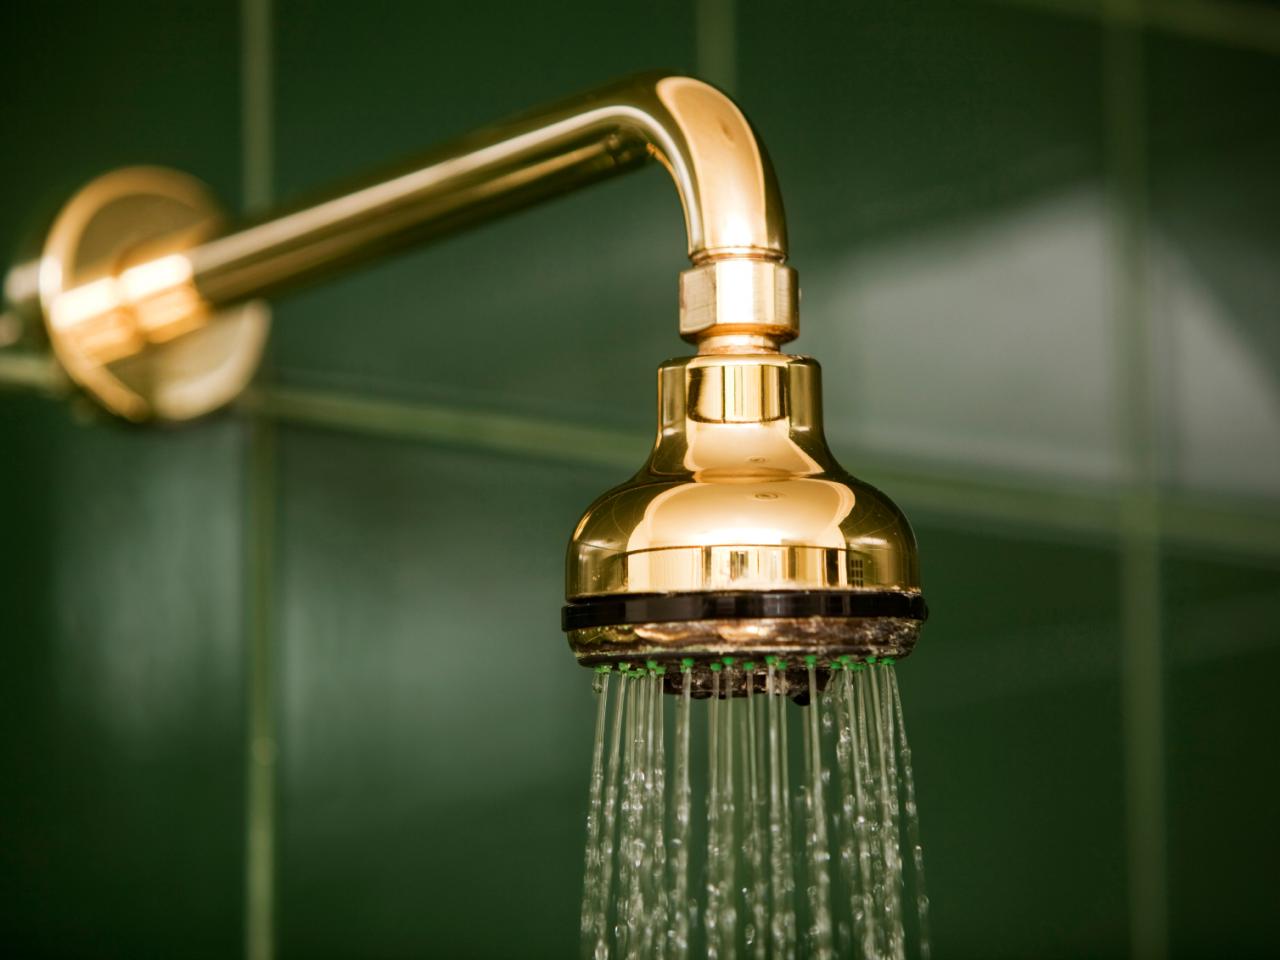
Step 2: Remove Existing Showerhead
Before you can install your new handheld showerhead, you’ll need to remove the existing showerhead. Follow these steps to do so:
- Locate the shower arm: The shower arm is the pipe that extends from the wall and connects to the showerhead. It’s usually located above the faucet handles.
- Use an adjustable wrench: Place an adjustable wrench around the base of the showerhead where it connects to the shower arm. Rotate the wrench counterclockwise to loosen the showerhead from the arm. If the showerhead is stubborn, you can use a pair of pliers to provide additional leverage.
- Unscrew the showerhead: Once the showerhead is loose, continue twisting it counterclockwise until it comes off completely. Be cautious not to apply excessive force, as you don’t want to damage the shower arm threads.
- Remove any excess debris: Take a clean cloth or rag and wipe the shower arm threads to remove any dirt or debris. This will ensure a clean surface for the new showerhead installation.
After you’ve removed the existing showerhead and cleaned the shower arm threads, you’re ready to move on to the next step: cleaning the shower arm.
Step 3: Clean the Shower Arm
Before installing your new handheld showerhead, it’s important to clean the shower arm to ensure a proper and secure fit. Follow these steps to clean the shower arm:
- Inspect the shower arm: Take a moment to examine the shower arm for any visible dirt, debris, or mineral buildup. This is common in areas with hard water.
- Prepare a cleaning solution: Mix a solution of equal parts vinegar and water in a bowl or spray bottle. Vinegar is a natural cleanser that can effectively remove mineral deposits.
- Soak a cloth or sponge: Dip a clean cloth or sponge into the cleaning solution, making sure it’s saturated but not dripping.
- Clean the shower arm: Gently scrub the shower arm with the cloth or sponge, paying special attention to any areas with buildup. If necessary, you can use an old toothbrush to reach smaller crevices.
- Rinse the shower arm: Once you’ve thoroughly cleaned the shower arm, rinse it with water to remove any remaining cleaning solution.
- Dry the shower arm: Use a clean, dry cloth to wipe the shower arm and ensure it’s completely dry. This will help prevent any potential rust or corrosion.
By cleaning the shower arm, you’ll ensure a clean surface for the installation of your new handheld showerhead, improving both the appearance and functionality of your shower. With the shower arm cleaned, you’re ready for the next step: attaching the shower arm mount.
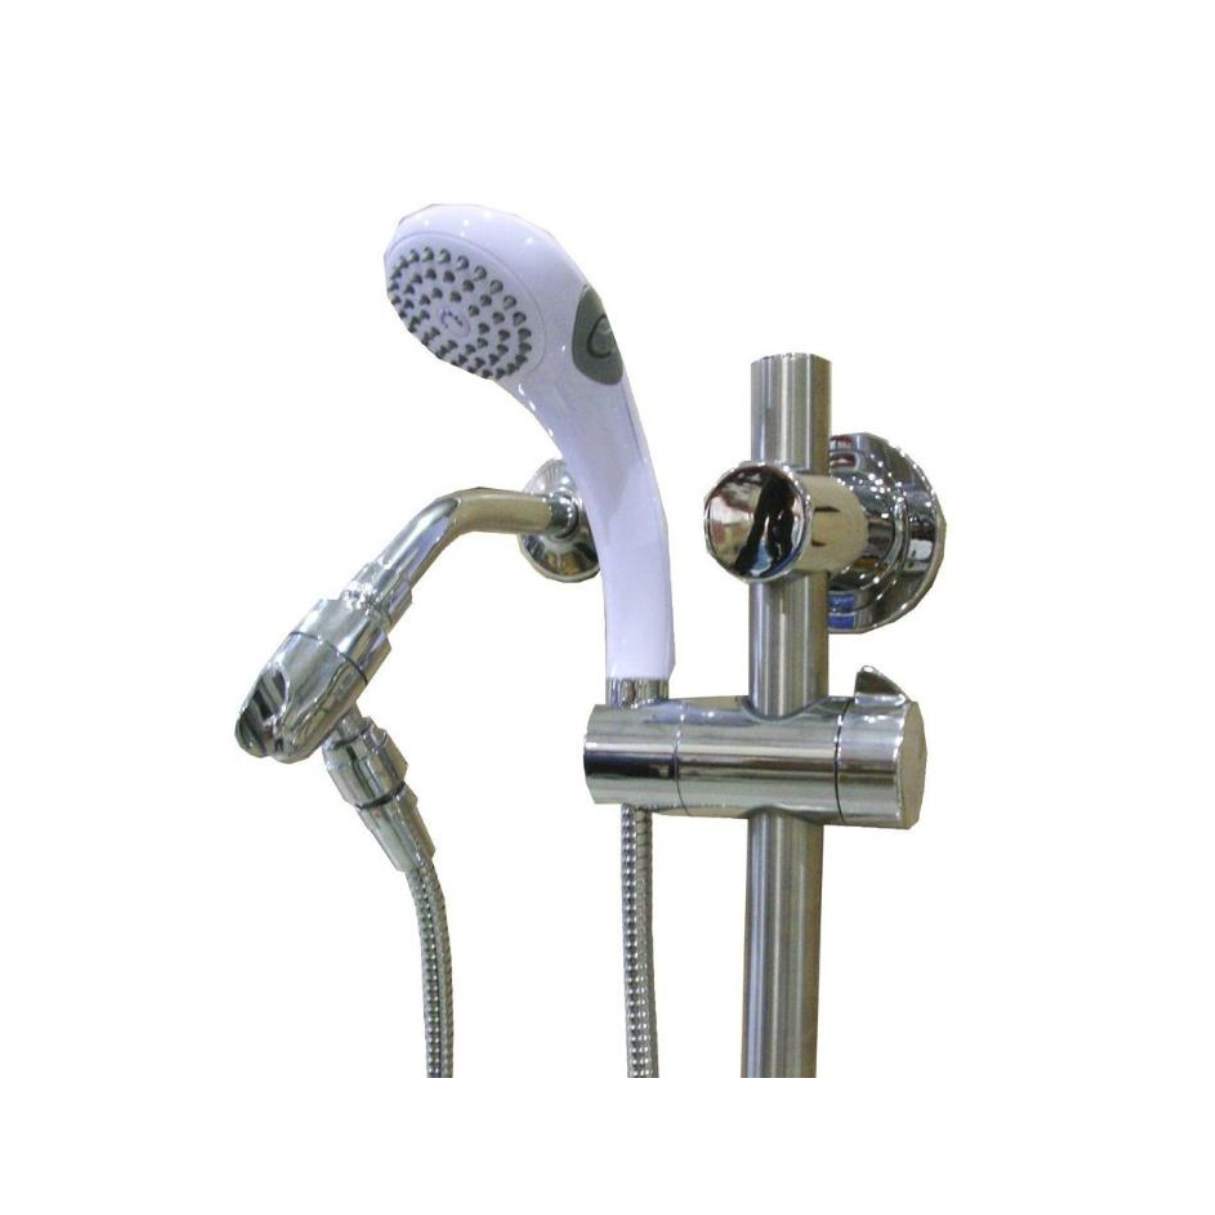
Step 4: Attach the Shower Arm Mount
Now that you’ve cleaned the shower arm, it’s time to attach the shower arm mount. Follow these steps to securely install the mount:
- Apply plumber’s tape: Take the plumber’s tape and wrap a few layers clockwise around the threads at the end of the shower arm. This will create a tight seal and prevent any potential leaks.
- Screw on the mount: Take the shower arm mount and screw it onto the shower arm threads. Rotate the mount clockwise until it is snug and secure. You can use an adjustable wrench to help tighten it, but be careful not to overtighten to avoid damaging the mount or shower arm threads.
- Check the position: Ensure that the mount is positioned in a place that is comfortable and convenient for your showering needs. Adjust it if necessary before moving on to the next step.
Attaching the shower arm mount is an important step as it provides the foundation for the handheld showerhead. With the mount securely in place, you’re now ready to move on to the next step: connecting the hose to the handheld showerhead.
When installing a showerhead with a handheld attachment, make sure to use plumber’s tape on the threads to prevent leaks. Tighten the connections by hand, then use a wrench to secure them without over-tightening.
Step 5: Connect the Hose to the Handheld Showerhead
Now that the shower arm mount is securely attached, it’s time to connect the hose to the handheld showerhead. Follow these steps to ensure a proper connection:
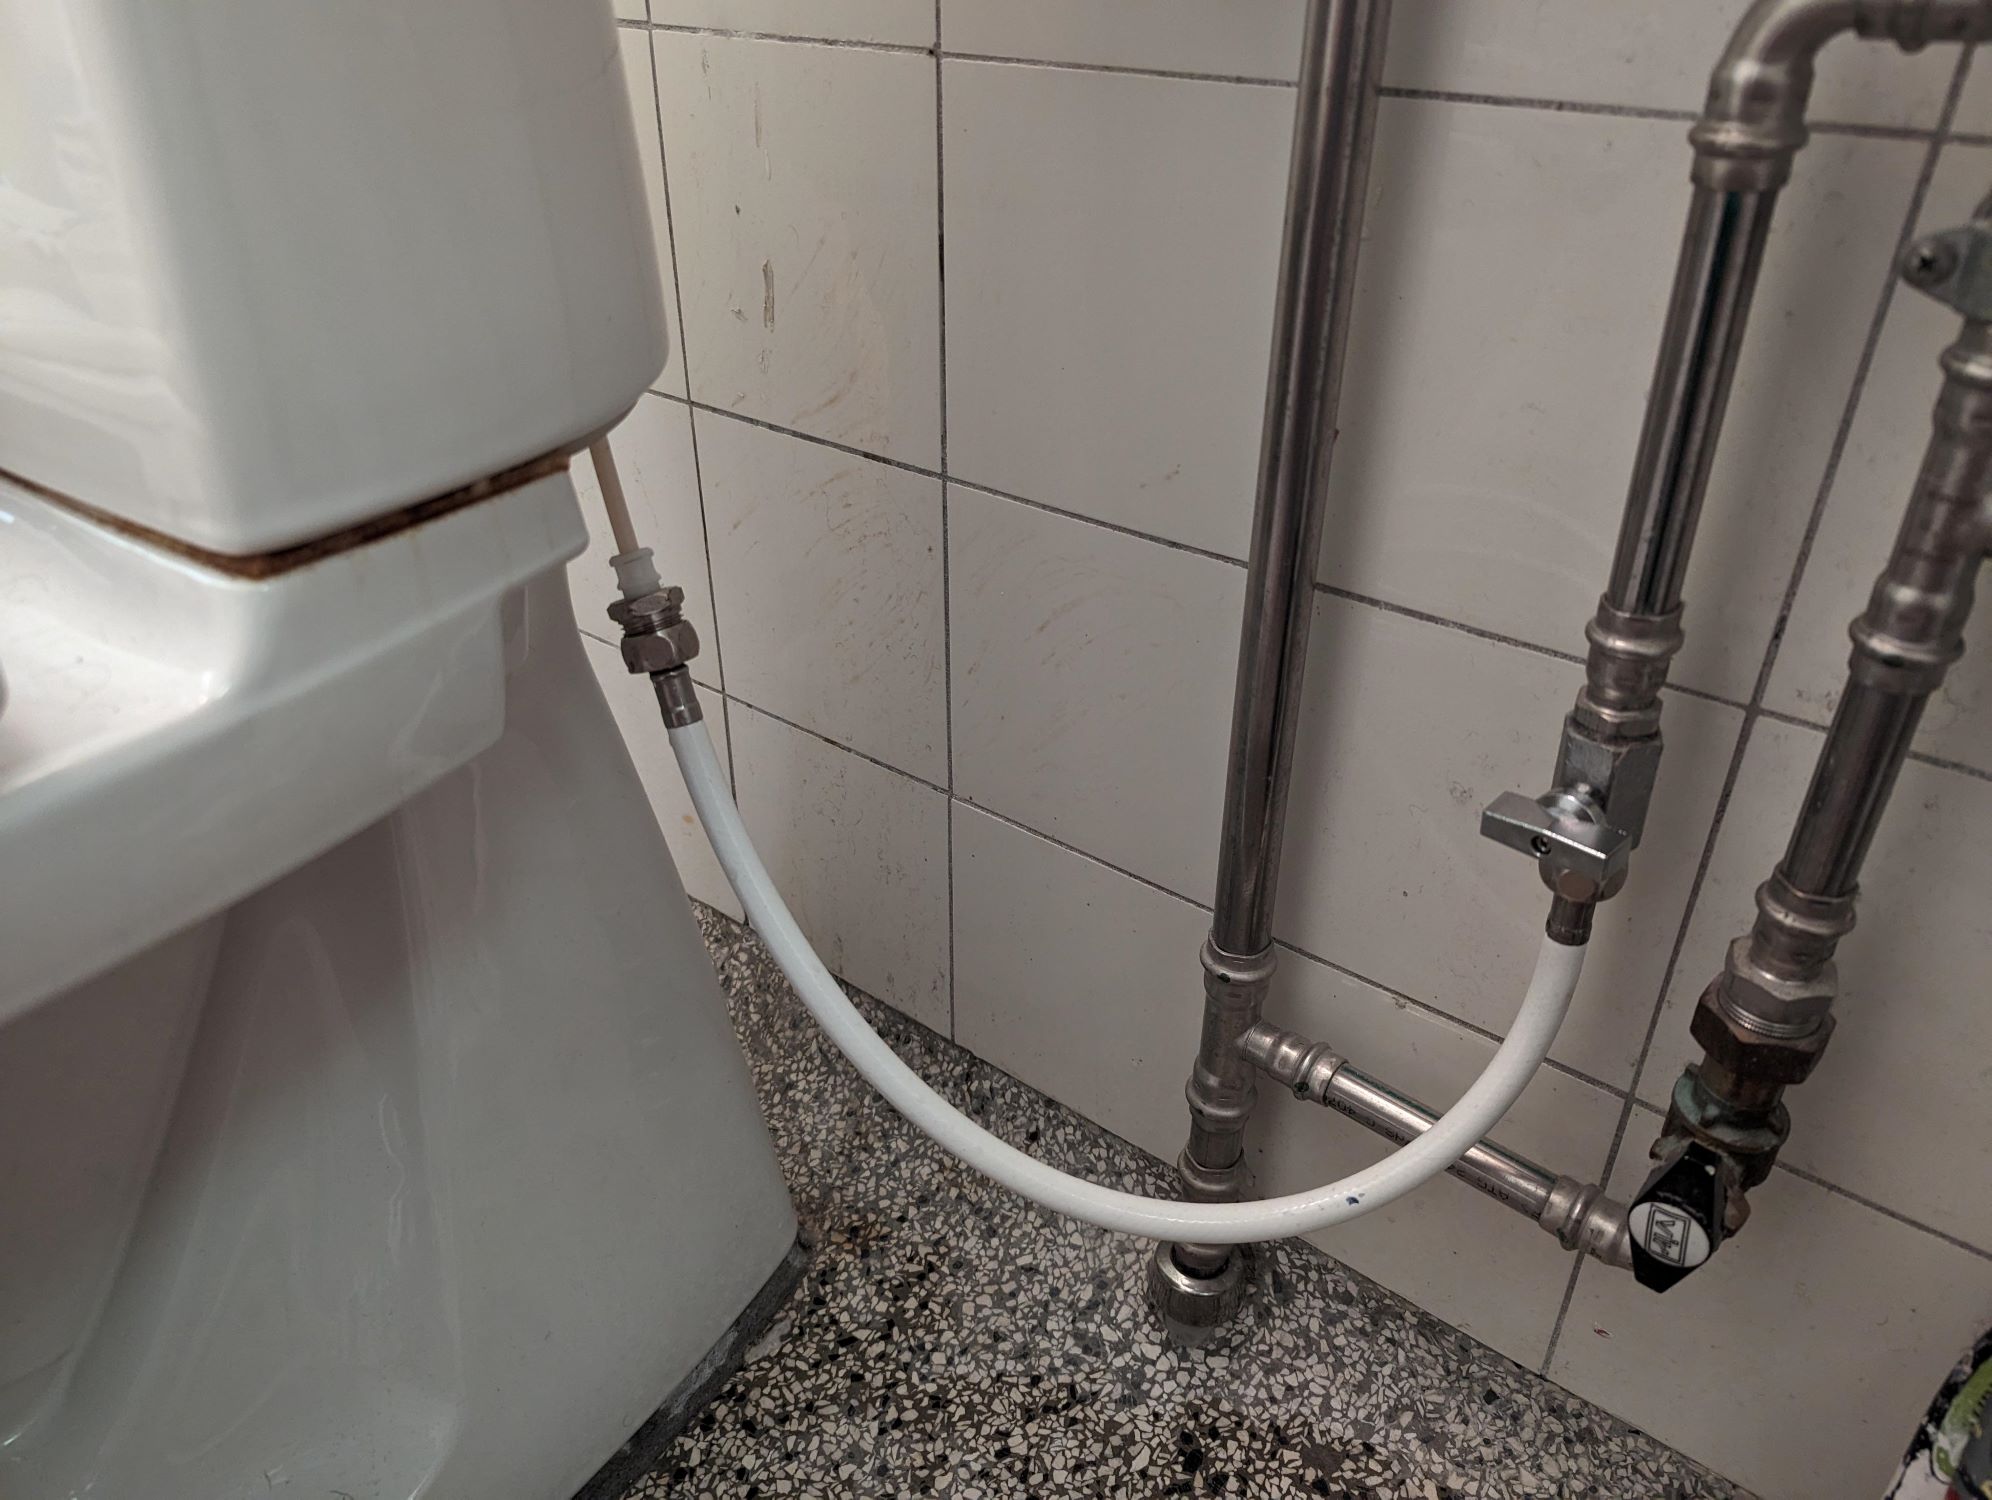
- Inspect the hose: Take a moment to examine the hose for any kinks, damage, or debris. If you notice any issues, it’s best to replace the hose before proceeding.
- Attach the hose to the handheld showerhead: Take one end of the hose and attach it to the designated connection point on the handheld showerhead. Most showerheads have a threaded connection where the hose can be screwed on.
- Tighten the connection: Use your hand to initially tighten the hose connection. Once it’s snug, use an adjustable wrench to give it a final turn to ensure a secure and leak-free connection. Be careful not to overtighten and damage the threads.
By properly connecting the hose to the handheld showerhead, you’ll ensure a smooth flow of water and prevent any potential leaks. With the hose attached, you’re now ready to move on to the next step: attaching the handheld showerhead to the mount.
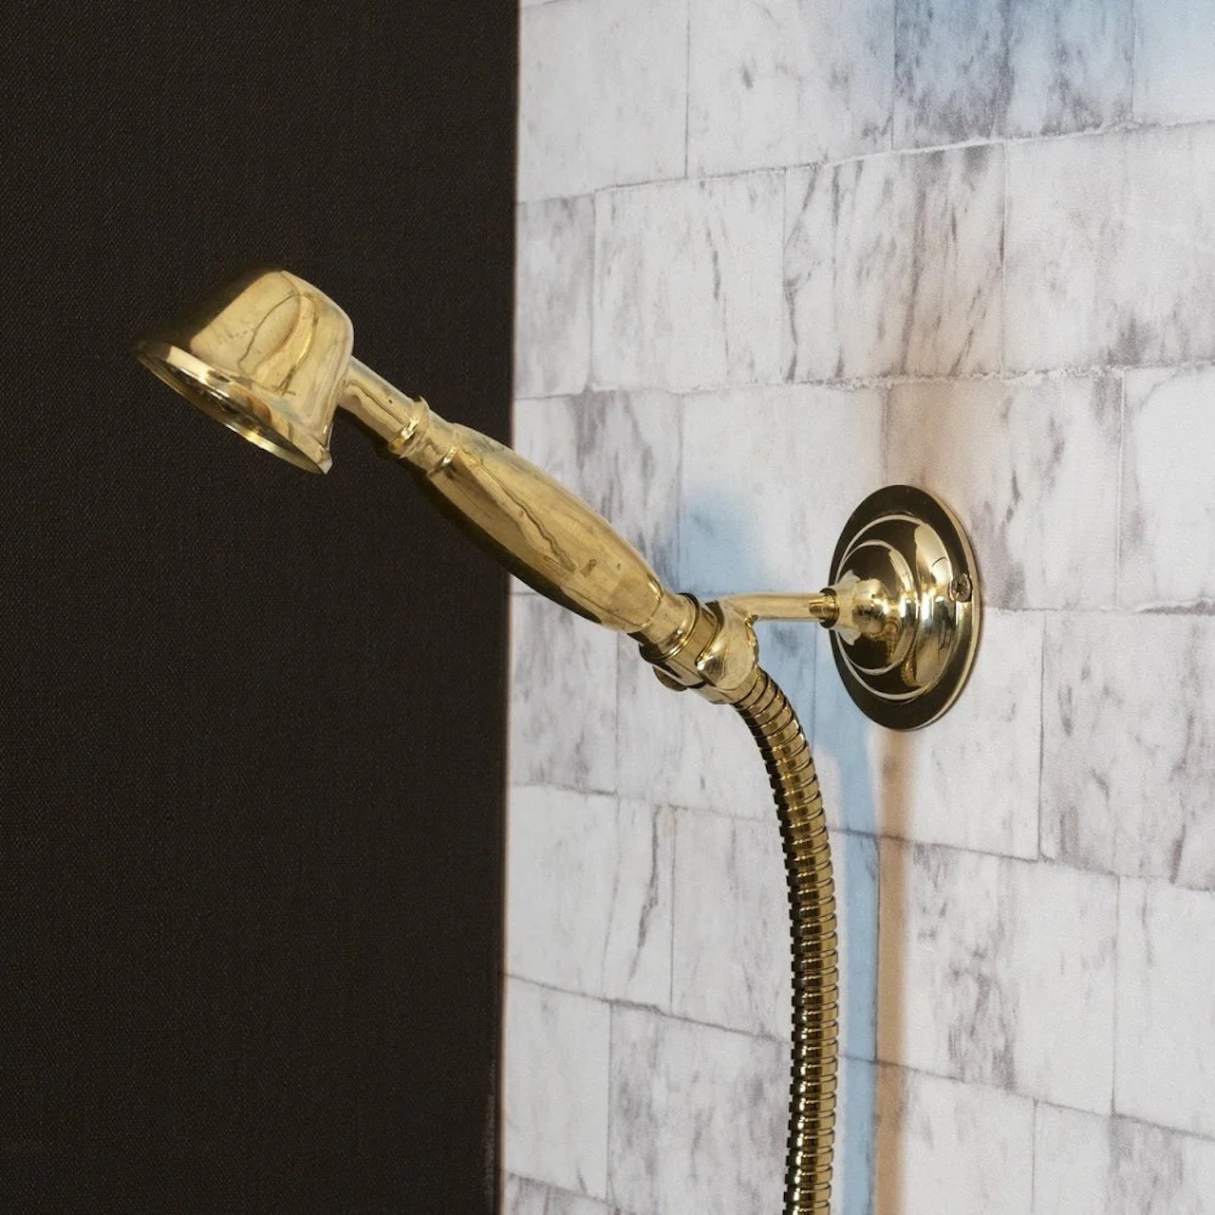
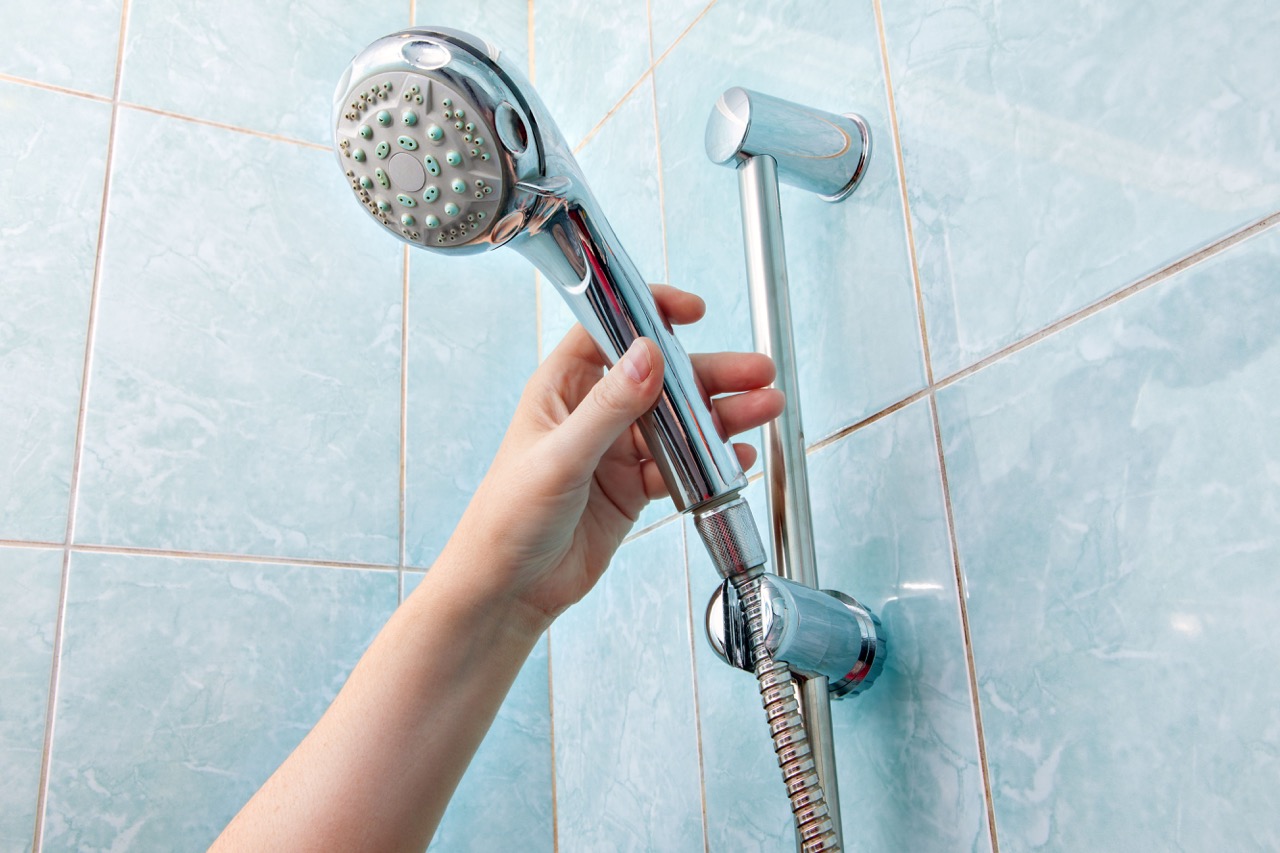
Step 6: Attach the Handheld Showerhead to the Mount
With the hose securely connected to the handheld showerhead, it’s time to attach the showerhead to the mount. Follow these steps to complete the installation:
- Position the handheld showerhead: Hold the handheld showerhead in your hand and position it near the shower arm mount. Align the showerhead with the mount so that the connection points are aligned.
- Insert the showerhead into the mount: Insert the connection point of the handheld showerhead into the mount. You may need to twist or push the showerhead slightly to ensure a proper fit.
- Secure the showerhead: Once the showerhead is positioned correctly, use your hand to tighten the connection. Make sure it is snug, but avoid using excessive force to prevent damage to the showerhead or mount.
By attaching the handheld showerhead to the mount, you’ll ensure stability and convenience during your showering experience. With the showerhead securely in place, you’re now ready to move on to the next step: testing and adjusting the showerhead.
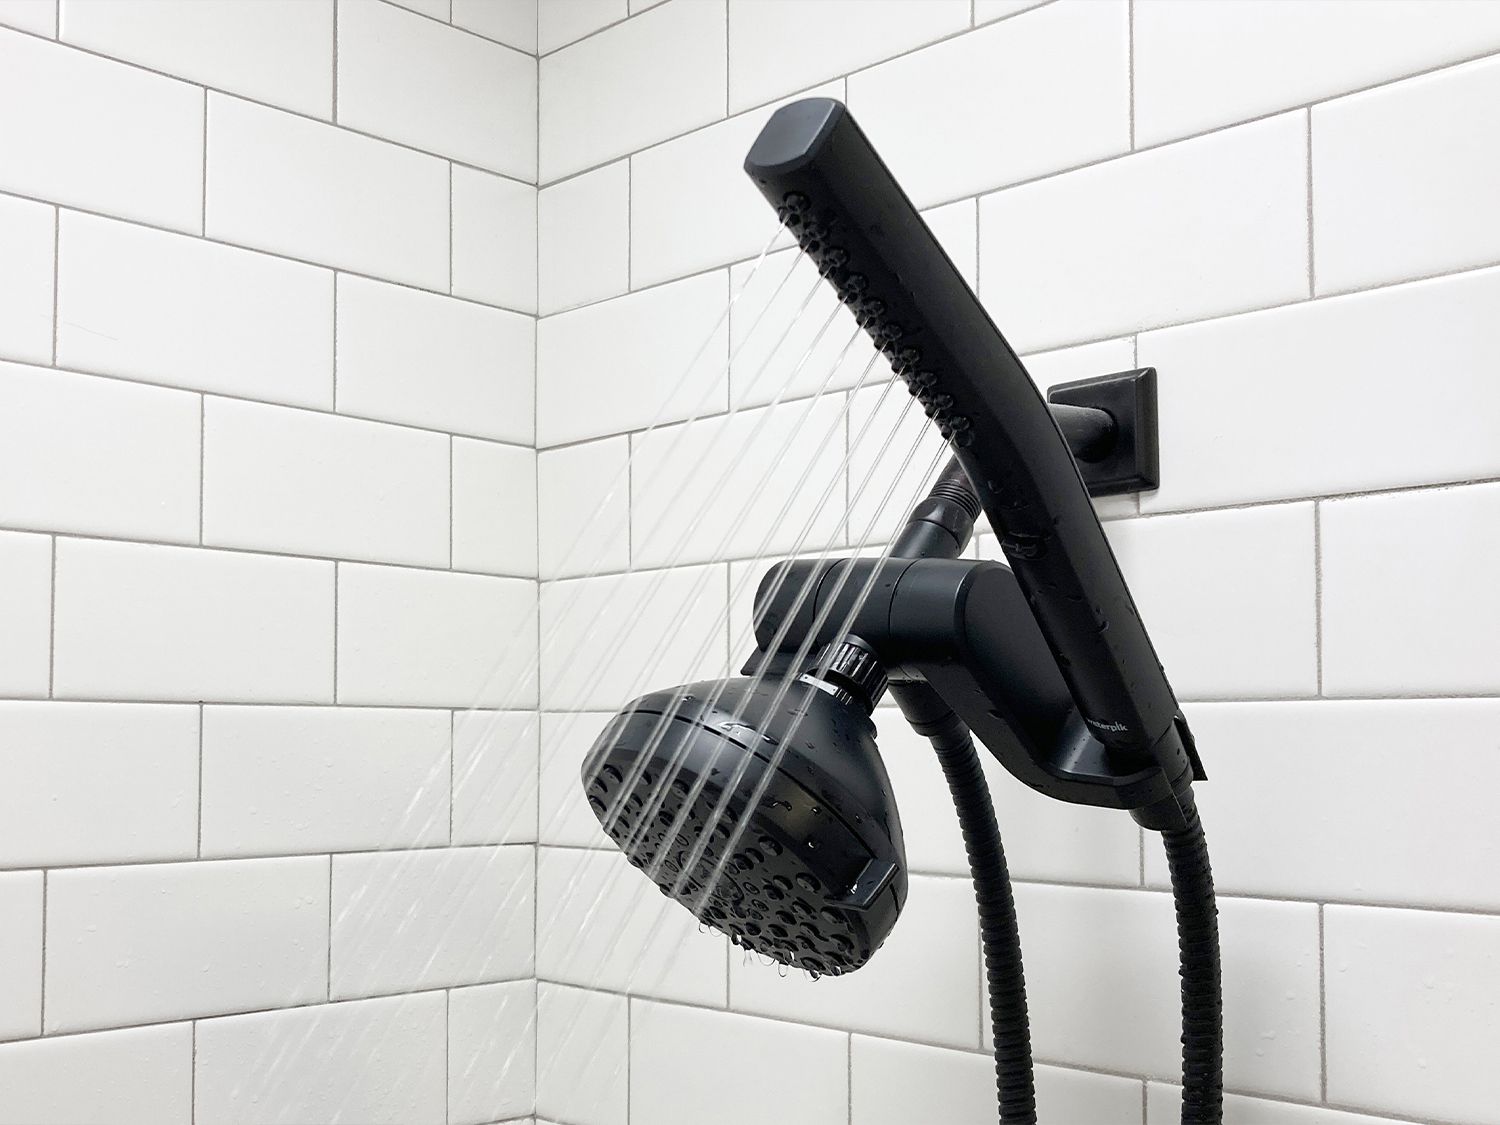
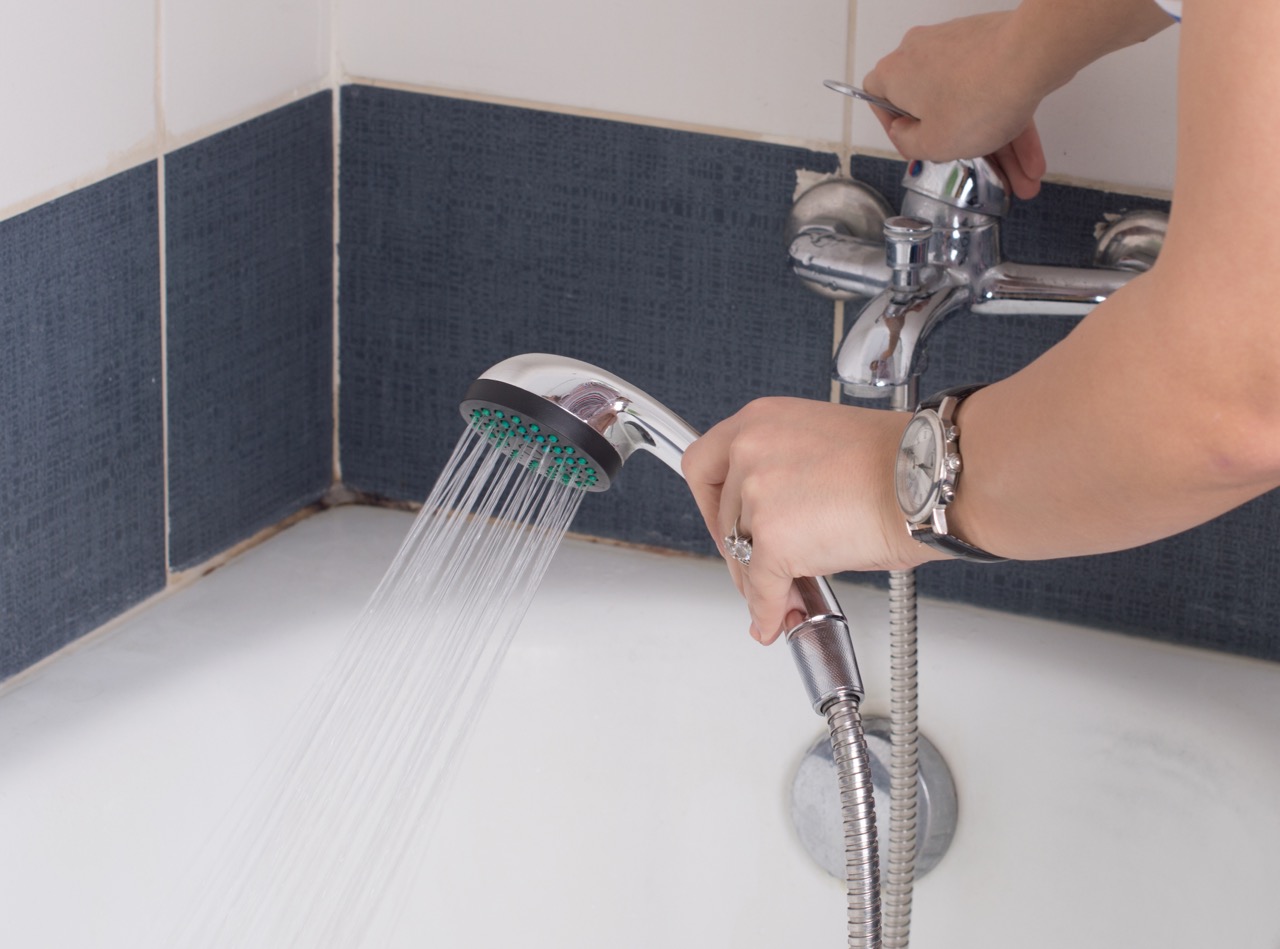
Step 7: Test and Adjust the Showerhead
Now that you have installed the handheld showerhead, it’s important to test and adjust it to ensure it’s functioning properly. Follow these steps to check for any issues and make necessary adjustments:
- Turn on the water: Slowly turn on the water supply to your shower. Start with a low flow to prevent any splashing or sudden pressure.
- Check for leaks: Inspect the connections between the shower arm, hose, and handheld showerhead for any signs of leaks. If you notice any dripping or water escaping, ensure the connections are tightened properly or consider adding more plumber’s tape.
- Test the spray patterns: Adjust the handheld showerhead to different spray patterns (e.g., wide, concentrated, pulsating) to determine which setting suits your preferences. Ensure the spray is consistent and the water flow is adequate.
- Adjust the height and angle: If your mount allows for height and angle adjustment, experiment with different positions to find the most comfortable and convenient setting for your shower experience.
By testing and adjusting the showerhead, you’ll ensure that it is working properly and providing you with the desired water flow and spray patterns. Take your time to find the optimal settings for your needs.
And with that, you have successfully installed and tested your new handheld showerhead. You’re now ready to move on to the final step: enjoying your upgraded shower experience!
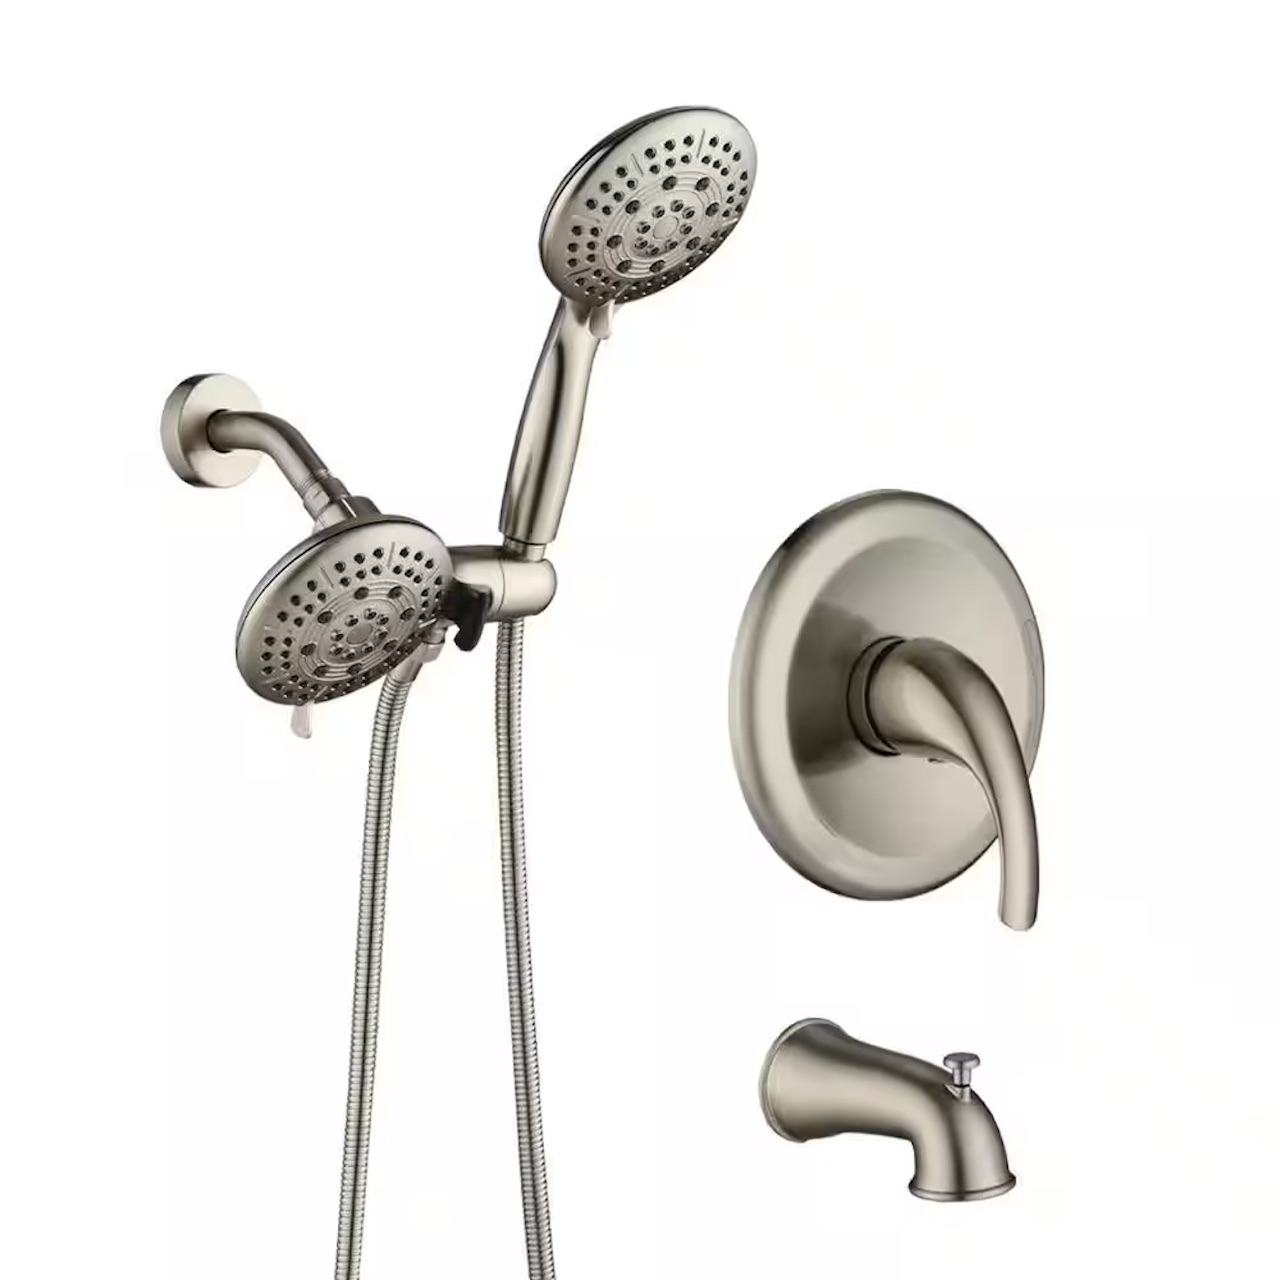
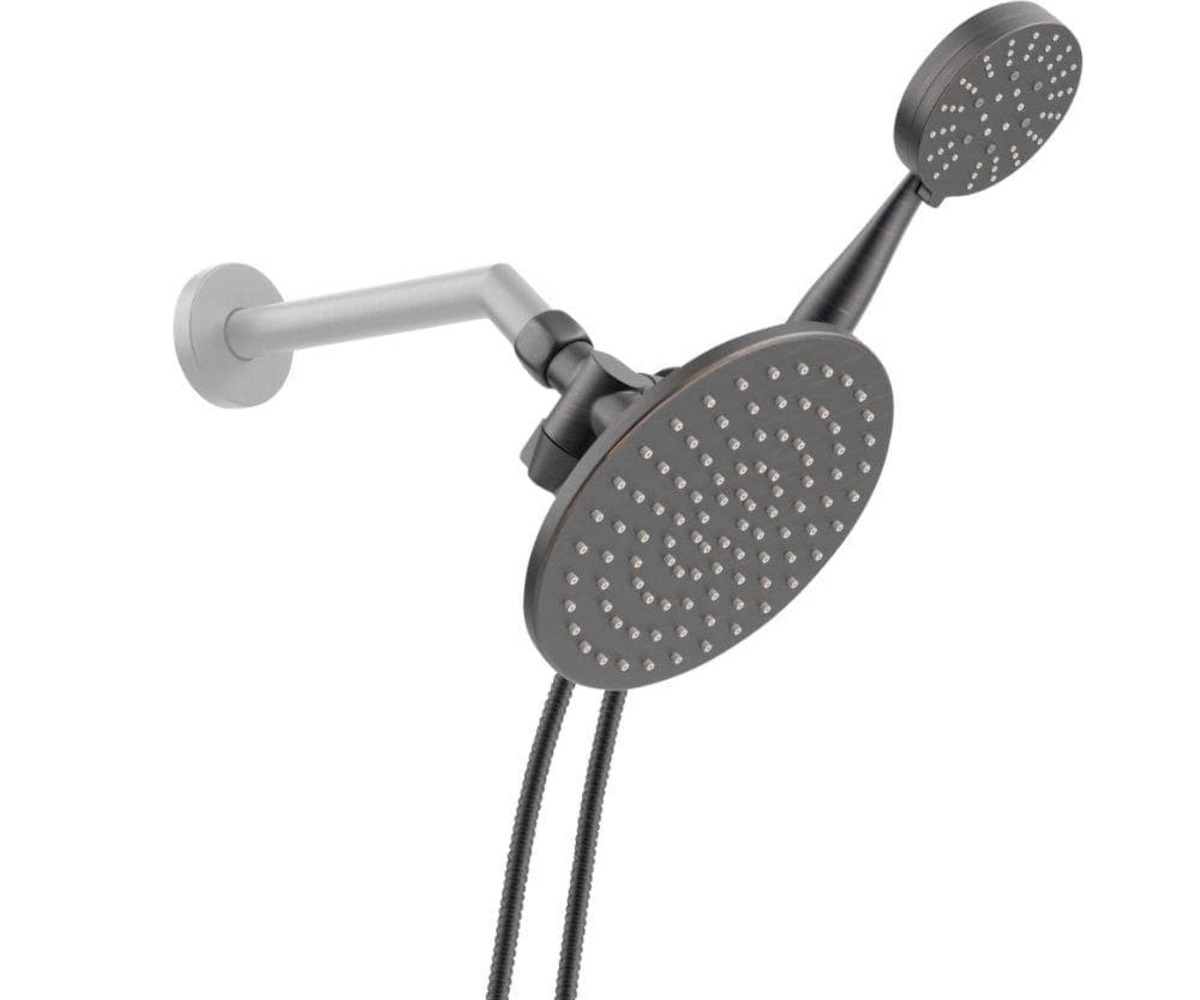
Read more: How To Install A 4-Spray 2-In-1 Dual Showerhead And Handheld Showerhead In Champagne Bronze
Step 8: Enjoy Your New Handheld Showerhead
Congratulations! You have successfully installed your new handheld showerhead. Now it’s time to sit back, relax, and enjoy the benefits of this convenient and versatile addition to your shower routine. Here are a few tips to enhance your experience:
- Explore different spray patterns: Take advantage of the various spray patterns that your handheld showerhead offers. Whether you prefer a gentle rainfall effect or a massaging pulse, experiment with the different settings to find your favorite.
- Adjust the water flow: Most handheld showerheads come with a flow control feature that allows you to adjust the water flow rate. Find the sweet spot that provides the optimal balance between water pressure and conservation.
- Utilize the flexibility: Make the most out of the handheld feature by using it to target specific areas of your body, such as your back, legs, or feet. The adjustable hose allows for easy maneuverability, giving you a customized shower experience.
- Involve the whole family: If you have kids or pets, a handheld showerhead can be a game-changer. Bathing little ones or furry friends becomes much easier and less messy with the flexibility of a handheld showerhead.
Remember to regularly clean your handheld showerhead to prevent any clogs or mineral buildup. Refer to the manufacturer’s instructions for proper cleaning and maintenance guidelines.
With your new handheld showerhead, you can transform your daily shower into a luxurious and personalized experience. Enjoy the convenience, versatility, and improved functionality it brings to your bathroom. Say goodbye to traditional fixed showerheads and embrace the freedom of a handheld showerhead!
Thank you for following this step-by-step guide. We hope you found it helpful and that you enjoy your upgraded shower experience. Happy showering!
Conclusion
Installing a handheld showerhead is a simple and rewarding project that can greatly enhance your shower experience. By following the steps outlined in this guide, you have successfully learned how to install a showerhead with a handheld feature.
From gathering the necessary tools and materials to attaching the shower arm mount, connecting the hose, and securing the handheld showerhead, each step has brought you closer to enjoying the convenience and versatility of a handheld showerhead.
Remember, throughout the installation process, it’s crucial to pay attention to detail, ensure proper connections, and test for any leaks or issues. Taking the time to properly install and adjust your handheld showerhead will result in a more enjoyable and efficient shower routine.
Now that you have completed the installation, it’s time to reap the benefits. Explore different spray patterns, adjust the water flow, and make the most out of the flexibility and convenience that a handheld showerhead offers. Involve the whole family and enjoy the ease of bathing pets or young children.
Lastly, don’t forget to regularly clean and maintain your handheld showerhead to keep it functioning optimally. This will prolong its lifespan and prevent any potential clogs or mineral buildup.
Thank you for following this comprehensive guide on how to install a showerhead with a handheld feature. We hope you found it informative and helpful. Enjoy your new and upgraded shower experience!
Frequently Asked Questions about How To Install A Handheld Showerhead
Was this page helpful?
At Storables.com, we guarantee accurate and reliable information. Our content, validated by Expert Board Contributors, is crafted following stringent Editorial Policies. We're committed to providing you with well-researched, expert-backed insights for all your informational needs.


0 thoughts on “How To Install A Handheld Showerhead”