Articles
How To Install Moen Twist Handheld Showerhead
Modified: August 27, 2024
Learn how to install the Moen Twist Handheld Showerhead with our step-by-step guide. Read our informative articles for helpful tips and tricks.
(Many of the links in this article redirect to a specific reviewed product. Your purchase of these products through affiliate links helps to generate commission for Storables.com, at no extra cost. Learn more)
Introduction
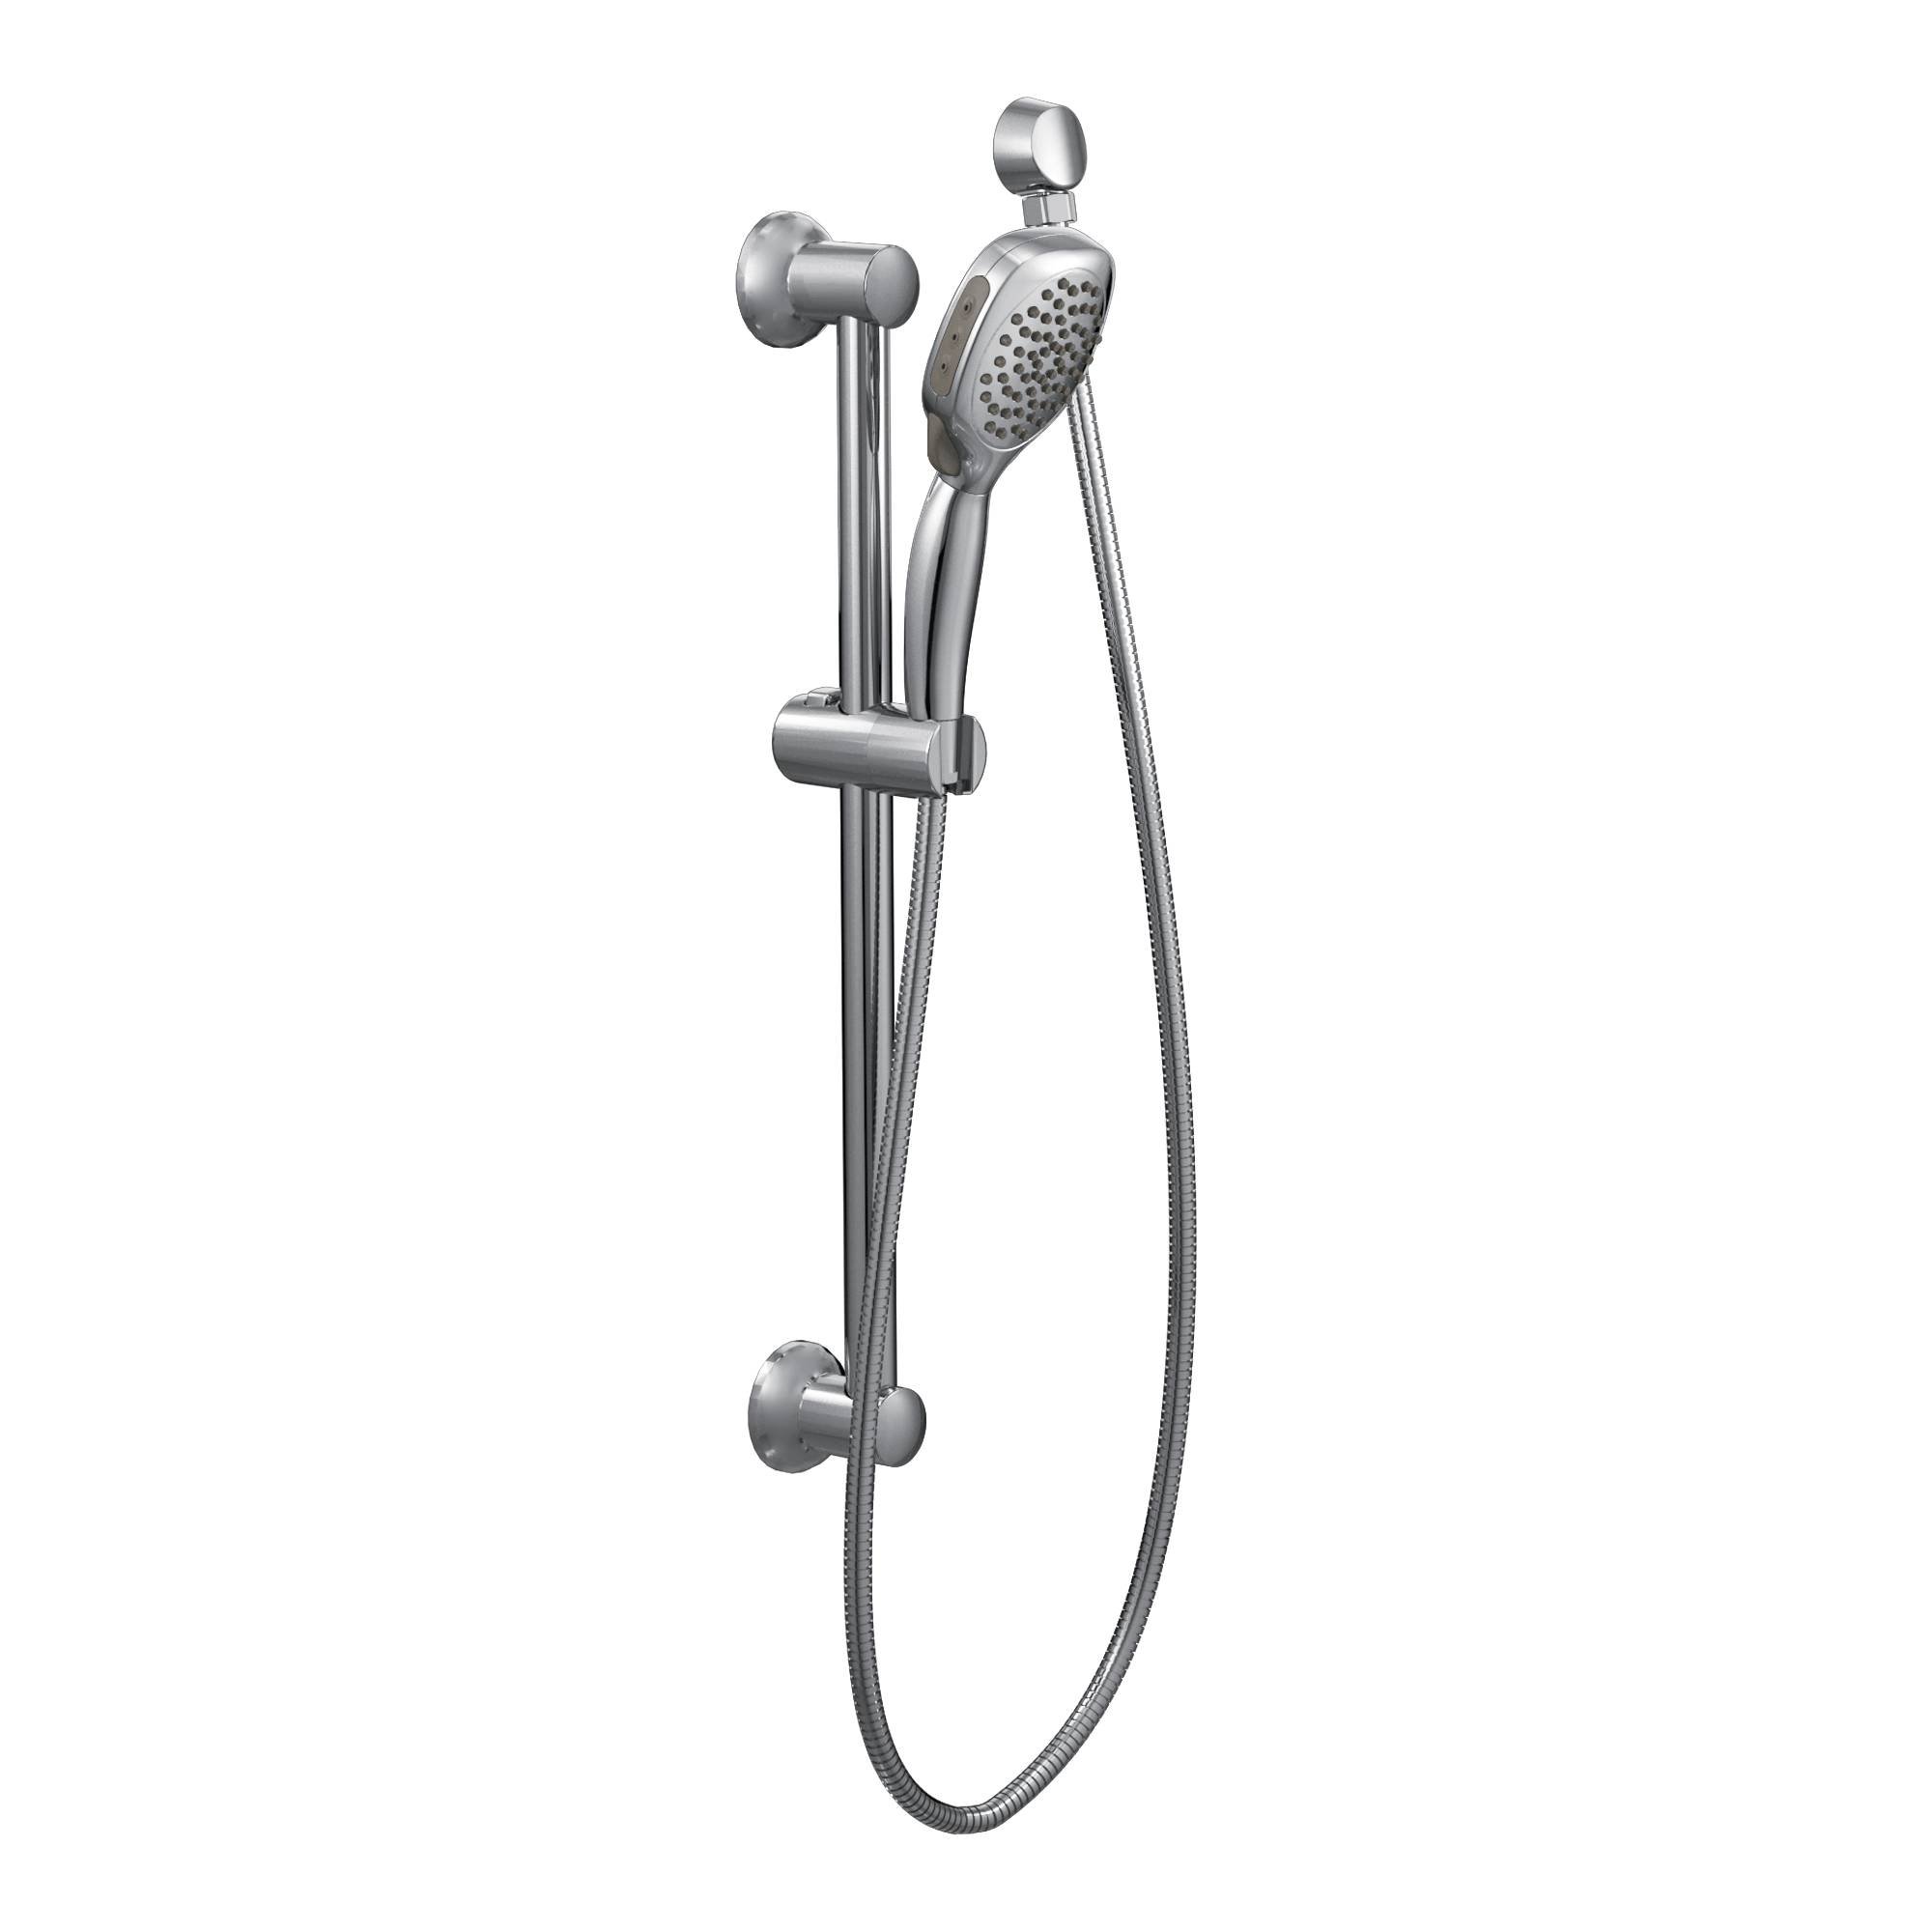
Installing a new showerhead can be a simple and rewarding DIY project that enhances your bathing experience. If you’re looking for a versatile and convenient showerhead option, the Moen Twist handheld showerhead is a fantastic choice. With its adjustable settings and easy installation process, you’ll be enjoying a luxurious shower in no time.
In this article, we will guide you through the step-by-step process of installing the Moen Twist handheld showerhead. From removing the existing showerhead to connecting the new one, we’ll cover all the necessary details to make your installation a success.
Before we dive into the installation steps, let’s take a moment to gather the materials you’ll need for this project.
Key Takeaways:
- Upgrade your bathing experience with the Moen Twist handheld showerhead, a versatile and convenient option for DIY installation. Enjoy different spray patterns and easy maneuverability for a luxurious shower experience.
- Follow the step-by-step guide to install the Moen Twist handheld showerhead with confidence. From removing the old showerhead to testing the installation, ensure a secure and leak-free connection for a rejuvenating bathing experience.
Read also: 12 Best Moen Showerhead for 2025
Materials Needed
Before you begin installing the Moen Twist handheld showerhead, make sure you have the following materials on hand:
- Moen Twist handheld showerhead kit
- Adjustable wrench
- Teflon tape
- Pliers
- Towel or rag
It’s always a good idea to gather all the necessary materials before starting the installation process to avoid any delays or interruptions. Once you have these items ready, you can proceed with confidence.
Step 1: Remove the Existing Showerhead
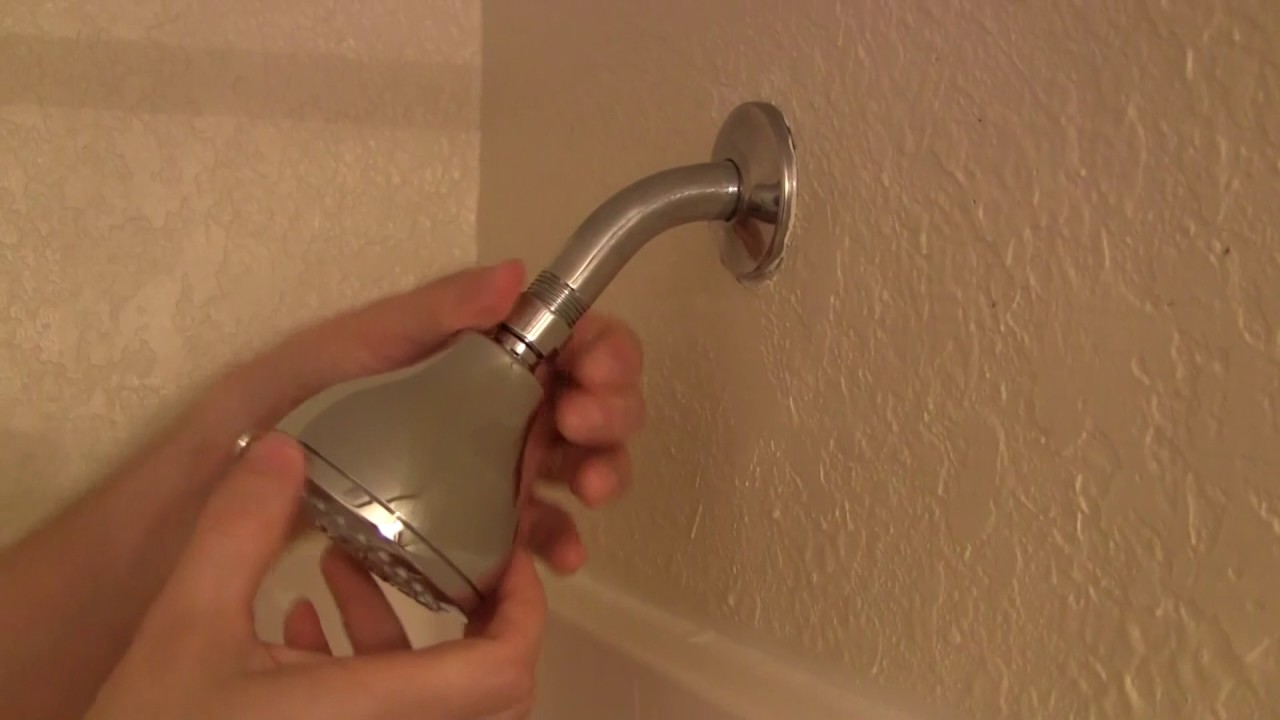
The first step in installing the Moen Twist handheld showerhead is to remove the existing showerhead. Follow these instructions to safely and effectively remove the old showerhead:
- Locate the connection point between the showerhead and the shower arm. This is usually located at the end of the shower arm.
- Using an adjustable wrench, grip the shower arm tightly to prevent it from turning.
- Using your other hand, grasp the showerhead firmly and twist it counterclockwise to loosen it. Apply steady pressure until the showerhead comes off completely.
- Once the showerhead is removed, use a towel or rag to clean the shower arm threads and remove any debris or residue.
Removing the existing showerhead requires some force, but be cautious not to damage the shower arm or surrounding fixtures. If you encounter any difficulties, you can use pliers or a strap wrench to provide extra grip and leverage.
Once the old showerhead is successfully removed, you’re ready to move on to the next step: preparing the area for the installation of the Moen Twist handheld showerhead.
Step 2: Prepare the Area
Now that you’ve removed the old showerhead, it’s time to prepare the area for the installation of the Moen Twist handheld showerhead. Follow these steps to ensure a clean and smooth installation:
- Inspect the shower arm threads and clean them if necessary. Use a towel or rag to remove any debris or leftover Teflon tape from the previous showerhead.
- If the shower arm threads appear worn or damaged, consider replacing the shower arm before proceeding with the installation. A damaged shower arm can affect the proper sealing and stability of the new showerhead.
- Apply a few wraps of Teflon tape to the shower arm threads. This will create a tight and secure seal between the shower arm and the new showerhead.
- Hold the shower arm firmly with one hand while using your other hand to wrap the Teflon tape around the threads in a clockwise direction. Make sure to cover the entire length of the threads with at least two or three wraps of tape.
Preparing the area ensures that the installation of the Moen Twist handheld showerhead will be smooth and successful. The Teflon tape helps prevent any leaks and ensures a tight connection between the shower arm and the new showerhead.
With the area prepared, you’re now ready to move on to the next step: applying Teflon tape to the shower arm threads.
Step 3: Apply Teflon Tape
Applying Teflon tape to the shower arm threads is a crucial step in ensuring a secure and leak-free connection for your Moen Twist handheld showerhead. Follow these steps to properly apply Teflon tape:
- Take the end of the Teflon tape roll and hold it against the base of the shower arm threads.
- Wrap the tape around the threads in a clockwise direction, making sure to overlap the tape slightly as you go along.
- Continue wrapping the tape around the threads until you’ve covered the entire length with a few layers of tape.
- Tear or cut the tape when you reach the end, ensuring that it is secured in place.
The purpose of Teflon tape is to create a watertight seal between the shower arm and the showerhead, preventing any leaks. As you tighten the showerhead onto the threads, the Teflon tape will help ensure a snug and secure fit.
Now that you’ve applied Teflon tape to the shower arm threads, you’re ready to move on to the next step: installing the mounting bracket for the Moen Twist handheld showerhead.
When installing a Moen Twist handheld showerhead, make sure to use plumber’s tape on the threads to prevent leaks. Tighten the connections by hand, then use a wrench to secure them without over-tightening.
Read also: 13 Amazing Handheld Showerhead for 2025
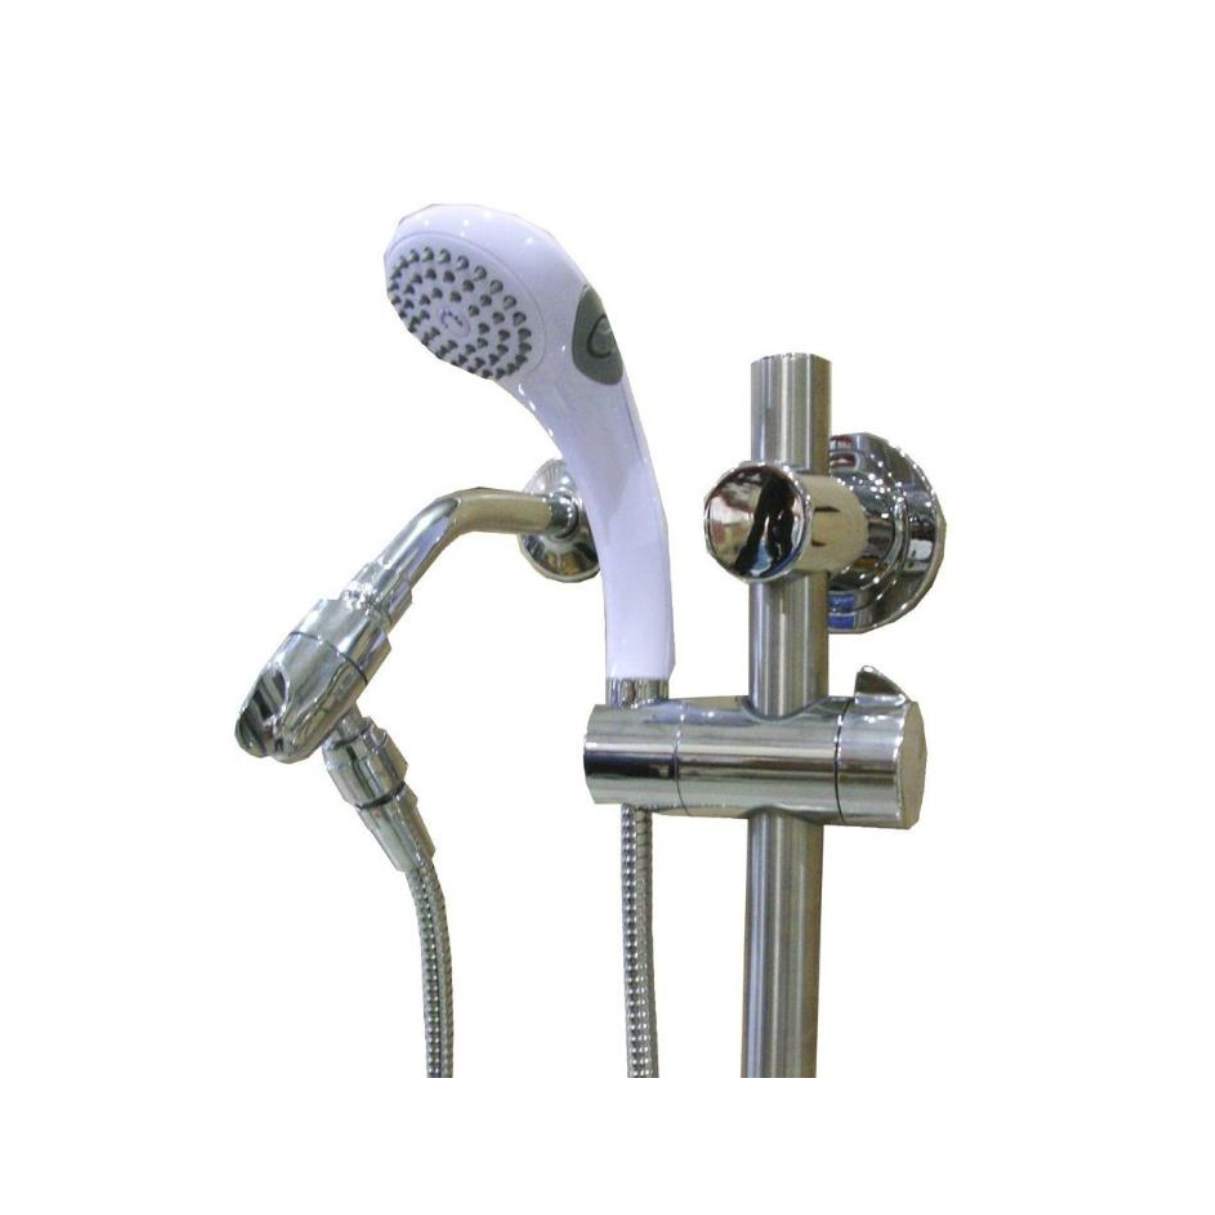
Step 4: Install the Mounting Bracket
The mounting bracket is an essential component of the Moen Twist handheld showerhead, as it provides stability and support for the showerhead. Follow these steps to properly install the mounting bracket:
- Take the mounting bracket and position it on the shower arm threads.
- Hand-tighten the mounting bracket onto the shower arm until it feels secure.
- Use an adjustable wrench to tighten the mounting bracket further, ensuring that it is firmly in place.
Make sure that the mounting bracket is installed straight and level to ensure proper positioning of the Moen Twist handheld showerhead. The mounting bracket serves as the base for attaching the shower hose and showerhead, so it needs to be securely fastened.
With the mounting bracket installed, you’re now ready to move on to the next step: connecting the shower hose.
Step 5: Connect the Shower Hose
Now that you have the mounting bracket in place, it’s time to connect the shower hose to the Moen Twist handheld showerhead. Follow these steps to properly connect the shower hose:
- Locate the end of the shower hose with the connector nut.
- Insert the connector nut onto the outlet fitting of the mounting bracket. Ensure that it is securely in place.
- Tighten the connector nut by hand, making sure it is snug and secure.
- If necessary, use pliers to tighten the connector nut slightly, but be careful not to overtighten it.
It’s important to ensure a tight and secure connection between the shower hose and the mounting bracket. This will prevent any leaks or disconnects during use.
With the shower hose connected, you’re now ready for the final step: attaching the Moen Twist handheld showerhead to the shower hose.
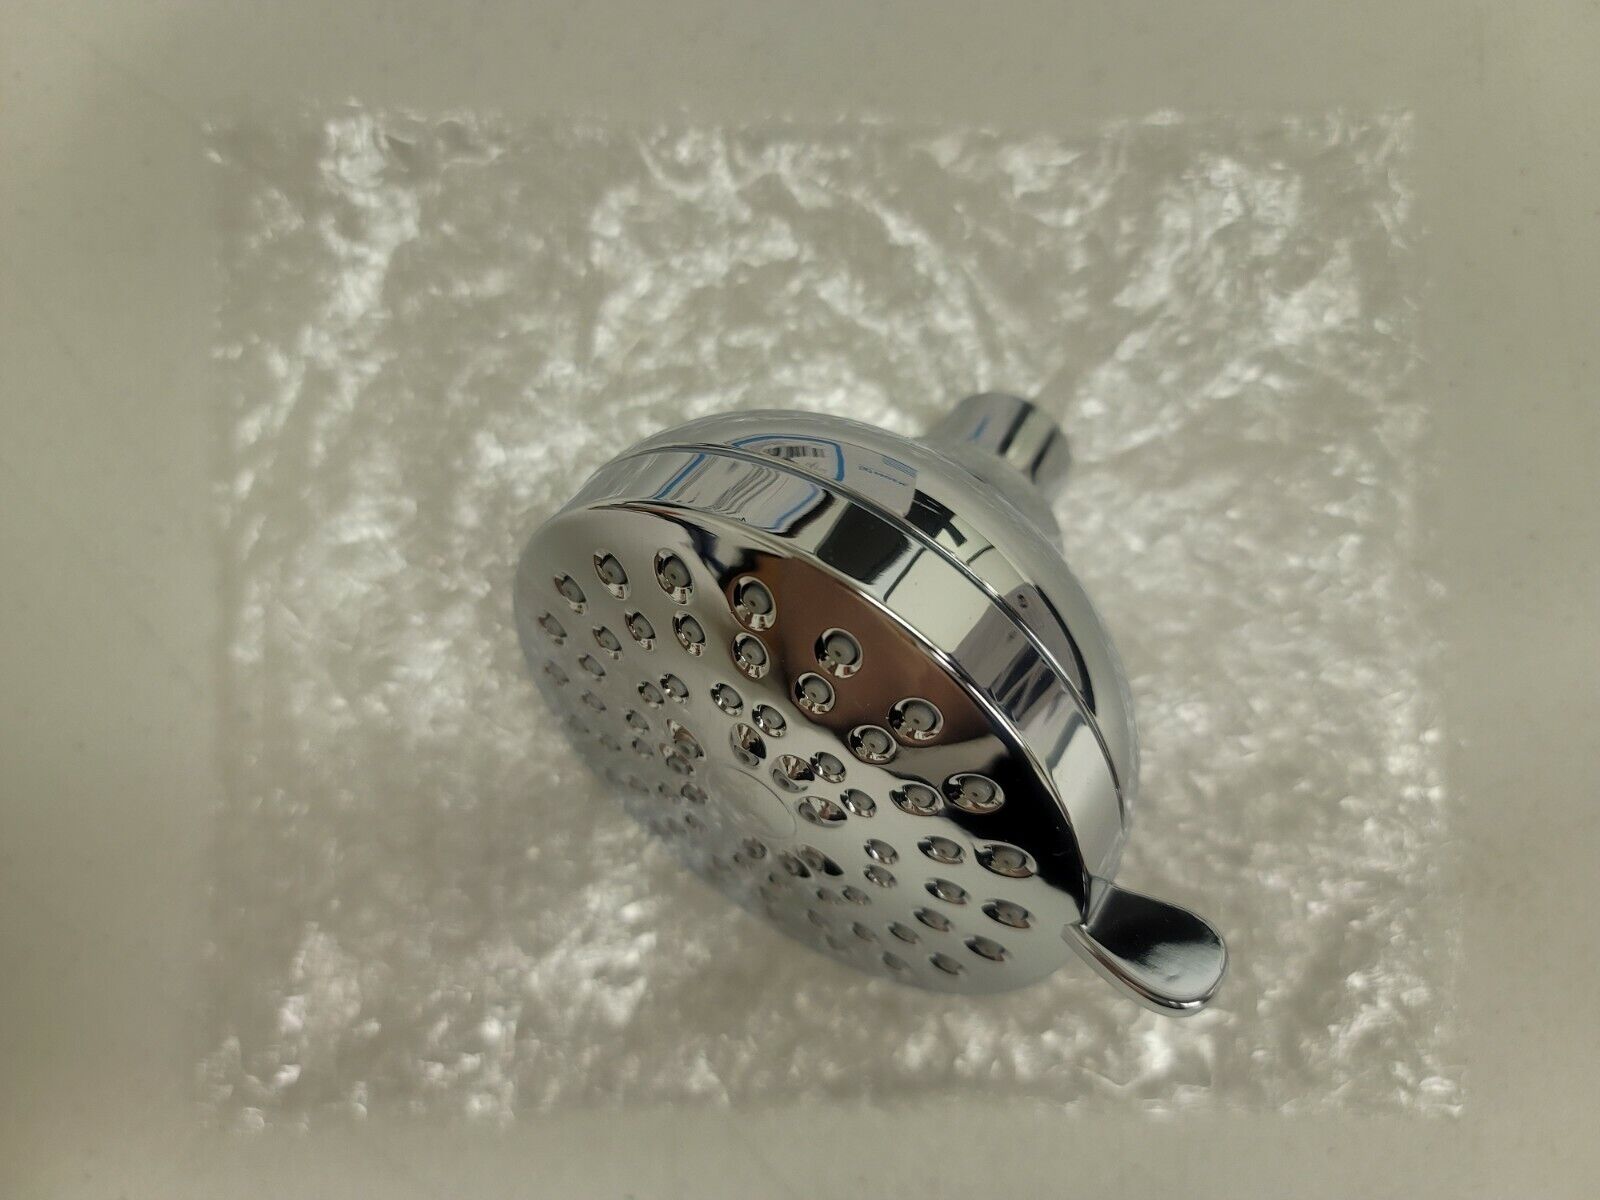
Step 6: Attach the Showerhead
Attaching the Moen Twist handheld showerhead to the shower hose is the final step in the installation process. Follow these steps to properly attach the showerhead:
- Take the Moen Twist handheld showerhead and ensure that the rubber washer is in place inside the showerhead’s connector.
- Align the showerhead’s connector with the shower hose’s connector nut.
- Insert the showerhead’s connector into the shower hose’s connector nut.
- Twist the showerhead clockwise until it is securely seated onto the shower hose’s connector nut.
- Hand-tighten the showerhead to ensure a snug and secure fit.
It’s important to tighten the showerhead firmly, but be cautious not to overtighten it, as this can cause damage to the showerhead or the connector.
With the Moen Twist handheld showerhead securely attached to the shower hose, you’re almost done! The final step is to test the installation to ensure everything is working properly.
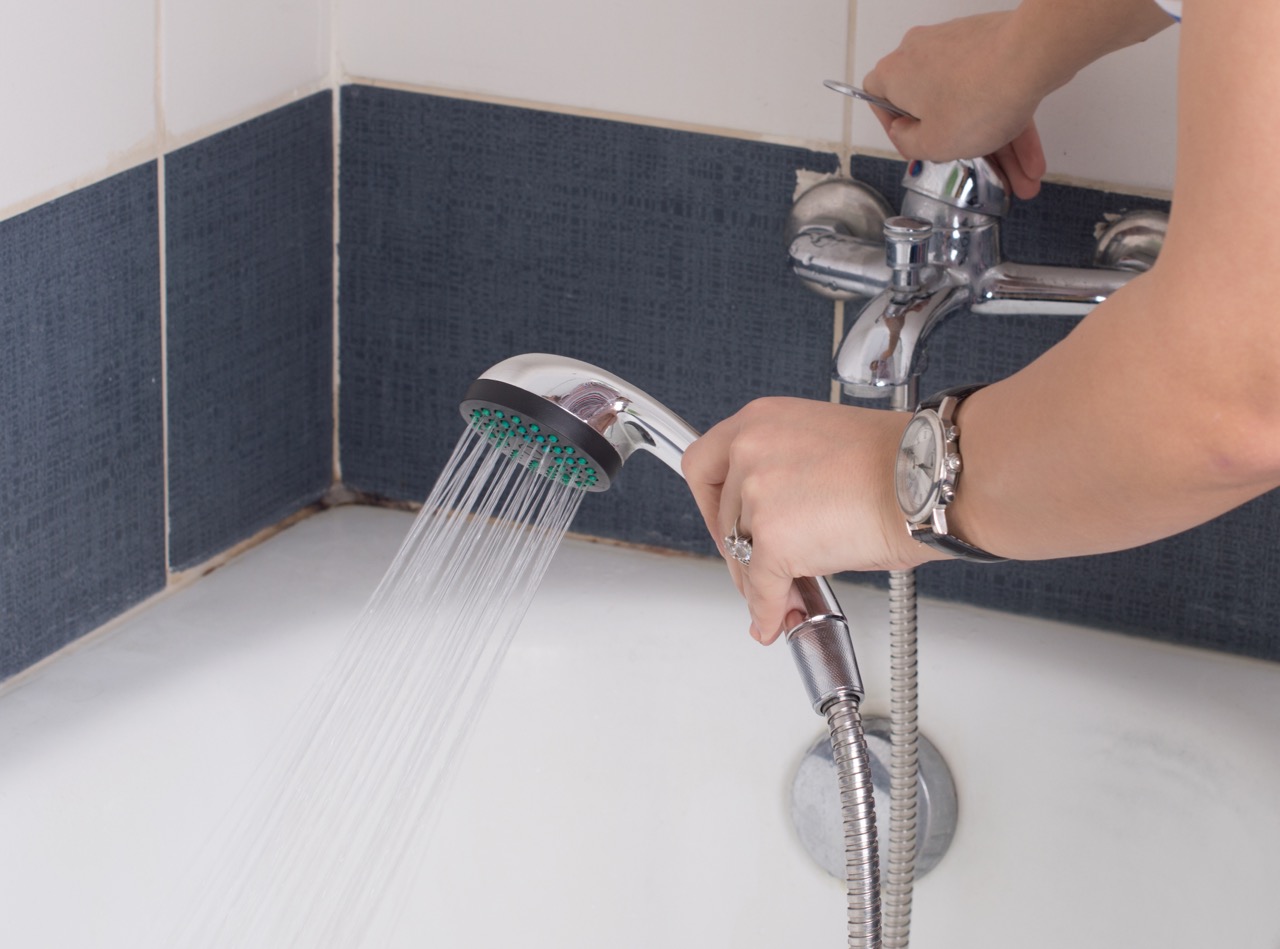
Step 7: Test the Installation
After completing the installation of the Moen Twist handheld showerhead, it’s important to test the setup to ensure that everything is working as expected. Follow these steps to test the installation:
- Turn on the water supply to the shower.
- Check for any leaks around the connections and joints. If you notice any leaks, tighten the connections further or make necessary adjustments.
- Adjust the showerhead settings to your desired spray pattern, whether it’s a gentle rainfall or a targeted massage.
- Ensure that the handheld showerhead is firmly seated in the mounting bracket and doesn’t move or wobble during use.
- Run the water at different pressures and temperatures to test the showerhead’s functionality.
If everything appears to be working correctly and there are no leaks or issues, congratulations! You have successfully installed the Moen Twist handheld showerhead.
However, if you encounter any problems or have concerns about the installation, refer to the manufacturer’s instructions or consult a professional plumber for assistance.
With the test complete and the installation successful, you can now enjoy the convenience and versatility of your new Moen Twist handheld showerhead. Sit back, relax, and indulge in a rejuvenating shower experience.
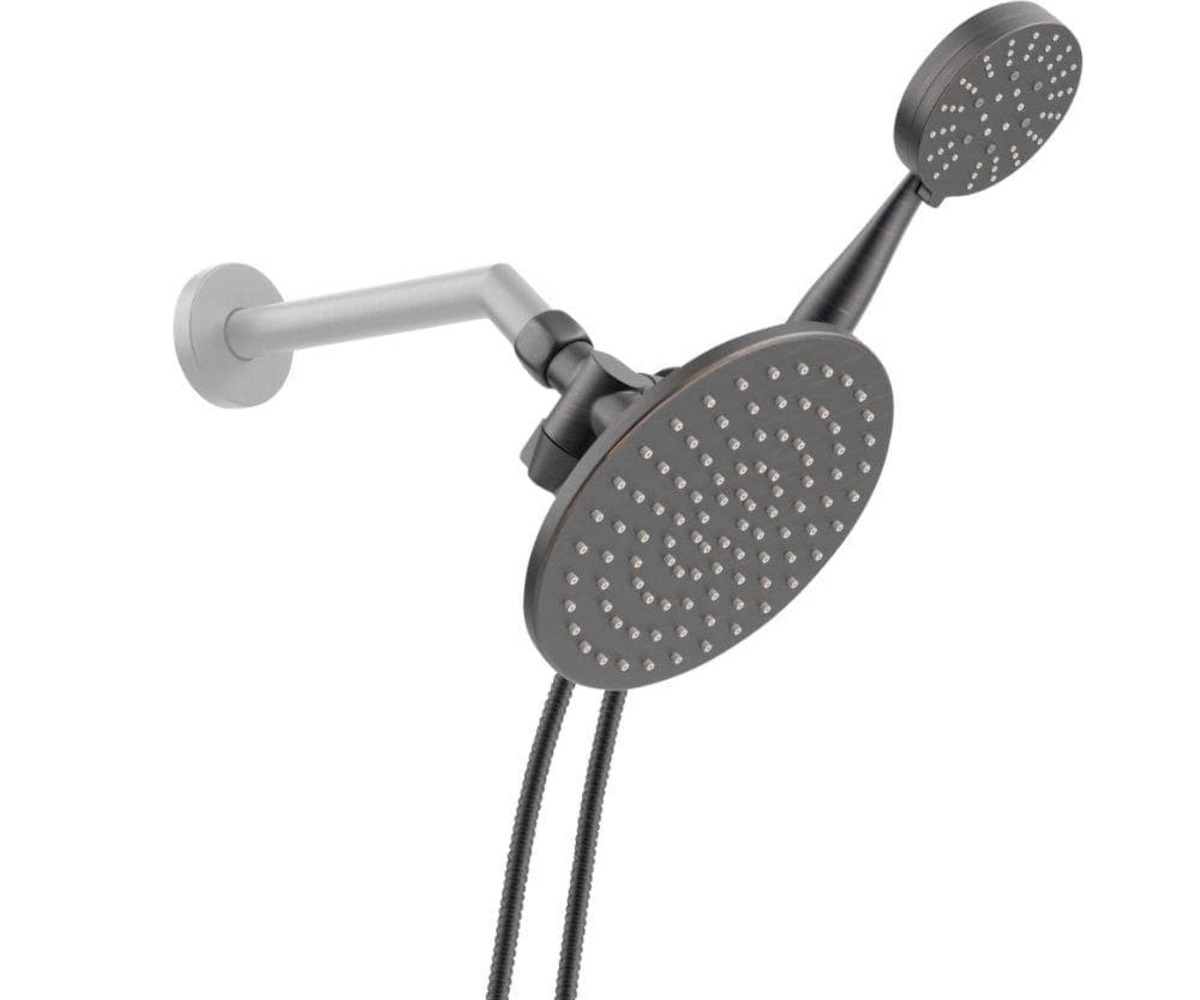
Read more: How To Install A 4-Spray 2-In-1 Dual Showerhead And Handheld Showerhead In Champagne Bronze
Conclusion
Installing the Moen Twist handheld showerhead is a straightforward and rewarding DIY project that can greatly enhance your bathing experience. By following the step-by-step guide outlined in this article, you can successfully install the showerhead and enjoy its versatile features.
From removing the old showerhead to connecting the shower hose and attaching the new showerhead, each step contributes to a secure and efficient installation. With the proper use of tools and materials, such as an adjustable wrench, Teflon tape, and pliers, you can ensure a tight and leak-free connection.
Remember to take your time and follow the instructions carefully during the installation process. It’s important to test the installation once completed to ensure everything is functioning correctly and there are no leaks or issues.
With the Moen Twist handheld showerhead installed, you’ll have the flexibility to enjoy different spray patterns and adjust the water flow to suit your preferences. The convenience of a handheld showerhead allows for easy maneuverability and targeted cleaning.
Should you encounter any difficulties or have concerns about the installation, don’t hesitate to consult the manufacturer’s instructions or seek assistance from a professional plumber.
Now, with your newly installed Moen Twist handheld showerhead, you can look forward to a luxurious and rejuvenating bathing experience. Sit back, relax, and let the soothing water rejuvenate your body and mind.
Remember to validate that the HTML encoding is correct before publishing the article.
Frequently Asked Questions about How To Install Moen Twist Handheld Showerhead
Was this page helpful?
At Storables.com, we guarantee accurate and reliable information. Our content, validated by Expert Board Contributors, is crafted following stringent Editorial Policies. We're committed to providing you with well-researched, expert-backed insights for all your informational needs.


0 thoughts on “How To Install Moen Twist Handheld Showerhead”