Home>Articles>How To Install A Dual Showerhead And Handheld Showerhead

Articles
How To Install A Dual Showerhead And Handheld Showerhead
Modified: March 1, 2024
Learn how to easily install a dual showerhead and handheld showerhead with our step-by-step guide. Check out our informative articles today!
(Many of the links in this article redirect to a specific reviewed product. Your purchase of these products through affiliate links helps to generate commission for Storables.com, at no extra cost. Learn more)
Introduction
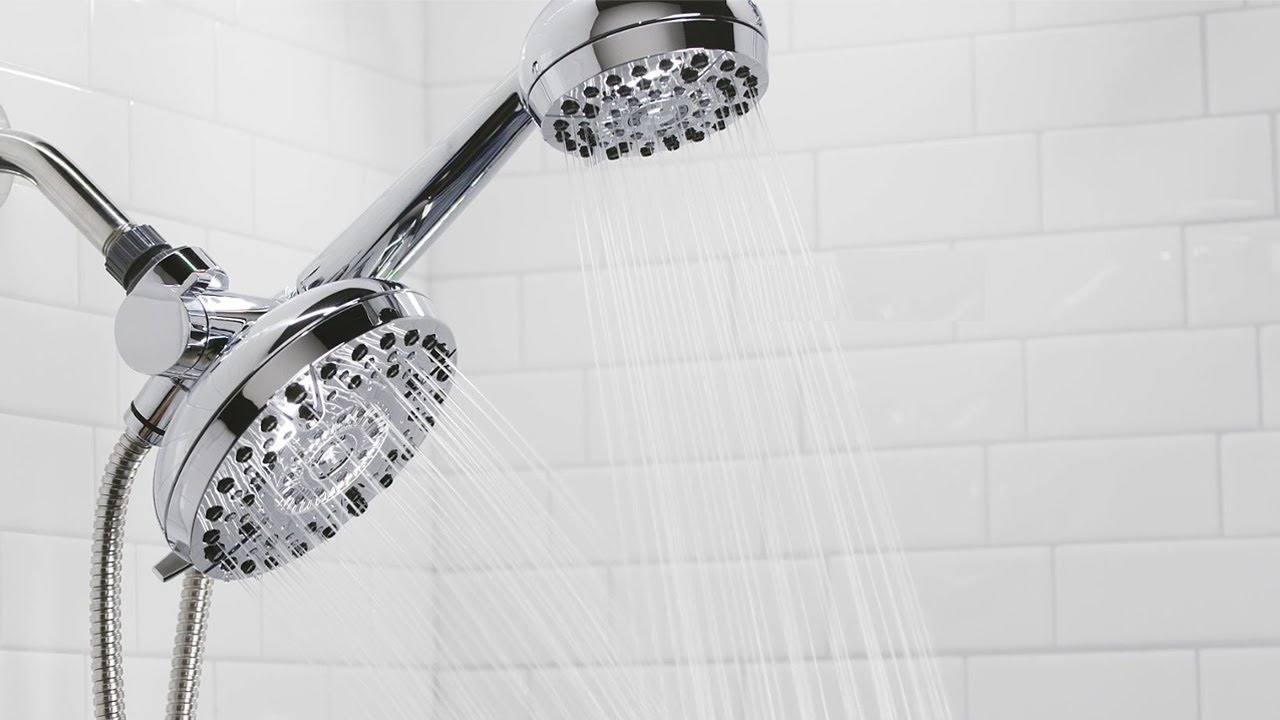
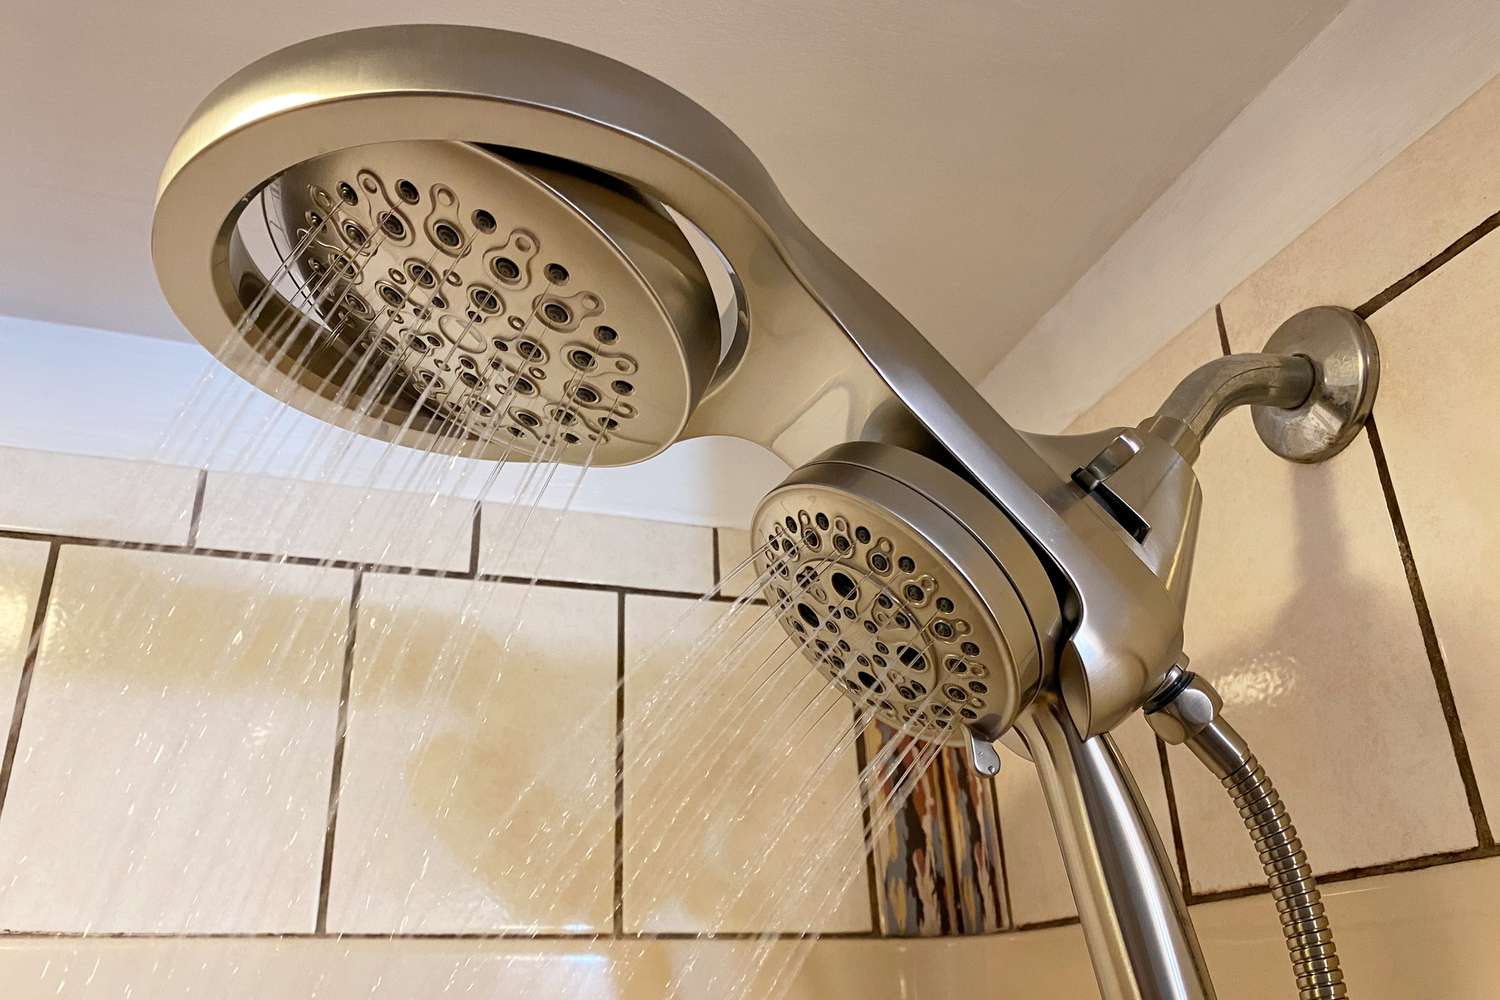
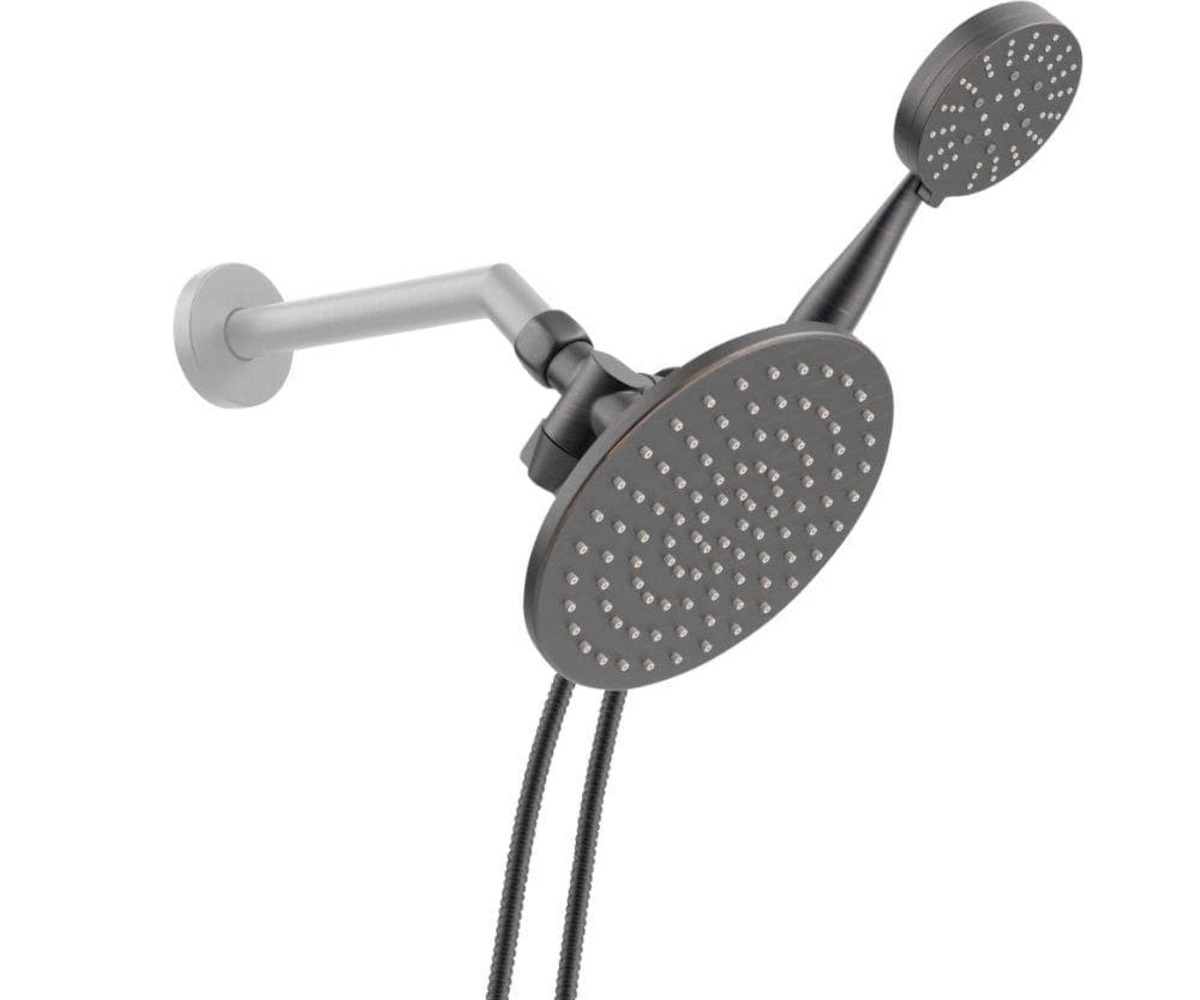
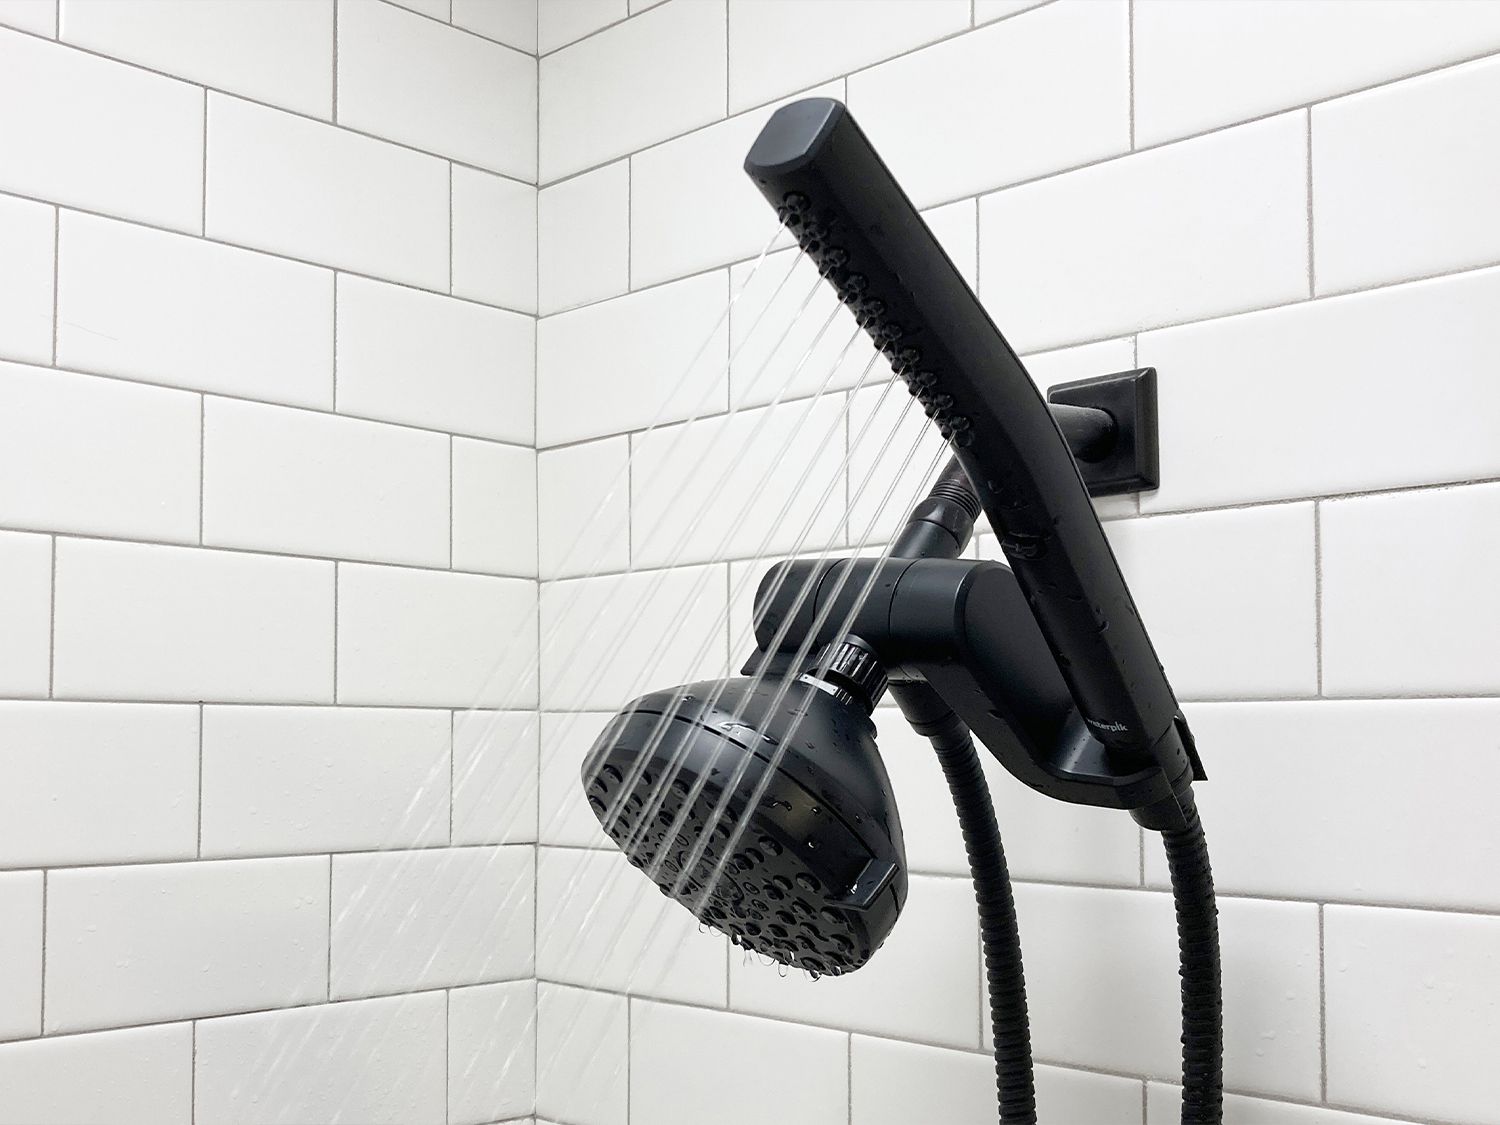
Welcome to our step-by-step guide on how to install a dual showerhead and handheld showerhead. Upgrading your shower system can greatly enhance your bathing experience by providing you with an invigorating dual stream of water and the convenience of a handheld sprayer. Whether you’re looking to create a spa-like atmosphere or simply improve the functionality of your bathroom, installing a dual showerhead and handheld showerhead is a relatively straightforward process that you can do yourself.
In this guide, we will walk you through each step of the installation process, from preparing the shower area to connecting the plumbing. We will also provide you with a list of the tools and materials you will need for the project. So, let’s get started and transform your shower into a luxurious oasis!
Key Takeaways:
- Upgrade your shower experience by installing a dual showerhead and handheld showerhead. Enjoy the luxury of dual water streams and the convenience of a handheld sprayer for a spa-like bathing experience.
- Transform your shower into a luxurious oasis with a seamless and efficient installation process. Enjoy the invigorating dual water streams and the convenience of a handheld sprayer for a rejuvenating shower experience every day.
Read more: How To Install A Handheld Showerhead
Tools and Materials Required
Before you begin the installation process, gather the following tools and materials:
- Adjustable wrench
- Plumber’s tape
- Teflon tape
- Screwdriver
- Drill
- Tile drill bit (if applicable)
- Measuring tape
- Pencil
- Showerhead mounting brackets
- Waterproof sealant
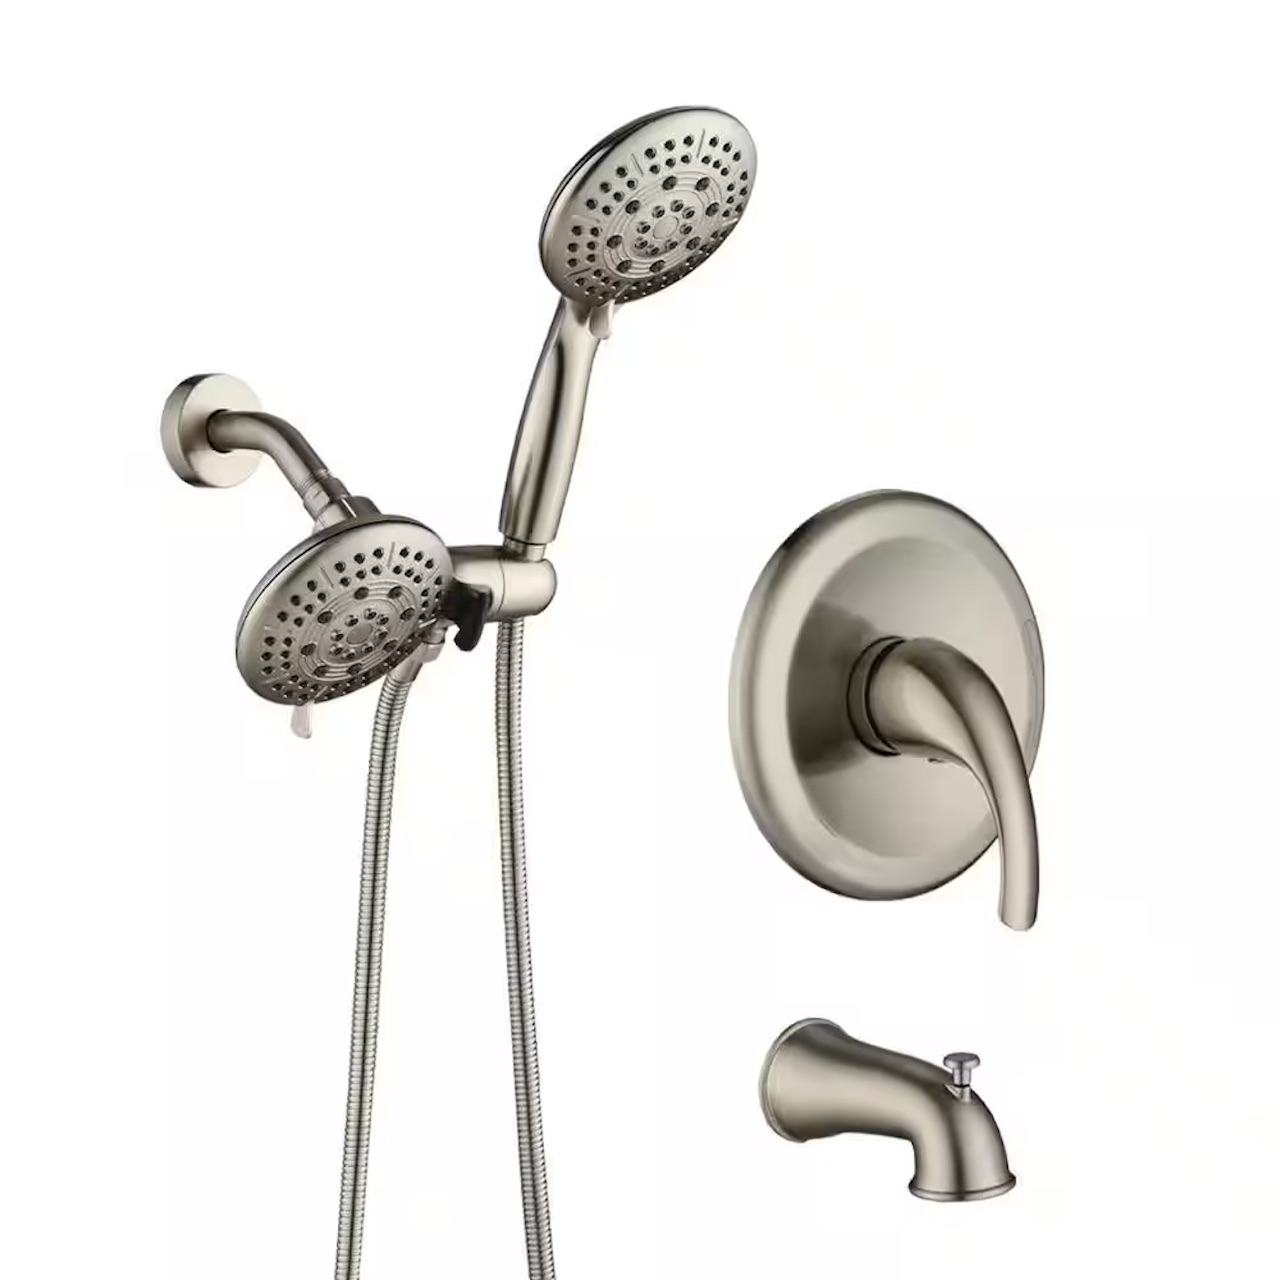
- Dual showerhead system (with diverter valve)
- Handheld showerhead
- Shower arm and flange
- Plumbing fittings
Make sure you have all these tools and materials ready before you start the installation process. This will save you time and ensure a smoother installation.
Step 1: Preparing the Shower Area
The first step in installing a dual showerhead and handheld showerhead is to prepare the shower area. Follow these steps:
- Turn off the water supply: Locate the main water shut-off valve for your house or apartment, and turn off the water supply to the bathroom.
- Remove the existing showerhead: Use an adjustable wrench to unscrew and remove the old showerhead from the shower arm. If necessary, use a cloth or plumber’s tape to protect the finish on the shower arm.
- Clean the shower arm: Use a soft cloth or sponge to clean the shower arm and remove any debris or residue.
- Inspect the shower arm: Check the condition of the shower arm and ensure that it is in good shape. If the shower arm is rusty or damaged, it is recommended to replace it with a new one.
- Measure the height and location: Use a measuring tape to measure the desired height and location for your dual showerhead and handheld showerhead. Mark the position with a pencil.
- Drill any necessary holes: If you are installing the handheld showerhead on a separate bracket, you may need to drill holes in the wall to mount the bracket securely. Use a drill with a tile drill bit if you have tiled walls.
- Apply waterproof sealant: Apply a bead of waterproof sealant around the shower arm and any holes you drilled. This will help prevent water leakage and damage to the walls.
Once you have completed these steps, you are ready to move on to the next phase of the installation process: installing the dual showerhead.
Step 2: Installing the Dual Showerhead
Now that you have prepared the shower area, it’s time to install the dual showerhead. Follow these steps:
- Apply plumber’s tape: Wrap a few layers of plumber’s tape around the threads of the shower arm to create a watertight seal.
- Attach the diverter valve: Take the diverter valve, which typically comes with the dual showerhead system, and screw it onto the shower arm. Use an adjustable wrench to tighten it securely.
- Connect the dual showerhead: Attach the main showerhead to one end of the diverter valve. Ensure that it is tightly screwed on but be careful not to overtighten and damage the threads.
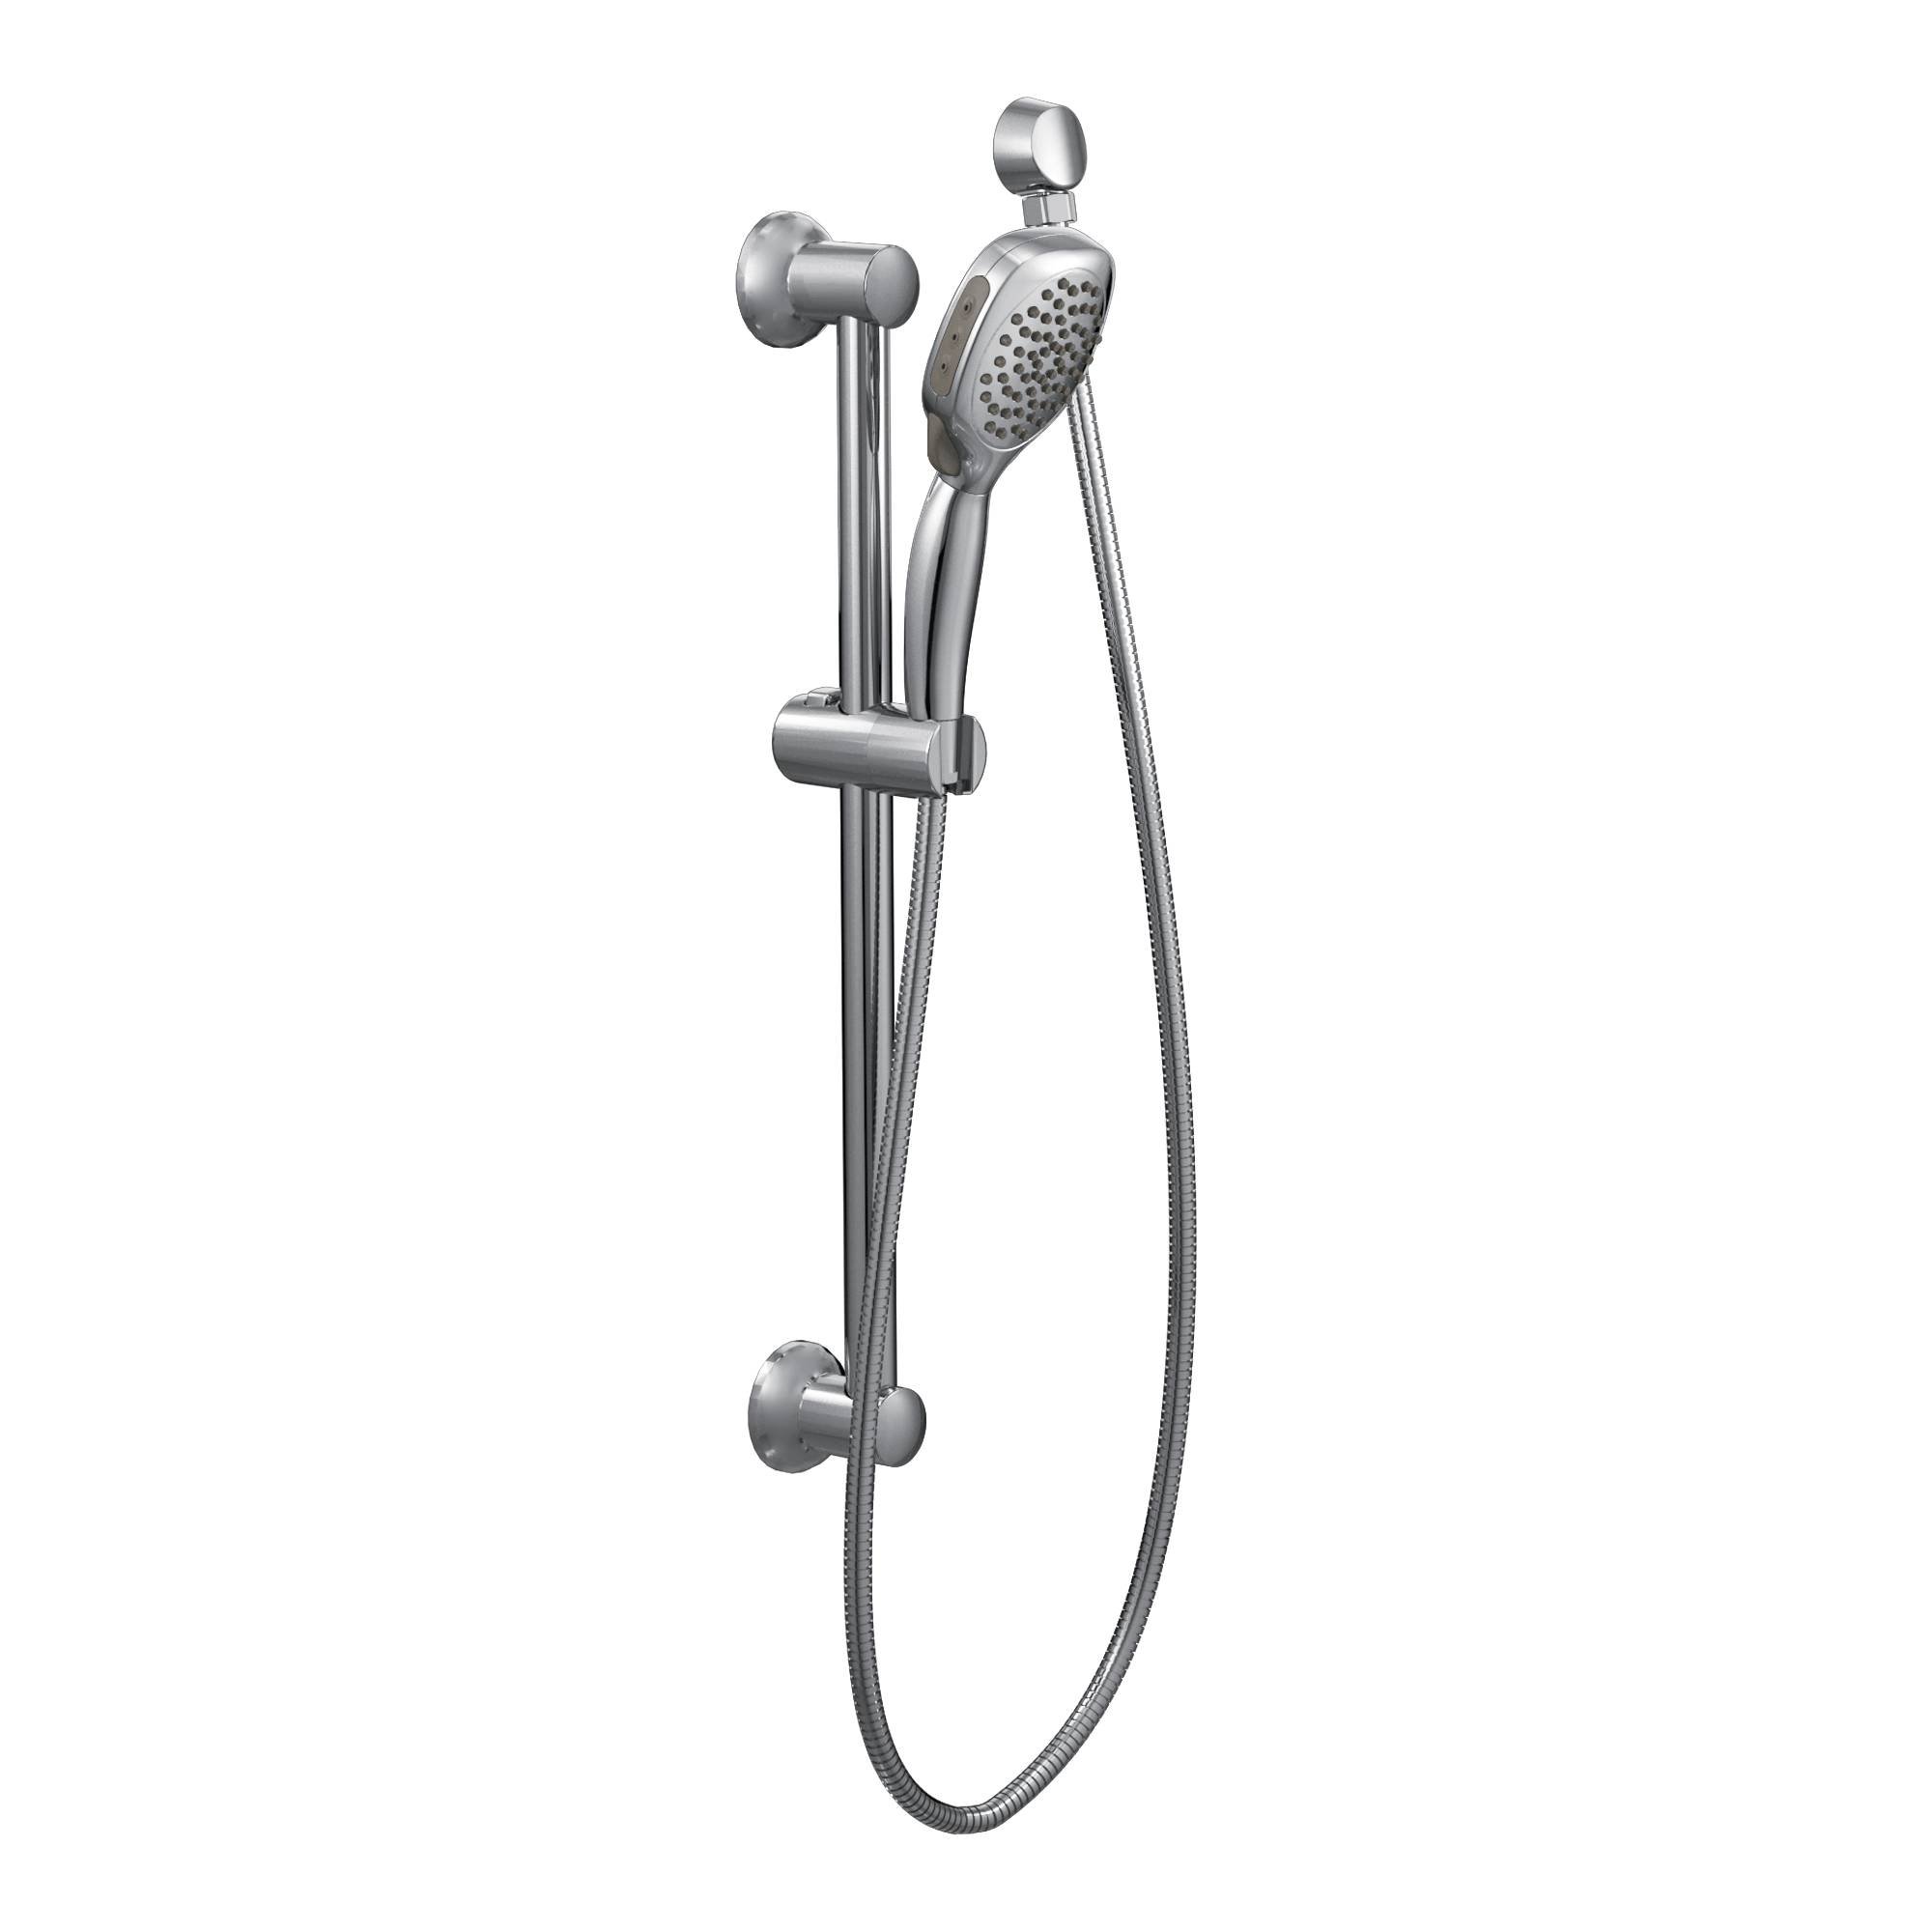
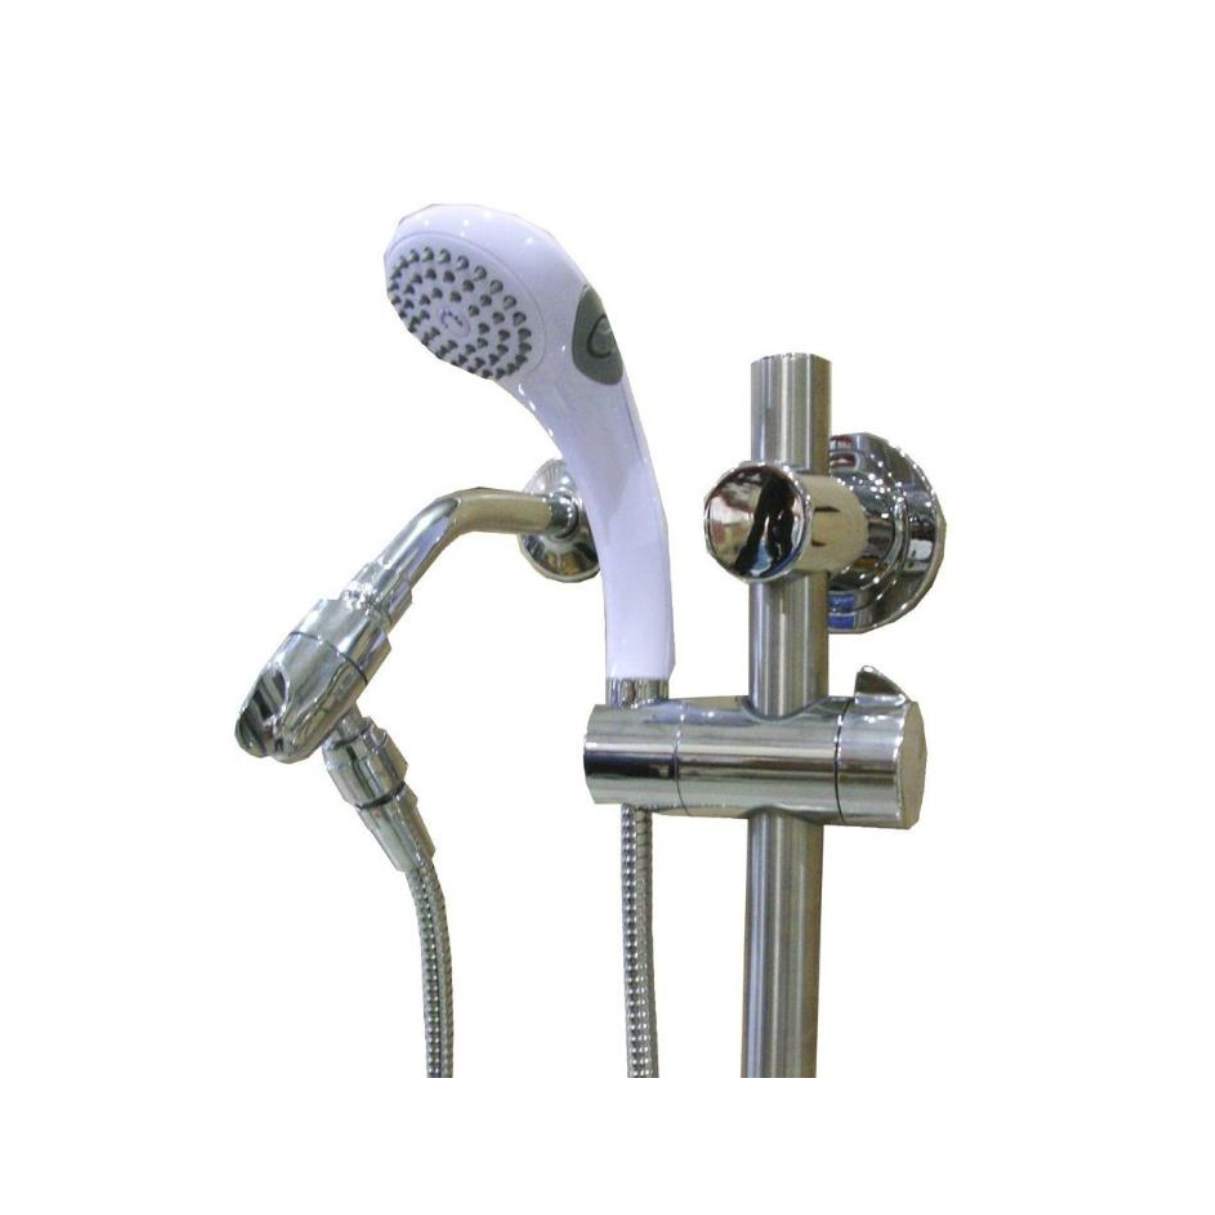
- Install the handheld showerhead bracket: If your handheld showerhead requires a separate bracket, screw it onto the wall using the appropriate screws and a screwdriver. Make sure the bracket is secure and at the desired height.
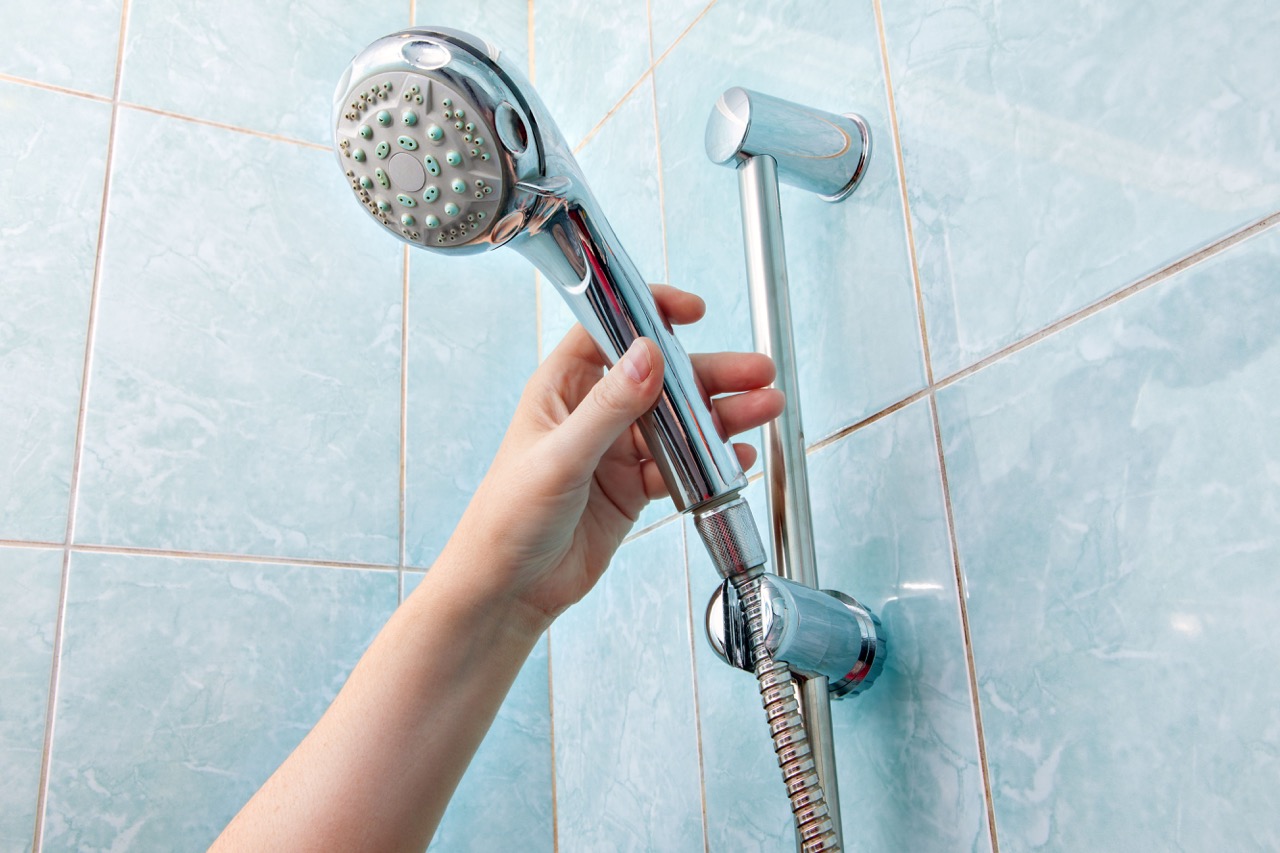
- Attach the handheld showerhead: Connect the handheld showerhead to the other end of the diverter valve. Again, tighten it securely but avoid overtightening.
- Test the dual showerhead: Turn on the water supply and test the dual showerhead system. Check for any leaks or improper water flow. If necessary, make adjustments to the diverter valve or tighten any loose connections.
It is important to follow the manufacturer’s instructions when installing the dual showerhead system, as different models may have specific requirements. Once you have installed the dual showerhead, you can move on to installing the handheld showerhead.
When installing a dual showerhead and handheld showerhead, make sure to use Teflon tape on the threads to prevent leaks. Also, check the water pressure to ensure it can handle the additional flow.
Step 3: Installing the Handheld Showerhead
With the dual showerhead system in place, it’s time to install the handheld showerhead. Follow these steps:
- Apply plumber’s tape: Wrap a few layers of plumber’s tape around the threads of the shower arm to ensure a watertight seal.
- Screw on the shower arm and flange: Take the shower arm and screw it onto the shower pipe. Use an adjustable wrench to tighten it securely. Then, attach the flange over the shower arm, pushing it against the wall.
- Attach the handheld showerhead hose: Connect one end of the handheld showerhead hose to the output of the diverter valve or the separate bracket, depending on your setup. Ensure that it is tightly screwed on but be careful not to overtighten and damage the threads.
- Connect the other end of the hose to the handheld showerhead. Make sure it is securely attached, and if necessary, use an adjustable wrench to tighten it gently.
- Test the handheld showerhead: Turn on the water supply and test the handheld showerhead. Check for any leaks and ensure that it functions properly. Adjust the position of the handheld showerhead and bracket, if necessary.
It is important to note that the installation process may vary depending on the specific handheld showerhead model you have. Therefore, always refer to the manufacturer’s instructions for guidance.
Congratulations! You have successfully installed both the dual showerhead system and the handheld showerhead. Now, it’s time to connect the plumbing to complete the installation.
Read more: How To Install A 4-Spray 2-In-1 Dual Showerhead And Handheld Showerhead In Champagne Bronze
Step 4: Connecting the Plumbing
Connecting the plumbing is an essential step in the installation process to ensure proper water flow and functionality of your dual showerhead and handheld showerhead. Follow these steps:
- Turn off the water supply: Locate the main water shut-off valve and turn off the water supply to the bathroom to prevent any accidents or water leakage during the plumbing connection.
- Remove the existing shower arm: Use an adjustable wrench to unscrew and remove the old shower arm from the wall pipe. Ensure that the pipe is clean and free from any debris.
- Apply Teflon tape: Wrap a few layers of Teflon tape around the threads of the wall pipe to create a tight seal.
- Attach the shower arm: Screw the new shower arm onto the wall pipe until it is tightly secured. Use an adjustable wrench if necessary, but be cautious not to overtighten and damage the threads.
- Connect the dual showerhead system: Take the main showerhead from the dual showerhead system and attach it to the end of the shower arm. Apply gentle pressure and twist it clockwise until it is securely in place.
- Connect the handheld showerhead: Using the handheld showerhead hose, attach one end to the diverter valve or the separate bracket, depending on your setup. Screw it on tightly to create a leak-free seal.
- Test the plumbing connection: Turn on the water supply and test both the main showerhead and the handheld showerhead. Check for any leaks, proper water flow, and adjustments that need to be made.
It is important to ensure the plumbing connections are tight and secure to avoid any water leakage. If you encounter any issues during the plumbing connection, consult a professional plumber for assistance.
With the plumbing connection complete, we are ready for the final step: testing the installation.
Step 5: Testing the Installation
After completing the installation of the dual showerhead and handheld showerhead, it is crucial to test the system to ensure everything is functioning properly. Follow these steps:
- Turn on the water supply: Open the main water shut-off valve to allow water to flow into the shower system.
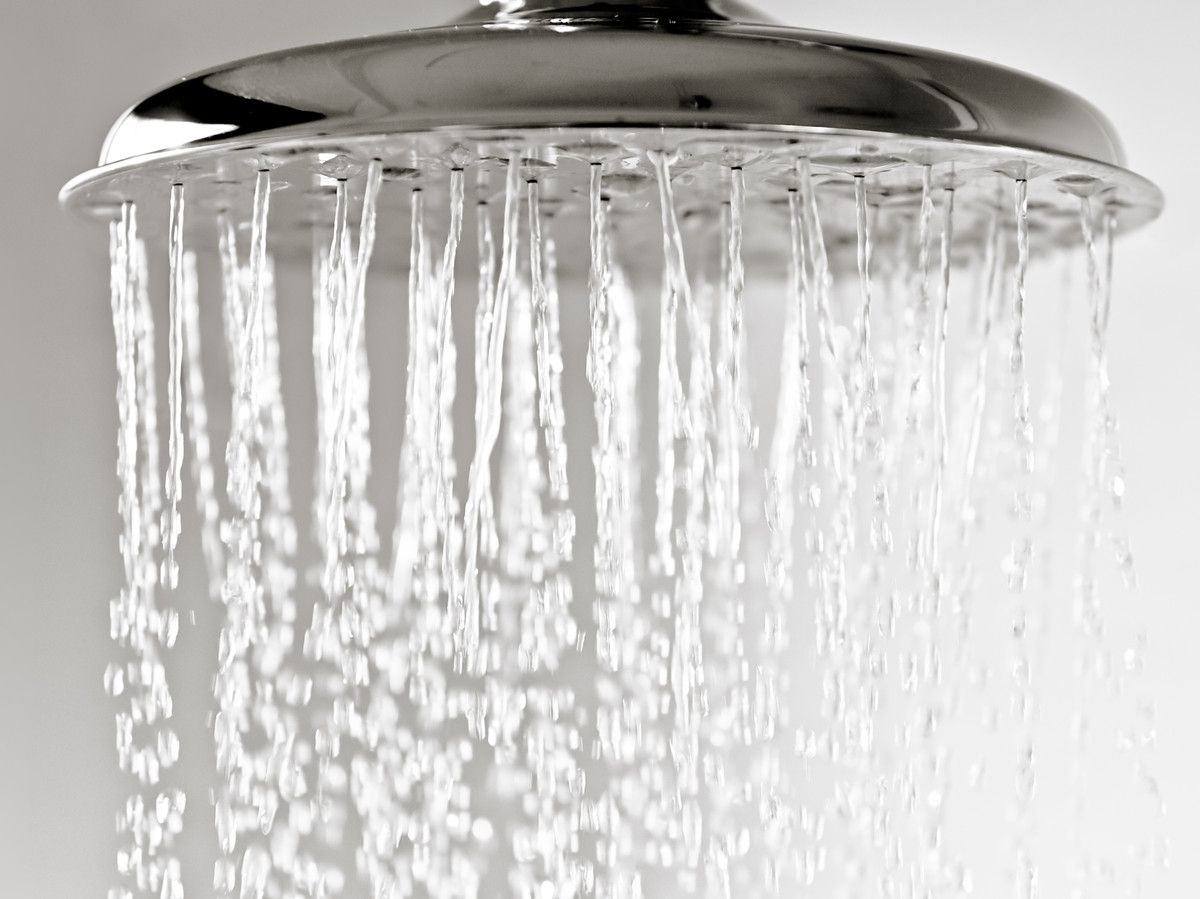
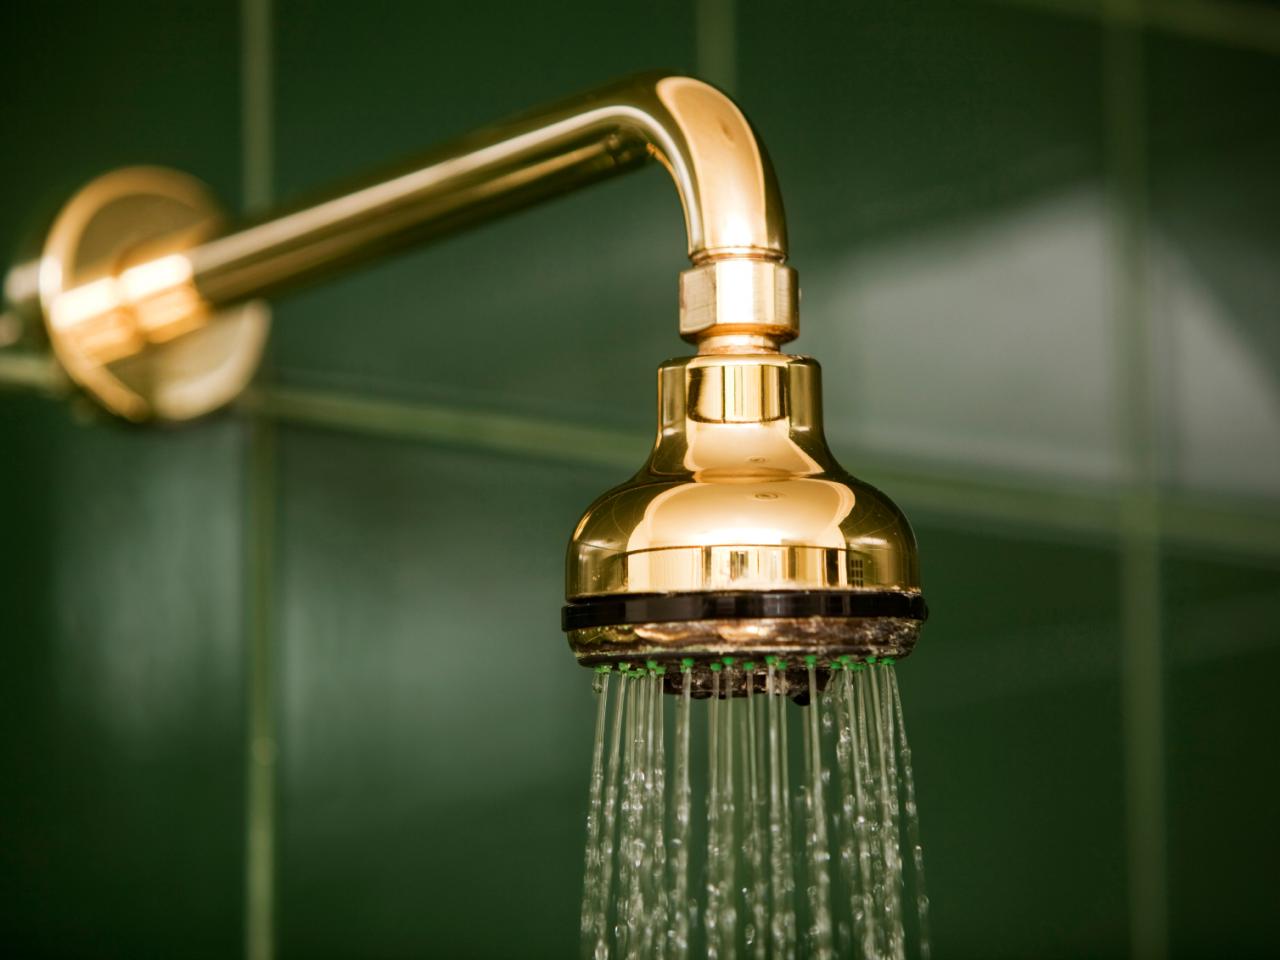
- Test the main showerhead: Turn on the main showerhead and check for any leaks or irregular water flow. Make sure the water is coming out evenly from all nozzles.
- Activate the handheld showerhead: Use the diverter valve or the separate control to activate the handheld showerhead. Ensure that the water flow diverts correctly to the handheld showerhead and there are no leaks.
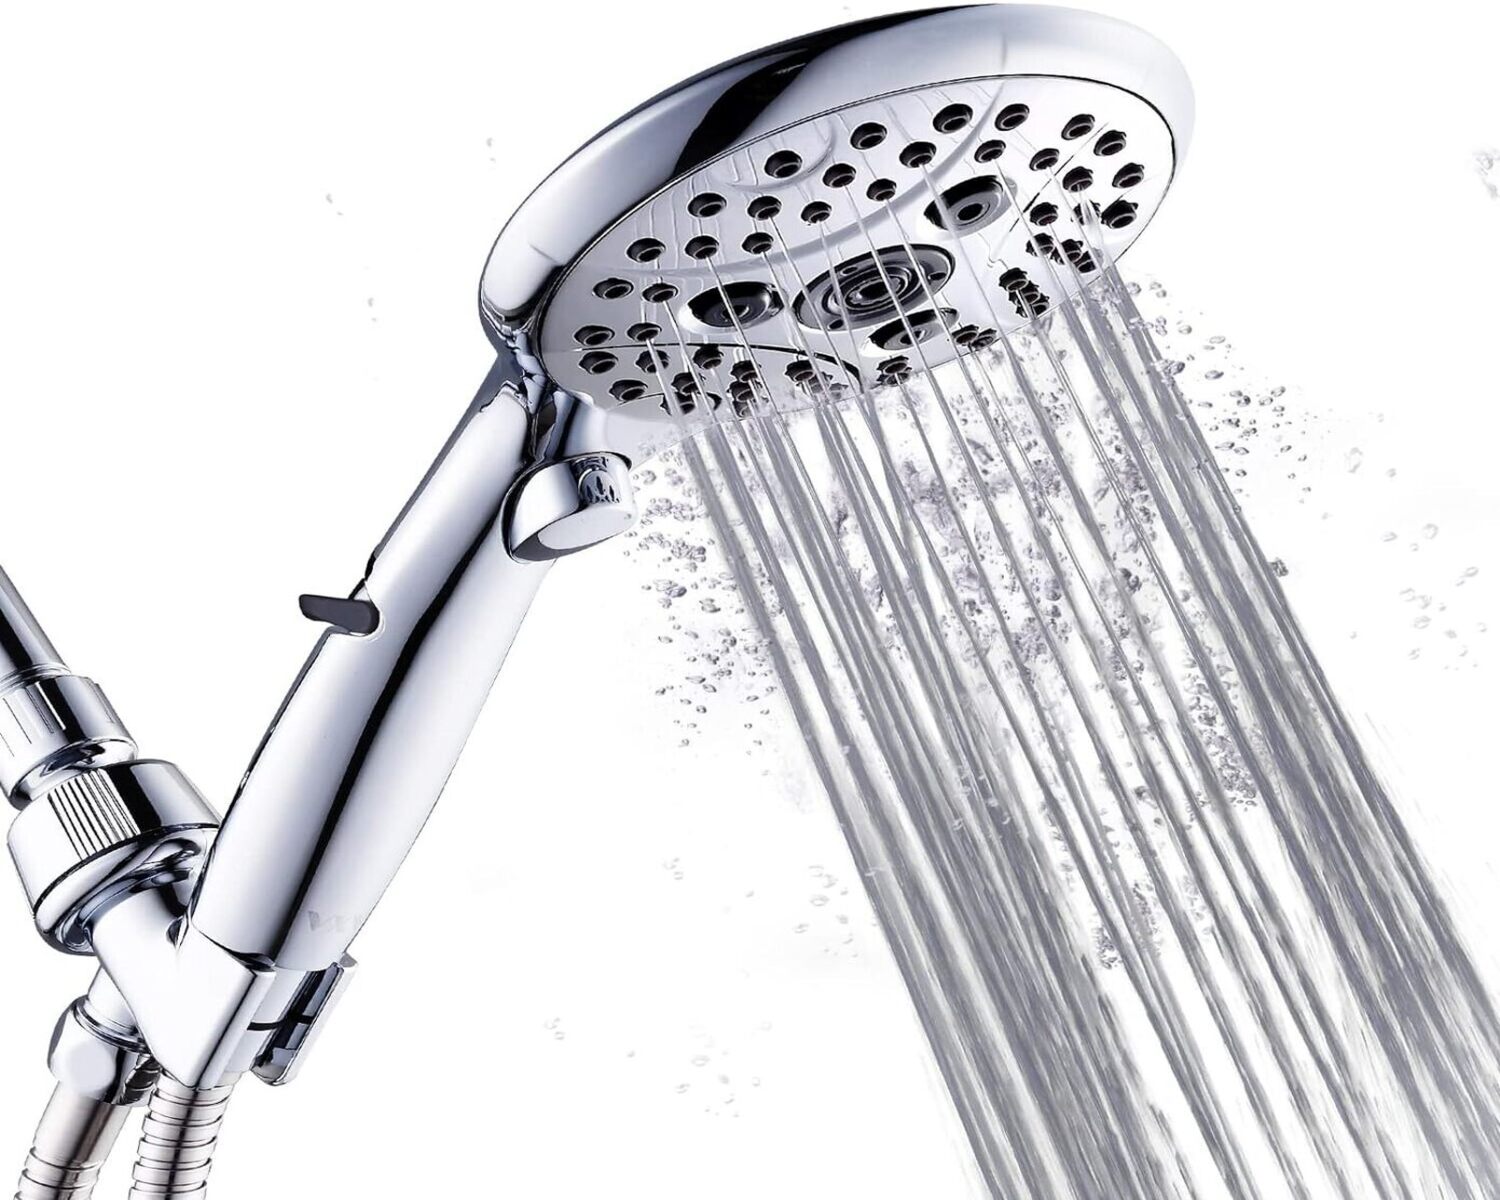
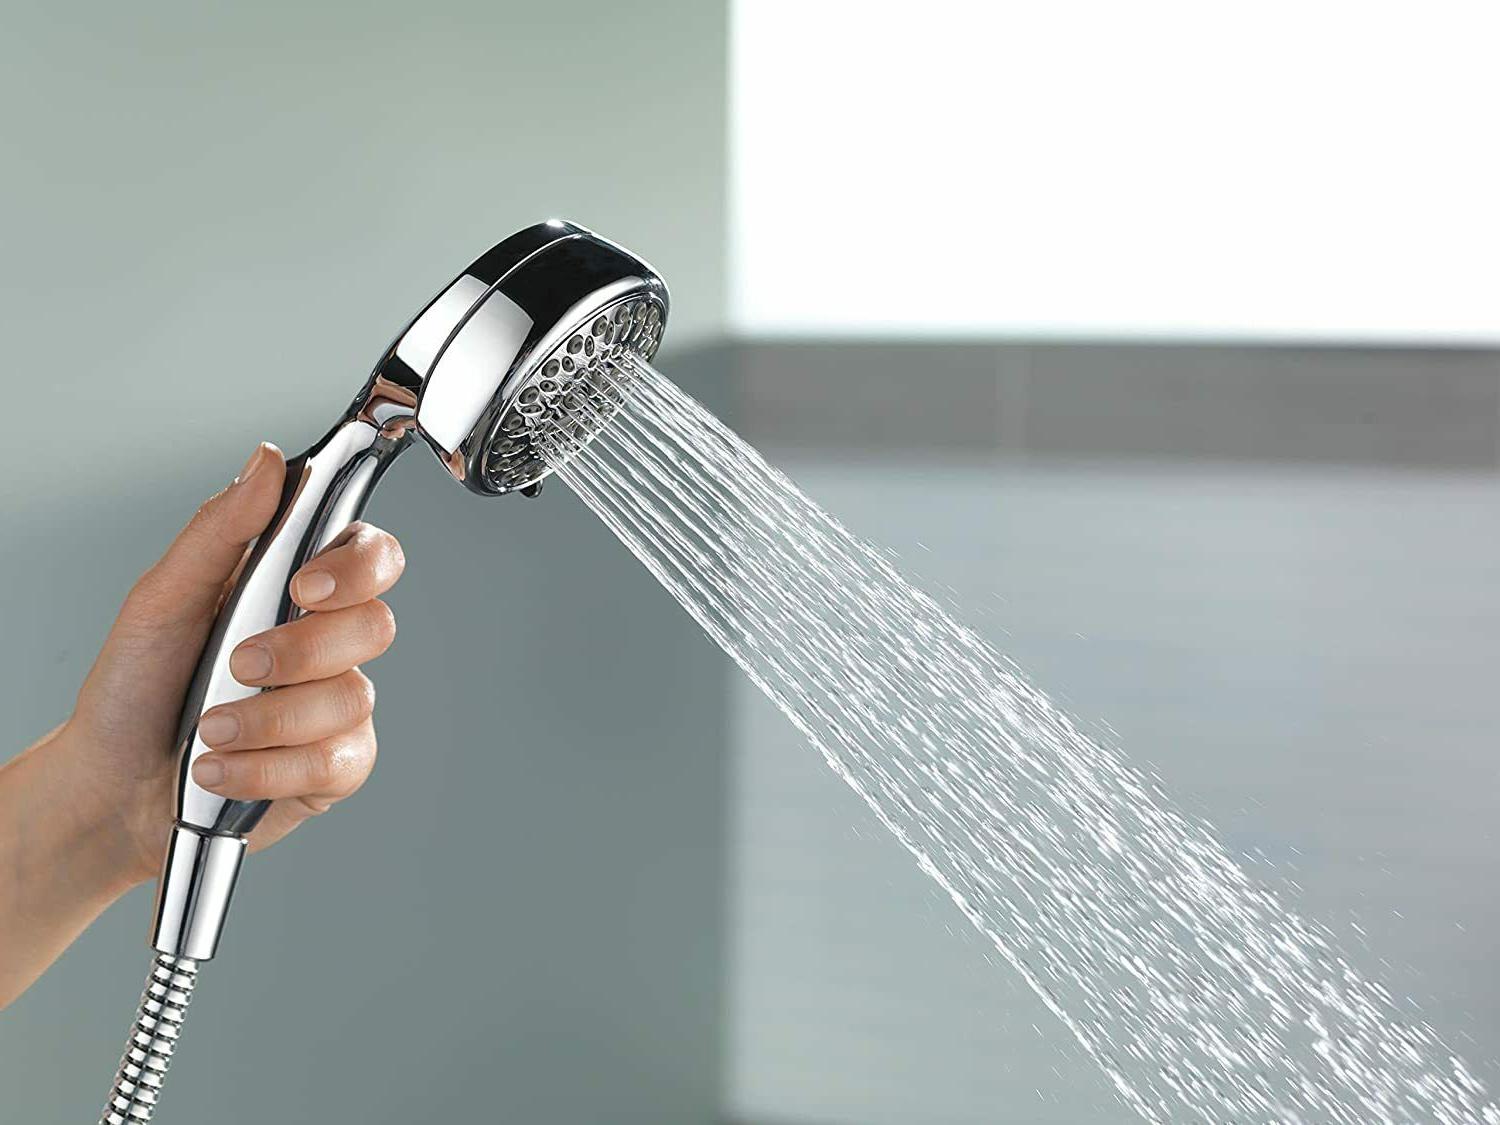
- Test the handheld showerhead: Take the handheld showerhead and test its water flow, ensuring that it remains steady and strong. Adjust the spray pattern if needed.
- Check for any leaks: Inspect all the connections, including the shower arm, diverter valve, handheld showerhead hose, and any separate brackets, for any signs of leakage. Tighten or adjust as necessary to eliminate leaks.
- Adjust and optimize: Take the time to adjust the position and angle of both the main showerhead and handheld showerhead to suit your preferences. Find the perfect combination of water pressure and spray pattern for a comfortable shower experience.
By thoroughly testing the installation, you can identify and resolve any issues before using the dual showerhead and handheld showerhead on a regular basis.
Congratulations! You have successfully installed and tested your dual showerhead and handheld showerhead. Enjoy the luxurious shower experience and the convenience of having both options at your fingertips.
Conclusion
Congratulations on completing the installation of your dual showerhead and handheld showerhead! By following the step-by-step guide provided, you have successfully transformed your shower into a more luxurious and functional space. Now, you can enjoy the invigorating experience of dual water streams and the convenience of a handheld sprayer.
Throughout the installation process, we discussed how to prepare the shower area, install the dual showerhead, connect the plumbing, and test the installation. By taking the time to properly execute each step and paying attention to the details, you have ensured a seamless and efficient installation.
Remember, safety is key when working with plumbing. If at any point you feel unsure or encounter any difficulties, it is always best to seek assistance from a professional plumber. They can provide guidance and help resolve any issues that may arise during the installation process.
Now that your dual showerhead and handheld showerhead are installed and functioning correctly, take the time to adjust and optimize the water pressure, spray patterns, and positions to suit your preferences. This will help enhance your showering experience and provide the utmost comfort and relaxation.
We hope this guide has been helpful in guiding you through the process of installing a dual showerhead and handheld showerhead. Enjoy the benefits of your upgraded shower system and indulge in a rejuvenating shower experience every day.
Happy showering!
Frequently Asked Questions about How To Install A Dual Showerhead And Handheld Showerhead
Was this page helpful?
At Storables.com, we guarantee accurate and reliable information. Our content, validated by Expert Board Contributors, is crafted following stringent Editorial Policies. We're committed to providing you with well-researched, expert-backed insights for all your informational needs.

0 thoughts on “How To Install A Dual Showerhead And Handheld Showerhead”