Articles
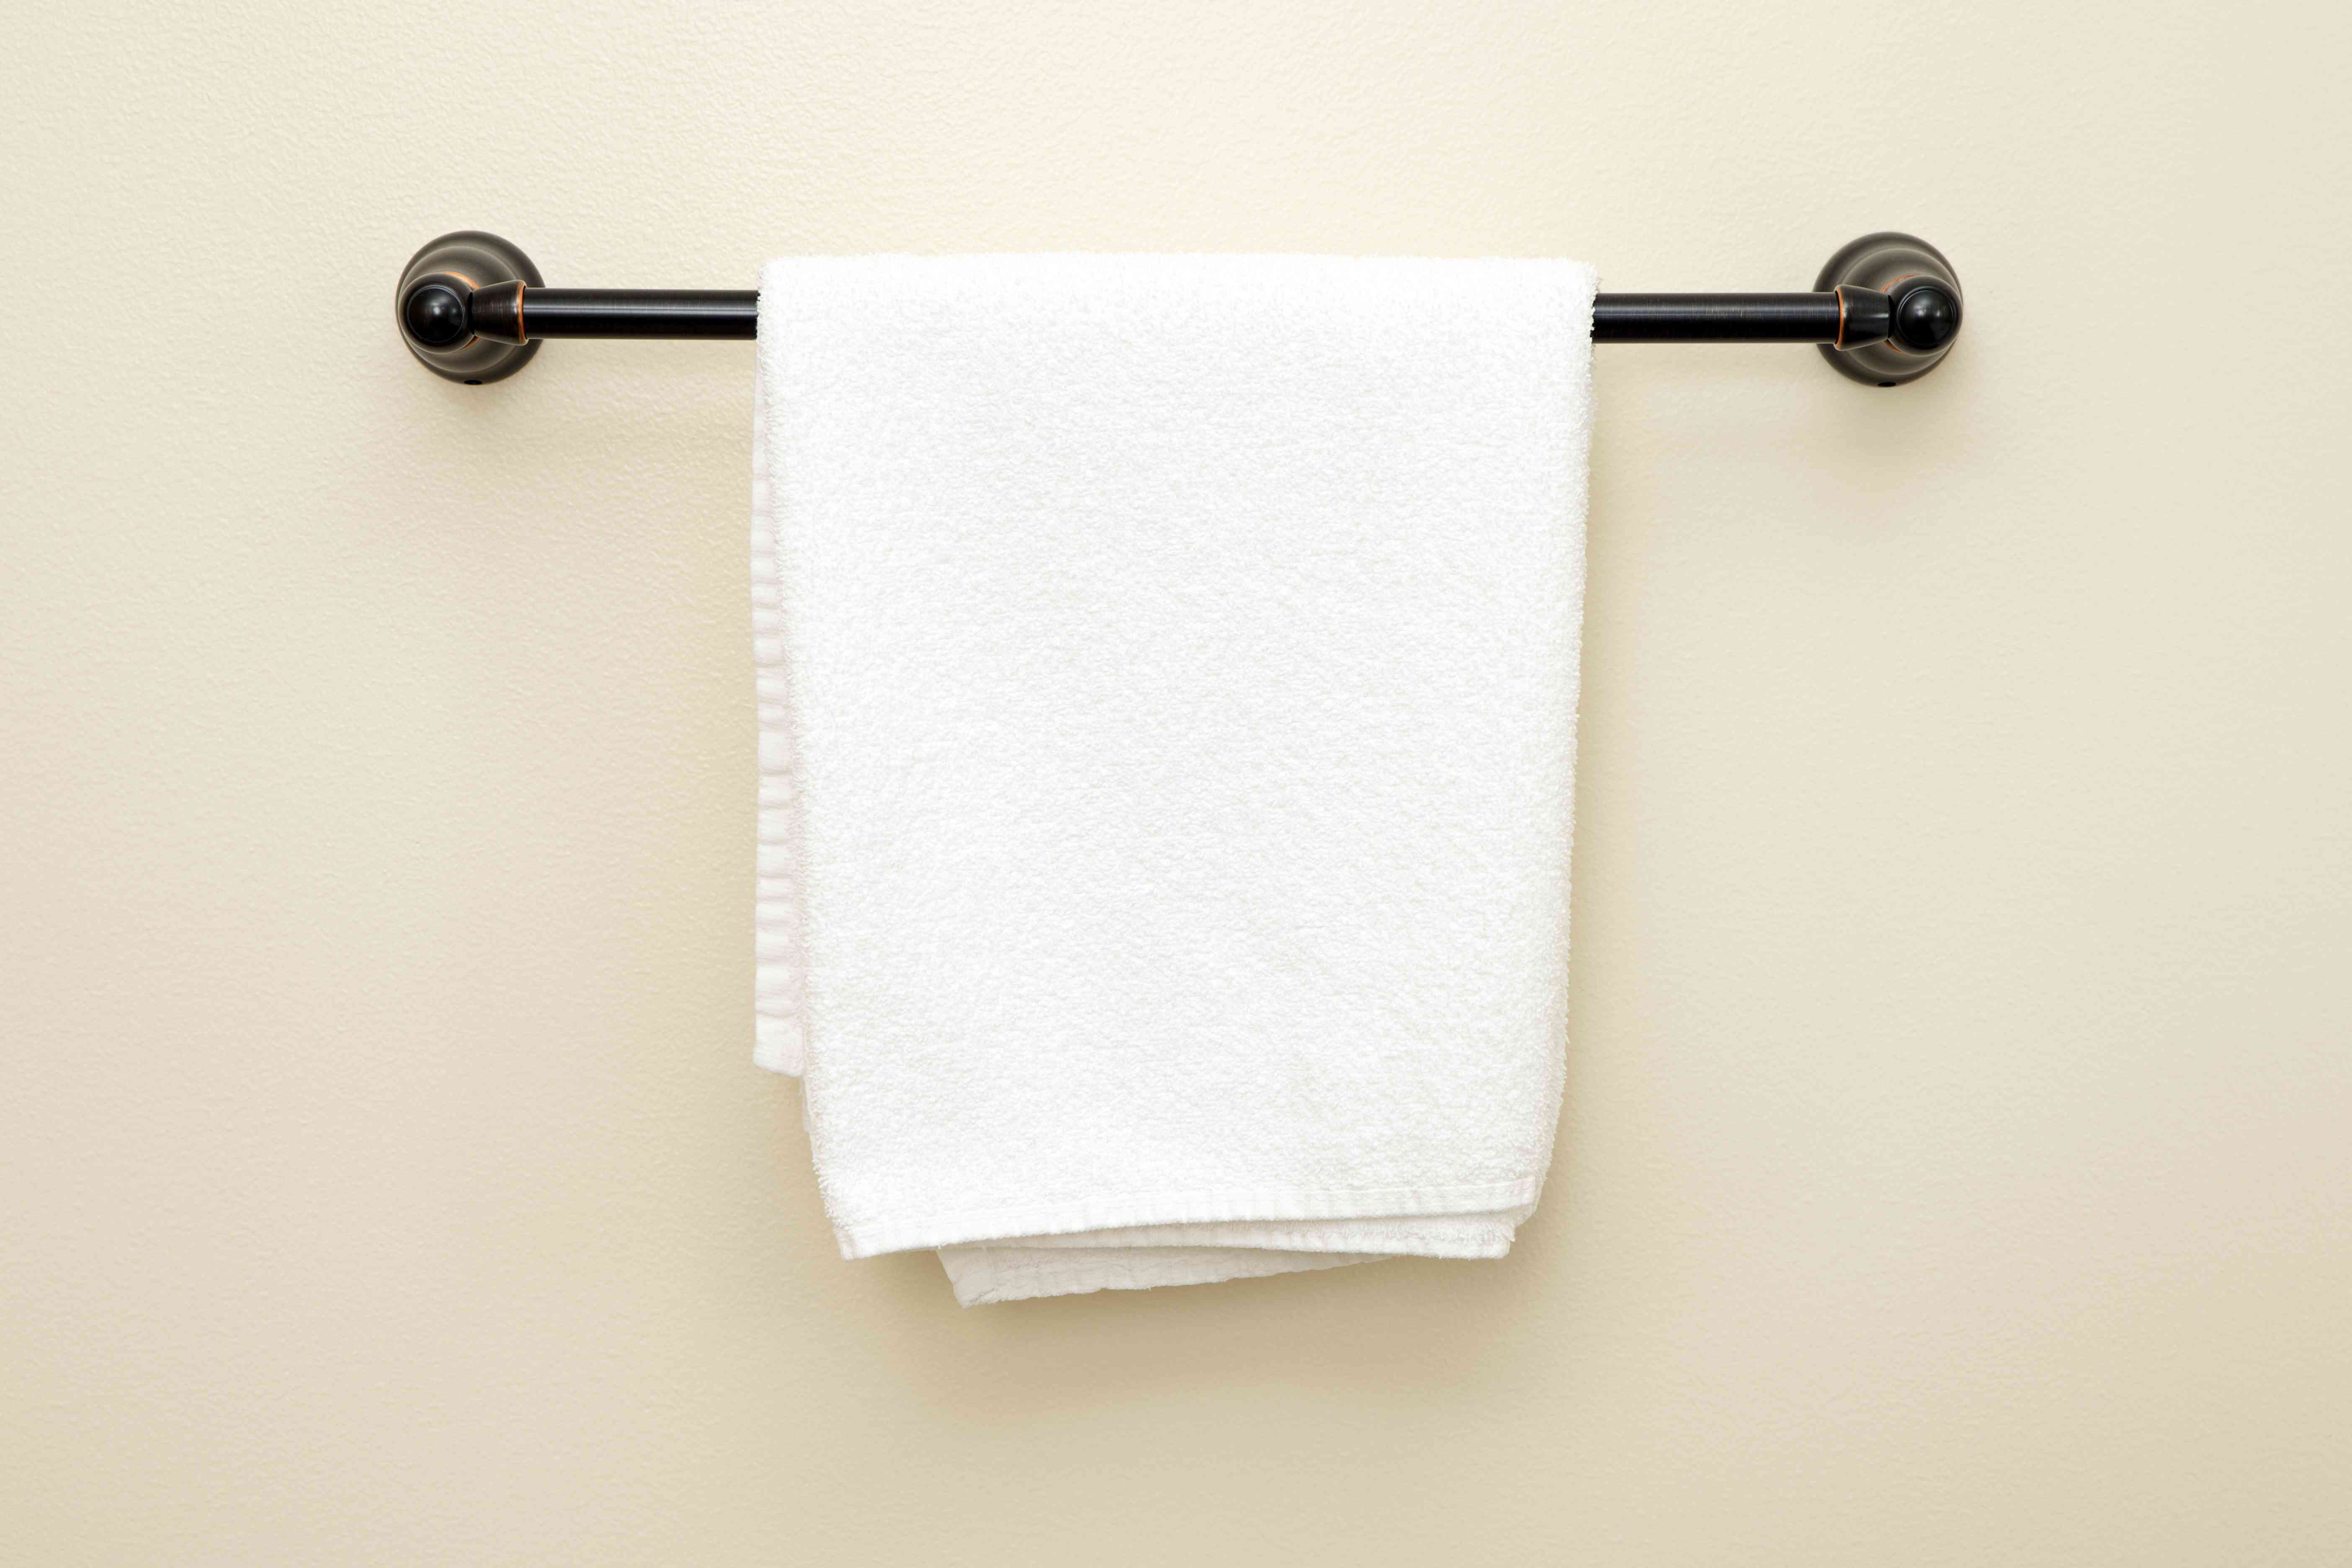
How To Install Glacier Bay Towel Bar
Modified: March 1, 2024
Learn how to properly install a Glacier Bay towel bar with our step-by-step articles. Get expert tips and tricks for a seamless installation.
(Many of the links in this article redirect to a specific reviewed product. Your purchase of these products through affiliate links helps to generate commission for Storables.com, at no extra cost. Learn more)
Introduction
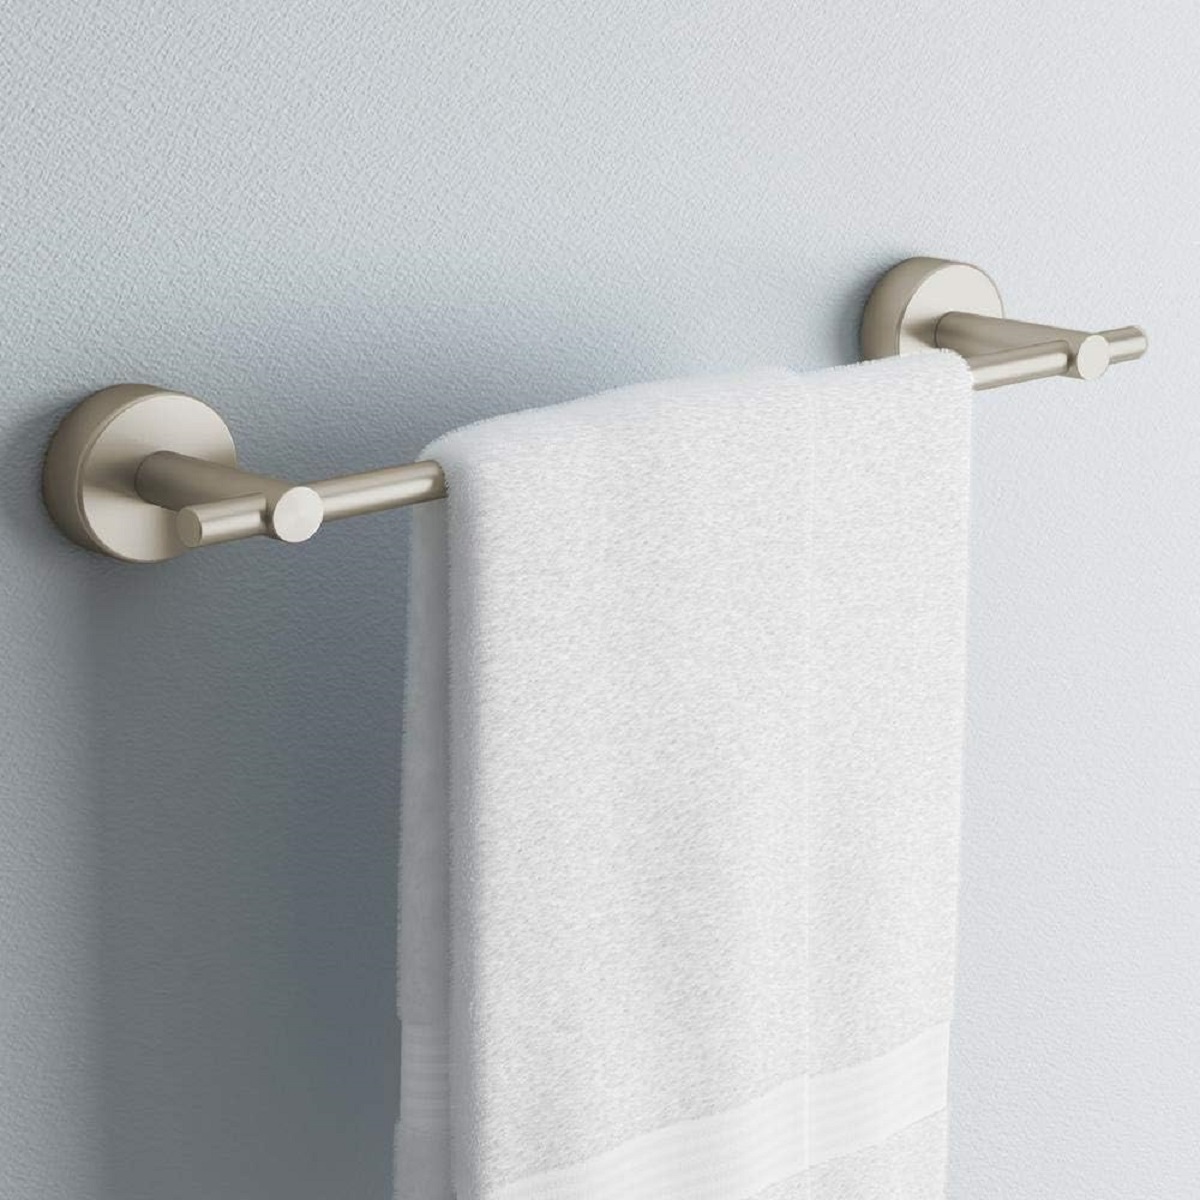
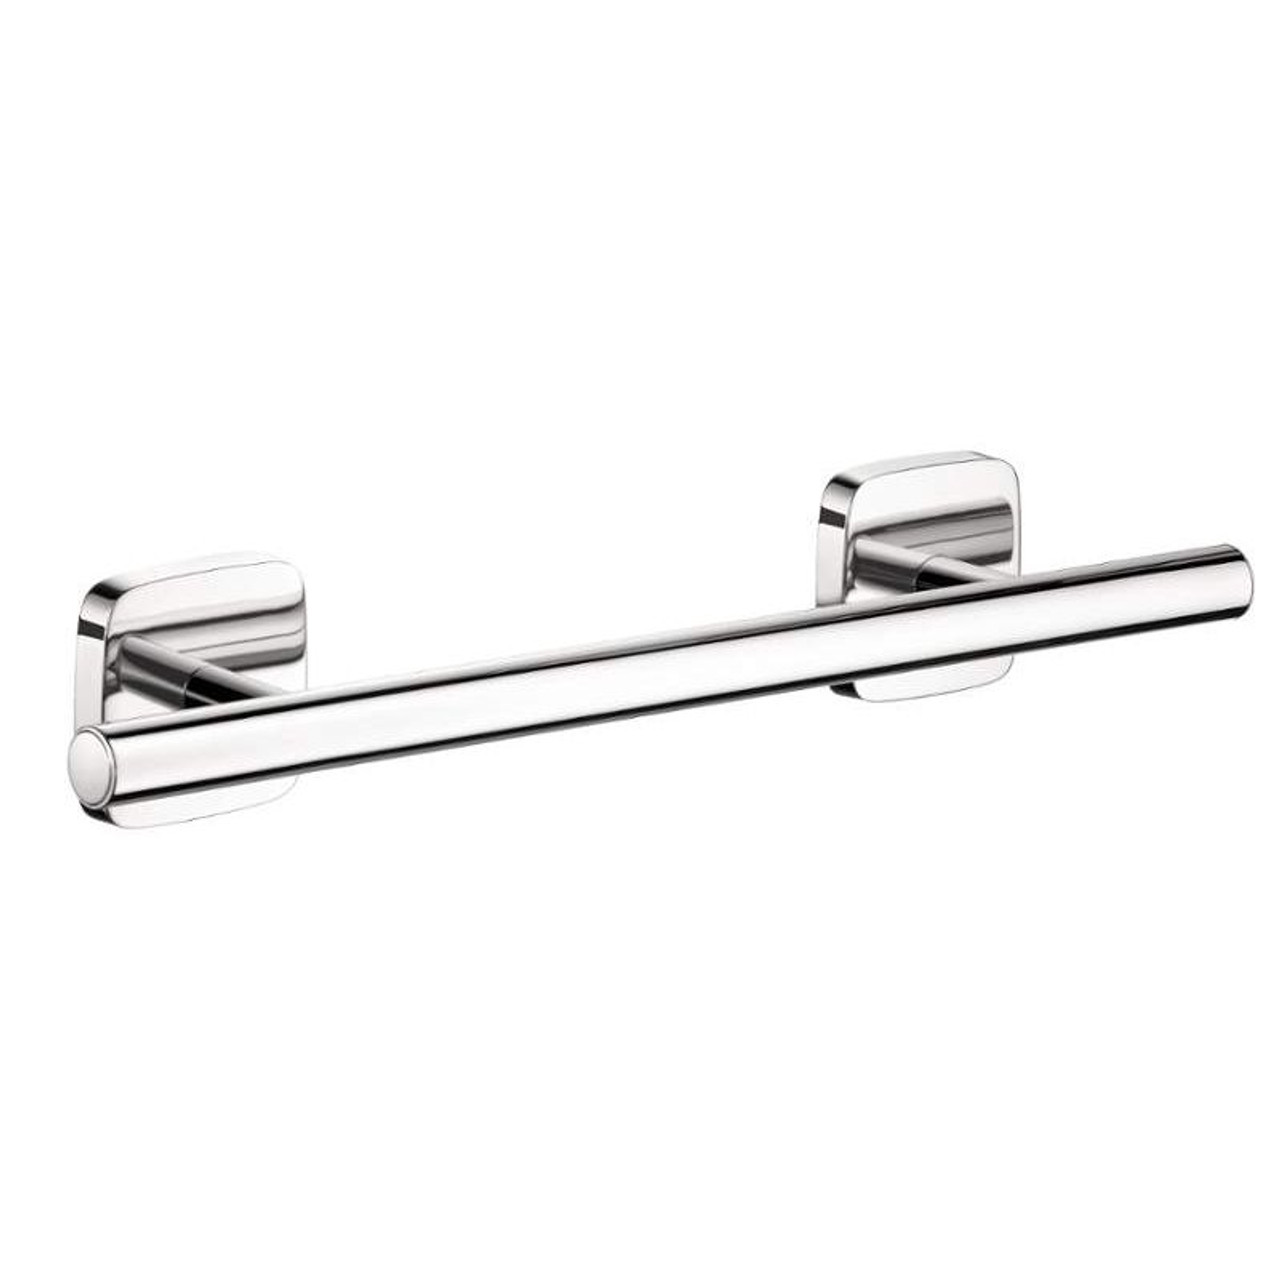
Installing a towel bar in your bathroom can not only provide convenience but also add a touch of elegance to the space. One popular choice for a towel bar is the Glacier Bay model, known for its durability and stylish design. In this article, we will guide you through the step-by-step process of installing a Glacier Bay towel bar.
Before we begin, it’s important to gather all the necessary tools and materials. Having everything ready beforehand will make the installation process smoother and more efficient. Let’s take a look at what you’ll need:
- Glacier Bay towel bar kit (includes towel bar, mounting brackets, screws, and anchors)
- Measuring tape
- Pencil
- Electric drill
- Drill bits
- Level
- Screwdriver
Once you have these tools and materials ready, you’re all set to start installing your Glacier Bay towel bar. Let’s dive into the step-by-step instructions.
Key Takeaways:
- Elevate your bathroom with a Glacier Bay towel bar, adding both convenience and elegance. Follow the step-by-step guide for a stable and durable installation, ensuring years of stylish functionality.
- Ensure a successful installation by gathering the necessary tools, measuring and marking the location, and securing the towel bar with the set screw. Enjoy the convenience and style of your newly installed Glacier Bay towel bar!
Read more: How To Install A Double Towel Bar
Tools and Materials Needed
Before you begin the installation process, it’s important to gather all the necessary tools and materials. Having everything prepared in advance will make the installation process much smoother and more efficient. Here’s a list of the tools and materials you will need:
- Glacier Bay towel bar kit: This kit should include the towel bar itself, mounting brackets, screws, and anchors. Make sure to check that all the components are included in the kit before you begin.
- Measuring tape: You will need a measuring tape to accurately determine the placement of the towel bar.
- Pencil: A standard pencil will be used to mark the location for the towel bar installation.
- Electric drill: An electric drill will be necessary for drilling the holes in the wall to attach the mounting brackets.
- Drill bits: Depending on the type of wall you have, you may need different drill bits to drill the holes. Make sure to have a selection of drill bits available.
- Level: A level tool is crucial for ensuring that the towel bar is installed straight and level. This will prevent it from appearing crooked once it’s mounted.
- Screwdriver: A screwdriver will be needed to tighten the screws that secure the towel bar to the mounting brackets.
By having these tools and materials on hand, you will be well-equipped to tackle the installation of your Glacier Bay towel bar. Before you begin, double-check that you have everything you need to avoid any interruptions during the process. Now that you’re ready, let’s move on to the step-by-step installation instructions.
Step 1: Measure and Mark the Location
The first step in installing your Glacier Bay towel bar is to carefully measure and mark the location where you want it to be installed. This will ensure that the towel bar is positioned at the right height and properly aligned with other elements in your bathroom. Follow these steps:
- Start by determining the desired height for your towel bar. A typical height is around 48 inches above the floor, but this can vary depending on your personal preferences and the height of other fixtures in your bathroom.
- Using a measuring tape, measure the desired height from the floor and make a small mark on the wall with a pencil.
- Next, measure the length of the towel bar and mark the center point on the wall. This will help you ensure that the towel bar is centered and symmetrical.
- Measure the distance between the mounting brackets on the back of the towel bar. Mark these measurements on the wall, aligning them with the center mark you made earlier. This will indicate the exact position where the mounting brackets will be installed.
- Using a level, check that the marks you made are perfectly horizontal. Adjust them if necessary to ensure a straight installation.
Once you have measured and marked the location for your towel bar, you’re ready to move on to the next step: installing the mounting brackets. Remember to take your time with this step to ensure accurate measurements and markings.
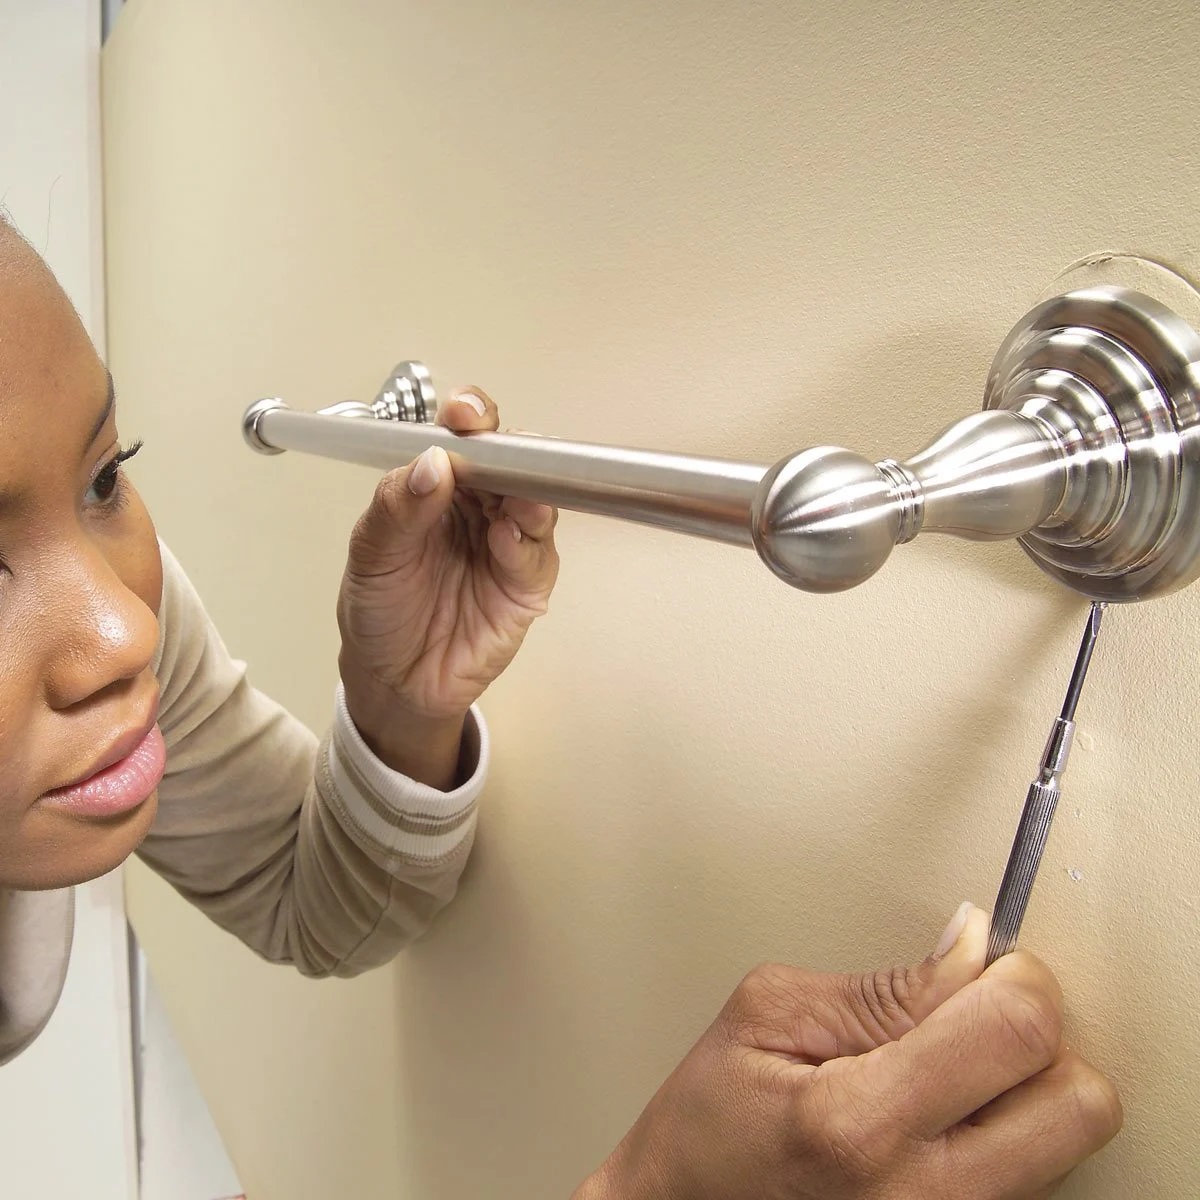
Step 2: Install Mounting Brackets
Once you have measured and marked the location for your Glacier Bay towel bar, it’s time to install the mounting brackets. These brackets will provide support for the towel bar and secure it to the wall. Follow these steps:
- Start by holding one of the mounting brackets against the wall, aligning it with the marks you made in Step 1. Ensure that the bracket is level and centered.
- Using an electric drill and an appropriate drill bit, carefully drill pilot holes through the screw holes on the mounting bracket. Make sure to drill the holes deep enough to accommodate the screws.
- Insert the provided anchors into the pilot holes. These anchors will provide extra support and stability for the towel bar.
- Align the mounting bracket with the anchor holes and screw the bracket into place using the provided screws. Be sure to tighten the screws securely, but avoid over-tightening to prevent any damage to the bracket or wall.
- Repeat the process with the second mounting bracket, ensuring that it is aligned with the marks and level with the first bracket.
Once both mounting brackets are securely installed, double-check their alignment and stability. Ensure that they are level and properly placed before moving on to the next step.
Installing the mounting brackets properly is crucial for the stability and durability of your towel bar. Take your time and ensure that the brackets are securely attached to the wall before proceeding to the next step.
When installing a Glacier Bay towel bar, make sure to use a level to ensure it is straight. Use the provided hardware and follow the manufacturer’s instructions carefully for a secure installation.
Step 3: Attach Towel Bar to Mounting Brackets
Now that the mounting brackets are securely installed, it’s time to attach the Glacier Bay towel bar to them. Follow these steps:
- Hold the towel bar against the mounting brackets, aligning the holes on the back of the towel bar with the brackets.
- Insert the provided screws through the holes on the towel bar and into the holes on the mounting brackets.
- Using a screwdriver, tighten the screws to secure the towel bar to the mounting brackets. Make sure to tighten them evenly on both sides of the towel bar for a secure and balanced installation.
As you tighten the screws, keep an eye on the level to ensure that the towel bar remains straight and level. Adjust the position of the towel bar if necessary before fully tightening the screws.
Once the towel bar is attached to the mounting brackets, give it a gentle tug to ensure that it is securely in place. It should feel sturdy and stable. If there is any wobbling or movement, go back and double-check that the screws are tightened properly.
With the towel bar successfully attached to the mounting brackets, we can move on to the final step of the installation process: securing the towel bar to ensure its stability.
Read more: How To Clean A Glacier Bay Water Dispenser
Step 4: Secure the Towel Bar
Now that the towel bar is attached to the mounting brackets, it’s time to secure it to ensure its stability. Follow these steps:
- Using a screwdriver, locate the set screw on the underside of the towel bar. This is typically a small screw that is designed to hold the towel bar in place.
- With the set screw exposed, tighten it clockwise using the screwdriver. This will secure the towel bar to the mounting brackets and prevent it from moving or coming loose over time.
Ensure that the set screw is tightened enough to hold the towel bar securely, but be cautious not to overtighten it, as this could cause damage to the towel bar or the mounting brackets.
Once you have securely tightened the set screw, give the towel bar a gentle tug to ensure that it is firmly in place. It should not move or wobble when pressure is applied.
With the towel bar securely fastened, you’re almost finished with the installation process. The final step is to test and adjust the position of the towel bar to ensure its functionality and aesthetic appeal.
Step 5: Test and Adjust the Towel Bar
The final step in installing your Glacier Bay towel bar is to test its functionality and make any necessary adjustments to ensure its optimal positioning. Follow these steps:
- Hang a towel or other lightweight item on the towel bar to test its capacity and stability. Check that the towel bar can support the weight without any sagging or bending.
- Observe the towel bar from different angles to ensure that it is straight and level. Use a level if necessary to make any adjustments.
- Check that the towel bar is positioned at the desired height. If you are satisfied with its placement, you have successfully installed your Glacier Bay towel bar.
- If any adjustments are needed, carefully loosen the set screw on the underside of the towel bar and make the necessary changes to its position. Once adjusted, retighten the set screw to secure the towel bar in place.
Once you have tested and adjusted the towel bar to your satisfaction, give it a final tug to ensure that it is firmly in place. It should remain stable and secure.
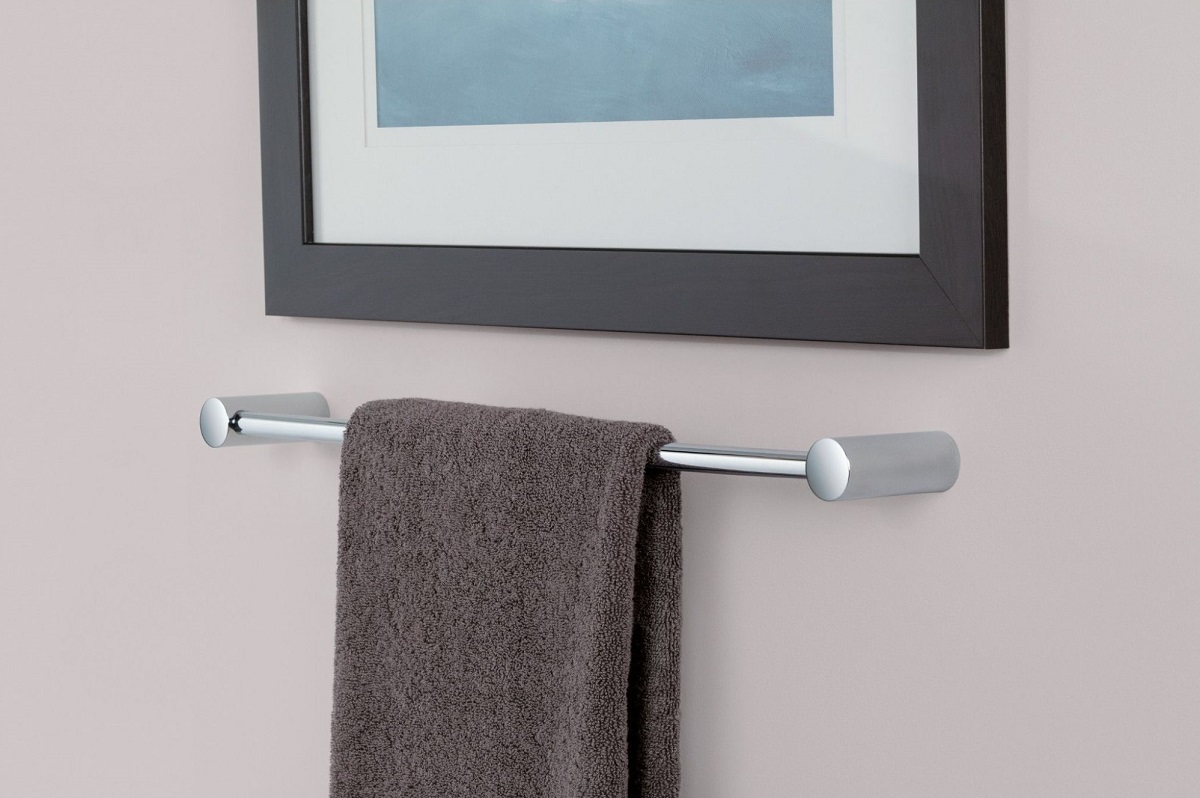
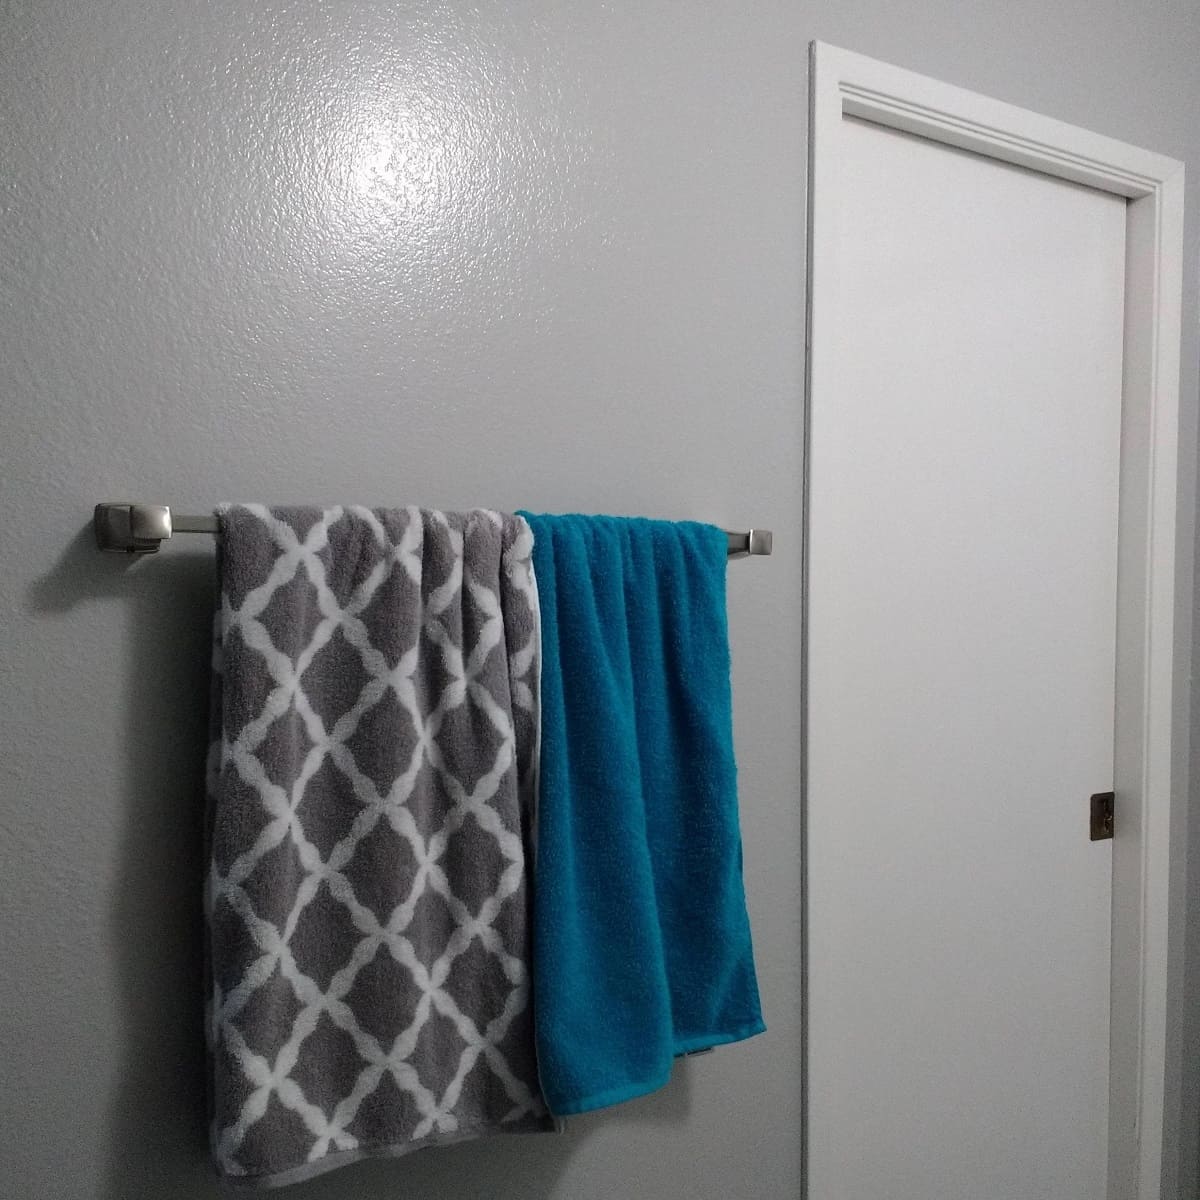
Congratulations! You have successfully installed your Glacier Bay towel bar. With its sleek design and sturdy construction, it will provide both functionality and style to your bathroom space.
Remember to periodically check the towel bar for any signs of loosening or wear. If you notice any issues, promptly tighten or adjust the towel bar as needed to maintain its stability.
Thank you for following this step-by-step guide. Enjoy your newly installed Glacier Bay towel bar!
Conclusion
Installing a Glacier Bay towel bar is a relatively straightforward process that can elevate the functionality and visual appeal of your bathroom. By following the step-by-step instructions outlined in this guide, you can successfully install your towel bar and enjoy its convenience for years to come.
Remember to gather all the necessary tools and materials before you begin, including the Glacier Bay towel bar kit, measuring tape, pencil, electric drill, drill bits, level, and screwdriver. Taking the time to measure and mark the location, install the mounting brackets securely, and attach the towel bar properly will ensure a stable and durable installation.
Once you have attached the towel bar to the mounting brackets, be sure to secure it with the set screw to prevent it from coming loose over time. Test the towel bar’s functionality by hanging a towel or other lightweight item, and make any necessary adjustments to its position and levelness.
Regularly inspect the towel bar for any signs of looseness or wear, and promptly tighten or adjust it as needed to maintain its stability. By properly maintaining your Glacier Bay towel bar, you can enjoy its convenience and style for years to come.
We hope that this guide has been helpful in guiding you through the installation process of your Glacier Bay towel bar. Enjoy your newly installed towel bar and the added convenience it brings to your bathroom!
Frequently Asked Questions about How To Install Glacier Bay Towel Bar
Was this page helpful?
At Storables.com, we guarantee accurate and reliable information. Our content, validated by Expert Board Contributors, is crafted following stringent Editorial Policies. We're committed to providing you with well-researched, expert-backed insights for all your informational needs.


0 thoughts on “How To Install Glacier Bay Towel Bar”