Articles
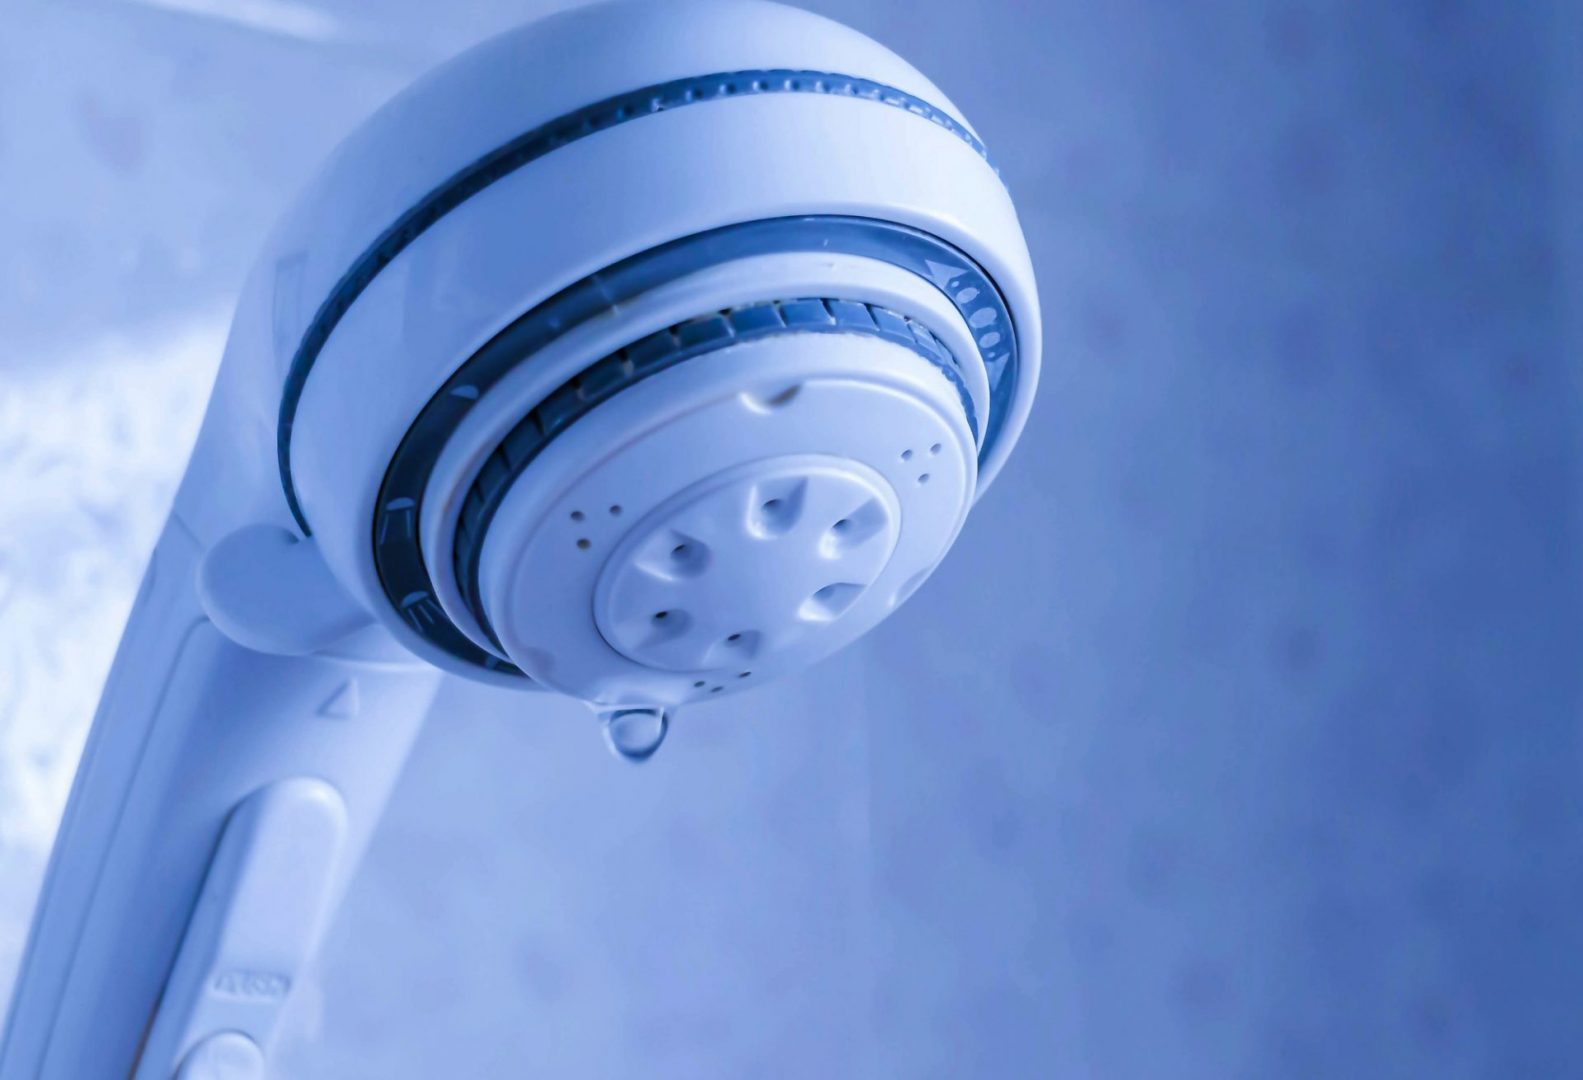
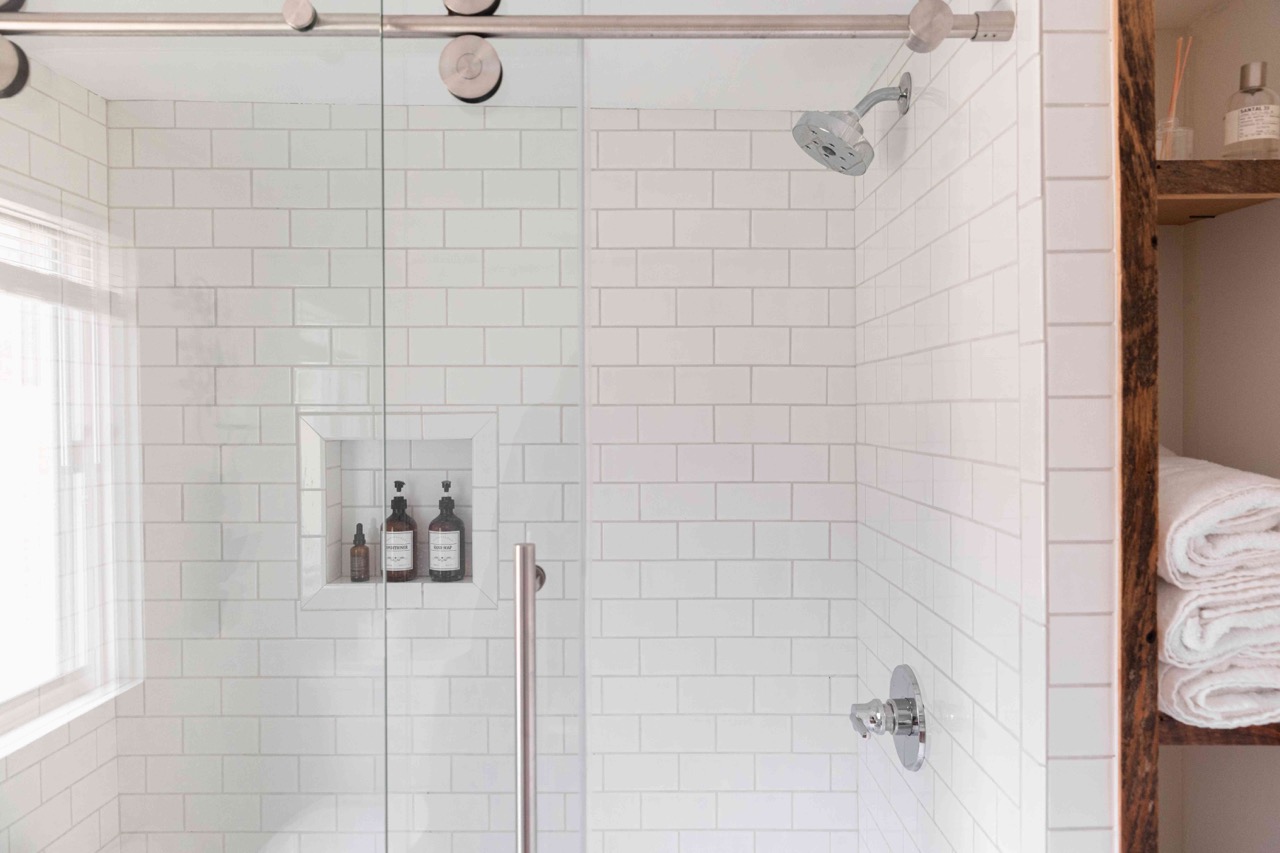
How To Take A Shower With A Broken Showerhead
Modified: August 26, 2024
Learn how to take a shower with a broken showerhead through our informative articles. Find tips and solutions to ensure a refreshing bathing experience.
(Many of the links in this article redirect to a specific reviewed product. Your purchase of these products through affiliate links helps to generate commission for Storables.com, at no extra cost. Learn more)
Introduction
Taking a shower is a refreshing and invigorating experience. However, when your showerhead is broken, it can be quite frustrating. Whether it’s a leak, a damaged nozzle, or a complete malfunction, dealing with a broken showerhead can put a damper on your daily routine. But fear not! In this article, we will guide you through the process of taking a shower with a broken showerhead and offer some temporary solutions to keep you clean and comfortable.
Before we dive into the steps, it’s important to note that while these temporary fixes will help you continue using your shower, they are not long-term solutions. It’s crucial to address the underlying issue and either repair or replace your showerhead as soon as possible to ensure a fully functional and enjoyable shower experience.
Key Takeaways:
- Don’t let a broken showerhead ruin your day. Follow our temporary solutions to keep enjoying refreshing showers while you plan for repairs or replacements.
- Properly dispose of the broken showerhead to minimize negative impacts on the environment and ensure responsible waste management. Plan for shower repairs or replacements to restore your regular showering experience effectively.
Read more: How To Take Showerhead Off
Step 1: Assess the damage
The first step in dealing with a broken showerhead is to assess the extent of the damage. Take a close look at the showerhead and identify any visible issues such as cracks, leaks, or missing parts. This will give you a better understanding of the specific problem at hand and help you determine the best course of action.
If the showerhead is leaking, it might be a sign of a faulty seal or a loose connection. In this case, tightening the connection or replacing the seal could solve the problem. However, if the showerhead is severely damaged or completely broken, you will need to consider alternative options.
Additionally, you should check if the issue lies with the showerhead itself or if it’s a problem with the water supply system. It’s possible that a clogged pipe or a low water pressure issue is causing the showerhead to malfunction. If you suspect this to be the case, it’s best to consult a professional plumber to diagnose and resolve the underlying plumbing issue.
By thoroughly assessing the damage, you will have a clearer picture of what needs to be fixed and how to proceed with the temporary solutions until a permanent fix can be implemented.
Step 2: Gather necessary materials
Before you can proceed with temporary solutions for your broken showerhead, it’s important to gather the necessary materials. This will ensure that you have everything you need to create a temporary showering setup that is both functional and convenient.
Here are some essential materials you should gather:
- Plumber’s tape: Plumber’s tape, also known as Teflon tape, is a crucial item for creating a watertight seal when installing a temporary showerhead.
- Adjustable wrench: An adjustable wrench will come in handy for removing the broken showerhead and attaching the temporary showerhead.
- Bucket or basin: Having a bucket or basin nearby will allow you to catch any water that may leak during the process.
- Temporary showerhead: Depending on the type of damage to your showerhead, you may need a temporary showerhead. This can be a handheld showerhead or even a simple attachment that redirects the water flow.
Make sure to have these materials readily available before proceeding to the next steps. It will save you time and allow for a smoother transition during the temporary showerhead installation process.
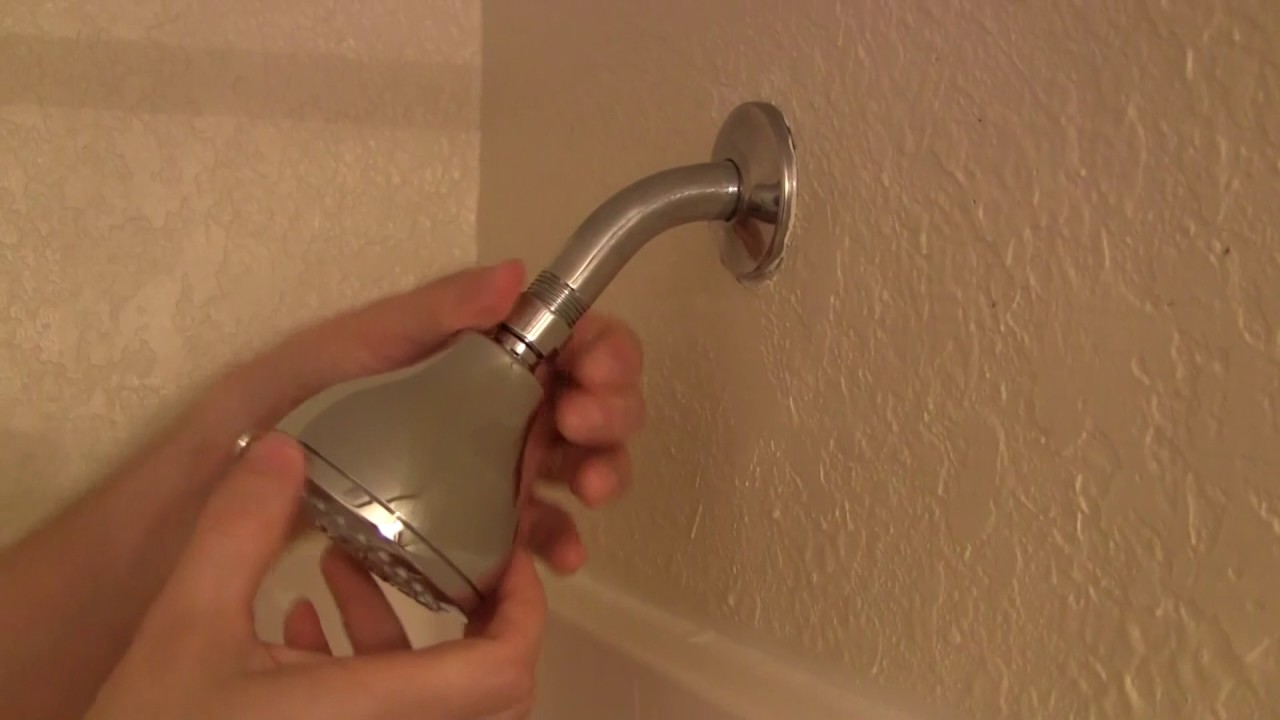
Step 3: Remove the broken showerhead
Now that you have assessed the damage and gathered the necessary materials, it’s time to remove the broken showerhead. This step is crucial to create space for the temporary showerhead and ensure a proper installation.
Follow these steps to remove the broken showerhead:
- Turn off the water supply: Locate the water supply valve for your shower and turn it off. This will prevent any water from flowing while you work on removing the showerhead.
- Protect the showerhead: Wrap a cloth or towel around the base of the showerhead to protect it from scratches or damage during the removal process.
- Use the adjustable wrench: Grip the showerhead securely with the adjustable wrench. Hold the shower arm steady with your other hand to prevent any unnecessary strain on your plumbing.
- Rotate counterclockwise: Apply gentle but firm pressure and rotate the wrench counterclockwise to loosen the showerhead. Gradually increase the torque until the showerhead becomes loose enough to be removed by hand.
- Remove the showerhead: Once the showerhead is loose, unscrew it completely by hand and set it aside.
After removing the broken showerhead, take a moment to inspect the shower arm for any debris or residues that could affect the installation of the temporary showerhead. If necessary, clean the shower arm using a cloth or brush before proceeding to the next step.
With the broken showerhead removed, you’re now ready to move on to the next step and prepare the showerhead area for the temporary solution.
Step 4: Clean and prepare the showerhead area
After removing the broken showerhead, it’s important to clean and prepare the showerhead area before installing the temporary showerhead. This will ensure a smooth and secure fit for your temporary solution.
Follow these steps to clean and prepare the showerhead area:
- Inspect the shower arm: Take a closer look at the shower arm to check for any mineral deposits, debris, or other impurities that may have accumulated over time. Use a cloth or brush to gently remove any build-up.
- Apply plumber’s tape: To create a watertight seal, wrap a few layers of plumber’s tape clockwise around the threaded end of the shower arm. This will prevent any leaks and ensure a secure installation for the temporary showerhead.
- Tighten the connection: With the plumber’s tape applied, carefully attach the temporary showerhead to the shower arm. Use your hand to tighten the connection as much as possible to ensure a firm and stable attachment.
By cleaning the showerhead area and applying plumber’s tape, you are taking the necessary steps to create a proper and functional temporary setup. This will help prevent any water leakage or instability during your showers.
Once the showerhead area is clean and prepared, you’re ready to move on to the next step and explore some temporary showerhead alternatives that will allow you to continue enjoying your showers while a permanent fix is arranged.
Read more: How To Take Out Broken Light Bulb
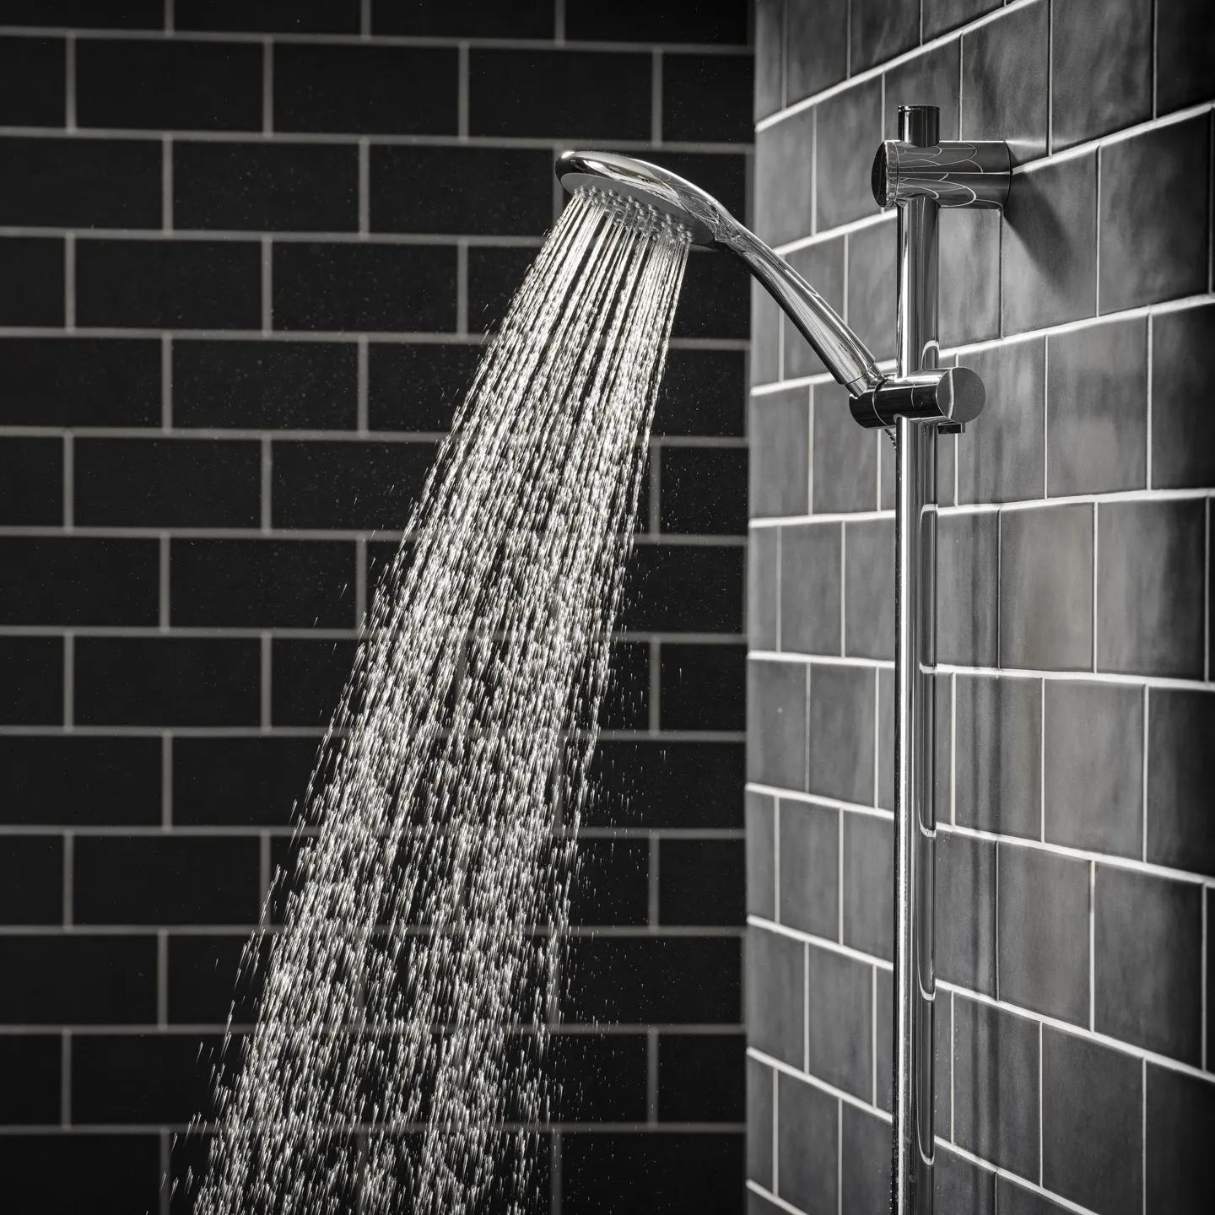
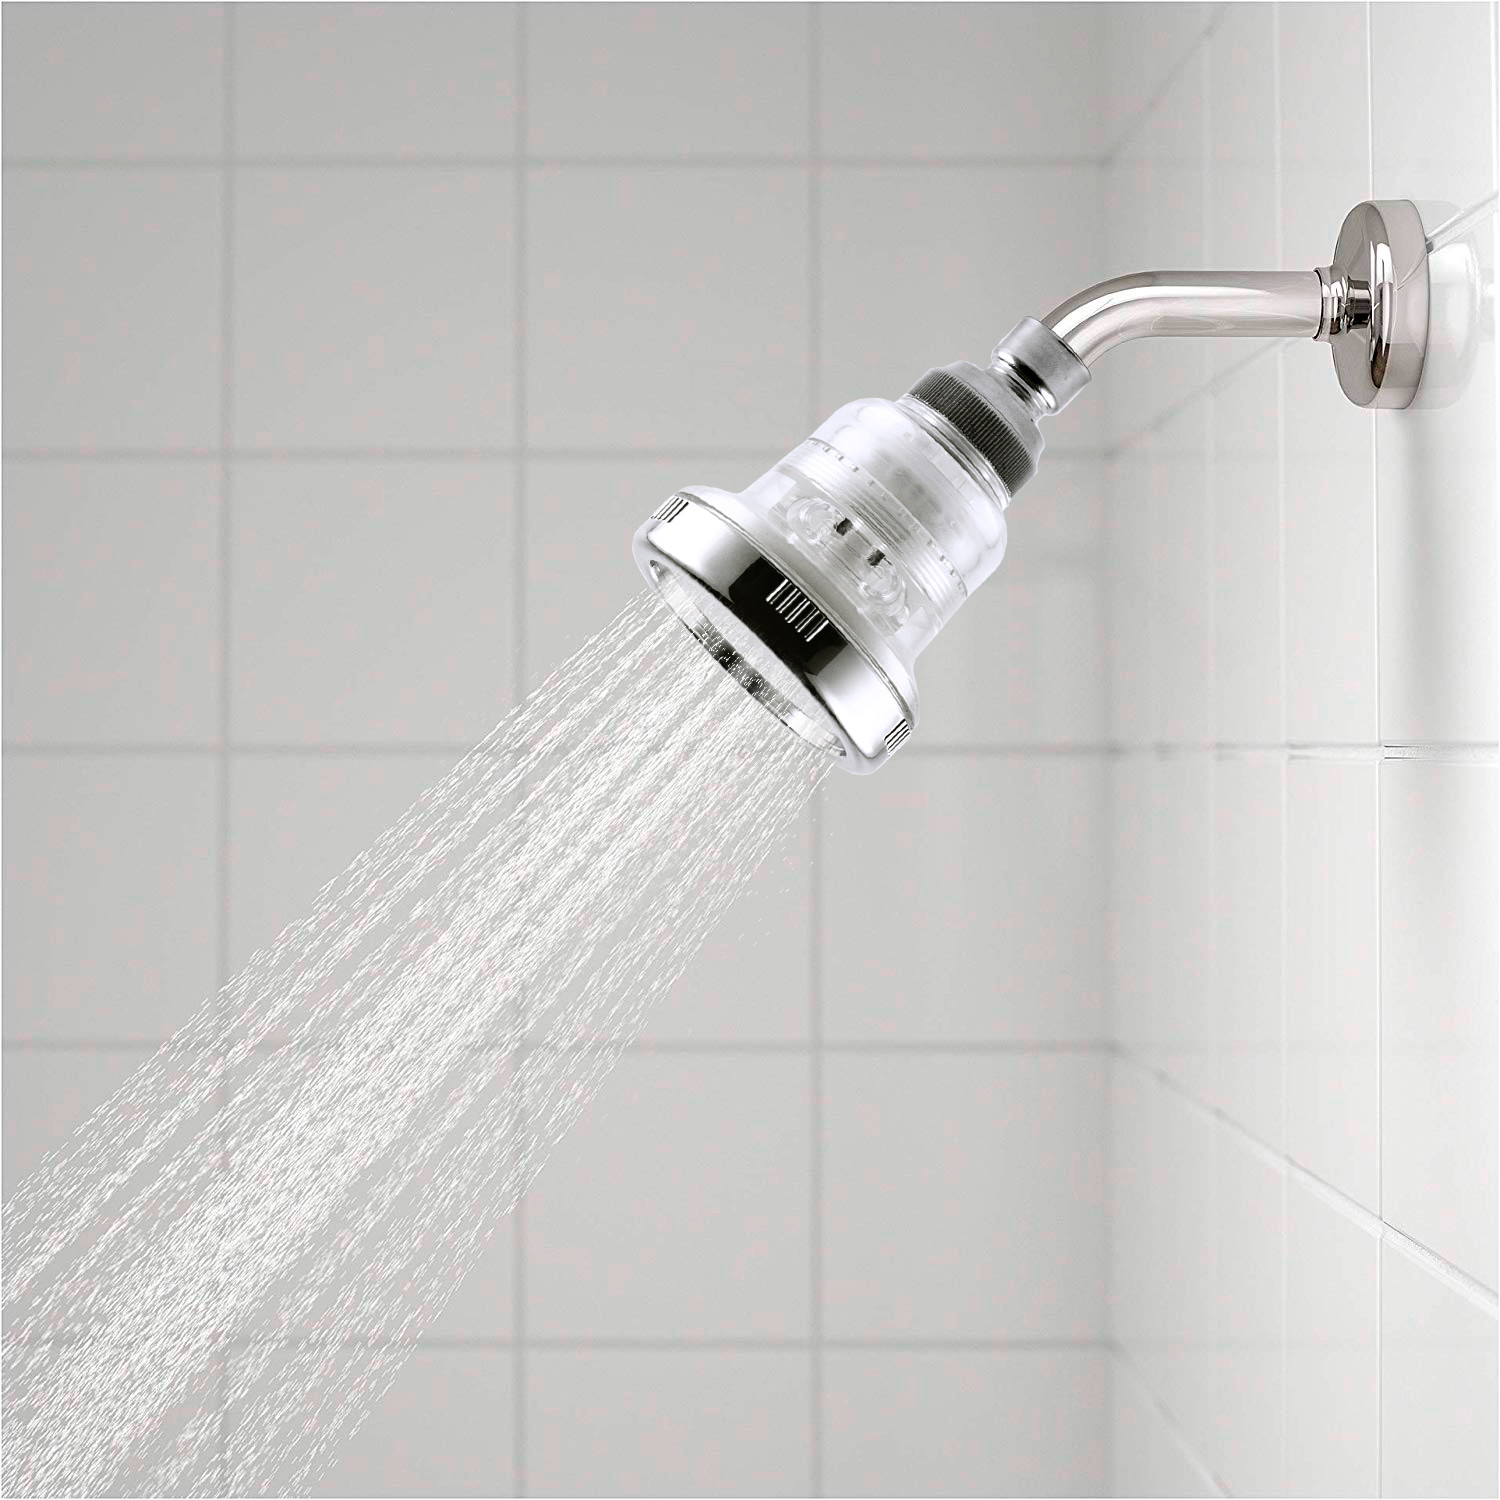
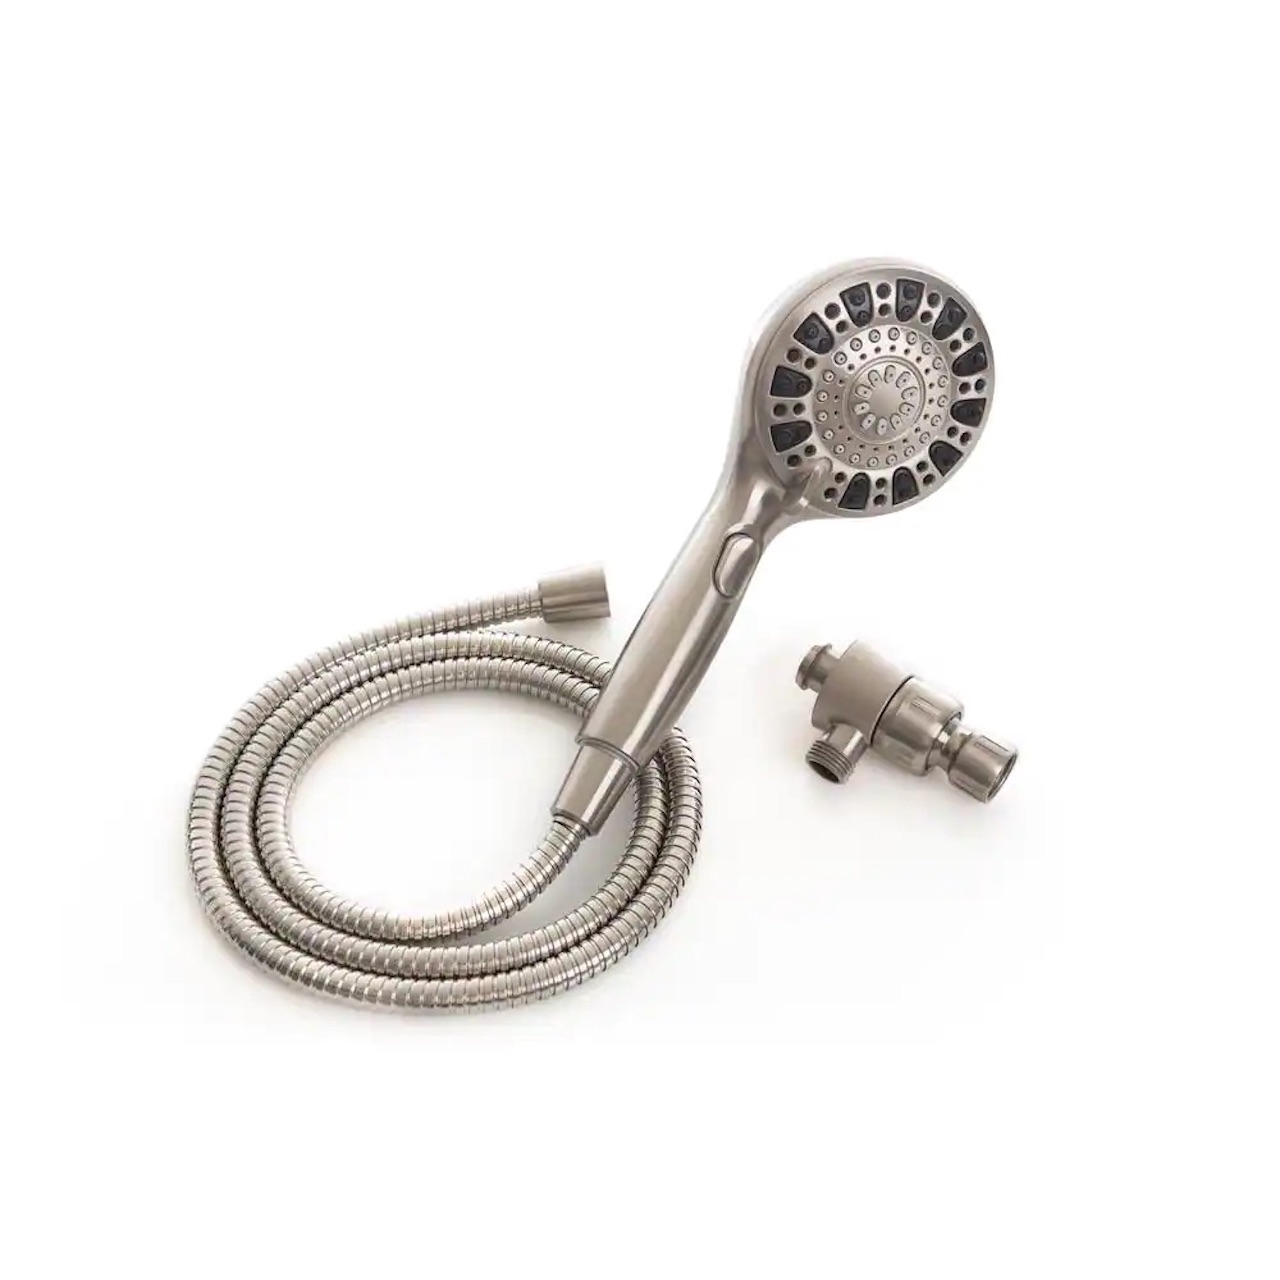
Step 5: Temporary showerhead alternatives
If your showerhead is broken, you may not have to go without a shower until it is repaired or replaced. There are a few temporary showerhead alternatives that you can use to continue enjoying your showers with minimal inconvenience.
Here are a few temporary showerhead alternatives:
- Handheld showerhead: A handheld showerhead is a flexible option that allows you to direct the water flow wherever you need it. These showerheads usually come with a hose and a removable head, making them easy to use and install.
- Bucket and mug setup: If you don’t have access to a temporary showerhead, a bucket and mug setup can work as a makeshift solution. Fill a bucket with water, use a mug to scoop water from the bucket, and pour it over yourself. While not as convenient as a regular showerhead, this method can be efficient and effective in a pinch.
- Watering can or pitcher: Another option is using a watering can or a large pitcher to pour water over yourself. This method requires a bit of coordination but can provide a decent water flow for a quick shower.
Consider these alternatives based on your preferences and the resources you have available. Each option offers a different level of convenience and water flow, so choose the one that suits your needs best.
Remember, these temporary showerhead alternatives are meant to be temporary solutions while you arrange for the repair or replacement of your broken showerhead. It’s essential to address the underlying issue to ensure a proper and long-term fix for your showering needs.
If your showerhead is broken, you can still take a shower by using a removable handheld showerhead or a bucket to pour water over yourself. Alternatively, you can use a large cup or pitcher to scoop and pour water over yourself.
Step 6: Attach the temporary showerhead
Now that you have chosen a temporary showerhead alternative, it’s time to attach it to the shower arm. Properly installing the temporary showerhead will ensure a secure and functional setup for your showers.
Follow these steps to attach the temporary showerhead:
- Insert the showerhead connector: For handheld showerheads or other attachments, locate the showerhead connector and insert it onto the shower arm. Ensure that it is securely in place.
- Tighten the connection: Use your hand to tighten the connection between the temporary showerhead and the shower arm. Apply steady pressure while turning it clockwise to ensure a snug fit. Make sure not to overtighten, as it may damage the temporary showerhead or the shower arm threads.
- Check for leaks: After attaching the temporary showerhead, turn on the water supply and carefully observe the connection for any leaks. If you notice any leaks, try tightening the connection further or adjusting the position of the showerhead to minimize leakage.
Once the temporary showerhead is properly attached and there are no leaks, you’re ready to move on to the next step and test the functionality of your temporary showering setup.
Remember, the purpose of this temporary solution is to provide you with a functional shower while you make arrangements to repair or replace your broken showerhead. Consider it a temporary fix until you can restore your regular showering experience.
Step 7: Test the temporary showerhead
With the temporary showerhead securely attached, it’s time to test its functionality and ensure that it provides a satisfactory showering experience.
Follow these steps to test the temporary showerhead:
- Turn on the water supply: Open the water supply valve to allow water to flow through the temporary showerhead.
- Check the water flow: Observe the water flow from the temporary showerhead and make sure it is steady and consistent. Adjust the settings or position of the showerhead if necessary to achieve the desired water flow. Take note of any unusual noises, leaks, or issues with the water pressure.
- Adjust the spray pattern: If your temporary showerhead has adjustable spray settings, experiment with different patterns to find the one that suits your preferences.
- Test temperature control: If your existing shower system has temperature control options, check if they are working effectively with the temporary showerhead. Adjust the temperature as desired to ensure a comfortable showering experience.
By testing the temporary showerhead, you can identify any potential issues and make adjustments for an optimal showering experience. If you encounter any problems, such as leaks or inconsistent water flow, refer to the installation instructions or consult a professional for further assistance.
Remember, the temporary showerhead is meant to be a temporary solution until you can repair or replace your broken showerhead. However, with proper installation and testing, it can provide you with a functional and satisfactory showering experience in the meantime.
Step 8: Properly dispose of the broken showerhead
After successfully installing the temporary showerhead and ensuring its functionality, it’s important to properly dispose of the broken showerhead. Disposing of it in an appropriate manner helps prevent harm to the environment and ensures proper waste management.
Follow these steps to dispose of the broken showerhead properly:
- Check local regulations: Before disposing of any waste, including the broken showerhead, familiarize yourself with local regulations regarding the disposal of electronic or metal items. Some areas have specific guidelines or recycling programs in place.
- Recycle if possible: If your broken showerhead is made of recyclable materials such as metal or plastic, consider recycling it. Check with your local recycling facility to find out the specific process for recycling these items.
- Separate any non-recyclable parts: If certain parts of the broken showerhead are not recyclable, such as rubber washers or small plastic pieces, separate them and dispose of them properly in the regular trash bin.
- Avoid improper disposal: Do not throw the broken showerhead into regular household waste or flush it down the toilet. Improper disposal can harm the environment and cause damage to the wastewater system.
- Consider professional pickup: If recycling or specific disposal options are not readily available in your area, consider contacting a professional waste removal service to ensure the broken showerhead is disposed of safely and responsibly.
By taking these steps and making an effort to dispose of the broken showerhead properly, you contribute to environmental sustainability and responsible waste management.
Now that you have successfully disposed of the broken showerhead, you can rest assured that you have taken the necessary steps to minimize any negative impacts on the environment.
Read more: How To Make Shower Caddy Stay On Showerhead
Step 9: Plan for shower repairs or replacements
While the temporary showerhead provides a viable solution for the time being, it’s essential to plan for the repair or replacement of your broken showerhead to restore your regular showering experience in the long run.
Follow these steps to plan for shower repairs or replacements:
- Evaluate the extent of the damage: Assess the severity of the damage to your broken showerhead. Determine if it can be repaired or if a replacement is necessary. Consider factors such as leaks, cracks, or irreparable issues that affect the performance and safety of your showerhead.
- Research available options: Look into various showerhead options that suit your preferences and budget. Consider features such as water-saving capabilities, adjustable spray patterns, and ease of installation. Read reviews and compare prices to make an informed decision.
- Consult a professional: If you are unsure about the repair or replacement process, or if you have any concerns about your plumbing system, consider consulting a professional plumber. They can provide expert advice and guidance tailored to your specific situation.
- Make necessary arrangements: Once you have chosen a replacement showerhead or have decided on a repair plan, make the necessary arrangements to obtain the required parts or schedule a professional service. Check if any tools or additional materials are needed for the installation or repair process.
- Schedule the repair or replacement: Determine a suitable time to carry out the repair or replacement. Consider factors such as your availability, access to plumbing services, and any time constraints you may have.
By planning for the repair or replacement of your broken showerhead, you take proactive steps towards restoring your showering experience to its full functionality. This ensures that you can enjoy a reliable and satisfying shower in the long term.
Remember, addressing the underlying issue promptly will prevent further damage to your shower system and promote a safe and efficient bathing experience.
Conclusion
Dealing with a broken showerhead can be a frustrating experience, but with the right knowledge and temporary solutions, you can still enjoy refreshing showers while you plan for repairs or replacements.
In this article, we have covered the steps necessary to take a shower with a broken showerhead. From assessing the damage to gathering the necessary materials, removing the broken showerhead, and preparing the area for a temporary solution, each step has been explained in detail.
We also discussed temporary showerhead alternatives, including handheld showerheads, bucket and mug setups, and using a watering can or pitcher. These alternatives provide options for you to continue showering comfortably until the broken showerhead is fixed or replaced.
Remember to properly dispose of the broken showerhead by adhering to local regulations and considering recycling options. Taking this environmentally responsible approach ensures that waste is handled appropriately.
Lastly, we emphasized the importance of planning for shower repairs or replacements. Evaluating the extent of the damage, researching available options, consulting professionals if needed, and scheduling the necessary repairs or replacements will help restore your regular showering experience effectively.
By following these steps and taking the appropriate actions, you can navigate through the inconvenience of a broken showerhead and ensure that your showering routine remains as comfortable as possible until the necessary repairs or replacements are completed.
Now, armed with this knowledge, you can approach the temporary solution confidently and prepare for a fully functional and enjoyable showering experience in the near future.
Frequently Asked Questions about How To Take A Shower With A Broken Showerhead
Was this page helpful?
At Storables.com, we guarantee accurate and reliable information. Our content, validated by Expert Board Contributors, is crafted following stringent Editorial Policies. We're committed to providing you with well-researched, expert-backed insights for all your informational needs.


0 thoughts on “How To Take A Shower With A Broken Showerhead”