Home>Articles>How Long To Cook Chicken Tenders In Electric Skillet
Articles
How Long To Cook Chicken Tenders In Electric Skillet
Modified: August 16, 2024
Discover the perfect cooking time for chicken tenders in an electric skillet. Check out our informative articles for step-by-step instructions and expert tips to achieve deliciously crispy results.
(Many of the links in this article redirect to a specific reviewed product. Your purchase of these products through affiliate links helps to generate commission for Storables.com, at no extra cost. Learn more)
Introduction
Welcome to the world of cooking delicious chicken tenders in an electric skillet! Whether you’re a seasoned chef or just starting out in the kitchen, this article will guide you through the process of cooking tender, flavorful chicken tenders using an electric skillet. Cooking chicken tenders in an electric skillet offers many advantages, including even heat distribution and precise temperature control, resulting in perfectly cooked chicken every time.
Before we dive into the details of cooking chicken tenders, let’s talk about what makes them so popular. Chicken tenders, also known as chicken strips or chicken fillets, are boneless, skinless pieces of chicken breast that offer a tender and juicy texture. They are versatile, allowing you to marinate them, bread them, or season them with your favorite spices to create a delightful meal.
When it comes to cooking chicken tenders, there are a few factors to consider. The first is the cooking time, as overcooking them can result in dry and tough meat. Additionally, the thickness of the chicken tenders will determine the cooking time and temperature needed to achieve a perfectly cooked result. Lastly, seasoning and marinating the chicken tenders before cooking can elevate the flavor, making them even more enjoyable.
In this article, we will discuss the steps to prepare and cook chicken tenders in an electric skillet, ensuring a delightful culinary experience for you and your loved ones. So let’s get started by preparing the chicken tenders before cooking!
Key Takeaways:
- Master the art of cooking chicken tenders in an electric skillet by considering factors like quality, thickness, and seasoning. Proper preparation and setting up the skillet are crucial for achieving perfectly cooked, flavorful tenders.
- Elevate your chicken tender experience by experimenting with flavors, serving with dipping sauces, and pairing with complementary side dishes. Get creative and enjoy the versatility of this delicious dish!
Read more: How To Fry Chicken In Electric Skillet
Factors to Consider Before Cooking Chicken Tenders
Before you start cooking chicken tenders in your electric skillet, there are a few important factors to consider that will affect the outcome of your dish.
First and foremost, take into account the quality of the chicken tenders you are using. It’s always best to choose fresh, high-quality chicken tenders for the best flavor and texture. Look for tenders that are pink in color and free from any discoloration or unpleasant smells.
The thickness of the chicken tenders is another crucial factor. Thicker tenders will require longer cooking times, while thinner tenders will cook more quickly. Take this into consideration when setting the temperature and cooking time on your electric skillet.
Another factor to consider is the seasoning or marinade you’ll be using. While chicken tenders have a mild flavor on their own, adding your favorite seasonings or marinades can enhance their taste and make them even more delicious. Whether you opt for a simple salt and pepper seasoning or a more complex marinade, make sure to coat the chicken tenders evenly to ensure a well-rounded flavor.
Additionally, it’s important to remember that chicken tenders are prone to drying out if overcooked. To avoid this, make sure to monitor the cooking time closely and remove them from the skillet as soon as they are cooked through. Overcooking can result in dry and tough chicken tenders, so it’s better to slightly undercook them and let them rest for a few minutes before serving.
Lastly, consider any dietary restrictions or preferences when cooking chicken tenders. If you or your guests have specific dietary needs, such as a gluten-free or dairy-free diet, make sure to select appropriate seasonings and ingredients to accommodate those requirements.
By taking into account these factors, you’ll be well-prepared to cook delicious and tender chicken tenders in your electric skillet. Next, we’ll dive into the steps to prepare the chicken tenders before cooking.
Preparing Chicken Tenders for Cooking
Before you can start cooking chicken tenders in your electric skillet, it’s essential to properly prepare them. This includes cleaning, seasoning, and potentially marinating the chicken tenders to ensure maximum flavor and tenderness. Let’s go through the steps for preparing the chicken tenders:
1. Cleaning: Begin by thoroughly rinsing the chicken tenders under cold water. This will help remove any impurities or lingering debris. Pat them dry using a paper towel to ensure better browning and adherence of seasoning.
2. Seasoning: Seasoning the chicken tenders is an essential step to enhance their flavor. You can keep it simple by using salt and pepper, or get creative with a blend of spices like garlic powder, paprika, or herbs like thyme and oregano. Coat both sides of each tender evenly with the seasoning of your choice, gently pressing to ensure it sticks.
3. Marinating (Optional): If you want to infuse the chicken tenders with even more flavor, consider marinating them. Prepare a marinade by combining ingredients like olive oil, lemon juice, soy sauce, garlic, and your preferred herbs and spices. Place the seasoned chicken tenders in a resealable plastic bag or a marinating dish and pour the marinade over them. Seal the bag or cover the dish, then refrigerate for at least 30 minutes or up to overnight to let the flavors meld.
4. Bringing to Room Temperature: If you marinated the chicken tenders, take them out of the refrigerator and let them sit at room temperature for about 20-30 minutes before cooking. This will help ensure even cooking and maintain juiciness.
By following these steps, you’ll have properly prepared chicken tenders that are ready to be cooked in the electric skillet. In the next section, we will discuss how to set up the electric skillet for cooking the chicken tenders.
Setting Up the Electric Skillet
Now that you have prepared the chicken tenders, it’s time to set up your electric skillet for cooking. The proper setup will ensure that the chicken cooks evenly and to perfection. Follow these steps to properly set up your electric skillet:
1. Clean the Skillet: Start by thoroughly cleaning the electric skillet. Ensure that it is free from any debris or residue from previous use. This will prevent any unwanted flavors from transferring to the chicken tenders.
2. Preheat the Skillet: Plug in the electric skillet and set the temperature control to the desired cooking temperature. Preheat the skillet for a few minutes, allowing it to reach the desired temperature before adding the chicken tenders. The recommended cooking temperature for chicken tenders is around 375°F (190°C).
3. Add Cooking Oil: To prevent the chicken tenders from sticking to the skillet, add a small amount of cooking oil. You can use olive oil, vegetable oil, or any oil with a high smoke point. Use a brush or a paper towel to evenly distribute the oil across the cooking surface.
4. Adjust the Temperature: Once the skillet is preheated, adjust the temperature control to maintain a steady cooking temperature. Make sure to follow the recommended cooking temperature for chicken tenders to ensure they cook through evenly without becoming dry or overcooked.
5. Allow Even Heat Distribution: Give the electric skillet a few minutes after adjusting the temperature to allow the heat to evenly distribute across the cooking surface. This will ensure that the chicken tenders cook uniformly.
Setting up the electric skillet properly is crucial for achieving perfectly cooked chicken tenders. By following these steps, you will be well on your way to a delicious and satisfying meal. In the next section, we will discuss how to cook the chicken tenders in the electric skillet.
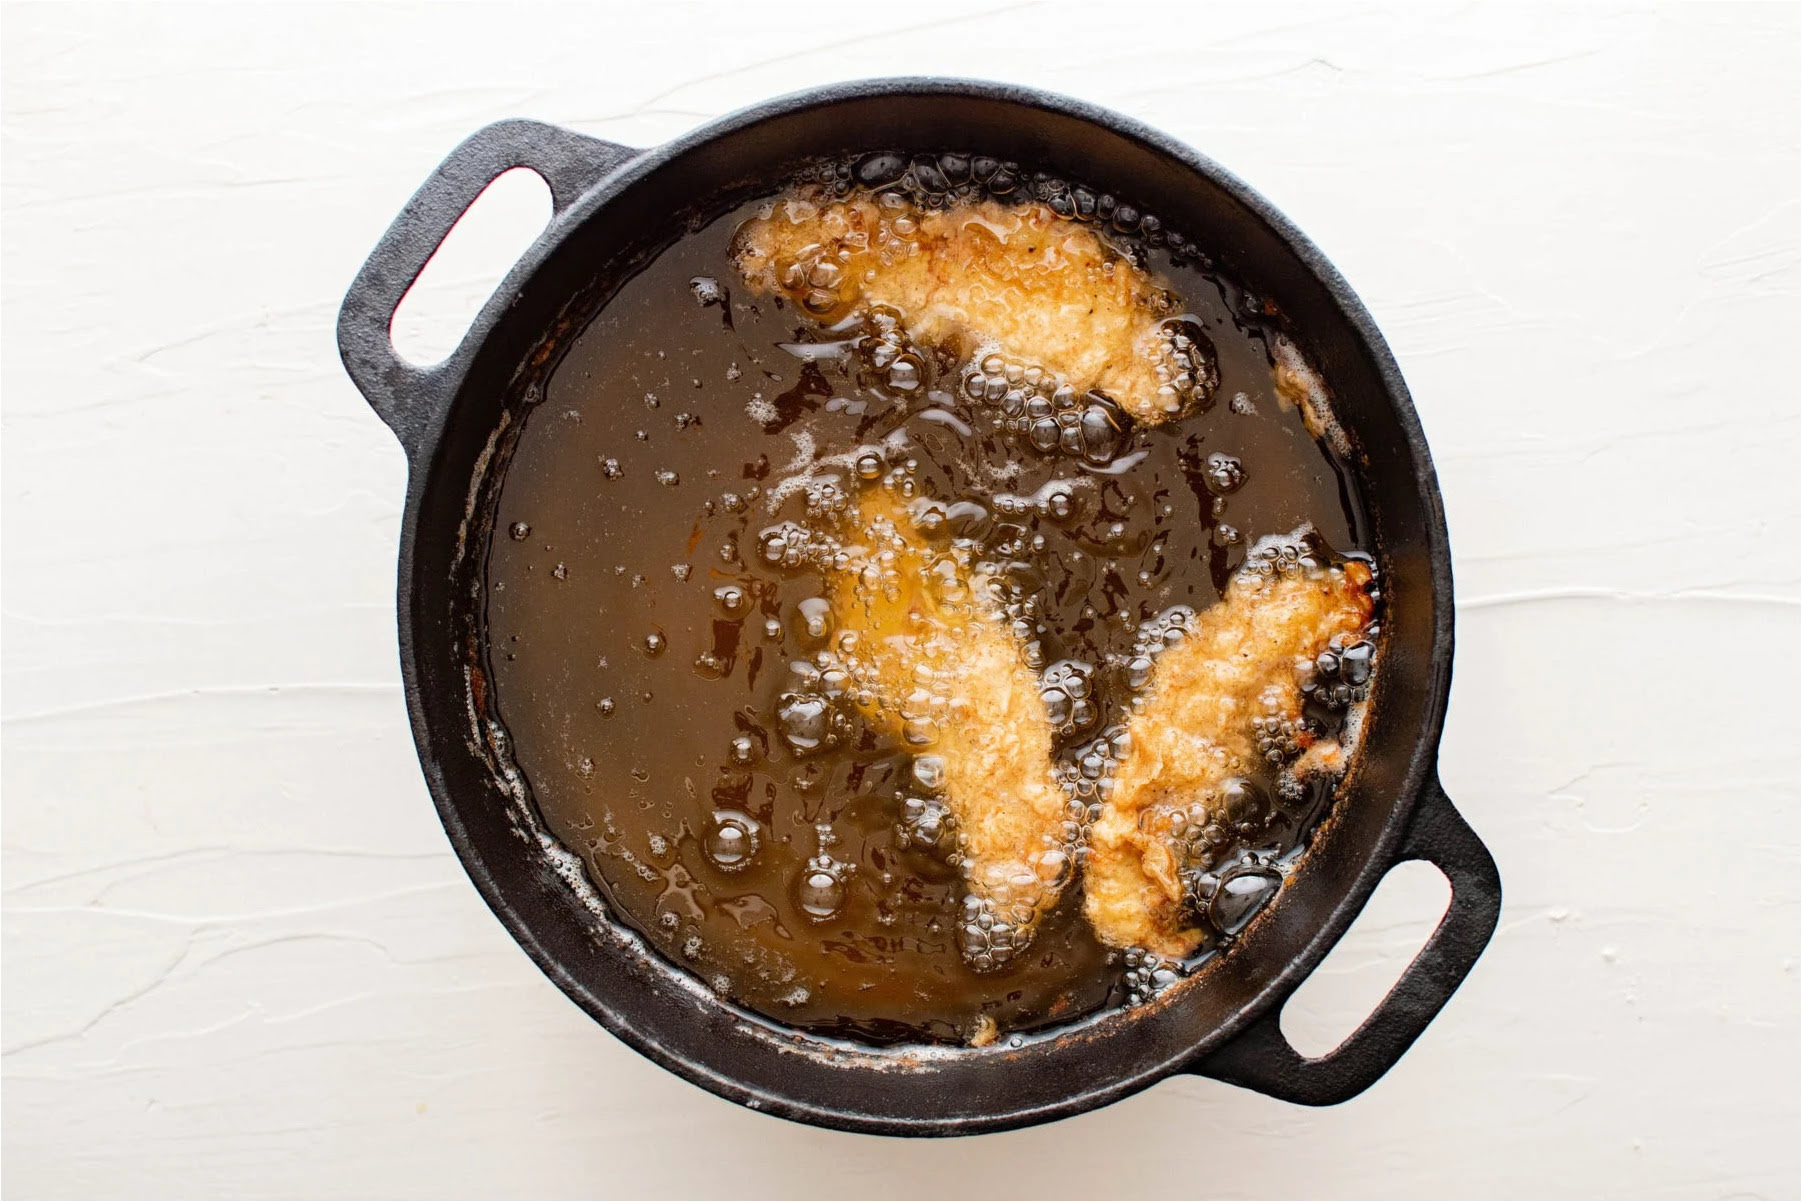
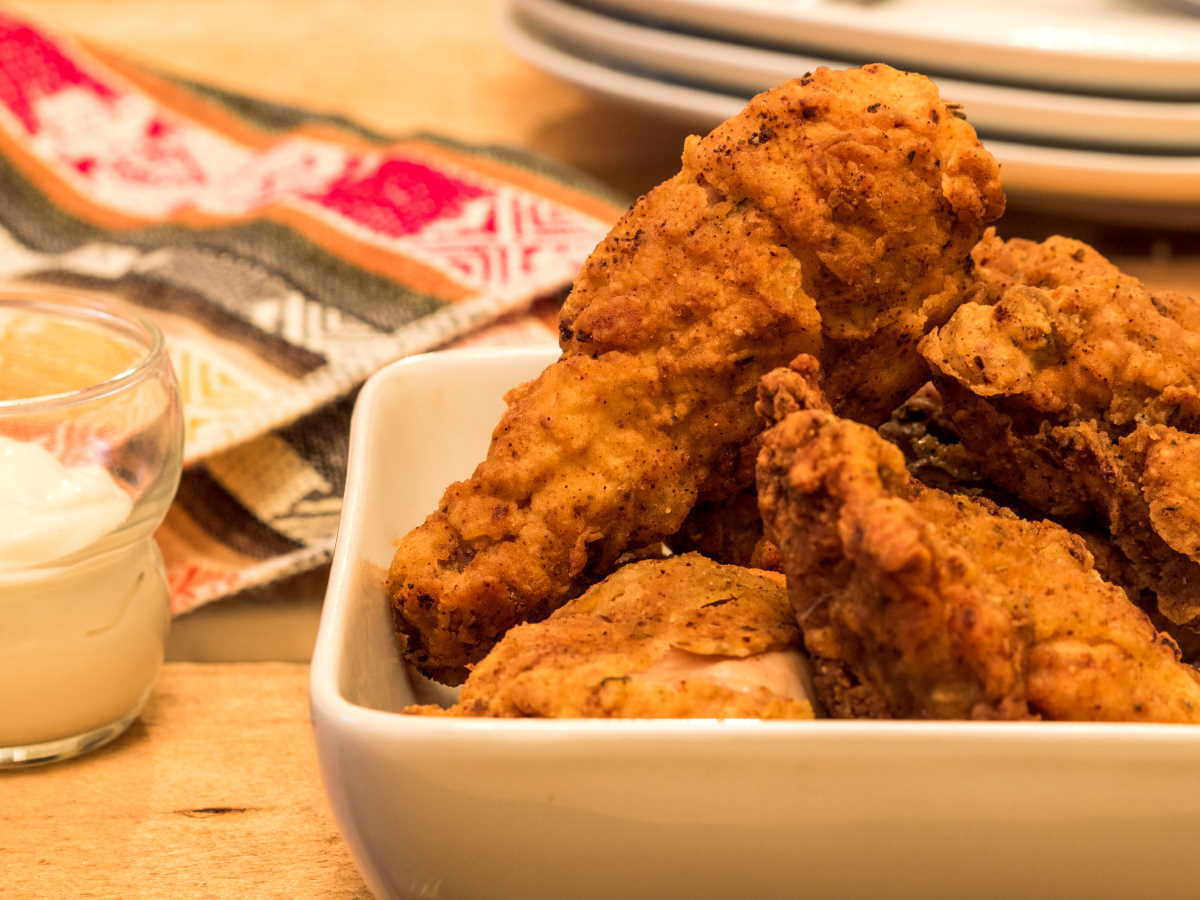
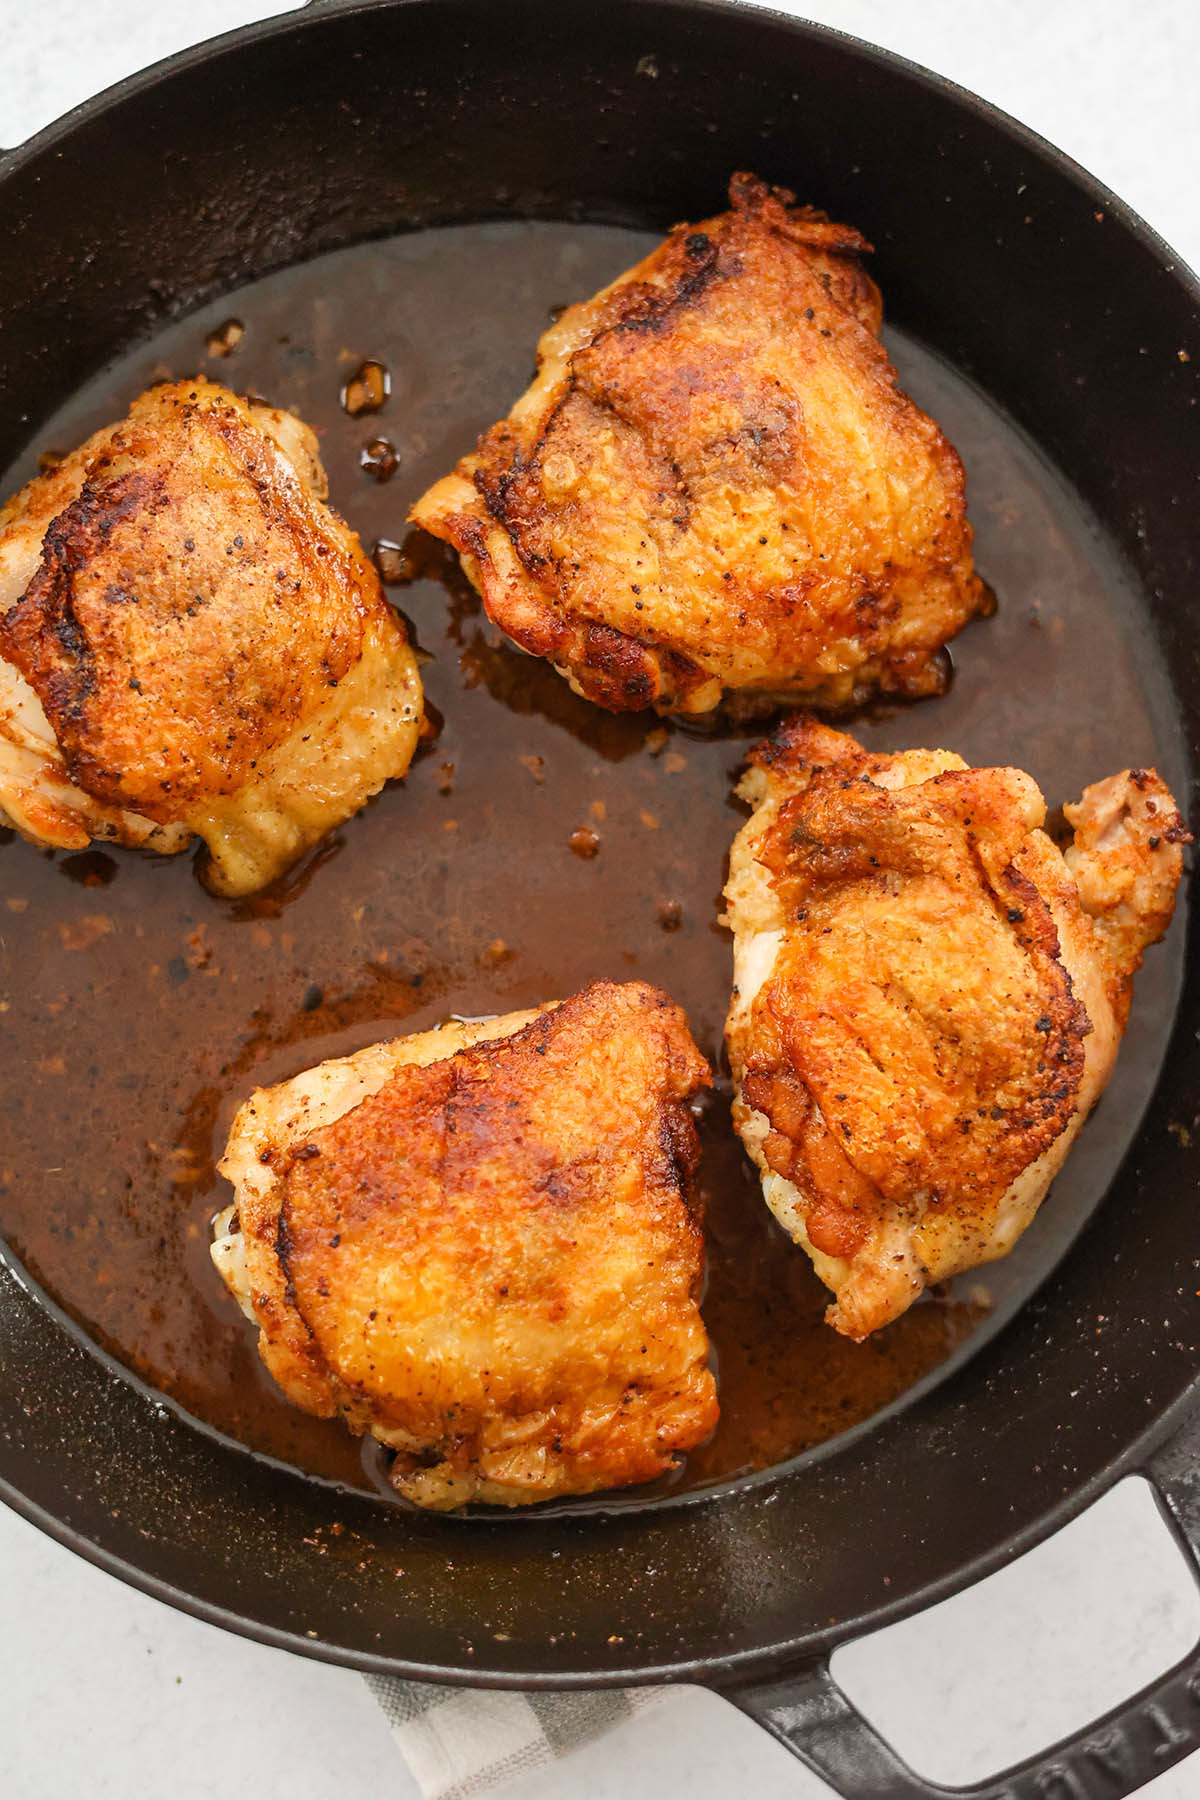
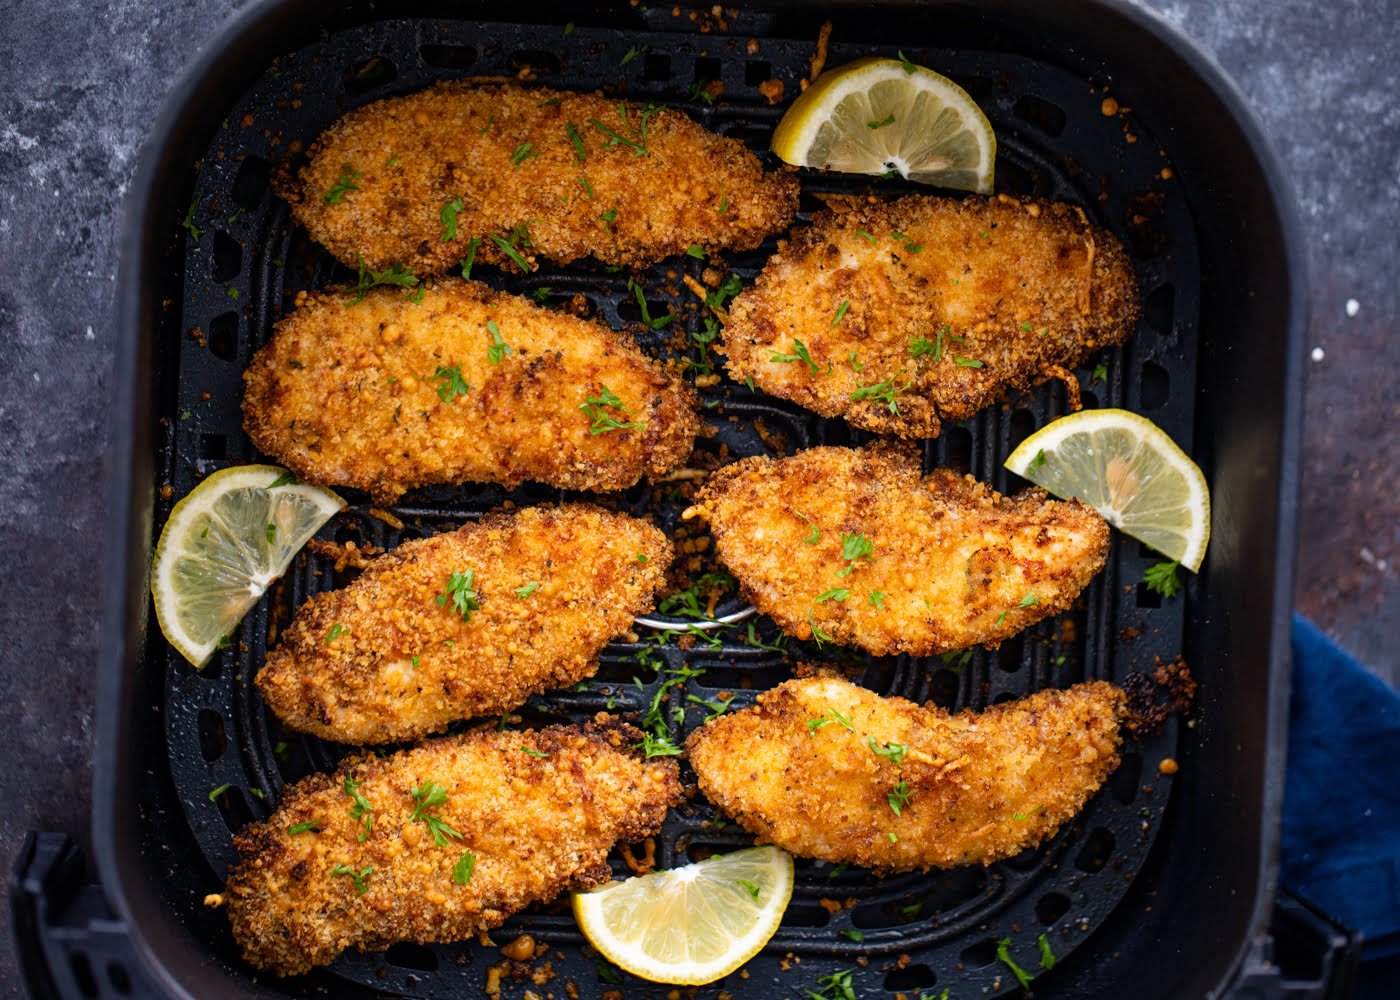
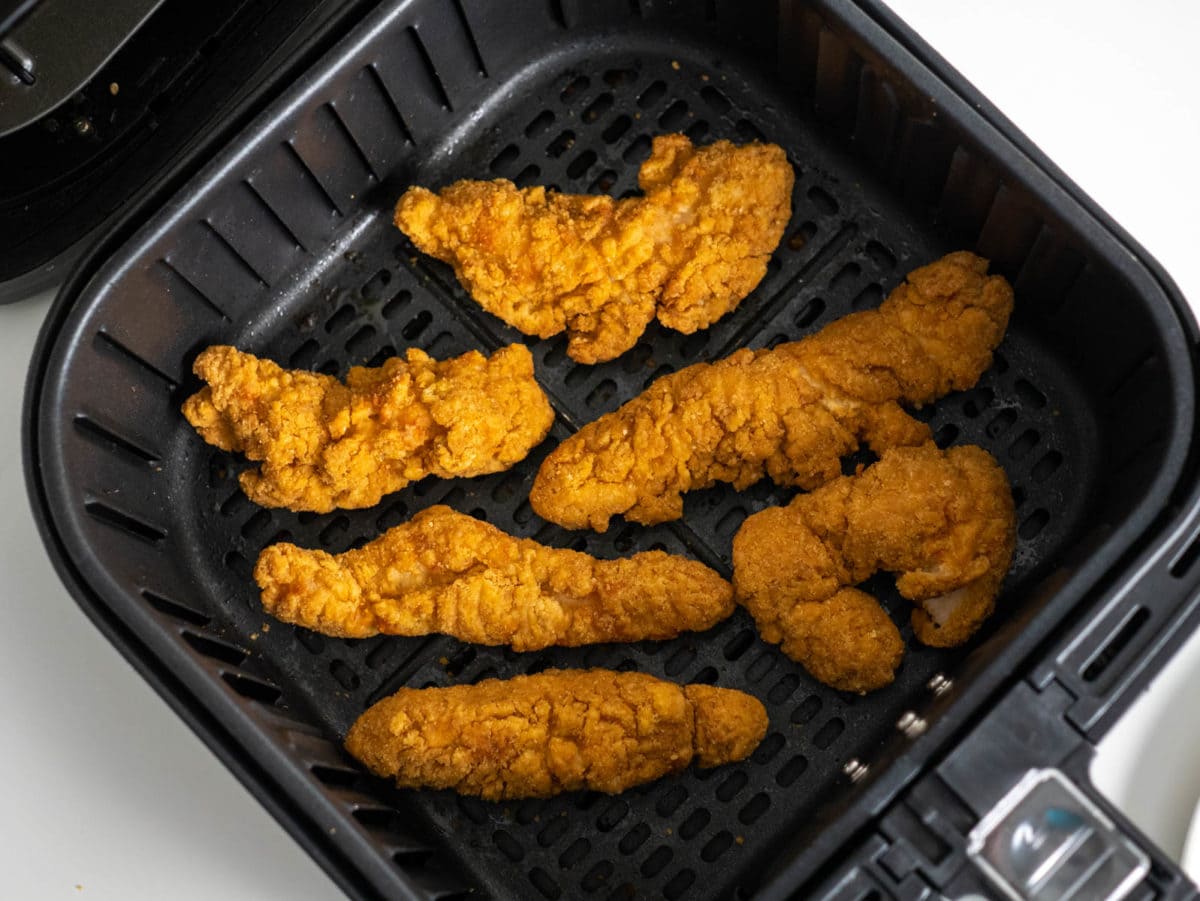
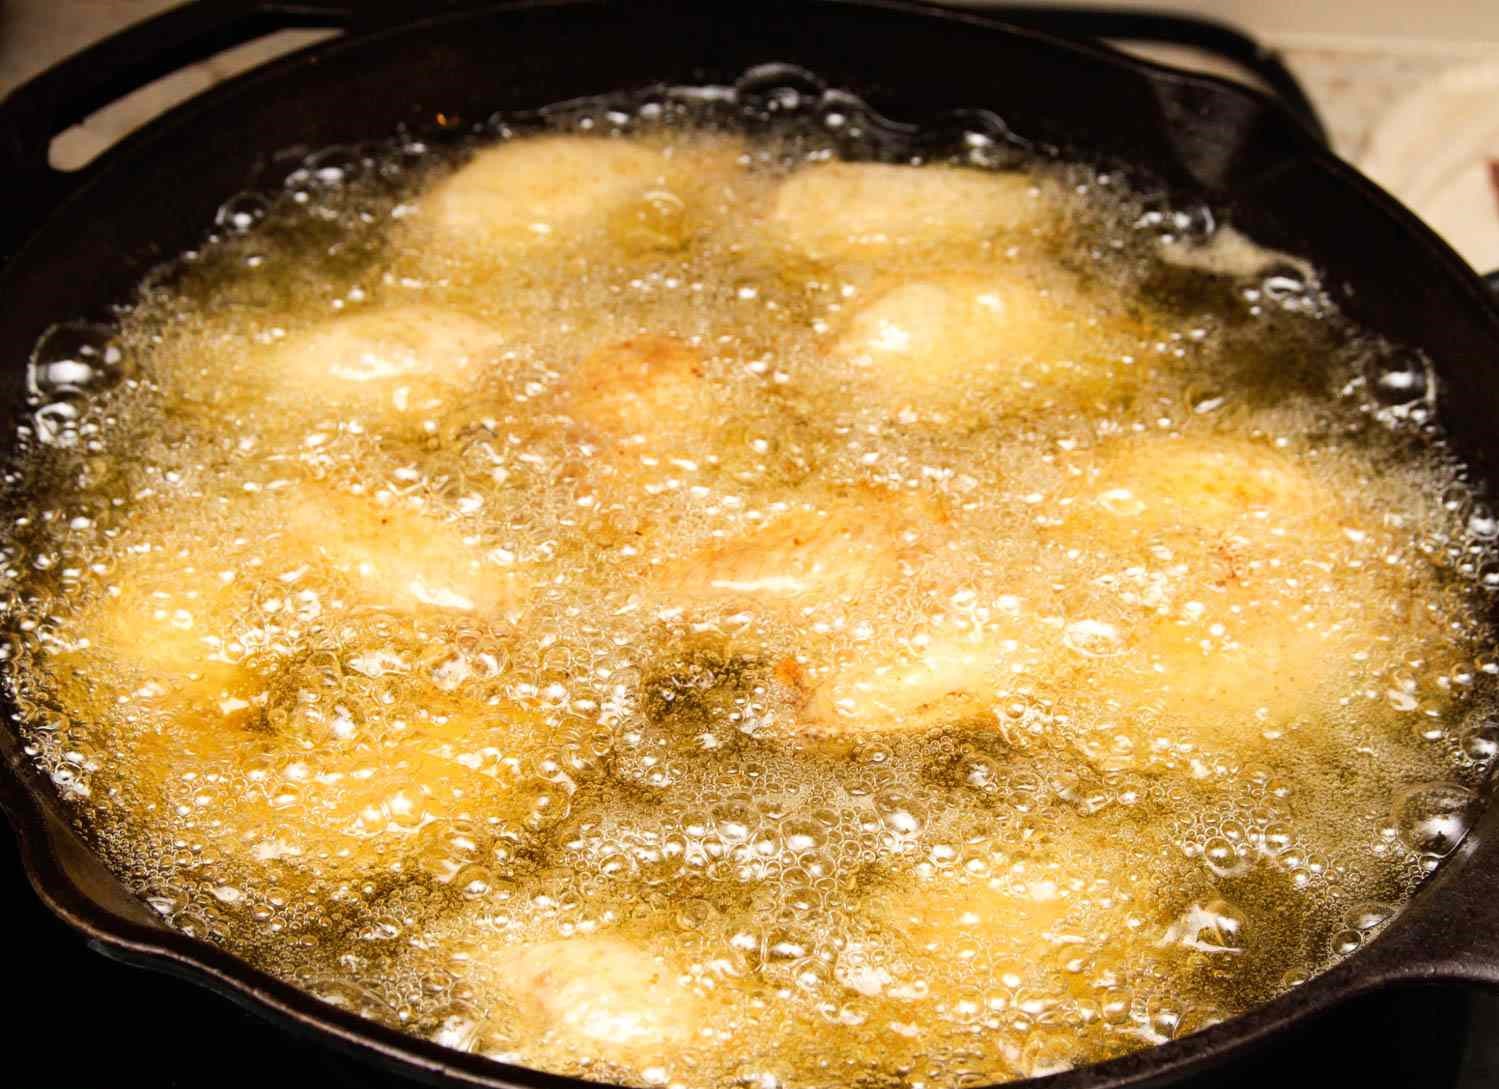
Cook chicken tenders in an electric skillet for 5-7 minutes per side over medium heat, or until they reach an internal temperature of 165°F.
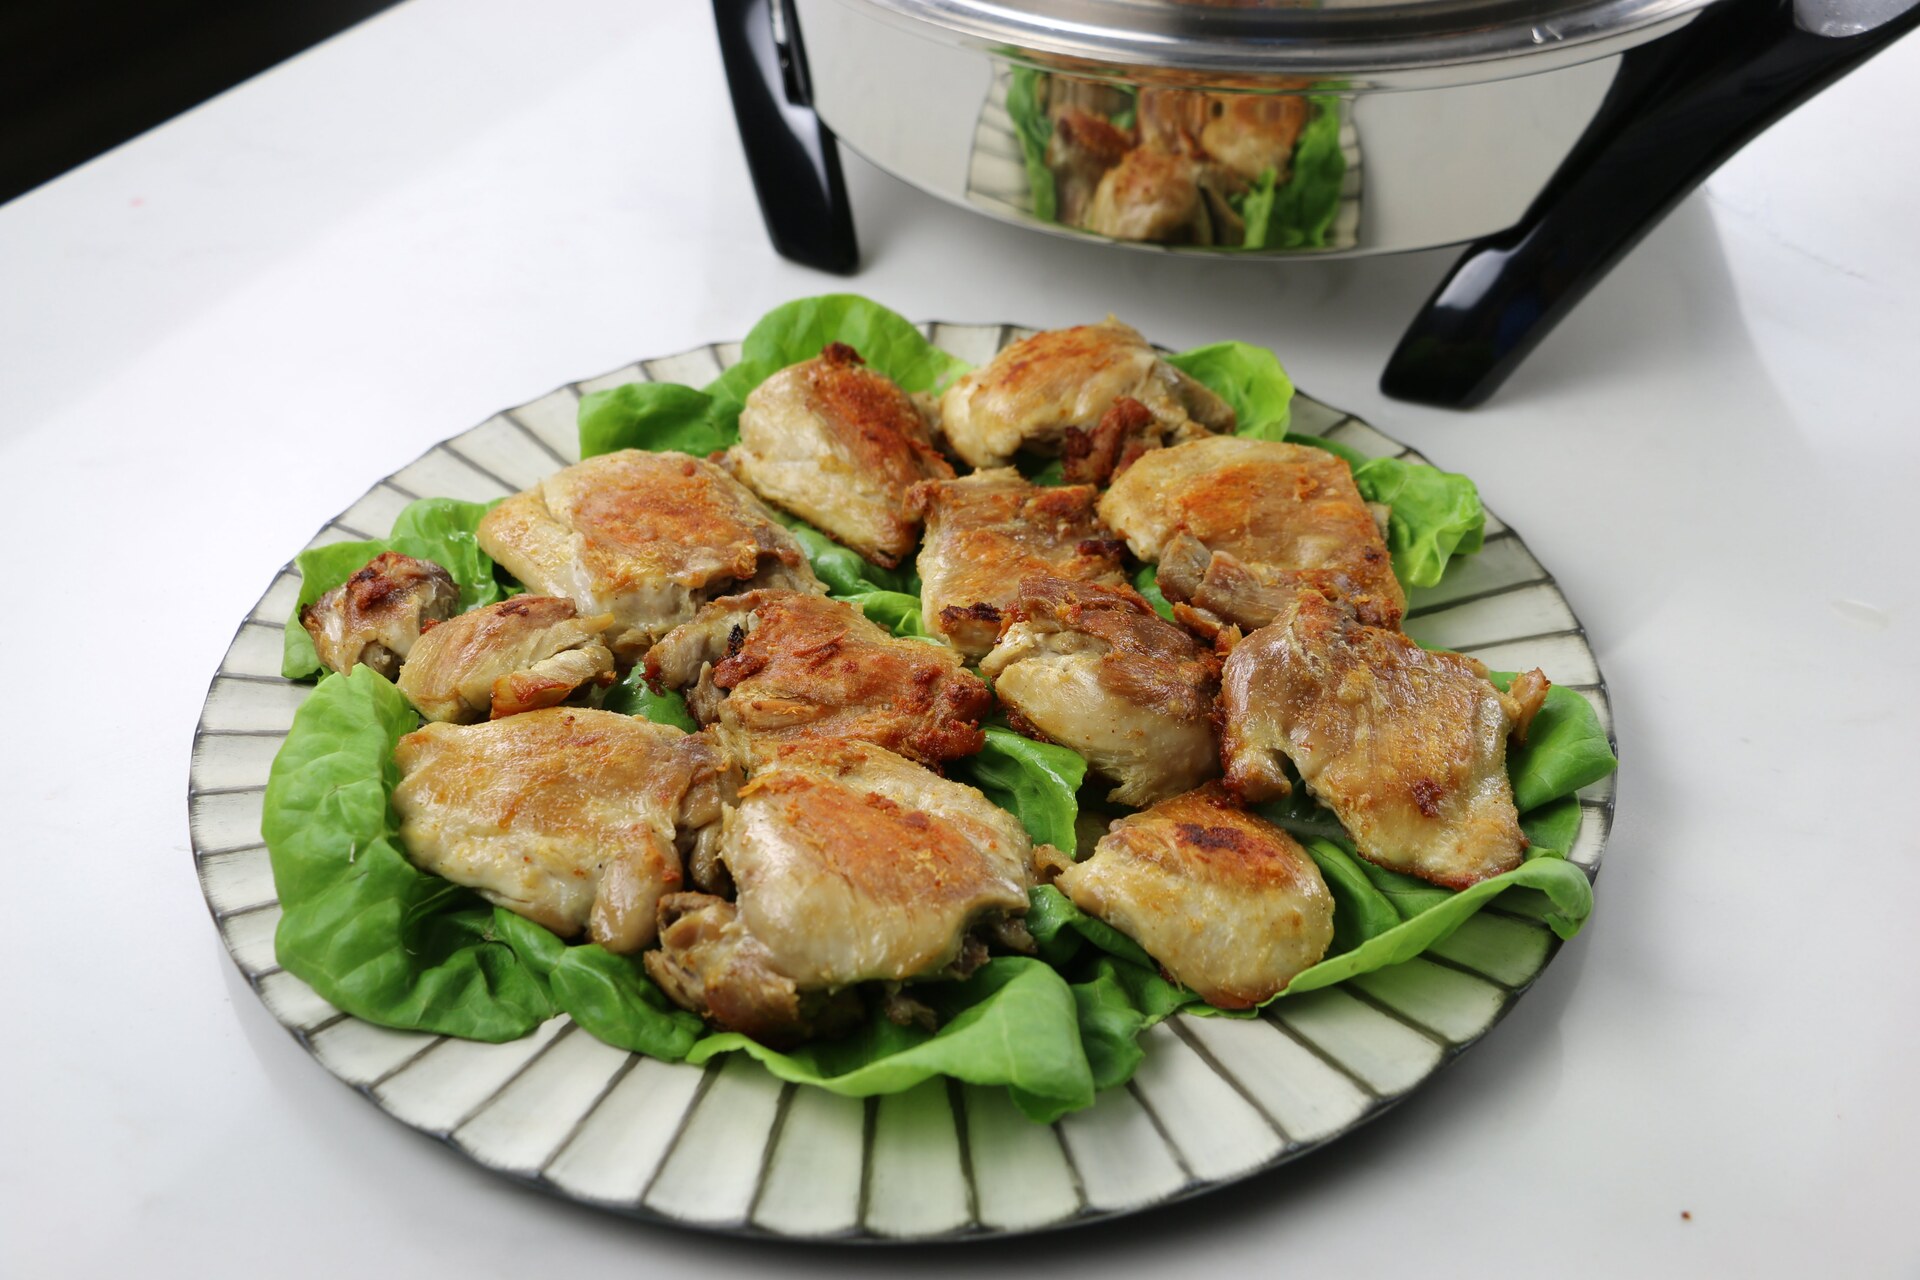
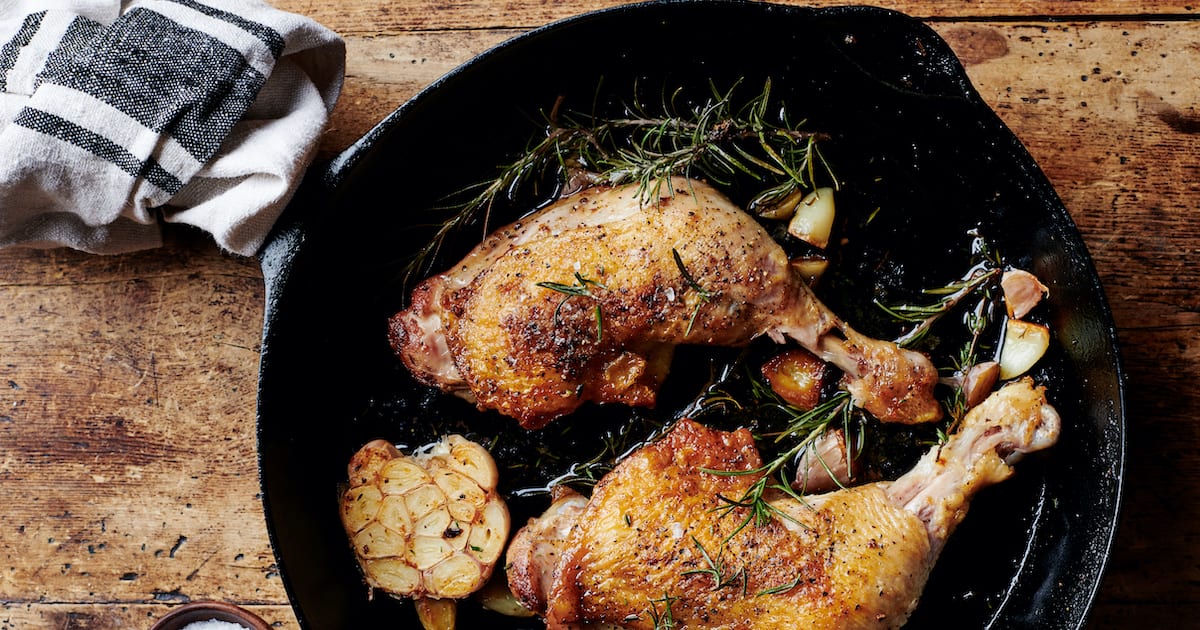
Cooking Chicken Tenders in an Electric Skillet
Now that you have set up your electric skillet, it’s time to cook the chicken tenders! Follow these steps to ensure that they cook through evenly and develop a crispy exterior:
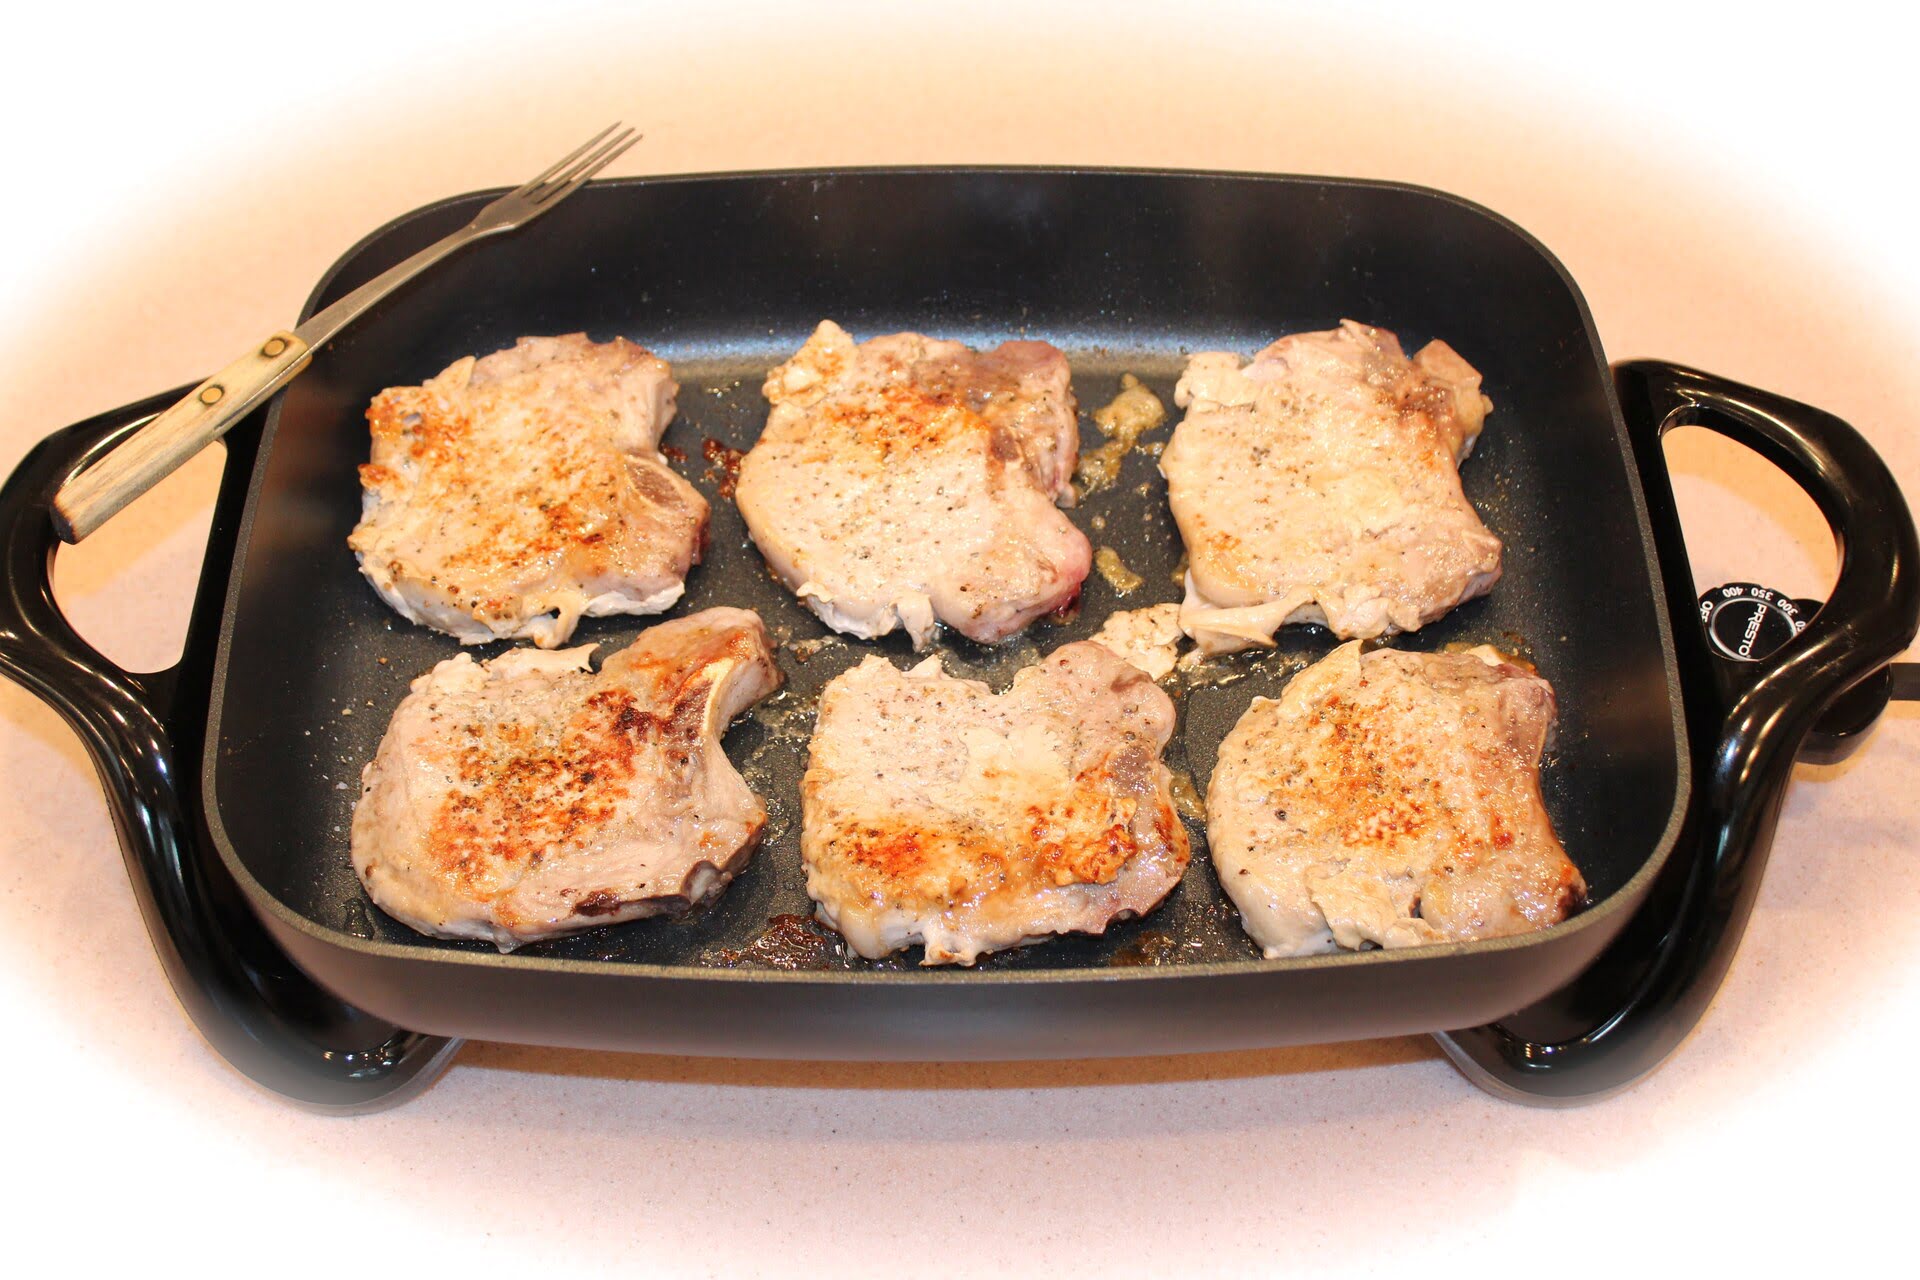
1. Arrange the Chicken Tenders: Carefully place the seasoned chicken tenders in a single layer in the preheated electric skillet. Make sure not to overcrowd the skillet, as this can cause uneven cooking. Leave some space between each tender to allow for proper heat circulation.
2. Cook on One Side: Allow the chicken tenders to cook undisturbed for about 4-5 minutes on one side. This will give them enough time to develop a golden brown, crispy exterior. Avoid flipping them too early, as this can cause the breading to stick to the skillet.
3. Flip and Cook on the Other Side: Once the bottom side is nicely browned, use tongs or a spatula to carefully flip the chicken tenders. Cook them for an additional 4-5 minutes on the other side. This will ensure that both sides are evenly cooked and develop a crispy texture.
4. Cook Until Done: Continue cooking the chicken tenders, flipping them occasionally, until they reach an internal temperature of 165°F (74°C). This ensures that the chicken is fully cooked and safe to consume. You can use a meat thermometer to check the internal temperature, inserting it into the thickest part of the tender.
5. Remove and Drain: Once the chicken tenders are cooked through, carefully remove them from the skillet and place them on a plate lined with paper towels. This will help drain any excess oil and keep the tenders crispy.
By following these steps, you’ll be able to cook delicious, tender chicken tenders in your electric skillet. In the next section, we’ll discuss how to check for doneness to ensure they are perfectly cooked.
Read more: How To Broil Chicken In An Electric Skillet
Checking for Doneness
Checking for doneness is crucial to ensure that your chicken tenders are cooked to perfection. Follow these steps to determine if the chicken tenders are done:
1. Visual Inspection: The first step in checking for doneness is to visually inspect the chicken tenders. They should have a golden brown color on the outside and appear cooked through. The breading should be crispy, and there should be no pink or raw parts visible.
2. Internal Temperature: The most accurate way to determine if the chicken tenders are cooked is by checking their internal temperature. Use a meat thermometer and insert it into the thickest part of the chicken tender. The temperature should read 165°F (74°C). This ensures that the chicken is fully cooked and safe to eat.
3. Texture Test: Another way to check for doneness is by assessing the texture of the chicken tenders. They should be firm to the touch but still juicy, with no signs of rawness or sponginess. If the chicken tenders feel firm and spring back slightly when pressed, they are likely cooked through.
4. Cutting and Checking: If you’re unsure about the doneness of the chicken tenders, you can cut into one of them and inspect the inside. The meat should be white and cooked all the way through, with no traces of pinkness or rawness.
Remember that overcooking the chicken tenders can result in dry and tough meat. It’s better to slightly undercook them and let them rest for a few minutes, as the residual heat will continue to cook them. This will help retain their juiciness and prevent them from becoming dry.
By following these steps, you can ensure that your chicken tenders are cooked to perfection. Now, let’s move on to the final section on serving and enjoying your deliciously cooked chicken tenders.
Serving and Enjoying Chicken Tenders
Congratulations! You have successfully cooked your chicken tenders in the electric skillet. Now it’s time to serve and enjoy them. Here are some tips for serving and enhancing the flavor of your chicken tenders:
1. Plating: Carefully transfer the cooked chicken tenders to a serving platter or individual plates. Arrange them in an appealing and attractive manner.
2. Dipping Sauces: Chicken tenders are delicious on their own, but you can elevate the flavor by serving them with dipping sauces. Popular choices include barbecue sauce, honey mustard, ranch dressing, or buffalo sauce. Choose your favorite or provide a variety of sauces for your guests to enjoy.
3. Side Dishes: Chicken tenders can be served as a standalone meal or paired with complementary side dishes. Consider serving them with fries, coleslaw, mashed potatoes, steamed vegetables, or a fresh salad. These sides will add balance, color, and additional flavors to your meal.
4. Garnishes: Sprinkle some fresh herbs, such as parsley or cilantro, over the chicken tenders to add a touch of freshness. Additionally, you can garnish with a squeeze of lemon juice or a sprinkle of grated Parmesan cheese for extra flavor.
5. Family-style Sharing: If you’re serving a group, consider arranging the chicken tenders on a large platter and allowing everyone to serve themselves. This promotes a relaxed and interactive dining experience.
6. Experiment with Flavors: Don’t be afraid to get creative with flavors when cooking chicken tenders. Consider marinating them in different sauces, such as teriyaki, lemon garlic, or even a spicy chipotle marinade, to add new dimensions of taste.
Remember, chicken tenders are versatile and can be enjoyed in various ways. You can serve them on a bed of lettuce for a healthy salad, stuff them into a wrap with veggies for a satisfying meal on the go, or slice them into strips and use them as a topping for pizzas or salads.
Now that you’re familiar with serving and enhancing the flavor of your chicken tenders, it’s time to sit back, relax, and savor the deliciousness of your homemade creation. Enjoy your meal!
Conclusion
Cooking chicken tenders in an electric skillet is a versatile and convenient way to prepare a delicious and satisfying meal. By following the steps outlined in this article, you can achieve perfectly cooked chicken tenders with a crispy exterior and juicy interior.
Before cooking, it’s important to consider factors such as the quality and thickness of the chicken tenders, as well as the seasoning or marinating process. Properly preparing the chicken tenders sets the foundation for a flavorful dish.
Setting up the electric skillet is critical for even heat distribution and ensuring that the chicken tenders cook evenly. Preheating the skillet, adding cooking oil, and adjusting the temperature are crucial steps for success.
When cooking the chicken tenders, keep in mind the recommended cooking time and temperature. By allowing them to cook on each side until golden brown and checking for doneness using visual inspection, internal temperature, and texture, you can ensure that they are cooked to perfection.
Serving the chicken tenders with dipping sauces, pairing them with complementary side dishes, and adding garnishes can elevate the overall taste and presentation of the meal. Feel free to experiment with flavors to create a customized experience.
In conclusion, cooking chicken tenders in an electric skillet is a wonderful way to enjoy a tasty and versatile dish. With proper preparation, cooking techniques, and creativity, you can create a memorable meal that will delight your taste buds and impress your family and friends.
So, grab your electric skillet, gather your ingredients, and embark on a flavorful journey as you cook and savor the deliciousness of chicken tenders prepared in this versatile cooking appliance!
Frequently Asked Questions about How Long To Cook Chicken Tenders In Electric Skillet
Was this page helpful?
At Storables.com, we guarantee accurate and reliable information. Our content, validated by Expert Board Contributors, is crafted following stringent Editorial Policies. We're committed to providing you with well-researched, expert-backed insights for all your informational needs.
0 thoughts on “How Long To Cook Chicken Tenders In Electric Skillet”