Articles
How Thick Should Blown-In Attic Insulation Be
Modified: October 28, 2024
Discover the ideal thickness for blown-in attic insulation in our informative articles. Maximize energy efficiency and maintain ideal temperature control.
(Many of the links in this article redirect to a specific reviewed product. Your purchase of these products through affiliate links helps to generate commission for Storables.com, at no extra cost. Learn more)
Introduction
Welcome to our comprehensive guide on attic insulation thickness. When it comes to improving energy efficiency in your home and reducing heating or cooling costs, proper attic insulation is crucial. The thickness of blown-in attic insulation plays a key role in determining its effectiveness and can significantly impact the overall energy efficiency of your home.
Before deciding on the ideal thickness for blown-in attic insulation, it’s essential to understand the factors that influence this decision. Climate, location, and the desired energy efficiency goals are all crucial considerations. In this article, we will delve into these factors and provide guidance on determining the optimal thickness for your attic insulation.
Whether you live in a region with extreme temperature variations or seek to improve the comfort of your living space, finding the right attic insulation thickness is essential for achieving desired results. With the right insulation thickness, you can create a thermal barrier that minimizes heat transfer and improves energy efficiency in your home.
In the following sections, we will discuss the factors you should consider before deciding on the thickness of blown-in attic insulation. We will also explore the recommended R-values for different climate zones and highlight the benefits of proper attic insulation thickness. Additionally, we will explore different types of attic insulation to help you achieve the desired thickness. Finally, we will address the cost considerations and the options for either DIY or professional installation.
By the end of this guide, you will have a clear understanding of the importance of attic insulation thickness and be equipped with the knowledge to make informed decisions about choosing the right thickness for your attic insulation.
Key Takeaways:
- Proper attic insulation thickness is crucial for energy efficiency, indoor comfort, and cost savings. Consider climate, R-values, insulation types, and cost factors to make an informed decision that suits your specific needs and goals.
- Whether DIY or professional installation, choosing the right insulation thickness impacts energy efficiency, comfort, and long-term savings. Consider climate, R-values, insulation types, and cost factors for optimal effectiveness.
Read more: How Thick Should Insulation Be In Attic
Factors to Consider Before Deciding on Attic Insulation Thickness
When determining the appropriate thickness for blown-in attic insulation, there are several important factors to consider. These factors will help you make an informed decision that aligns with your specific needs and goals. Let’s explore these factors in more detail:
- Climate and Location: The climate and location of your home play a significant role in determining the required level of insulation. If you live in a region with extreme temperatures, you will need thicker insulation to maintain a comfortable indoor environment. Similarly, if you live in an area prone to high humidity or frequent temperature fluctuations, proper insulation thickness becomes even more important.
- Insulation R-value: The R-value of insulation is a measure of its thermal resistance. The higher the R-value, the better the insulation’s ability to resist heat flow. Different climate zones have recommended R-values to achieve optimal energy efficiency. It’s crucial to understand the R-value requirements for your specific climate zone to determine the appropriate thickness of blown-in attic insulation.
- Existing Insulation: If your attic already has some insulation, you need to take it into account when determining the additional thickness required. The goal is to achieve the desired R-value by adding or adjusting the thickness of the blown-in insulation to complement the existing insulation.
- Energy Efficiency Goals: Consider your energy efficiency goals and how insulation thickness can help you achieve them. If you aim to reduce energy consumption and lower heating or cooling costs, thicker insulation may be necessary. On the other hand, if your primary goal is to improve indoor comfort, a moderate insulation thickness might suffice.
- Structural Limitations: Take into account any structural limitations that may affect the thickness of blown-in attic insulation. For example, if your attic has limited headroom or sloping ceilings, you may need to choose insulation materials that can be compressed to fit in tight spaces.
- Budget Constraints: Your budget is an important consideration when determining the ideal insulation thickness. Thicker insulation typically provides better energy efficiency but may come with a higher upfront cost. Assess your budget and evaluate the long-term energy savings to find the right balance between cost and effectiveness.
By considering these factors, you can make a well-informed decision about the appropriate thickness of blown-in attic insulation for your specific requirements. Remember, it’s always beneficial to consult with a professional insulation contractor who can provide expert guidance tailored to your home and climate conditions.
Climate and Location
The climate and location of your home are two key factors that significantly impact the appropriate thickness of blown-in attic insulation. Different climate zones have varying temperature ranges, humidity levels, and weather patterns, which directly affect the amount of insulation needed to maintain optimal energy efficiency and indoor comfort.
In regions with extreme temperatures, such as areas with cold winters or hot summers, thicker insulation is generally recommended. The purpose of insulation is to create a thermal barrier that minimizes heat transfer. In colder climates, insulation helps to trap heat inside the house, while in warmer climates, it prevents heat from entering the living space.
Humidity levels also play a role in determining insulation thickness. High humidity areas can cause moisture problems and condensation in attics, leading to potential mold growth and insulation damage. Thicker insulation with vapor barriers can help mitigate these issues by preventing moisture from penetrating the attic space.
Additionally, consider the overall weather patterns in your location. If you live in an area prone to frequent temperature fluctuations, such as rapid shifts between hot and cold, choosing the right insulation thickness is crucial. It will help maintain a stable and comfortable indoor environment, reducing the strain on your heating and cooling systems.
It’s important to note that climate zones have different recommended R-values, which are a measure of insulation effectiveness. The R-value indicates the amount of thermal resistance the insulation provides. A higher R-value represents better insulation performance. The Department of Energy has divided the United States into different climate zones, each with its own recommended insulation R-values.
To determine the ideal insulation thickness for your climate zone, consult the recommended R-values provided by the Department of Energy or consult with a local insulation professional who has expertise in your specific region. They can guide you on the appropriate R-value and insulation thickness required to achieve optimal energy efficiency and comfort.
By considering the climate and location of your home, you can make an informed decision about the appropriate insulation thickness that will effectively protect your home from temperature extremes and create a comfortable living environment.
Recommended R-Values for Different Climate Zones
When it comes to determining the ideal thickness of blown-in attic insulation, it’s important to consider the recommended R-values for different climate zones. The R-value is a measure of thermal resistance, indicating how well the insulation material can resist the flow of heat.
The Department of Energy (DOE) has divided the United States into different climate zones, each with its own recommended R-values. These recommendations are based on the local climate and energy efficiency requirements.
Here is a general guideline for the recommended R-values for different climate zones:
- Zone 1: This zone includes the southernmost parts of the United States, where the climate is primarily warm. Recommended R-values range from R30 to R60 for attic insulation.
- Zone 2: Zone 2 includes regions with warm summers and mild winters, such as the southern parts of the Midwest and Northeast, as well as portions of the West Coast. Recommended R-values range from R30 to R60 for attic insulation.
- Zone 3: This zone covers areas with hot summers and cold winters, including the northern parts of the Midwest and Northeast. Recommended R-values range from R38 to R60 for attic insulation.
- Zone 4: Zone 4 encompasses regions with very cold winters and hot summers, such as the northernmost parts of the Midwest and the mountainous regions of the West. Recommended R-values range from R49 to R60 for attic insulation.
- Zone 5: Zone 5 includes areas with extremely cold winters, like the northernmost parts of the United States. Recommended R-values range from R49 to R60 for attic insulation.
It’s important to keep in mind that these recommended R-values serve as a general guide. Factors such as local building codes, energy efficiency goals, and personal preferences may influence the desired level of insulation. Consult with a local insulation professional or refer to the DOE’s recommendations specific to your climate zone for more accurate and detailed information.
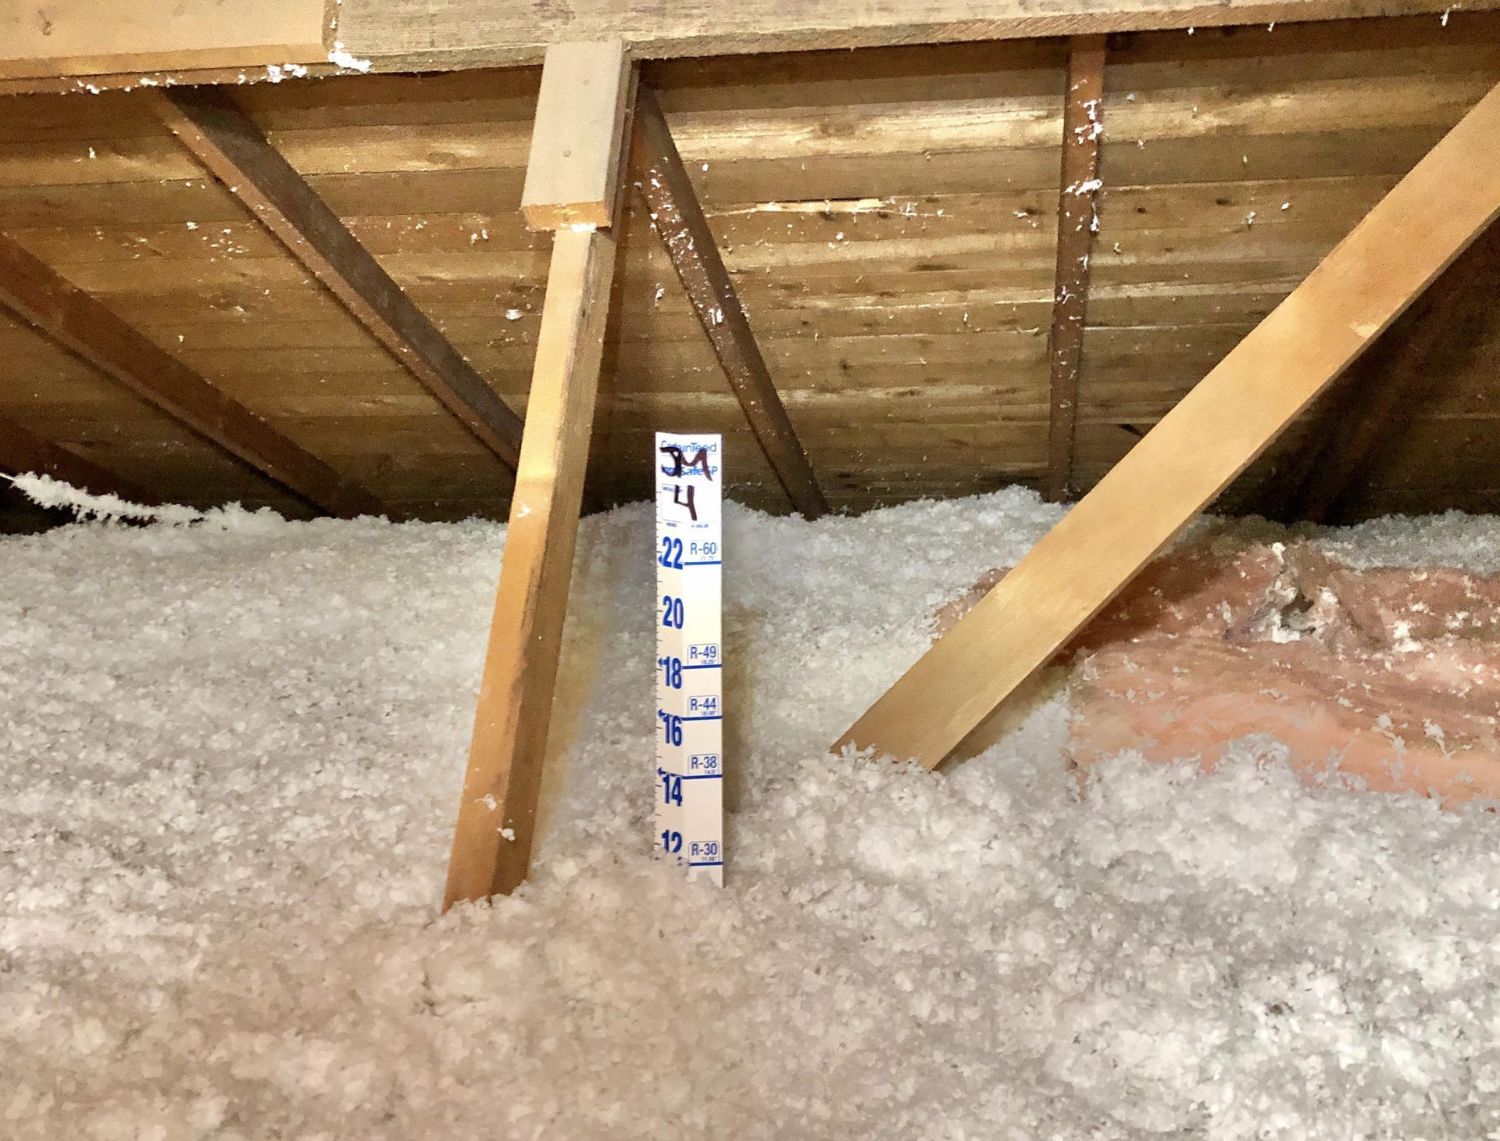
Remember that achieving the recommended R-values requires the appropriate insulation thickness. This can be achieved by adding layers of blown-in attic insulation or combining different types of insulation materials to reach the desired thickness while maintaining proper thermal resistance.
By following the recommended R-values for your climate zone, you can ensure that your blown-in attic insulation is effective in reducing heat transfer, enhancing energy efficiency, and creating a comfortable indoor environment in both hot and cold weather conditions.
Benefits of Proper Attic Insulation Thickness
Proper attic insulation thickness offers a range of benefits that can significantly impact the comfort, energy efficiency, and overall value of your home. Let’s explore some of the key advantages of ensuring the right thickness for blown-in attic insulation:
- Improved Energy Efficiency: One of the primary benefits of proper attic insulation thickness is enhanced energy efficiency. Thicker insulation helps create a thermal barrier that slows down heat transfer, keeping the desired temperature inside your home. With reduced heat loss during winter and heat gain during summer, your heating and cooling systems can operate more efficiently, resulting in lower energy consumption and reduced utility bills.
- Consistent Indoor Temperatures: Proper attic insulation thickness helps maintain more consistent indoor temperatures throughout the year. It minimizes drafts and prevents cold or hot air from infiltrating your living space. This results in a more comfortable environment for you and your family, regardless of the outdoor weather conditions.
- Noise Reduction: Thicker insulation can also provide acoustic benefits by reducing noise transmission from outside sources. It acts as a sound barrier, preventing exterior noises like traffic, construction, or neighborhood disturbances from penetrating your home. This can lead to a quieter and more peaceful living environment.
- Moisture Control: Proper insulation thickness helps in controlling moisture levels in your attic. Excess moisture can lead to mold growth, decay, and damage to the structural integrity of your home. Thicker insulation, especially when combined with appropriate vapor barriers, can effectively reduce the risk of moisture problems, keeping your attic dry and healthy.
- Improved Indoor Air Quality: Thicker insulation can contribute to improved indoor air quality by reducing the infiltration of outdoor pollutants such as dust, pollen, and allergens. It also helps to maintain balanced humidity levels, preventing the growth of mold and mildew, which can trigger respiratory issues.
- Increased Home Value: Investing in proper attic insulation thickness can enhance the value of your home. Potential buyers are often attracted to properties with energy-efficient features, as they offer long-term savings and environmental benefits. Having the right insulation thickness demonstrates that your home is well-maintained and cared for, making it more appealing in the real estate market.
By ensuring the proper thickness of blown-in attic insulation, you can enjoy these benefits and create a more comfortable, energy-efficient, and healthy living environment for you and your family.
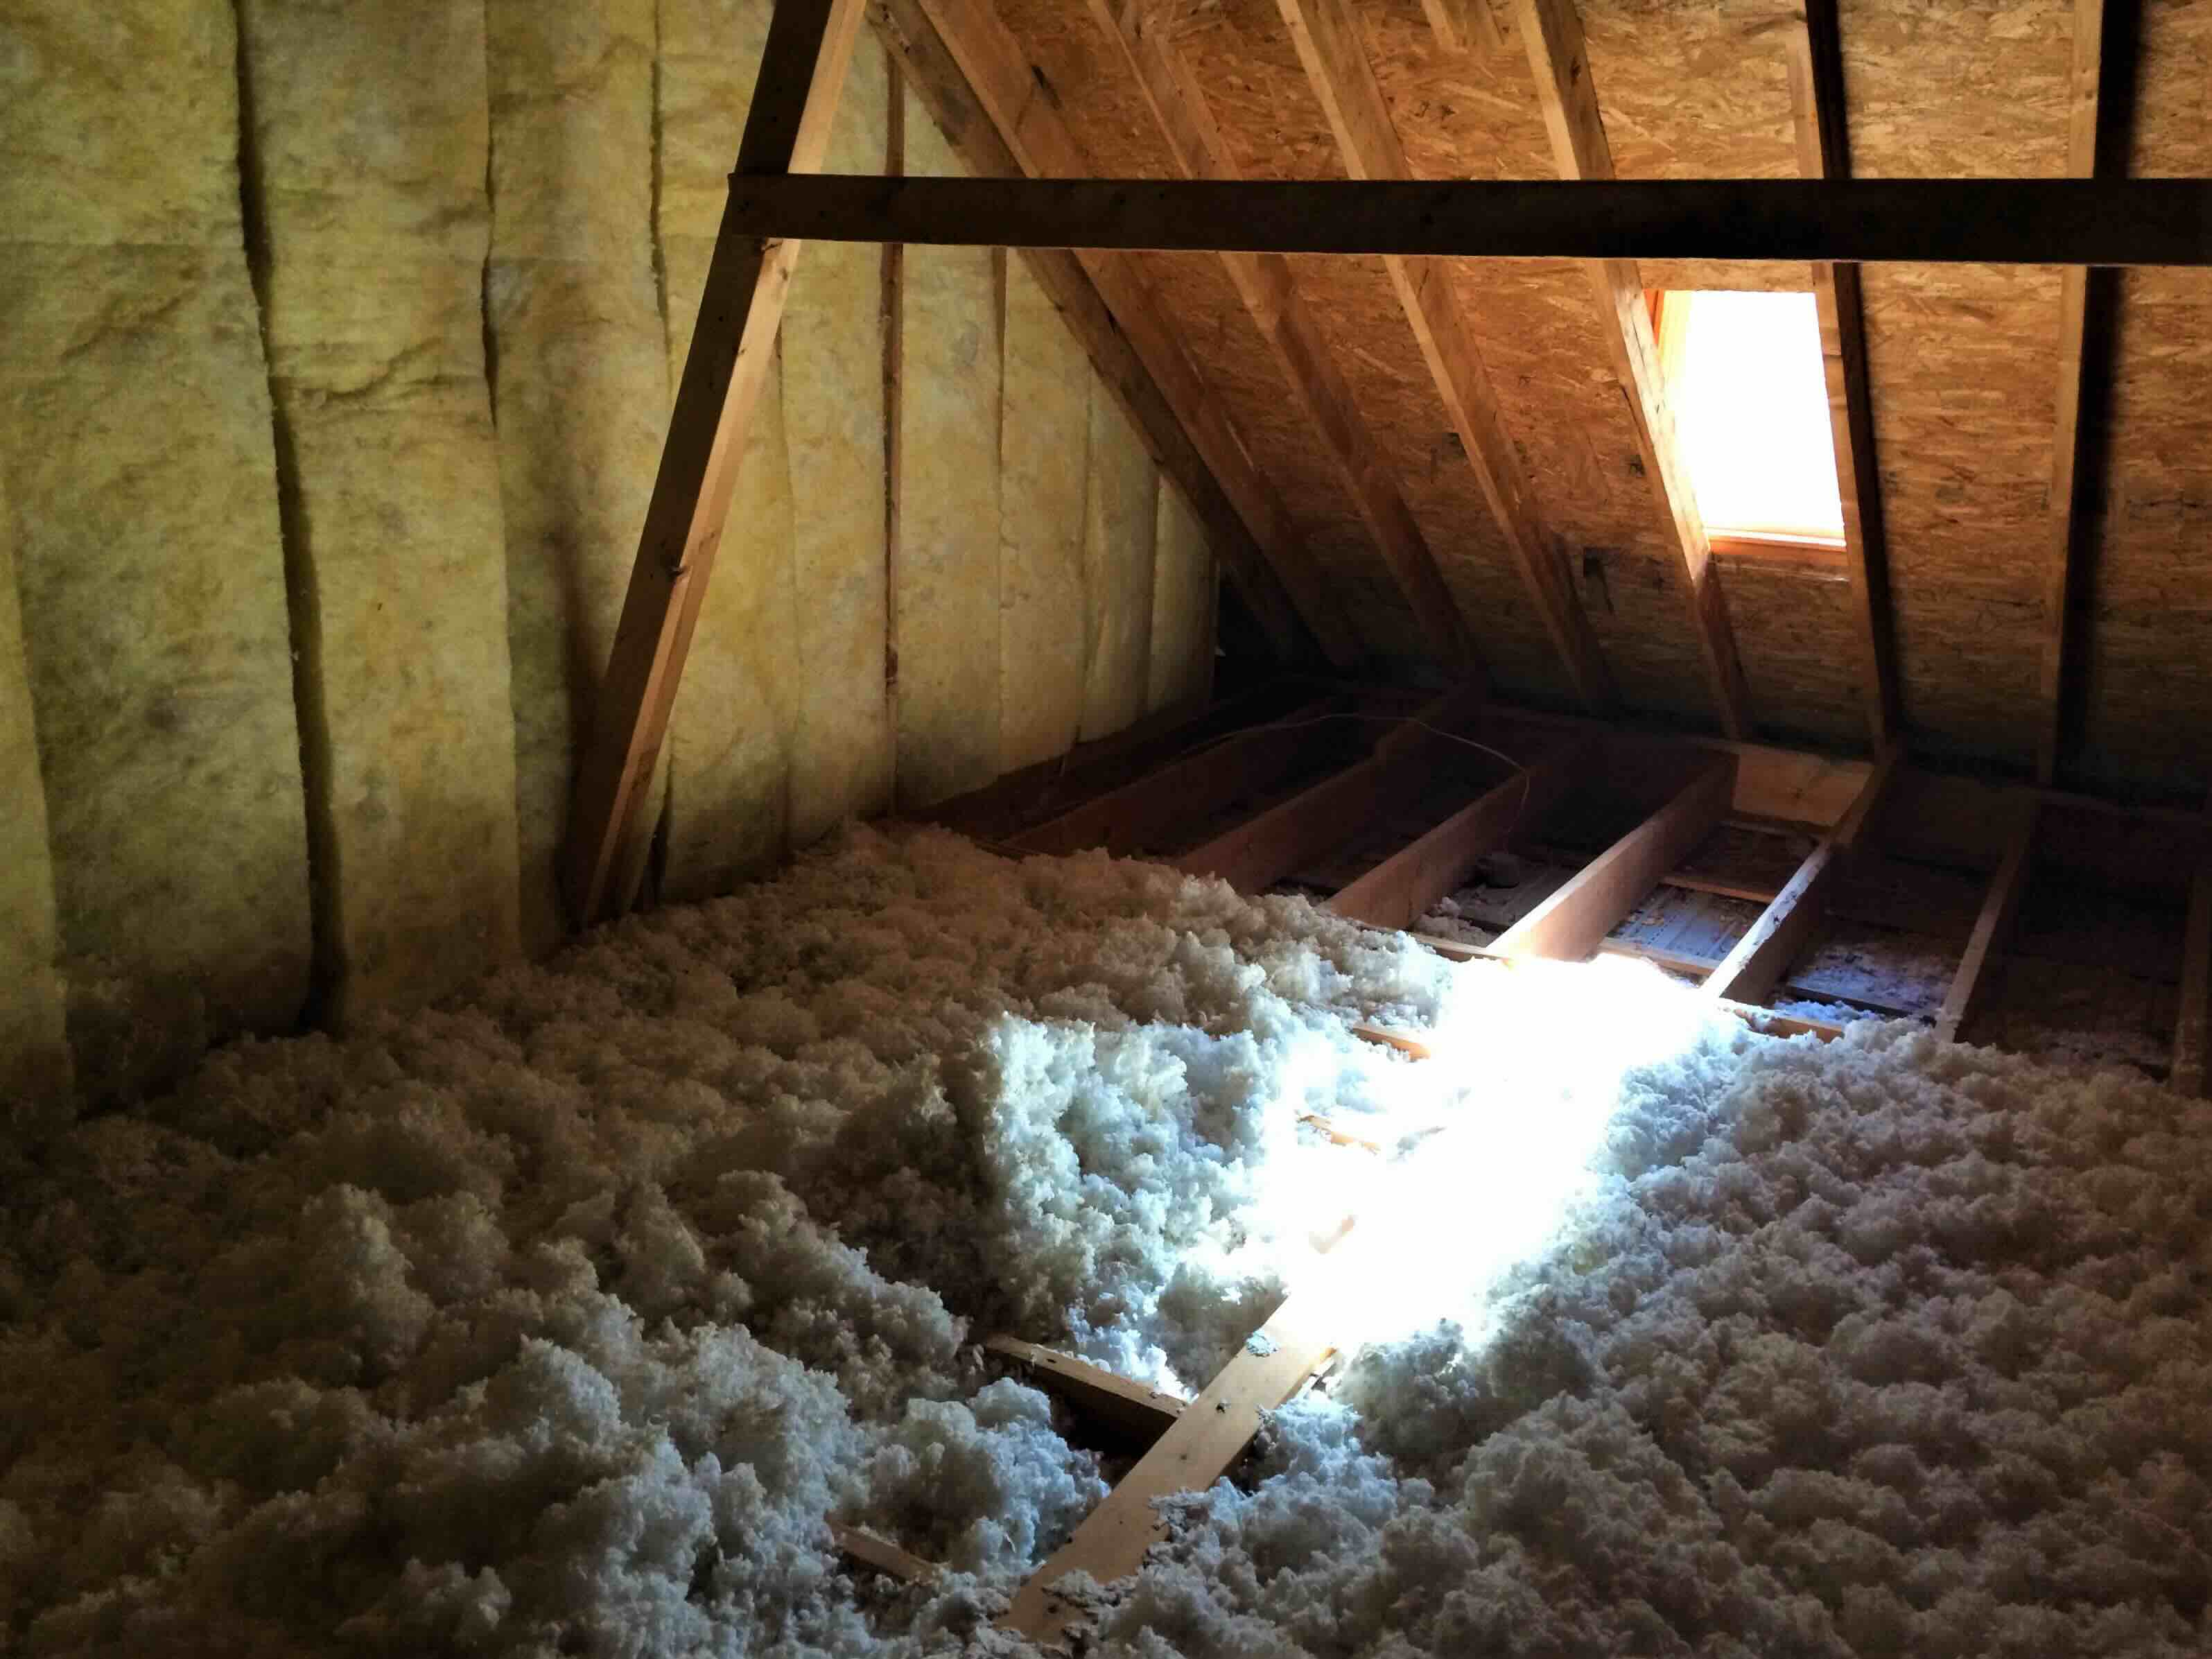
The recommended thickness for blown-in attic insulation is typically between 10-14 inches, but this can vary depending on the climate and type of insulation used. It’s important to consult with a professional to determine the best thickness for your specific needs.
Read more: How To Remove Blown-in Insulation In Attic
Types of Attic Insulation to Achieve Desired Thickness
There are several types of attic insulation available, each offering different advantages and flexibility when it comes to achieving the desired thickness. Let’s explore some common types of attic insulation that can be used to achieve the required thickness:
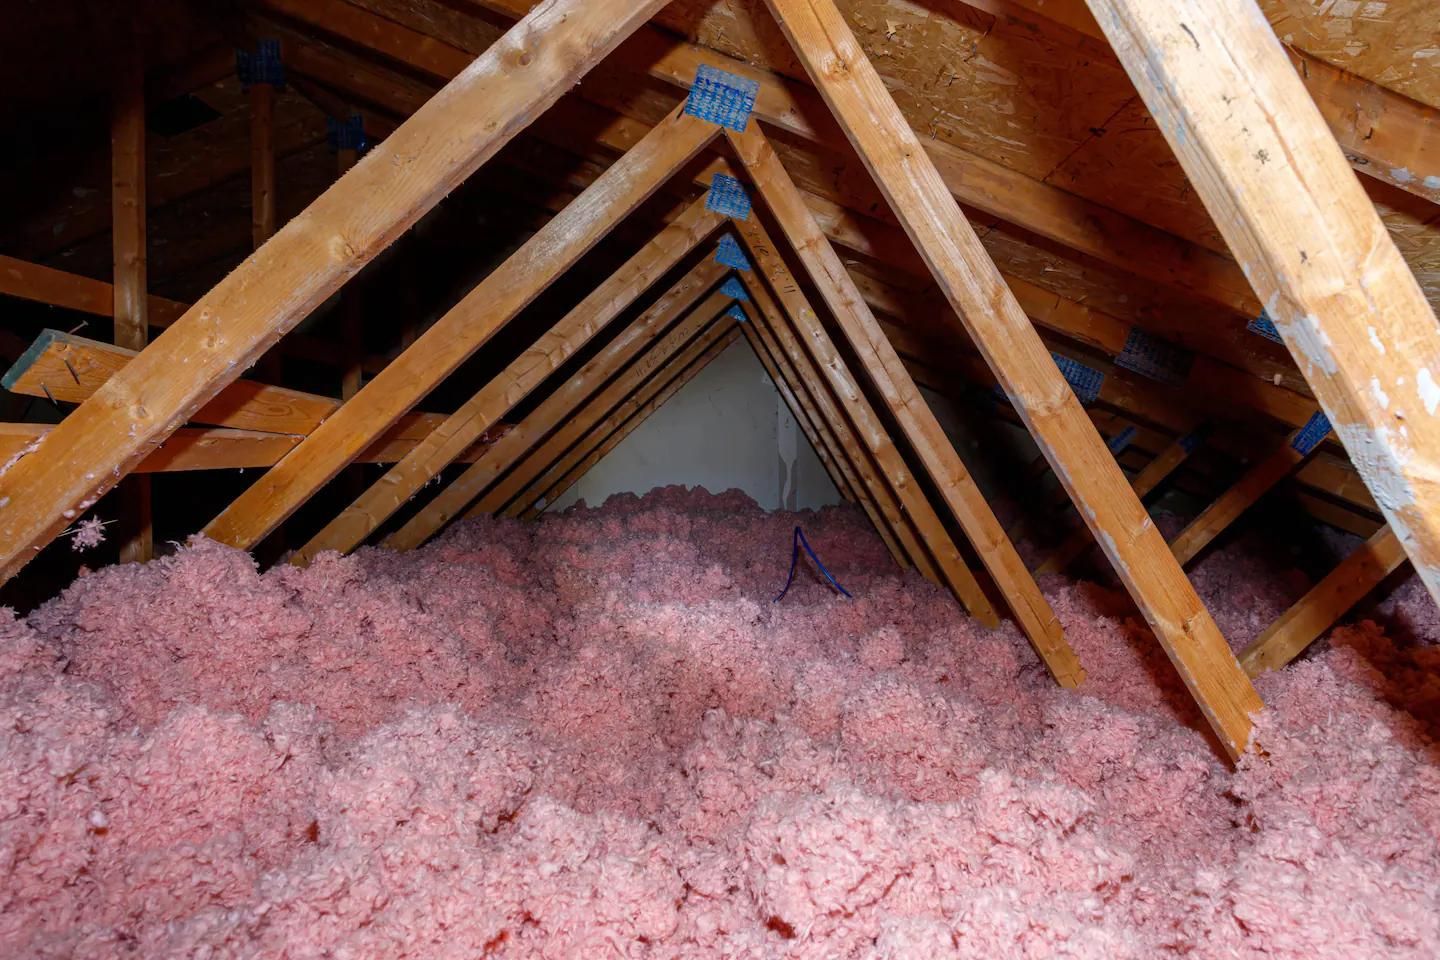
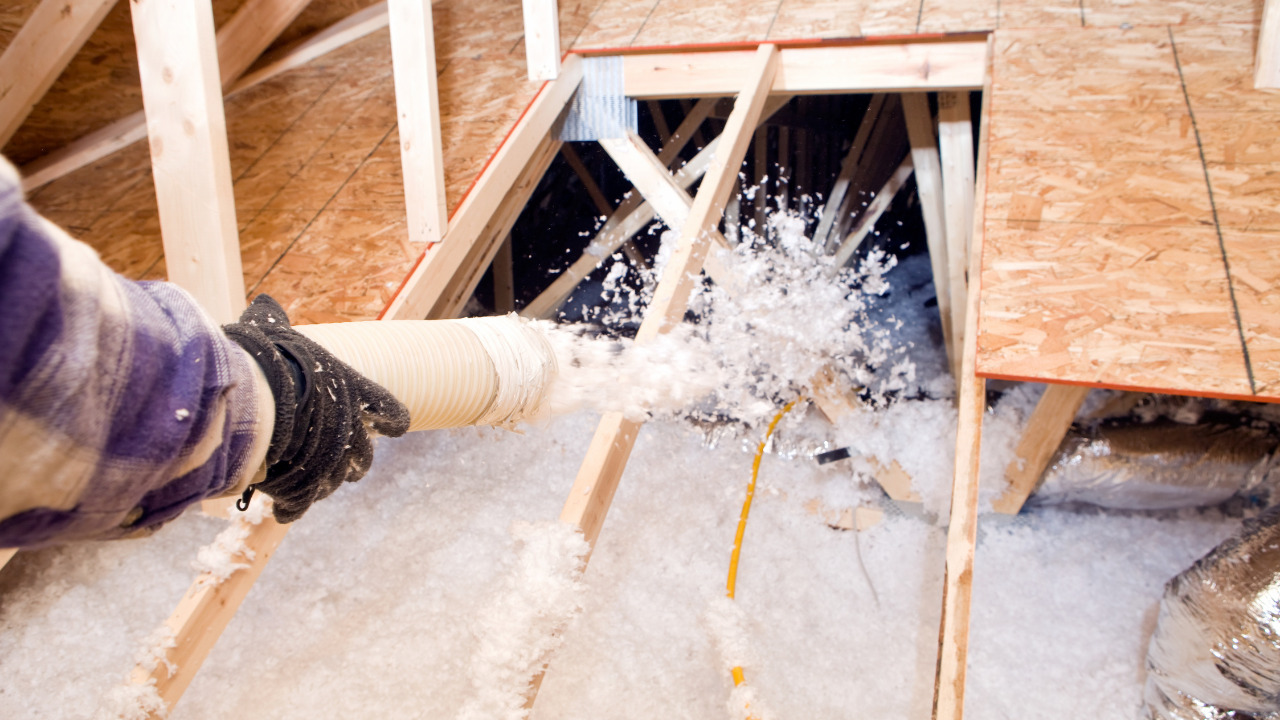
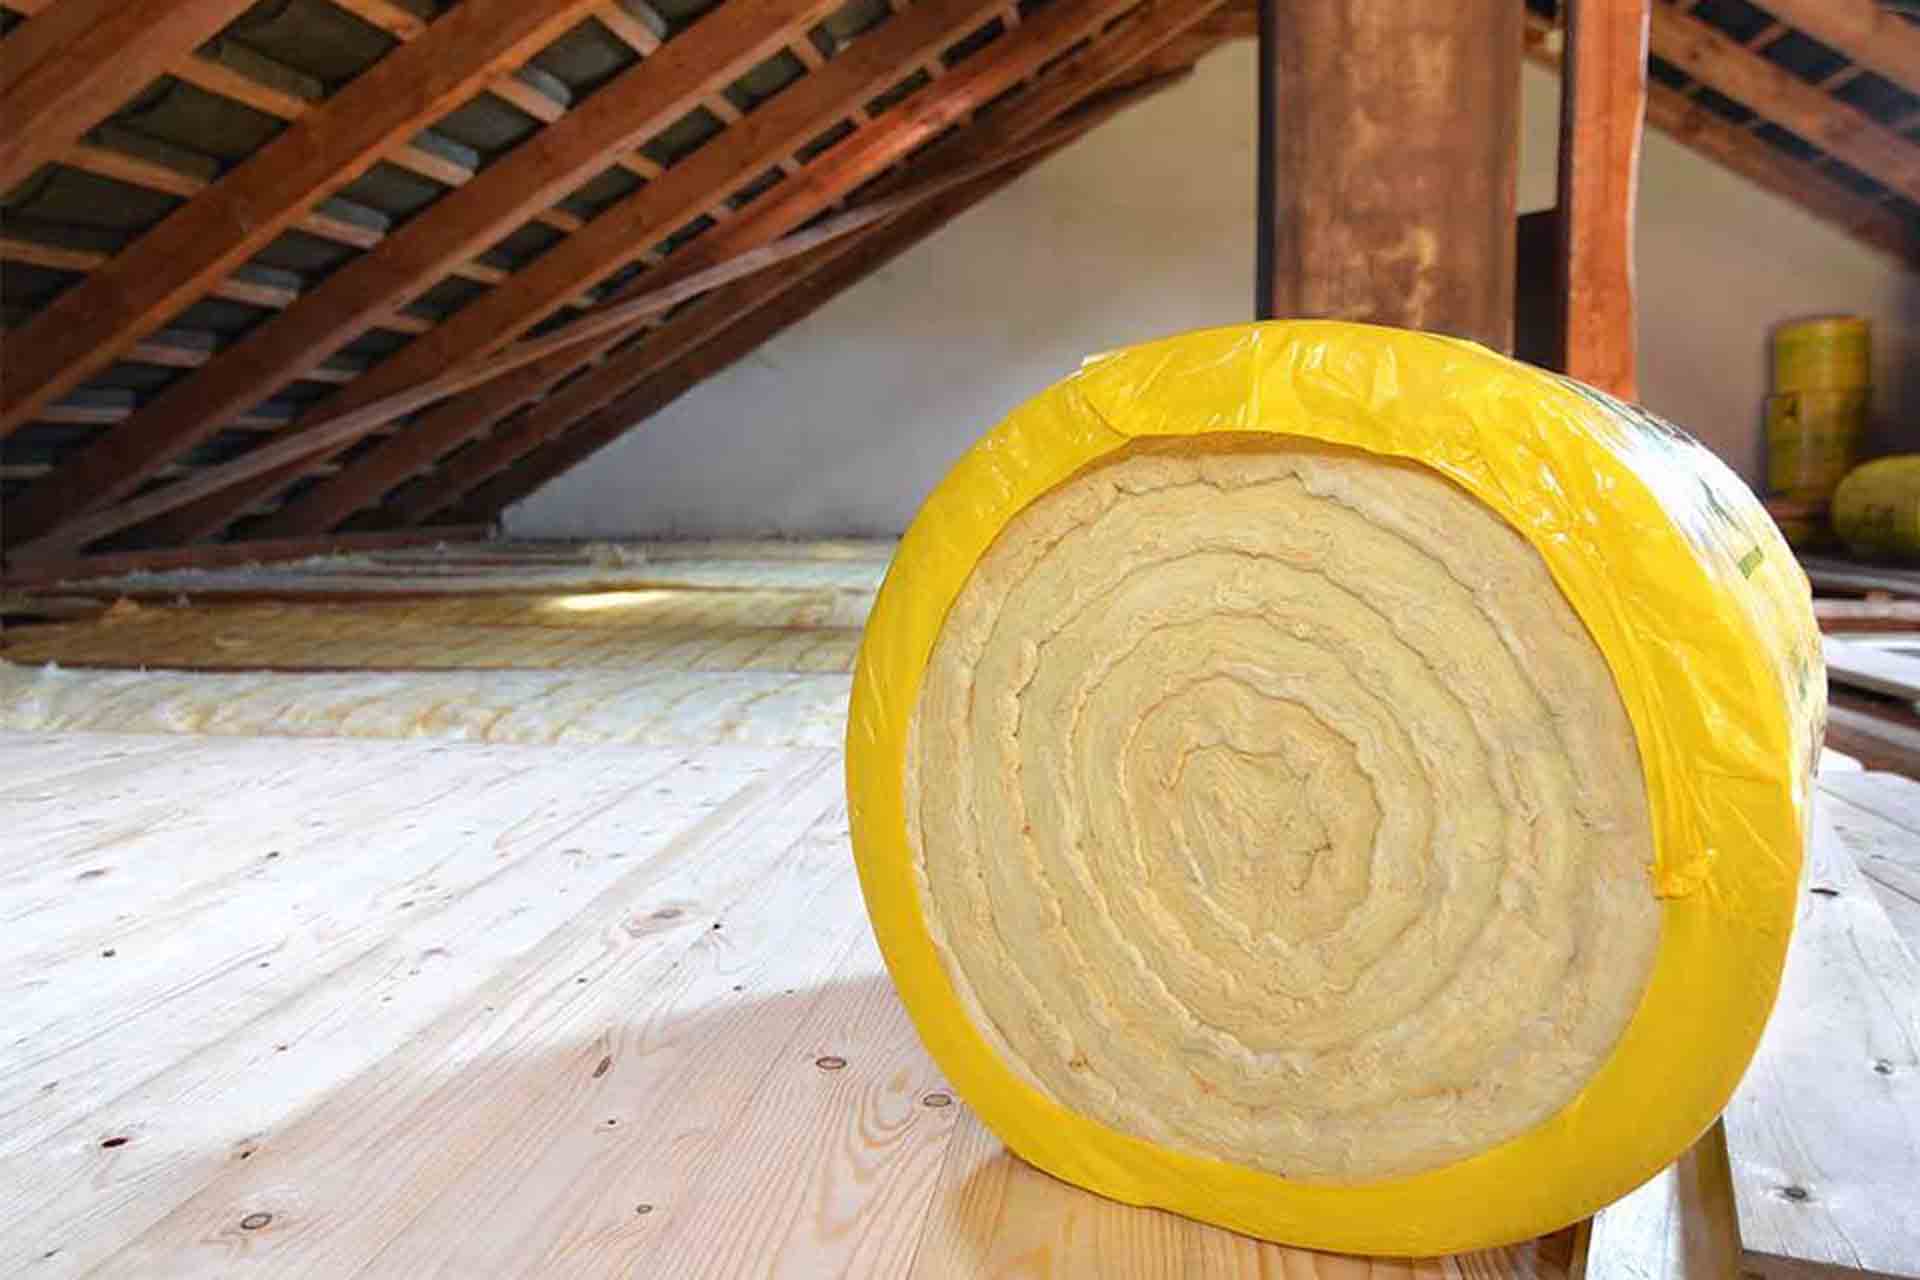
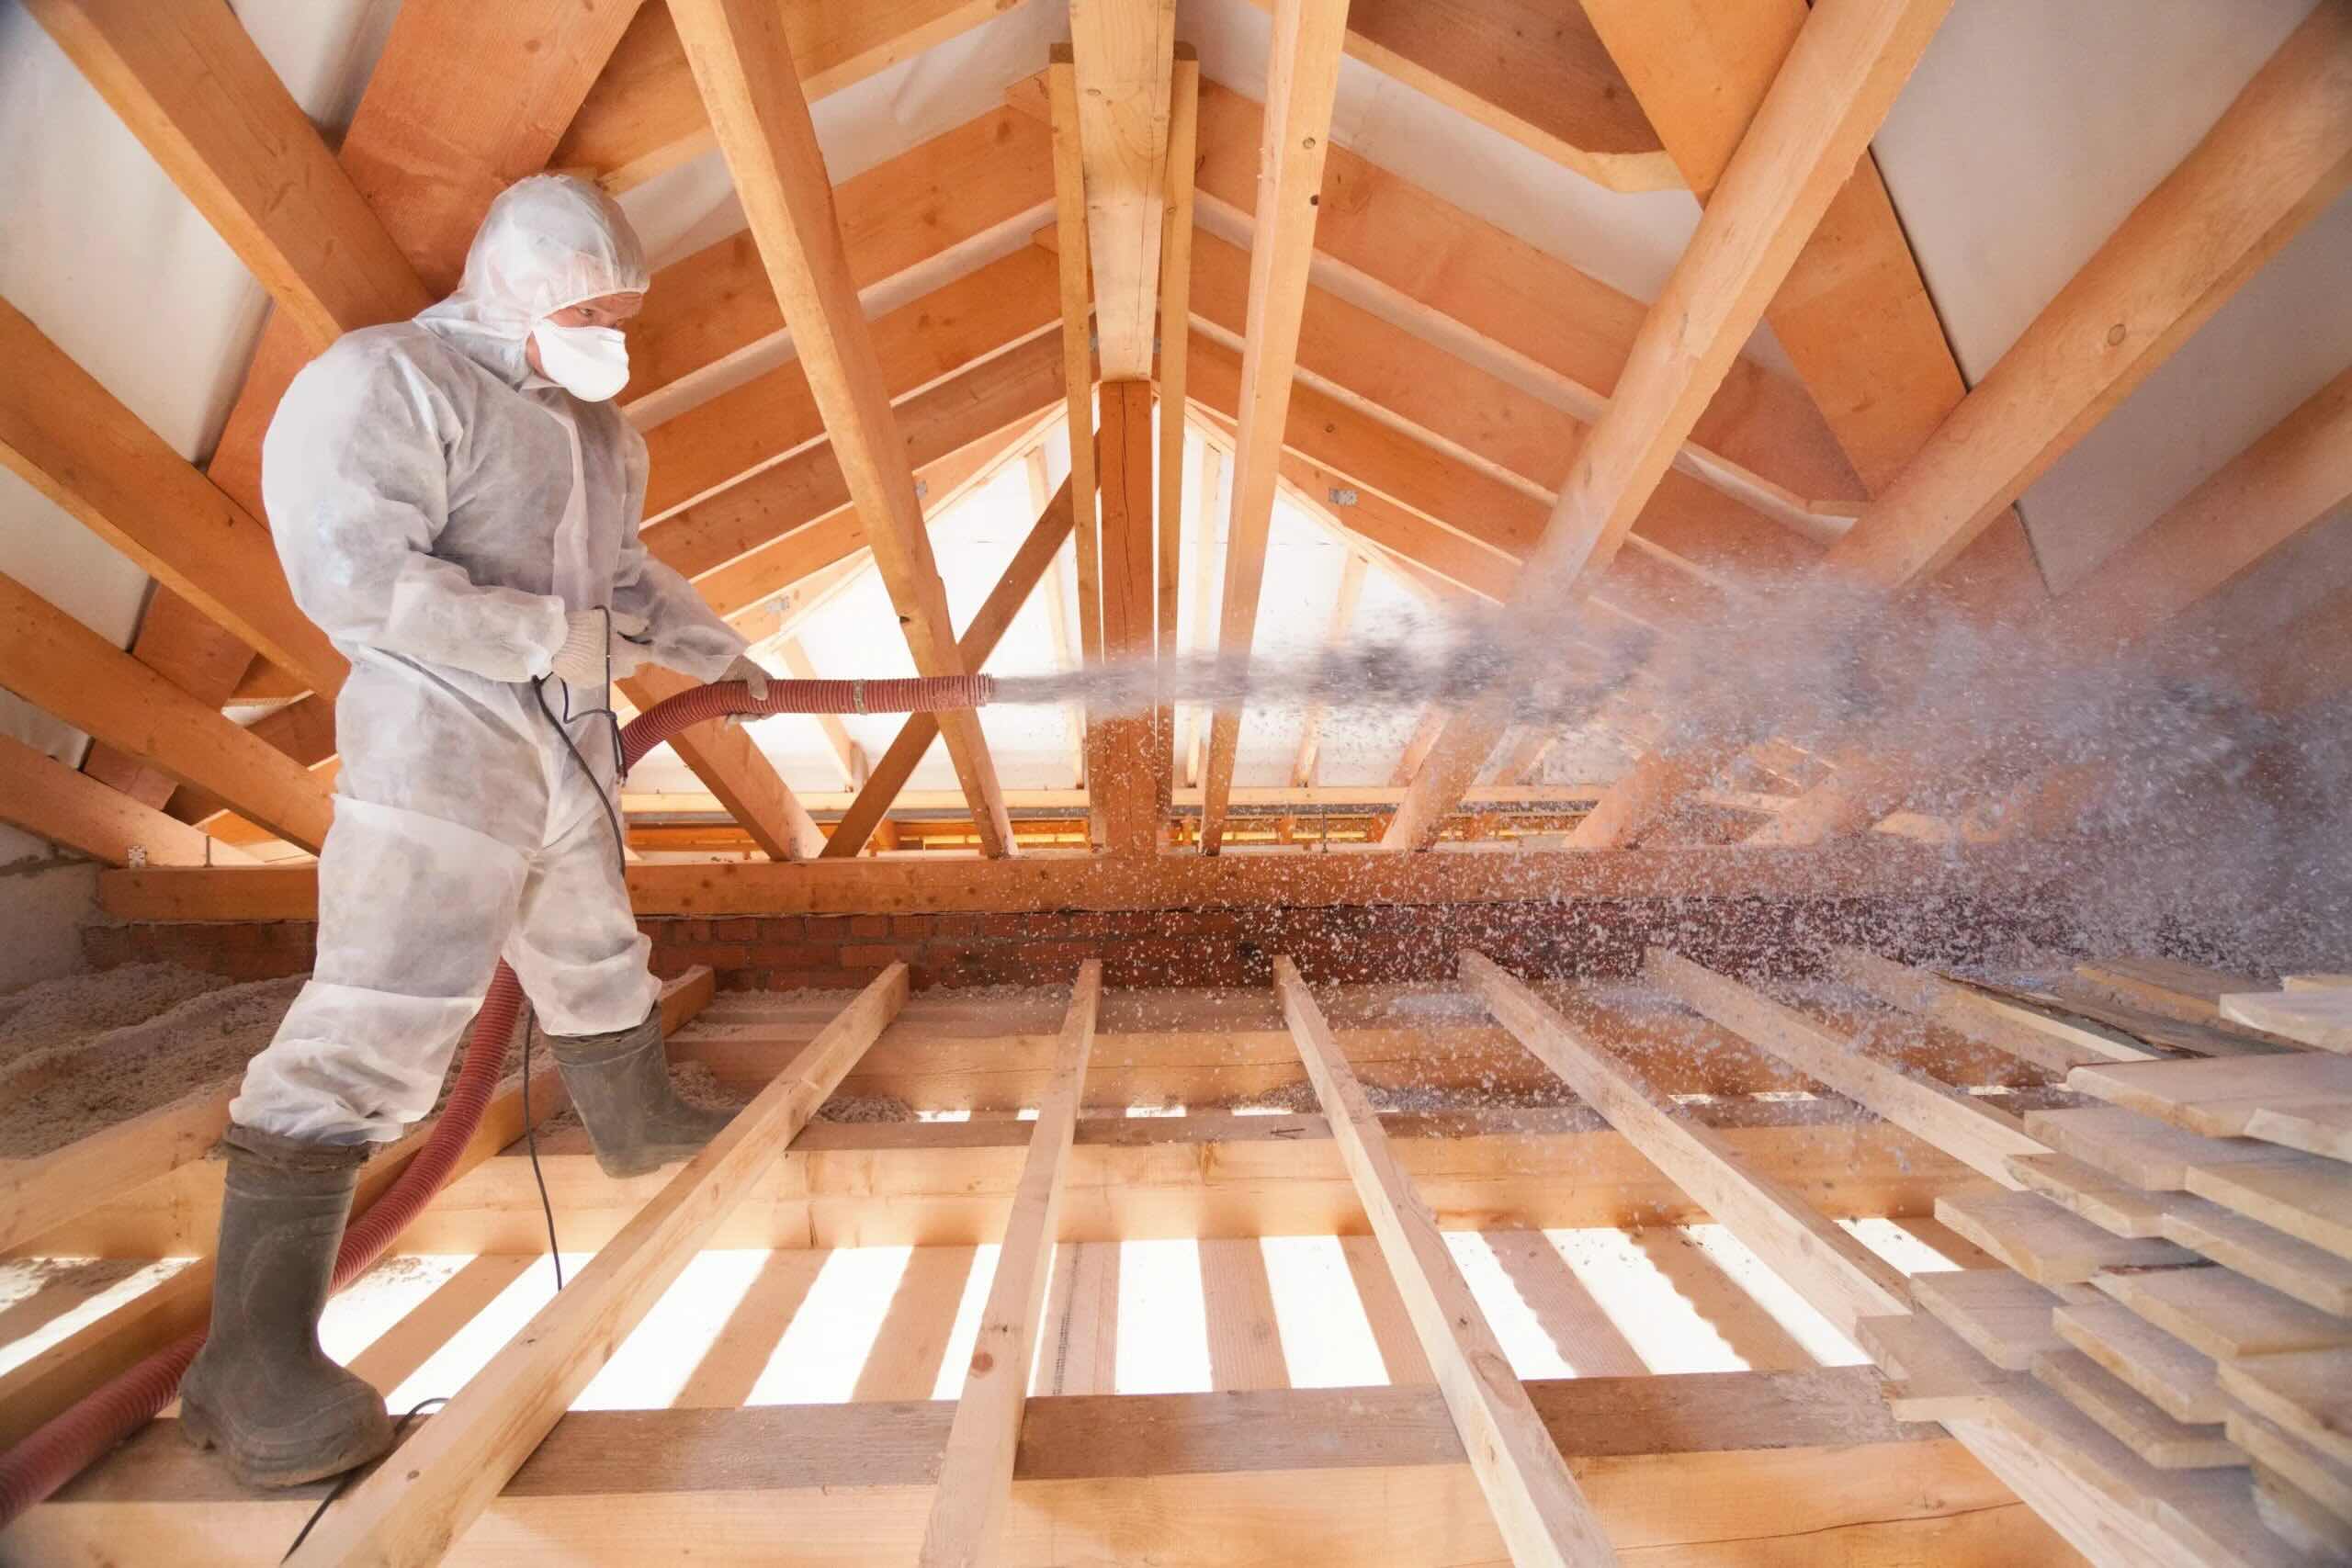
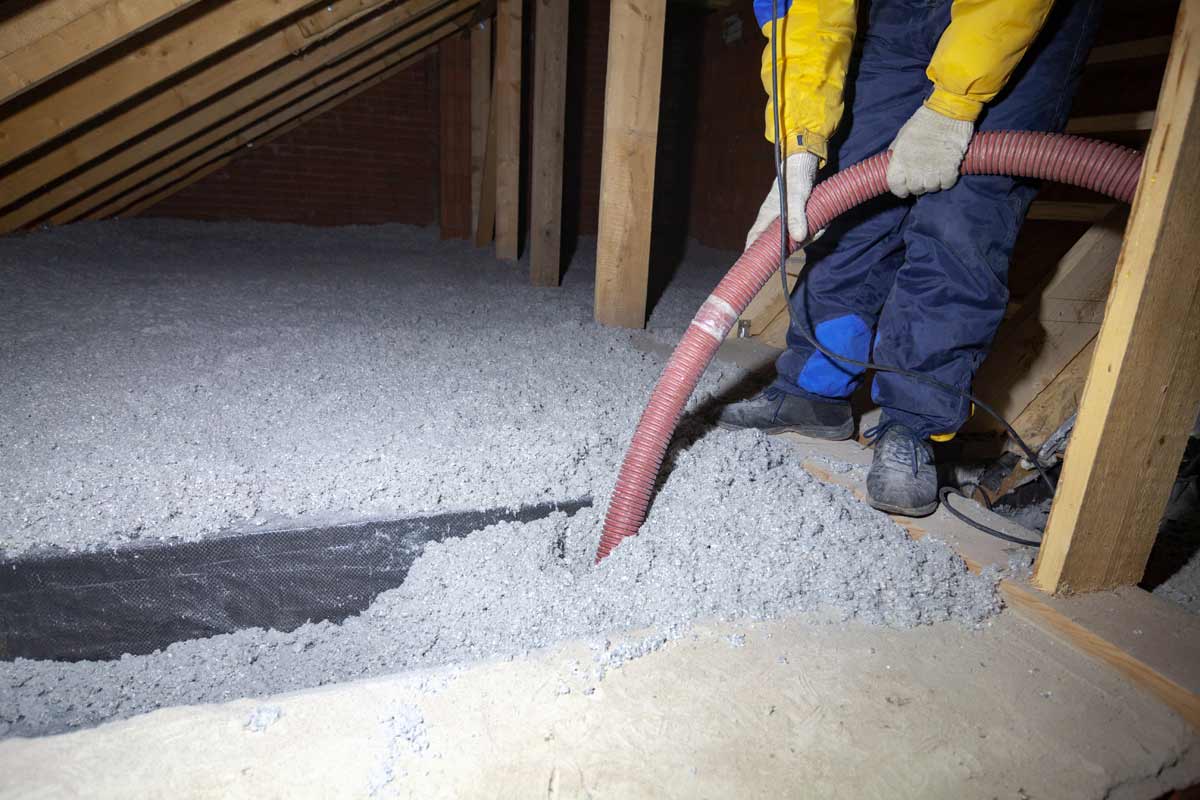
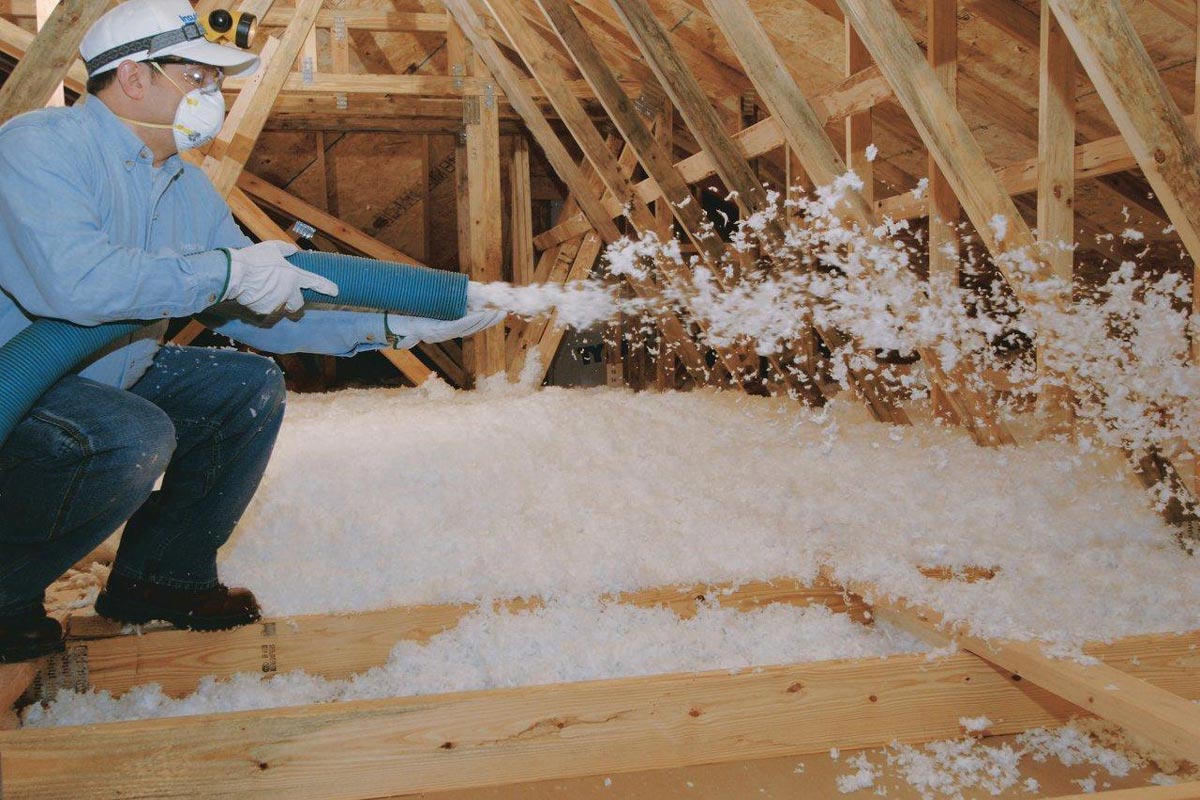
- Blown-in Fiberglass Insulation: Blown-in fiberglass insulation is a popular choice for attics. It consists of tiny glass fibers that are blown into the attic space using specialized equipment. This type of insulation can be installed to achieve the desired thickness by adding multiple layers. It is known for its excellent thermal resistance and fire-retardant properties.
- Blown-in Cellulose Insulation: Blown-in cellulose insulation is made from recycled paper, treated with fire retardants to improve its safety. It is a cost-effective option and can be easily installed to reach the desired thickness. Cellulose insulation is known for its effective soundproofing capabilities and resistance to mold and pests.
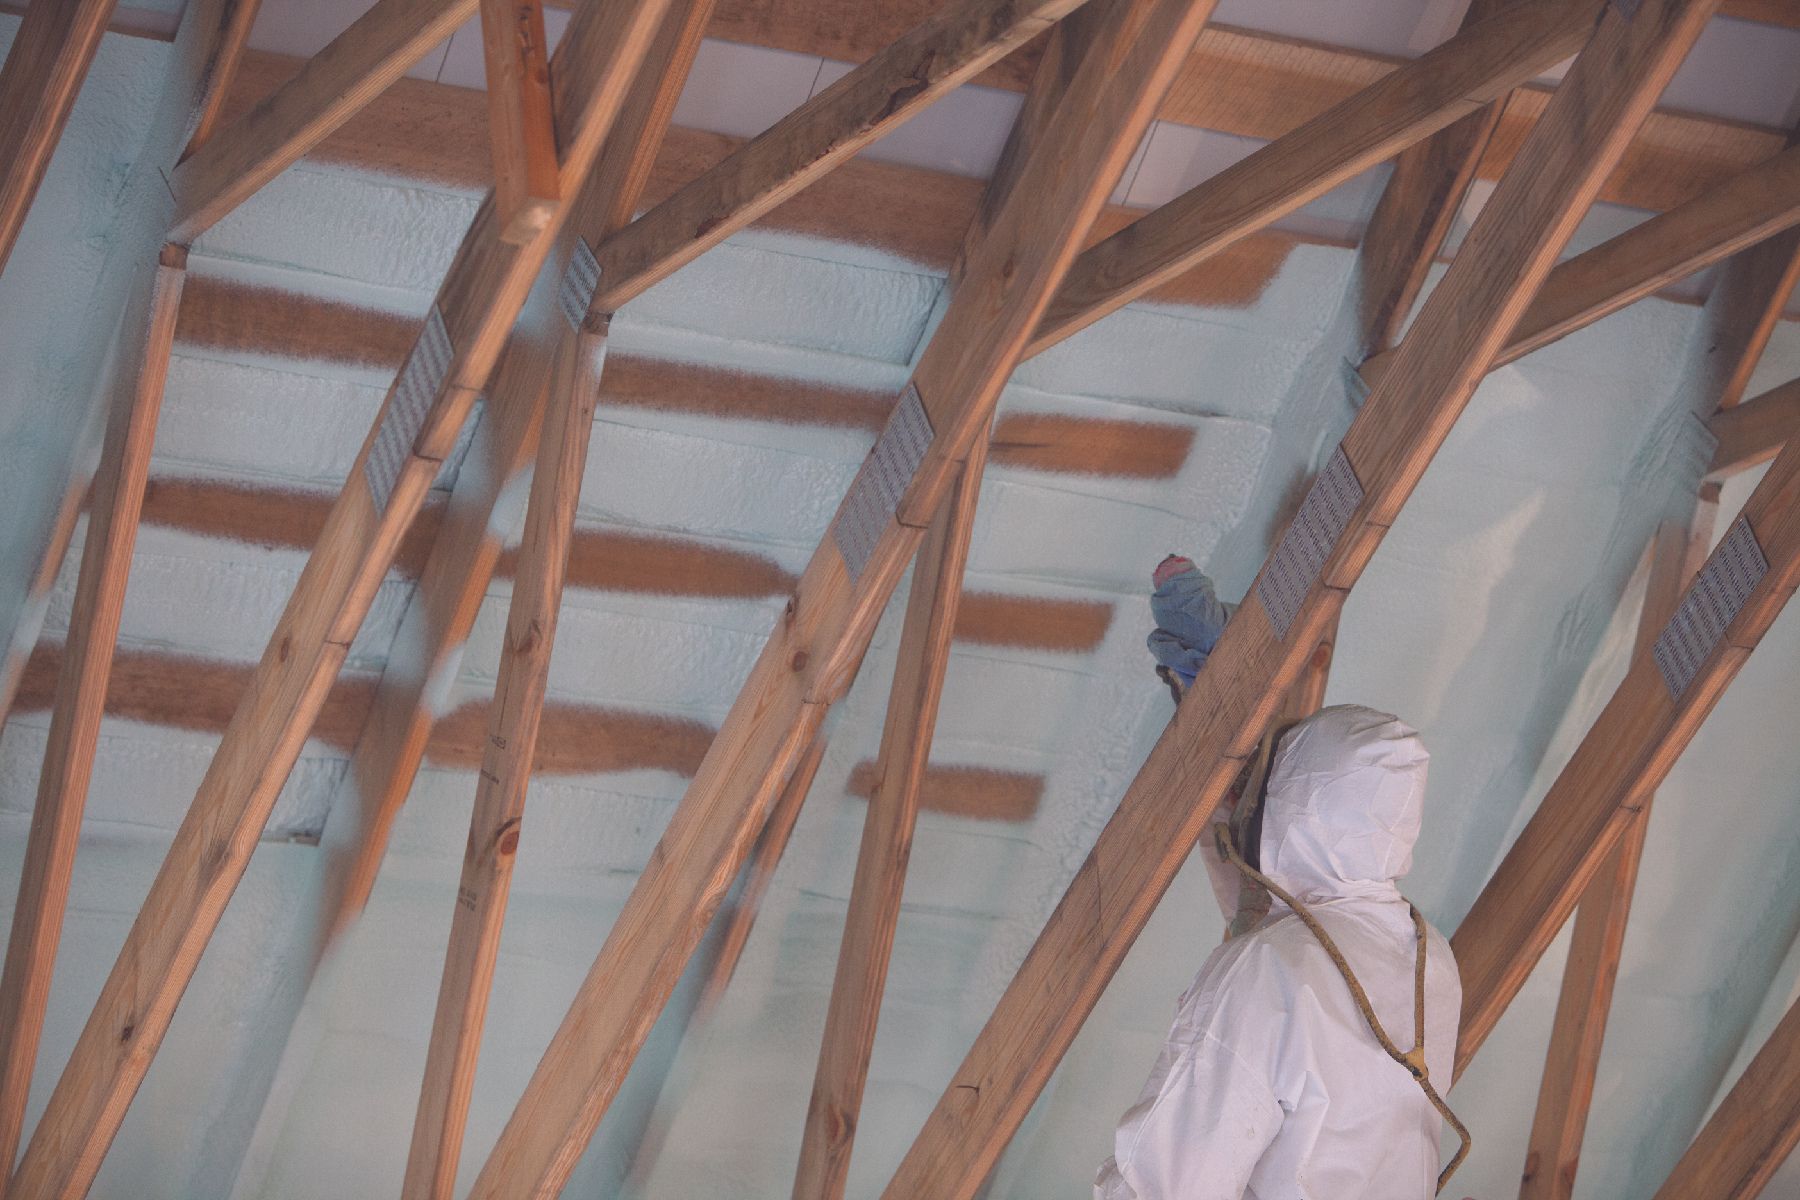
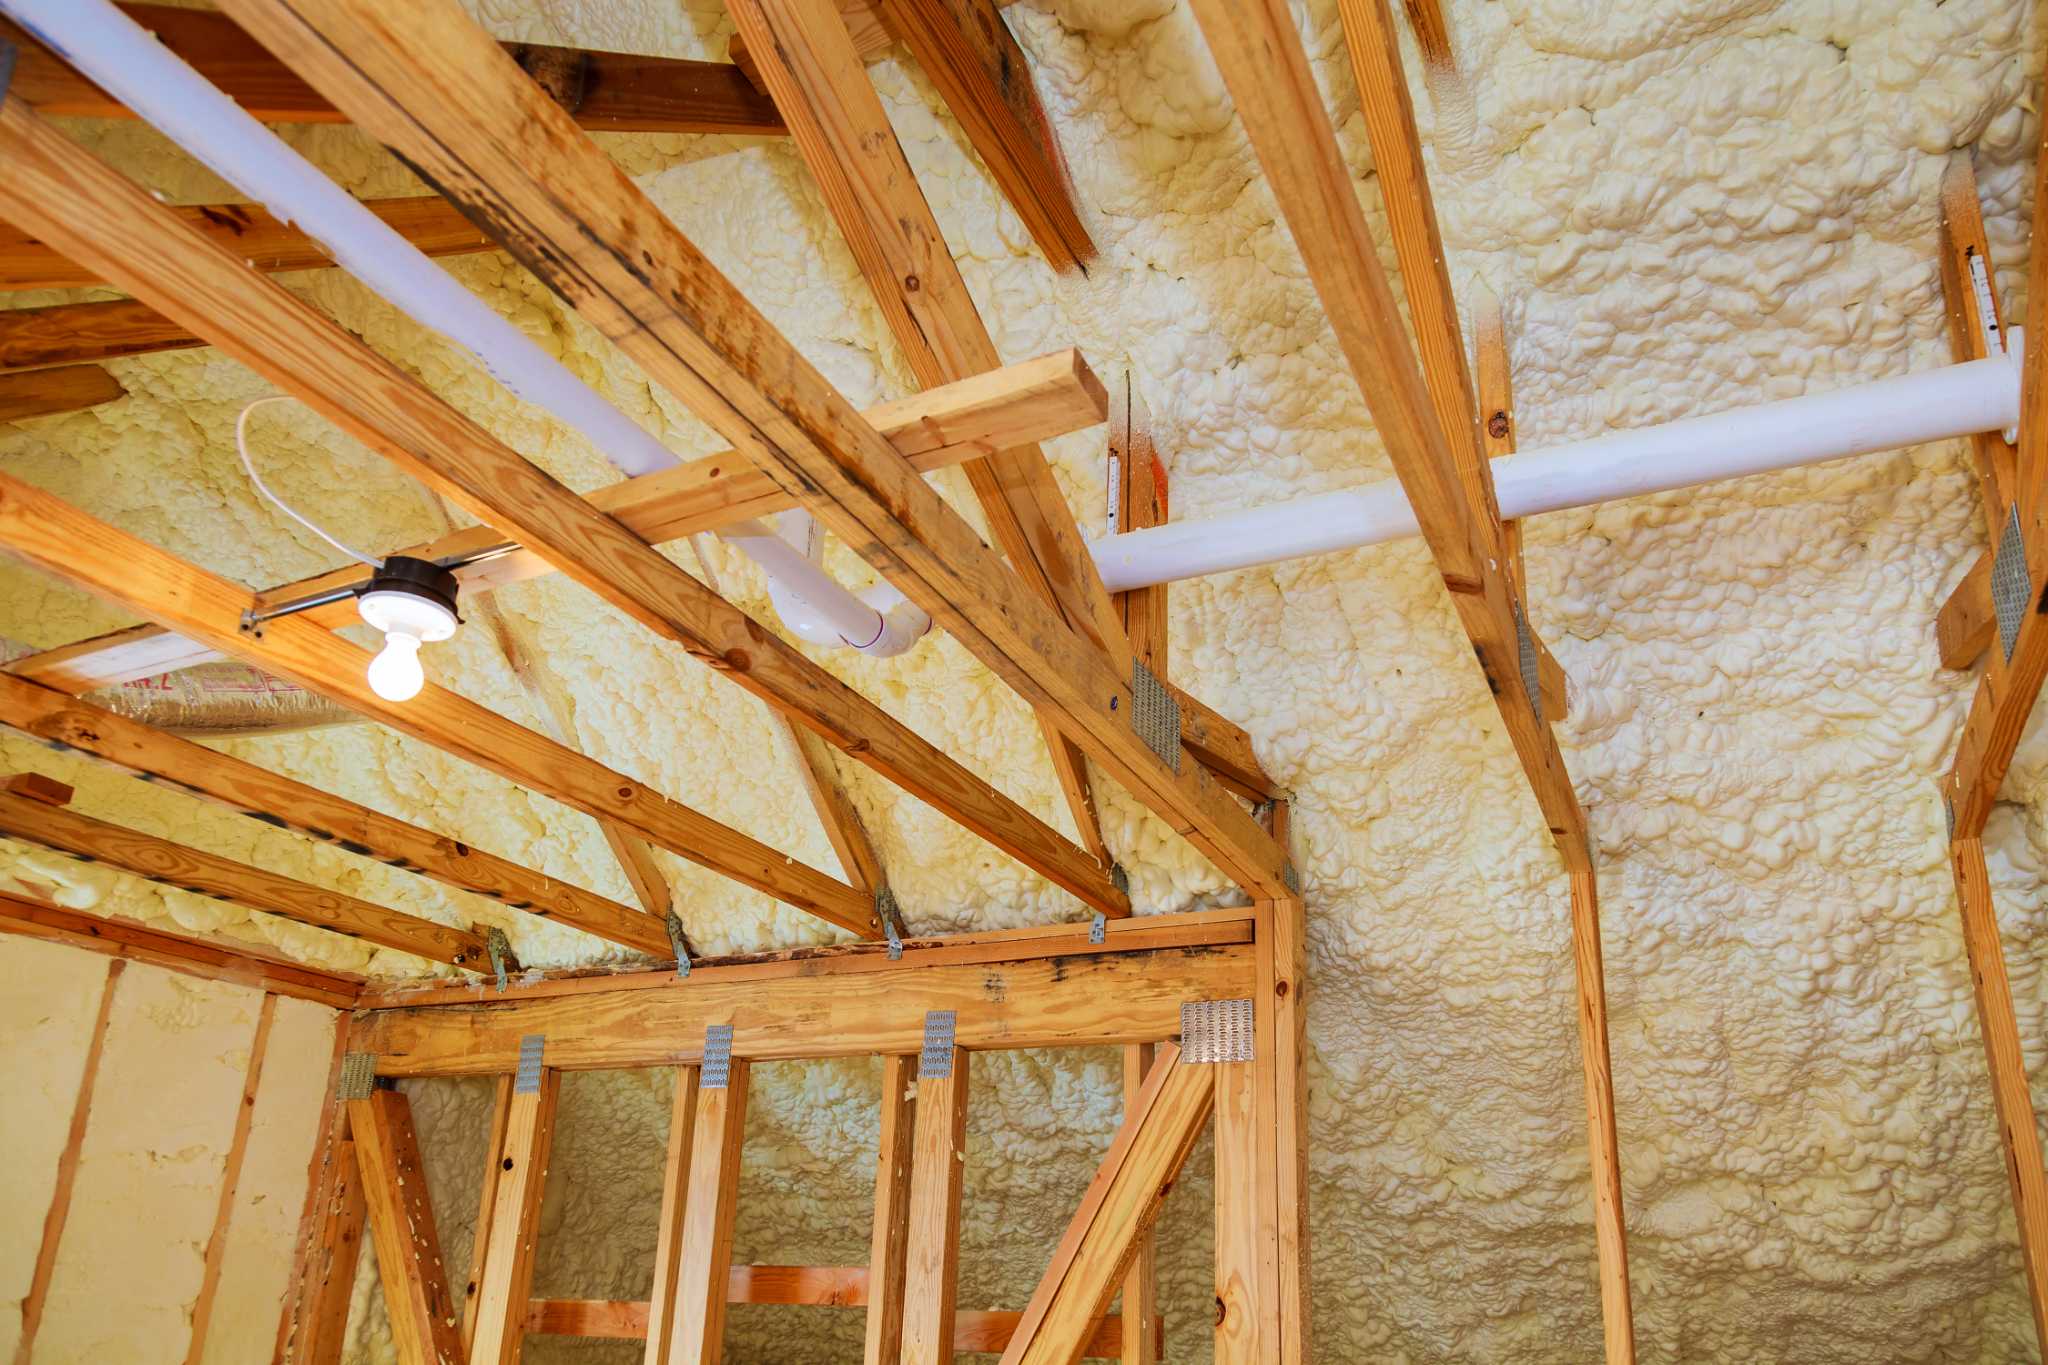
- Sprayed Polyurethane Foam (SPF): SPF insulation is a popular choice for attics due to its high energy efficiency and ability to create an air-sealed barrier. It is applied as a liquid that expands and hardens into foam, providing excellent insulation properties. SPF insulation can be sprayed in layers to achieve the desired thickness, ensuring an airtight seal and efficient thermal resistance.
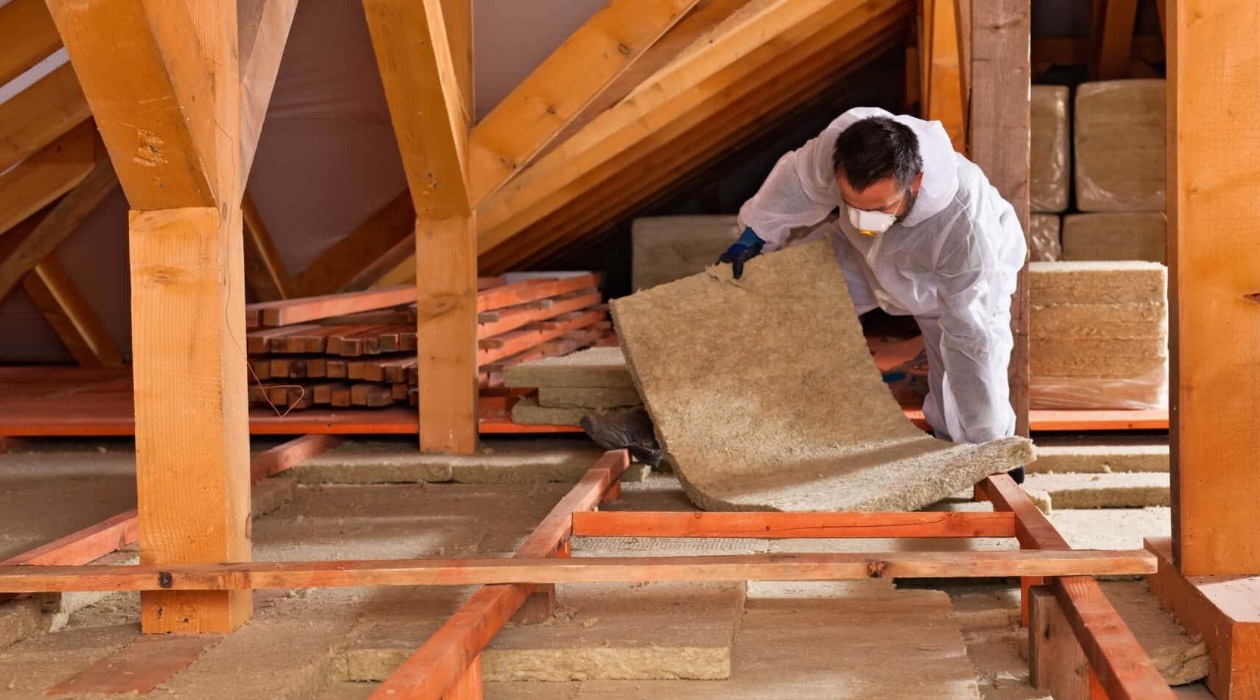
- Batt Insulation: Batt insulation comes in pre-cut rolls or blankets and is typically made of fiberglass, mineral wool, or cotton. It can be used to achieve sufficient insulation thickness by layering the batts on top of each other. However, it may require careful installation to prevent gaps and ensure proper coverage.
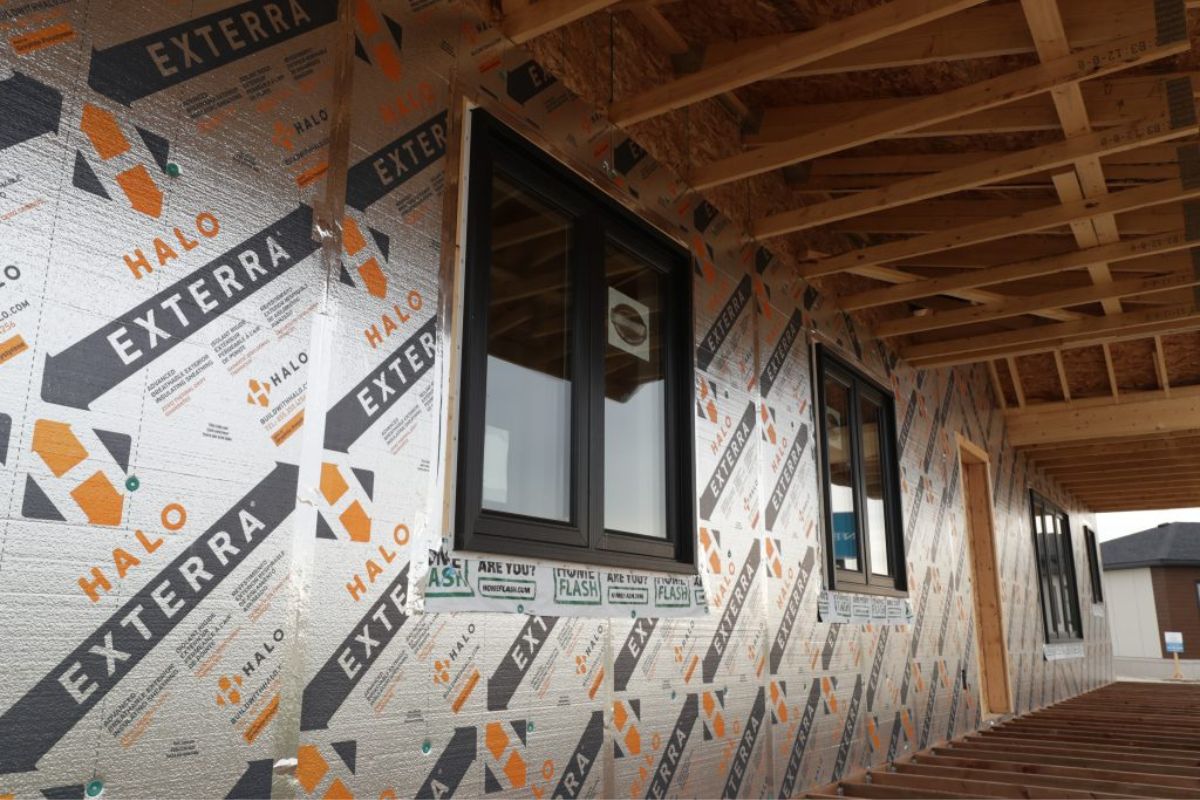
- Rigid Foam Insulation: Rigid foam insulation boards are versatile and can be used in various areas, including attics. They offer high thermal resistance and can be cut to the desired thickness for easy installation. Rigid foam insulation is available in different materials, such as expanded polystyrene (EPS), extruded polystyrene (XPS), and polyisocyanurate (ISO).
When choosing the type of insulation to achieve the desired thickness, consider factors such as the insulation’s thermal performance, cost, moisture resistance, and compatibility with your specific attic structure. It’s also essential to follow manufacturer guidelines and consult with a professional insulation contractor to ensure proper installation techniques and adherence to safety regulations.
Keep in mind that achieving the desired thickness may require a combination of insulation materials. For example, you could use a base layer of blown-in fiberglass insulation and top it with rigid foam insulation boards to achieve the recommended R-value for your climate zone. A professional insulation contractor can guide you on the best insulation combination to achieve the desired thickness while maximizing energy efficiency and comfort.
By selecting the appropriate type of attic insulation and combining different materials as needed, you can achieve the desired thickness to effectively protect your home from heat transfer, reduce energy consumption, and create a comfortable living space.
Cost Considerations for Different Thickness Options
When determining the thickness of blown-in attic insulation, cost considerations play an important role in the decision-making process. The cost will vary based on the insulation material, the required thickness, and whether you choose to install it yourself or hire a professional. Let’s explore some cost considerations for different thickness options:
- Insulation Material: The type of insulation material you choose will impact the overall cost. Some materials, such as blown-in fiberglass or cellulose, tend to be more cost-effective compared to others, like sprayed polyurethane foam. Consider your budget and the insulation material’s thermal performance and other properties before making a decision.
- Thickness Requirements: Thicker insulation will generally come with a higher cost. The more insulation needed to achieve the recommended R-value for your climate zone, the more materials will be required. It’s essential to balance the cost of installation with the long-term energy savings that thicker insulation can provide.
- DIY vs. Professional Installation: The cost of insulation varies depending on whether you choose to install it yourself or hire a professional. DIY installation might save you money on labor costs, but it’s important to ensure proper installation techniques to maximize efficiency and effectiveness. Professional installation ensures proper installation and can help address any specific challenges unique to your attic space.
- Additional Costs: Consider any additional costs associated with insulation installation, such as equipment rental, protective gear, and any necessary preparatory work. These costs can add up, especially if you choose to install insulation on your own.
- Long-Term Savings: Although thicker insulation may come with a higher upfront cost, it’s essential to consider the long-term energy savings it can provide. Effective insulation can significantly reduce heating and cooling costs, leading to lower utility bills over time. Calculate the potential energy savings and weigh them against the initial investment to make an informed decision.
It’s recommended to obtain quotes from insulation contractors to get a better understanding of the specific costs associated with different thickness options. They can assess your attic space, provide recommendations based on your needs, and provide an accurate estimate for both materials and labor.
Keep in mind that thicker insulation generally provides better energy efficiency, resulting in long-term savings. Investing in proper attic insulation thickness is an investment in the comfort, energy efficiency, and value of your home. Strike a balance between upfront cost and long-term benefits to make the most cost-effective decision for your specific situation.
By considering these cost factors and consulting with professionals, you can make a well-informed decision that considers both your budget and the effectiveness of the chosen insulation thickness.
DIY vs. Professional Installation
When it comes to installing blown-in attic insulation, you have the option to do it yourself (DIY) or hire a professional insulation contractor. Both approaches have their pros and cons, and it’s important to consider several factors before deciding which option is right for you:
DIY Installation:
- Cost Savings: DIY installation can save you money on labor costs, as you won’t need to hire a professional. If you have the necessary tools and equipment, opting for a DIY installation can be cost-effective.
- Flexibility: DIY installation allows you to work at your own pace and accommodate your schedule. You have control over the entire process, from purchasing the materials to completing the installation.
- Learning Experience: Installing insulation yourself can be a valuable learning experience. It allows you to understand how your home is insulated and gives you the opportunity to develop new skills.
- Limitations: DIY installation may have some limitations based on your experience and knowledge. It’s important to familiarize yourself with proper installation techniques, safety precautions, and local building codes. Improper installation can lead to decreased insulation effectiveness and potential damage to your home.
- Time and Effort: Installing blown-in attic insulation can be time-consuming and physically demanding. It requires proper preparation, handling insulation materials, and ensuring thorough coverage in the attic space.
Professional Installation:
- Expertise and Experience: Hiring a professional insulation contractor ensures that the job is done by skilled and experienced professionals. They have the knowledge and expertise to select the proper insulation material, calculate the required thickness, and ensure proper installation techniques.
- Efficiency and Accuracy: Professionals can complete the installation more efficiently and accurately, ensuring comprehensive coverage and maximum insulation effectiveness. They have access to specialized equipment and tools, allowing for a smoother and more effective installation process.
- Safety and Compliance: Professional installers are familiar with safety regulations and building codes. They can ensure that the insulation installation meets the required standards and minimize any potential safety risks associated with improper installation.
- Warranty and Guarantees: Professional insulation contractors often provide warranties or guarantees on their workmanship and the materials they use. This can provide you with added peace of mind, knowing that any issues that may arise will be addressed by the contractor.
- Additional Services: Professionals may offer additional services, such as attic inspections, air sealing, and moisture control measures, that can further enhance the energy efficiency and comfort of your home.
Ultimately, the decision between DIY and professional installation depends on your comfort level, available time and resources, and the complexity of the insulation project. If you have experience and feel confident in your abilities, DIY installation may be a viable option for smaller projects. However, for larger or more complex projects, hiring a professional insulation contractor is recommended to ensure proper installation and maximize insulation effectiveness.
Consulting with a professional insulation contractor can provide valuable insights and help you make an informed decision based on your specific needs and requirements.
Conclusion
Choosing the right thickness for blown-in attic insulation is crucial for achieving optimal energy efficiency, improving indoor comfort, and reducing heating or cooling costs. By considering various factors such as climate, location, recommended R-values, and insulation types, you can make an informed decision that suits your specific needs and goals.
Climate and location play a significant role in determining the appropriate insulation thickness. Regions with extreme temperatures or high humidity levels may require thicker insulation to maintain a comfortable indoor environment and prevent moisture-related issues.
Recommended R-values for different climate zones provide guidance on the desired insulation thickness. These values indicate the level of thermal resistance required to achieve optimal energy efficiency. Adhering to these recommendations ensures that your blown-in attic insulation effectively reduces heat transfer and minimizes energy consumption.
Proper attic insulation thickness offers numerous benefits, including improved energy efficiency, consistent indoor temperatures, noise reduction, moisture control, improved indoor air quality, and increased home value. Thicker insulation helps save on energy costs, enhances the comfort of your living space, and reduces the impact on the environment.
There are various types of attic insulation available, such as blown-in fiberglass, cellulose, sprayed polyurethane foam, batt insulation, and rigid foam insulation. Combining different materials can help achieve the desired thickness while maximizing thermal resistance and efficiency.
Cost considerations should be taken into account when deciding on the insulation thickness. DIY installation may save on labor costs, but professional installation ensures proper installation techniques, compliance with building codes, and efficient results. Long-term savings from reduced energy consumption should also be considered when evaluating the cost-effectiveness of different thickness options.
In conclusion, selecting the appropriate thickness for blown-in attic insulation is a critical decision that impacts energy efficiency, comfort, and cost savings. By considering climate, recommended R-values, insulation types, and cost factors, you can make an informed decision that meets your specific needs and ensures optimal insulation effectiveness. Whether you choose to do it yourself or hire a professional, investing in proper attic insulation thickness is a wise choice that enhances the value and comfort of your home in the long run.
Frequently Asked Questions about How Thick Should Blown-In Attic Insulation Be
Was this page helpful?
At Storables.com, we guarantee accurate and reliable information. Our content, validated by Expert Board Contributors, is crafted following stringent Editorial Policies. We're committed to providing you with well-researched, expert-backed insights for all your informational needs.


0 thoughts on “How Thick Should Blown-In Attic Insulation Be”