
Articles
How To Insulate Roof In Attic
Modified: October 28, 2024
Looking for articles on how to insulate your roof in the attic? Read our comprehensive guide for step-by-step instructions and expert tips.
(Many of the links in this article redirect to a specific reviewed product. Your purchase of these products through affiliate links helps to generate commission for Storables.com, at no extra cost. Learn more)
Introduction
Insulating the roof in your attic is a crucial step in maximizing energy efficiency and maintaining a comfortable living environment in your home. Proper insulation helps prevent heat transfer, reducing the need for excessive heating or cooling and lowering energy costs. Additionally, a well-insulated attic can prevent moisture buildup, mold growth, and damage to your roof and interior.
In this comprehensive guide, we will take you through the step-by-step process of insulating the roof in your attic. Whether you are looking to upgrade your existing insulation or starting from scratch, this article will provide you with valuable insights and practical tips to ensure a successful insulation project.
Before diving into the installation process, it is important to understand the benefits of having a properly insulated attic. Firstly, insulation helps to maintain a consistent temperature throughout your home, allowing you to enjoy a more comfortable living space. Whether it’s the scorching heat of summer or the freezing cold of winter, a well-insulated attic acts as a barrier against extreme temperatures, preventing them from seeping into your home.
Another key benefit of attic insulation is its ability to reduce energy consumption. By preventing heat loss in the winter and heat gain in the summer, insulation lowers the demand on your heating and cooling systems. This not only saves you money on your utility bills but also reduces your carbon footprint, making your home more environmentally friendly.
Proper insulation in the attic also helps to prevent moisture-related issues. When warm air rises and meets a cooler surface, such as the underside of the roof, condensation can form. This can lead to mold growth, rotting wood, and structural damage. Insulating the roof in the attic creates a barrier that prevents warm air from coming into contact with the cooler roof surface, reducing the risk of moisture buildup and protecting the integrity of your home.
Now that you understand the importance of attic insulation, let’s dive into the step-by-step process of insulating the roof in your attic to ensure optimal energy efficiency and comfort in your home.
Key Takeaways:
- Proper attic insulation not only maintains a comfortable home temperature but also reduces energy consumption, prevents moisture-related issues, and contributes to a more sustainable living environment.
- Regular maintenance of attic insulation is essential to ensure its longevity and effectiveness, including inspecting for damage, addressing moisture issues, and monitoring energy usage.
Read more: How Important Is Attic Insulation
Step 1: Assessing Your Attic
Before diving into the insulation process, it is essential to assess your attic to determine the insulation needs and identify any potential issues that may need to be addressed. Here are the key aspects to consider during this assessment:
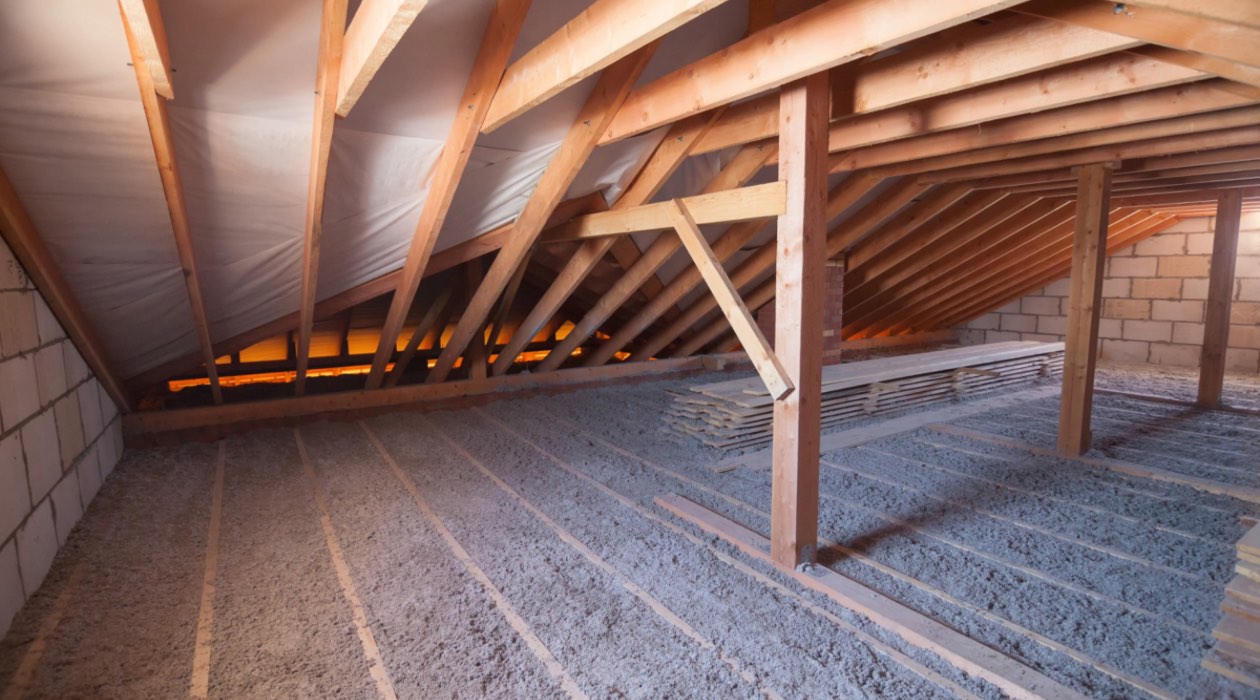
- Current insulation: Determine the type and condition of your existing insulation. Common types include fiberglass, cellulose, and spray foam. Measure the thickness of the insulation to see if it meets the recommended levels for your region.
- Moisture and ventilation: Look for any signs of moisture or mold growth in your attic. Insufficient ventilation can lead to moisture buildup, so ensure that there is proper airflow. If there are any leaks or moisture issues, address them before proceeding with insulation.
- Access points: Assess the accessibility of your attic. Make sure there is a safe and secure access point, such as a ladder or staircase, to reach the attic easily. Additionally, check for any obstacles or obstructions that may hinder the insulation process.
- Observe any objects: Take note of any objects in your attic that may need special attention during insulation, such as HVAC equipment, pipes, or electrical wiring. Ensure that these objects are properly insulated or protected to prevent any damage during the installation process.
- Air leaks: Look for any gaps, cracks, or openings in your attic that may allow air leakage. These can significantly diminish the effectiveness of insulation. Seal any air leaks with caulk or weatherstripping before installing insulation.
Assessing your attic will help you determine the necessary steps to take during the insulation process. It allows you to address any potential issues or deficiencies, ensuring that your insulation efforts are effective and long-lasting.
Once you have thoroughly assessed your attic, you can proceed to the next step: gathering the materials needed for the insulation project.
Step 2: Gathering Materials
Before starting the insulation process, it is essential to gather all the necessary materials to ensure a smooth and uninterrupted installation. Here is a list of the materials you will need:
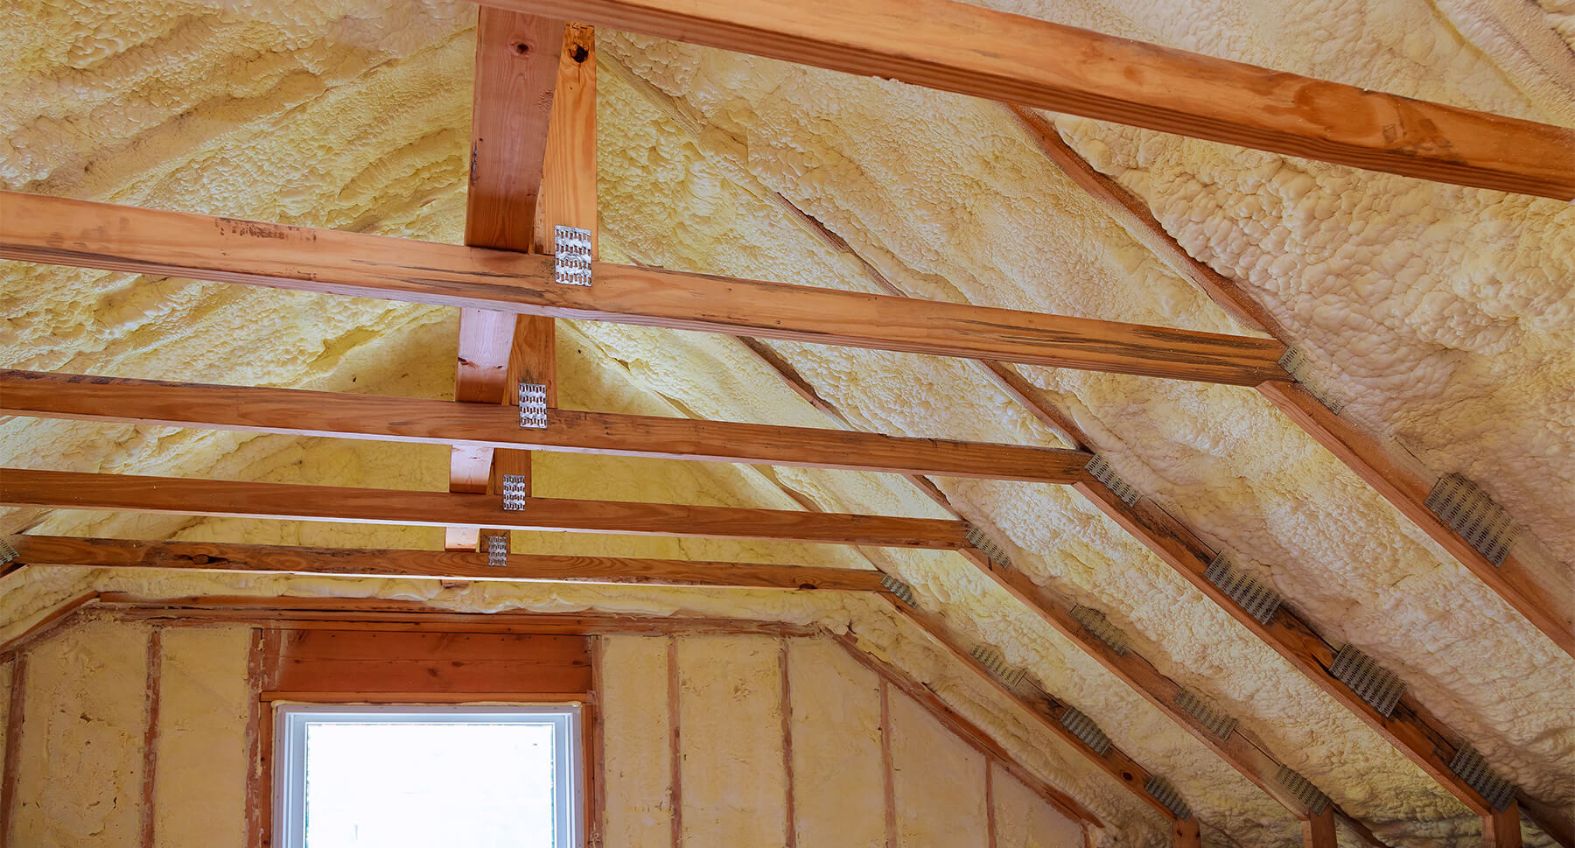
- Insulation material: Choose the type of insulation that best suits your needs and budget. Fiberglass batts, cellulose insulation, and spray foam are common options. Research the pros and cons of each type to make an informed decision.
- Protective gear: Insulation materials can cause skin irritation and respiratory issues, so it is crucial to protect yourself. Wear long sleeves, pants, gloves, safety glasses, and a dust mask to shield yourself from any potential hazards.
- Measuring tools: You will need measuring tapes and scissors or a utility knife to cut the insulation material to the proper size. Ensure that you have these tools readily available for precise installation.
- Insulation supports: Depending on the type of insulation you choose, you may need insulation supports or wire hangers to keep the insulation in place. These supports prevent sagging or shifting of the insulation over time.
- Sealant: To ensure a tight seal and minimize air leakage, have a high-quality sealant, such as caulk or foam sealant, on hand. This will be used to seal any gaps or cracks in the attic and improve the effectiveness of the insulation.
- Lighting: Attics are often dimly lit, making it challenging to work. Have a reliable, portable lighting solution, such as work lights or a headlamp, to illuminate the area and make the installation process easier.
- Safety equipment: In addition to protective gear, consider having a fire extinguisher, a first aid kit, and a flashlight with fresh batteries readily available. Safety should always be a top priority throughout the insulation project.
Ensure that you have all the necessary materials before starting the insulation process. This will prevent any interruptions or delays during installation and allow for a more efficient and effective insulation job.
With the materials gathered, you are now ready to prepare the attic for insulation, which we will cover in the next step.
Step 3: Preparing the Attic
Properly preparing the attic before insulating is a crucial step in ensuring a successful and long-lasting insulation job. Here are the key steps to follow when preparing your attic:
- Clean the attic: Begin by removing any debris, dust, or insulation remnants from the attic. A clean workspace will help you identify any issues and provide a clean surface for the insulation to adhere to.
- Seal air leaks: Inspect the attic for any gaps or cracks that may allow air leakage. Common areas of concern include around vents, pipes, electrical wires, and the eaves. Use caulk or foam sealant to seal these areas and prevent air infiltration.
- Ensure proper ventilation: Verify that your attic has adequate ventilation to prevent moisture buildup and promote airflow. Clear any blocked vents and consider installing ventilation baffles to maintain proper airflow between the rafters and insulation.
- Address moisture issues: Check for any signs of moisture or leaks in your attic. If you find any, it is crucial to address the underlying problems before insulating. Repair roof leaks, fix plumbing issues, or improve drainage to prevent future moisture problems.
- Inspect wiring and electrical: Ensure that all wiring and electrical components in the attic are up to code and in good condition. Consider consulting an electrician to inspect and make any necessary updates or repairs before proceeding with insulation.
- Provide access pathways: Create pathways in the attic to facilitate movement during and after the insulation process. Clearing obstructions and providing sufficient space to maneuver will make it easier to install and maintain the insulation.
Accurately preparing the attic will set the stage for a successful insulation installation. It helps optimize the effectiveness and longevity of your insulation, ensuring a well-insulated and comfortable home environment.
Once you have completed the attic preparation, it is time to move on to the next step: installing insulation in the attic roof.
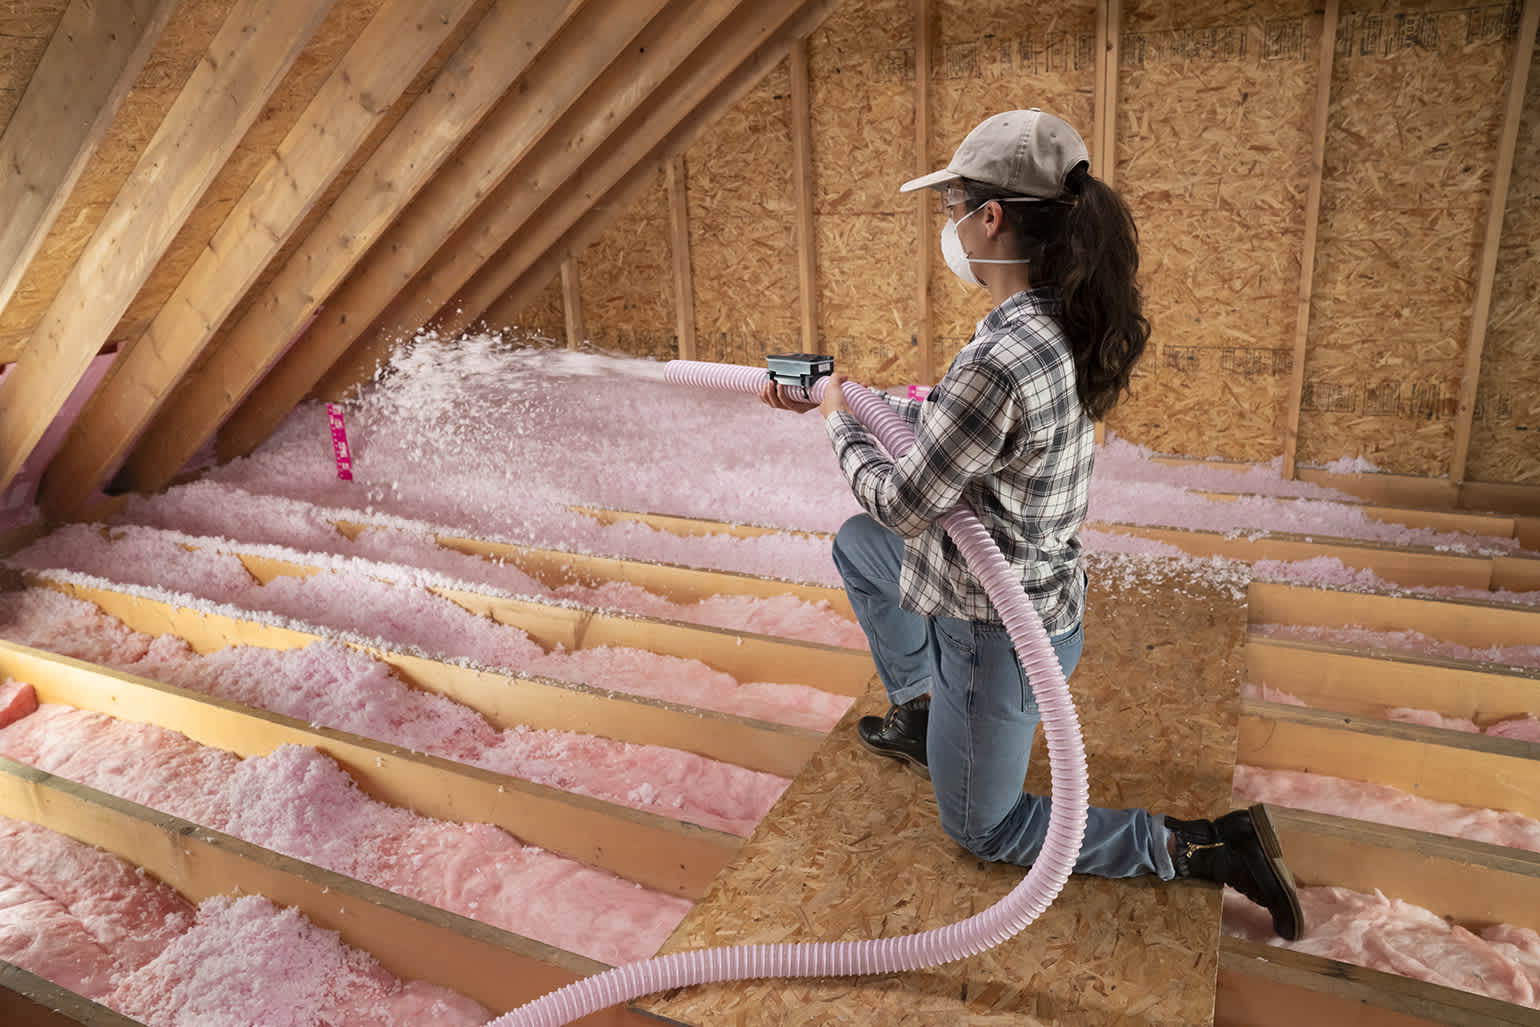
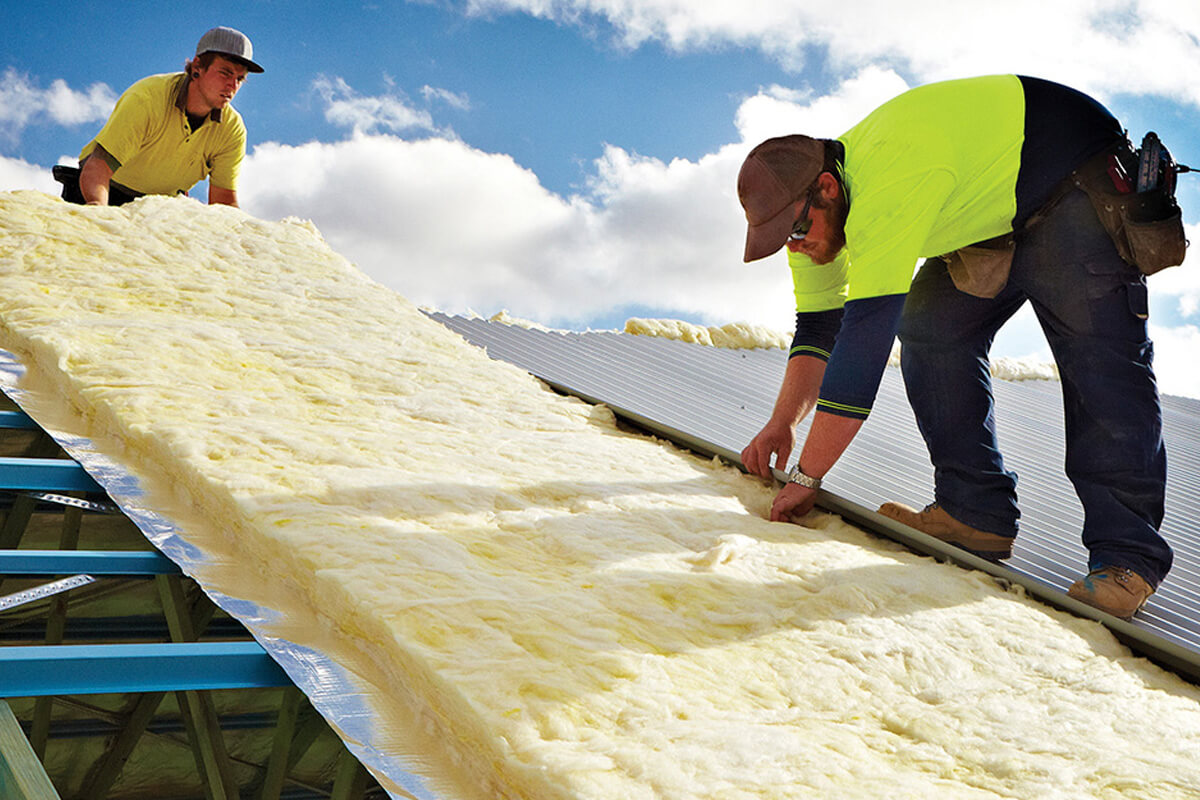
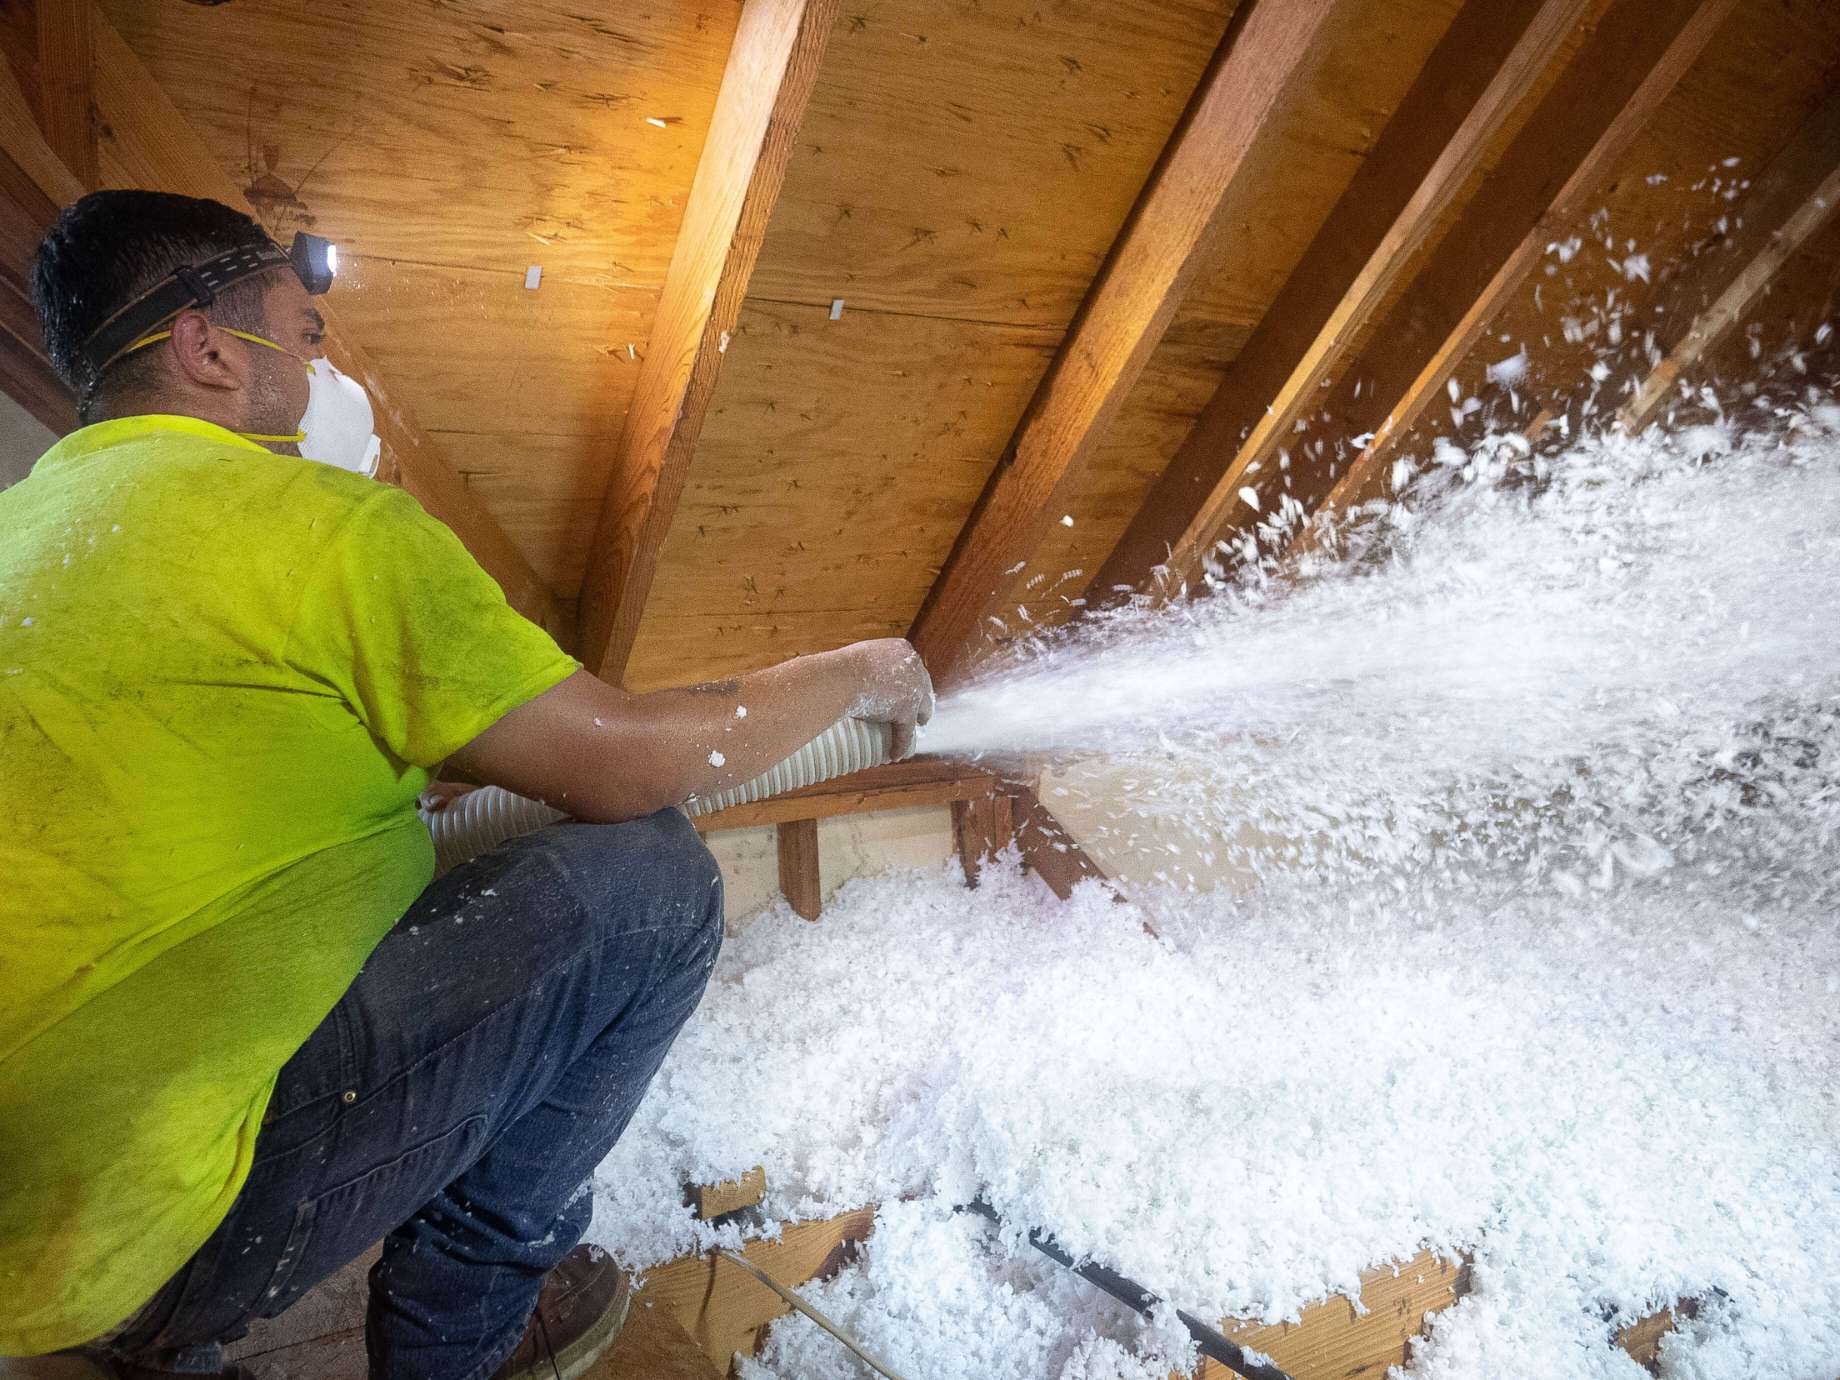
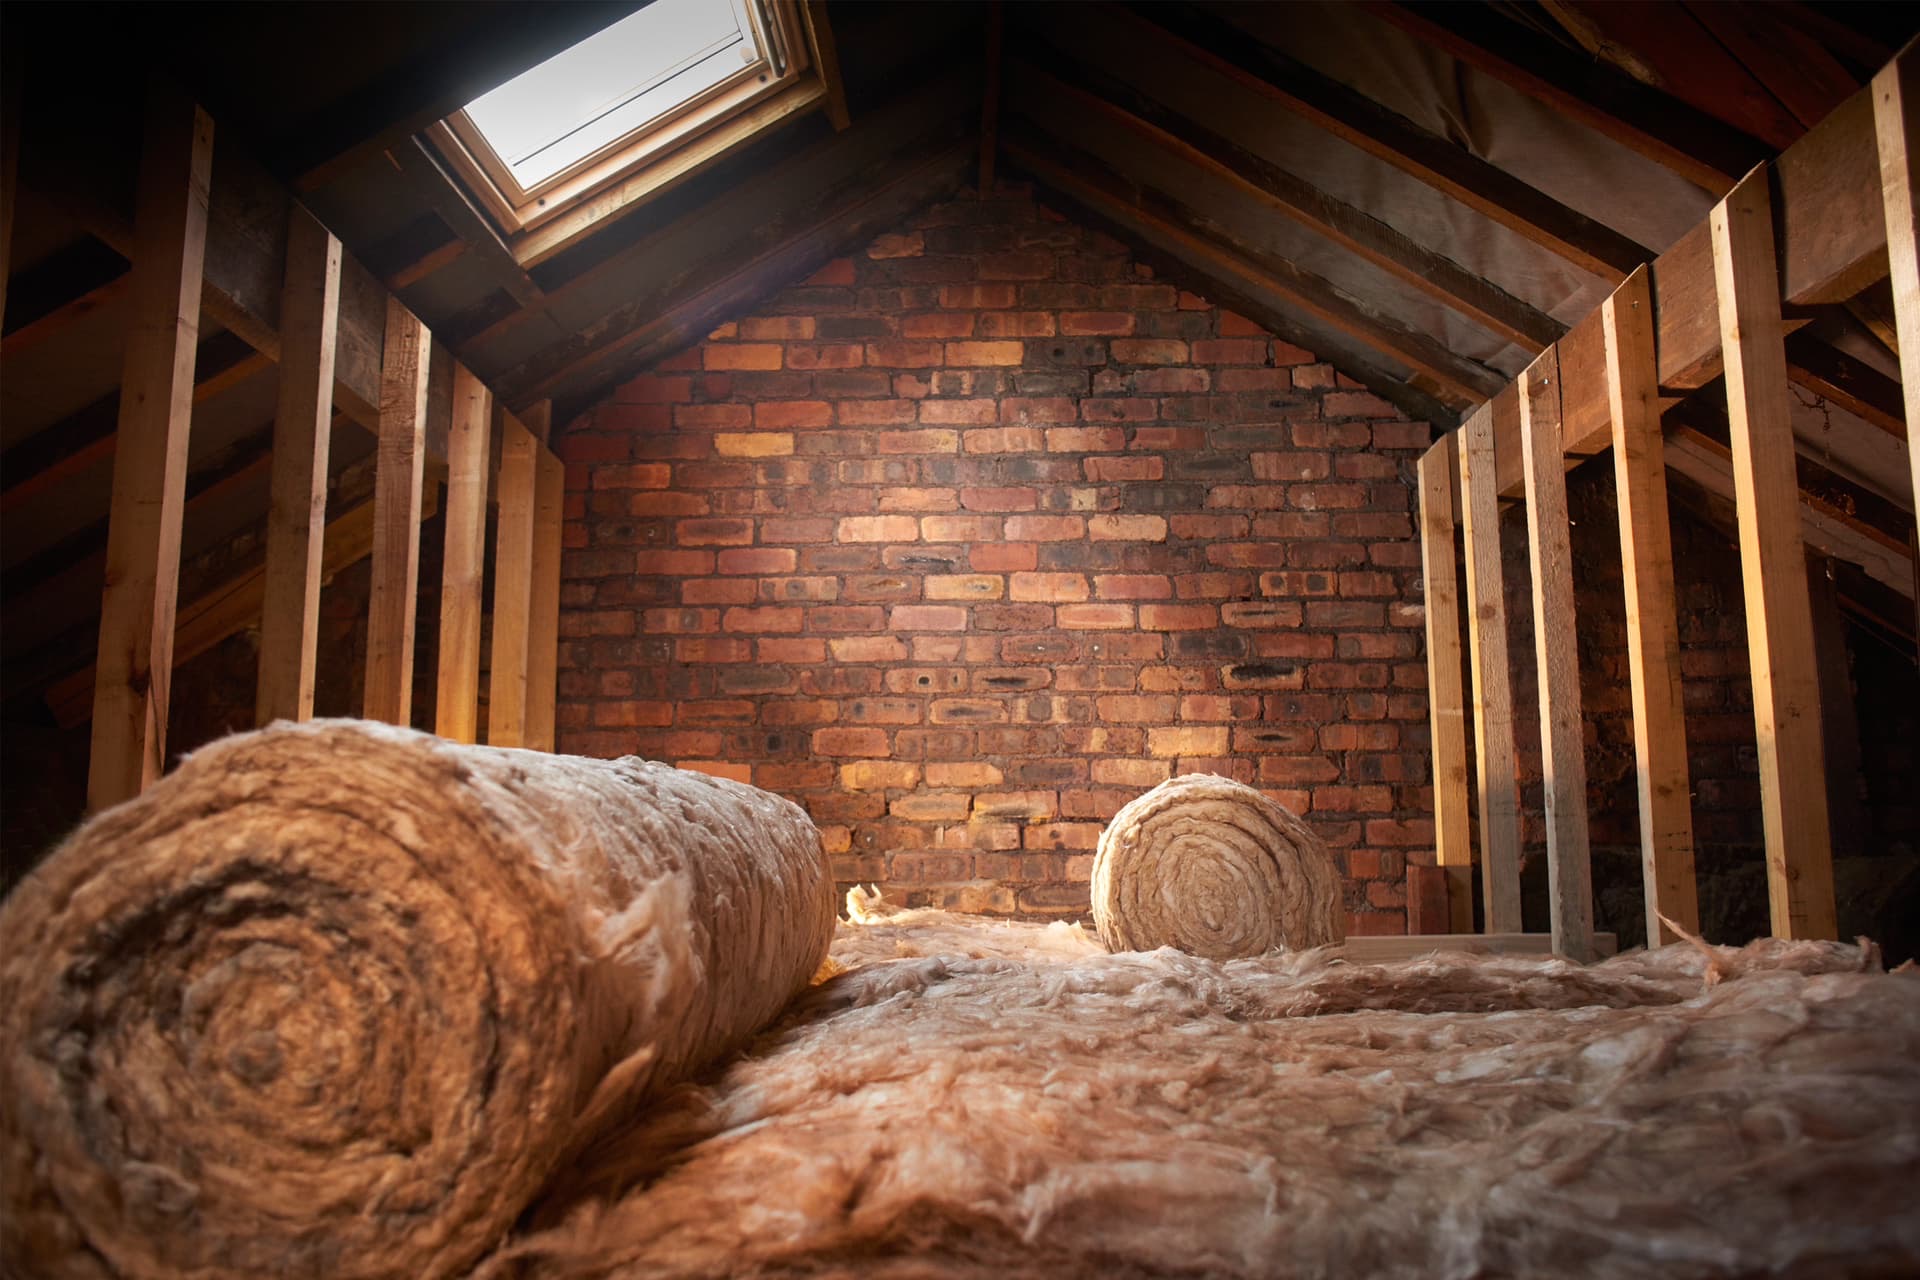
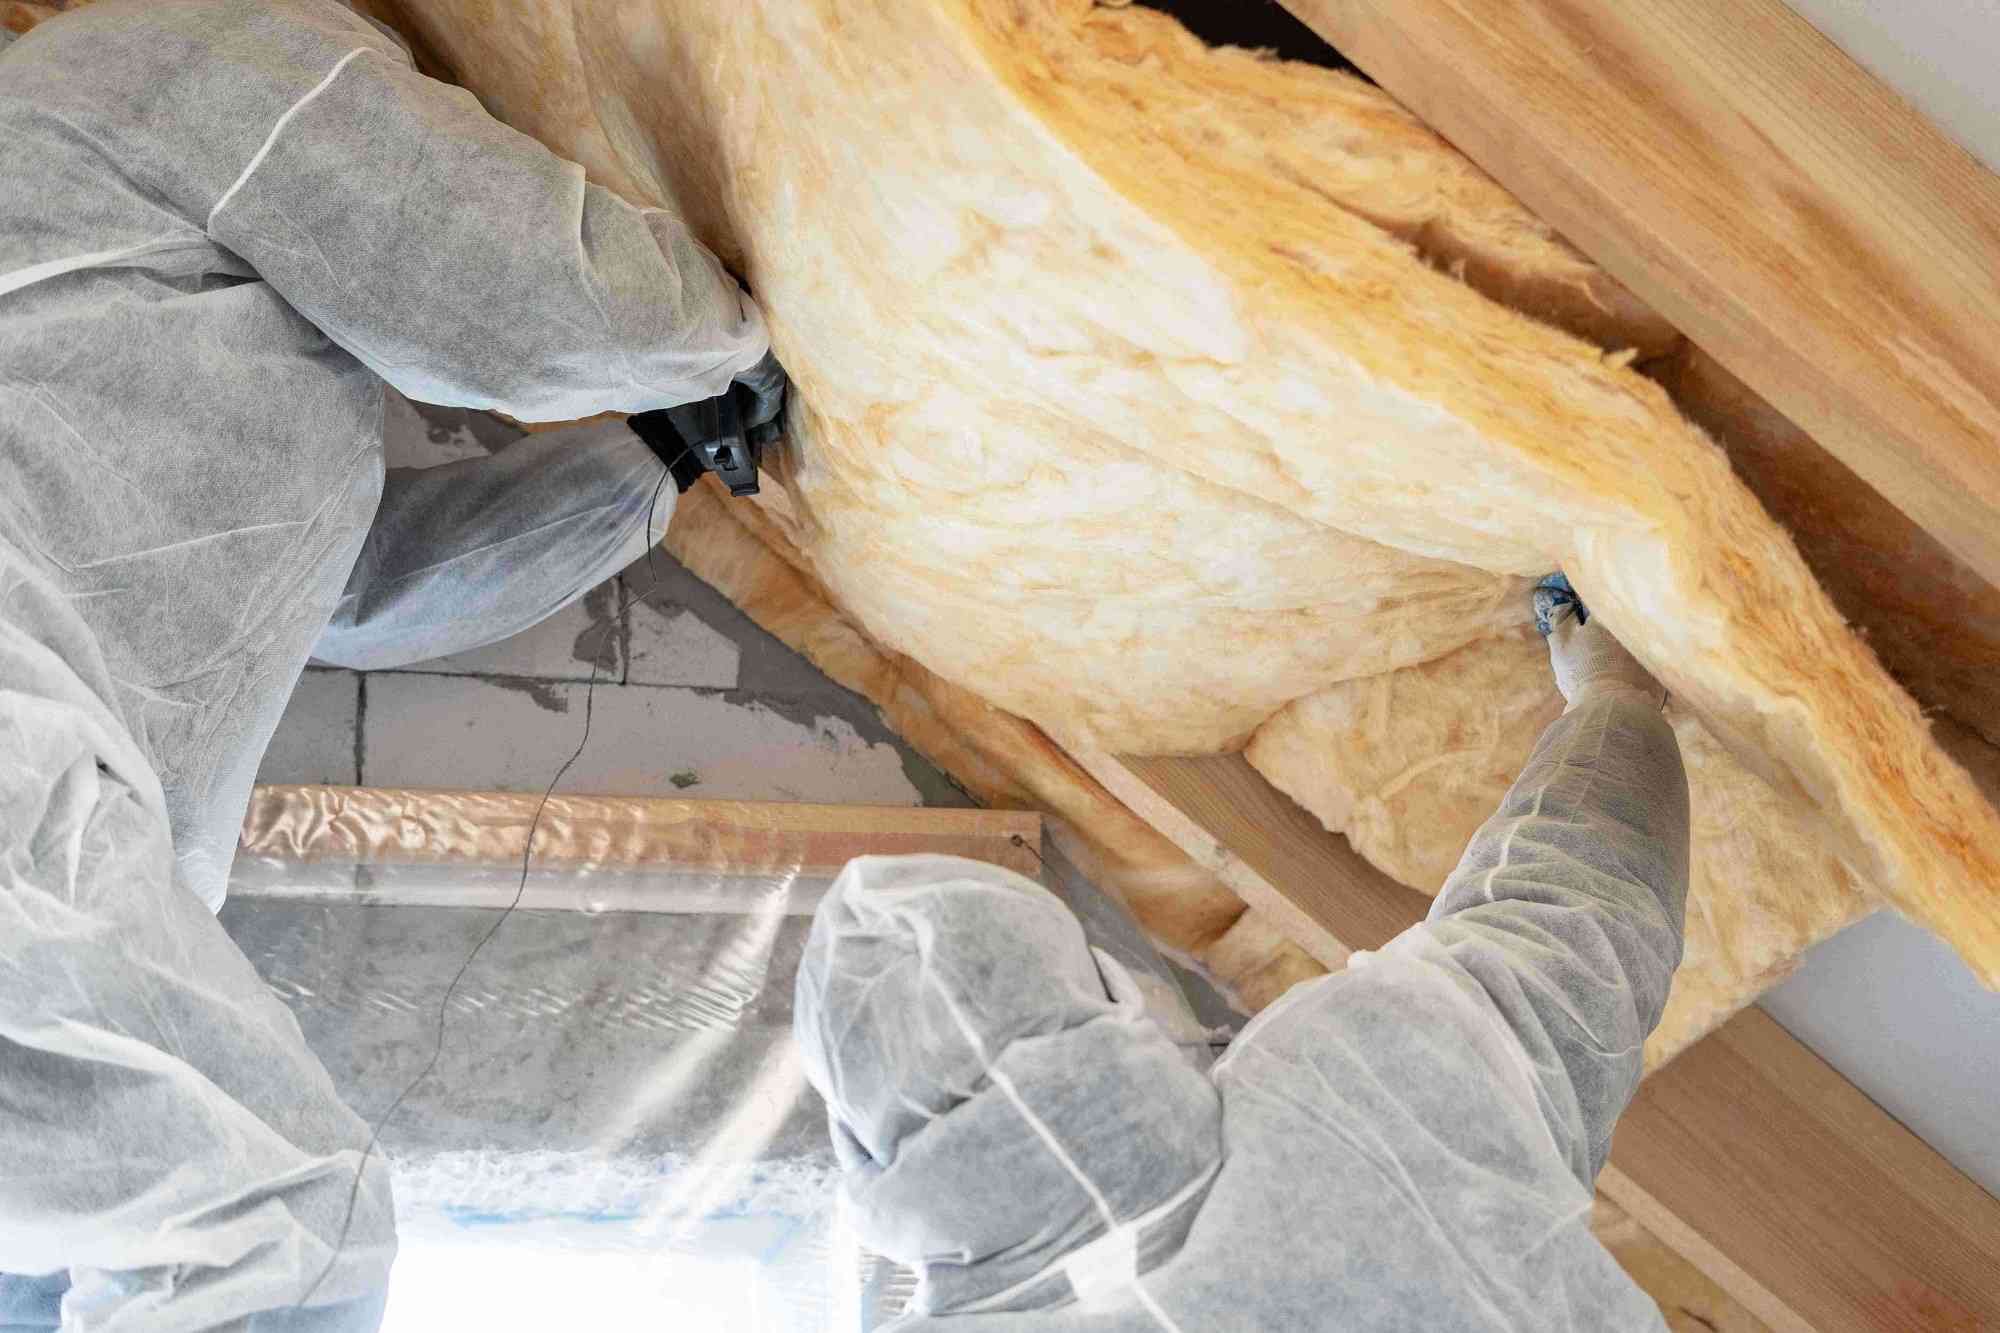
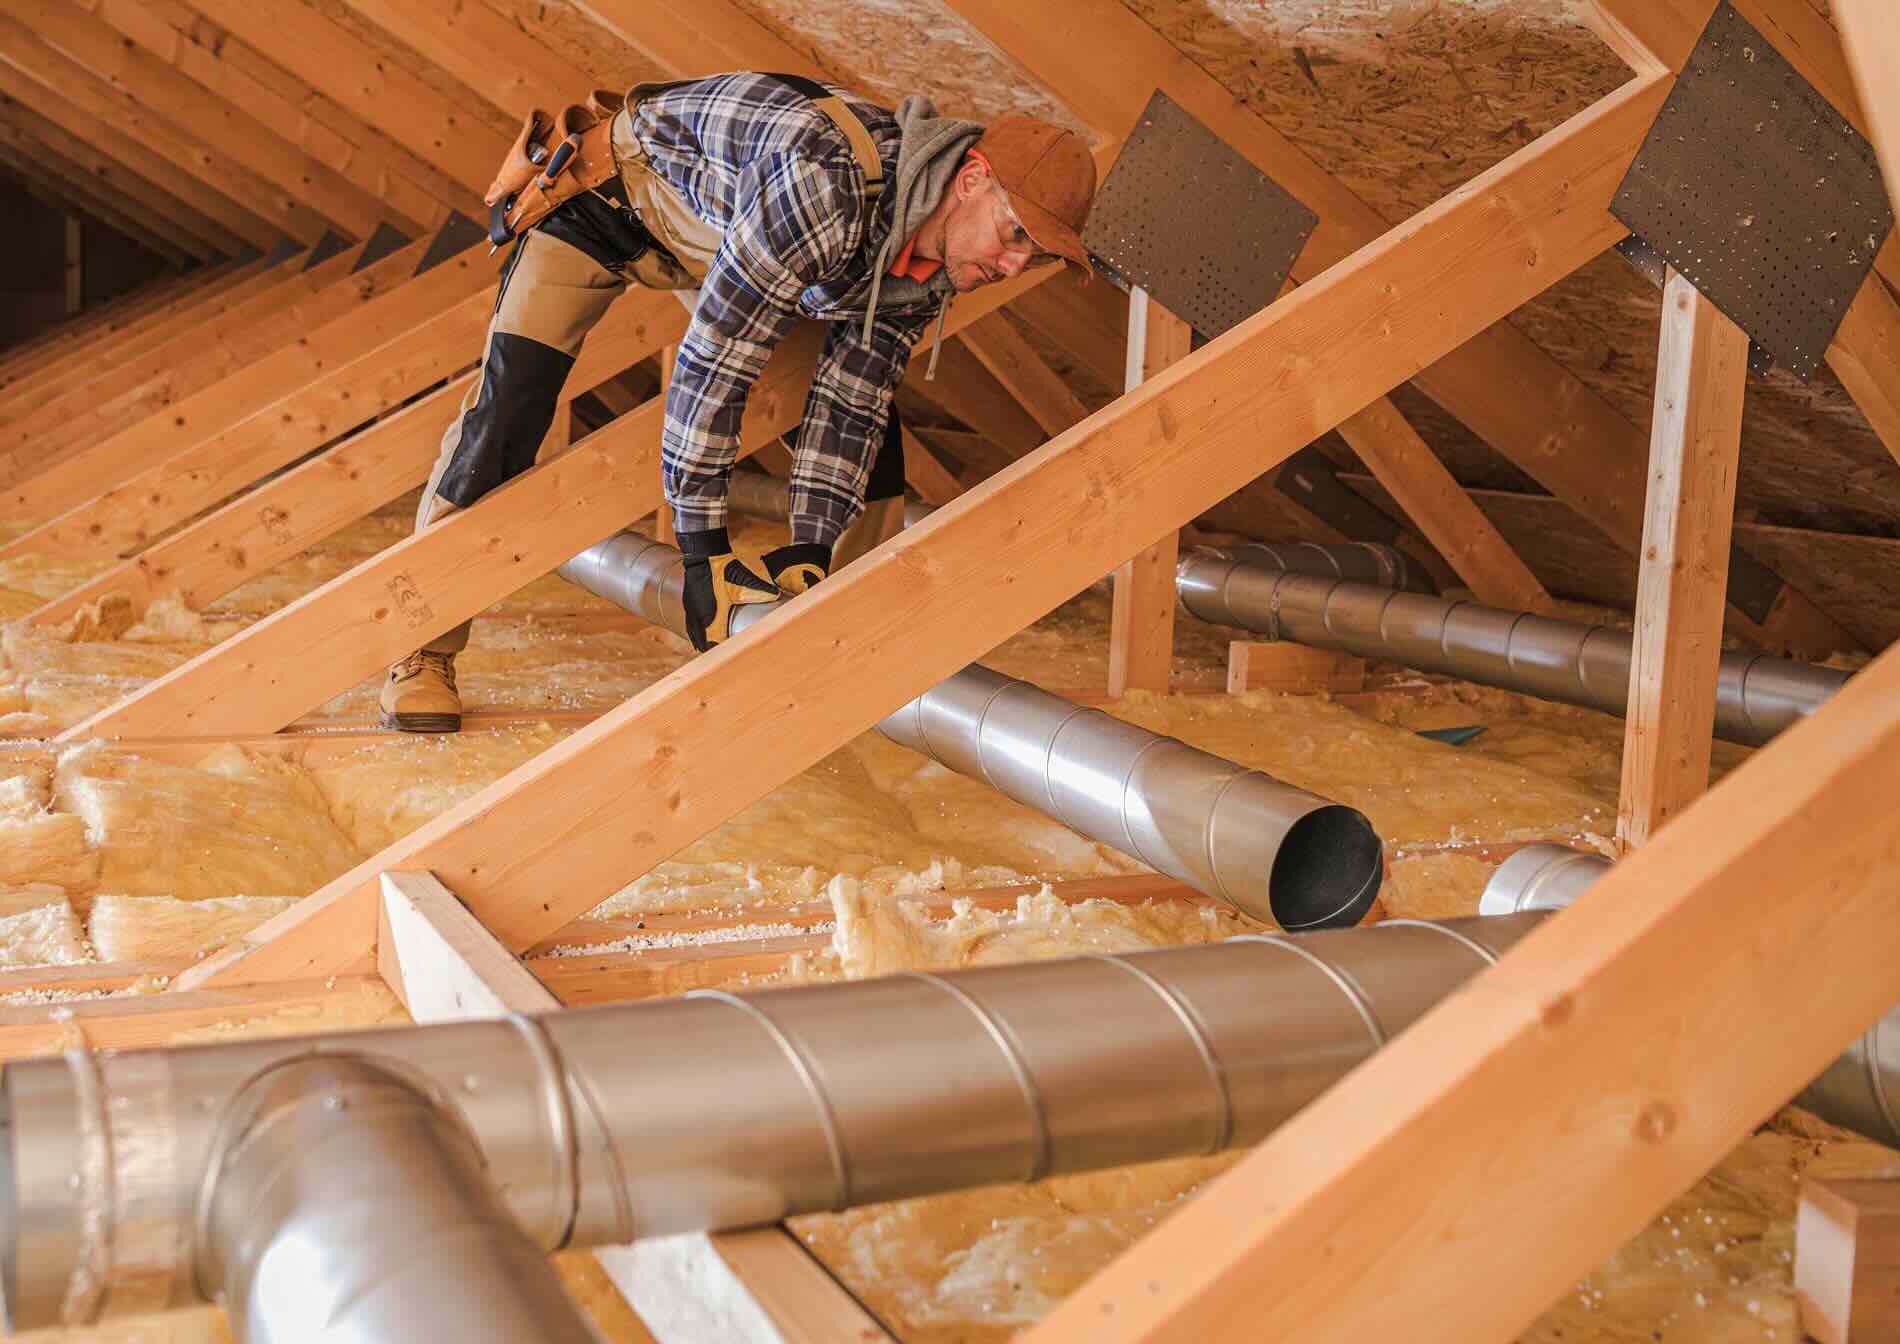
Step 4: Installing Insulation in the Attic Roof
Installing insulation in the attic roof is a crucial step in maximizing energy efficiency and comfort in your home. This process involves placing insulation material on the underside of the roof, creating a thermal barrier that prevents heat transfer. Here’s how you can install insulation in the attic roof:
- Start from the eaves: Begin at the eaves of the attic, working your way up towards the roof peak. Lay the insulation perpendicular to the roof joists, ensuring a snug fit without compressing the material.
- Use insulation supports: If you’re using fiberglass batts or insulation rolls, use insulation supports, such as wire hangers or tension wires, to prevent sagging. These supports should be installed every few feet to keep the insulation in place.
- Cut insulation to fit: Measure the distance between the roof joists and cut the insulation material to fit. Use sharp scissors or a utility knife to make accurate cuts. Avoid leaving any gaps or overlaps that could compromise the effectiveness of the insulation.
- Ensure proper coverage: Make sure the entire underside of the roof is covered with insulation. Pay close attention to the corners, edges, and hard-to-reach areas to ensure consistent coverage and maximum insulation performance.
- Handle with care: When installing insulation, be gentle and avoid compressing or compacting the material. Properly installed insulation should fill the space snugly while maintaining its full thickness.
- Leave gaps for ventilation: It’s essential to allow for proper attic ventilation. Leave a gap of at least 1-2 inches between the insulation and the roof decking to promote airflow. This will help prevent moisture buildup and maintain a healthy attic environment.
- Maintain clearance around fixtures: Ensure that there is ample clearance around any fixtures, such as recessed lights or exhaust fans. Consult local building codes and safety guidelines for the required spacing and considerations when installing insulation around these fixtures.
It’s important to note that when working with insulation, always follow manufacturer’s instructions and safety guidelines. Take the necessary precautions to protect yourself from skin irritation and respiratory issues by wearing appropriate protective gear.
Once you have completed the installation of insulation in the attic roof, it is time to move on to the next step: ensuring proper ventilation in the attic.
Make sure to seal any air leaks in the attic before adding insulation. Use foam sealant or caulk to fill any gaps around pipes, ducts, and vents to ensure maximum insulation effectiveness.
Read more: How To Insulate A Garage Attic
Step 5: Ensuring Proper Ventilation
Adequate ventilation is essential in an attic to ensure proper airflow, prevent moisture buildup, and avoid potential damage to the roof and insulation. Here are the key steps to ensure proper ventilation in your attic:
- Check existing ventilation: Evaluate the current ventilation system in your attic. Look for vents along the eaves (soffit vents) and vents near the roof peak (ridge vents or gable vents). Ensure that they are not blocked or obstructed.
- Add additional vents if needed: If your attic lacks sufficient ventilation or if the existing vents are inadequate, consider installing additional vents. This can be in the form of soffit vents, ridge vents, gable vents, or even powered attic fans, depending on your specific needs.
- Maintain a balanced airflow: Achieve a balanced airflow by having proper intake vents (such as soffit vents) and exhaust vents (such as ridge vents or gable vents) that work together to circulate air effectively. This helps remove excess heat and moisture from the attic.
- Clear obstructions: Ensure that the vents are free from any obstructions, such as insulation, debris, or pests. Clearing these obstructions allows for unrestricted airflow and prevents vent blockage.
- Consider insulation baffles: Install insulation baffles or rafter vents to maintain an air gap between the insulation and roof sheathing. These aids in proper ventilation by preventing insulation from blocking the airflow and ensuring it can reach from the eaves to the exhaust vents.
- Monitor attic temperature and humidity: Regularly monitor the temperature and humidity levels in your attic to detect any abnormalities. High humidity levels can indicate poor ventilation, leading to potential moisture issues. Use a hygrometer or moisture meter to keep track of these levels.
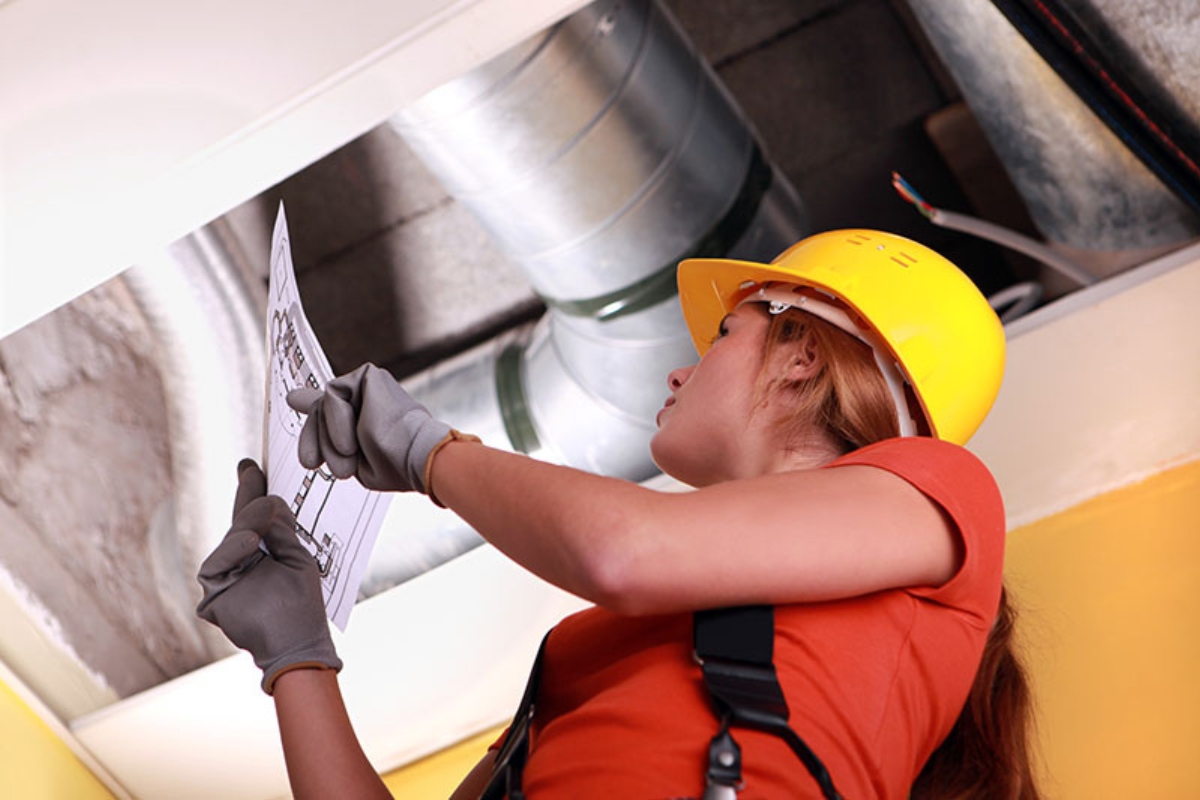
- Consult a professional if needed: If you’re unsure about the ventilation needs of your attic, or if you’re facing persistent ventilation issues, don’t hesitate to consult a professional. They can assess your attic’s specific requirements and provide expert recommendations.
By ensuring proper ventilation in your attic, you create a healthier and more energy-efficient environment. Ventilation helps cool down the attic, prevents the formation of condensation and mold, and extends the lifespan of insulation and roofing materials.
Once you have addressed the ventilation needs in your attic, it’s time to move on to the next step: checking for any gaps or leaks in the insulation.
Step 6: Checking for Any Gaps or Leaks
Checking for gaps and leaks in your insulation is an important step to ensure its effectiveness and prevent energy loss. Here’s how you can identify and address any gaps or leaks in your attic insulation:
- Inspect for visible gaps: Carefully examine the insulation for any visible gaps, tears, or areas where the insulation may have shifted or settled. Pay close attention to corners, edges, and hard-to-reach areas.
- Use a thermal camera: A thermal camera can help you identify areas of temperature difference that may indicate gaps or leaks in the insulation. Scan the attic with the thermal camera to detect any thermal irregularities that could be potential problem areas.
- Check for air movement: On a windy day, feel for any drafts or air movement in the attic. Gaps or leaks in the insulation can allow air to seep through, causing temperature variations and energy loss.
- Inspect around fixtures and penetrations: Pay close attention to areas around fixtures, such as recessed lights, chimneys, plumbing stacks, or electrical conduits. These areas are prone to gaps and leaks and may require additional attention or insulation measures.
- Address gaps and leaks: Once you have identified any gaps or leaks in the insulation, it’s important to address them promptly. Use appropriate insulation material or sealant to fill in the gaps and ensure a continuous and airtight barrier throughout the attic.
- Consider professional help: If you’re unsure about how to address the gaps or if you find significant issues that require expert attention, it may be best to consult a professional. They can provide guidance and assistance in resolving insulation gaps and leaks effectively.
Checking for any gaps or leaks in the insulation helps to maximize the efficiency of your insulation and reduce energy waste. By addressing these gaps, you create a more comfortable and energy-efficient living environment in your home.
After checking and addressing any gaps or leaks, move on to the next step: insulating and sealing access points in the attic.
Step 7: Insulating and Sealing Access Points
Insulating and sealing access points in the attic is crucial to ensure that your insulation remains effective and prevents any heat loss or gain. Here’s how you can properly insulate and seal the access points:
- Access door or hatch: Inspect the access door or hatch to ensure it is well-insulated. If needed, add weatherstripping around the edges to create a tight seal. Consider using an insulating cover specifically designed for attic access points.
- Pipes and conduits: Seal any gaps around pipes and conduits that penetrate the attic walls or ceiling. Use expanding foam or caulking to create a tight seal and prevent air leakage.
- Vents and fans: Insulate and seal any vents or fans that lead to the outside. Install insulated covers or use weatherstripping to prevent air from entering or escaping through these openings.
- Electrical outlets and switches: Insulate and seal electrical outlets and switches in the attic to minimize air leakage. Install foam gaskets behind the outlet covers to create a thermal barrier.
- Chimney and flue: If you have a chimney or flue in the attic, ensure they are properly insulated and sealed. Consider using a specialized chimney balloon or insulation material designed for sealing flues.
- Recessed lights: Insulate and seal recessed lights to prevent heat from escaping into the attic. Use specialized insulation covers or fixtures specifically designed to be in contact with insulation.
- Ductwork: Properly insulate and seal any exposed ductwork in the attic. Use HVAC foil tape or insulation sleeves to prevent air leakage and ensure efficient heating and cooling.
By insulating and sealing these access points, you create a more airtight and energy-efficient attic space. This prevents air leakage and helps to maintain a consistent and comfortable temperature throughout your home.
Following these steps will ensure that your attic is properly insulated and provides optimal energy efficiency. However, it’s important to note that if you’re not familiar with these tasks, or if you have specific requirements or concerns, it may be best to consult a professional who can provide expert guidance and assistance.
With the insulation and sealing of access points complete, you’re on your way to a well-insulated attic. In the next step, we’ll discuss some maintenance tips to keep your attic insulation in top shape.
Step 8: Maintenance Tips for Attic Insulation
To ensure the longevity and effectiveness of your attic insulation, it’s important to perform regular maintenance. Here are some essential maintenance tips to keep your attic insulation in top shape:
- Inspect for damage: Conduct periodic inspections of your attic insulation to check for any signs of damage, such as compression, moisture, or pests. Address any issues promptly to prevent further damage and maintain insulation performance.
- Keep the attic clean: Maintain a clean and clutter-free attic. Remove any debris, dust, or potential pest nests that may accumulate over time. A clean attic allows for better airflow and helps insulation to function optimally.
- Address moisture issues: Take steps to prevent moisture buildup in the attic. Check for roof leaks, fix plumbing issues, and ensure proper ventilation. Excess moisture can lead to mold growth and compromise the insulation’s effectiveness.
- Reinforce insulation around fixtures: Regularly check the insulation around recessed lights, fans, and other fixtures to ensure it remains intact and properly covering these areas. Replace or reposition insulation if needed to maintain a consistent thermal barrier.
- Monitor energy usage: Keep an eye on your energy consumption. If you notice a significant increase in your heating or cooling costs, it may indicate issues with your attic insulation. Consider conducting an energy audit to identify and address any insulation issues.
- Replenish insulation if needed: Over time, insulation can settle or become less effective. If you notice a significant decrease in insulation thickness or performance, consider adding additional insulation to maintain the desired R-value and energy efficiency.
- Seal new openings: If you make any changes or additions to your attic, such as installing new fixtures or utility lines, ensure that all new openings are properly insulated and sealed. Prevent air leakage and maintain a continuous thermal barrier.
- Consult professionals when needed: If you encounter any complex insulation issues, or if you are unsure about your insulation’s condition, don’t hesitate to consult professionals. They can provide expert advice and guidance tailored to your specific needs.
Regular maintenance helps to ensure that your attic insulation remains effective and continues to provide energy savings and comfort in your home. By following these maintenance tips, you can extend the lifespan of your insulation and maximize its performance for years to come.
With these maintenance tips in mind, you are well-equipped to maintain your attic insulation and enjoy its benefits. Now, you can sit back and enjoy a comfortable and energy-efficient home!
Final thoughts
Insulating the roof in your attic is a valuable investment in your home’s energy efficiency, comfort, and overall value. By following the step-by-step process outlined in this guide, you can successfully insulate your attic roof and enjoy the numerous benefits it brings.
Remember to take your time during each step, ensuring proper assessment, gathering of materials, and preparation of the attic. Carefully install the insulation, seal access points, and maintain a well-ventilated attic. By doing so, you can maximize energy savings, create a more comfortable living environment, and contribute to a more sustainable future.
So, get started on your attic insulation project today and experience the positive impact it can have on your home!
Read more: How To Insulate A Finished Attic
Conclusion
Insulating the roof in your attic is a crucial step in creating an energy-efficient and comfortable home. By following the step-by-step process outlined in this comprehensive guide, you can successfully insulate your attic roof and reap the benefits for years to come.
Throughout this guide, we have covered various essential steps, from assessing the attic and gathering materials to preparing the attic, installing insulation, ensuring proper ventilation, checking for gaps and leaks, sealing access points, and maintaining the insulation. Each step plays a vital role in creating a well-insulated and efficient attic space.
Proper attic insulation offers numerous advantages to homeowners. It helps maintain a consistent temperature in your home, reduces energy consumption and utility costs, prevents moisture-related issues, and extends the lifespan of your roof and interior. Additionally, a well-insulated attic contributes to a more sustainable environment by reducing carbon emissions.
Remember, it’s important to strike a balance between delivering informative content and incorporating keywords throughout the article to optimize it for search engines. By following the SEO best practices, you can increase the visibility of the article and reach a wider audience searching for information about attic insulation.
Now that you have a comprehensive understanding of how to insulate the roof in your attic, it’s time to put your knowledge into action. Start by assessing your attic, gathering the necessary materials, and preparing the space for insulation. Follow the installation process carefully, ensuring proper ventilation, addressing gaps and leaks, and sealing access points.
Lastly, don’t forget to regularly maintain your attic insulation by inspecting for damage, keeping the attic clean, addressing moisture issues, reinforcing insulation around fixtures, and monitoring energy usage. These maintenance tips will help to sustain the effectiveness and efficiency of your attic insulation over time.
By taking the necessary steps to insulate the roof in your attic, you can enjoy a comfortable home environment, significant energy savings, and contribute to a more sustainable future. So, roll up your sleeves, gather your materials, and get started on your attic insulation project today!
Frequently Asked Questions about How To Insulate Roof In Attic
Was this page helpful?
At Storables.com, we guarantee accurate and reliable information. Our content, validated by Expert Board Contributors, is crafted following stringent Editorial Policies. We're committed to providing you with well-researched, expert-backed insights for all your informational needs.


0 thoughts on “How To Insulate Roof In Attic”