
Articles
How To Insulate Attic Ladder
Modified: August 31, 2024
Learn how to insulate your attic ladder with these informative articles. Improve energy efficiency and save on heating and cooling costs.
(Many of the links in this article redirect to a specific reviewed product. Your purchase of these products through affiliate links helps to generate commission for Storables.com, at no extra cost. Learn more)
Introduction
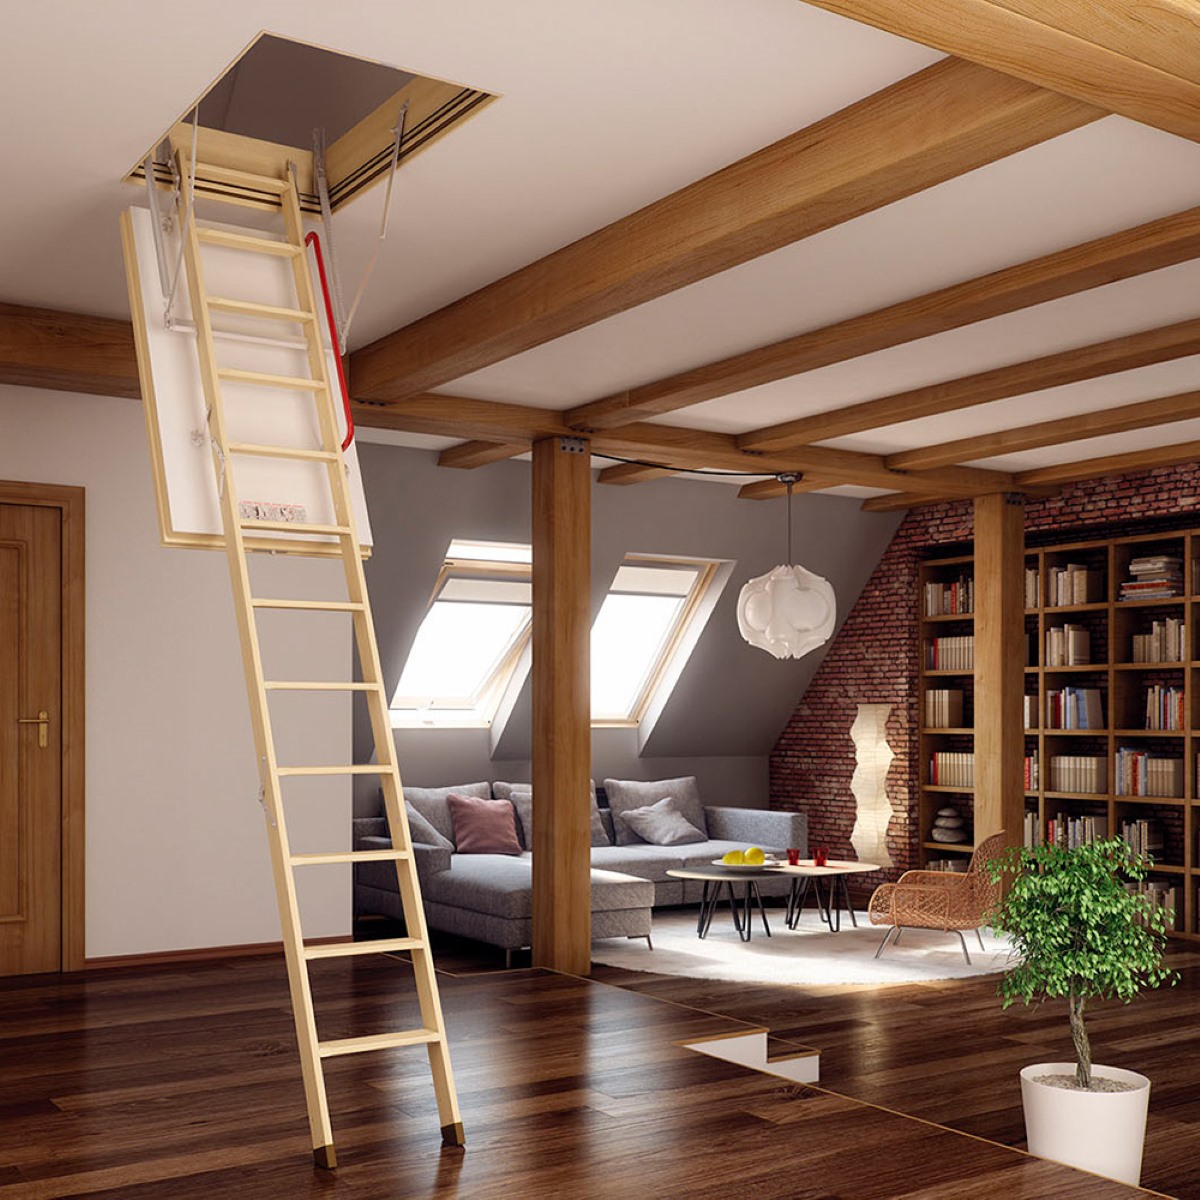
Having an attic ladder is a convenient way to access your attic space, but it can also be a major source of energy loss if it is not properly insulated. Attic ladders often have gaps and cracks that allow air to leak in and out, resulting in drafts and higher energy bills.
In this article, we will guide you through the process of insulating your attic ladder to help improve energy efficiency and reduce drafts in your home. By following these steps, you can effectively seal your attic ladder and create a more comfortable living environment.
Insulating your attic ladder not only helps to keep your home warmer in the winter and cooler in the summer, but it can also improve the overall energy efficiency of your home. By reducing the amount of air leakage, you can save on heating and cooling costs, making this a worthwhile investment.
So, let’s dive into the steps you need to take to insulate your attic ladder and start saving energy and money.
Key Takeaways:
- Insulating your attic ladder can improve energy efficiency, reduce drafts, and save on heating and cooling costs. Proper measurement, cleaning, weatherstripping, and insulation are essential steps for effective sealing.
- Testing for drafts after insulation is crucial to ensure airtight sealing. Regular maintenance and inspection of the attic ladder will help maintain energy efficiency and a comfortable living environment.
Read more: How To Close Attic Ladder
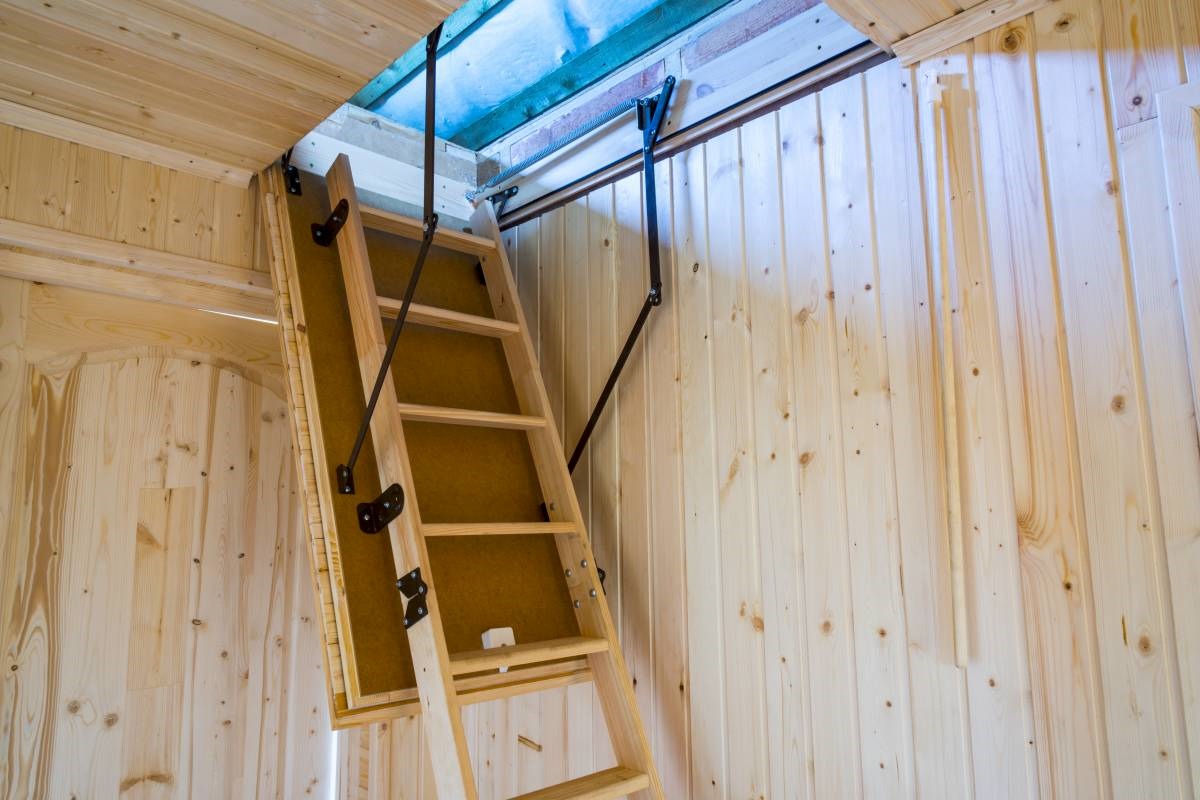
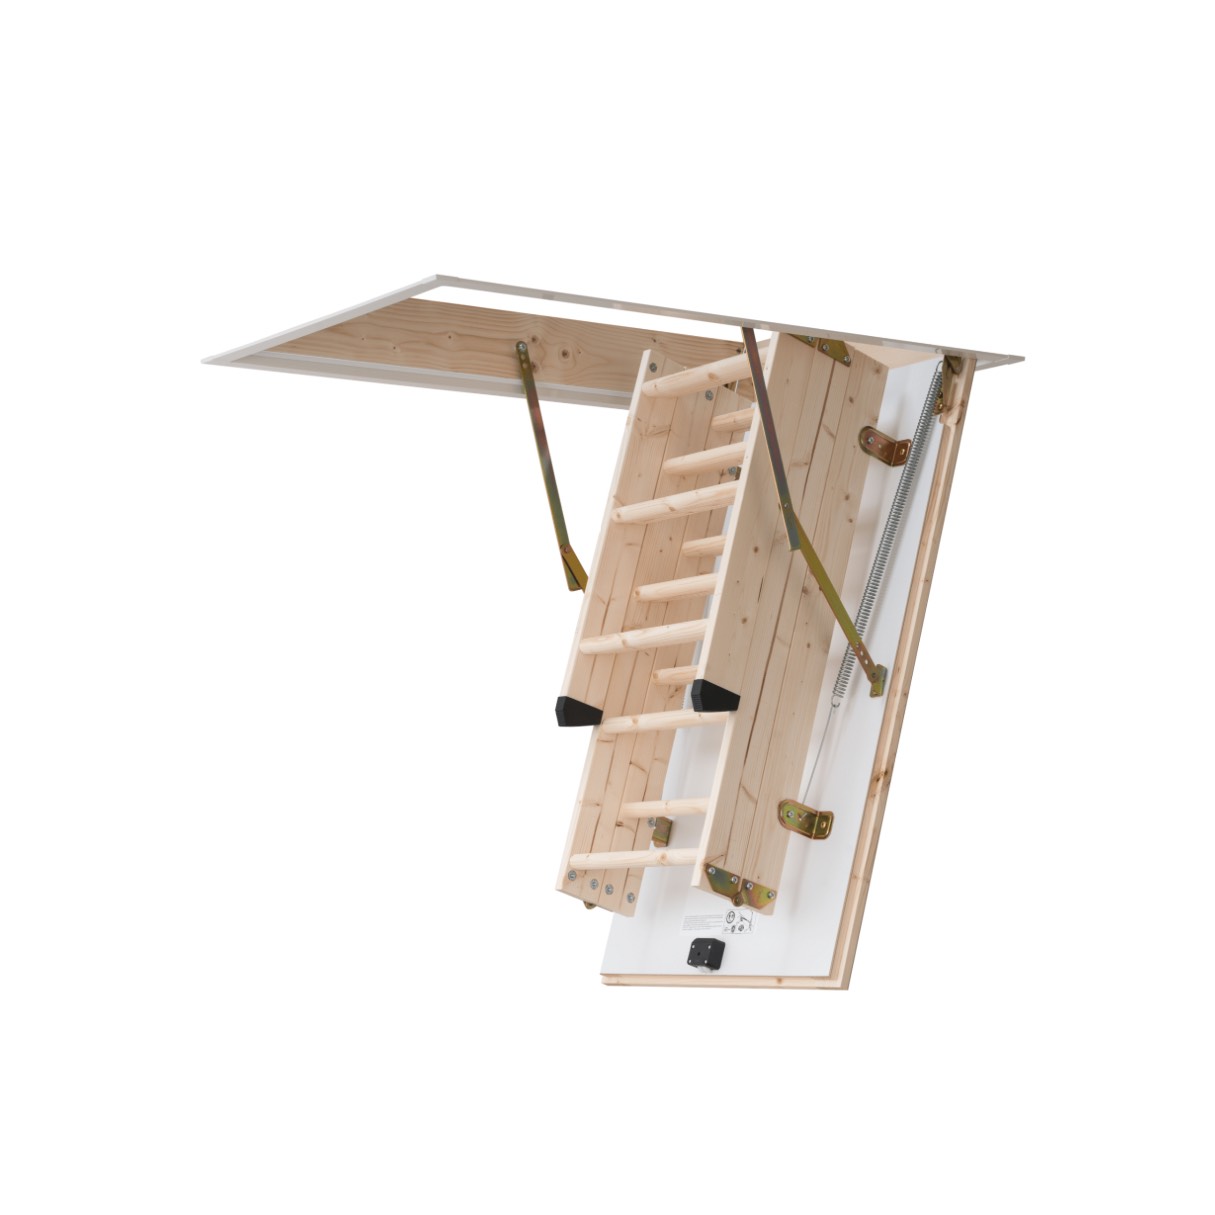
Step 1: Measure the Attic Ladder
The first step in insulating your attic ladder is to accurately measure its dimensions. This will allow you to determine the amount of weatherstripping, insulation, and other materials you will need for the project.
To measure your attic ladder, start by opening it fully and securing it in place. Use a measuring tape to measure the length, width, and height of the ladder frame. Additionally, measure the thickness of the ladder frame and the thickness of the ladder door. You will need these measurements to ensure a proper fit for the weatherstripping and insulation.
It’s important to note that attic ladders come in various sizes and styles, so it’s essential to take accurate measurements specific to your ladder. If you have a folding ladder, make sure to measure each section separately.
Once you have the measurements, write them down and double-check for accuracy. This will help you when purchasing the necessary materials for the insulation process.
Remember, it’s better to measure twice and cut once to avoid any wastage of materials or having to re-do the process due to incorrect sizing.
Now that you have your measurements, let’s move on to the next step: cleaning the attic ladder.
Step 2: Clean the Attic Ladder
Before you begin insulating your attic ladder, it’s essential to clean it thoroughly. Over time, dust, dirt, and debris can accumulate on the ladder and its components, hindering the proper installation of weatherstripping and insulation.
To clean the attic ladder, start by removing any loose dirt and debris with a broom or a vacuum cleaner with a brush attachment. Pay close attention to the hinges, tracks, and ladder frame, as these areas tend to gather the most dirt.
Next, use a damp cloth or sponge to wipe down the ladder and remove any remaining dirt or grime. If there are any stubborn stains or sticky residue, you can use a mild soap or a mixture of water and vinegar to clean the surface.
Make sure to dry the ladder thoroughly before proceeding to the next step. Moisture on the ladder can interfere with the adhesive properties of the weatherstripping and insulation materials.
Cleaning the attic ladder not only ensures a clean surface for the installation process but also helps to prolong the lifespan of the ladder components. By removing dirt and debris, you can prevent any potential damage or deterioration of the ladder over time.
Now that your attic ladder is clean, let’s move on to step 3: installing weatherstripping.
Step 3: Install Weatherstripping
Weatherstripping is a crucial component in insulating your attic ladder, as it helps to seal any gaps or cracks that may allow air to escape or enter your home. It serves as a barrier against drafts and can significantly improve energy efficiency.
To begin, you will need self-adhesive weatherstripping tape, which can be found at your local hardware store. This tape typically has a sticky backing that makes it easy to apply to the ladder frame and door.
Start by measuring the length and width of the ladder frame and ladder door. Cut the weatherstripping tape to match these dimensions, leaving a slight overlap at the corners for a proper seal.
Peel off the backing of the weatherstripping tape and carefully apply it to the ladder frame, ensuring it adheres firmly. Press down along the entire length of the tape to create a tight seal.
Next, apply weatherstripping tape to the ladder door. Make sure to align the tape with the frame to create a consistent seal when the door is closed. Again, press down firmly to ensure proper adhesion.
Pay special attention to any gaps or spaces between ladder sections or around hinges. These areas are common sources of air leakage and should be thoroughly sealed with weatherstripping tape.
Once the weatherstripping is applied to both the ladder frame and door, close the door and check for any gaps or areas where the tape may not be properly sealed. If needed, go back and add additional strips of weatherstripping to ensure a tight seal.
Installing weatherstripping is an effective way to seal your attic ladder and prevent air leakage. It not only helps to maintain a comfortable indoor temperature but also saves on energy costs. Now, let’s move on to the next step: insulating the attic ladder door.
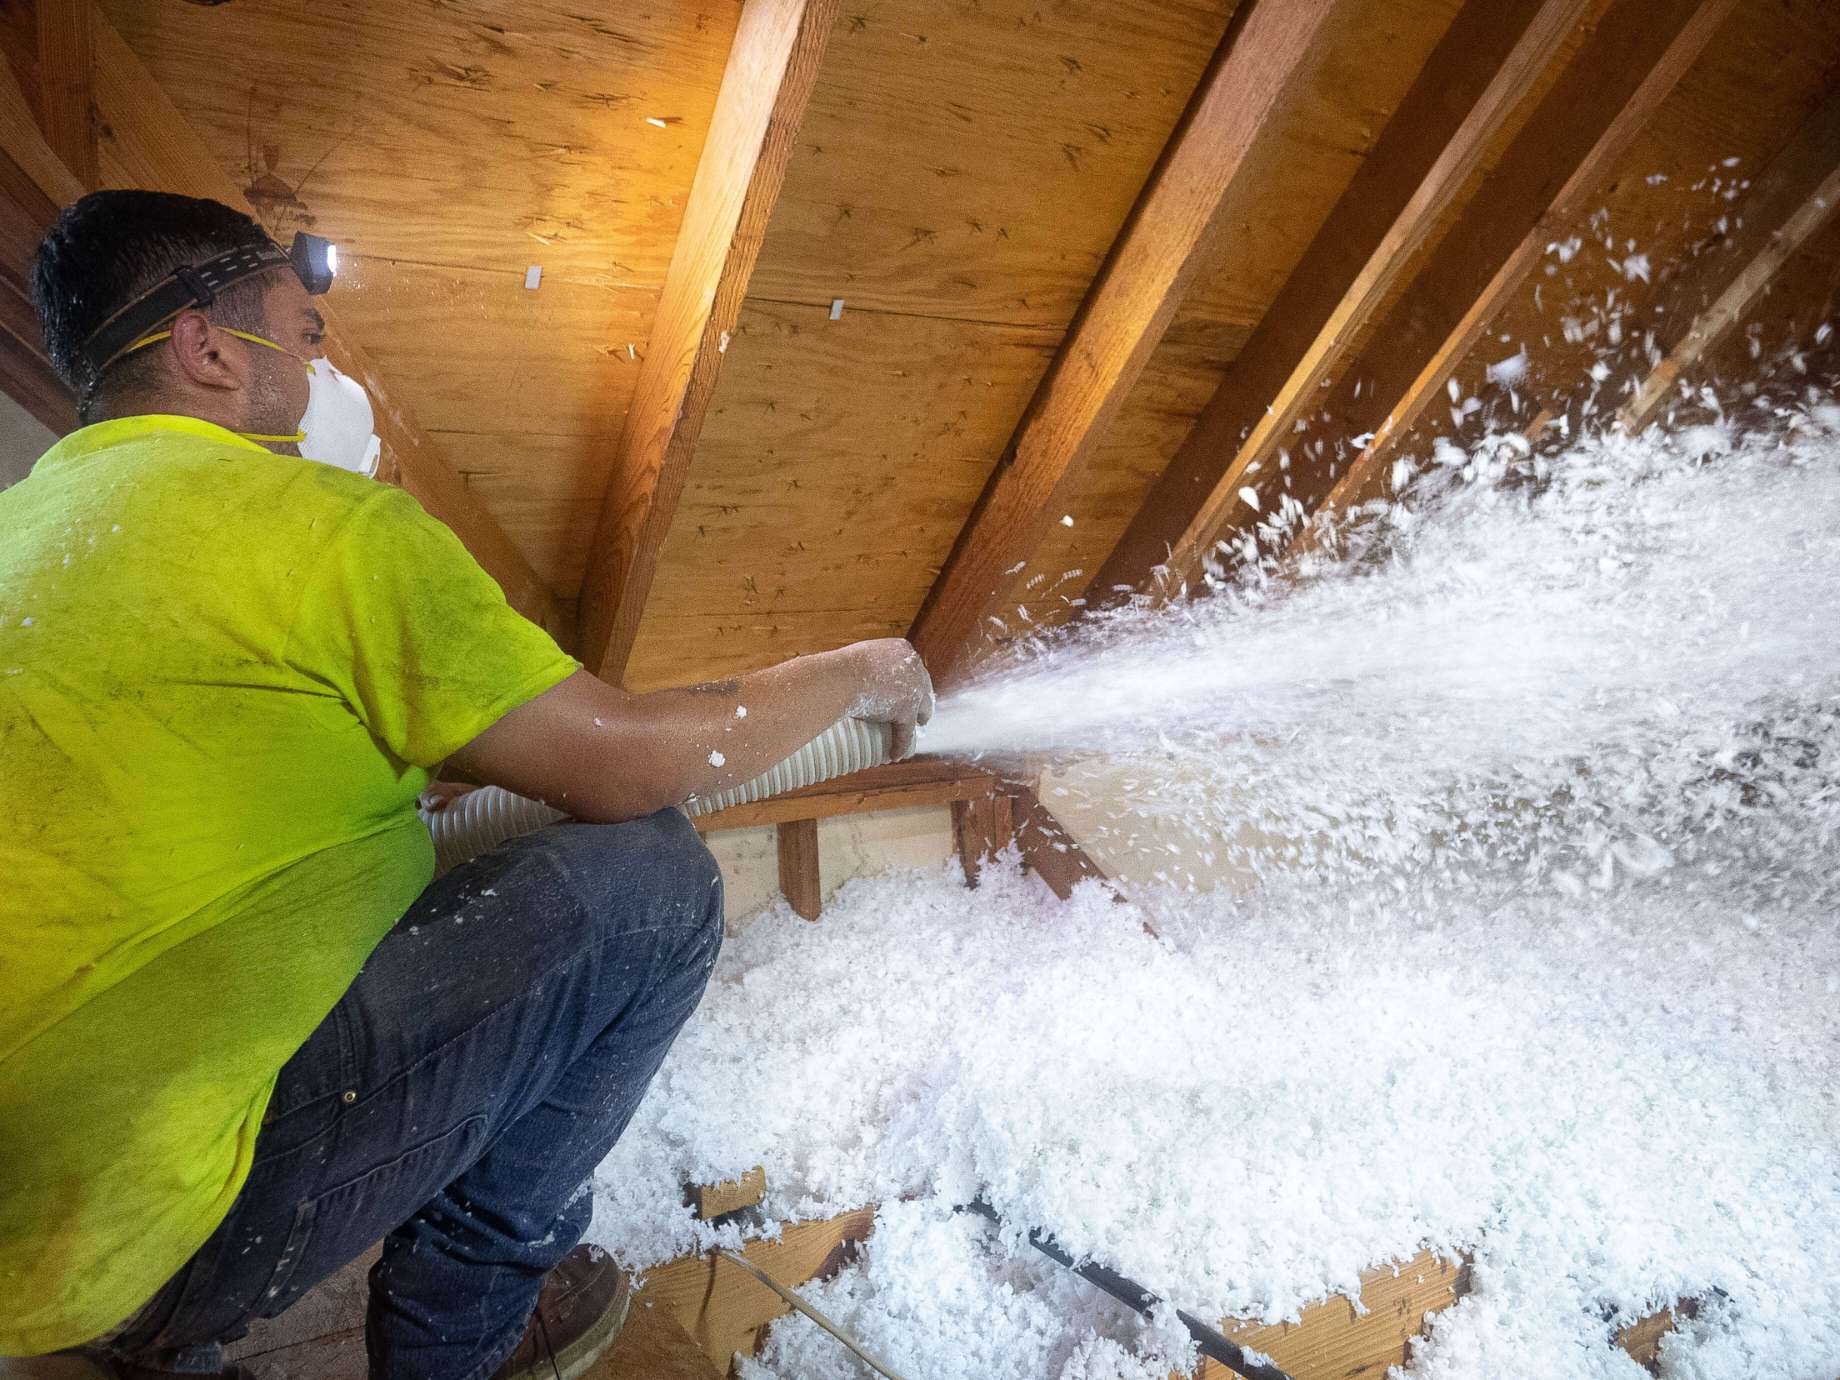
Step 4: Insulate the Attic Ladder Door
Insulating the attic ladder door is an important step in ensuring maximum energy efficiency and preventing drafts. By adding insulation to the door, you can minimize heat loss in the winter and heat gain in the summer, creating a more comfortable living environment in your home.
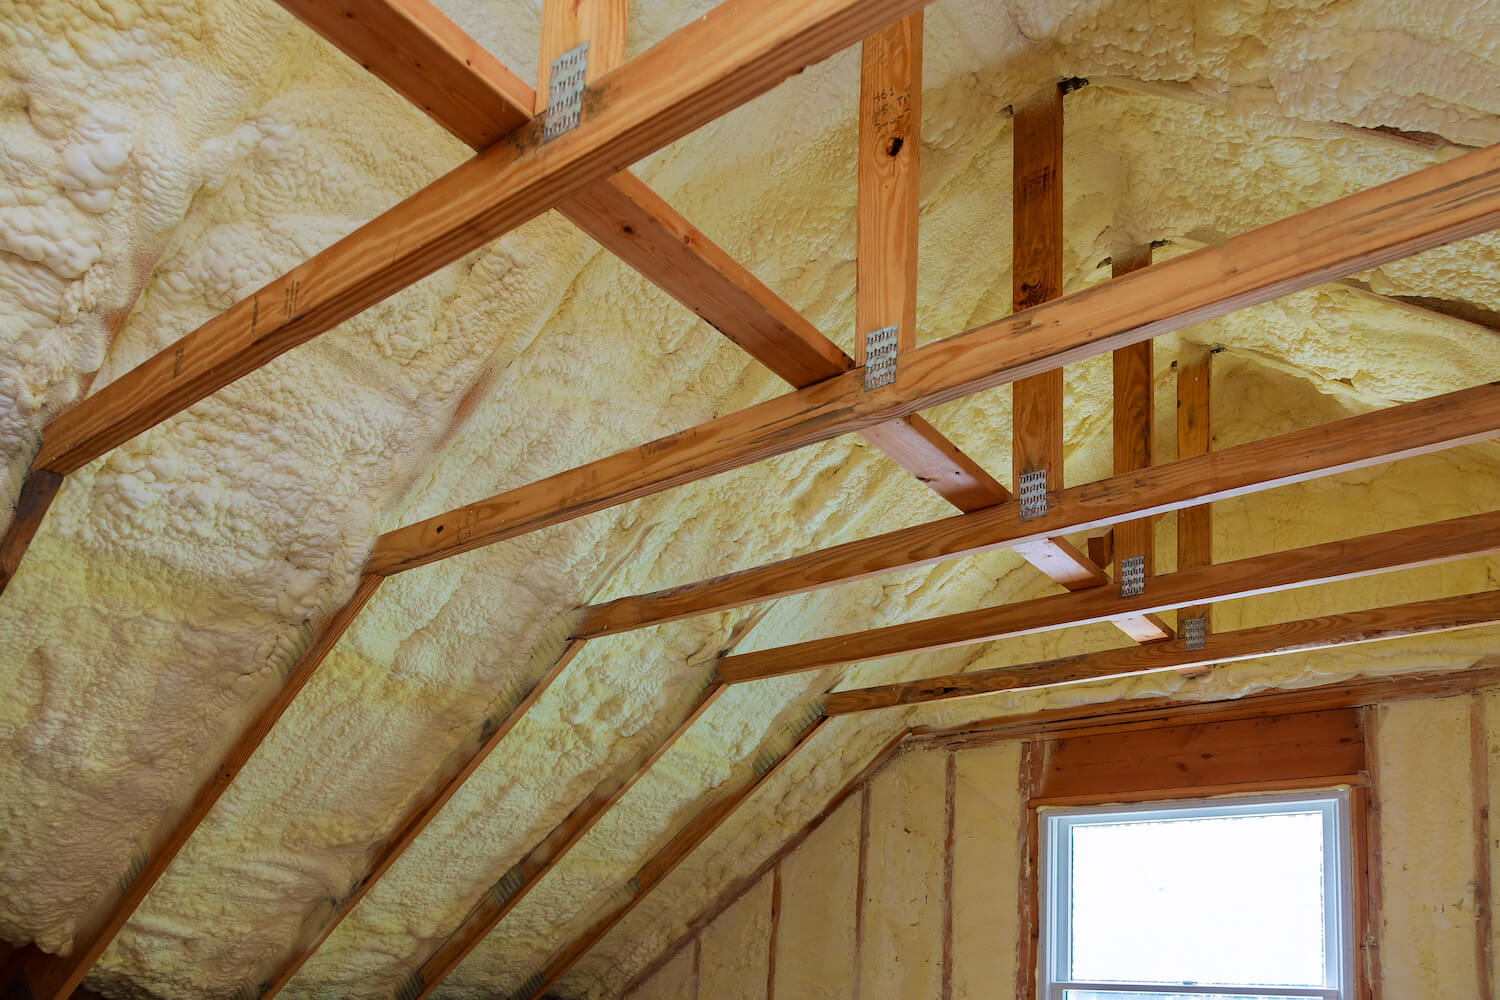
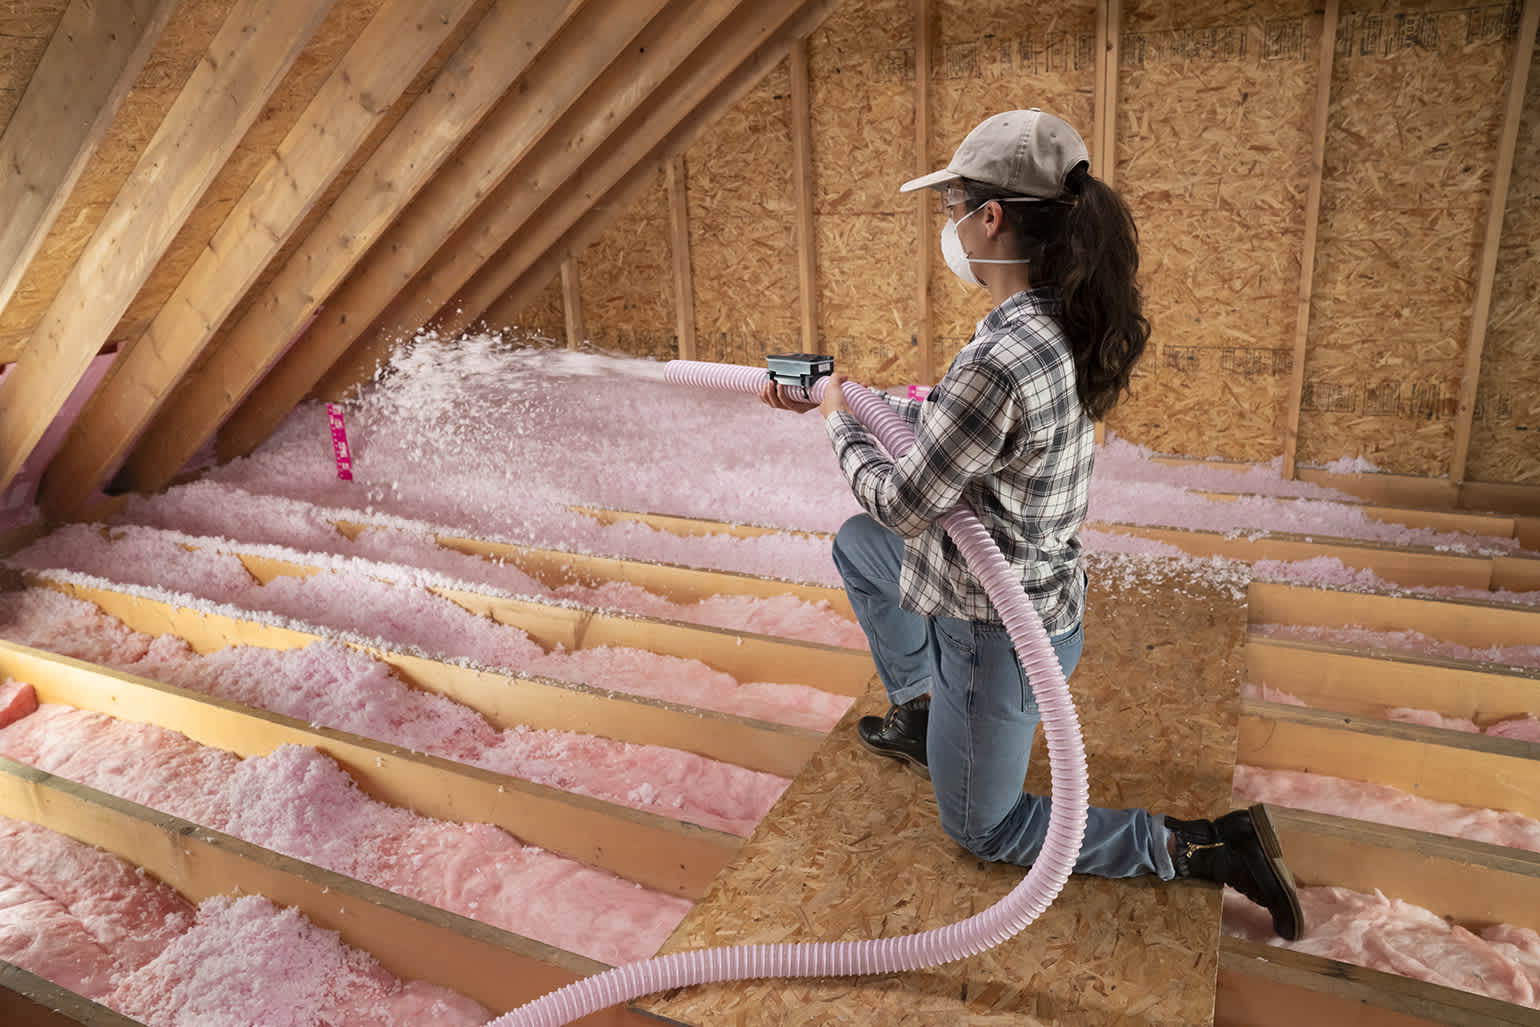
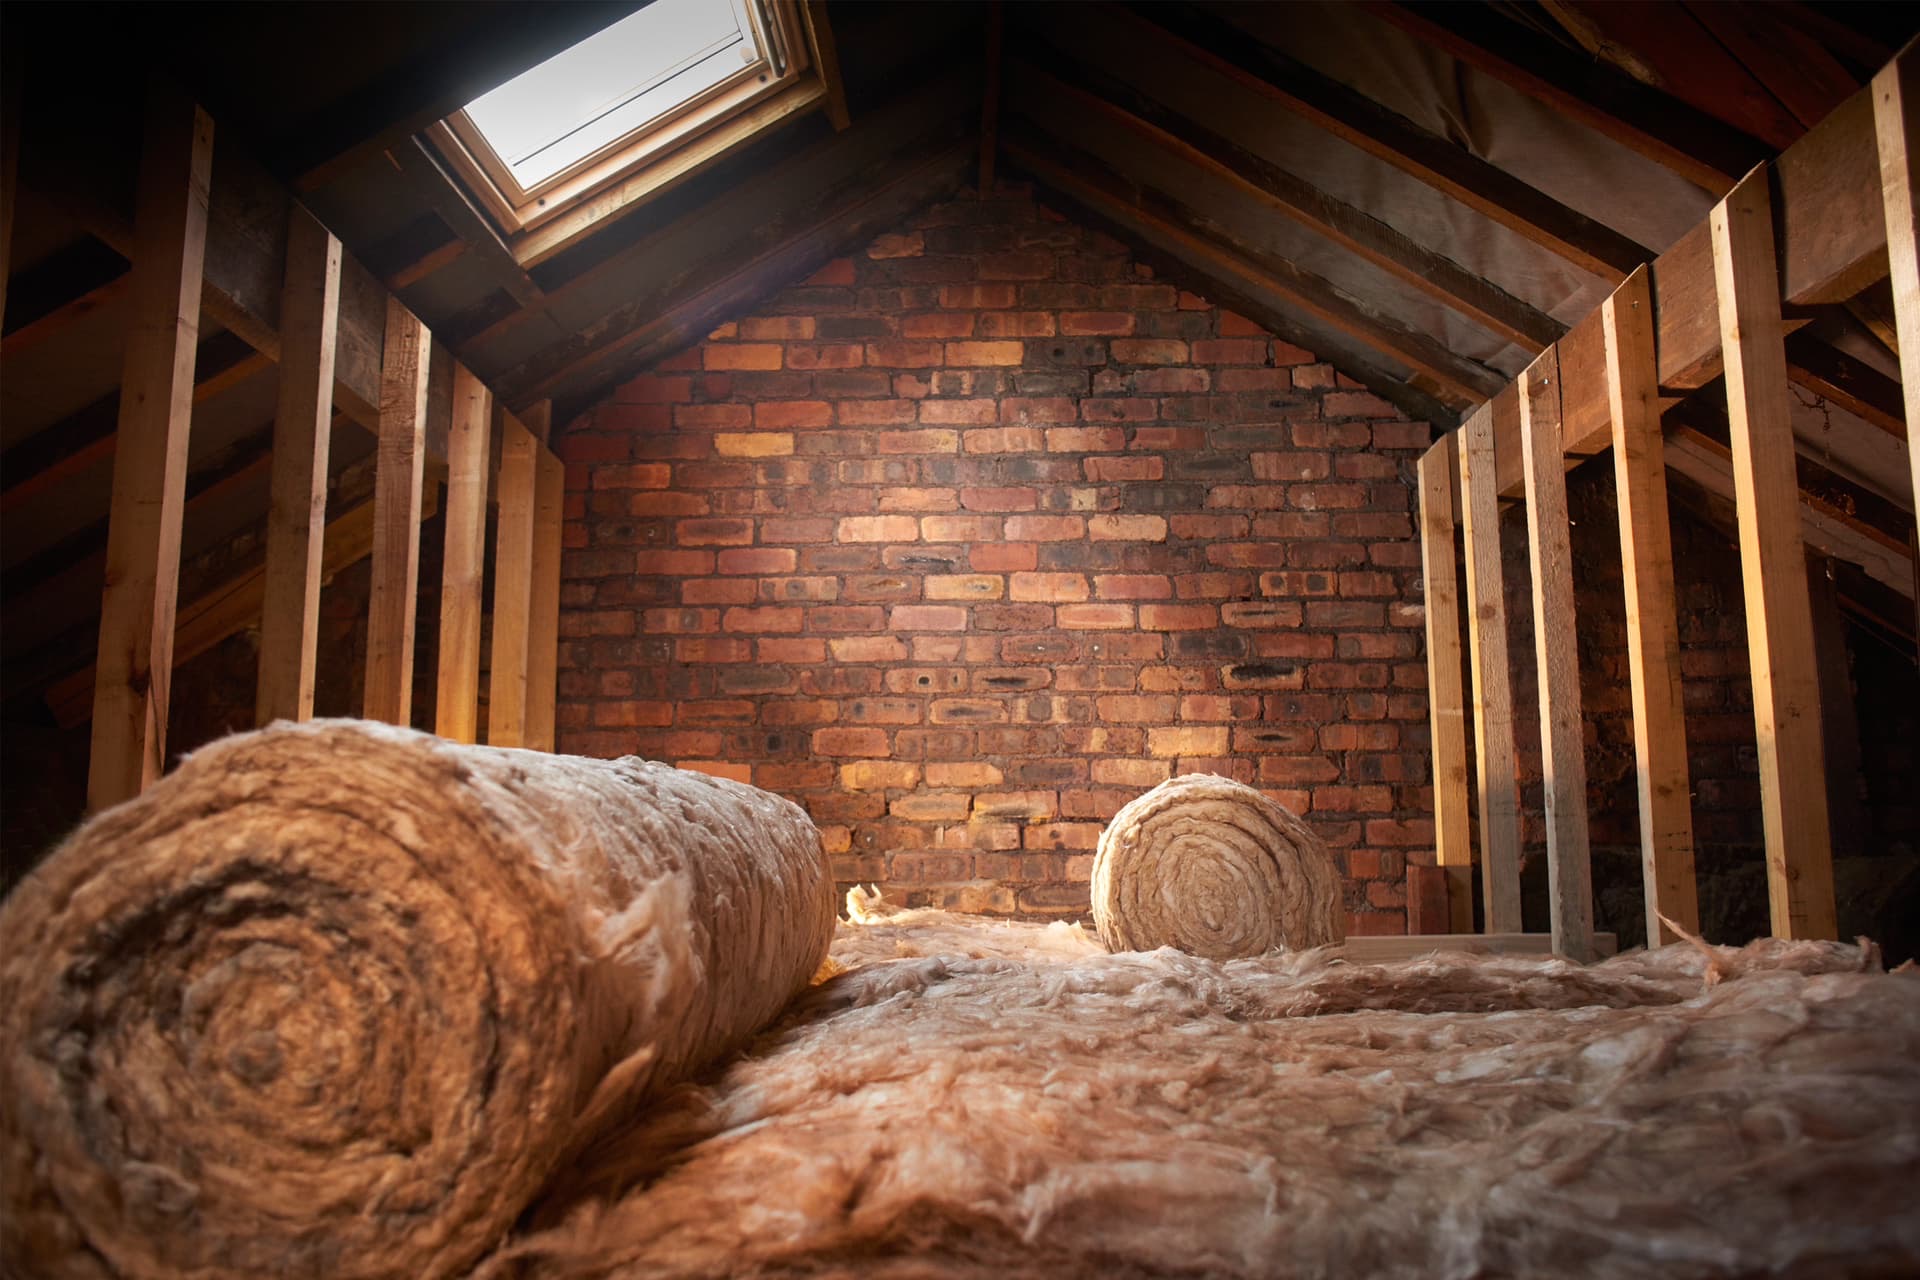
There are various insulation materials you can use for this step, such as rigid foam insulation boards or fiberglass batt insulation. Choose a material that fits well in the space and provides a high level of insulation.
Start by measuring the dimensions of the attic ladder door. Cut the insulation material to fit these dimensions, leaving a slight gap for easier installation.
Place the insulation on the back of the attic ladder door, ensuring it covers the entire surface. If using rigid foam insulation, you may need to secure it with adhesive or tape to prevent it from shifting or falling off.
If using fiberglass batt insulation, make sure to wear protective gloves and a mask to avoid direct contact with the fiberglass fibers. Gently press the insulation against the door, making sure it fits snugly and covers any gaps or openings.
Once the insulation is in place, you can further enhance its effectiveness by covering it with a reflective insulation material such as a radiant barrier or foil insulation. This helps to reflect heat and prevent it from penetrating and escaping through the door.
Remember, the goal is to create a continuous and airtight barrier to minimize heat transfer. Ensure that the insulation is properly secured and there are no gaps or areas where air can leak through.
With the attic ladder door insulated, you are one step closer to effectively sealing your attic ladder. Next, let’s move on to step 5: sealing any gaps or cracks.
Consider adding a weatherstripping around the perimeter of the attic ladder opening to prevent air leakage. This can help to improve the insulation of the attic ladder and reduce energy loss.
Read more: How To Measure An Attic Ladder
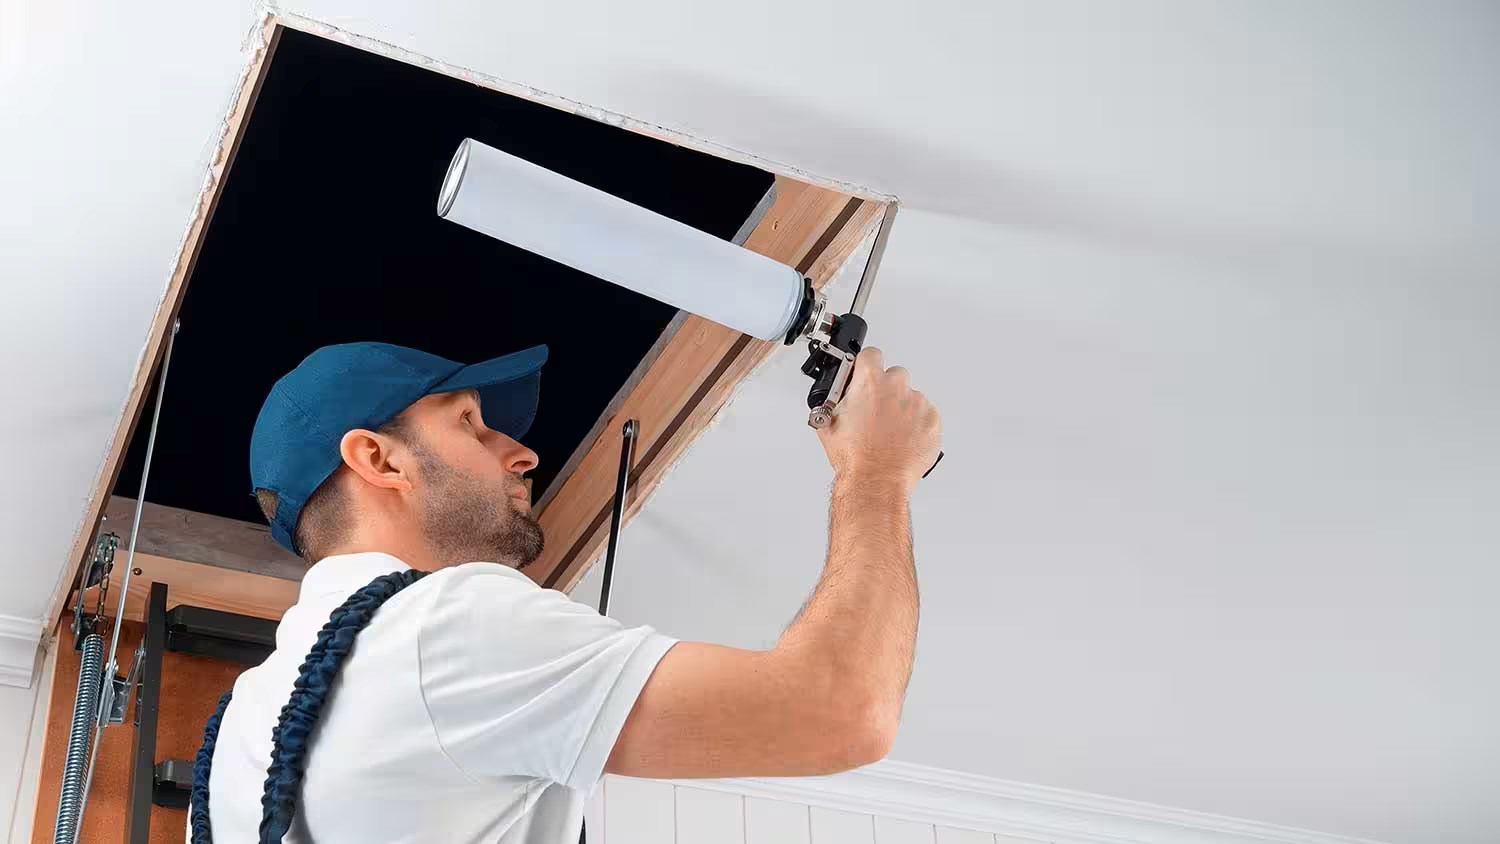
Step 5: Seal Any Gaps or Cracks
Sealing any gaps or cracks around your attic ladder is crucial to prevent air leakage and maintain the effectiveness of the insulation. Even with weatherstripping and insulation in place, small openings can still exist, allowing drafts to enter or escape.
Start by inspecting the area around the attic ladder frame and door for any visible gaps or cracks. Common areas to check include the joints between ladder sections, corners, and around hinges.
If you notice any gaps or cracks, you can use a sealant or caulk to fill them. Choose a high-quality, waterproof sealant that is suitable for the material of your attic ladder.
Before applying the sealant, make sure the area is clean and free of dust and debris. Use a scraper or brush to remove any loose particles.
Next, apply the sealant along the gaps or cracks, ensuring a smooth and even application. Use a caulk gun or tube applicator for precise control and to prevent excess sealant from being applied.
Smooth out the sealant with a caulk smoothing tool or your finger to create a seamless seal. Wipe off any excess sealant with a damp cloth.
Allow the sealant to dry and cure according to the manufacturer’s instructions before moving on to the next step.
Sealing gaps or cracks helps to further enhance the insulation and weatherproofing of your attic ladder. By eliminating these small openings, you can prevent drafts, air leakage, and energy loss.
Now that you have sealed any gaps or cracks, let’s move on to step 6 (optional): installing an attic tent.
Step 6: Install an Attic Tent (Optional)
If you are looking for an additional layer of insulation and energy efficiency, you may consider installing an attic tent. An attic tent is a specially designed cover that goes over the attic ladder opening, creating an airtight seal.
Attic tents are made of durable and lightweight materials, typically with an insulation layer inside. They are easy to install and remove, providing quick access to your attic space whenever needed.
To install an attic tent, start by measuring the dimensions of the attic ladder opening. Choose an attic tent that matches these dimensions or can be easily adjusted to fit.
Unfold the attic tent and position it over the attic ladder opening. Make sure it covers the entire opening and fits snugly against the surrounding area.
Some attic tents come with adhesive strips or hook-and-loop fasteners for additional security. Use these to attach the attic tent to the ladder frame, ensuring a tight seal.
Attic tents are designed to create a barrier against air leakage and to provide insulation. Their insulation layer helps to further improve energy efficiency and prevent drafts from entering or escaping your home.
However, it’s important to note that attic tents are optional and may not be necessary for all attic ladder installations. They are typically recommended for attic spaces that are heavily used or where there is a significant temperature difference between the attic and living areas.
If you decide to install an attic tent, make sure to follow the manufacturer’s instructions for proper installation and maintenance.
With the attic tent installed, you have completed an additional step to enhance the insulation and energy efficiency of your attic ladder. Next, let’s move on to step 7: testing for drafts.
Step 7: Test for Drafts
After completing the insulation and sealing process for your attic ladder, it’s important to test for drafts to ensure that your efforts have been successful in preventing air leakage.
To test for drafts, wait for a windy day or create artificial air movement by using a fan. Stand near the attic ladder and carefully observe for any noticeable air movement or drafts.
Pay attention to areas such as the ladder frame, door, hinges, and any previously identified gaps or cracks. If you notice any air movement or feel drafts, it indicates that there may still be some areas that require further sealing or insulation.
Revisit the areas where drafts are present and apply additional weatherstripping, sealant, or insulation as needed. Make sure to press down firmly and secure any gaps or cracks to create an airtight seal.
It’s important to note that some minimal air movement may be present due to the normal operation and design of the attic ladder. However, your goal is to minimize any excessive drafts that can affect the energy efficiency and comfort of your home.
After addressing any remaining drafts, test again to ensure that the airflow has been significantly reduced or eliminated. This will indicate that your attic ladder is properly insulated and sealed.
Regularly performing this test for drafts is a good practice to maintain the energy efficiency of your attic ladder. It allows you to identify and address any issues promptly, keeping your home comfortable and reducing energy consumption.
Congratulations! You have now gone through the seven steps to effectively insulate and seal your attic ladder. By completing these steps, you are taking proactive measures to conserve energy, reduce drafts, and improve the overall comfort of your home.
Remember to regularly inspect and maintain your attic ladder to ensure that the insulation and sealing remain intact over time. By doing so, you can continue to enjoy the benefits of an energy-efficient and draft-free home.
Thank you for following this guide, and we hope it has been helpful in your attic ladder insulation project!
Conclusion
Insulating and sealing your attic ladder is a smart investment that can have a significant impact on your home’s energy efficiency, comfort, and savings. By following the steps outlined in this guide, you can effectively minimize air leakage, prevent drafts, and improve the overall insulation of your attic ladder.
Starting with accurate measurements and thorough cleaning, you can then proceed to install weatherstripping to create a tight seal around the ladder frame and door. Insulating the attic ladder door with appropriate insulation material further enhances energy efficiency.
Sealing any gaps or cracks with sealant or caulk ensures that there are no avenues for air to escape or enter. The optional installation of an attic tent can provide an additional layer of insulation and airtightness.
Testing for drafts is the final step to verify the effectiveness of the insulation and sealing process. Revisiting and addressing any identified areas that still exhibit air movement or drafts will help achieve a properly insulated and sealed attic ladder.
Remember that maintaining the integrity of your attic ladder insulation is essential for long-term energy efficiency. Regularly inspect the ladder and address any issues promptly to ensure that the insulation and sealing remain intact over time.
By insulating and sealing your attic ladder, you are not only making your home more comfortable but also reducing your energy consumption and lowering energy bills. An efficiently insulated attic ladder contributes to a more eco-friendly and sustainable living environment.
Thank you for following this comprehensive guide on how to insulate and seal your attic ladder. We hope that this information has been helpful and that you are now well-equipped to take on this project. Enjoy the benefits of a well-insulated and energy-efficient home!
Frequently Asked Questions about How To Insulate Attic Ladder
Was this page helpful?
At Storables.com, we guarantee accurate and reliable information. Our content, validated by Expert Board Contributors, is crafted following stringent Editorial Policies. We're committed to providing you with well-researched, expert-backed insights for all your informational needs.


0 thoughts on “How To Insulate Attic Ladder”