
Articles
How To Attach Pool Ladder To Deck
Modified: August 17, 2024
Learn the step-by-step process of attaching a pool ladder to your deck with our helpful articles. Ensure safety and convenience for all pool users.
(Many of the links in this article redirect to a specific reviewed product. Your purchase of these products through affiliate links helps to generate commission for Storables.com, at no extra cost. Learn more)
Introduction
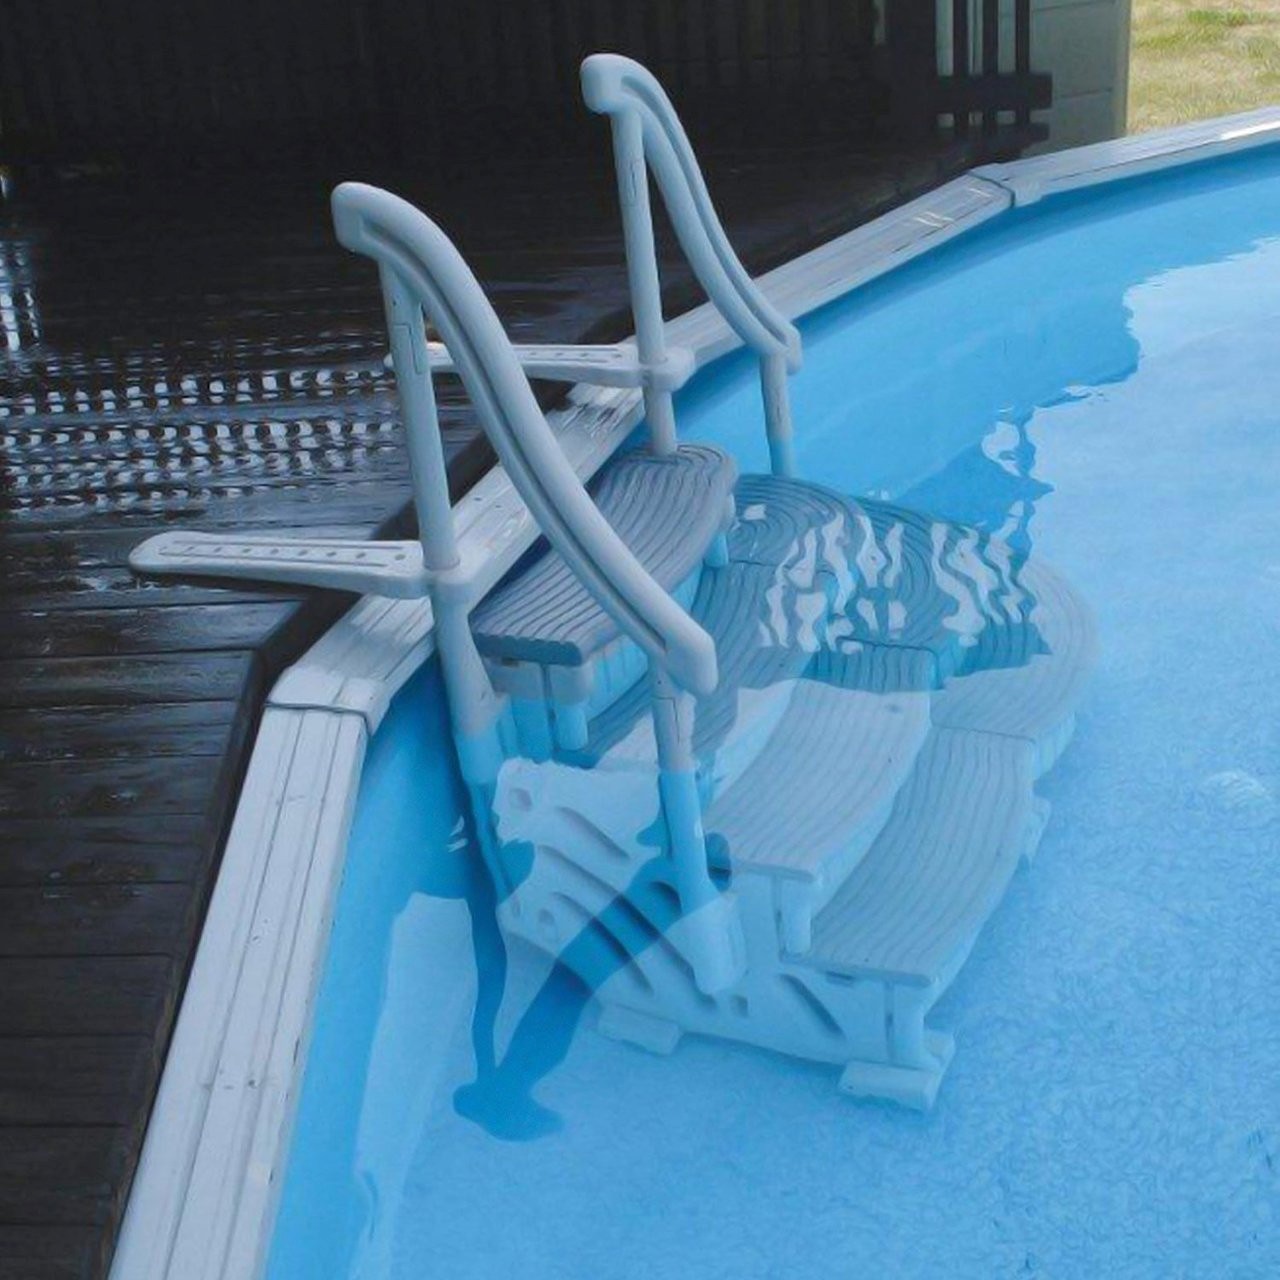
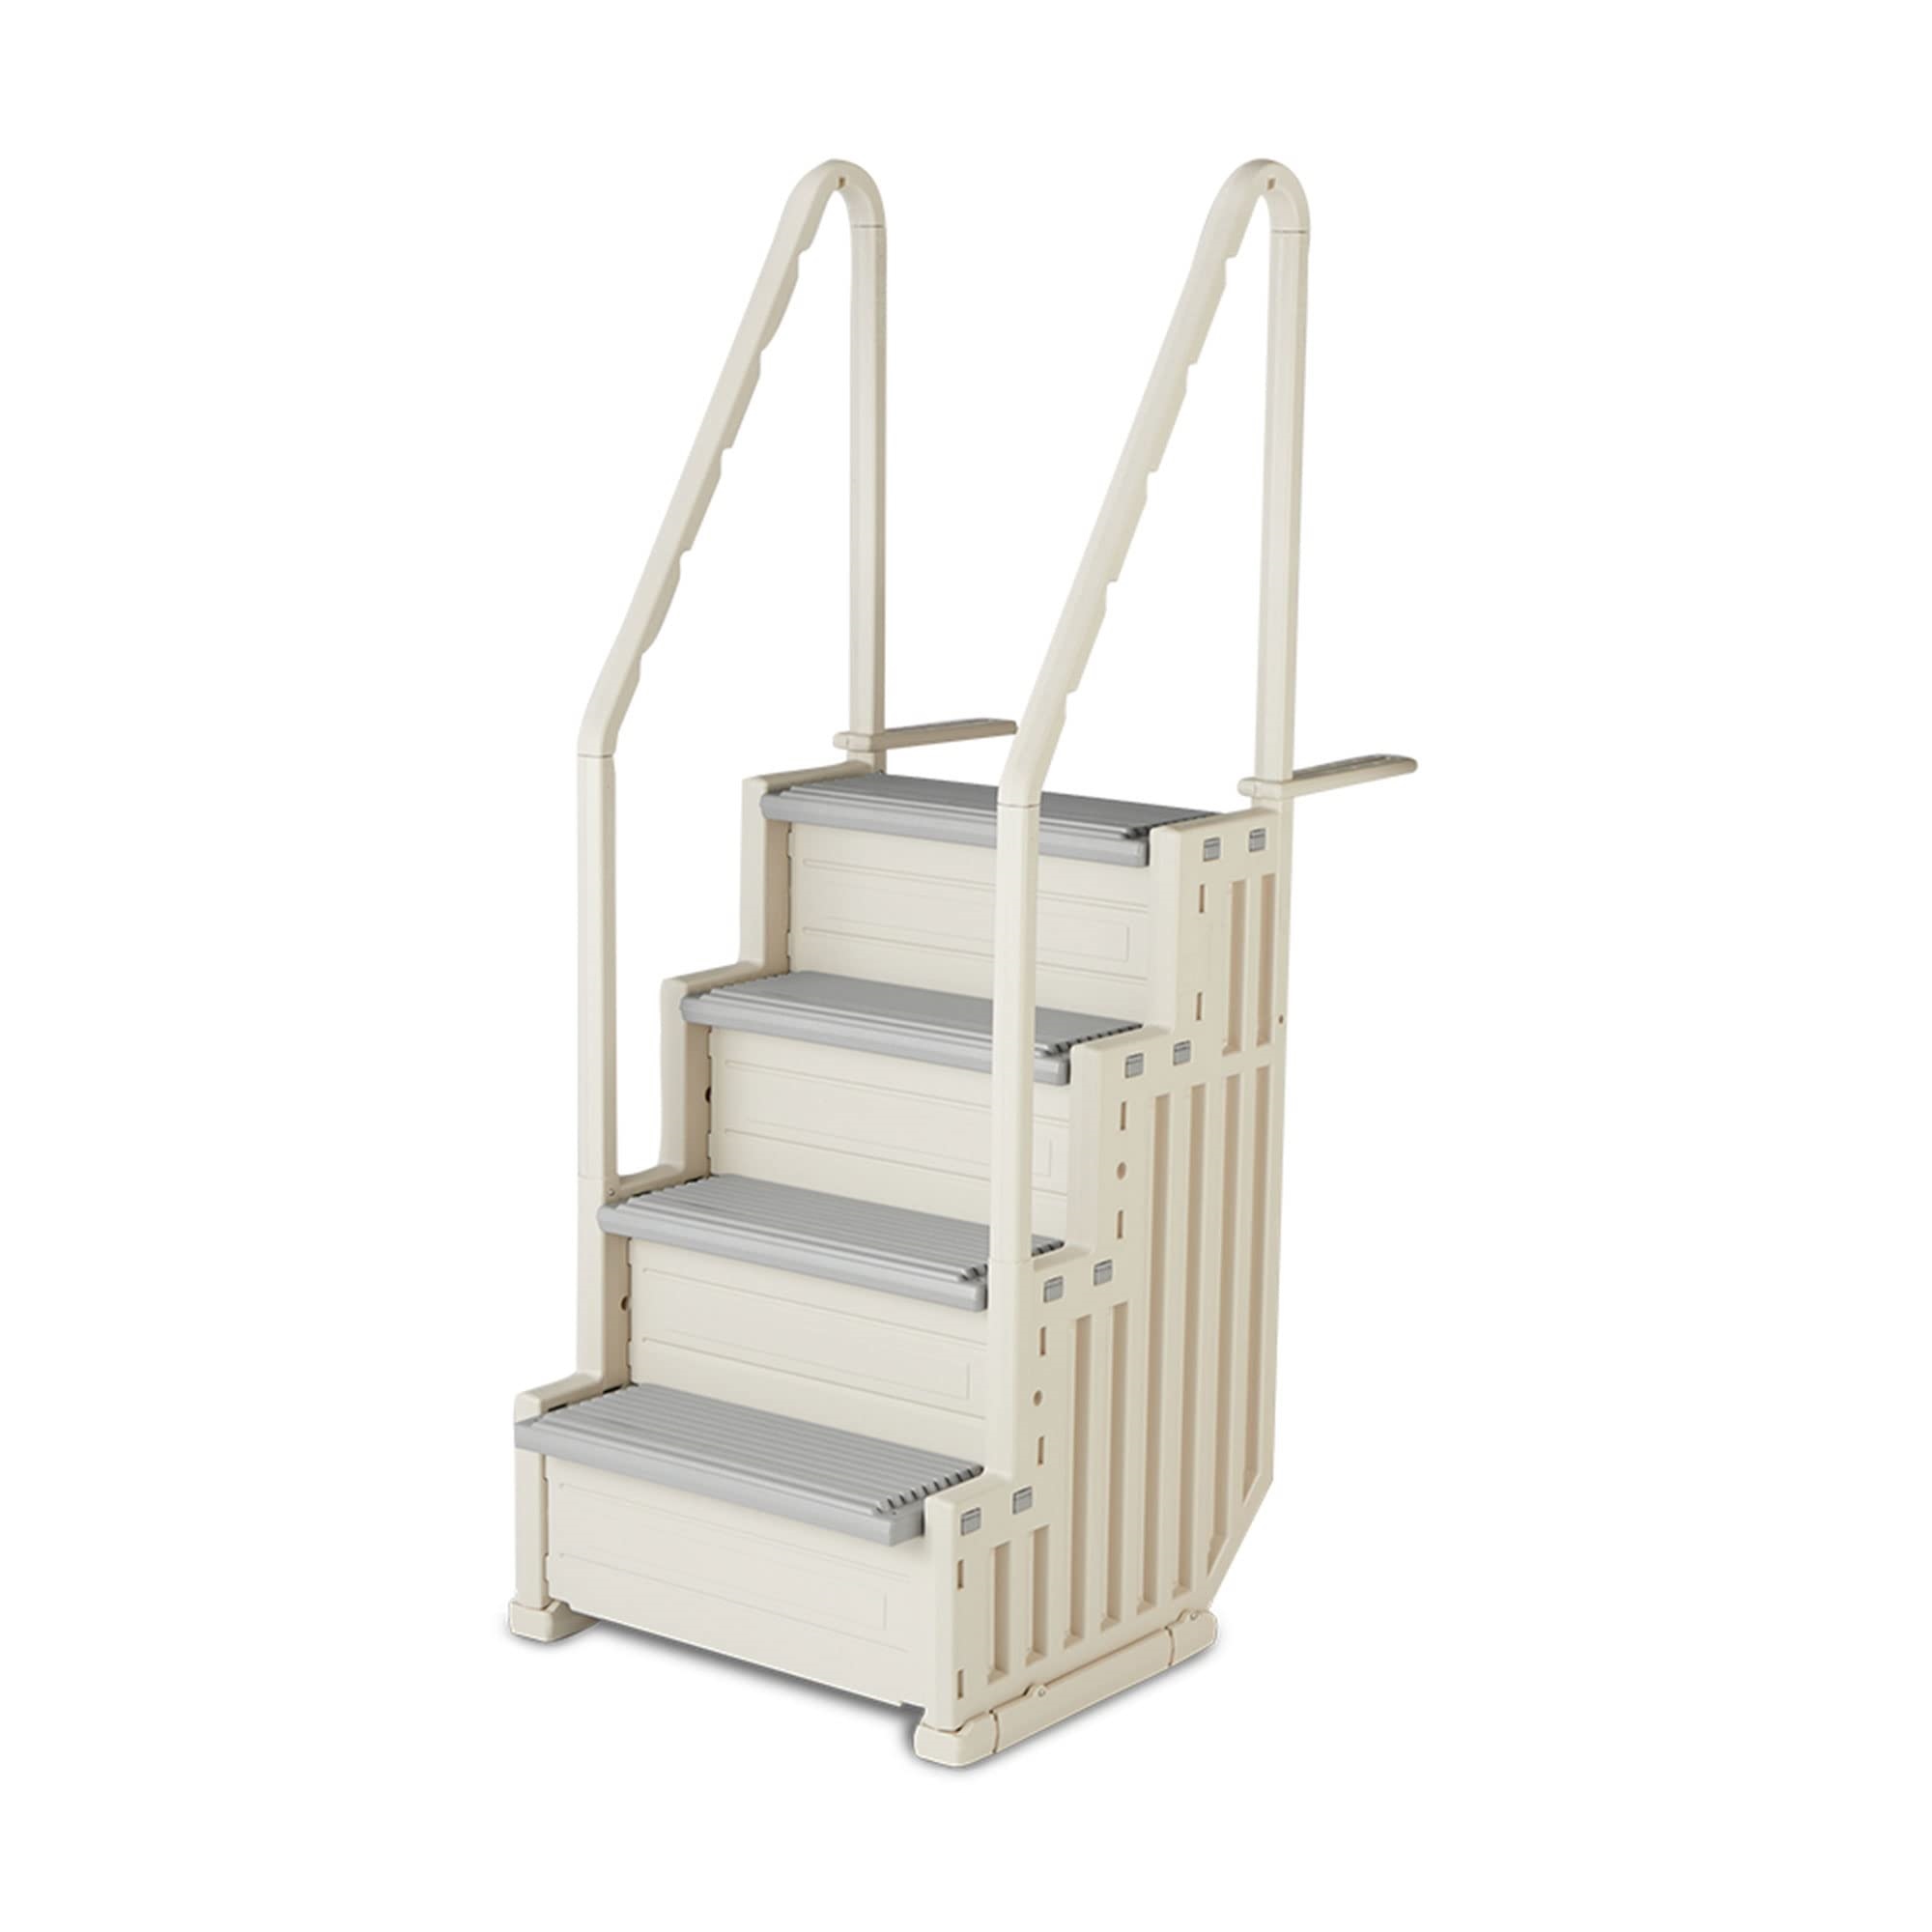
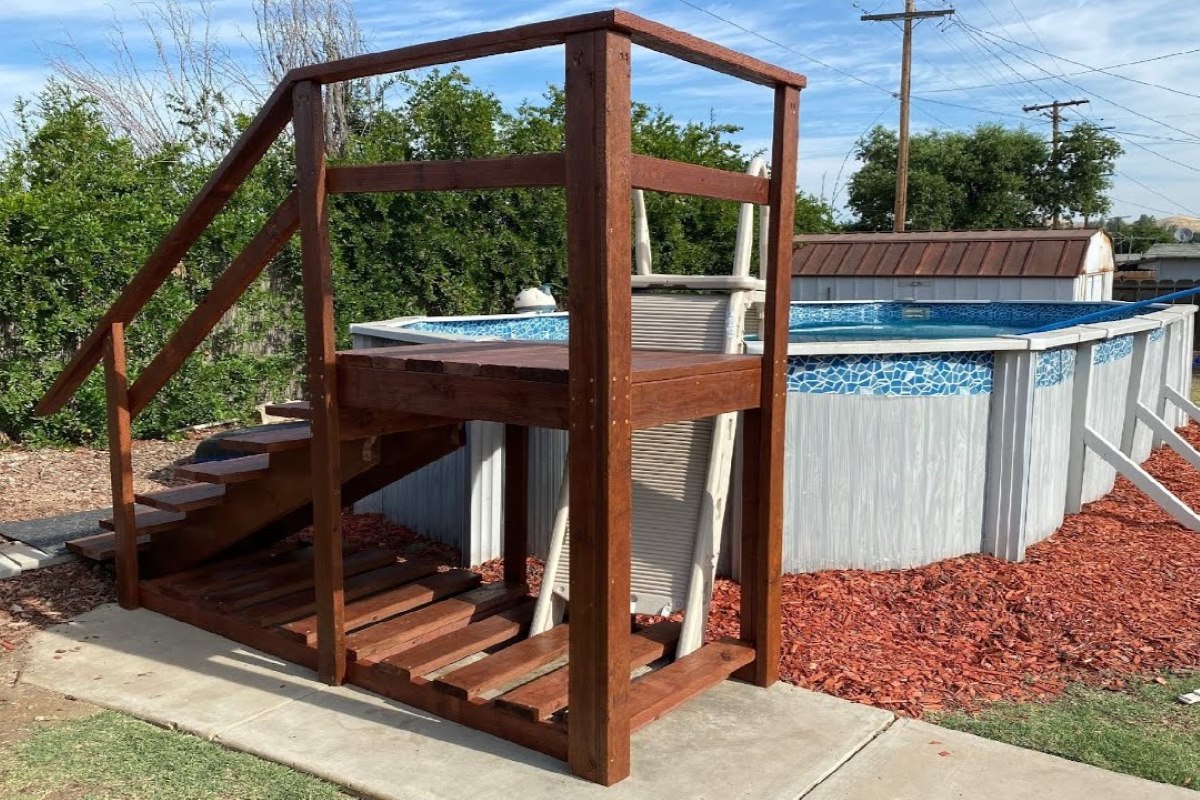
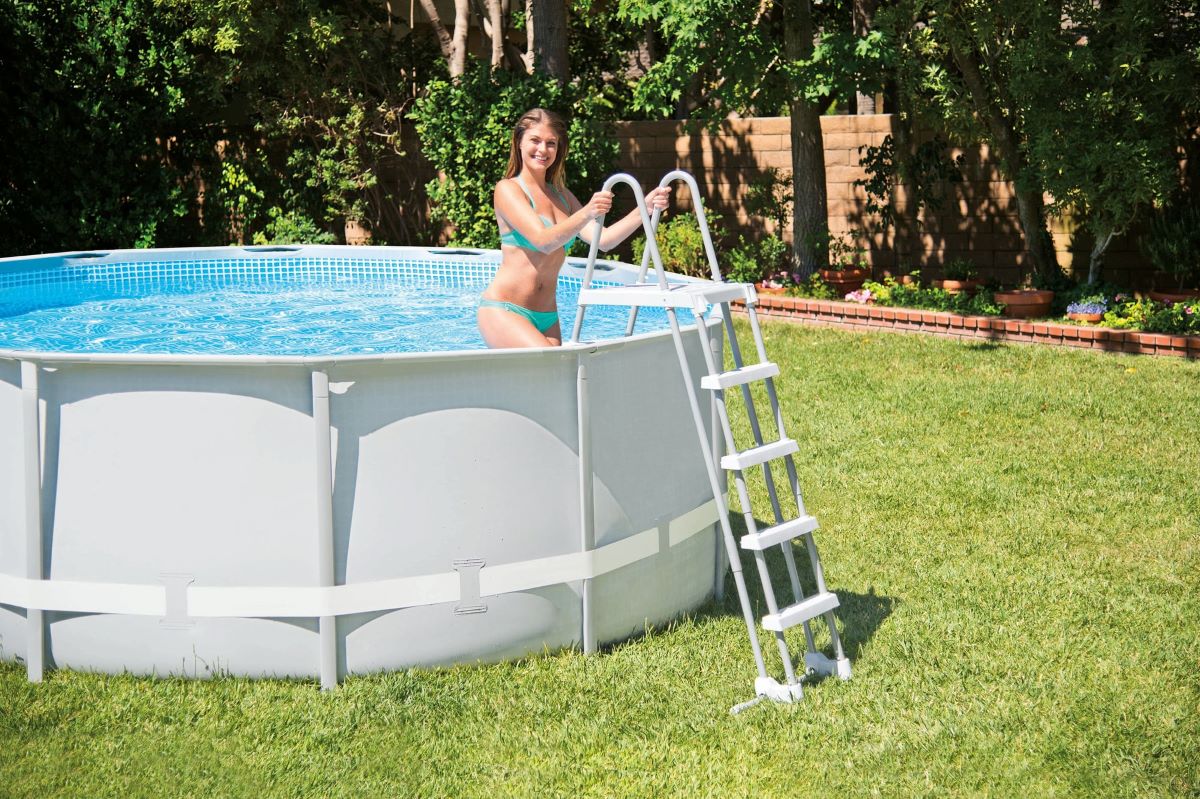
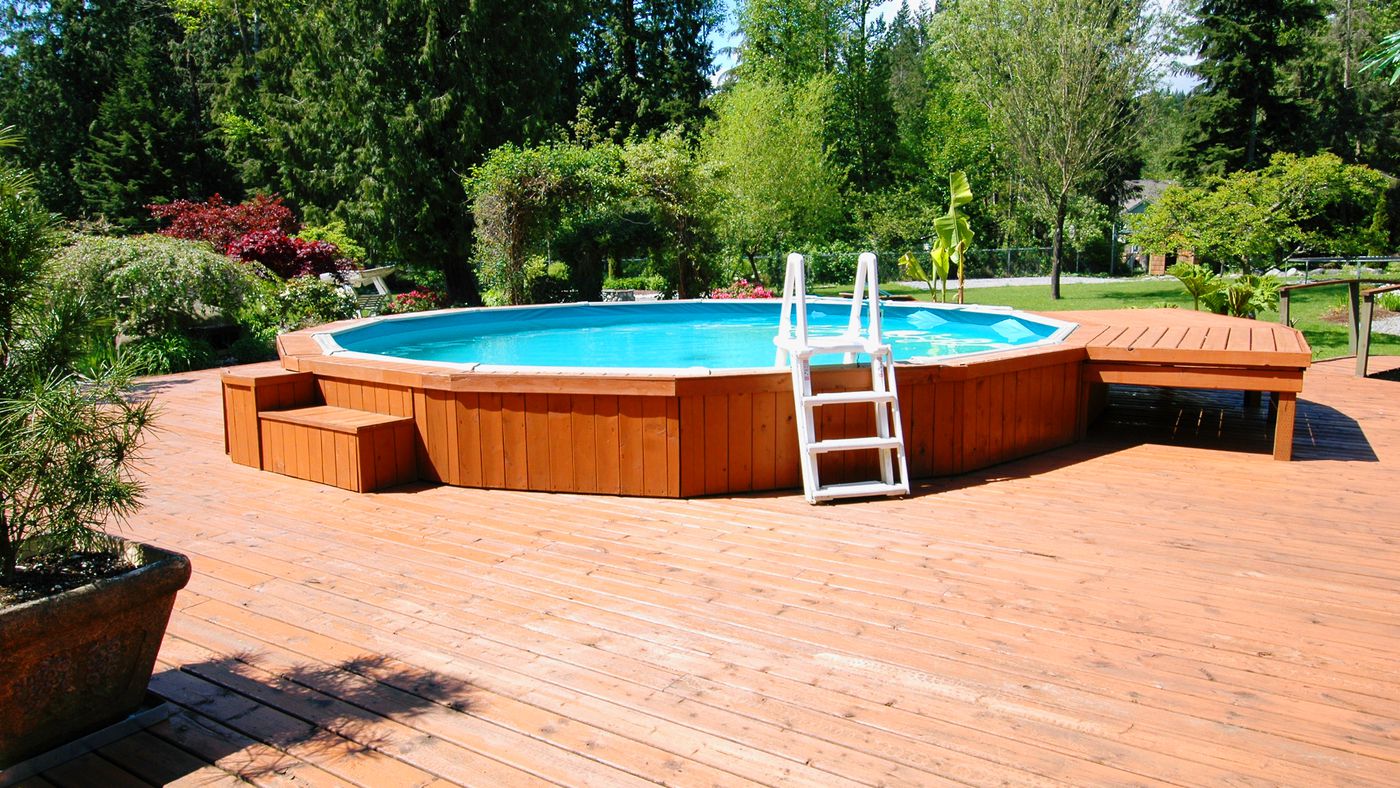
When it comes to enjoying your pool to the fullest, having a pool ladder that is securely attached to your deck is essential. A pool ladder not only provides a safe and convenient way to enter and exit the pool, but it also adds to the overall aesthetic appeal of your pool area. Whether you are installing a new ladder or replacing an old one, it’s important to ensure that it is properly attached to your deck for maximum safety.
In this article, we will guide you through the step-by-step process of attaching a pool ladder to your deck. By following these instructions and using the right materials and tools, you can achieve a strong and stable connection that will withstand the test of time.
Before we get started, let’s go over the materials and tools you will need for this project.
Key Takeaways:
- Securely attaching a pool ladder to your deck is crucial for safety and aesthetics. Follow step-by-step instructions, use the right materials, and test stability for a reliable pool access point.
- Properly securing and testing the stability of your pool ladder ensures a safe and enjoyable swimming experience. Regular maintenance and inspections are key to long-lasting stability and safety.
Read more: How To Attach A Pergola To A Deck
Materials and Tools Needed
Before you begin attaching your pool ladder to your deck, gather the following materials and tools:
Materials:
- Pool ladder
- Deck anchor kit (including anchor bolts and brackets)
- Wood screws
- Drill
- Measuring tape
- Level
- Pencil
- Hammer
Tools:
- Screwdriver
- Adjustable wrench
- Socket set
- Hacksaw
Having these materials and tools ready will ensure a smooth installation process.
Now, let’s move on to the step-by-step instructions for attaching the pool ladder to your deck.
Step 1: Preparing the Deck
Before you can attach the pool ladder to your deck, it’s important to prepare the deck surface for installation. Follow these steps to ensure a solid foundation:
- Begin by measuring the width of the pool ladder and determine the ideal position for installation on your deck. Take into account the distance from the pool edge and any other structures or obstacles in the surrounding area.
- Using a pencil, mark the desired location for the ladder brackets on the deck surface. Make sure the marks are level and properly aligned.
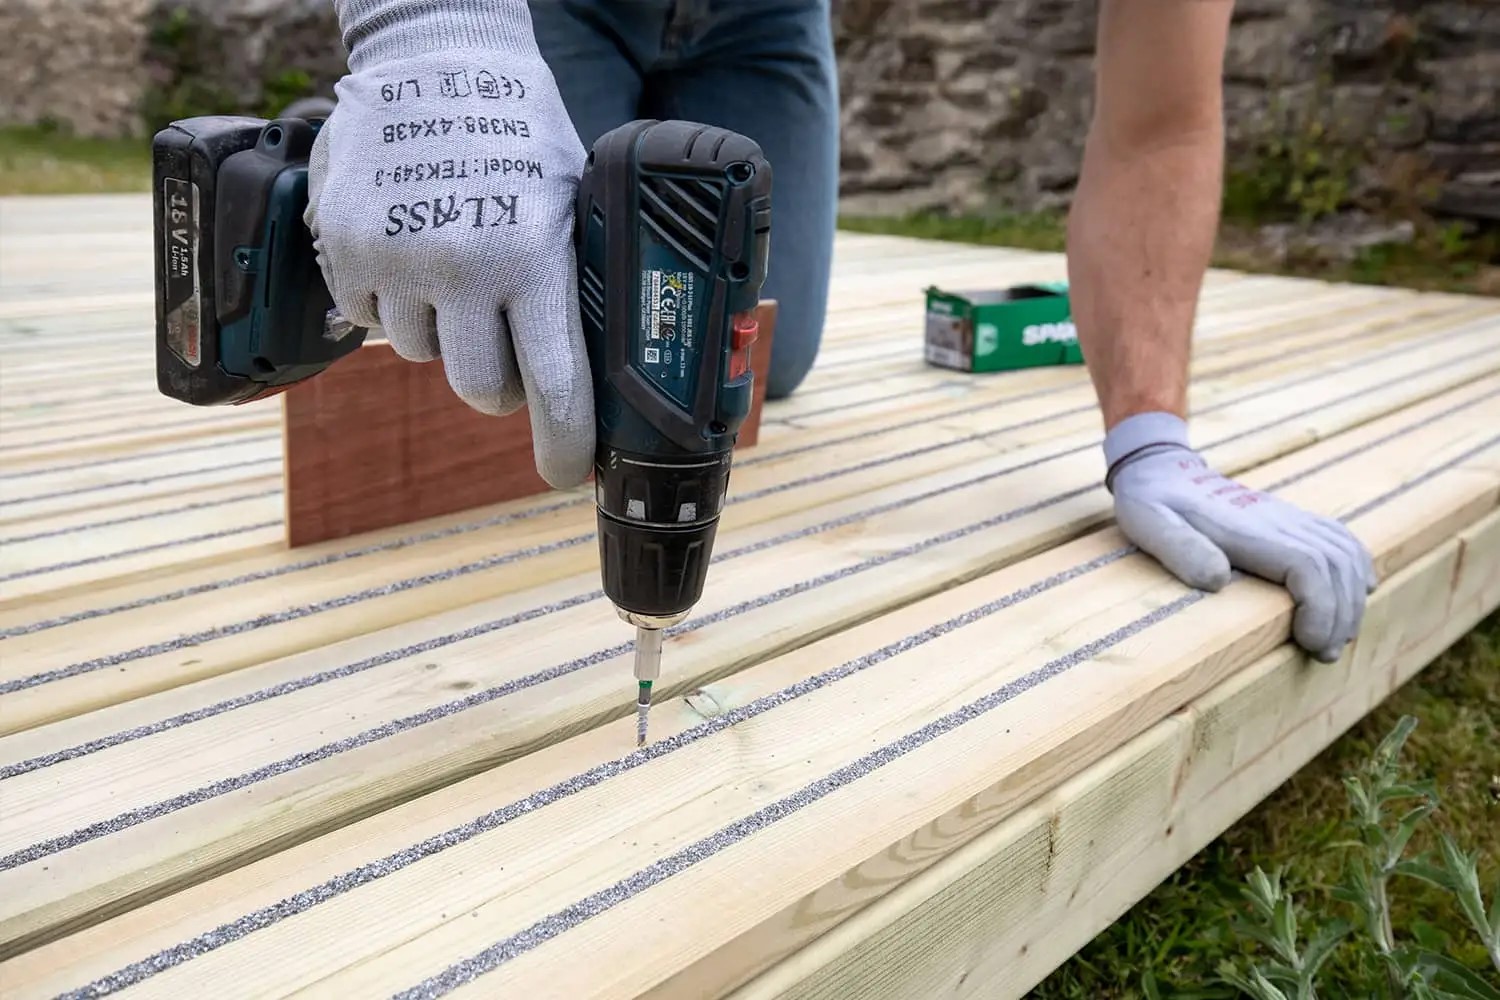
- If your deck is made of wood, pre-drill holes at the marked locations using a drill and an appropriately sized drill bit. This will prevent the wood from splitting when you attach the brackets.
- For concrete or stone decks, use a hammer drill with a masonry bit to create holes for the anchor bolts. Make sure the holes are deep enough to securely anchor the ladder brackets.
- Clean the marked areas on the deck to ensure proper adhesion. Remove any dirt, debris, or loose particles that may interfere with the installation process.
Now that your deck is prepared, you can move on to positioning the ladder brackets.
Read more: How To Remove Pool Ladder
Step 2: Positioning the Ladder
Once your deck is prepared, it’s time to position the pool ladder. Follow these steps to ensure the ladder is correctly aligned:
- Take the pool ladder and place it in the desired position on the deck.
- Use a level to ensure that the ladder is perfectly vertical. This will help maintain stability when in use.
- Adjust the ladder’s position as needed to ensure that it aligns with the marks you made during the deck preparation step.
- Make sure the ladder is centered and equally spaced from the edge of the pool on both sides.
- Use a pencil to mark the hole locations on the deck through the ladder brackets.
Once you have positioned the ladder, you can move on to attaching it to the deck.
Step 3: Attaching the Ladder to the Deck
With the ladder positioned correctly, it’s time to securely attach it to your deck. Follow these steps for a strong and stable connection:
- If you are working with a wooden deck, align the ladder brackets with the marked hole locations.
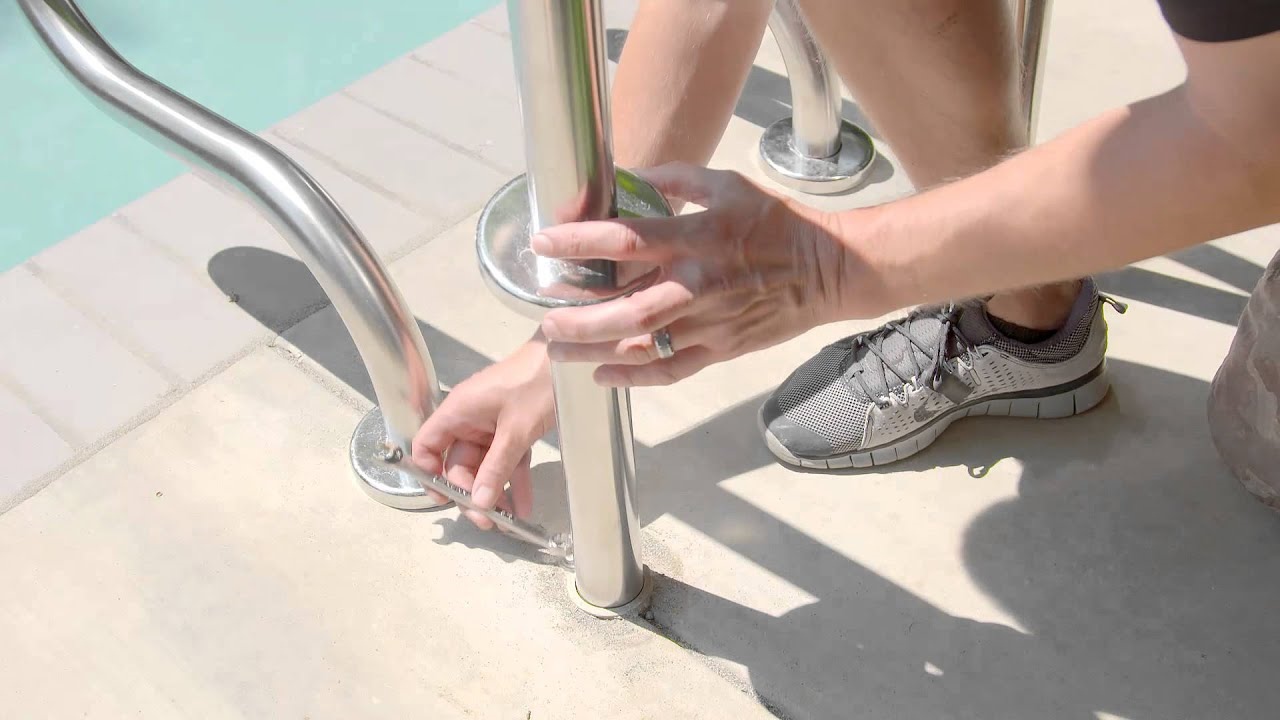
- Insert wood screws through the holes in the ladder brackets and into the pre-drilled holes in the deck. Use a screwdriver to tighten the screws until the brackets are securely attached to the deck.
- If you have a concrete or stone deck, align the ladder brackets with the marked hole locations.
- Insert anchor bolts through the holes in the ladder brackets and into the pre-drilled holes in the deck. Use an adjustable wrench or a socket set to tighten the bolts until the brackets are securely attached to the deck.
- Make sure the ladder brackets are flush against the deck surface, ensuring a secure fit.
- Double-check the alignment and stability of the ladder before proceeding to the next step.
Now that the ladder is attached to the deck, it’s time to move on to securing it in place.
When attaching a pool ladder to a deck, use stainless steel screws or bolts to secure the ladder firmly in place. Make sure the ladder is level and securely attached to the deck for safety.
Step 4: Securing the Ladder
Securing the ladder ensures that it remains stable and safe for use. Follow these steps to properly secure your pool ladder:
- Inspect the ladder brackets to ensure they are securely attached to the deck.
- If the ladder brackets have adjustable legs, adjust them to the desired height. This will help level the ladder and ensure stability.
- If the ladder has removable steps, make sure they are properly inserted and secured in place.
- Tighten any bolts or screws on the ladder to ensure all components are securely fastened.
- Test the ladder’s stability by gently shaking it and applying some weight to it. It should not wobble or move excessively.
- If the ladder feels unstable, double-check the alignment and tighten any loose fasteners.
By properly securing the ladder, you can enjoy a safe and reliable pool access point.
Now that the ladder is securely attached and stable, it’s time for the final step – testing its stability.
Step 5: Testing the Stability
Before you can fully rely on your pool ladder, it’s essential to test its stability. Here’s how to ensure that your ladder is safe and secure:
- Carefully step onto the ladder and hold onto the handrails.
- Gradually apply weight to the ladder, testing its stability.
- Shift your weight from side to side and check for any wobbling or movement.
- If the ladder feels unstable or wobbly, stop using it immediately and identify the cause of the issue.
- Check the tightness of the screws, bolts, and brackets to ensure they are securely fastened.
- If there are any issues, make the necessary adjustments or repairs to guarantee stability.
- Once you are satisfied with the ladder’s stability, you can confidently use it to enter and exit the pool.
Regularly inspect and maintain the ladder to ensure long-lasting stability and safety. This includes checking for any signs of wear and tear, loose fasteners, or corroded parts. By addressing these issues promptly, you can maintain the ladder’s stability over time.
Congratulations! You have successfully attached and tested the stability of your pool ladder. Enjoy a safe and convenient pool experience!
Read more: How To Build Pool Ladder
Conclusion
Attaching your pool ladder to your deck is an important step in ensuring a safe and enjoyable swimming experience. By following the steps outlined in this guide, you can securely attach your pool ladder and test its stability for maximum safety.
Remember, preparation is key. Take the time to measure and mark the deck, ensuring proper alignment and spacing for the ladder brackets. Pre-drill holes or create anchor bolt holes depending on your deck material to ensure a strong attachment.
Position the ladder carefully, making sure it is level and centered properly. Attach the ladder brackets securely using the appropriate screws or anchor bolts. Test the ladder’s stability and adjust as needed to prevent any wobbling or movement.
Once you have attached and secured the ladder, regularly inspect it for any signs of wear or damage. Tighten screws and bolts as necessary to maintain its stability over time. Remember to test the ladder periodically to ensure its continued safety and reliability.
By following these steps and taking the necessary precautions, you can confidently enjoy your pool knowing that your ladder is securely attached to your deck and will provide a safe and convenient way to enter and exit the pool.
So go ahead, dive in and make a splash!
Frequently Asked Questions about How To Attach Pool Ladder To Deck
Was this page helpful?
At Storables.com, we guarantee accurate and reliable information. Our content, validated by Expert Board Contributors, is crafted following stringent Editorial Policies. We're committed to providing you with well-researched, expert-backed insights for all your informational needs.



0 thoughts on “How To Attach Pool Ladder To Deck”