Home>Construction & Tools>Building Materials>How To Attach A Deck To A Brick House
Building Materials
How To Attach A Deck To A Brick House
Modified: August 17, 2024
Learn how to attach a deck to a brick house using the right building materials for a secure and durable connection. Expert tips and techniques for a successful project.
(Many of the links in this article redirect to a specific reviewed product. Your purchase of these products through affiliate links helps to generate commission for Storables.com, at no extra cost. Learn more)
Introduction
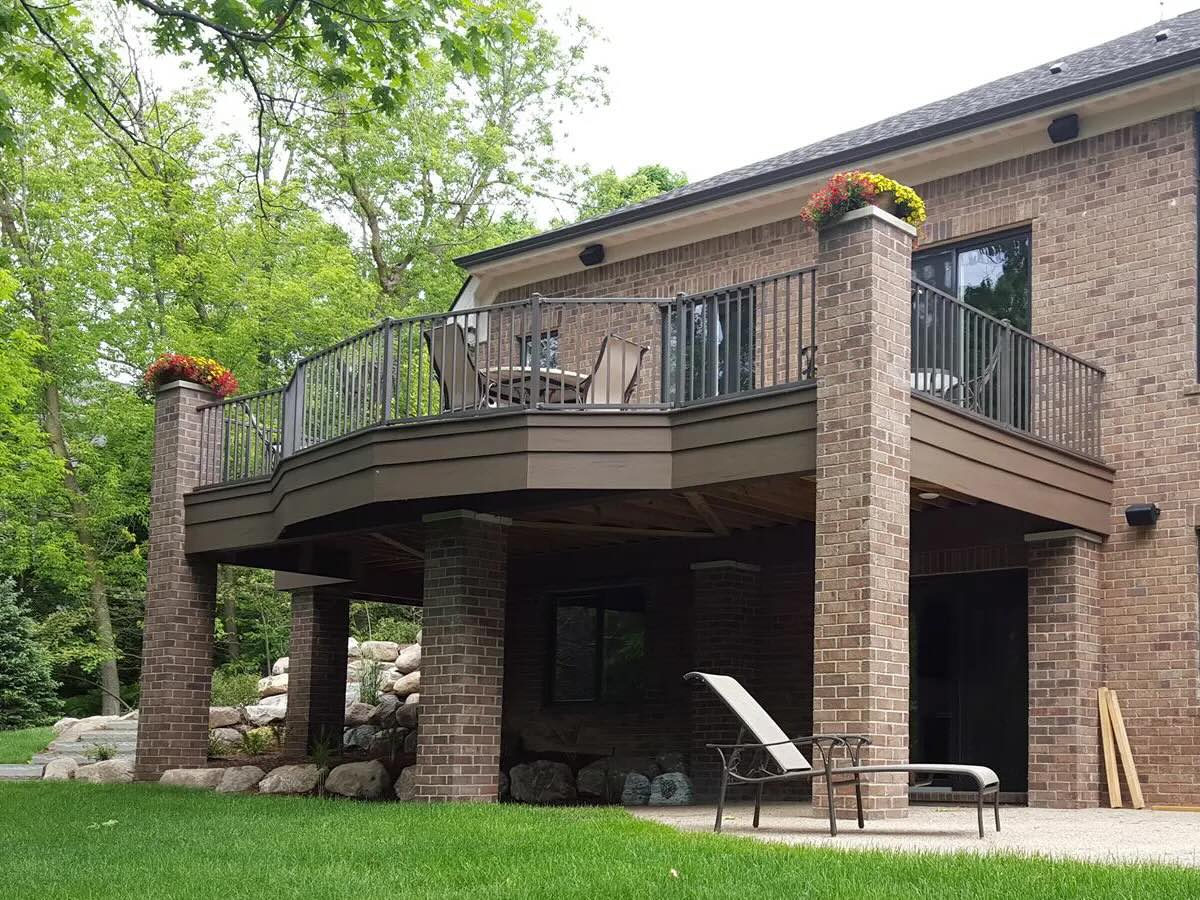
Attaching a deck to a brick house can add valuable outdoor living space and enhance the aesthetic appeal of your home. Whether you envision cozy gatherings or tranquil moments basking in the sunlight, a well-designed deck can transform your backyard into a captivating retreat.
However, attaching a deck to a brick house requires meticulous planning and precise execution to ensure structural integrity and longevity. From preparing the area to installing the ledger board and adding the finishing touches, each step demands careful attention to detail.
In this comprehensive guide, we will walk you through the step-by-step process of attaching a deck to a brick house. By following these instructions, you can create a stunning outdoor space that seamlessly integrates with your home while adhering to best practices for safety and durability.
So, roll up your sleeves and get ready to embark on a rewarding journey of enhancing your home with a beautifully attached deck.
Key Takeaways:
- Attaching a deck to a brick house requires careful preparation, sturdy installation, and finishing touches to create a beautiful and durable outdoor space that seamlessly integrates with your home.
- From assessing the brick facade to installing the decking material, each step in the process plays a crucial role in ensuring safety, longevity, and the creation of a captivating outdoor retreat.
Read more: How To Attach A Pergola To A Brick House
Step 1: Prepare the Area
Before you begin attaching a deck to a brick house, it’s crucial to prepare the area meticulously. This involves assessing the condition of the brick facade, clearing the space, and ensuring proper drainage to safeguard the structural integrity of your home and the longevity of the deck.
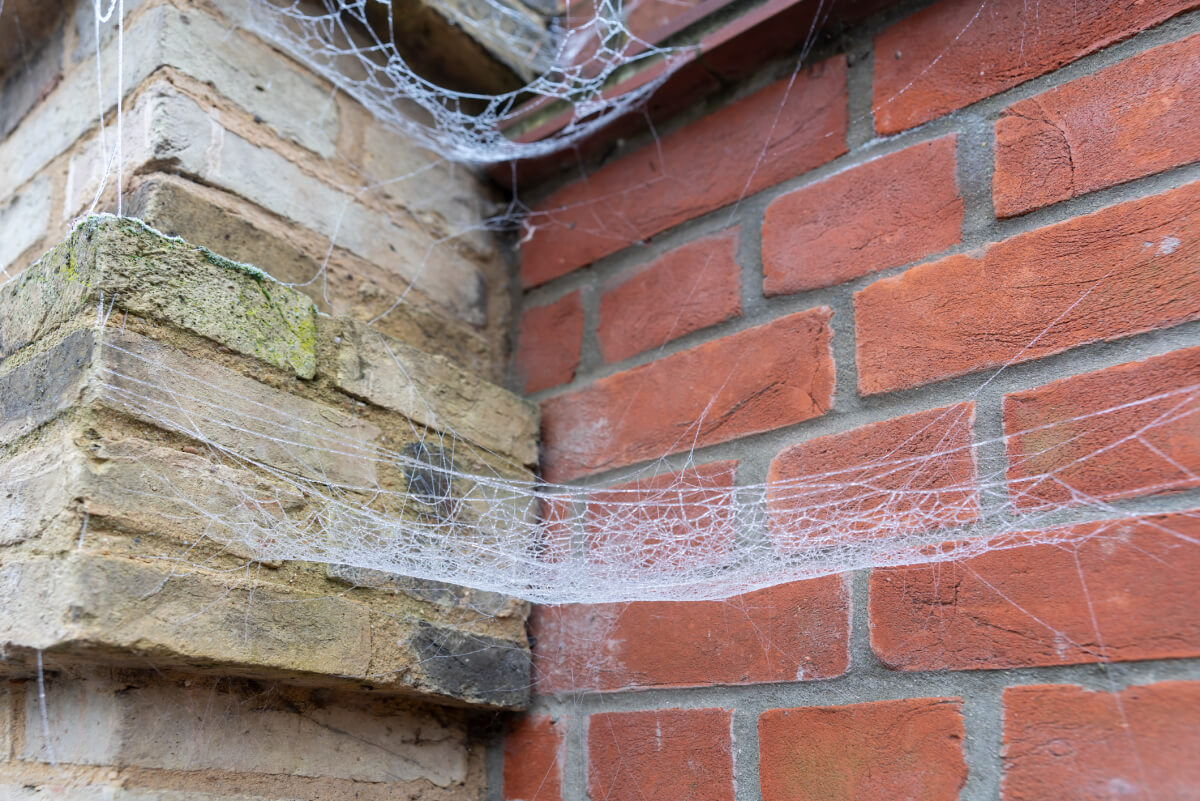
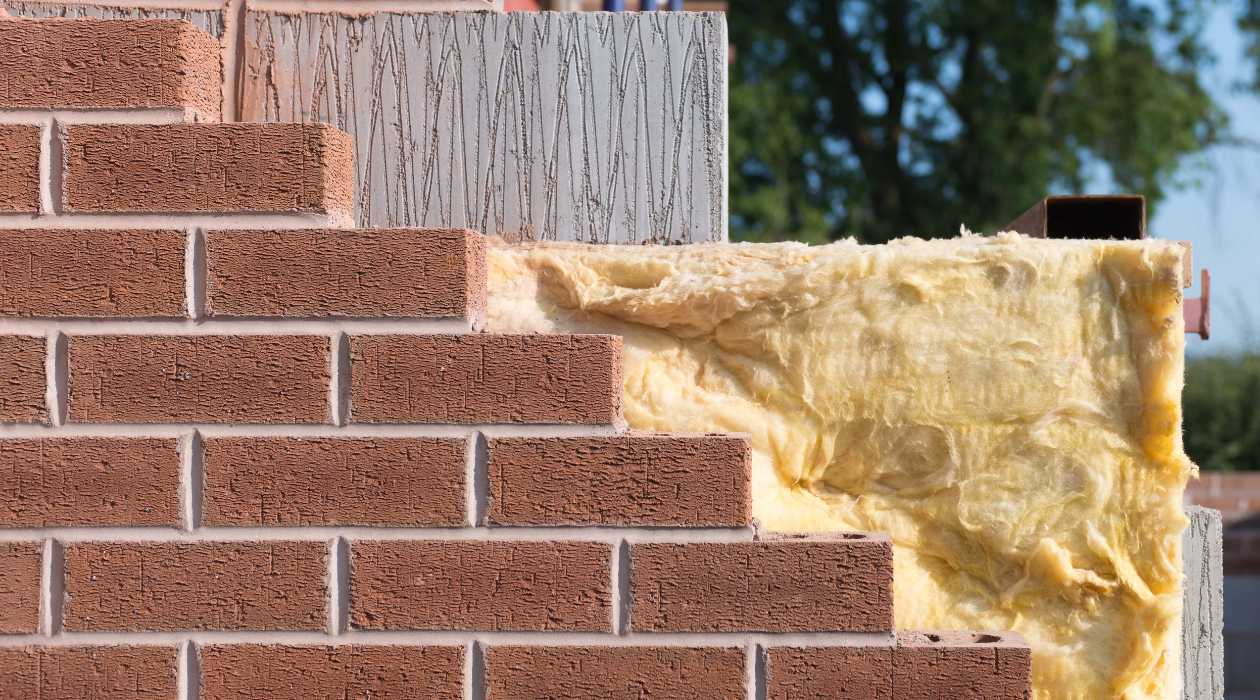
Assess the Brick Facade: Start by carefully examining the brick facade where the ledger board will be attached. Look for any signs of damage, such as cracks or deteriorating mortar, and address these issues promptly. It’s essential to have a solid and stable surface for attaching the ledger board.
Clear the Space: Remove any obstructions or debris from the area where the deck will be attached. This includes trimming overhanging branches, clearing vegetation, and ensuring that the ground is level and free from any obstacles that could impede the installation process.
Ensure Proper Drainage: Proper drainage is critical to prevent water from accumulating between the ledger board and the brick facade. Without adequate drainage, moisture can lead to decay and compromise the structural integrity of both the deck and the house. Consider incorporating a flashing system or a reliable waterproofing membrane to provide an effective barrier against water intrusion.
By meticulously preparing the area before attaching the deck, you set the stage for a secure and durable installation that will stand the test of time.
Step 2: Install Ledger Board
The ledger board is a crucial component of attaching a deck to a brick house, as it provides essential support and stability. Proper installation of the ledger board is paramount to ensure the structural integrity of the deck and the safety of its occupants.
Choose the Right Material: When selecting a ledger board, opt for a durable and weather-resistant material, such as pressure-treated lumber or a corrosion-resistant metal ledger. This choice will help safeguard against decay, corrosion, and other environmental factors that could compromise the integrity of the attachment.
Locate and Mark Attachment Points: Carefully measure and mark the attachment points for the ledger board on the brick facade. Use a level to ensure that the ledger board will be installed perfectly horizontal, as any deviation can impact the stability and aesthetics of the deck.
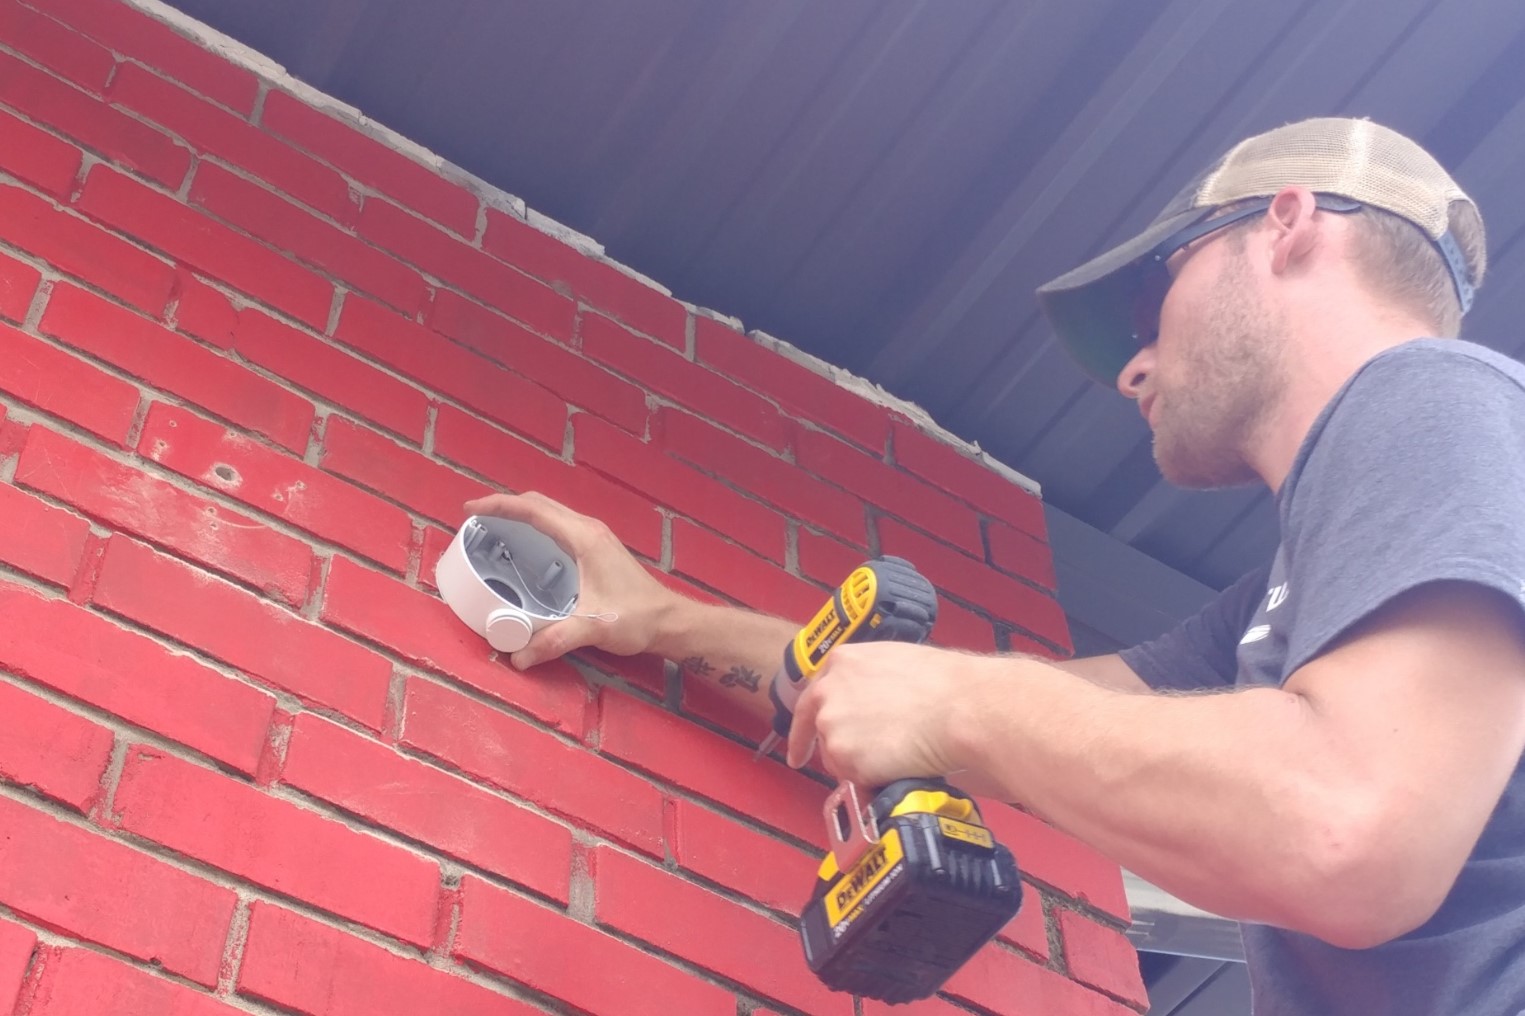
Pre-Drill Holes: To facilitate the attachment of the ledger board, pre-drill pilot holes into the brick using a masonry bit. Be sure to use appropriate anchors or fasteners designed for masonry applications to secure the ledger board firmly in place.
Attach the Ledger Board: With the pilot holes in place, securely fasten the ledger board to the brick facade using the designated anchors or fasteners. Ensure that the ledger board is level and tightly affixed to the house, providing a solid foundation for the deck’s framework.
By installing the ledger board with precision and attention to detail, you establish a sturdy and reliable connection between the deck and the brick house, laying the groundwork for the subsequent steps in the attachment process.
Step 3: Attach Joists to Ledger Board
With the ledger board securely in place, the next crucial step in attaching a deck to a brick house is to install the joists, which form the framework for the deck’s structure. Properly attaching the joists to the ledger board is essential to ensure the stability and load-bearing capacity of the deck.
Select High-Quality Joists: Choose high-quality, pressure-treated lumber or corrosion-resistant metal joists that can withstand the elements and provide long-term durability. The size and spacing of the joists should be determined based on the design and load requirements of the deck.
Position and Secure the Joists: Position the joists perpendicular to the ledger board, ensuring that they are evenly spaced according to the design specifications. Secure the joists to the ledger board using appropriate joist hangers or brackets, ensuring a secure and reliable connection that can support the weight of the deck and its occupants.
Ensure Proper Alignment and Leveling: Use a level to ensure that the joists are perfectly horizontal and aligned with the ledger board. Proper alignment is crucial for the overall stability and aesthetics of the deck, so take the time to make necessary adjustments to achieve a level and uniform framework.
Consider Additional Support: Depending on the size and design of the deck, additional support beams or bracing may be necessary to reinforce the structure and distribute the load evenly. Consult with a structural engineer or a qualified professional to determine the optimal support system for your specific deck design.
By attaching the joists to the ledger board with precision and care, you establish a strong and reliable framework for the deck, setting the stage for the next phase of the attachment process.
When attaching a deck to a brick house, use a ledger board to secure the deck to the house. Make sure to use appropriate anchors and fasteners to ensure a strong and secure connection. Always consult a professional if you are unsure about the process.
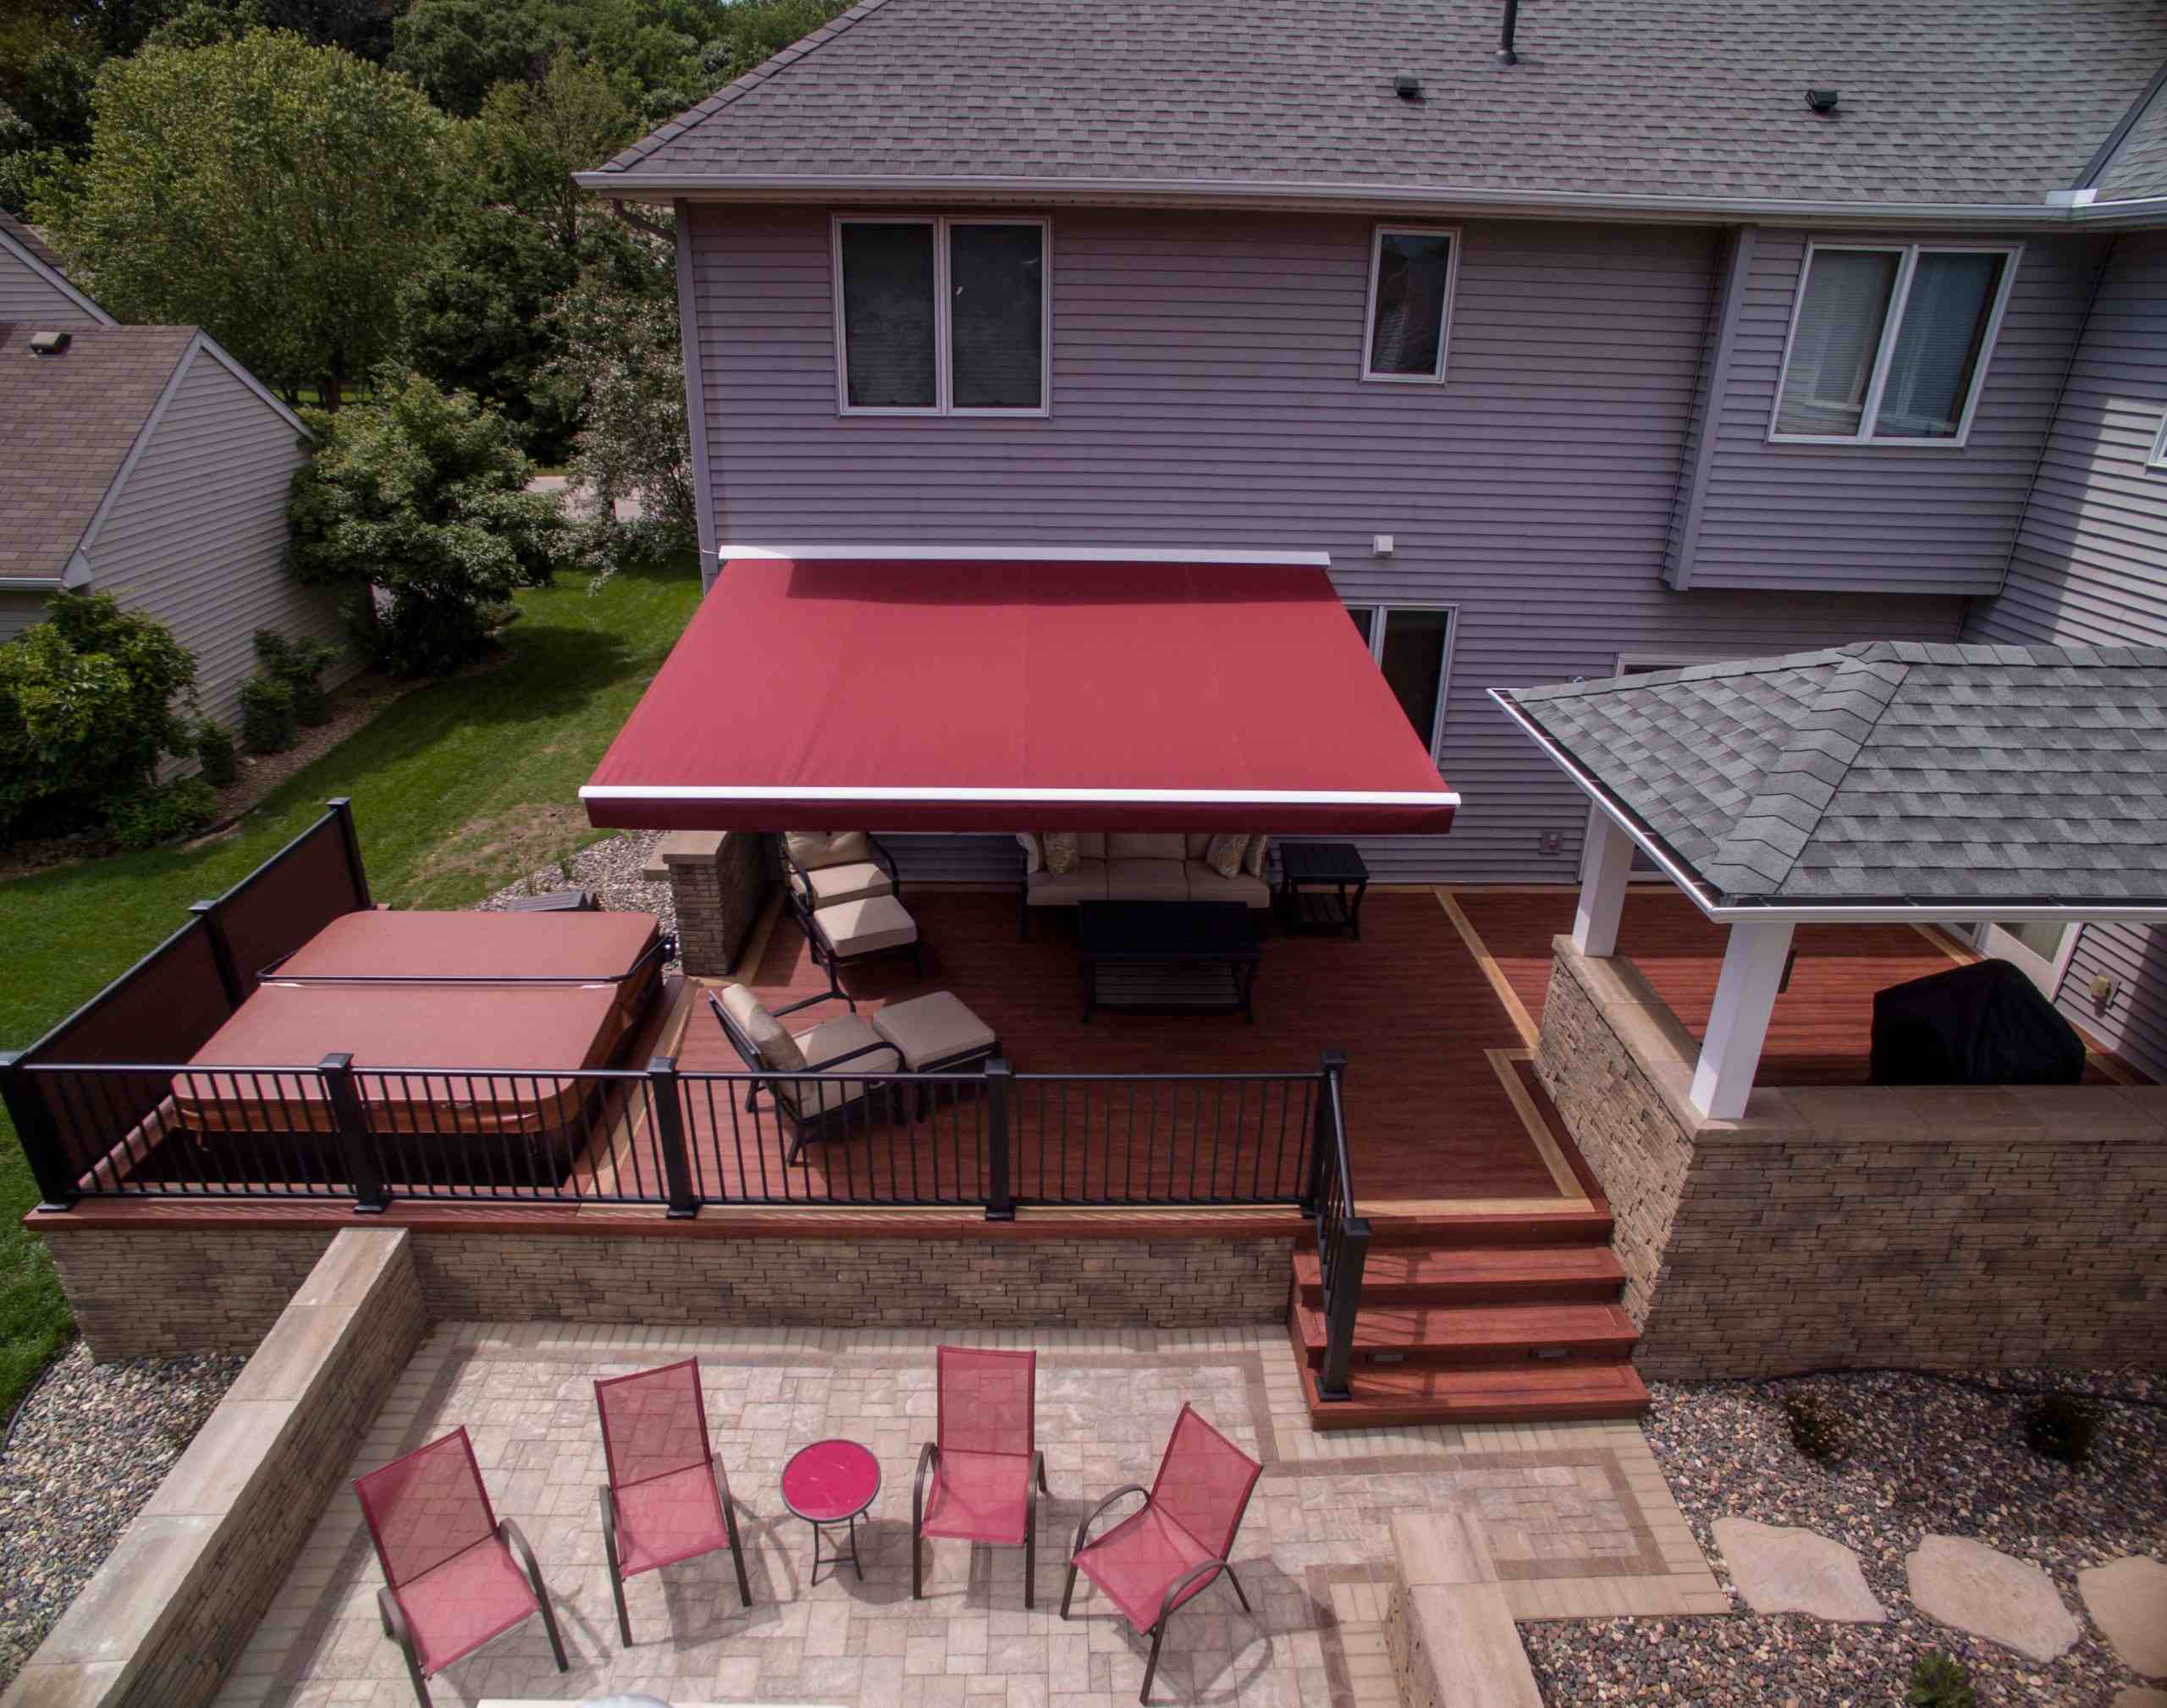
Step 4: Install Decking
With the framework in place, it’s time to bring your deck to life by installing the decking material. The decking not only contributes to the visual appeal of the deck but also serves as the functional surface for outdoor activities and relaxation. Whether you prefer the natural warmth of wood or the low-maintenance convenience of composite decking, the installation process requires attention to detail and precision.
Choose the Right Decking Material: Select decking material that suits your aesthetic preferences, maintenance requirements, and durability expectations. Whether you opt for traditional wood, composite decking, or other alternative materials, ensure that the chosen decking material aligns with your vision for the deck and complements the architectural style of your home.
Plan the Layout: Carefully plan the layout of the decking boards, considering factors such as orientation, pattern, and any design features such as picture framing or inlays. Take precise measurements and make necessary adjustments to accommodate the layout and ensure a visually appealing and functional deck surface.
Secure the Decking Boards: Begin attaching the decking boards to the joists, ensuring proper spacing and alignment between each board. Use corrosion-resistant screws or hidden fastening systems designed for the specific type of decking material to secure the boards firmly in place, providing a smooth and secure surface for the deck.
Consider Finishing Touches: Depending on your preferences, you may choose to add finishing touches such as railings, trim, or decorative elements to enhance the visual appeal and safety of the deck. These details can elevate the overall appearance of the deck and contribute to a polished and inviting outdoor space.
By meticulously installing the decking material and attending to the finer details, you bring your vision for the deck to fruition, creating a captivating outdoor space that seamlessly integrates with your home.
Read more: How To Attach A Downspout To A Brick House
Step 5: Finishing Touches
As you near the completion of attaching a deck to a brick house, it’s time to add the finishing touches that will elevate the functionality, aesthetics, and safety of the outdoor space. From protective treatments to decorative elements, these final steps will contribute to the overall appeal and longevity of your newly attached deck.
Apply Protective Treatments: Depending on the chosen decking material, consider applying protective treatments such as sealants, stains, or coatings to safeguard the deck against the damaging effects of moisture, UV exposure, and general wear and tear. These treatments can enhance the durability and longevity of the deck, preserving its appearance for years to come.
Install Railings and Balustrades: If your deck design includes elevated areas or staircases, installing sturdy and code-compliant railings and balustrades is essential to ensure the safety of occupants. Choose railing systems that complement the style of your deck and provide a secure barrier against falls and accidents.
Add Lighting Features: Enhance the ambiance and functionality of your deck by incorporating lighting features such as post cap lights, step lights, or integrated LED strips. Properly positioned lighting not only extends the utility of the deck into the evening but also contributes to its visual appeal and safety.
Incorporate Outdoor Furnishings: Complete the deck with outdoor furnishings that align with your lifestyle and design preferences. Whether it’s a cozy seating area, a dining set, or accent pieces, the right furnishings can transform the deck into a welcoming and functional outdoor living space.
By attending to these finishing touches, you put the final stamp on your attached deck, creating an inviting and well-appointed outdoor space that seamlessly integrates with your brick house, ready to be enjoyed for years to come.
Conclusion
Attaching a deck to a brick house is a transformative endeavor that expands your living space and enhances the beauty of your home. By following the step-by-step process outlined in this guide, you can achieve a seamless and secure attachment that integrates the deck with your house while ensuring structural integrity and longevity.
From meticulously preparing the area and installing the ledger board to adding the finishing touches, each step plays a crucial role in creating a captivating outdoor space that complements your home’s architecture and reflects your personal style.
As you embark on this journey, remember to prioritize safety, durability, and aesthetic appeal. Seek high-quality materials, adhere to best practices, and consider enlisting the expertise of professionals when needed to ensure a successful and enduring attachment.
Once your deck is securely attached to your brick house, take the time to savor the accomplishment and envision the countless moments of relaxation, gatherings, and cherished memories that await in your new outdoor oasis.
With careful planning, precision, and a touch of creativity, you can transform your backyard into a captivating retreat that seamlessly extends the warmth and comfort of your home into the great outdoors.
Now, armed with the knowledge and guidance provided in this guide, you are well-equipped to embark on the rewarding journey of attaching a deck to a brick house, creating a space where unforgettable moments are waiting to unfold.
Frequently Asked Questions about How To Attach A Deck To A Brick House
Was this page helpful?
At Storables.com, we guarantee accurate and reliable information. Our content, validated by Expert Board Contributors, is crafted following stringent Editorial Policies. We're committed to providing you with well-researched, expert-backed insights for all your informational needs.


0 thoughts on “How To Attach A Deck To A Brick House”