Home>Gardening & Outdoor>Outdoor Structures>How To Attach A Pergola To A Deck
Outdoor Structures
How To Attach A Pergola To A Deck
Modified: February 18, 2024
Learn how to securely attach a pergola to a deck and enhance your outdoor space with our expert tips and guidance on outdoor structures.
(Many of the links in this article redirect to a specific reviewed product. Your purchase of these products through affiliate links helps to generate commission for Storables.com, at no extra cost. Learn more)
Introduction
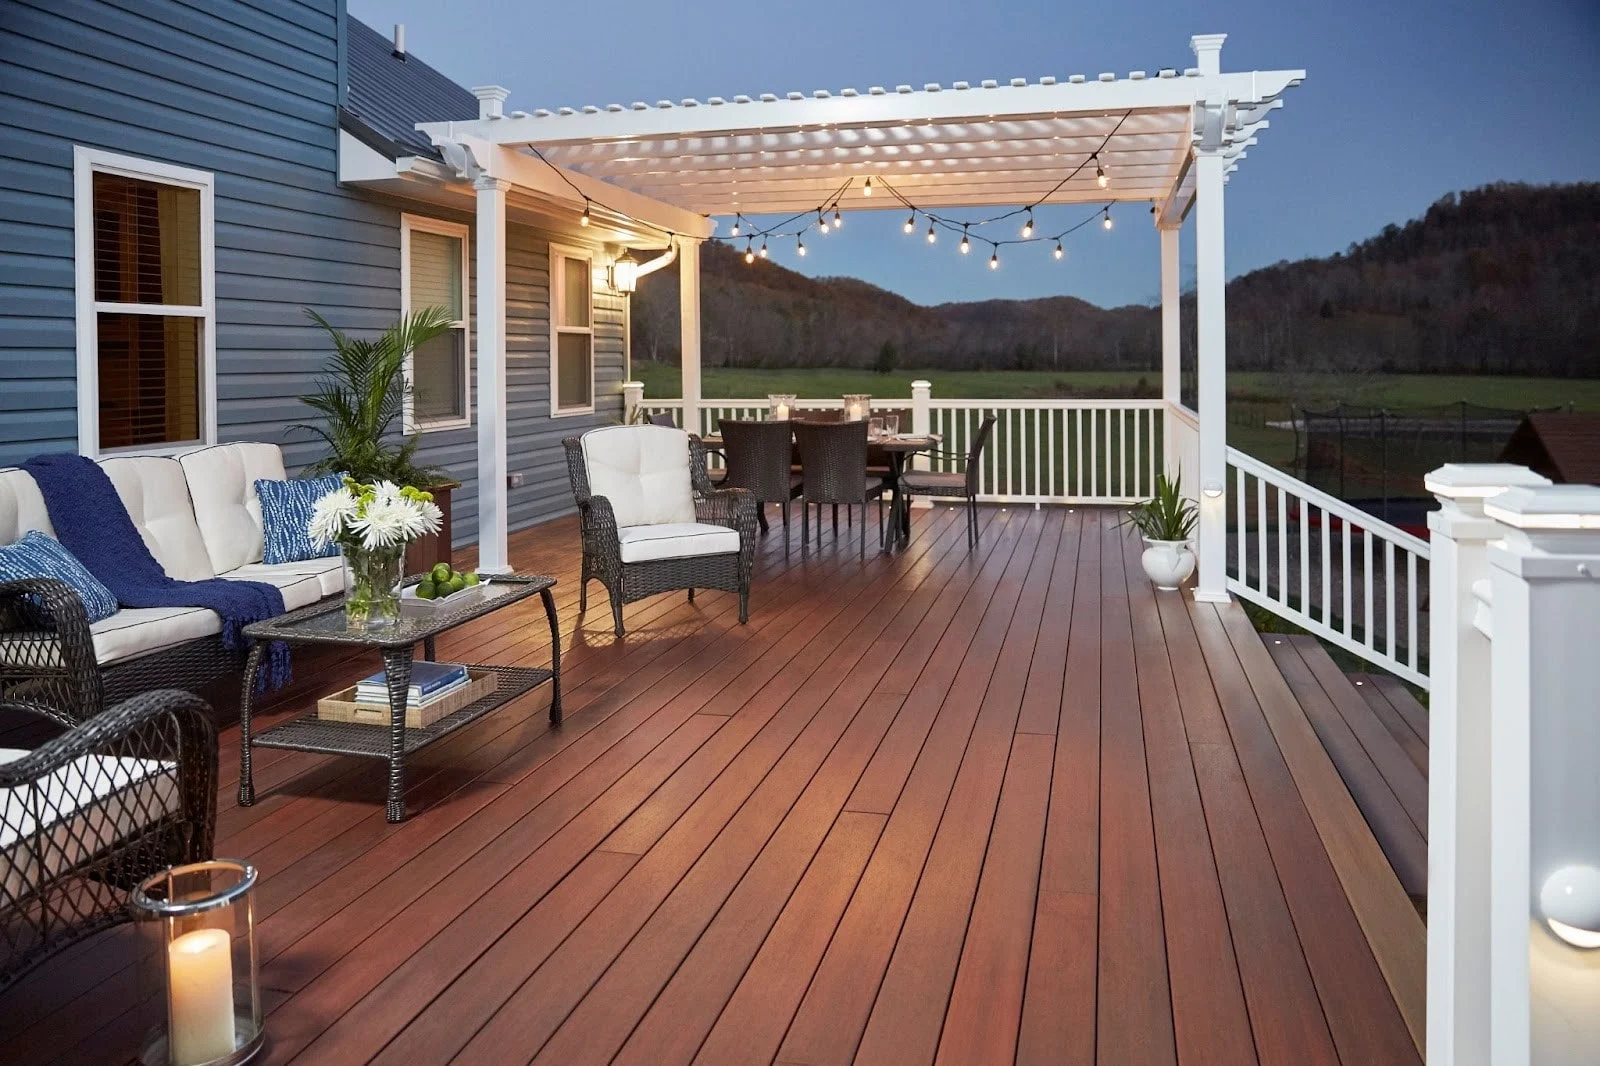
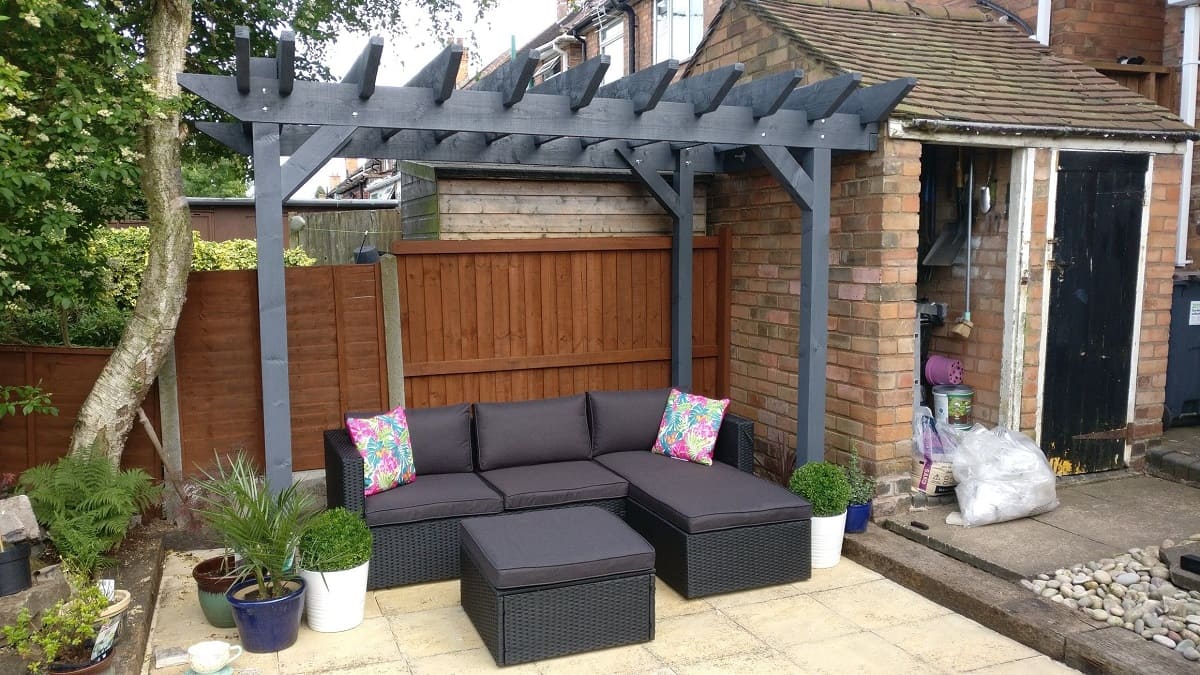
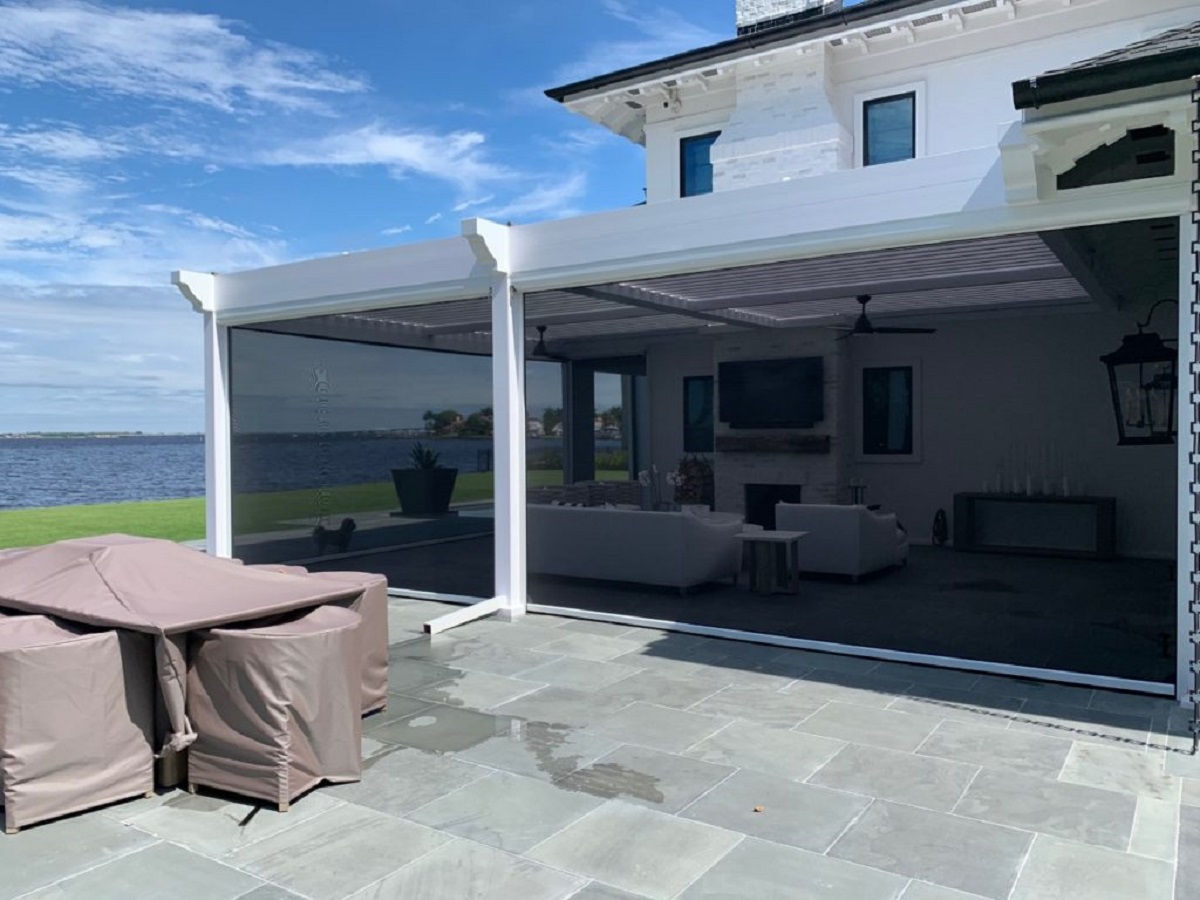
So, you've decided to enhance your outdoor living space by adding a pergola to your deck. This is a fantastic way to create a shaded and visually appealing area where you can relax, entertain, and enjoy the beauty of your surroundings. A pergola not only adds charm and character to your deck but also provides a functional space for various activities, from hosting gatherings to simply unwinding with a good book.
Before you embark on this exciting project, it's essential to understand the process of attaching a pergola to your deck securely. This article will guide you through each step, providing valuable insights and tips to ensure a successful and safe installation.
By the end of this article, you'll have the knowledge and confidence to transform your deck into a stunning outdoor retreat with the addition of a well-attached pergola. So, gather your tools and let's get started on this rewarding endeavor!
Key Takeaways:
- Attaching a pergola to your deck requires careful preparation, precise installation, and finishing touches like shade elements and lighting to create a captivating outdoor retreat.
- Regular maintenance is essential to preserve the beauty and functionality of your pergola, ensuring years of enjoyment and relaxation in your outdoor living space.
Read more: How To Attach A Pergola To A Roof
Tools and Materials Needed
Before you begin attaching a pergola to your deck, it’s crucial to gather the necessary tools and materials. Here’s a comprehensive list to ensure you’re well-prepared for the project:
Tools:
- Drill with appropriate bits
- Socket wrench set
- Level
- Tape measure
- Post hole digger
- Hammer
- Adjustable wrench
- Safety goggles
- Work gloves
- Stepladder
Materials:
- 4×4 or 6×6 pressure-treated posts
- Galvanized carriage bolts
- Washers and nuts
- Concrete mix
- Wood screws
- Post anchors or brackets
- Pergola kit or lumber for beams and rafters
- Decorative post caps
- Wood sealant or stain
Having these tools and materials on hand will streamline the installation process and help you achieve a professional and durable outcome. Now that you’re equipped with the necessary supplies, it’s time to prepare your deck for the pergola attachment.
Preparing the Deck
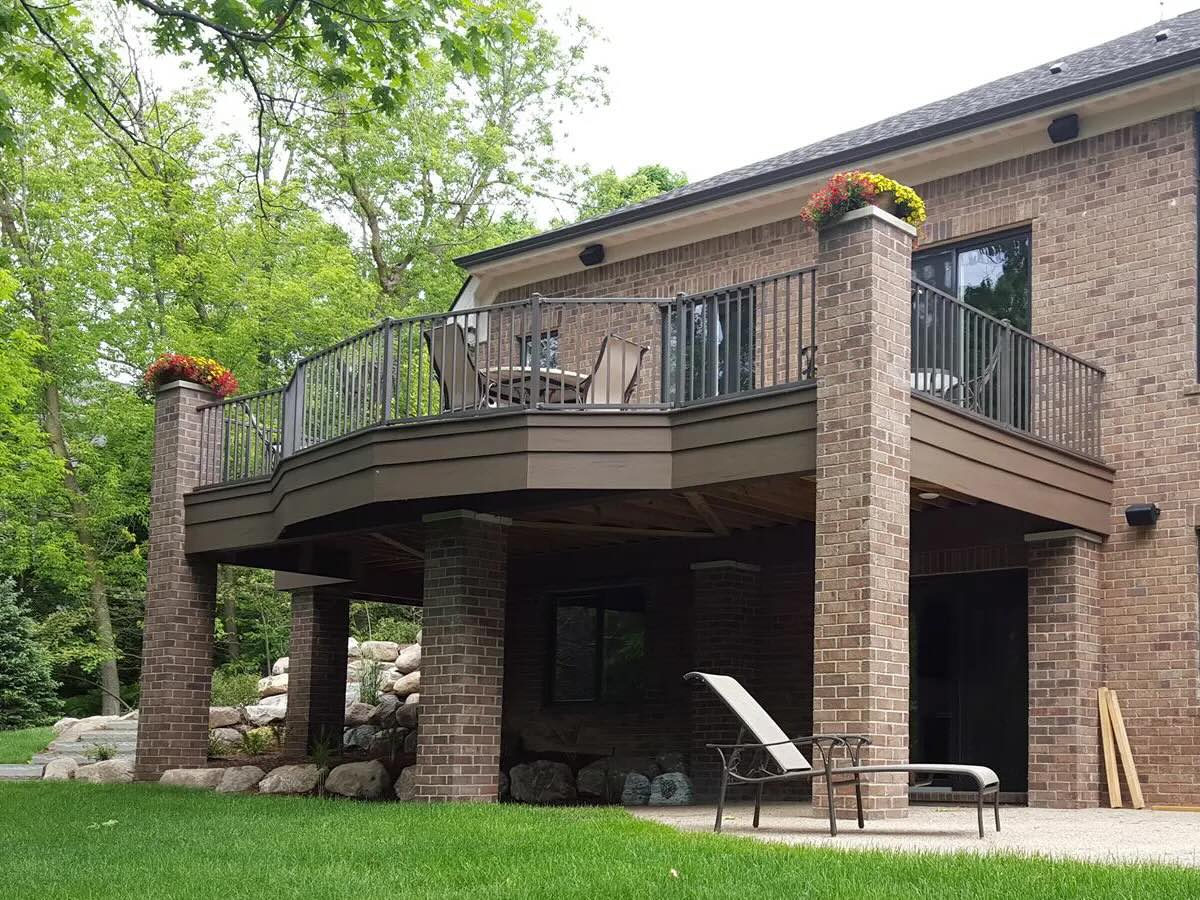
Before attaching a pergola to your deck, it’s essential to ensure that the deck is structurally sound and capable of supporting the added weight and wind load of the pergola. Here’s a step-by-step guide to preparing your deck for the installation:
1. Check Deck Stability:
Inspect the deck to ensure there are no signs of rot, decay, or structural damage. Pay close attention to the ledger board, support posts, and beams. If any issues are identified, address them promptly to guarantee the deck’s stability.
2. Evaluate Load-Bearing Capacity:
Determine the load-bearing capacity of the deck to verify that it can support the additional weight of the pergola. Consult the deck’s original building plans or enlist the expertise of a structural engineer if you’re uncertain about the deck’s capacity.
3. Identify Anchor Points:
Locate suitable anchor points on the deck where the pergola posts will be attached. Ensure that the anchor points align with the pergola design and provide adequate support. Mark these points clearly for reference during the installation.
4. Clear the Installation Area:
Remove any obstacles, furniture, or accessories from the designated installation area to create a clear and unobstructed space. This will facilitate the installation process and minimize the risk of accidents or damage to property.
Read more: How To Attach Rafters To Beam On A Pergola
5. Obtain Necessary Permits:
Check local building codes and regulations to determine if a permit is required for attaching a pergola to your deck. Obtain the necessary permits before proceeding with the installation to ensure compliance with legal requirements.
By thoroughly preparing your deck, you’ll create a solid foundation for attaching the pergola, setting the stage for a successful and secure installation. With the deck primed and ready, you’re now prepared to move on to the next phase: attaching the pergola posts to the deck.
Attaching the Pergola Posts to the Deck
Attaching the pergola posts to your deck is a critical step that demands precision and careful consideration. Follow these guidelines to ensure a secure and stable connection between the pergola and the deck:
1. Position the Posts:
Place the 4×4 or 6×6 pressure-treated posts in the predetermined anchor points on the deck. Use a level to ensure that the posts are perfectly plumb and aligned according to your pergola design. Secure the posts in position temporarily to prevent any movement during the installation process.
2. Mark Drilling Points:
Once the posts are in place, mark the drilling points on the deck through the holes in the post anchors or brackets. This will guide the drilling process and ensure that the anchor points are accurately aligned with the deck’s surface.
Read more: How To Attach A Pergola To A Brick House
3. Drill Pilot Holes:
Using a drill with the appropriate bit, carefully drill pilot holes through the marked points on the deck. Ensure that the holes are deep enough to accommodate the galvanized carriage bolts that will secure the posts to the deck.
4. Secure the Posts:
With the pilot holes in place, position the post anchors or brackets over the holes and secure them to the deck using wood screws. Once the anchors are in position, insert the galvanized carriage bolts through the holes in the posts and anchors, adding washers and nuts on the underside of the deck. Tighten the nuts securely to fasten the posts to the deck.
5. Stabilize the Posts:
To reinforce the connection, fill the post holes with concrete mix around the base of each post. This will provide additional stability and prevent lateral movement, especially in areas prone to high winds or inclement weather.
By following these steps, you’ll establish a robust and reliable attachment between the pergola posts and the deck, laying the groundwork for the next phase of the installation: adding the pergola beams and rafters.
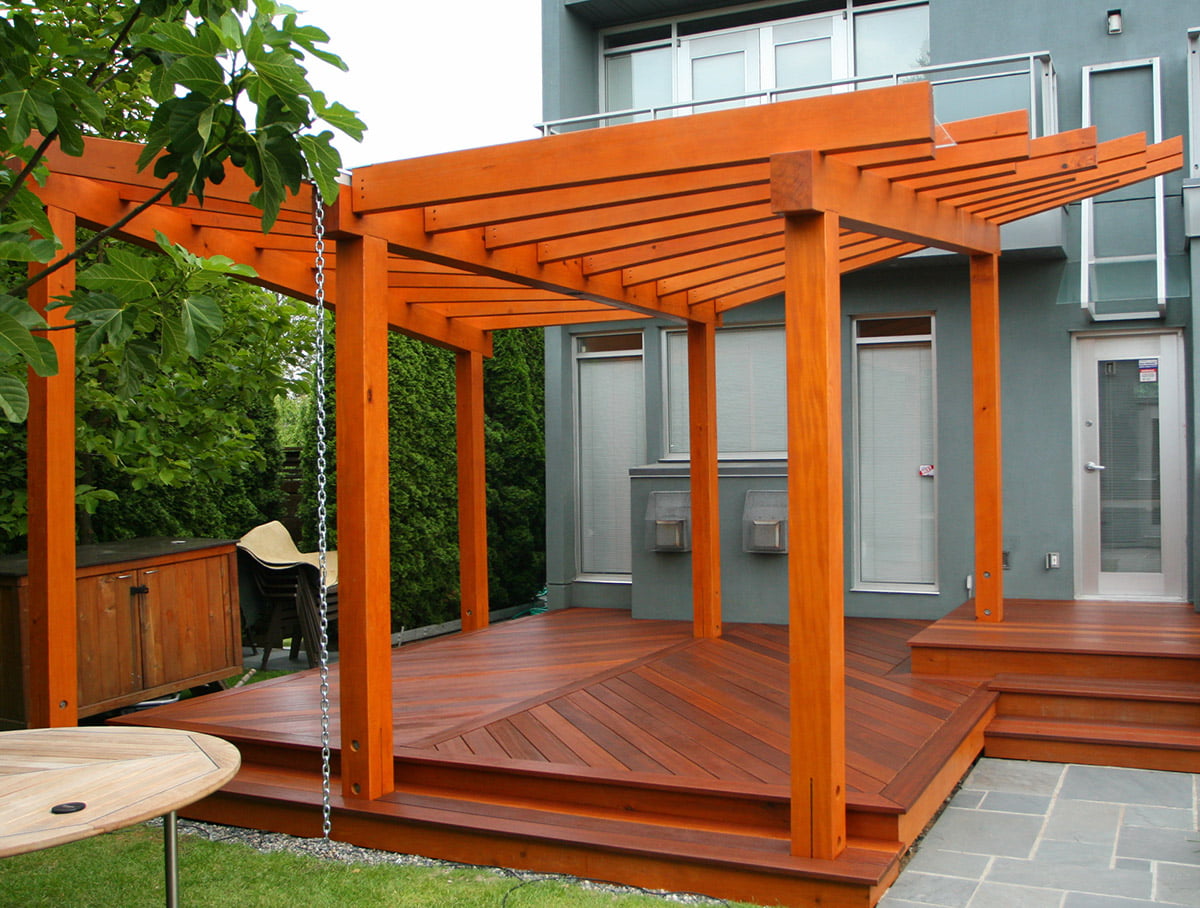
Installing the Pergola Beams and Rafters
With the pergola posts securely attached to the deck, the next phase involves installing the beams and rafters to complete the framework of the pergola. Follow these steps to ensure a seamless and visually appealing assembly:
Read more: How To Attach Sun Shade To A Pergola
1. Position the Beams:
Place the pre-cut beams across the tops of the pergola posts, ensuring that they are evenly spaced and aligned with the design specifications. Use a level to confirm that the beams are perfectly horizontal and adjust their positioning as needed.
2. Secure the Beams:
Once the beams are in place, fasten them to the posts using galvanized brackets or heavy-duty screws. Ensure that the connections are tight and secure to provide the necessary support for the rafters and the overall structure of the pergola.
3. Add the Rafters:
With the beams securely in position, add the pre-cut rafters perpendicular to the beams, spacing them according to the design plans. Secure the rafters to the beams using appropriate fasteners, ensuring that they are uniformly positioned and aligned to create an aesthetically pleasing and structurally sound framework.
4. Apply Decorative Touches:
Consider adding decorative touches such as ornamental end caps to the beams and rafters to enhance the visual appeal of the pergola. These finishing details can impart a polished and refined look to the structure, elevating its overall appearance.
Read more: How To Attach A Pergola To A Concrete Patio
5. Seal and Stain:
Protect the wood from the elements by applying a high-quality wood sealant or stain to the entire pergola structure. This will not only enhance the natural beauty of the wood but also prolong its lifespan by shielding it from moisture, UV rays, and other environmental factors.
By following these steps, you’ll successfully install the beams and rafters, bringing your pergola to life and creating a captivating outdoor space that seamlessly integrates with your deck. With the framework in place, it’s time to add the finishing touches that will complete the transformation of your outdoor living area.
Adding Finishing Touches
As you near the completion of your pergola installation, it’s time to add the finishing touches that will enhance its visual appeal and functionality. These final steps will elevate the overall aesthetic and ensure that your pergola integrates seamlessly with your deck and outdoor space:
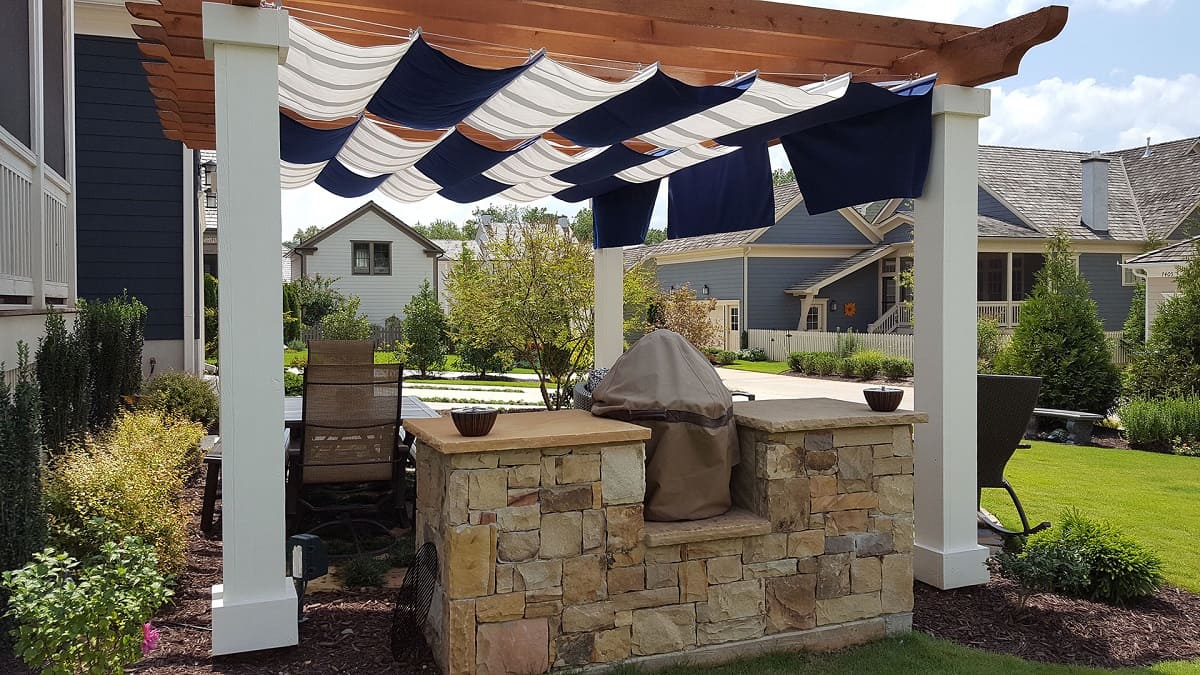
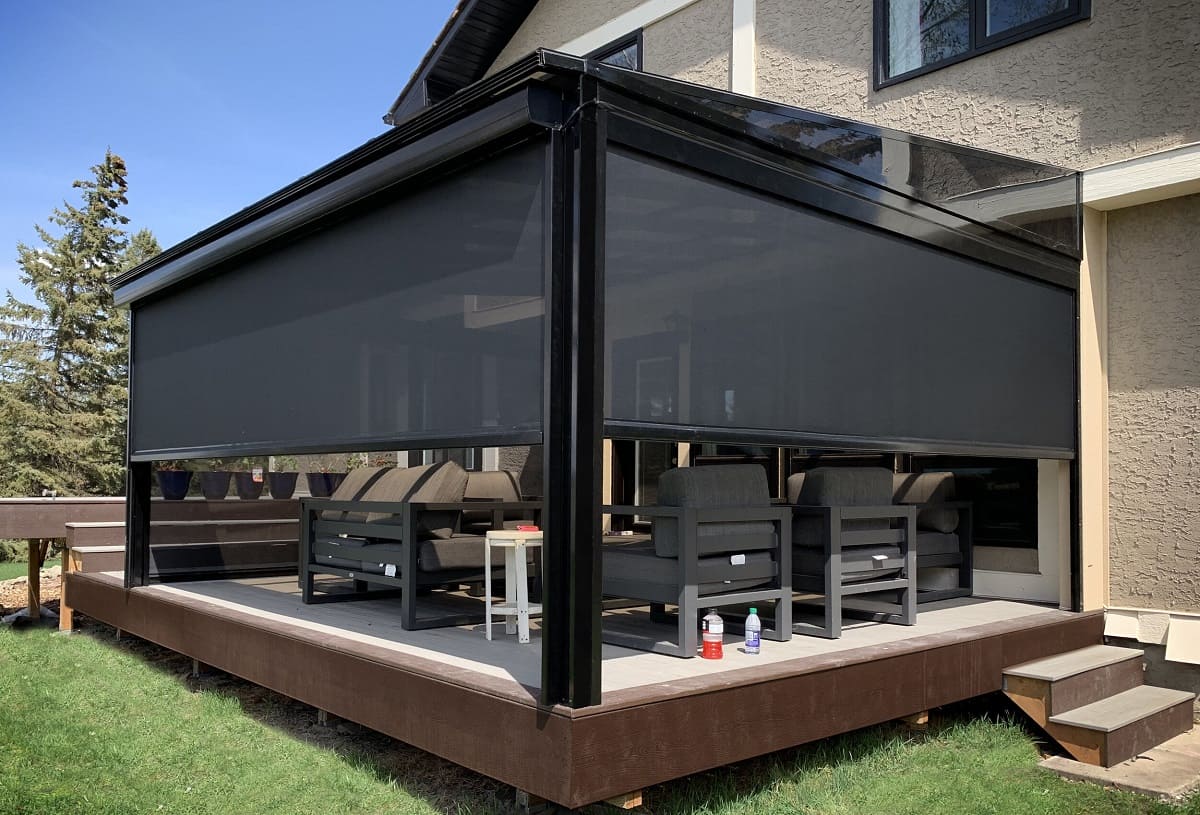
1. Incorporate Shade Elements:
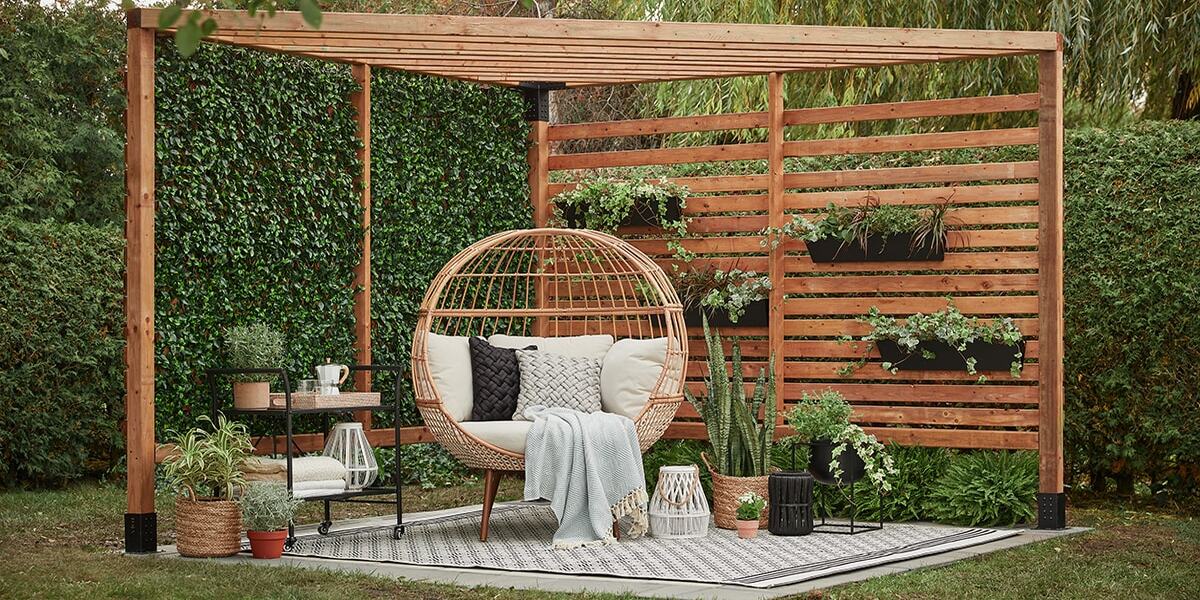
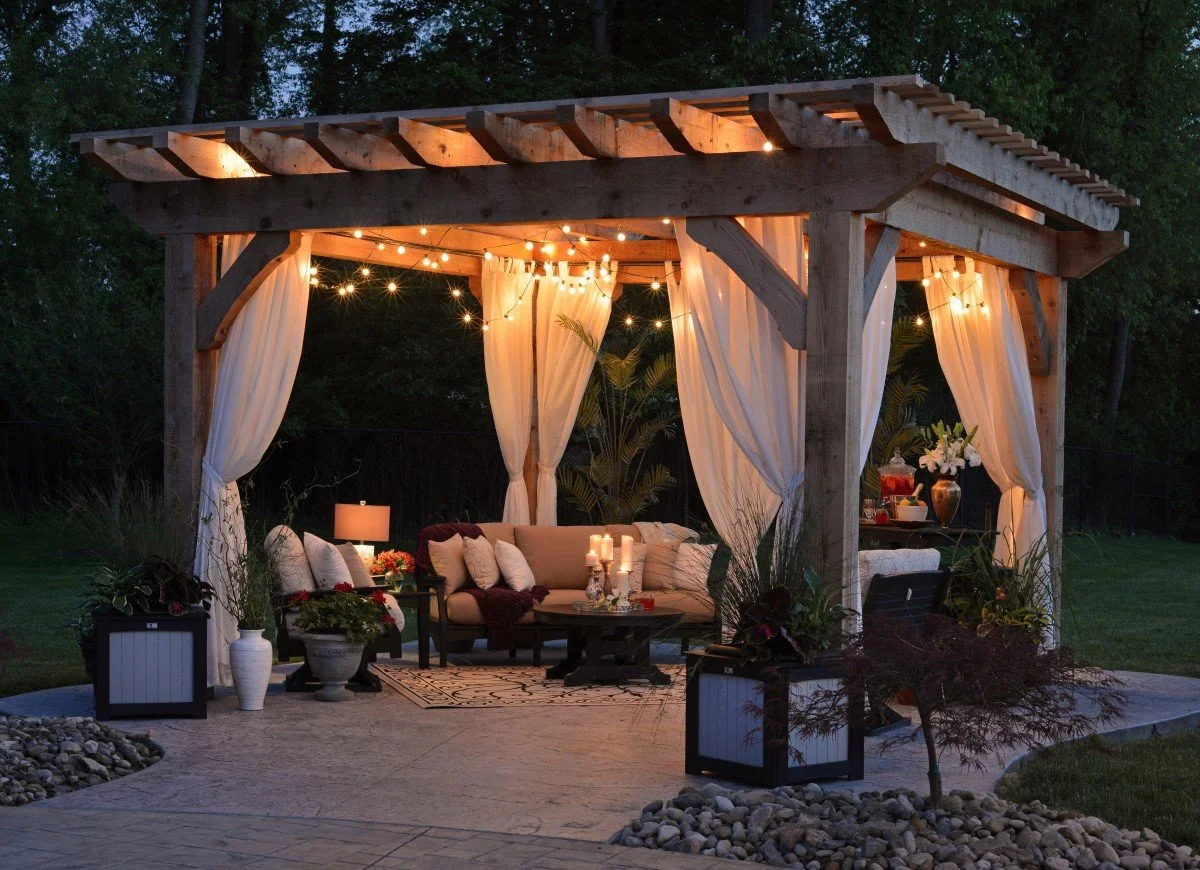
If your pergola is designed to provide shade, consider adding retractable canopy systems, outdoor fabric, or climbing plants such as vines or flowering creepers. These elements not only offer relief from the sun but also contribute to the pergola’s ambiance and create a more intimate and inviting outdoor environment.
2. Integrate Lighting:
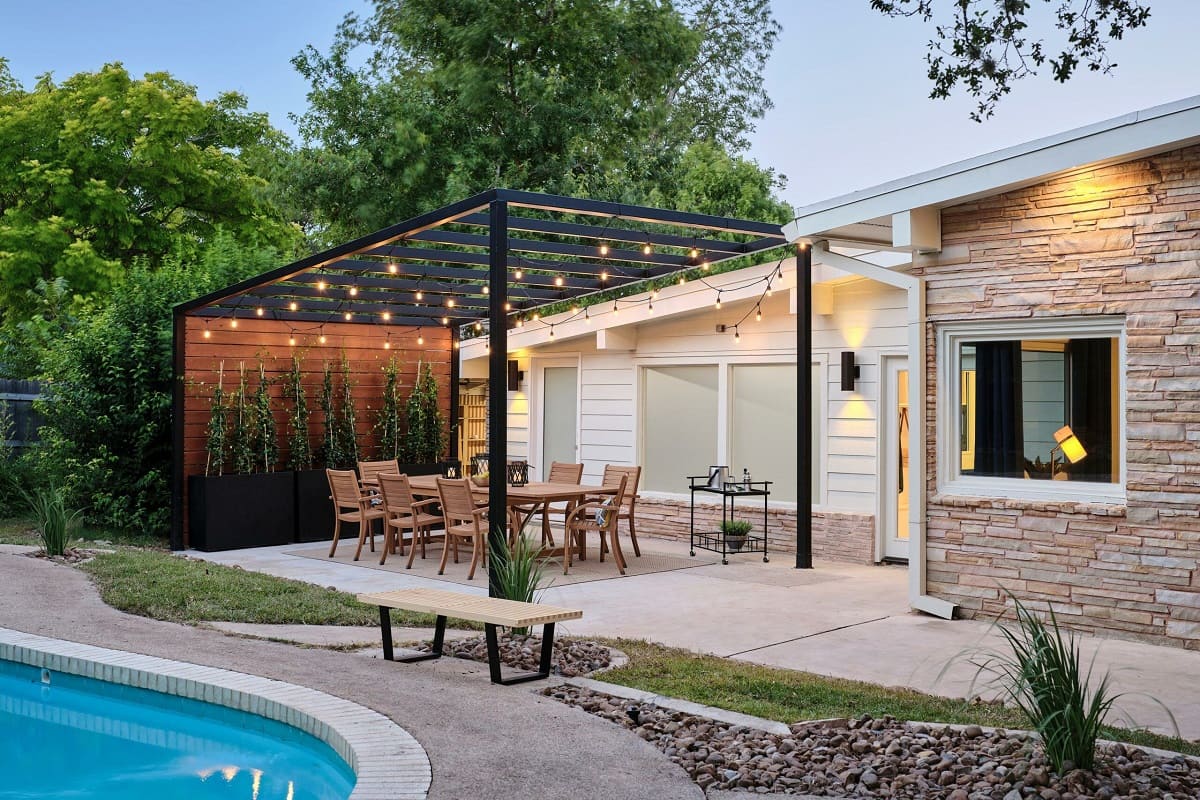
Enhance the versatility of your pergola by incorporating lighting features such as string lights, lanterns, or low-voltage LED fixtures. Lighting not only extends the functionality of the pergola into the evening but also adds a warm and welcoming atmosphere for gatherings and relaxation.
Read more: How To Attach Pool Ladder To Deck
3. Furnish the Space:
Add outdoor furniture, such as comfortable seating, dining sets, or lounge chairs, to make the pergola an inviting and functional extension of your deck. Select furniture that complements the style of the pergola and enhances its usability for various activities and gatherings.
4. Personalize with Décor:
Infuse your personal style into the pergola space by incorporating decorative elements such as outdoor rugs, throw pillows, potted plants, and artwork. These touches add character and charm, transforming the pergola into a personalized oasis that reflects your taste and personality.
5. Maintain Regularly:
Establish a maintenance routine to preserve the beauty and integrity of your pergola. Regularly inspect the structure for signs of wear, clean the surfaces, and reapply sealant or stain as needed to protect the wood and maintain its luster over time.
By attending to these finishing touches, you’ll complete the transformation of your deck with the addition of a stunning pergola. The integration of shade elements, lighting, furnishings, décor, and maintenance practices will ensure that your pergola remains a captivating and functional outdoor retreat for years to come.
Conclusion
Embarking on the journey of attaching a pergola to your deck has not only expanded your outdoor living space but has also enriched your lifestyle with a captivating and functional retreat. By following the steps outlined in this guide, you’ve successfully transformed your deck into an inviting and aesthetically pleasing area that offers shade, comfort, and endless possibilities for relaxation and entertainment.
Throughout the installation process, you’ve demonstrated a commitment to precision, safety, and attention to detail, resulting in a pergola that seamlessly integrates with your deck and complements your outdoor environment. The careful selection of tools and materials, thorough preparation of the deck, and meticulous installation of the pergola components have culminated in a structure that not only enhances the visual appeal of your outdoor space but also contributes to its practicality and charm.
As you bask in the beauty of your newly attached pergola, adorned with finishing touches that reflect your personal style and preferences, you can take pride in the accomplishment of creating a space that resonates with warmth, comfort, and individuality. Whether you’re unwinding with a book on a tranquil afternoon or hosting lively gatherings under the stars, your pergola has become a focal point of enjoyment and relaxation for you and your loved ones.
As seasons change and memories are made within the embrace of your pergola, remember the importance of regular maintenance to uphold its allure and structural integrity. By nurturing and preserving this outdoor sanctuary, you’ll continue to reap the rewards of your efforts, savoring the enduring beauty and functionality of your pergola for years to come.
With the completion of this transformative project, you’ve not only attached a pergola to your deck but have also woven a new chapter into the fabric of your outdoor lifestyle—a chapter filled with tranquility, conviviality, and the simple joys of al fresco living.
Congratulations on the successful attachment of your pergola to your deck, and may the enchanting ambiance of your outdoor haven bring you endless moments of happiness and contentment.
Frequently Asked Questions about How To Attach A Pergola To A Deck
Was this page helpful?
At Storables.com, we guarantee accurate and reliable information. Our content, validated by Expert Board Contributors, is crafted following stringent Editorial Policies. We're committed to providing you with well-researched, expert-backed insights for all your informational needs.
0 thoughts on “How To Attach A Pergola To A Deck”