
Articles
How To Enclose A Balcony
Modified: May 6, 2024
Learn how to enclose your balcony with our helpful articles. Discover tips and techniques to create a cozy and functional space.
(Many of the links in this article redirect to a specific reviewed product. Your purchase of these products through affiliate links helps to generate commission for Storables.com, at no extra cost. Learn more)
Introduction
Enclosing a balcony can be a great way to extend your living space and create a cozy and versatile outdoor area. Whether you want to enjoy the outdoors year-round or create a private retreat, enclosing your balcony allows you to do so while protecting yourself from the elements and ensuring privacy.
In this article, we will guide you through the step-by-step process of how to enclose a balcony. We will discuss assessing your balcony, choosing enclosure options, obtaining required permissions, gathering materials and tools, preparing the balcony, installing the enclosure frame, adding walls and panels, installing windows or screens, sealing and insulating the enclosure, and adding finishing touches.
By the end of this article, you will have a comprehensive understanding of the different steps involved in enclosing a balcony and will be equipped with the knowledge and skills necessary to successfully complete the project.
Key Takeaways:
- Enclosing a balcony involves assessing, choosing the right enclosure, obtaining permissions, gathering materials, preparing the balcony, installing the frame, adding walls and panels, installing windows or screens, sealing and insulating, and adding finishing touches. Each step is crucial for creating a versatile and comfortable outdoor space.
- Proper preparation, attention to detail, and compliance with regulations are essential for a successful balcony enclosure project. From structural integrity to finishing touches, each aspect contributes to creating a cozy and functional outdoor retreat.
Read more: How To Enclose A Pergola
Step 1: Assessing the Balcony
The first step in enclosing a balcony is to assess its current condition and determine its suitability for an enclosure. Here are some important factors to consider:
- Size and Layout: Measure the dimensions of your balcony to determine the amount of space you have available for the enclosure. Consider the layout of the balcony and any obstacles such as pillars or railings that may affect the installation.
- Structural Integrity: Inspect the balcony for any signs of damage or weak spots. Look for cracks, rot, or rust that may need to be addressed before proceeding with the enclosure. It is essential to have a structurally sound foundation to ensure the safety and longevity of the enclosure.
- Weather Exposure: Evaluate how exposed your balcony is to different weather conditions. Consider factors such as wind direction, rain, and sunlight. This will help you determine the level of insulation, sealing, and weatherproofing required for your enclosure.
- Building Codes and Regulations: Research the local building codes and regulations regarding balcony enclosures. Some municipalities may have specific guidelines and restrictions that you need to adhere to. Check if permits or approvals are required before proceeding with the project.
- Functionality: Determine how you plan to use the enclosed balcony. Will it serve as a sunroom, additional living space, office, or a relaxation area? Understanding the intended functionality will help you make informed decisions regarding materials, design, and layout.
Once you have assessed the balcony based on these factors, you will have a better idea of the specific requirements and considerations for enclosing your balcony. This information will serve as a foundation for the subsequent steps of the enclosure project.
Step 2: Choosing Enclosure Options
After assessing your balcony, the next step is to choose the right enclosure option that suits your needs and preferences. There are several options to consider, each with its own advantages and considerations:
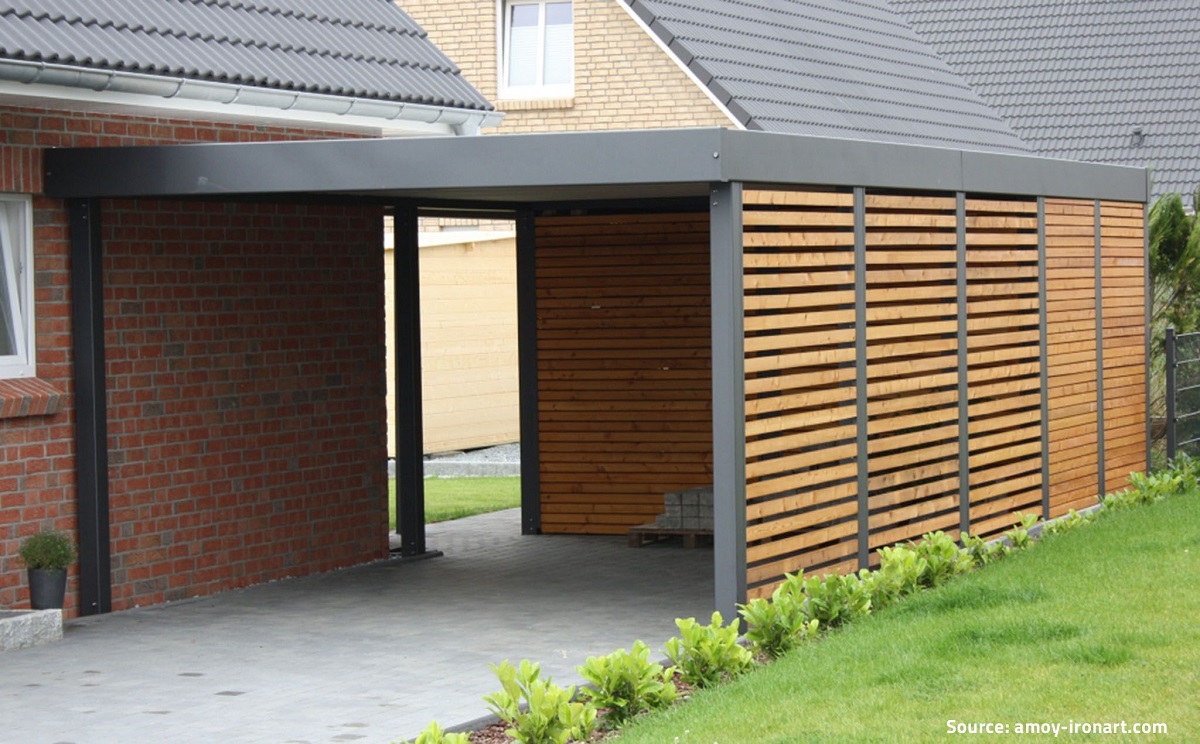
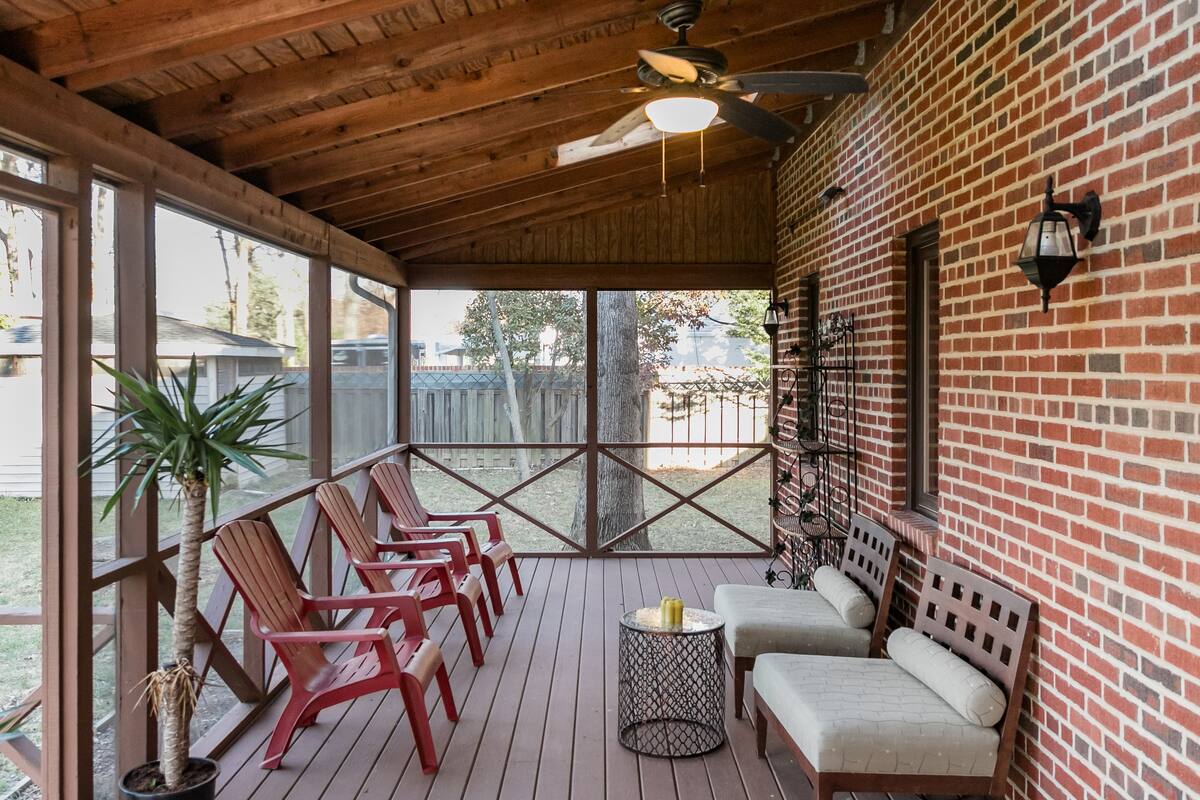
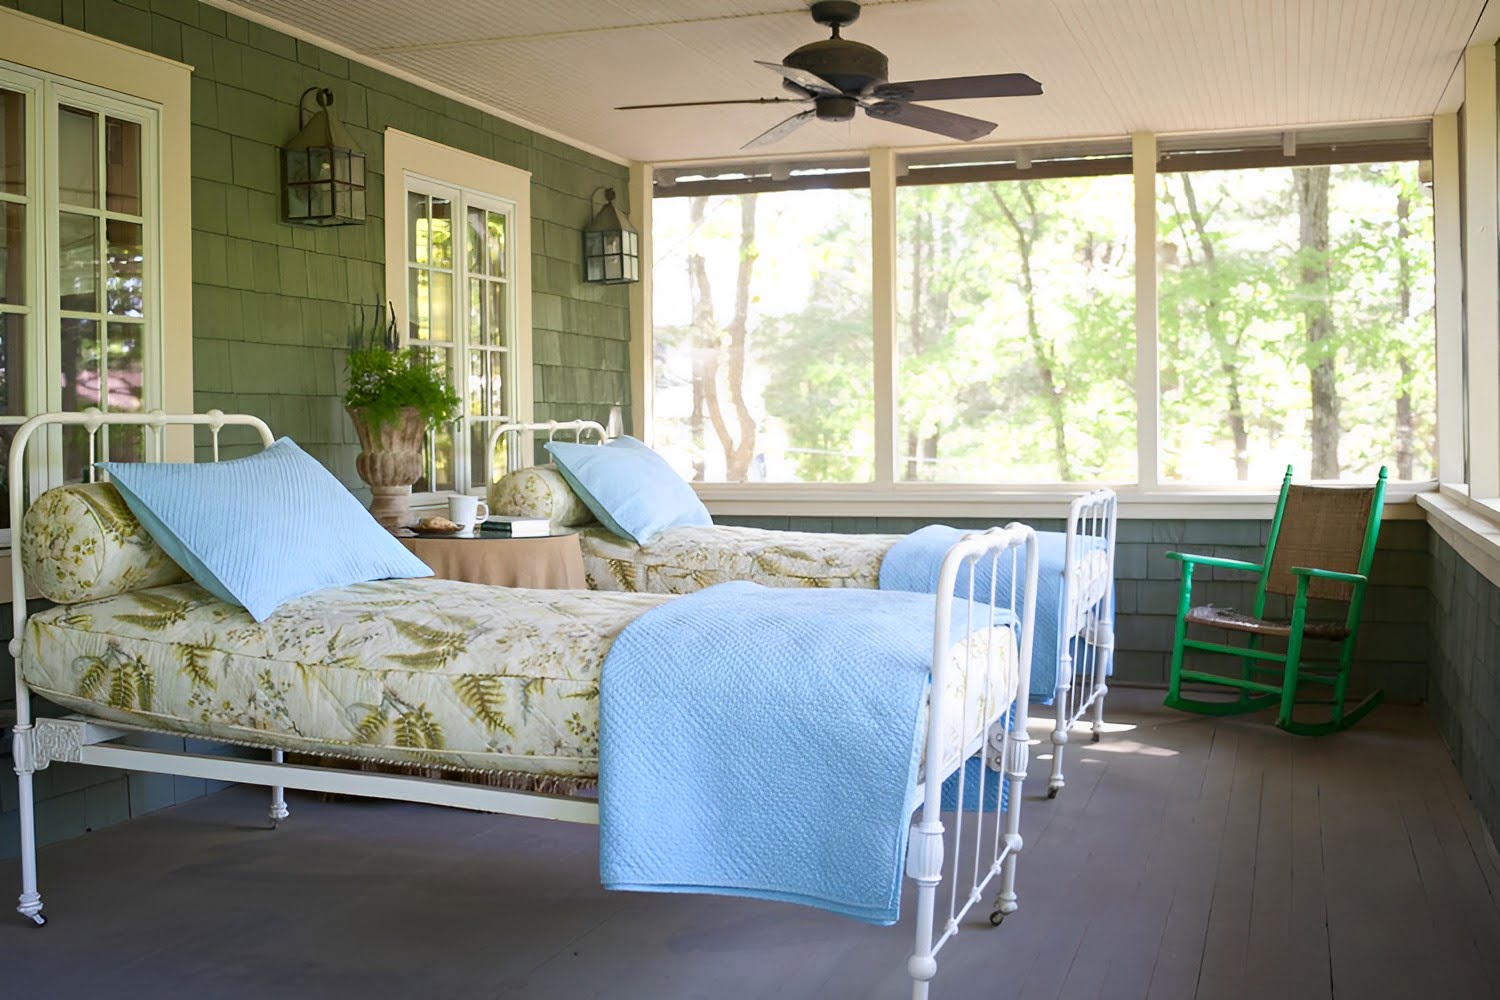
- Screen Enclosures: If you want to maintain the open feel of your balcony while keeping bugs and insects out, a screen enclosure is a popular choice. These enclosures use mesh screens that allow fresh air to flow while providing a barrier against pests. Screen enclosures are a great option for those who want to enjoy the outdoor ambiance without completely closing off the balcony.
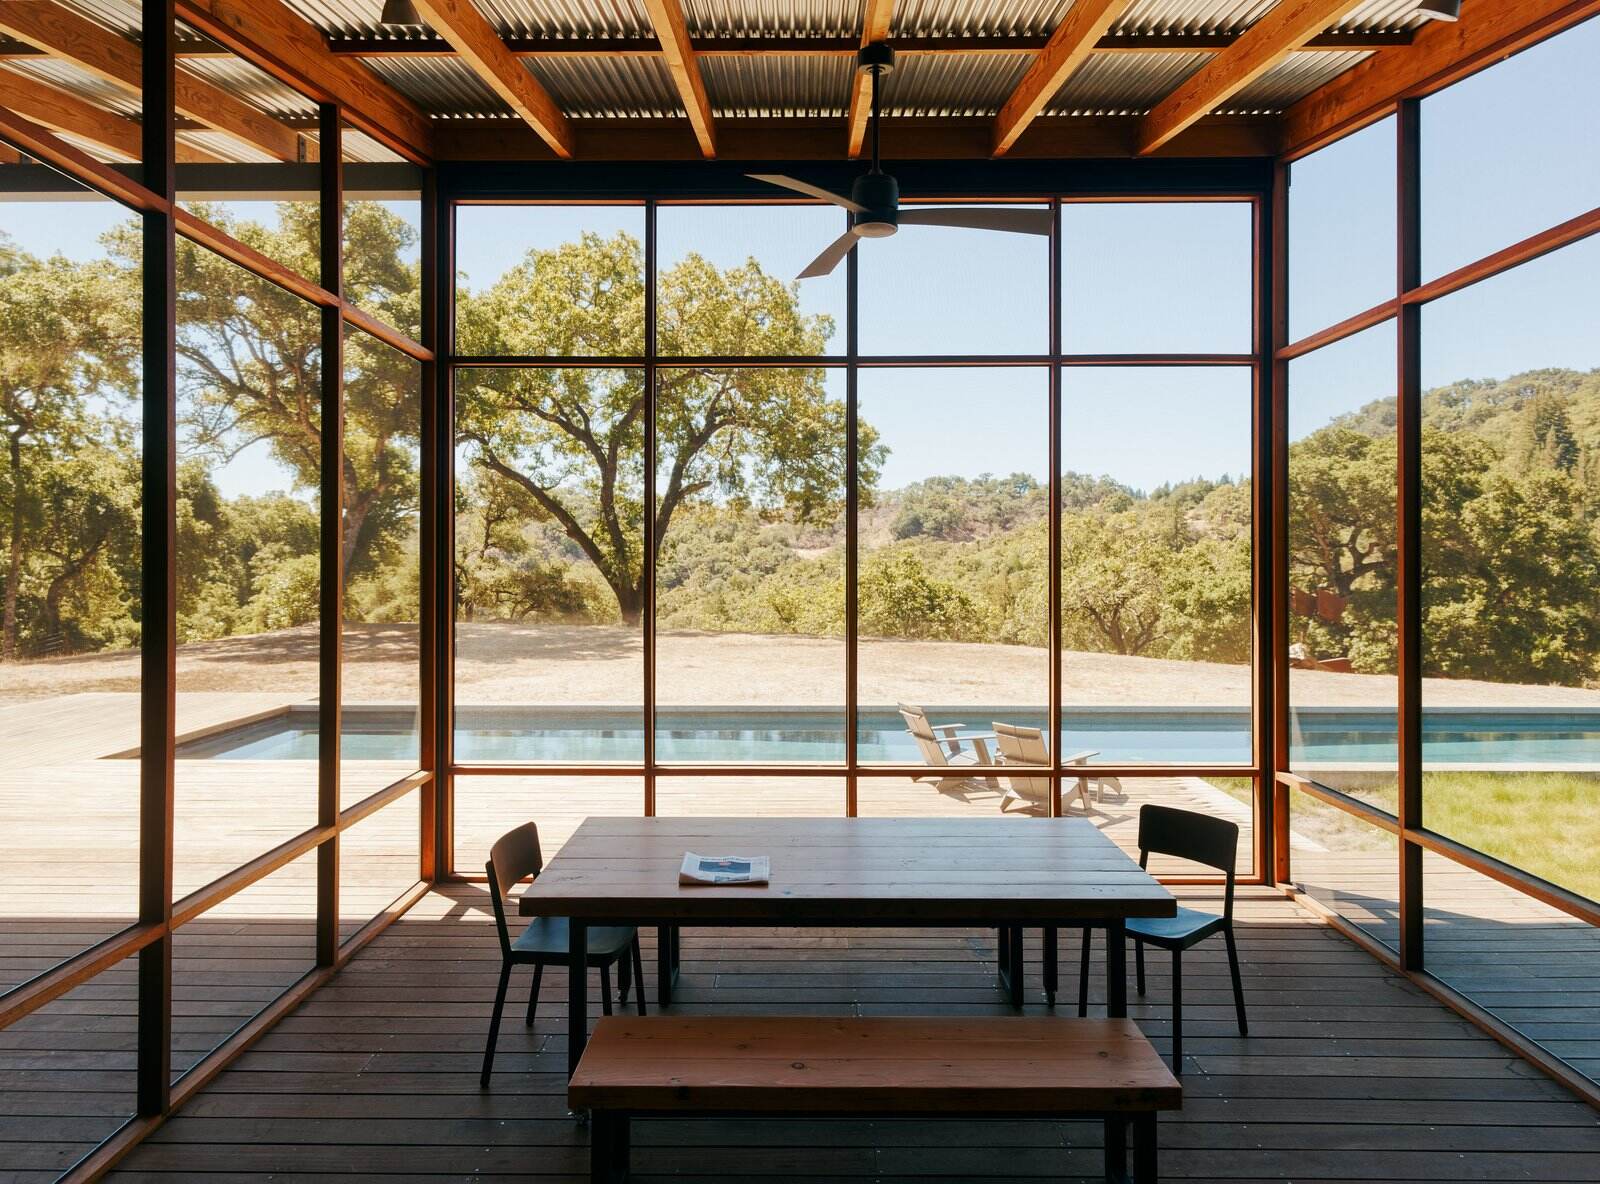
- Glass or Acrylic Panels: Glass or acrylic panels offer a more enclosed and weather-resistant option for your balcony. They provide protection from wind, rain, and dust while allowing natural light to enter. Glass panels offer a clear, unobstructed view, while acrylic panels are lightweight and more resistant to breakage. These panels can be fixed or operable, allowing you to control the ventilation.
- Window Systems: Installing windows in your balcony enclosure provides a fully enclosed space that you can control throughout the year. Whether you choose traditional sliding windows or more modern options like folding or bi-fold windows, this option offers versatility and insulation. Windows allow you to open and close the enclosure as desired, providing flexibility for different weather conditions.
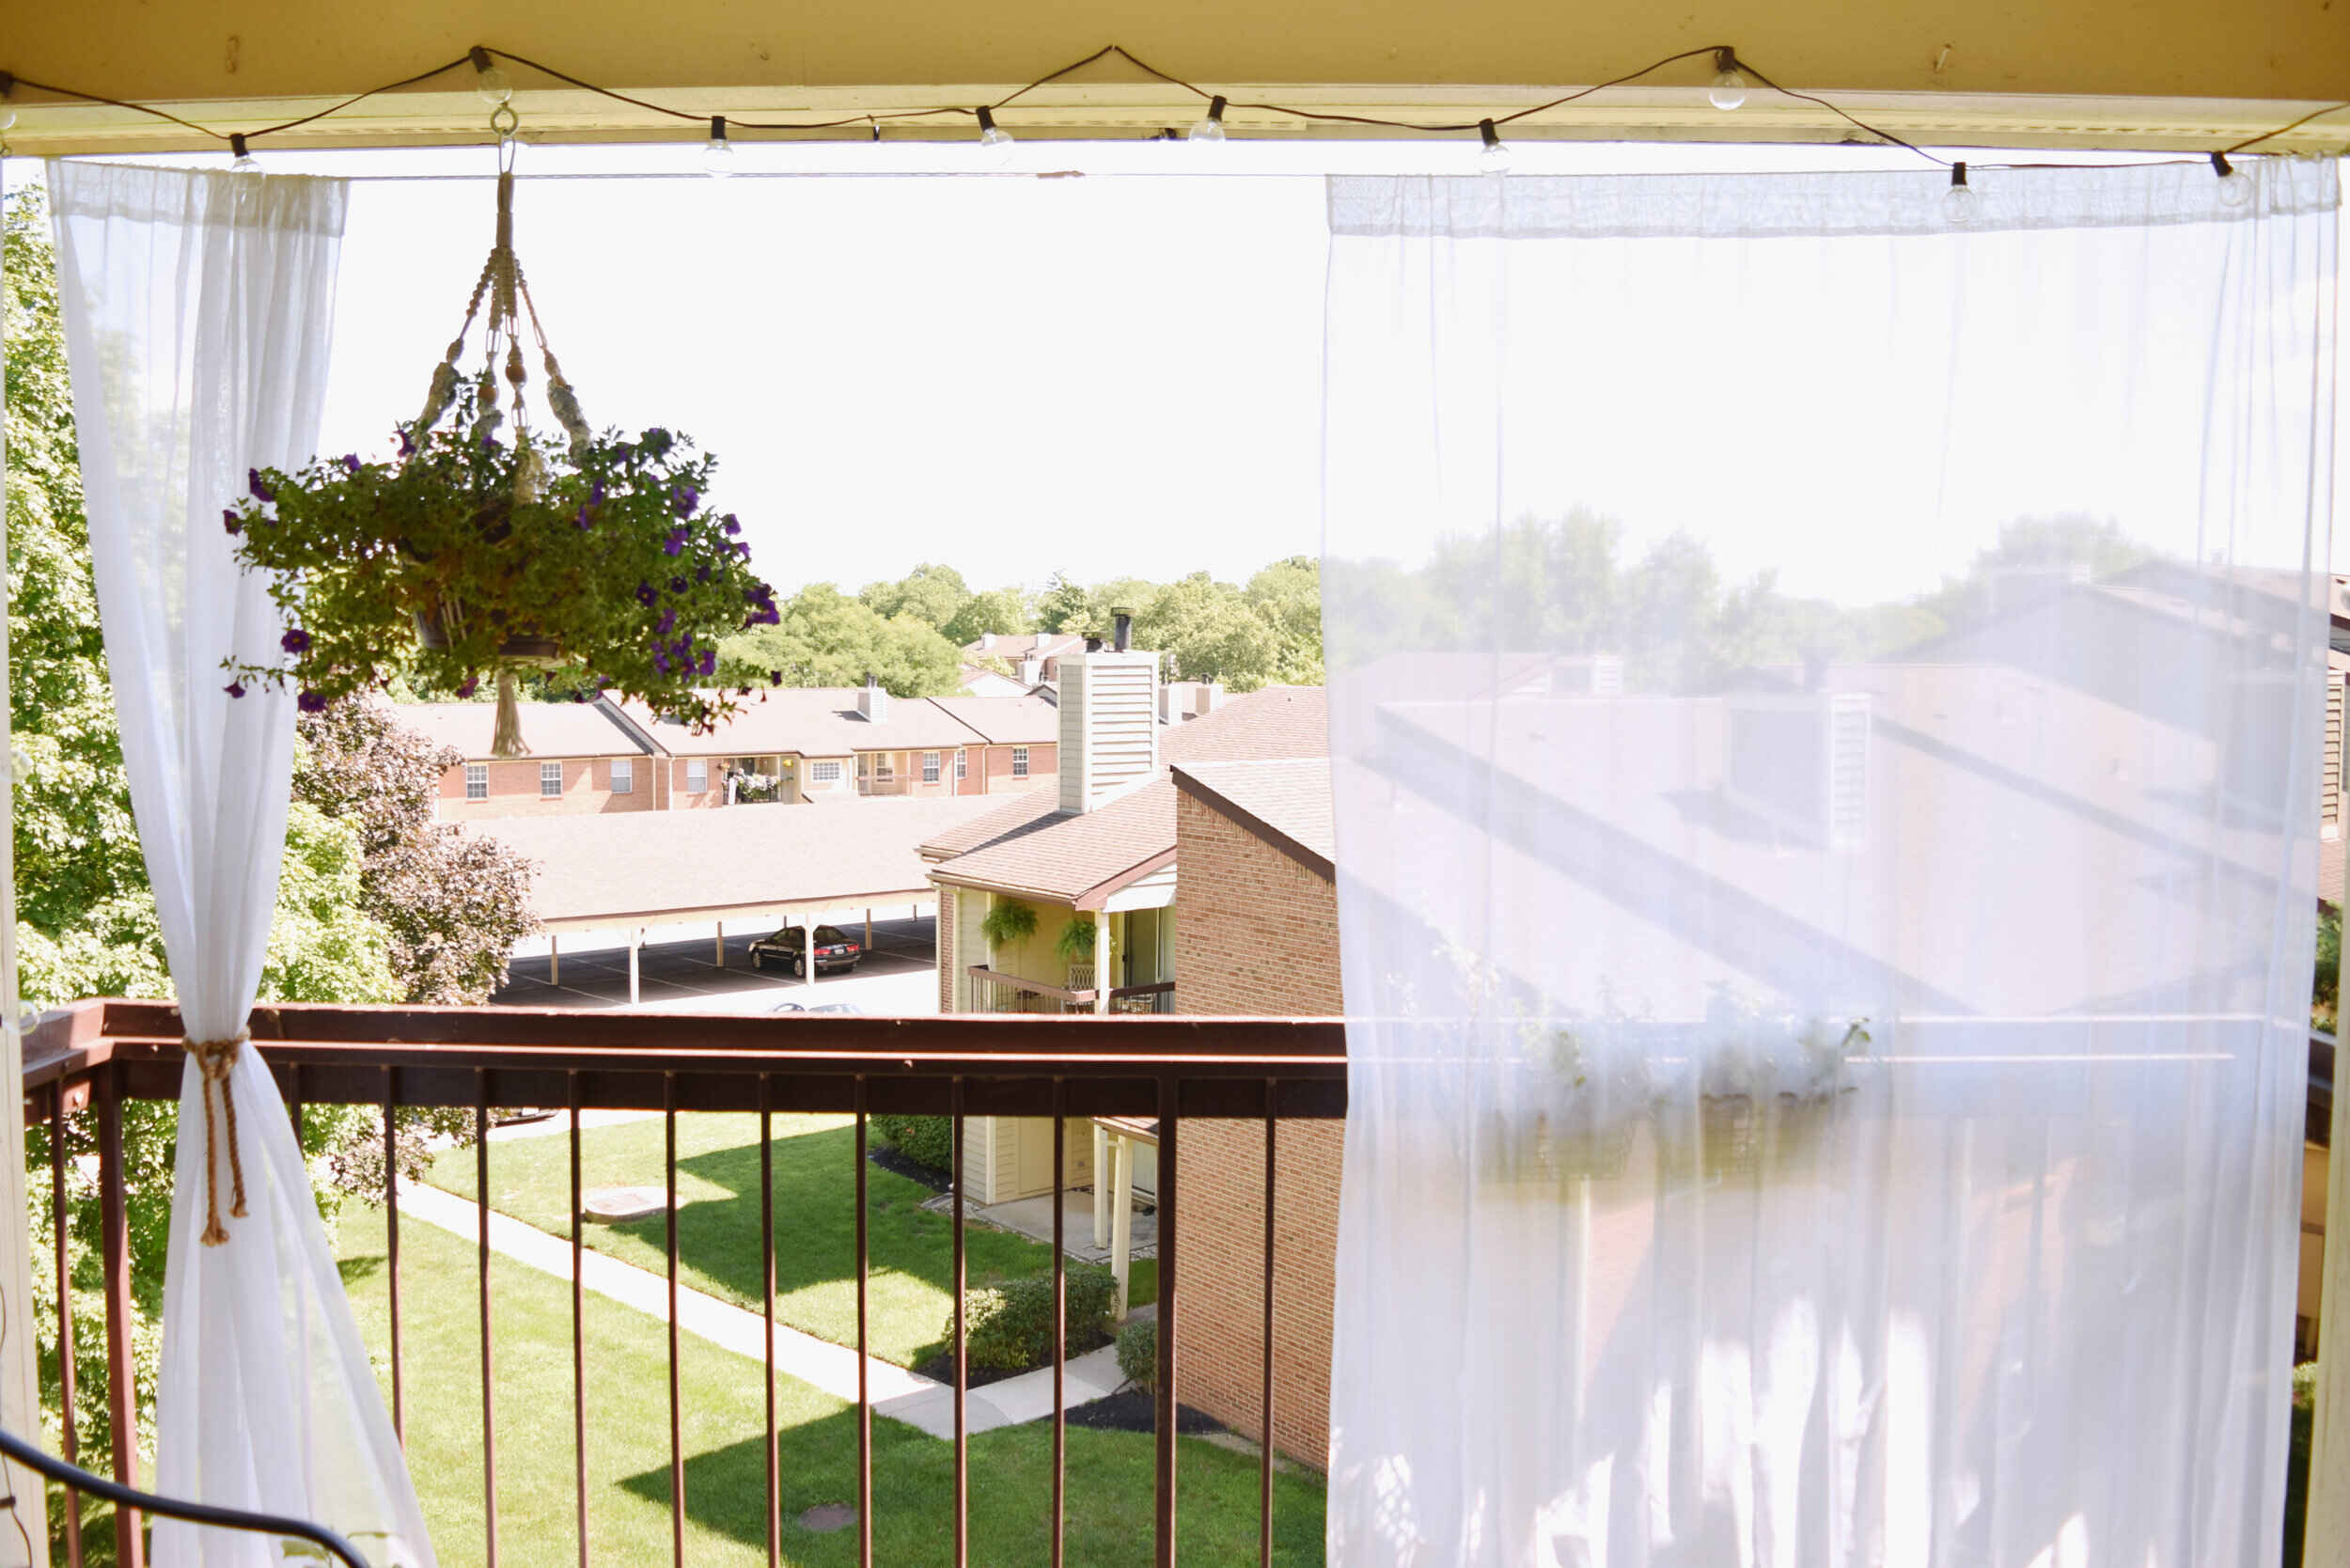
- Temporary Enclosures: If you’re looking for a more temporary solution, consider options like retractable awnings or outdoor curtains. These provide some protection from the elements and privacy when needed but can be easily opened or removed to enjoy the open balcony.
When choosing your enclosure option, consider factors such as your budget, local climate, desired level of privacy, and the overall aesthetic of your home. It’s also important to consult any applicable building codes or regulations to ensure that your chosen enclosure option is compliant.
By selecting the right enclosure option for your balcony, you can create a comfortable and functional space that meets your needs and enhances your outdoor living experience.
Step 3: Obtaining Required Permissions
Before proceeding with the balcony enclosure project, it is essential to obtain any necessary permissions or approvals from the relevant authorities. This step ensures that you comply with local building codes, regulations, and neighborhood rules. Here are some key considerations:
- Research Local Regulations: Start by researching the specific regulations related to balcony enclosures in your area. This may include guidelines on height restrictions, setback requirements, materials, and other factors. Check with your local building department or municipal office to gather the necessary information.
- Apply for Permits: Determine if you need to obtain permits for your balcony enclosure. Some jurisdictions require permits for structural modifications, electrical work, or changes to the exterior of the building. Submit the necessary permit applications along with any required documentation, such as architectural drawings or engineering plans.
- Consult Homeowner’s Association (HOA): If you live in a community with a homeowner’s association, check if there are any specific guidelines or restrictions regarding balcony enclosures. Review the HOA guidelines and seek approval for your project if necessary. This step ensures that your enclosure aligns with the community’s aesthetic standards and regulations.
- Engage Professionals: If you’re unsure about the regulations or the permit application process, consider consulting with professionals such as architects, engineers, or contractors experienced in balcony enclosures. They can guide you through the necessary steps and help ensure that your project meets all requirements.
- Document Approvals: Once you have obtained the necessary permissions and approvals, make sure to keep copies of the permits or any other documentation as proof of compliance. These documents may be needed if you plan to sell your property in the future or if any issues arise regarding the enclosure.
Obtaining the required permissions and approvals may take some time and effort, but it is a crucial step in ensuring the legality and safety of your balcony enclosure project. Failure to comply with regulations and obtain necessary permissions can result in fines, penalties, or even the need to undo the work done. By taking the time to complete this step, you can proceed with the project confidently, knowing that you have met all the necessary legal requirements.
Step 4: Gathering Materials and Tools
Once you have obtained the necessary permissions and approvals, it’s time to gather the materials and tools needed for your balcony enclosure project. Here are some key considerations:
- Enclosure Materials: Depending on the type of enclosure you have chosen, you will need specific materials. This may include screens, glass or acrylic panels, window frames, framing materials, weatherstripping, insulation, and sealing materials. Research and determine the appropriate materials based on your enclosure design and local climate.
- Fasteners and Hardware: You will need a variety of fasteners and hardware to secure the enclosure components. This may include screws, bolts, brackets, hinges, latches, and handles. Make a list of the necessary hardware and ensure that you have the correct sizes and types for the materials you are working with.
- Measuring and Cutting Tools: Accurate measurements and precise cuts are essential for a successful enclosure project. Make sure you have measuring tools such as a tape measure, level, and square. You may also need cutting tools like a circular saw, miter saw, or hacksaw to trim and adjust materials to fit your balcony dimensions.
- Safety Equipment: It is crucial to prioritize safety during your balcony enclosure project. Ensure you have safety equipment such as safety glasses, gloves, and a dust mask. If you will be working at heights, consider using a sturdy ladder or scaffolding system to ensure stability and prevent falls.
- Additional Tools: Depending on the complexity of your project, you may need additional tools such as a drill, screwdriver, pry bar, caulking gun, paintbrushes, or a heat gun. Assess your specific project requirements and gather any additional tools that may be needed.
Before starting your project, make a thorough checklist of all the required materials and tools. This will help ensure that you have everything you need at hand, minimizing disruptions and delays during the construction process.
It’s also a good idea to research and gather any additional supplies such as cleaning materials, paint, or decorative elements that you may want to incorporate into your balcony enclosure design. These finishing touches will add personalization and enhance the overall aesthetic of the space.
By gathering all the necessary materials and tools before you begin, you can approach the construction phase of your balcony enclosure project with confidence and efficiency.
Read more: How To Enclose A Patio
Step 5: Preparing the Balcony
Before you can start installing the enclosure, it’s important to properly prepare the balcony to ensure a smooth and successful project. Follow these steps to prepare your balcony:
- Clear the Space: Remove any furniture, plants, or other items from the balcony to create a clean and clear work area. This will provide you with ample space to maneuver and install the enclosure components.
- Clean the Surface: Thoroughly clean the balcony surface to remove dirt, dust, and debris. Sweep the floor, wash the walls, and clean the railing if applicable. This will ensure a clean and stable foundation for the enclosure installation.
- Repair and Replace: Carefully inspect the balcony for any damage or wear and tear. Repair any cracks, holes, or loose parts before proceeding with the enclosure installation. Replace any damaged or worn-out flooring or railing materials to enhance the overall stability and aesthetics of the balcony.
- Consider Waterproofing: Depending on the balcony’s exposure to rain and other elements, consider applying a waterproofing sealant to the surface. Waterproofing will help protect the materials and prevent water damage, ensuring the durability of your enclosure.
- Address Electrical and Lighting: If you plan to incorporate electrical outlets, lighting fixtures, or any other electrical components in your balcony enclosure, ensure that the necessary electrical work is done before installing the enclosure. This may involve consulting with a licensed electrician to ensure proper wiring and installation.
- Plan for Drainage: Assess the drainage system of your balcony and ensure that it is functioning properly. Clear any clogged drains or address any issues with water flow. Adequate drainage is important to prevent water accumulation and potential damage to the enclosure and balcony structure.
By thoroughly preparing your balcony before beginning the enclosure installation, you can create a solid foundation that will support the structural integrity and longevity of your enclosure. Taking the time to address any repairs, clean the surface, and consider additional factors such as waterproofing and drainage will help ensure a successful and functional balcony enclosure.
When enclosing a balcony, consider using materials that are weather-resistant and durable, such as tempered glass or aluminum. Make sure to check local building codes and obtain any necessary permits before starting the project.
Step 6: Installing the Enclosure Frame
Once you have prepared the balcony, it’s time to start installing the enclosure frame. The frame will provide the structure and support for the walls and panels of your balcony enclosure. Follow these steps to install the frame:
- Plan Your Frame Design: Determine the layout and design of your frame based on your enclosure goals and the dimensions of your balcony. Consider factors such as the number of walls, shapes, and angles required. Sketch out a detailed plan or consult with a professional to ensure accuracy.
- Mark and Measure: Use a tape measure, level, and square to mark the positions of the frame components on the balcony. Ensure that your measurements are accurate and that the frame will be properly aligned with the balcony walls and floor.
- Install Vertical Posts: Start by installing the vertical posts or columns that will support the frame. These posts should be securely attached to the balcony floor and ceiling, providing a stable foundation for the frame. Use appropriate fasteners and follow the manufacturer’s recommendations for the specific post material.
- Add Horizontal Beams or Rails: Connect the vertical posts with horizontal beams or rails to create the frame structure. Ensure that these beams are level and securely attached to the posts. The number and placement of the horizontal beams will depend on your frame design and the intended functionality of the enclosure.
- Check for Stability: Once the frame is assembled, check for stability and ensure that it is securely anchored and level. Wiggle the frame to ensure there is no movement or wobbling. If necessary, reinforce the connections or make adjustments to ensure a strong and stable frame.
- Consider Structural Integrity: It is important to review the structural integrity of the frame, especially if your balcony enclosure will be subject to strong wind loads or other potential stresses. Consult with a structural engineer if needed to ensure that the frame meets the necessary requirements and can withstand the forces it may encounter.
Proper installation of the enclosure frame is critical for the stability and functionality of your balcony enclosure. Take your time in accurately marking and measuring the frame components, and be diligent in ensuring that the frame is securely attached and level. By following these steps, you will lay the foundation for the successful installation of the walls, panels, and other components of your balcony enclosure.
Step 7: Adding Walls and Panels
With the frame installed, it’s time to add the walls and panels to your balcony enclosure. The walls and panels will provide the desired level of privacy, protection from the elements, and aesthetic appeal. Follow these steps to add the walls and panels:
- Choose Your Wall Materials: Determine the type of materials you want to use for the walls and panels of your balcony enclosure. This may include materials such as glass, acrylic, wood, or PVC. Consider factors such as privacy, visibility, durability, and maintenance requirements when making your choice.
- Measure and Cut the Materials: Measure the dimensions of the walls and panels needed for your enclosure. Use accurate measurements and a level to ensure that the cuts are precise and the panels will fit properly within the frame. If necessary, use a cutting tool appropriate for the material you are working with.
- Install the Panels: Attach the walls and panels to the frame. Depending on the material and design, this may involve screwing them directly into the frame, sliding them into tracks, or using other attachment methods recommended by the manufacturer. Ensure that the panels are securely fastened and properly aligned.
- Seal the Joints: Apply a weather-resistant sealant or caulk to the joints between the panels and the frame. This will help create a tight seal, preventing drafts, water infiltration, and insects from entering the enclosure. Follow the manufacturer’s instructions for the specific sealant you are using.
- Consider Ventilation Options: Depending on your enclosure design and local climate, you may need to incorporate ventilation options. This could include adding vents or operable panels that can be opened and closed to allow for airflow. Proper ventilation is important for preventing condensation and maintaining air quality within the enclosed space.
- Address Security and Safety: If security is a concern, consider installing locks or additional security features to protect your balcony enclosure. This could include adding latches or integrating a security system into your enclosure design. Ensure that the enclosure is safe and complies with any local safety requirements.
As you add the walls and panels to your balcony enclosure, take your time to ensure proper alignment and tight sealing. Precise measurements and accurate installation will contribute to the overall functionality and aesthetics of your enclosure.
Once the walls and panels are installed, take a step back to admire the progress. Your balcony is now transforming into a versatile and comfortable space that can be enjoyed in various weather conditions.
Step 8: Installing Windows or Screens
Adding windows or screens to your balcony enclosure provides versatility and enhances the functionality of the space. Windows offer the benefit of controlling ventilation and natural light, while screens allow for a bug-free outdoor experience. Follow these steps to install windows or screens:
- Choose Window or Screen Materials: Select the appropriate materials for your windows or screens based on your preferences and the design of your balcony enclosure. Options may include glass, acrylic, aluminum frames, or mesh screens. Consider factors such as durability, visibility, and maintenance requirements.
- Measure and Cut the Frames: Measure the dimensions of the windows or screens needed for your enclosure. Use accurate measurements and a level to ensure precise cuts and proper fit within the frame. If necessary, use a cutting tool suitable for the material you are working with.
- Attach the Frames: Securely attach the window or screen frames to the frame of your balcony enclosure. This typically involves screwing or clipping the frames into the existing structure. Ensure that the frames are level, aligned, and tightly fastened for proper functionality.
- Add Window Glass, Acrylic, or Screens: Install the glass, acrylic panels, or screens within the window or screen frames. Follow the manufacturer’s instructions for the specific installation method. Double-check that the panels or screens fit properly and are secure within the frames.
- Test Operability: If your windows are operable, such as sliding or casement windows, test their functionality to ensure smooth operation. Make any necessary adjustments to the hardware or frames to ensure that the windows open, close, and lock properly. If screens are used, ensure that they can be easily removed for cleaning or repair.
- Consider Additional Features: If desired, consider incorporating additional features into your windows or screens. This could include options such as adjustable blinds, tinted glass, or privacy films. These features can provide added comfort, aesthetics, and functionality to your balcony enclosure.
As you install the windows or screens, pay close attention to the fit and alignment to ensure a proper seal and smooth operation. Proper installation will contribute to the functionality and appearance of your balcony enclosure. It’s also important to regularly clean and maintain the windows or screens to keep them in optimal condition.
With the installation of windows or screens, your balcony enclosure provides a controlled environment that allows you to enjoy the outdoor views, fresh air, and sunlight while maintaining protection and comfort.
Read more: How Much Is It To Enclose A Porch
Step 9: Sealing and Insulating the Enclosure
Sealing and insulating your balcony enclosure is a crucial step to ensure energy efficiency, comfort, and protection from the elements. Proper sealing and insulation will keep the enclosure well-insulated, minimizing any air leaks and preventing moisture infiltration. Follow these steps to seal and insulate your balcony enclosure:
- Identify Air Leaks: Carefully inspect your balcony enclosure for any air leaks, gaps, or cracks. Pay particular attention to joints, seams, and areas where different materials meet. Use a lit candle or an incense stick to detect airflow and mark areas where leakage is observed.
- Apply Weatherstripping: Apply weatherstripping to seal the gaps around doors, windows, and other openings. Weatherstripping is available in various materials such as rubber, foam, or adhesive-backed tape. Choose the appropriate type for your specific application. Ensure that the weatherstripping creates a tight seal when the doors or windows are closed.
- Seal Cracks and Gaps: Use caulk or sealant to seal any cracks or gaps in walls, panels, or joints. Apply the caulk or sealant using a caulking gun, and smooth it out with a putty knife or your finger. This will prevent air and water infiltration, improving the overall energy efficiency and comfort of the enclosure.
- Insulate the Walls: Install insulation material within the walls of your balcony enclosure to enhance its thermal performance. This can include fiberglass batts, rigid foam insulation, or spray foam insulation. Follow the manufacturer’s instructions for proper installation and ensure that the surrounding areas are adequately covered.
- Insulate the Ceiling: If your balcony enclosure has a ceiling, insulate it as well to further improve energy efficiency. Use insulation material appropriate for the ceiling structure, such as fiberglass batts or blown-in insulation. Ensure that the insulation is evenly distributed and properly sealed to prevent any gaps.
- Consider Vapor Barrier: In areas with high humidity or moisture, consider installing a vapor barrier to prevent condensation and moisture buildup within the enclosure. A vapor barrier is typically installed on the warm side of the enclosure and helps maintain a comfortable and dry interior environment.
Proper sealing and insulation will not only enhance the energy efficiency of your balcony enclosure but also provide better soundproofing and protect against moisture-related issues. It will help create a more comfortable and controlled indoor environment, regardless of the external weather conditions.
Take the time to seal and insulate your balcony enclosure correctly, paying attention to detail to ensure a well-sealed and insulated space. This step will significantly contribute to the overall comfort and energy efficiency of your enclosed balcony.
Step 10: Adding Finishing Touches
The final step in enclosing your balcony is to add the finishing touches that will enhance the overall aesthetics and functionality of the space. These touches will personalize the enclosure and make it a truly comfortable and enjoyable area. Follow these steps to add the finishing touches to your balcony enclosure:
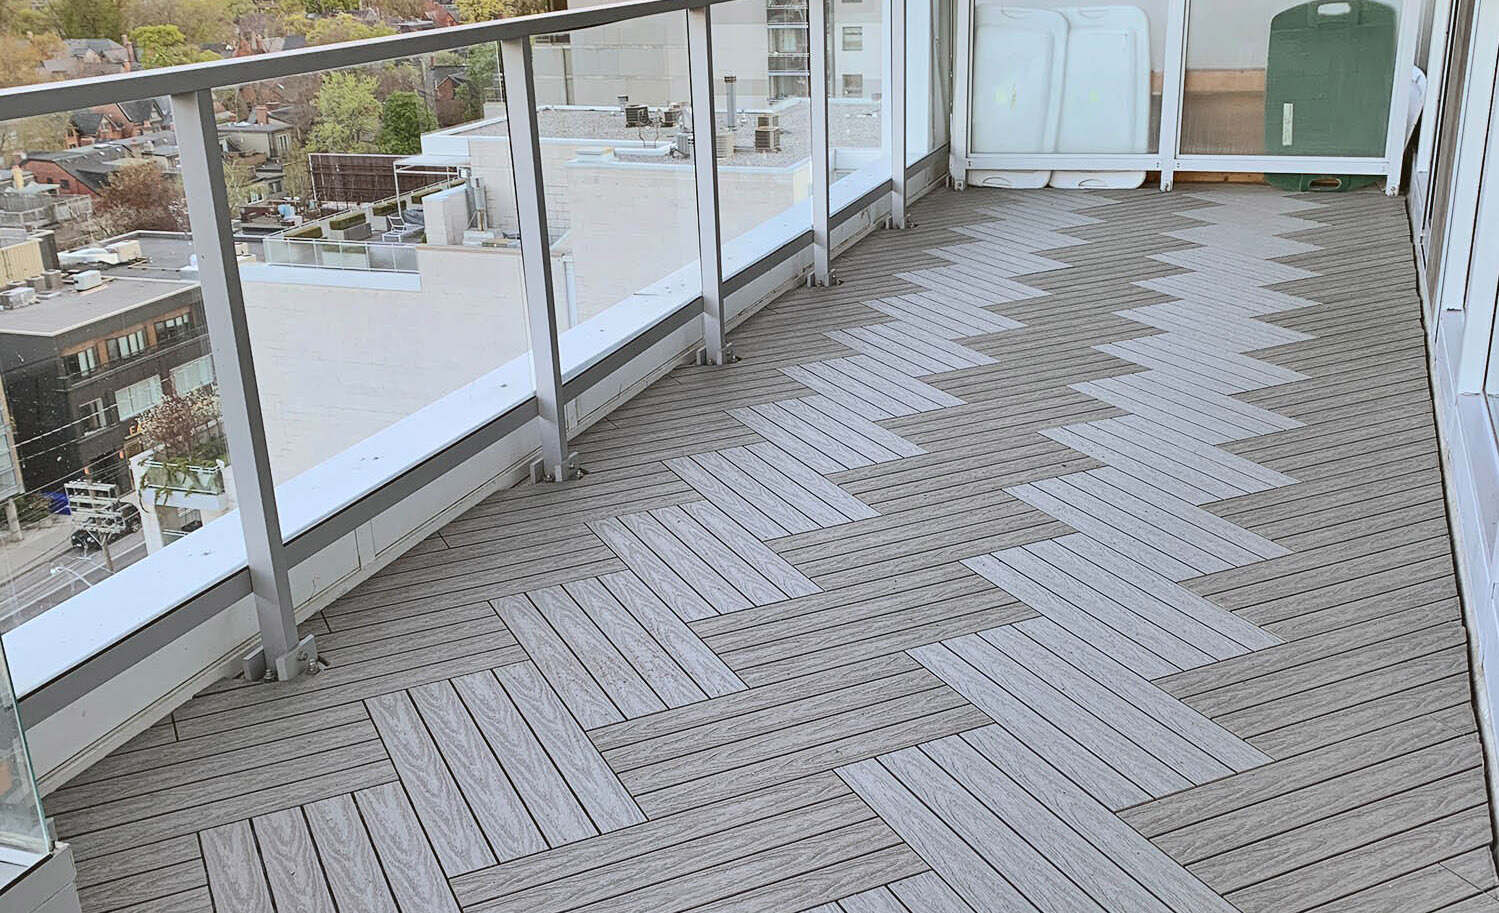
- Flooring: Choose a flooring material that suits your style and desired functionality. Options range from traditional wood or tile flooring to low-maintenance options like composite decking or artificial grass. Consider factors such as durability, slip-resistance, and ease of maintenance when selecting the flooring material.
- Lighting: Install suitable lighting fixtures to create a warm and inviting ambiance in the evening. Consider options like LED recessed lighting, pendant lights, or string lights to add a touch of charm. Ensure the lighting fixtures are appropriate for outdoor use and provide adequate illumination for your needs.
- Furniture and Decor: Select furniture that fits the size and style of your balcony enclosure. Consider comfortable seating options, such as chairs, sofas, or benches, along with tables for dining or lounging. Add decorative elements like plants, cushions, or artwork to personalize the space and create a cozy atmosphere.
- Window Treatments: Install window treatments like blinds, curtains, or shades to add privacy and control the amount of light entering the enclosure. Choose materials that are durable and suitable for outdoor use, while also complementing the overall design aesthetic of your balcony enclosure.
- Storage Solutions: Maximize the functionality of your balcony enclosure by incorporating storage solutions. This could include storage benches, shelving units, or wall-mounted cabinets to keep your items organized and easily accessible. Optimize the use of space to make the most of your enclosed area.
- Decorative Features: Consider adding decorative features that reflect your personal style and create a welcoming atmosphere. This could include artwork, mirrors, rugs, or plants that add texture and visual interest to the space. Choose elements that are suitable for outdoor use and can withstand varying weather conditions.
By adding these finishing touches, you can transform your enclosed balcony into a functional and aesthetically pleasing space. Take the time to carefully select and arrange these elements to create a cozy and inviting atmosphere that reflects your unique style and preferences.
Remember to regularly maintain and update the finishing touches to keep your balcony enclosure in top condition and ensure a comfortable and enjoyable outdoor living experience.
Conclusion
Enclosing a balcony is a rewarding project that allows you to create a versatile and comfortable outdoor space. By following the step-by-step process outlined in this article, you can successfully enclose your balcony and enjoy the benefits all year round.
Starting with assessing your balcony’s suitability for an enclosure and obtaining the necessary permissions, you can then move on to gathering materials and tools specific to your chosen enclosure option. Properly preparing the balcony ensures a solid foundation for installation, and adding the frame provides the structure needed for walls and panels.
Installing windows or screens and sealing and insulating the enclosure are critical steps to ensure energy efficiency and protection from the elements. The finishing touches, such as flooring, lighting, furniture, and decor, add the final personalization and functionality to the space.
Throughout the process, it’s important to research and comply with local regulations, consult professionals if needed, and prioritize safety measures. Regular maintenance and updating of the enclosure will ensure its longevity and continued enjoyment.
By enclosing your balcony, you not only expand your living space but also create a cozy retreat that allows you to connect with nature without compromising comfort. Whether you use it for relaxation, entertaining guests, or as a versatile workspace, a well-designed and thoughtfully enclosed balcony will enhance your lifestyle and add value to your home.
Now, armed with the knowledge and guidance provided in this article, it’s time to embark on your balcony enclosure project. Enjoy the process of transforming your balcony into a functional and inviting space that you can enjoy for years to come!
Once you've mastered enclosing your balcony, you’ll want to give it a vibrant touch. Our next guide on outdoor living will show you how to transform your deck into a captivating retreat that's perfect for relaxation and entertainment. From colorful decor to simple yet impactful add-ons, you'll learn how to enhance your outdoor space beautifully and efficiently. So, why wait? Dive into our next piece and start turning your deck into a haven of outdoor enjoyment.
Frequently Asked Questions about How To Enclose A Balcony
Was this page helpful?
At Storables.com, we guarantee accurate and reliable information. Our content, validated by Expert Board Contributors, is crafted following stringent Editorial Policies. We're committed to providing you with well-researched, expert-backed insights for all your informational needs.


0 thoughts on “How To Enclose A Balcony”