Articles
How To Install Balcony Railing
Modified: August 25, 2024
Learn how to install balcony railing with our informative articles. Find step-by-step guides and expert tips to ensure a safe and stylish railing installation.
(Many of the links in this article redirect to a specific reviewed product. Your purchase of these products through affiliate links helps to generate commission for Storables.com, at no extra cost. Learn more)
Introduction
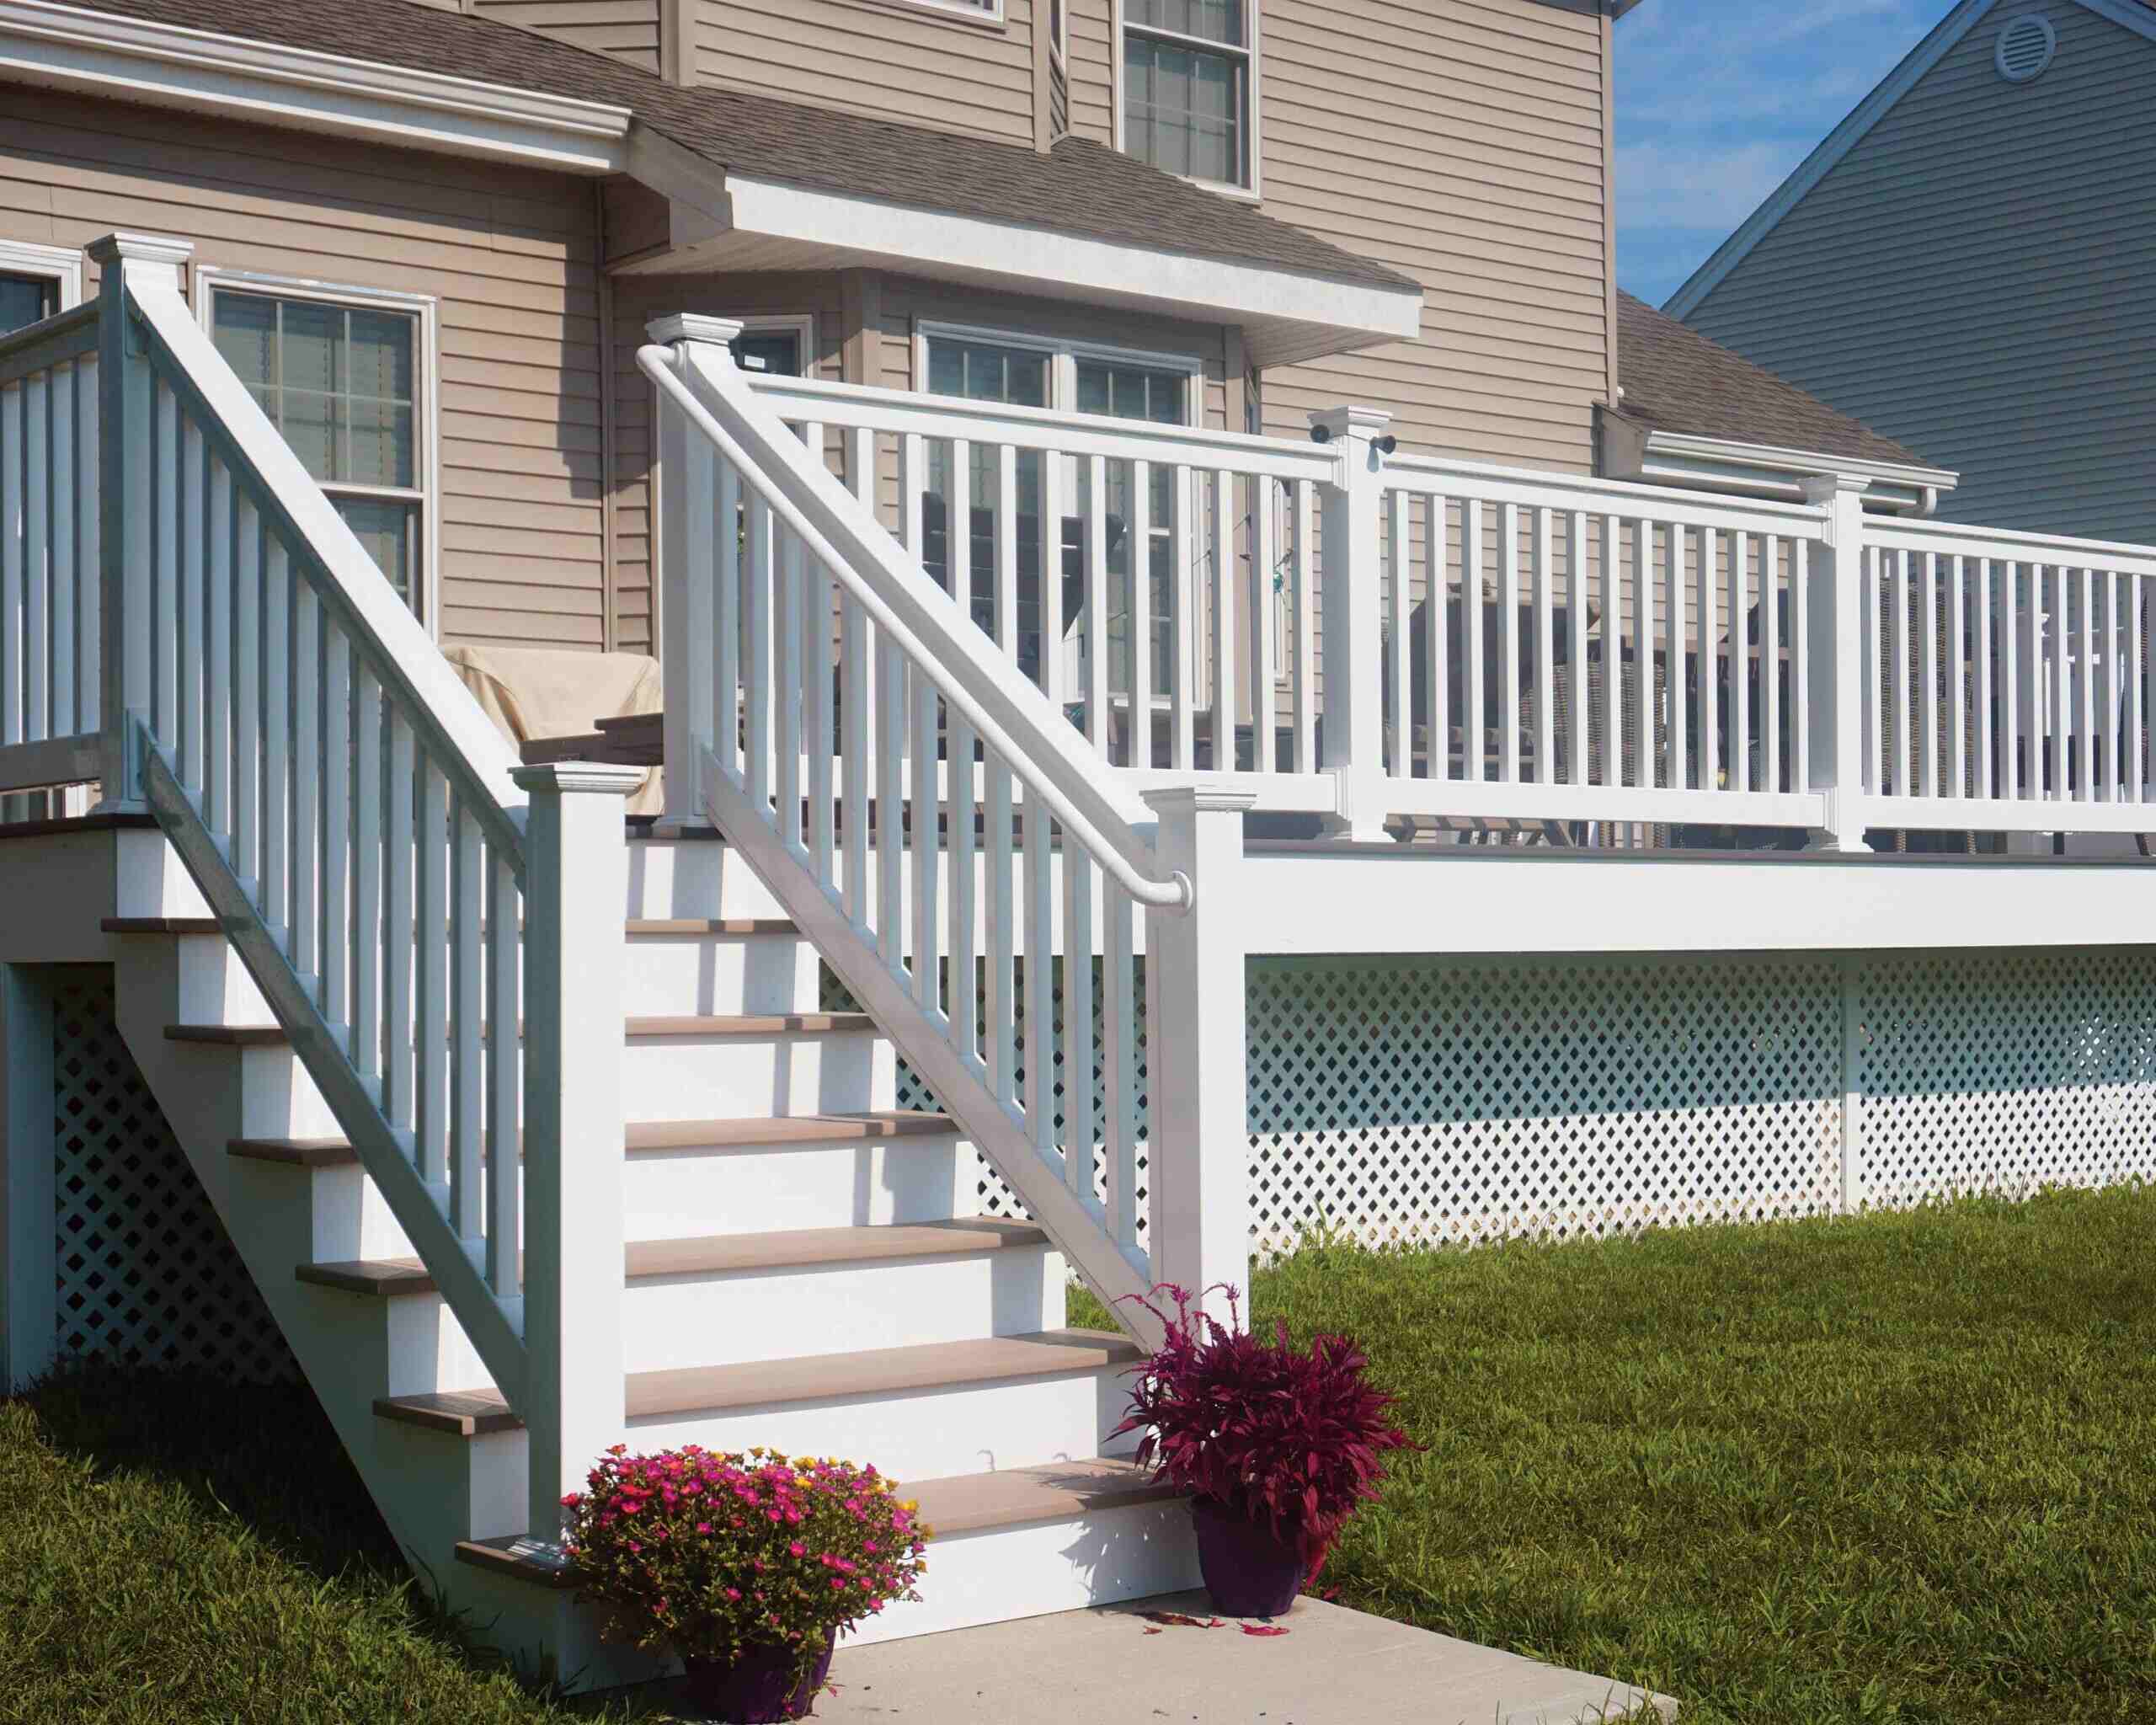
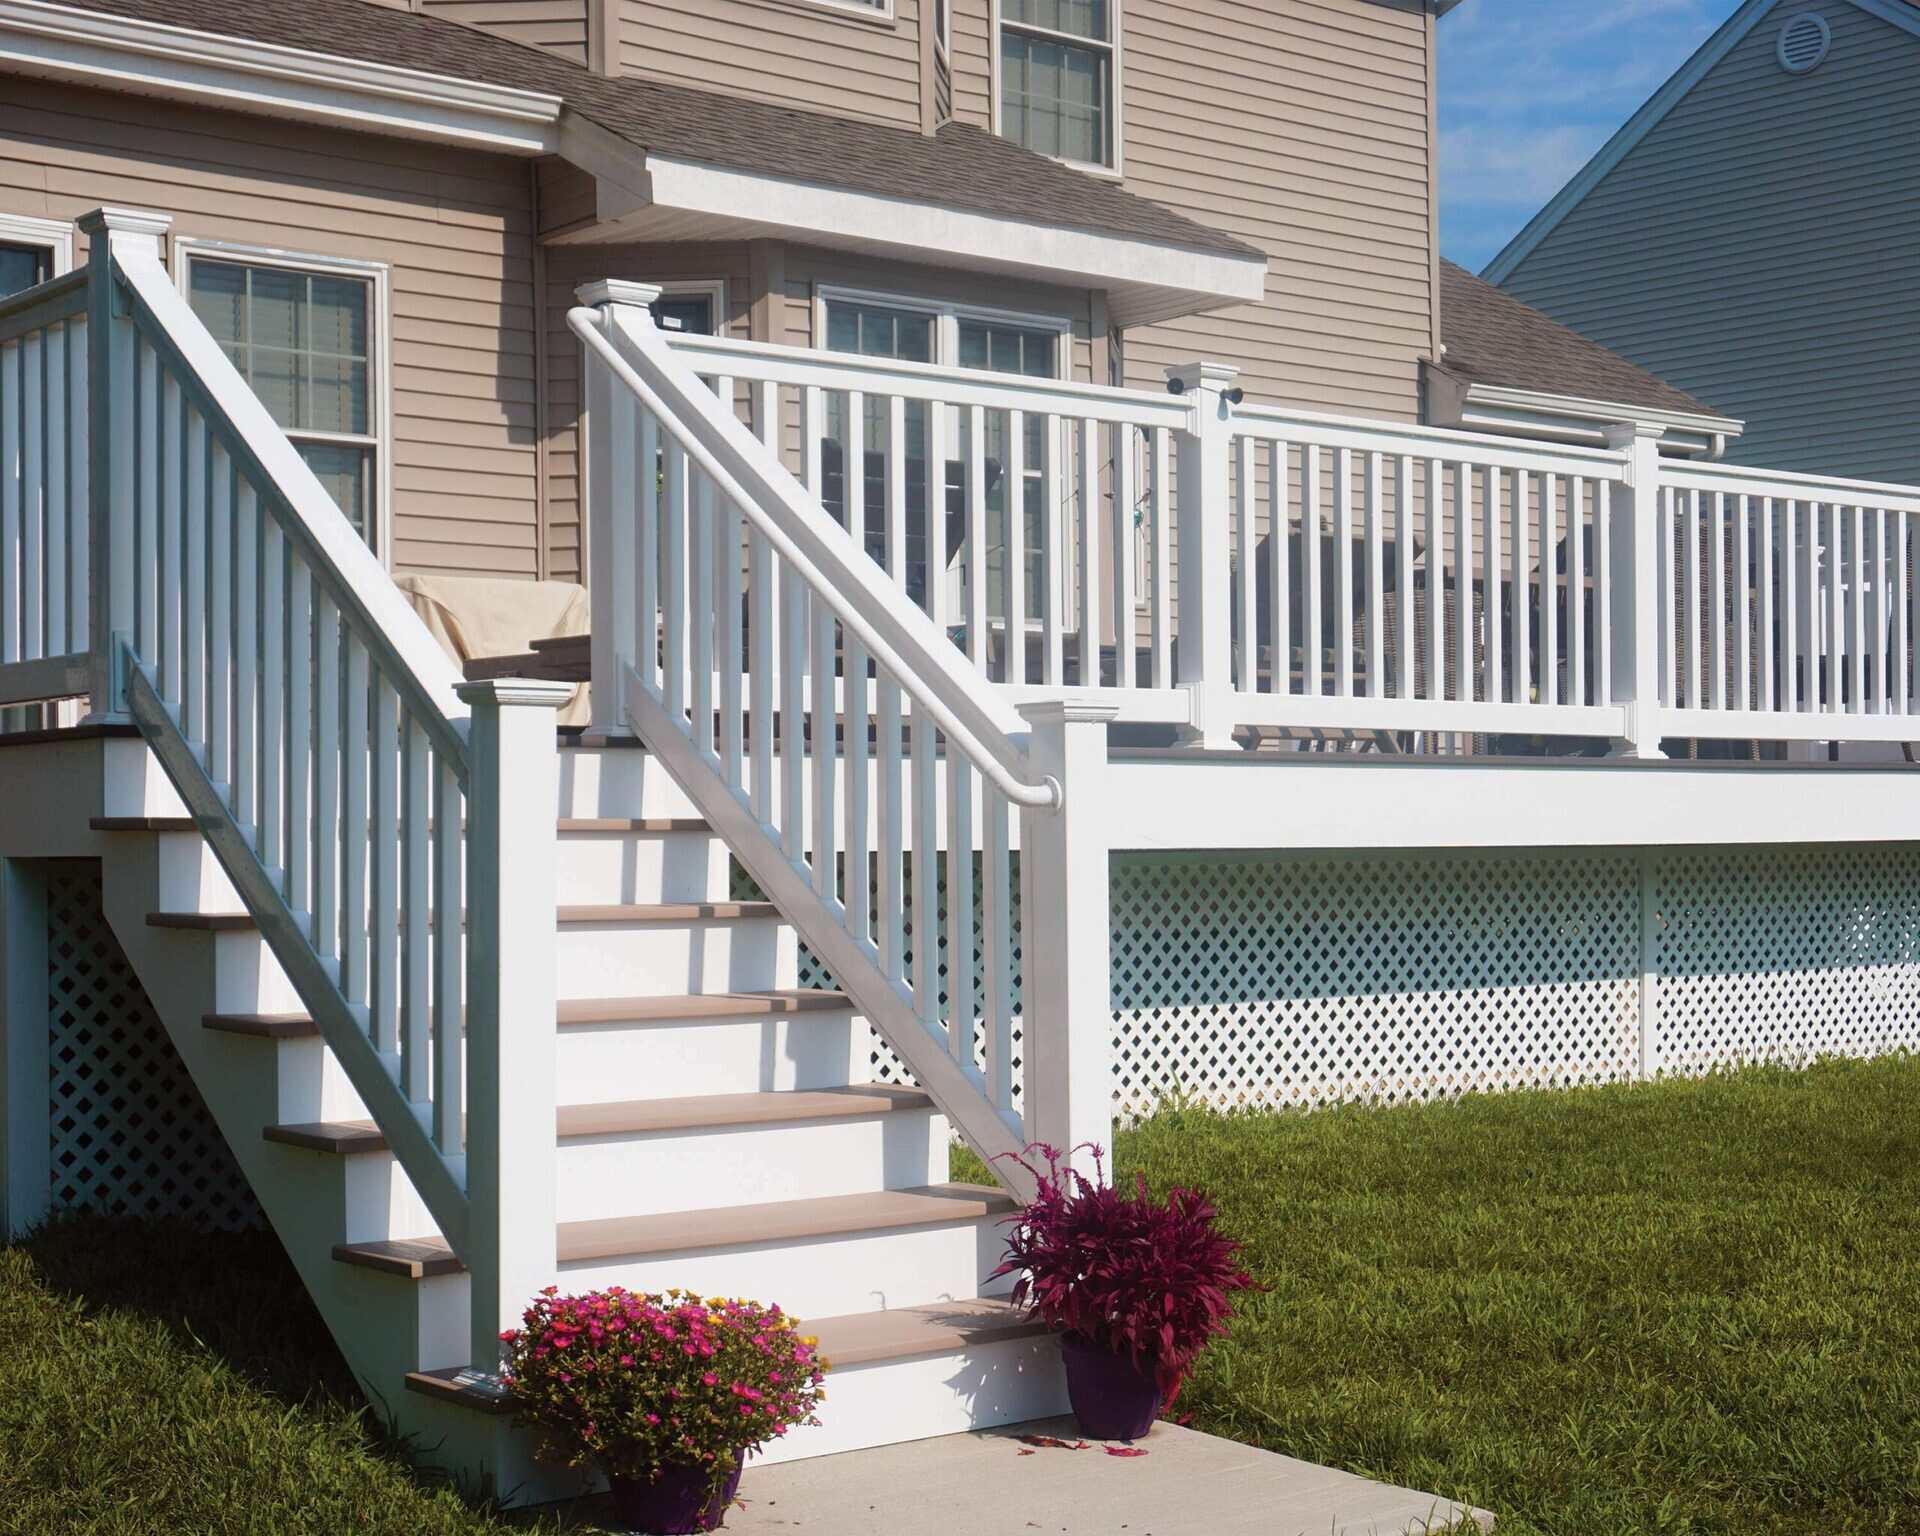
Installing a balcony railing is an essential safety measure that not only adds a stylish touch to your outdoor space but also protects you and your loved ones from potential accidents. Whether you are renovating your existing balcony or adding a new one, installing a railing is a relatively simple process that can be completed with the right tools and materials.
In this article, we will guide you through the step-by-step process of installing a balcony railing. We will cover everything from measuring and marking the placement to attaching post mount brackets, mounting balusters, and securing the railing. By the end of this article, you will have the knowledge and confidence to install a balcony railing on your own.
Before we begin, it is important to note that safety should always be a top priority when working at heights. Ensure that you follow proper safety precautions and use appropriate personal protective equipment (PPE) throughout the installation process.
Now, let’s dive into the details of installing a balcony railing and transform your outdoor space into a safe and aesthetically pleasing area for you and your family to enjoy.
Key Takeaways:
- Prioritize safety by following proper precautions, securing all components, and adhering to local building codes when installing a balcony railing. Take pride in creating a safe and stylish outdoor space for your family to enjoy.
- Ensure a successful installation by accurately measuring and marking the placement, preparing and inspecting railing components, and adding finishing touches for durability and visual appeal. Enjoy the rewarding results of a well-installed balcony railing.
Read more: How To Clean Balcony Railing
Safety Precautions
When working on any construction project, including installing a balcony railing, it is crucial to prioritize safety to prevent accidents and injuries. Here are some important safety precautions to keep in mind:
- Use appropriate safety gear: Wear protective eyewear, gloves, and a helmet to safeguard yourself while handling tools and materials. Additionally, consider using knee pads or a work harness if necessary.
- Secure the area: Ensure that the work area is clear of any obstacles or debris that could pose a tripping hazard. Keep children and pets away from the construction zone.
- Work with a partner: Having a helper can make the installation process smoother and safer. They can assist with holding the railing components in place while you secure them.
- Follow manufacturer’s instructions: Read and understand the instructions provided by the manufacturer of the balcony railing system. Adhering to their guidelines will ensure that you install the railing correctly and according to safety standards.
- Check local building codes: Before starting the installation, familiarize yourself with local building regulations and codes. These codes may dictate specific requirements for balcony railings, such as height, spacing, and strength. Adhering to these codes will ensure that your railing meets safety standards and compliance.
- Securely fasten all components: Ensure that all screws, bolts, and connectors are securely fastened. Loose or inadequate fasteners can compromise the stability and safety of the railing.
- Avoid working in unfavorable weather conditions: Do not attempt to install a balcony railing during inclement weather conditions such as rain, strong winds, or extreme temperatures. These conditions can affect your stability and compromise the quality of the installation.
Remember, it is always better to take extra precautions to ensure the safety of yourself and others. By following these safety guidelines, you can complete the installation process with confidence and peace of mind.
Tools and Materials Needed
Before you start the installation process, gather all the necessary tools and materials to ensure a smooth and efficient installation. Here are the tools and materials you will need:
Tools:
- Measuring tape
- Pencil or marker
- Level
- Drill
- Screwdriver
- Socket wrench set
- Saw (if cutting railing components)
- Stud finder (if attaching railing to a wall or post)
- Hammer (if necessary)
- Safety gear: protective eyewear, gloves, helmet, knee pads (as required)
Materials:
- Balcony railing system (pre-assembled or individual components such as posts, balusters, and rails)
- Post mount brackets (if necessary)
- Screws or bolts (specific to your railing system)
- Concrete anchors (if attaching railing to a concrete surface)
- Wood screws or lag screws (if attaching railing to a wooden surface)
- Wood filler (if necessary)
- Paint or stain (optional, for finishing)
- Brush or roller (if painting or staining)
Ensure that you have all the necessary tools and materials readily available before starting the installation process. This will save you time and prevent any interruptions during the installation. Additionally, double-check the dimensions and quantities of the materials to ensure they match your desired railing design and measurements.
Once you have gathered all the tools and materials, you are ready to proceed with the installation process. Let’s move on to the step-by-step instructions for installing the balcony railing.
Read more: How To Hang Plants On Balcony Rail
Step 1: Measure and Mark Placement
The first step in installing a balcony railing is to accurately measure and mark the placement of the railing. This step is crucial to ensure that the railing is installed in the right position and aligns with local building codes and regulations. Here’s how you can effectively measure and mark the placement:
- Measure the length: Measure the length of the area where you plan to install the railing. Use a measuring tape to get the precise measurement. Take into account any corners or turns in the balcony to determine the total length of the railing.
- Determine the height: Determine the desired height of the railing. Check local building codes for the specified minimum and maximum height requirements for balcony railings. Mark the desired height on the wall or posts where the railing will be installed.
- Mark the placement: Using a pencil or marker, mark the placement of the railing on the wall or posts. Start by marking the positions of the posts, ensuring that they are evenly spaced. Then, mark the location of any corner posts, if applicable. Use a level to ensure that the marks are straight and level.
- Mark the position of the bottom rail: Once the placement of the posts is marked, determine the height of the bottom rail. Typically, the bottom rail is placed 4-6 inches above the floor or deck surface. Mark the position of the bottom rail on the posts or walls.
- Mark the position of the top rail: Measure the desired height of the top rail, ensuring it aligns with local building codes. Mark the position of the top rail on the posts or walls.
Take your time in this step to ensure accurate measurements and markings. Using a level throughout the process will help you maintain a straight and level marking. Double-check the measurements before proceeding to the next step to avoid any issues during the installation.
Once you have successfully measured and marked the placement of the balcony railing, you are ready to move on to the next step: preparing the railing components for installation.
Step 2: Prepare the Railing
After measuring and marking the placement of the balcony railing, it’s time to prepare the railing components for installation. This step involves inspecting the railing system, making any necessary adjustments or modifications, and ensuring that all the components are ready for installation. Follow these guidelines to effectively prepare the railing:
- Inspect the components: Carefully examine all the railing components, including the posts, balusters, and rails. Check for any damage or defects that may affect the structural integrity or aesthetic appeal of the railing. If you notice any issues, contact the manufacturer for replacement parts or seek professional advice.
- Check the fit: Before installing the railing, ensure that it properly fits the measured space. Double-check the lengths of the posts, balusters, and rails to confirm that they match your measurements. If necessary, use a saw to trim any excess length to achieve a precise fit.
- Pre-drill holes: Depending on the type of railing system you have, you may need to pre-drill holes for attaching the brackets or securing the components. Follow the manufacturer’s instructions to determine the size and spacing of the holes. Use a drill with the appropriate bit to create the holes, ensuring they are aligned correctly.
- Prepare mounting surfaces: If you are attaching the railing to a wall or post, ensure that the mounting surfaces are clean, dry, and free from any debris. If necessary, use a stud finder to locate the wall studs for added stability. For concrete surfaces, use concrete anchors or screws specifically designed for that purpose.
- Consider finishing options: If your railing components are made of wood, you may want to consider applying a protective finish such as paint or stain to enhance their durability and appearance. Before applying any finish, sand the surfaces smooth and use wood filler to fill any cracks or imperfections.
By thoroughly inspecting and preparing the railing components, you can ensure that the installation process goes smoothly and the final result is strong, secure, and visually appealing. Take the time to make any necessary adjustments or modifications before proceeding to the next step: attaching post mount brackets.
Step 3: Attach Post Mount Brackets
Once you have prepared the railing components, the next step is to attach the post mount brackets. These brackets will securely hold the posts in place and provide stability to the balcony railing. Follow these steps to correctly attach the post mount brackets:
- Position the brackets: Begin by positioning the post mount brackets at the marked locations on the wall or posts. Ensure that the brackets are aligned with the bottom and top railing markings.
- Mark the screw hole locations: Use a pencil or marker to mark the screw hole locations on the wall or posts through the holes in the brackets. These marks will guide you during the drilling process.
- Pre-drill the holes: Using a drill and the appropriate bit, pre-drill pilot holes at the marked locations. The size of the drill bit should match the size of the screws provided with the brackets.
- Secure the brackets: Place the post mount brackets back in position and align them with the pre-drilled pilot holes. Use screws or bolts (depending on the railing system) to secure the brackets to the wall or posts. Ensure that the screws are tightened securely, but be careful not to overtighten and damage the brackets.
- Check for stability: After attaching the post mount brackets, check the stability of the brackets by gently shaking them. If there is any wobbling or instability, double-check the screws or bolts for tightness. If needed, remove the brackets and reposition them or reinforce the mounting surface.
It is important to ensure that the post mount brackets are securely attached, as they provide the foundation for the entire balcony railing. Taking the time to properly install the brackets will contribute to the overall strength and stability of the railing.
Once the post mount brackets are securely attached, you can proceed to the next step: installing the bottom rail.
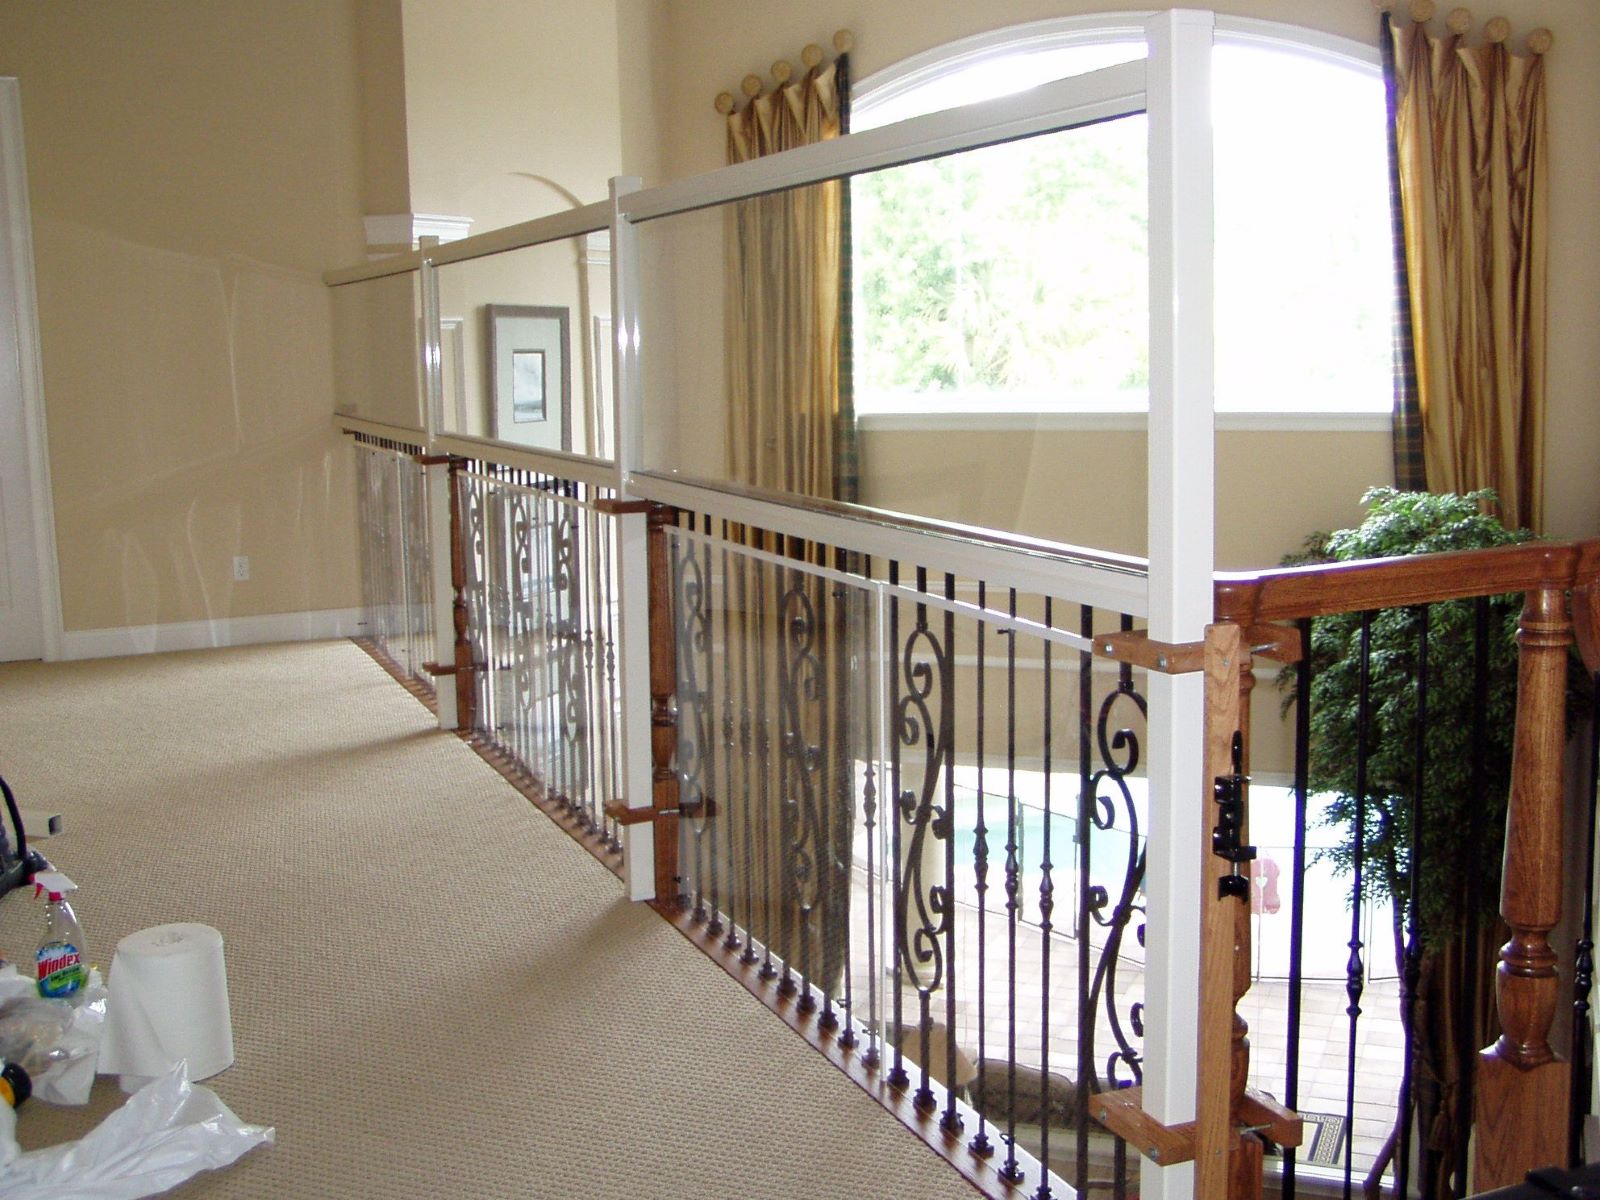
Step 4: Install Bottom Rail
With the post mount brackets securely in place, it’s time to move on to installing the bottom rail of the balcony railing. The bottom rail serves as the base for the balusters and provides additional structural support. Follow these steps to correctly install the bottom rail:
- Position the bottom rail: Place the bottom rail into the post mount brackets, ensuring it is level and aligned with the markings on the brackets. The bottom rail should fit snugly and rest securely within the brackets.
- Attach the bottom rail: Once the bottom rail is in position, use screws or bolts (specific to your railing system) to secure it to the post mount brackets. Insert the screws or bolts through the pre-drilled holes in the brackets and into the bottom rail. Tighten them securely, but be careful not to overtighten and damage the railing components.
- Check for alignment: After attaching the bottom rail, double-check its alignment and ensure that it is level. Use a level to verify that the bottom rail is straight and not tilted in any direction. Adjust the position if necessary.
- Verify stability: Test the stability of the bottom rail by applying gentle pressure or giving it a slight push. It should be secure and not move or wobble. If needed, reinforce the attachment of the bottom rail to the post mount brackets.
Installing the bottom rail is an important step in the construction of the balcony railing, as it establishes the base for the rest of the components. Take your time to ensure that the bottom rail is securely attached and level, as it will set the foundation for the rest of the railing structure.
Once the bottom rail is properly installed, you can move on to the next step: mounting the balusters.
When installing balcony railing, make sure to measure and mark the placement of the railing posts accurately to ensure a secure and level installation. Use a level to check for straightness before securing the posts in place.
Read more: What Is A Balcony Railing Called
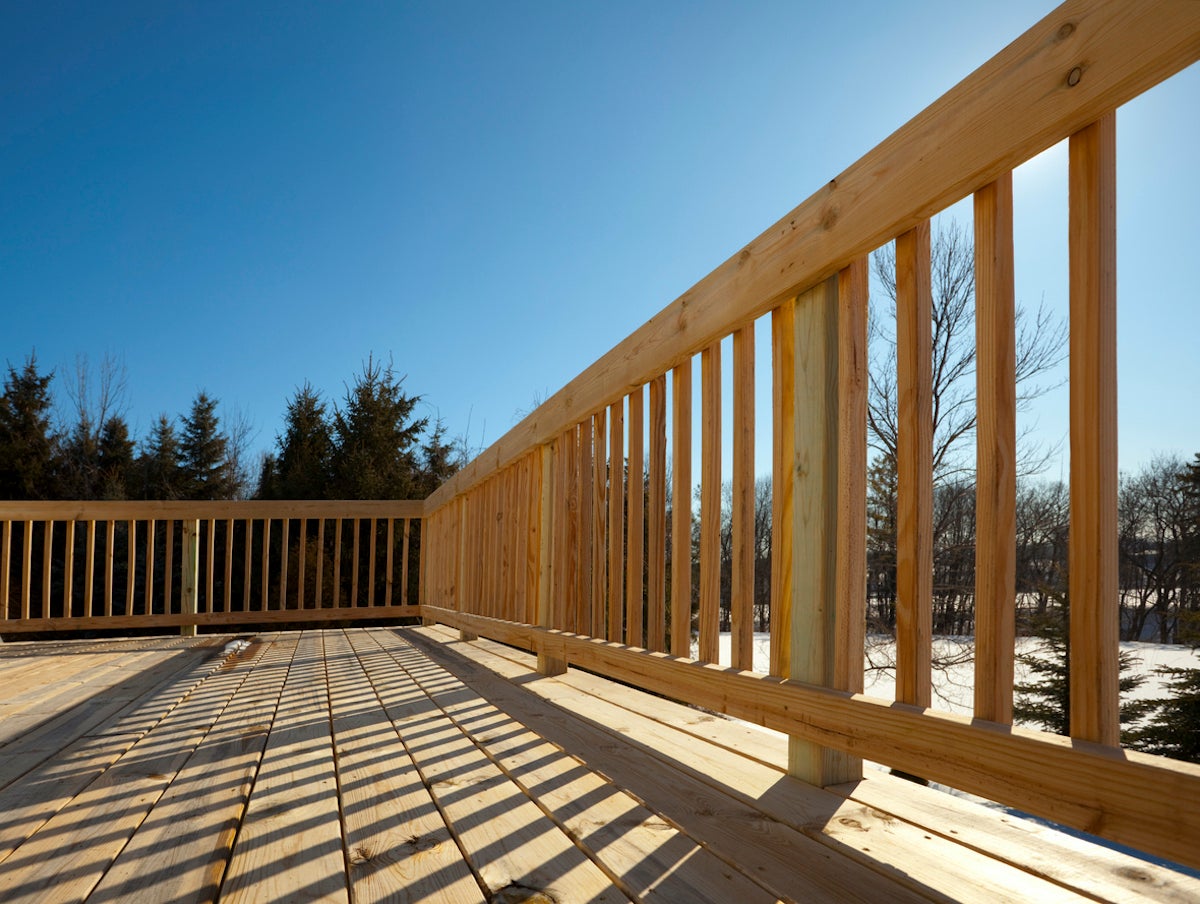
Step 5: Mount Balusters
Now that the bottom rail is securely in place, it’s time to mount the balusters. Balusters are vertical posts that provide safety and support to the balcony railing. Follow these steps to correctly mount the balusters:
- Measure and mark the placement: Measure the length between the bottom rail and the top rail to determine the spacing for the balusters. Mark the desired spacing on the bottom rail, ensuring they are evenly spaced and aligned with the markings on the top rail.
- Pre-drill the holes: Use a drill and the appropriate bit to pre-drill holes on the bottom rail and the top rail at the marked locations. The size of the drill bit should match the size of the baluster screws or connectors.
- Position the balusters: Place the balusters into the pre-drilled holes on the bottom rail. Ensure they are snugly fitted and in an upright position.
- Attach the balusters: Secure the balusters to the bottom rail by inserting screws or connectors through the pre-drilled holes. Tighten them securely, but be cautious not to overtighten and damage the railing components.
- Check for alignment: After attaching the balusters to the bottom rail, check their alignment and make sure they are all vertical and level. Adjust the position if necessary to maintain a uniform appearance.
- Verify stability: Test the stability of the balusters by applying gentle pressure to each one. They should be securely attached to both the bottom rail and the top rail and not move or wobble.
Mounting the balusters is a significant step in the installation of the balcony railing, as they provide crucial support and safety. Take your time to ensure that the balusters are evenly spaced, aligned properly, and securely attached to the bottom rail and top rail.
Once the balusters are mounted, you are ready to proceed to the next step: attaching the top rail.
Step 6: Attach Top Rail
Now that the balusters are securely in place, it’s time to attach the top rail of the balcony railing. The top rail provides a finished look and serves as a secure handhold. Follow these steps to correctly attach the top rail:
- Position the top rail: Place the top rail onto the balusters, ensuring it is level and aligned with the markings on the balusters. The top rail should fit snugly and rest securely on top of the balusters.
- Attach the top rail: Once the top rail is in position, use screws or connectors (specific to your railing system) to secure it to the balusters. Insert the screws or connectors through the pre-drilled holes in the balusters and into the top rail. Tighten them securely, but be careful not to overtighten and damage the railing components.
- Check for alignment: After attaching the top rail, double-check its alignment and ensure that it is level. Use a level to verify that the top rail is straight and not tilted in any direction. Adjust the position if necessary.
- Verify stability: Test the stability of the top rail by applying gentle pressure or giving it a slight push. It should be secure and not move or wobble. If needed, reinforce the attachment of the top rail to the balusters.
Attaching the top rail is the final step in completing the construction of the balcony railing. Ensure that the top rail is securely attached and level, as it plays a vital role in providing stability and a comfortable handhold.
With the top rail firmly in place, you have successfully completed the installation of the balcony railing! However, before finishing the project, there are a few more steps to take to ensure the railing is secure and visually appealing. Let’s move on to step 7: securing the railing.
Step 7: Secure the Railing
Now that the balcony railing is assembled, it’s important to ensure that it is securely attached to provide maximum safety and stability. Follow these steps to securely fasten the railing:
- Check attachment points: Inspect each point where the railing components are attached, such as the post mount brackets, balusters, bottom rail, and top rail. Ensure that all screws or connectors are tightened securely. If any loose connections are found, tighten them using a screwdriver, socket wrench, or appropriate tools.
- Verify stability: Once all the connections are tightened, gently shake or apply light pressure to the railing to test its stability. It should not wobble or move significantly. If there is any instability, recheck the attachment points and reinforce the connections if needed.
- Inspect for gaps: Check for any gaps between the railing components, particularly where the balusters meet the bottom rail and top rail. If there are any noticeable gaps, adjust the position of the balusters and railing components to close the gaps, ensuring a seamless and secure fit.
- Address any squeaks: If you notice any squeaking sounds when applying pressure to the railing, it may be due to friction between the components. Apply a lubricating substance such as WD-40 or silicone spray to the areas causing the squeaks to resolve the issue.
- Recheck level: Verify that the entire balcony railing is level and aligned with the markings made during the installation process. Use a level to ensure that both the bottom rail and top rail are straight and at the same height.
By taking the time to securely fasten the railing, you are ensuring that it will provide the necessary support and safety for years to come.
With the balcony railing securely fastened, you’re almost done! The next step is to add some finishing touches to complete the installation. Let’s move on to step 8: finishing touches.
Step 8: Finishing Touches
Once the balcony railing is securely installed, it’s time to add the finishing touches that will enhance its appearance and durability. Follow these steps to complete the finishing touches:
- Fill any visible holes or gaps: Inspect the railing components and fill any visible screw holes or gaps with wood filler or a suitable filler material. Smooth out the filler with a putty knife and let it dry according to the manufacturer’s instructions. Sand the filled areas to achieve a smooth, even surface.
- Paint or stain the railing: If desired, apply a coat of paint or stain to the balcony railing to protect it from outdoor elements and enhance its aesthetics. Choose a color or finish that complements your outdoor space. Follow the manufacturer’s instructions for proper application and drying time.
- Apply a topcoat (optional): For added protection and longevity, consider applying a clear topcoat over the paint or stain. This will provide an extra layer of durability and resistance to weather conditions.
- Clean and maintain the railing: Regularly clean the balcony railing to keep it looking its best. Use a gentle cleaner appropriate for the railing material, and avoid abrasive cleaning tools that could scratch or damage the surface. Inspect the railing periodically for any signs of wear or damage and address them promptly to maintain its integrity.
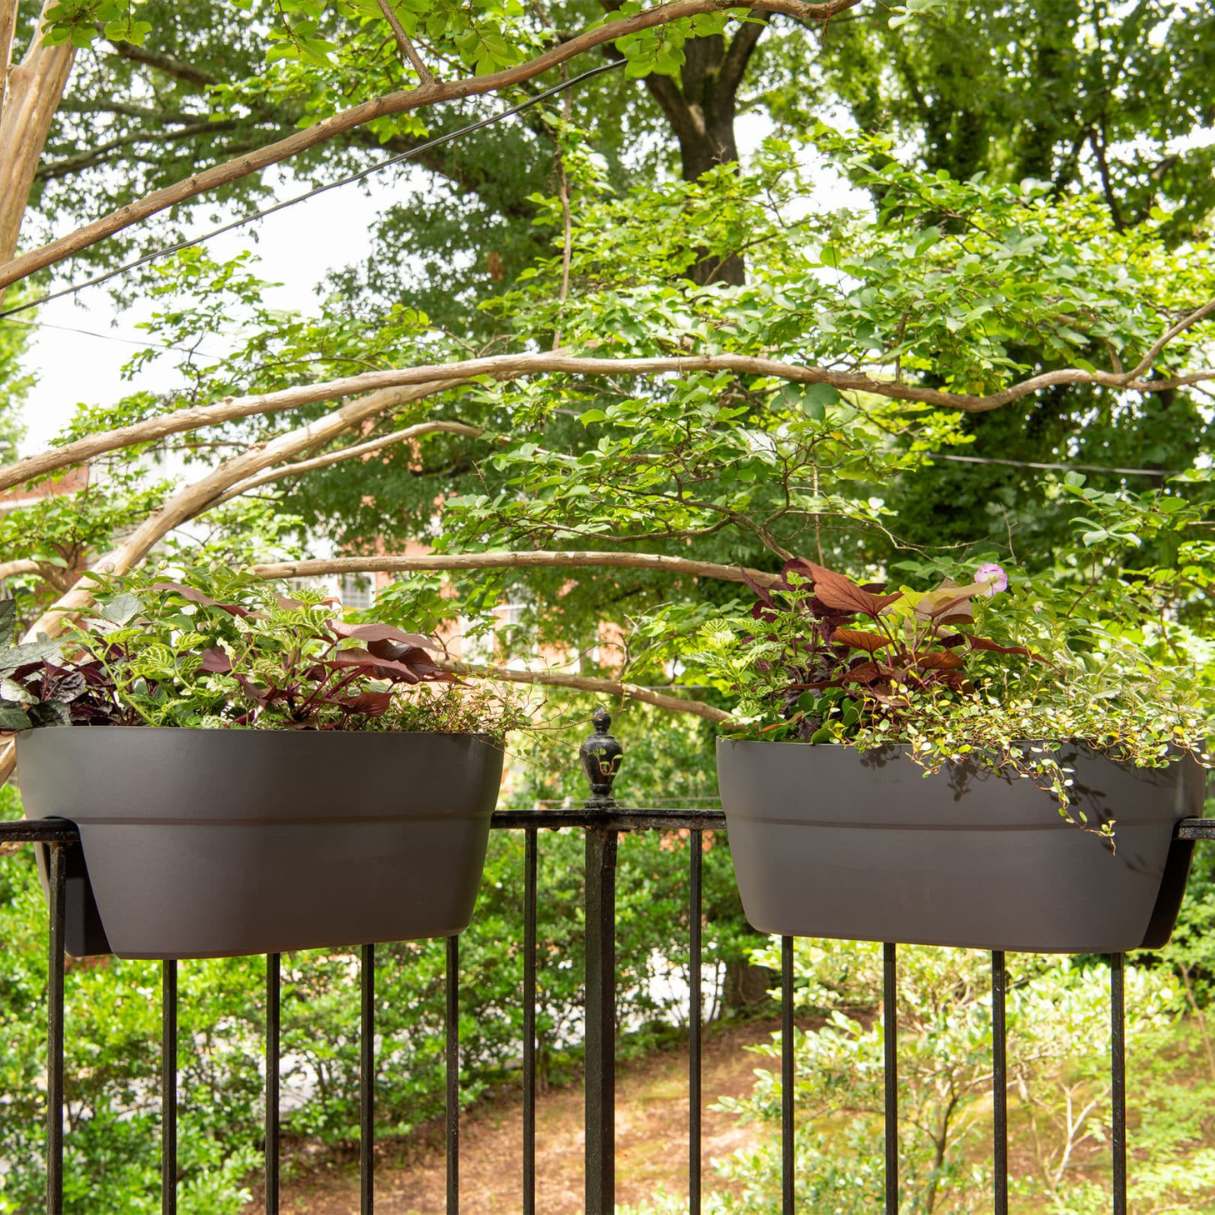
- Consider decorative elements (optional): If you want to personalize your balcony railing, consider adding decorative elements such as potted plants, hanging baskets, or string lights. These additions can enhance the overall aesthetic appeal of your outdoor space.
Adding these finishing touches will not only protect your balcony railing but also enhance its appearance, making it a focal point of your outdoor area. Take the time to complete these final steps to ensure that your balcony railing is both functional and visually appealing.
With the finishing touches complete, you have successfully installed and finished your balcony railing! Enjoy the safety and beauty it brings to your outdoor space for years to come.
Be sure to check local building codes and regulations before starting the installation to ensure compliance with safety standards.
Read more: How High Should A Balcony Railing Be
Conclusion
Installing a balcony railing is a rewarding project that not only enhances the safety of your outdoor space but also adds style and visual appeal. By following the step-by-step guide outlined in this article, you now have the knowledge and confidence to install a balcony railing on your own. Remember to prioritize safety throughout the process by following proper safety precautions and adhering to local building codes and regulations.
From measuring and marking the placement to attaching post mount brackets, installing the bottom rail, mounting balusters, attaching the top rail, and securing the entire railing, each step is essential in creating a sturdy and aesthetically pleasing balcony railing. Take your time during the process to ensure accurate measurements, proper alignment, and secure attachments.
Once the balcony railing is installed, don’t forget to add finishing touches such as filling holes and gaps, applying paint or stain, and maintaining the railing regularly to keep it looking its best and prolong its lifespan. Consider adding decorative elements that reflect your personal style and enhance the overall ambiance of your outdoor space.
Whether you are renovating an existing balcony or adding a new one, installing a railing is a worthwhile investment. It not only provides essential safety but also increases the value and enjoyment of your home. Take pride in your accomplishment, and enjoy the secure and attractive outdoor space you have created.
Remember to consult with professionals or experts if you have any concerns or questions during the installation process. With proper planning and the right tools and materials, you can successfully install a balcony railing that will provide safety, style, and peace of mind for years to come.
Frequently Asked Questions about How To Install Balcony Railing
Was this page helpful?
At Storables.com, we guarantee accurate and reliable information. Our content, validated by Expert Board Contributors, is crafted following stringent Editorial Policies. We're committed to providing you with well-researched, expert-backed insights for all your informational needs.


0 thoughts on “How To Install Balcony Railing”