Home>Gardening & Outdoor>Outdoor Entertaining>How To Make A Tabletop Fire Pit
Outdoor Entertaining
How To Make A Tabletop Fire Pit
Modified: February 18, 2024
Learn how to create a stunning tabletop fire pit for your outdoor entertaining space with our step-by-step guide. Elevate your gatherings with this stylish and functional addition.
(Many of the links in this article redirect to a specific reviewed product. Your purchase of these products through affiliate links helps to generate commission for Storables.com, at no extra cost. Learn more)
**
Introduction
**
Are you looking to add a touch of warmth and ambiance to your outdoor gatherings? Creating a tabletop fire pit is a fantastic way to achieve just that. Whether you're hosting a cozy dinner party or simply want to elevate your patio decor, a DIY tabletop fire pit can be a stunning addition to your outdoor space. Not only does it provide a mesmerizing focal point, but it also offers a source of gentle heat, allowing you and your guests to linger outdoors even as the evening chill sets in.
In this guide, we'll walk you through the step-by-step process of crafting your own tabletop fire pit. With just a few materials and a bit of creativity, you can bring the allure of dancing flames to your outdoor entertaining area. Let's dive in and explore how to make a tabletop fire pit that will become the centerpiece of your outdoor gatherings.
**
Key Takeaways:
- Create a captivating tabletop fire pit with a heat-resistant container, fire glass, gel fuel cans, and safety precautions. Enjoy mesmerizing flames and gentle warmth for outdoor gatherings.
- Prioritize safety by supervising the fire pit, keeping flammable materials away, handling gel fuel with care, securing the fire pit, and extinguishing flames safely. Enjoy enchanting outdoor ambiance with peace of mind.
Read more: How To Light A Tabletop Fire Pit
Materials Needed
**
Before embarking on this DIY project, it’s essential to gather the necessary materials. You’ll need the following items to create your tabletop fire pit:
- A decorative container: Select a heat-resistant vessel that suits your style and complements your outdoor decor. This could be a metal bowl, a ceramic pot, or a glass container. Ensure that the chosen container is sturdy and has a wide enough opening to accommodate the fire elements.
- Fire glass or lava rocks: These decorative elements not only provide a beautiful base for the flames but also help disperse the heat evenly. Opt for fire glass in a color that complements your container and outdoor aesthetic.
- Gel fuel cans: These clean-burning cans are a safe and convenient way to produce flames for your tabletop fire pit. They are typically filled with isopropyl alcohol or a similar substance and are designed for use in ventless fireplaces and similar applications.
- Long lighter or matches: To ignite the gel fuel, you’ll need a long-reach lighter or a set of matches. Safety is paramount, so be sure to use these tools with caution.
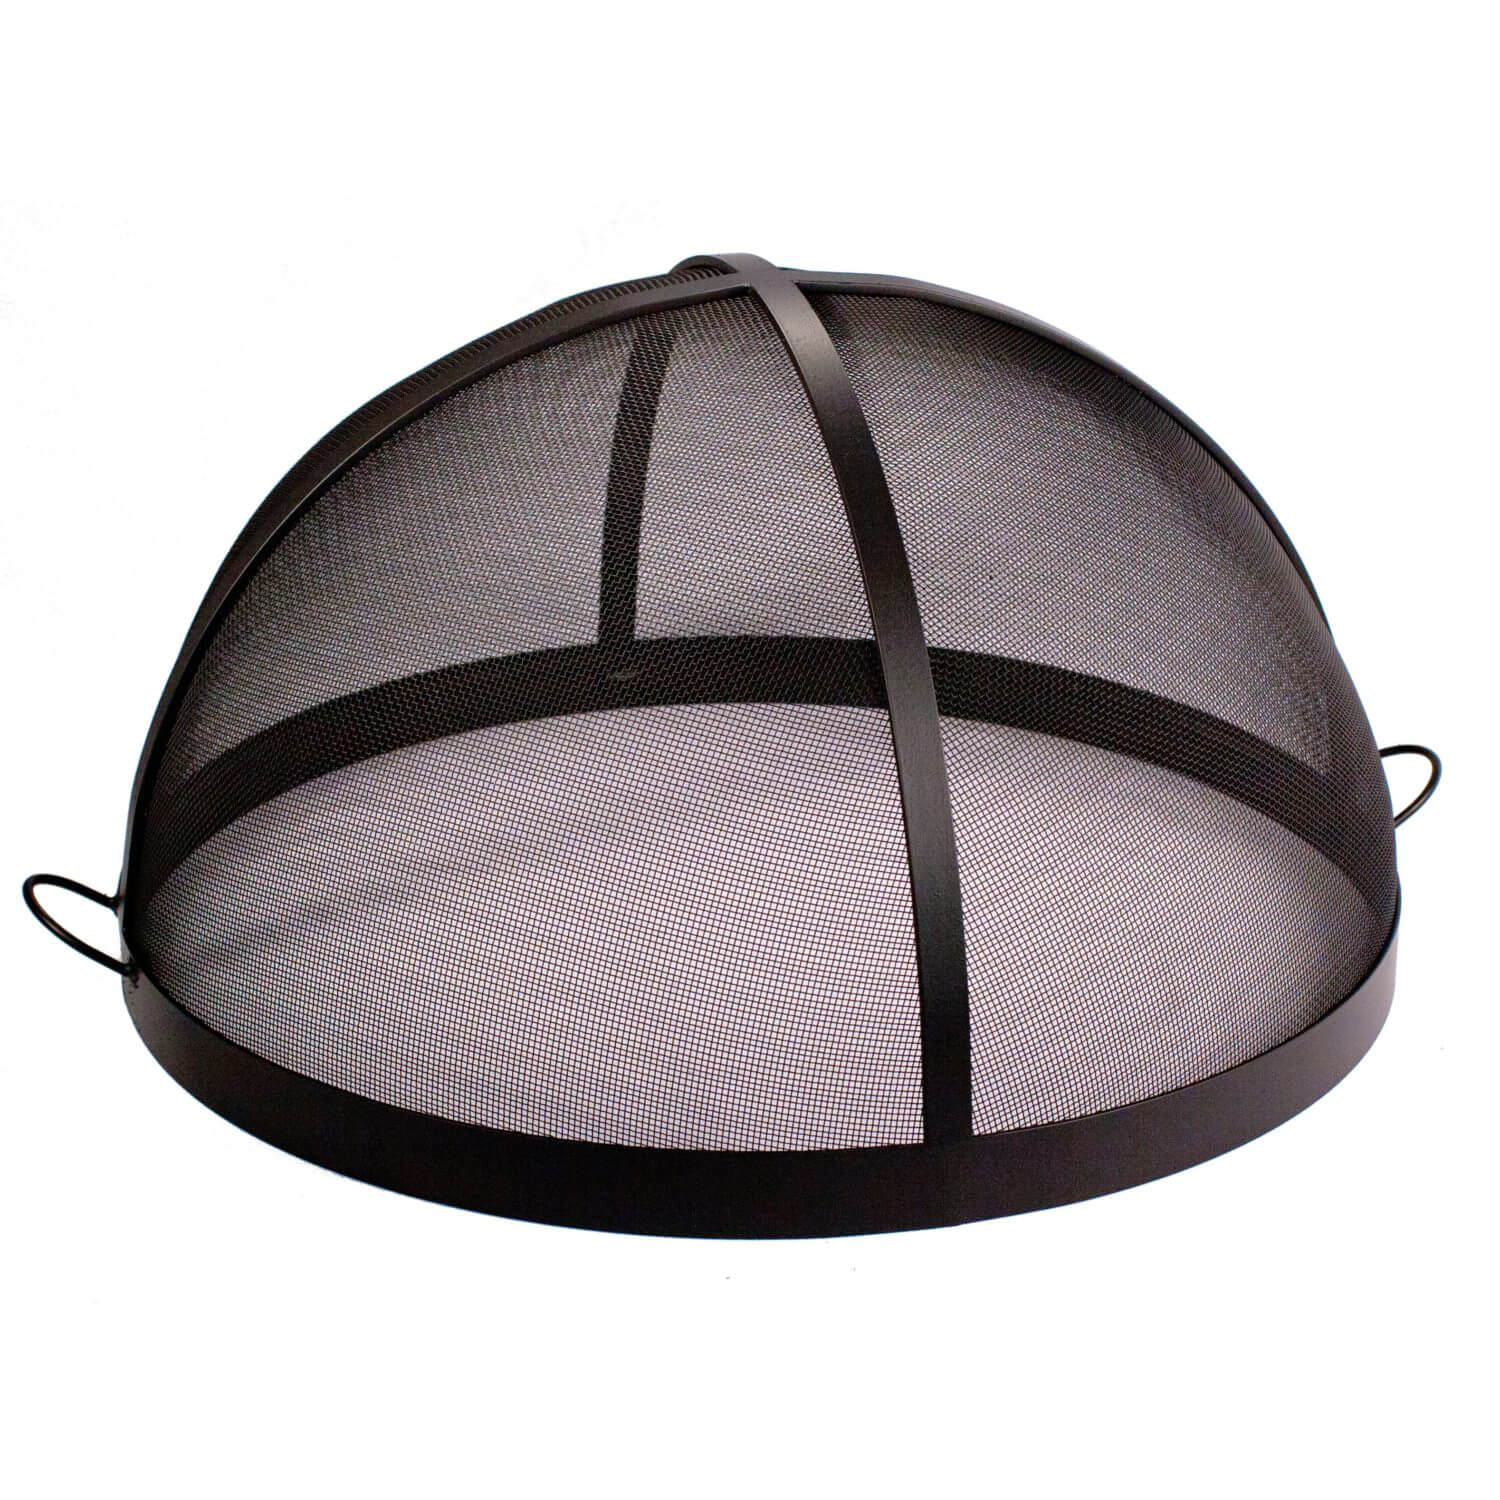
- Fire pit snuffer or cover (optional): While not essential, a snuffer or cover can be used to extinguish the flames and protect the fire pit when not in use.
- Decorative elements (optional): Consider adding decorative stones, shells, or other embellishments to personalize your tabletop fire pit and enhance its visual appeal.
Once you’ve gathered these materials, you’re ready to proceed with creating your own captivating tabletop fire pit. With everything in hand, you can look forward to an enjoyable and rewarding DIY experience.
**
Step 1: Prepare the Container
**
Preparing the container is the first crucial step in crafting your tabletop fire pit. Follow these simple guidelines to ensure that your chosen vessel is ready to house the mesmerizing flames:
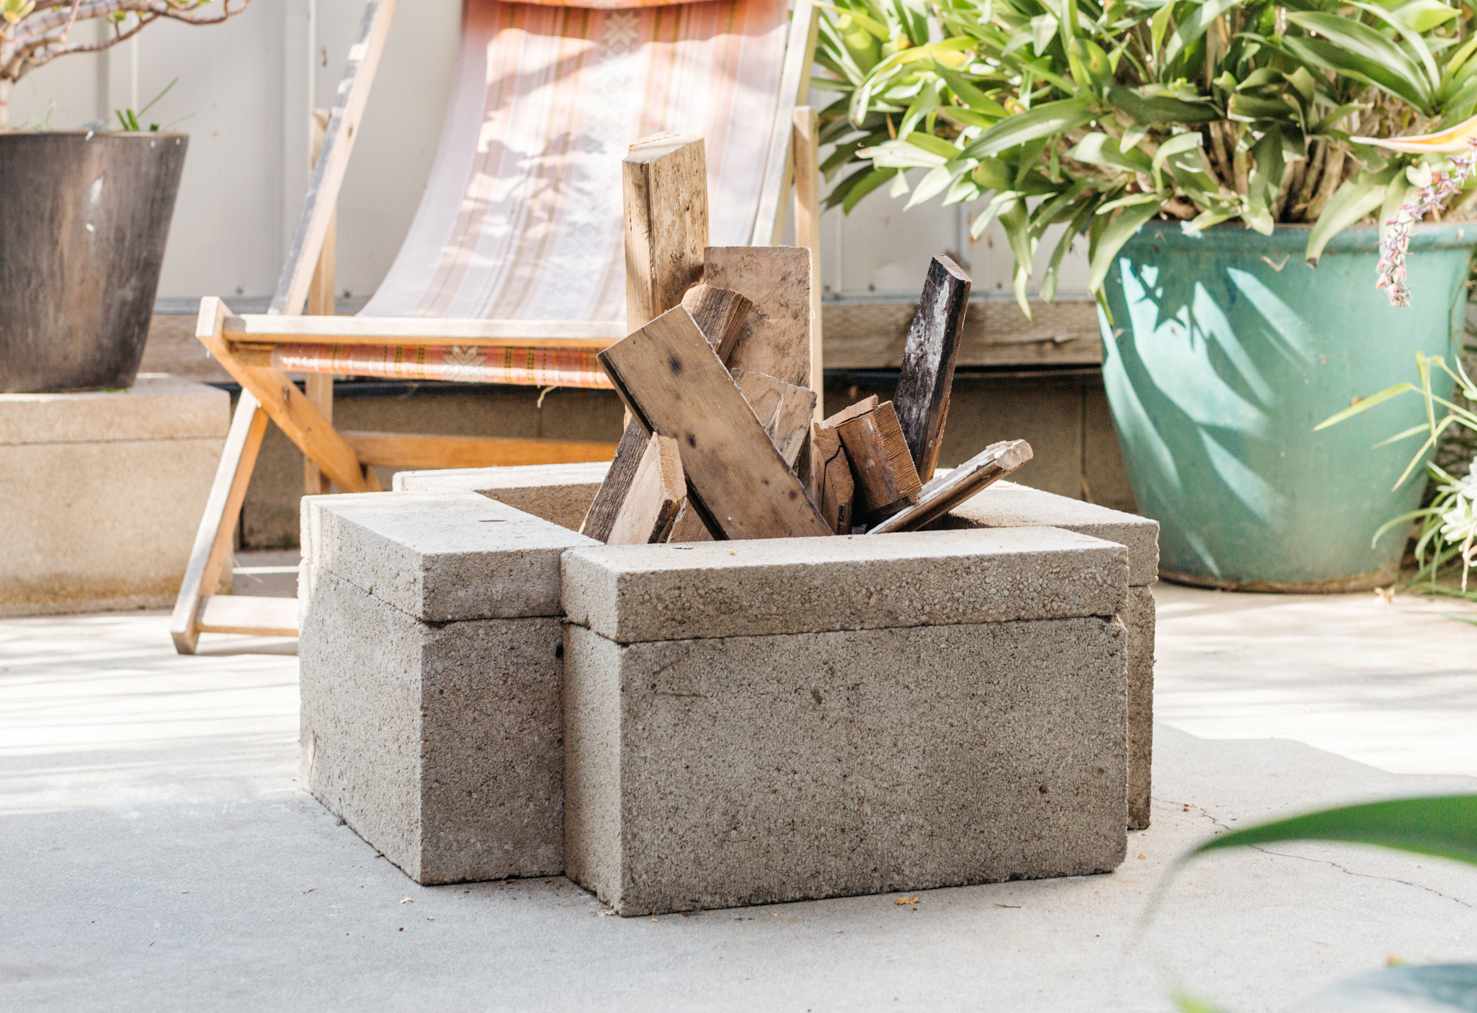
1. Select a Suitable Container: Choose a container that not only complements your outdoor aesthetic but is also heat-resistant and sturdy. Metal, ceramic, and heat-resistant glass containers are popular choices. Ensure that the container has a wide enough opening to accommodate the fire elements and provide ample space for the flames to dance gracefully.
2. Clean the Container: Before assembling your tabletop fire pit, thoroughly clean the container to remove any dust, debris, or residues that may affect the performance or appearance of the fire pit. A clean, unobstructed container will ensure that the flames burn brightly and consistently.
3. Position the Container: Select a stable, level surface for your tabletop fire pit. Whether you’re placing it on a patio table, outdoor coffee table, or any other flat outdoor surface, stability is key. Ensuring that the container is positioned securely will promote safety and prevent accidental tipping or spillage.
By carefully preparing the container, you set the stage for a visually stunning and safe tabletop fire pit. With the container ready, you’re one step closer to enjoying the enchanting glow and gentle warmth of your DIY creation.
**
Step 2: Fill the Container with Fire Glass
**
Once you’ve prepared the container, the next step is to fill it with fire glass, an essential element that not only enhances the visual appeal of your tabletop fire pit but also helps disperse the heat evenly. Follow these simple guidelines to complete this step:
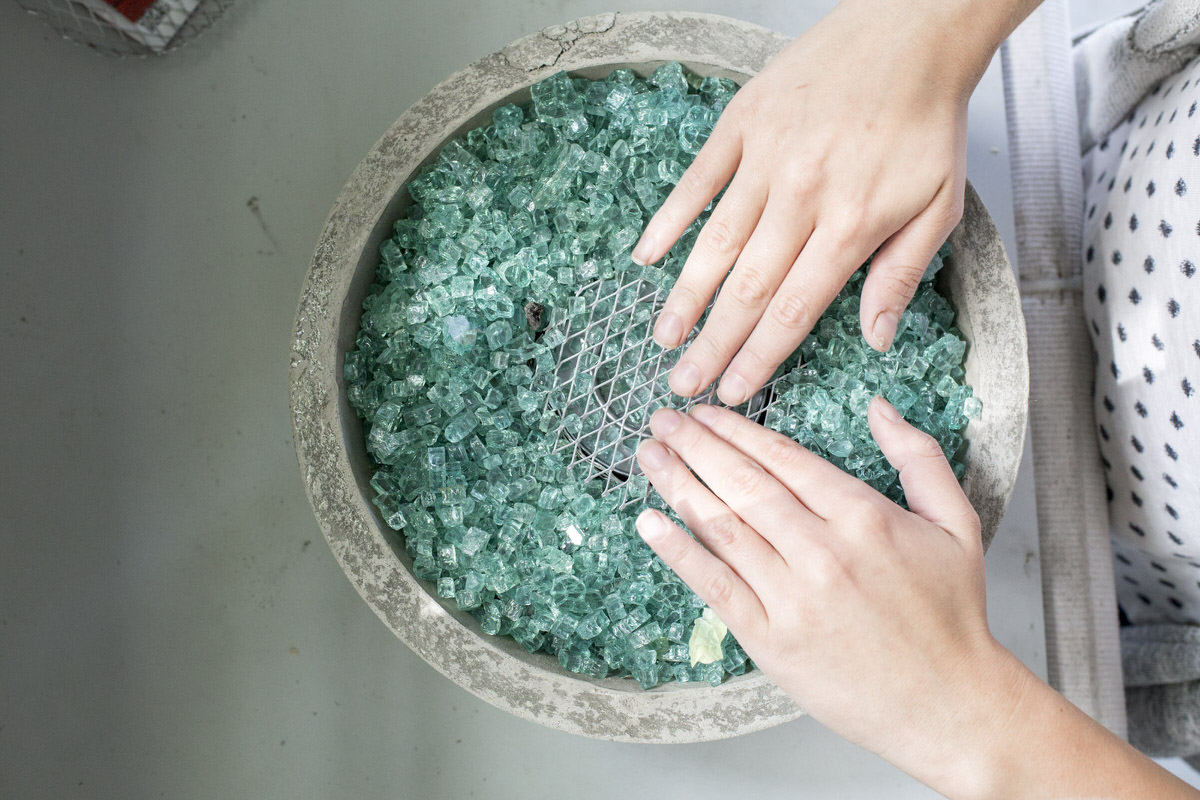
1. Choose the Right Fire Glass: Select fire glass in a color that complements your container and outdoor decor. This tempered glass is designed to withstand high temperatures and is available in an array of colors, allowing you to customize the look of your tabletop fire pit to suit your style.
2. Pour the Fire Glass: Carefully pour the fire glass into the prepared container, ensuring an even layer at the base. The depth of the fire glass layer can vary based on personal preference, but a depth of around 1 to 2 inches typically works well. This layer not only provides a stunning foundation for the flames but also helps to distribute the heat produced by the gel fuel cans.
3. Arrange the Fire Glass: Once the fire glass is in place, you can gently arrange it to achieve the desired look. Consider creating patterns or arranging the glass in a way that enhances the visual impact of the flames. This step allows for personal creativity and adds a unique touch to your tabletop fire pit.
By filling the container with fire glass, you’re setting the stage for the mesmerizing display of flames that will soon grace your outdoor gatherings. This step brings you one step closer to enjoying the enchanting allure of your DIY tabletop fire pit.
**
When making a tabletop fire pit, be sure to use fire-safe materials such as heat-resistant glass or metal. Avoid using flammable materials like wood or plastic to prevent accidents.
Step 3: Add the Gel Fuel Cans
**
Adding the gel fuel cans is a pivotal step in bringing your tabletop fire pit to life. These clean-burning cans provide a safe and convenient source of flames, creating a captivating focal point for your outdoor entertaining space. Follow these simple guidelines to incorporate the gel fuel cans into your tabletop fire pit:
1. Select the Right Gel Fuel: Choose gel fuel cans that are specifically designed for use in tabletop fire pits and similar applications. These cans typically contain isopropyl alcohol or a similar substance, producing clean-burning flames that are safe for outdoor use. Always follow the manufacturer’s instructions and safety guidelines when handling and using gel fuel.
2. Position the Gel Fuel Cans: Carefully place the gel fuel cans on top of the layer of fire glass within the container. Ensure that the cans are positioned securely and evenly to promote consistent flame distribution. The number of cans needed will depend on the size of your container and the desired flame intensity and duration.
3. Adjust the Flame Height (Optional): Some gel fuel cans allow for flame height adjustment. If this feature is available, follow the manufacturer’s instructions to set the flame height to your preference. This flexibility allows you to customize the visual impact of your tabletop fire pit and create the desired ambiance for your outdoor gatherings.
By adding the gel fuel cans to your tabletop fire pit, you’re bringing the allure of dancing flames to your outdoor space. This step marks the transition from preparation to activation, setting the stage for the captivating glow and gentle warmth that your DIY creation will soon provide.
**
Read more: How To Make A Portable Fire Pit
Step 4: Light the Fire Pit
**
Lighting the fire pit is the moment when your tabletop creation truly comes to life, casting a warm and inviting glow over your outdoor gatherings. Follow these simple guidelines to safely and effectively ignite the flames in your tabletop fire pit:
1. Prepare the Ignition Area: Clear the area around the tabletop fire pit to ensure that there are no obstructions or flammable materials nearby. This precaution will prevent accidental fires and promote a safe and enjoyable experience for you and your guests.
2. Ignite the Gel Fuel: Using a long-reach lighter or a set of matches, carefully ignite the gel fuel in the cans. Follow the manufacturer’s instructions for safe ignition, and exercise caution to prevent accidental spills or flare-ups. Once ignited, the gel fuel will produce a mesmerizing flame that dances gracefully atop the fire glass.
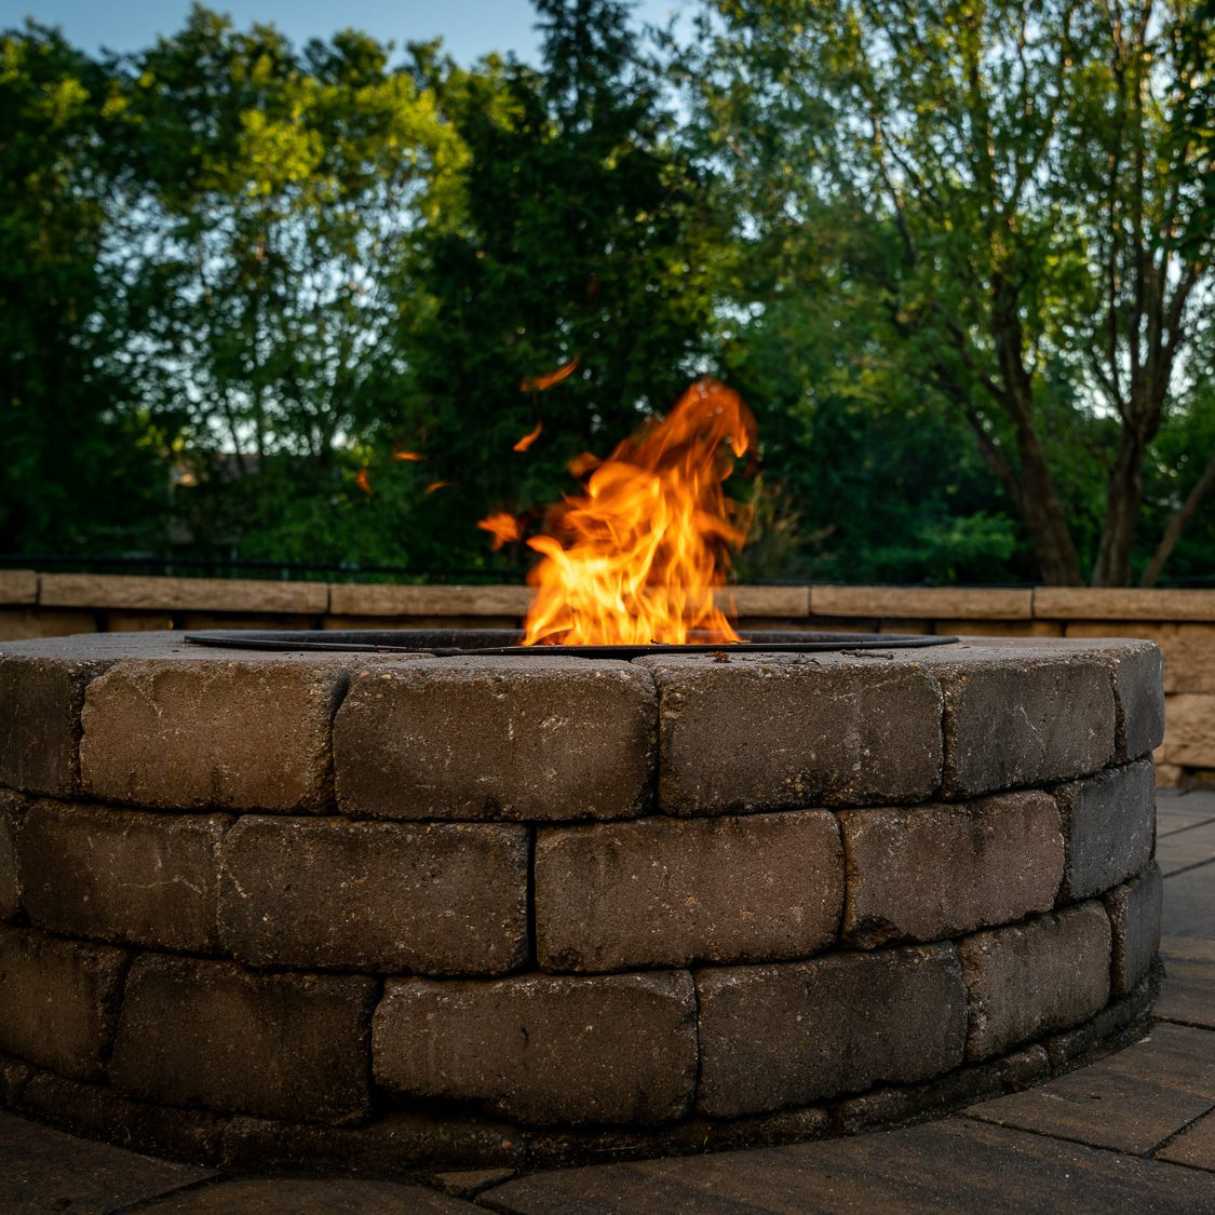
3. Observe the Flames: As the flames come to life, take a moment to observe the captivating display. The gentle flicker of the flames against the backdrop of the fire glass creates a mesmerizing ambiance, perfect for outdoor dining, socializing, or simply unwinding after a long day.
4. Adjust the Flames (Optional): Depending on the type of gel fuel used, you may have the option to adjust the flame height. If desired, follow the manufacturer’s guidelines to modify the flames to your preference, whether you prefer a subtle, ambient glow or a more pronounced flickering effect.
By lighting the fire pit, you’re ushering in a captivating focal point for your outdoor space, infusing it with warmth, charm, and a touch of enchantment. With the flames dancing gracefully, your DIY tabletop fire pit becomes a source of ambiance and allure, inviting you and your guests to linger and savor the outdoor experience.
**
Step 5: Safety Precautions
**
While a tabletop fire pit adds charm and warmth to your outdoor gatherings, it’s essential to prioritize safety to ensure a worry-free and enjoyable experience. Incorporate these crucial safety precautions when using and maintaining your DIY tabletop fire pit:
1. Supervise the Fire Pit: Never leave the tabletop fire pit unattended while the flames are lit. It’s important to have a responsible adult present to monitor the fire pit and ensure that safety guidelines are observed throughout its use.
2. Keep Flammable Materials Away: Maintain a clear area around the tabletop fire pit, free from flammable materials such as paper, fabric, or dry foliage. This precaution minimizes the risk of accidental fires and promotes a safe environment for you and your guests.
3. Use Caution When Handling Gel Fuel: Exercise care when handling and igniting the gel fuel cans. Follow the manufacturer’s instructions for safe use, and keep the gel fuel away from sources of ignition and heat when not in use.
4. Position the Fire Pit Securely: Ensure that the tabletop fire pit is positioned on a stable, level surface to prevent accidental tipping or movement. This stability is essential for the safe operation of the fire pit and the prevention of spills or injuries.
5. Extinguish the Flames Safely: When you’re ready to extinguish the flames, use a designated fire pit snuffer or cover to smother the fire gently. Avoid blowing out the flames, as this can create sparks and pose a fire hazard. Once extinguished, allow the fire pit to cool before handling it or moving it to a different location.
By prioritizing safety precautions, you can enjoy the enchanting ambiance of your tabletop fire pit with peace of mind, knowing that you’ve taken the necessary steps to ensure a secure and delightful outdoor experience for you and your guests.
**
Conclusion
**
Creating a tabletop fire pit is a delightful way to infuse your outdoor entertaining space with warmth, charm, and a mesmerizing focal point. By following the step-by-step process outlined in this guide, you can craft your own captivating fire feature that will enhance the ambiance of your outdoor gatherings. From selecting the right container to igniting the flames, each stage of the process contributes to the creation of a visually stunning and inviting centerpiece for your patio, deck, or garden.
As the flames dance gracefully atop the bed of fire glass, your tabletop fire pit becomes a gathering point, drawing friends and family to bask in its alluring glow. Whether you’re hosting a dinner party, enjoying a quiet evening outdoors, or simply savoring moments of relaxation, the gentle warmth and captivating display of flames add an enchanting dimension to your outdoor experience.
Remember to prioritize safety by observing essential precautions when using and maintaining your tabletop fire pit. By doing so, you can enjoy the ambiance and allure of the flames with peace of mind, knowing that you’ve created a secure and inviting outdoor space for yourself and your guests.
With your DIY tabletop fire pit aglow, you can look forward to countless memorable moments spent in the company of loved ones, surrounded by the captivating warmth and charm of your outdoor creation. Embrace the enchantment of your tabletop fire pit and savor the magic it brings to your outdoor entertaining endeavors.
Frequently Asked Questions about How To Make A Tabletop Fire Pit
Was this page helpful?
At Storables.com, we guarantee accurate and reliable information. Our content, validated by Expert Board Contributors, is crafted following stringent Editorial Policies. We're committed to providing you with well-researched, expert-backed insights for all your informational needs.

0 thoughts on “How To Make A Tabletop Fire Pit”