
Articles
How To Waterproof Balcony
Modified: January 4, 2024
Discover effective methods and techniques for waterproofing your balcony with our informative articles. Ensure long-lasting protection against water damage and enjoy a beautiful and durable outdoor space.
(Many of the links in this article redirect to a specific reviewed product. Your purchase of these products through affiliate links helps to generate commission for Storables.com, at no extra cost. Learn more)
Introduction
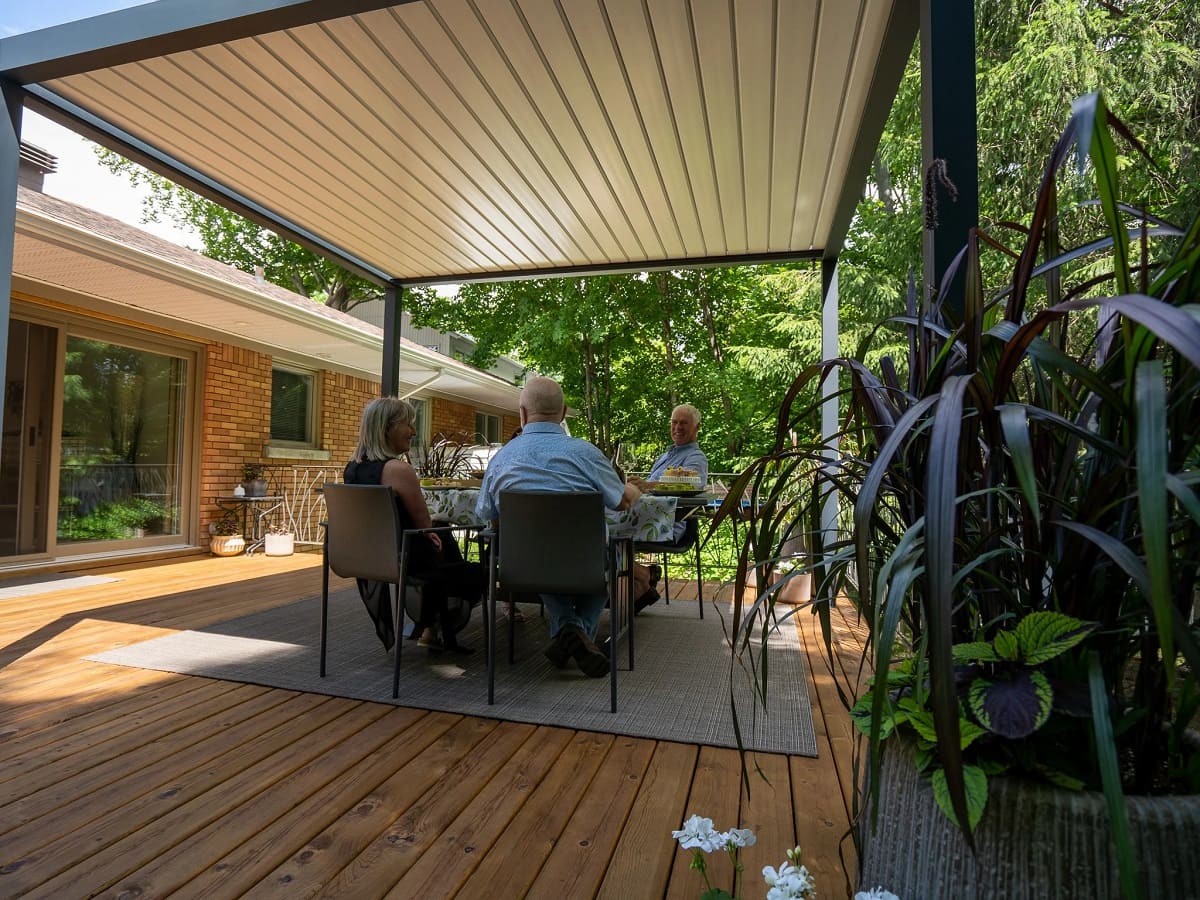
Having a balcony is a wonderful addition to any home. It provides a cozy outdoor space where you can relax, enjoy the view, and soak up some fresh air. However, without proper waterproofing, your balcony can quickly turn into a headache, as water damage and leaks become a constant concern.
Waterproofing your balcony is essential to protect it from moisture, rain, and other environmental factors. By implementing the right techniques and materials, you can ensure that your balcony remains durable and free from water-related issues.
In this article, we will guide you through the step-by-step process of how to effectively waterproof your balcony. From assessing the current state of your balcony to applying the final waterproofing coat, we will cover all the necessary information to help you successfully complete this project.
Whether you are a seasoned DIY enthusiast or a beginner, this guide is designed to assist you in achieving a waterproof balcony that will not only enhance your home’s aesthetic appeal but also provide a functional and long-lasting space for outdoor enjoyment.
Key Takeaways:
- Protect your balcony from water damage by thoroughly assessing its condition, cleaning the surface, and applying waterproofing primer and membrane. Sealing edges and joints, and testing the waterproofing ensures a long-lasting, functional outdoor space.
- Invest in the longevity of your balcony by completing the waterproofing process with a final waterproofing coat. Thoroughly test the effectiveness of the waterproofing and stay proactive in maintaining and inspecting your balcony for long-term durability.
Read more: How To Soundproof A Balcony
Step 1: Assessing the current state of the balcony
Before you begin the process of waterproofing your balcony, it is important to first assess its current condition. This step will help you identify any existing issues that may need to be addressed before applying the waterproofing materials.
Start by thoroughly inspecting the balcony surface for any signs of damage or deterioration. Look for cracks, chips, or uneven areas that could potentially lead to water leaks. Pay close attention to the edges of the balcony, as they are particularly susceptible to water penetration.
If you notice any existing water damage, such as water stains or mold growth, it is crucial to address these issues before proceeding with the waterproofing process. Repair any damaged areas, fill in any cracks, and ensure that the balcony surface is smooth and even.
In addition to evaluating the condition of the balcony surface, consider the layout and design of your balcony. Take note of areas where water may accumulate, such as low-lying spots or inadequate drainage systems. These areas may require special attention during the waterproofing process.
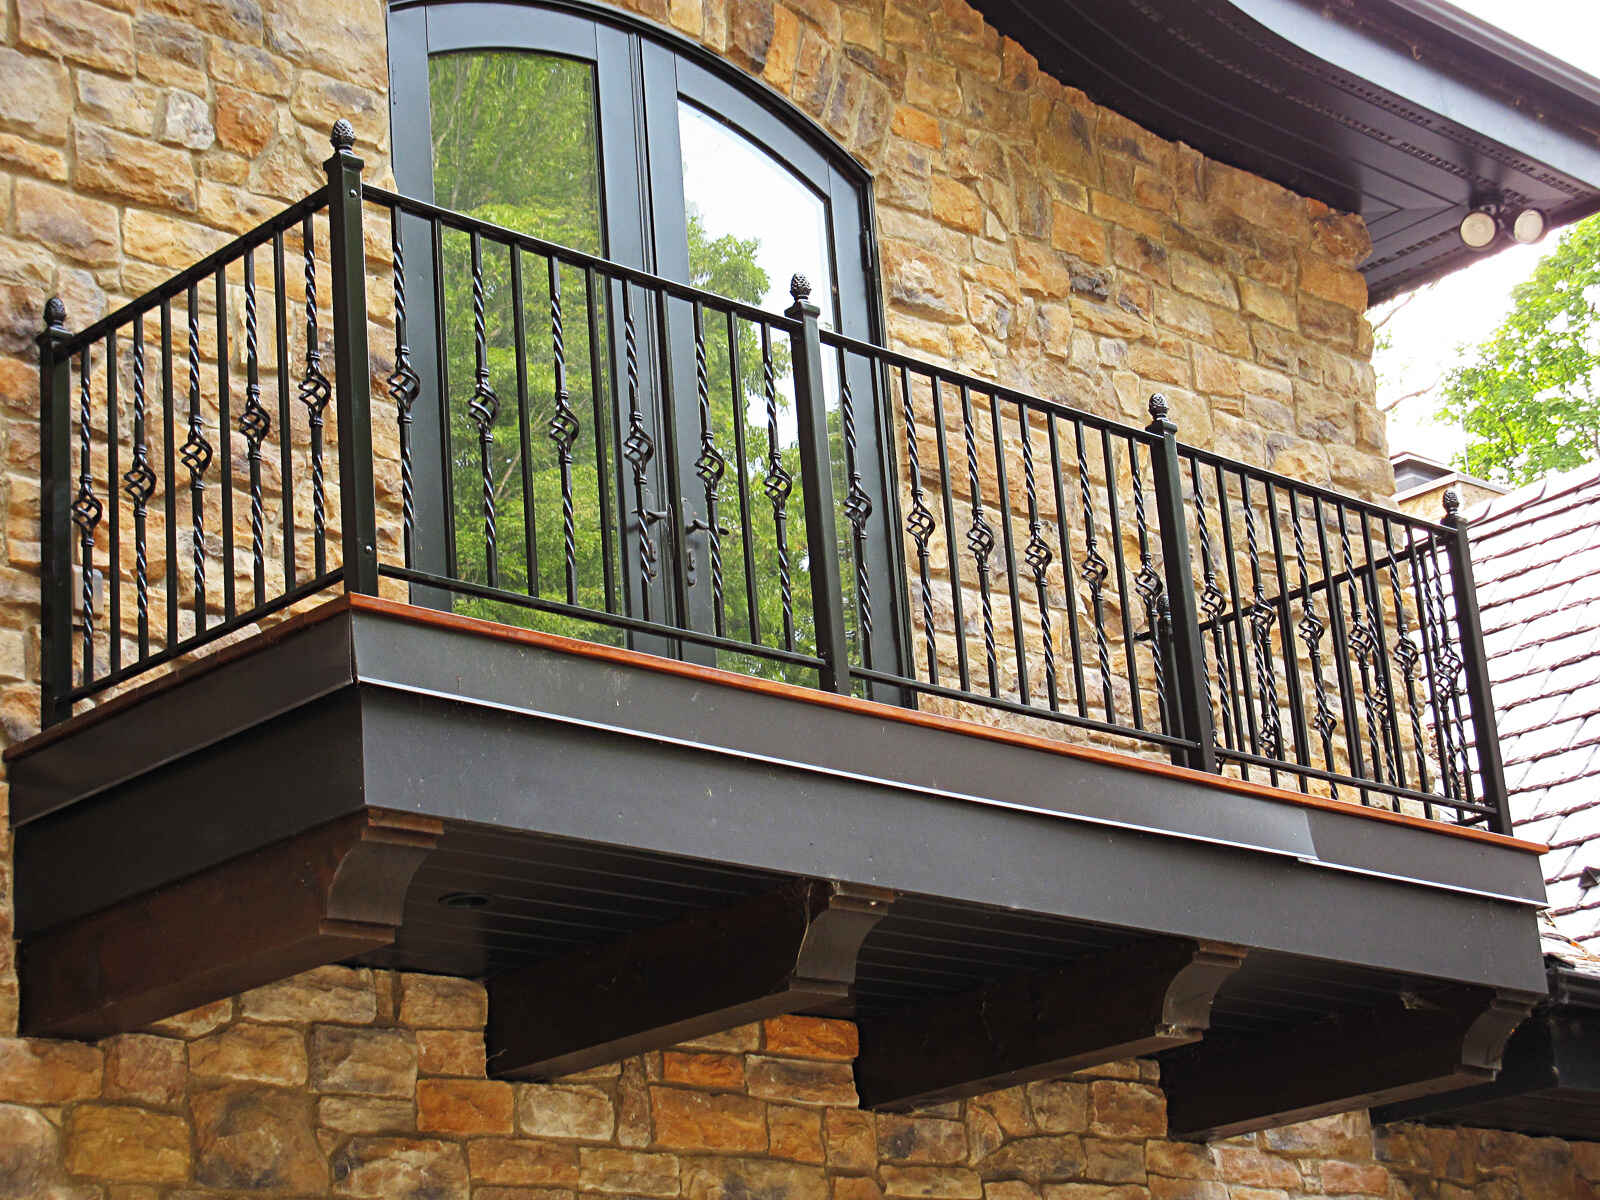
Furthermore, assess the balcony structure itself. Check for any signs of rust, corrosion, or weakening of the materials. Pay attention to the balcony railing, as it plays a crucial role in preventing water damage. If you notice any structural issues, consult a professional for further evaluation and repairs.
Taking the time to thoroughly assess the current state of your balcony will ensure that you can address any underlying issues before proceeding with the waterproofing process. By starting with a solid foundation, you can effectively prevent water damage and prolong the longevity of your balcony.
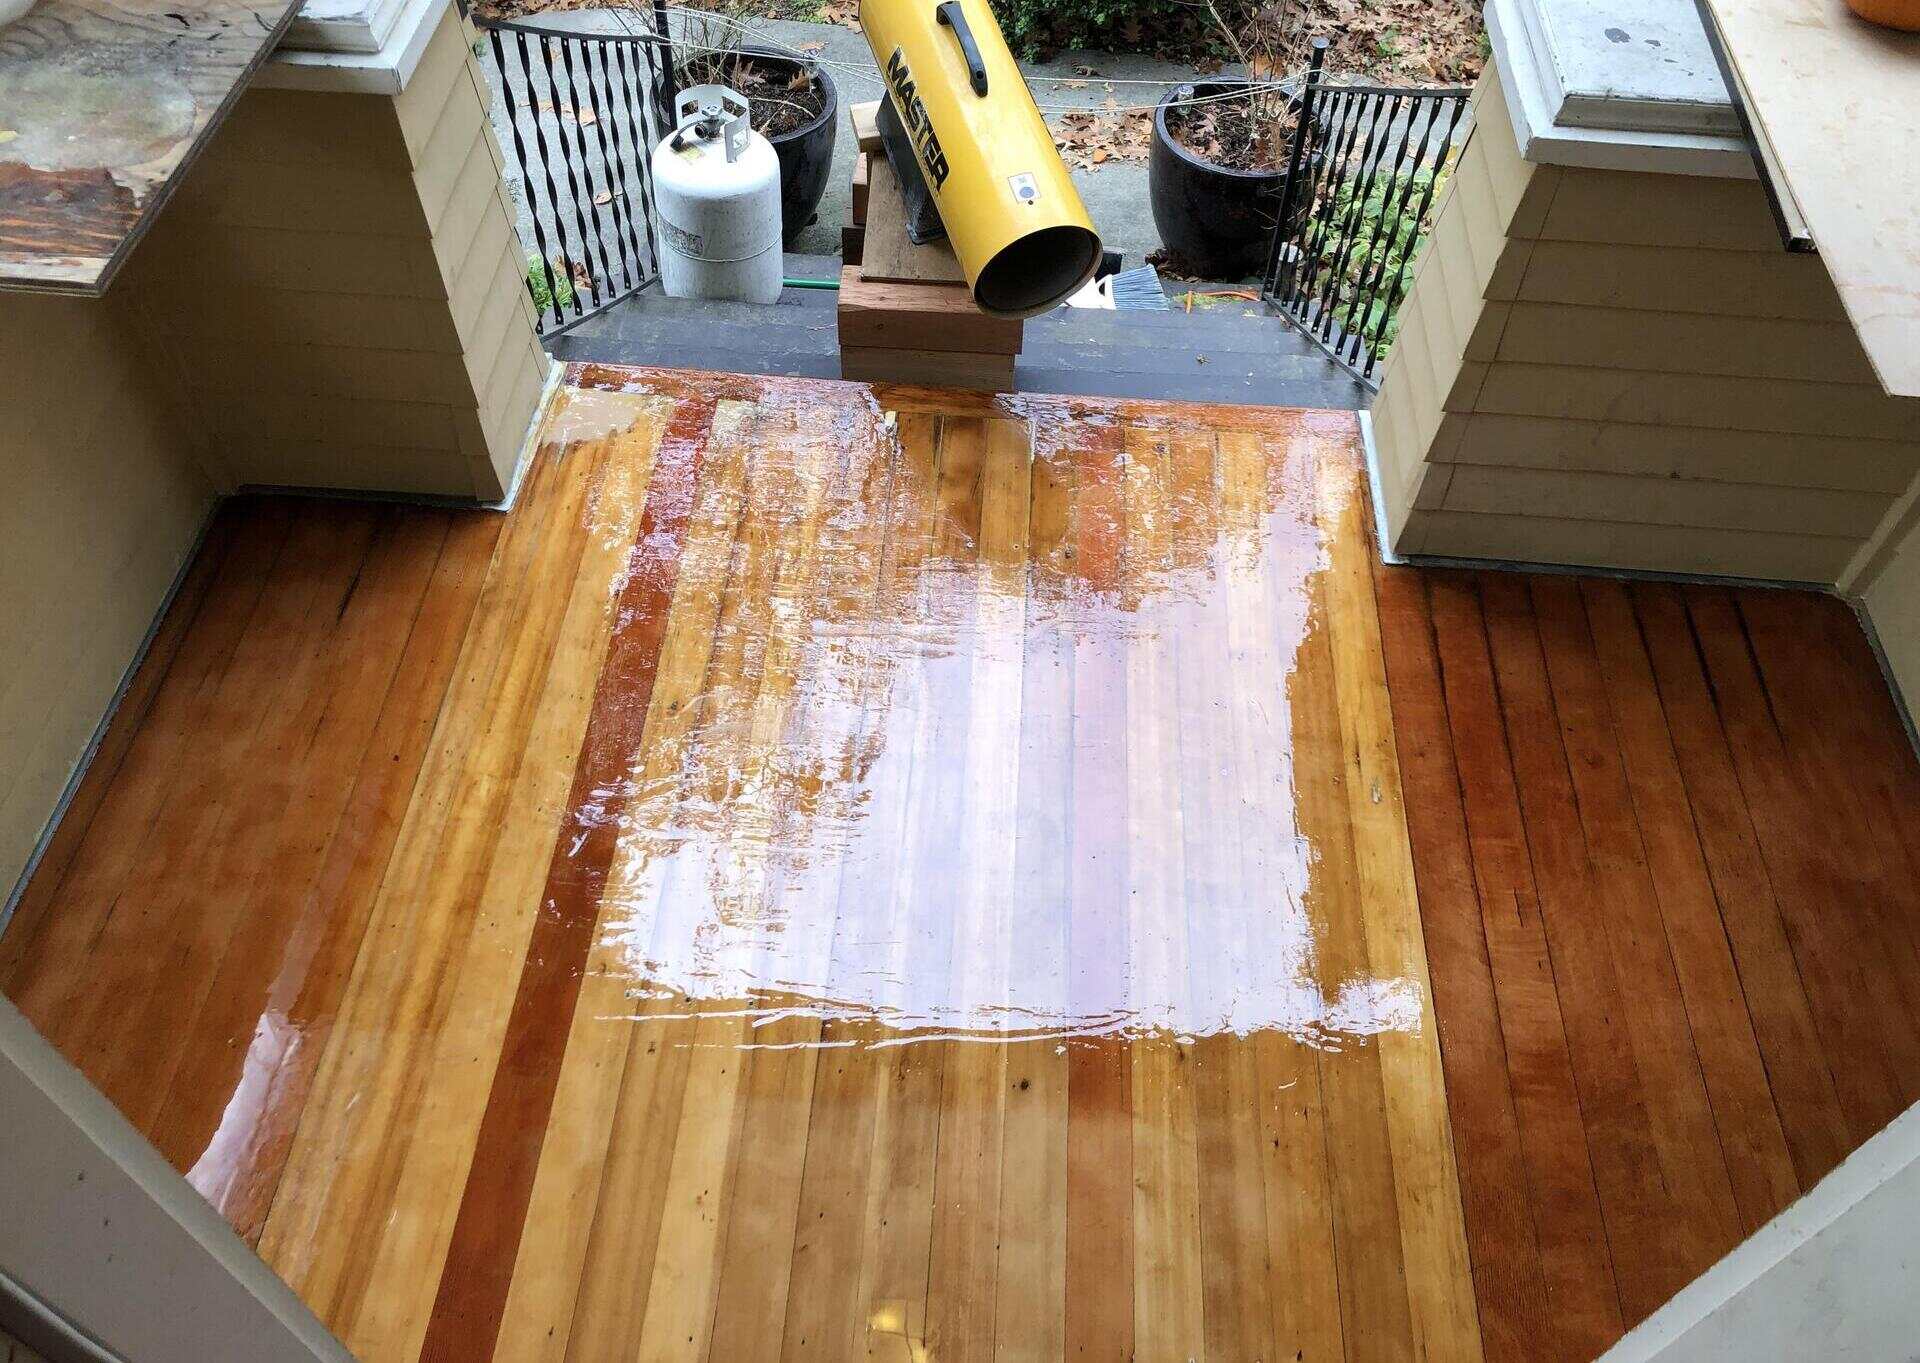
Step 2: Cleaning the balcony surface
Once you have assessed the condition of your balcony and made any necessary repairs, the next step in the waterproofing process is to thoroughly clean the balcony surface. Proper cleaning is essential to ensure that the waterproofing materials adhere effectively and provide optimal protection against water damage.
Start by removing any debris, such as leaves, dirt, or loose particles, from the balcony surface. Use a broom or a brush to sweep away any loose debris, paying attention to corners and hard-to-reach areas.
Next, prepare a solution of mild detergent or balcony cleaner and warm water. Apply the cleaning solution to the balcony surface, either by using a brush or a mop. Scrub the surface gently to remove any stains, dirt, or grime. Focus on areas where water tends to accumulate, such as near drains or corners.
Once you have thoroughly cleaned the balcony surface, rinse it with clean water to remove any residue or cleaning solution. Use a hose or a bucket of water to ensure a complete rinse.
After rinsing the balcony, allow it to dry completely before moving on to the next step. Depending on the weather conditions, this may take several hours or even a whole day. Ensure that there is no moisture present on the balcony surface, as it can interfere with the adhesion of the waterproofing materials.
Properly cleaning the balcony surface ensures that the waterproofing materials can bond effectively and provide a solid barrier against water intrusion. Taking the time to clean the balcony thoroughly will greatly improve the effectiveness and longevity of the waterproofing process.
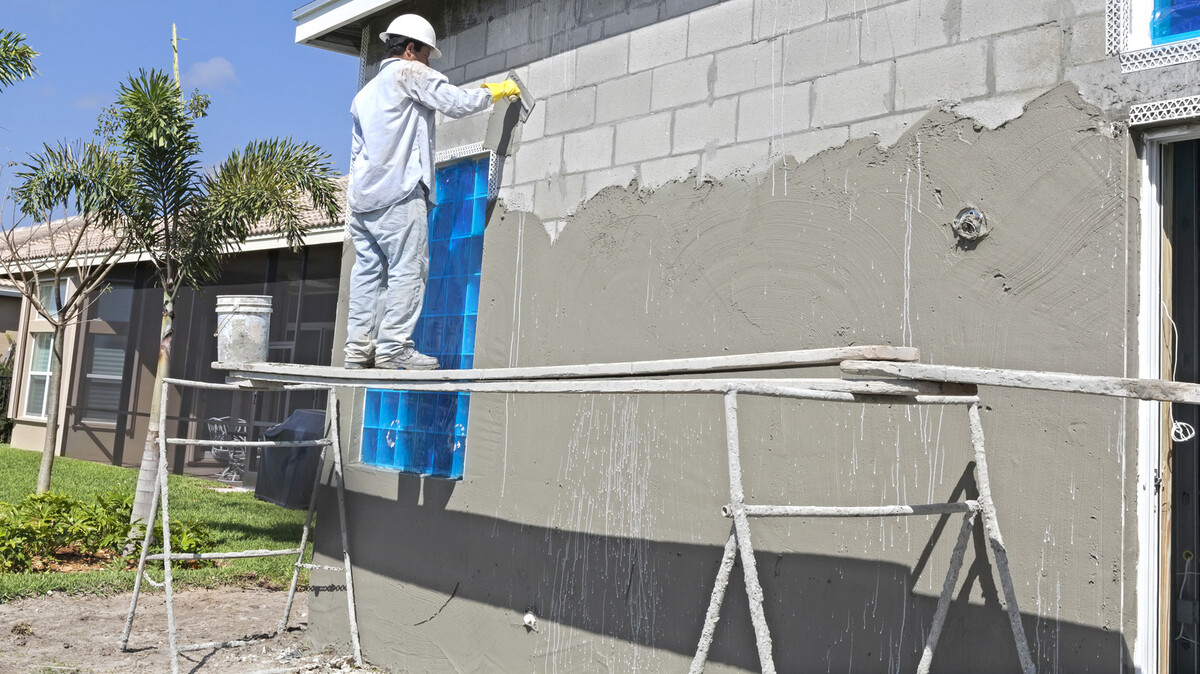
Step 3: Applying waterproofing primer
Once the balcony surface is clean and dry, the next step in the waterproofing process is to apply a waterproofing primer. The primer creates a strong bond between the balcony surface and the waterproofing membrane, ensuring maximum effectiveness in preventing water penetration.
Before applying the primer, carefully read the manufacturer’s instructions to ensure proper application and drying time. Make sure that you are using a primer specifically designed for outdoor use and suitable for the material of your balcony surface.
Start by preparing the primer according to the instructions. This may involve mixing or diluting the primer with a specific ratio of water. Use a roller or a brush to apply the primer evenly onto the balcony surface. Pay extra attention to the edges and corners, as these areas are more vulnerable to water penetration.
Allow the primer to dry completely before moving on to the next step. Drying times may vary depending on the product and weather conditions, so it is important to follow the manufacturer’s recommendations.
Applying a waterproofing primer creates a strong foundation for the waterproofing materials and enhances their adhesion to the balcony surface. It helps to seal any microscopic pores or cracks, reducing the risk of water seepage. The primer also improves the overall durability and longevity of the waterproofing system.
By taking the time to apply a waterproofing primer, you are ensuring that your balcony is well-protected against water damage and extending its lifespan. This crucial step helps to create a reliable barrier that will keep your balcony dry and free from moisture-related issues.
Step 4: Applying waterproofing membrane
After the primer has dried, it’s time to move on to the next step: applying the waterproofing membrane. The waterproofing membrane is a key component of the waterproofing system, as it forms a protective barrier that prevents water from penetrating the balcony surface.
Before applying the waterproofing membrane, carefully read the manufacturer’s instructions to ensure proper application and usage. Ensure that you are using a high-quality waterproofing membrane suitable for outdoor use and compatible with the primer you have applied.
Start by preparing the waterproofing membrane according to the instructions. This may involve mixing or diluting the membrane with a specific ratio of water. Use a brush or a roller to apply the membrane evenly onto the balcony surface, working in small sections at a time.
Pay close attention to the edges and corners of the balcony, as these areas are prone to water leakage. Apply an extra layer of membrane in these areas for added protection. Make sure to overlap the membrane sections to create a seamless and watertight barrier.
Allow the waterproofing membrane to dry completely before moving on to the next step. Drying times may vary, so refer to the manufacturer’s instructions for guidance. It is important to ensure that the membrane is fully cured before proceeding with the next steps.
Applying a waterproofing membrane creates a robust and reliable layer of protection for your balcony. It effectively prevents water from seeping through the surface and causing damage. The membrane acts as a shield, ensuring that your balcony remains dry and free from moisture-related issues.
By properly applying a waterproofing membrane, you are significantly enhancing the waterproofing capabilities of your balcony. This step is crucial in maintaining the integrity of your balcony and prolonging its lifespan.
Apply a waterproofing membrane to the balcony surface to prevent water damage. Make sure to clean and prepare the surface properly before applying the membrane for best results.
Read more: How To Childproof A Balcony
Step 5: Sealing the balcony edges and joints
Once the waterproofing membrane has dried and formed a protective barrier on the balcony surface, it’s time to focus on sealing the edges and joints. These areas are particularly vulnerable to water penetration and require special attention to ensure a watertight seal.
Start by inspecting the edges and joints of the balcony for any gaps or openings. Use a caulk gun and a high-quality waterproof sealant to fill in any cracks or voids. Apply the sealant generously along the edges and joints, ensuring a complete and even seal. Be thorough and meticulous in this step, as a proper seal is essential for preventing water leakage.
Pay close attention to areas where different materials meet, such as where the balcony surface meets the wall or the railing. Apply the sealant to any gaps or spaces between these surfaces, creating a seamless barrier against water intrusion.
Use a caulk smoothing tool or your finger to smooth and level the sealant, ensuring a neat and professional finish. Wipe away any excess sealant for a clean appearance. Allow the sealant to dry completely as per the manufacturer’s instructions.
Sealing the balcony edges and joints adds an extra layer of protection and reinforces the waterproofing system. It helps to prevent water from seeping through the vulnerable areas of your balcony, reducing the risk of water damage and ensuring long-term durability.
By taking the time to properly seal the edges and joints, you are further enhancing the waterproofing capabilities of your balcony. This step pays off in the long run by providing a tight and secure seal that keeps your balcony dry and free from moisture-related issues.
Step 6: Applying the final waterproofing coat
After sealing the edges and joints of your balcony, it’s time to apply the final waterproofing coat. This final layer adds an extra level of protection, ensuring that your balcony remains impervious to water and moisture.
Before applying the final waterproofing coat, read the instructions provided by the manufacturer to understand the proper application techniques and drying time. Use a waterproofing product specifically designed for outdoor use and compatible with the previous layers of waterproofing applied.
Start by preparing the waterproofing coating as directed on the packaging. Mix the product thoroughly to achieve a homogeneous consistency. Apply the coat evenly using a brush or roller, working in small sections at a time.
Ensure that the entire balcony surface is covered with a consistent layer of the waterproofing coat. Pay close attention to any areas that were previously sealed or repaired, as well as those that are prone to water accumulation. Apply an additional coat if necessary, following the recommended drying time between layers.
Allow the final waterproofing coat to dry completely before subjecting your balcony to any kind of foot traffic or exposure to water. The drying time will depend on the product and environmental conditions, so refer to the manufacturer’s instructions for guidance.
Applying the final waterproofing coat serves as the ultimate protective barrier for your balcony. It ensures that all previous layers of waterproofing are sealed and reinforced, creating a solid shield against water infiltration.
By taking the time to apply the final waterproofing coat, you are adding a crucial layer of defense to your balcony. This step completes the waterproofing process, providing long-lasting protection and peace of mind.
Step 7: Testing the waterproofed balcony
After completing all the necessary steps of waterproofing your balcony, it is crucial to test the effectiveness of the waterproofing measures. Testing the waterproofed balcony ensures that your efforts have been successful in creating a watertight seal and provides assurance of its durability.
Start by thoroughly inspecting the balcony for any signs of water leakage or damage. Look for any damp spots, discoloration, or water stains on the floor or walls near the balcony. Pay close attention to the previously vulnerable areas such as edges, corners, and joints.
If you notice any signs of water penetration, it could indicate a potential issue with the waterproofing. Take note of these areas and consider implementing additional waterproofing measures, such as re-applying sealant or adding another coat of waterproofing product.
To further test the waterproofing, you can simulate heavy rain or water exposure by using a hose or bucket of water. Wet the entire balcony surface, paying attention to potential problem areas. Observe closely to see if any water seeps through or accumulates on the surface. Additionally, check for any signs of water penetration on the underside of the balcony if accessible.
If water is not penetrating the surface and the balcony remains dry, it is a good indication that the waterproofing has been successful. However, if there are signs of water leakage, it is essential to address these issues promptly to prevent further damage.
Keep in mind that regular maintenance and inspections are necessary to ensure the continued effectiveness of the waterproofing. Periodically check for any signs of wear, cracks, or deterioration and promptly address any found issues.
Testing the waterproofed balcony gives you the confidence that your efforts have paid off and that your balcony is well-protected against water damage. It allows you to enjoy your outdoor space worry-free, knowing that it can withstand weather conditions and remain dry and functional.
By conducting thorough testing, you can identify and address any potential areas of concern, ensuring the long-term durability of your balcony.
Conclusion
Waterproofing your balcony is a crucial step in ensuring its longevity, durability, and functionality. By following the step-by-step guide outlined in this article, you can effectively protect your balcony from water damage and enjoy a dry and enjoyable outdoor space for years to come.
Assessing the current state of your balcony, cleaning the surface, applying a waterproofing primer, and applying a waterproofing membrane are essential steps in the waterproofing process. Sealing the edges and joints of the balcony provides an additional layer of protection, while the final waterproofing coat completes the process, creating a strong barrier against water infiltration.
After completing the waterproofing process, it is vital to test the effectiveness of your efforts. Thoroughly inspecting the balcony for any signs of water leakage and performing a water test will give you the confidence that your balcony is well-protected.
Remember, regular maintenance and inspections are key to keeping your balcony in top condition. Stay proactive in monitoring the state of your balcony, and promptly address any issues that may arise to prevent further damage.
By taking the time to properly waterproof your balcony, you are investing in its longevity and protecting it from potential water-related damage. A waterproofed balcony not only enhances the aesthetic appeal of your home but also provides a functional and enjoyable space for outdoor activities.
So, go ahead and take the necessary steps to waterproof your balcony. Enjoy the peace of mind knowing that even during rainy days, your balcony will remain dry and free from water damage. Create a comfortable and inviting outdoor oasis that can withstand the elements and provide years of outdoor enjoyment.
Frequently Asked Questions about How To Waterproof Balcony
Was this page helpful?
At Storables.com, we guarantee accurate and reliable information. Our content, validated by Expert Board Contributors, is crafted following stringent Editorial Policies. We're committed to providing you with well-researched, expert-backed insights for all your informational needs.


0 thoughts on “How To Waterproof Balcony”