Articles
How To Move A Washer And Dryer
Modified: February 20, 2024
Learn the proper steps and techniques for moving your washer and dryer with our informative articles. Ensure a smooth and hassle-free relocation process.
(Many of the links in this article redirect to a specific reviewed product. Your purchase of these products through affiliate links helps to generate commission for Storables.com, at no extra cost. Learn more)
Introduction
Moving a washer and dryer can be a daunting task, especially if you are unfamiliar with the process. These appliances are heavy, bulky, and require careful handling to avoid damage and ensure a successful move. Whether you are relocating to a new home or simply rearranging your laundry room, it’s important to follow a step-by-step approach to ensure a smooth and efficient move.
In this article, we will guide you through the process of moving a washer and dryer, providing you with helpful tips and instructions to make the transition as easy and stress-free as possible. From preparation to reconnection, we will cover each step in detail, so you can confidently tackle this task.
Before we dive into the specifics, it’s essential to gather the necessary tools and supplies for the move. You will need a dolly or hand truck, moving blankets or furniture pads, packing tape or straps, and a set of tools to disconnect and reconnect the appliances. Additionally, ensure you have a clear path from the current location of the washer and dryer to the desired destination, free of any obstacles that could impede the move.
Now that you have the essentials ready, let’s move on to the first step: preparation.
Key Takeaways:
- Proper preparation is key to a successful washer and dryer move. Measure doorways, empty appliances, secure loose parts, and protect the floor to ensure a smooth and stress-free process.
- When moving the appliances, communicate with helpers, lift with proper technique, and move slowly and steadily. Pay attention to doorways, corners, and stairs to prevent damage and ensure a safe transition.
Read more: How To Move A Stacked Washer Dryer
Step 1: Preparation
Before you begin moving your washer and dryer, it’s important to take the necessary precautions and properly prepare for the task at hand. Here are some key steps to follow:
- Measure the Doorways: Start by measuring the doorways and hallways through which the appliances need to pass. This will help you determine if any doors or moldings need to be temporarily removed to create a wider opening.
- Read the User Manual: Familiarize yourself with the user manual for your specific washer and dryer models. Look for any specific instructions or recommendations on how to properly disconnect and prepare the appliances for the move.
- Gather Supplies: As mentioned in the introduction, gather all the necessary tools and supplies for the move. Having everything prepared beforehand will save you time and ensure a smooth process.
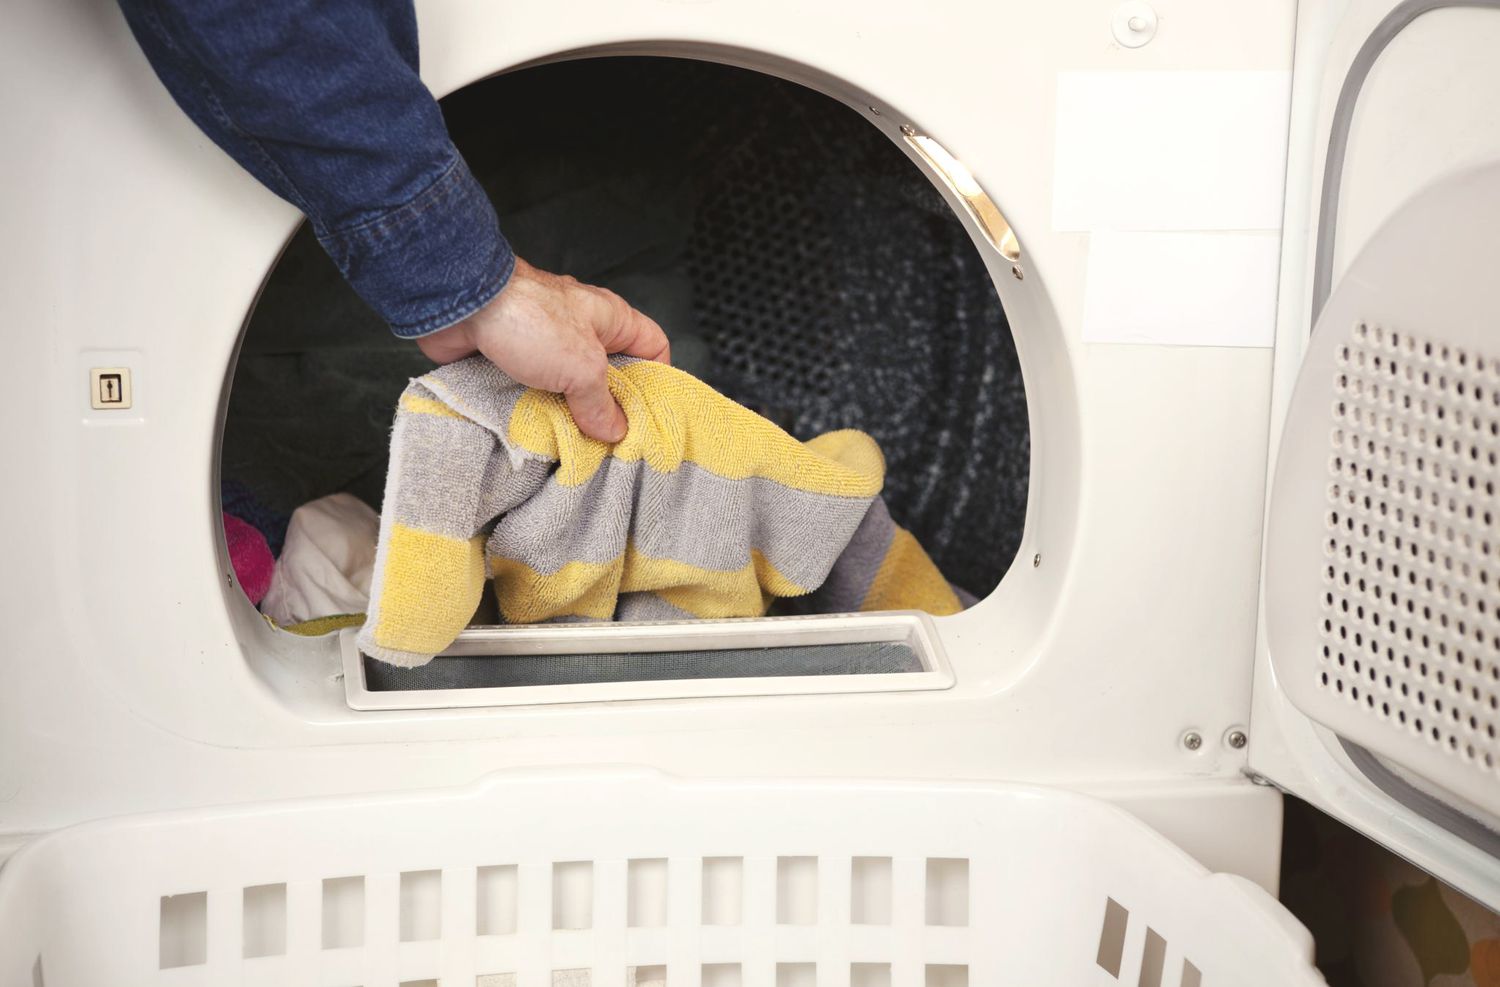
- Empty the Washer and Dryer: Remove all clothing, detergent, and any other items from the washer and dryer. Empty any water from the washer’s drum if necessary.
- Secure Loose Parts: Secure any loose parts such as cords, hoses, or removable shelves. Use zip ties or tape to secure them to the appliance to prevent them from getting tangled or damaged during the move.
- Protect the Floor: Place protective coverings on the floor to prevent any scratches or damage while moving the appliances. This could be old blankets, cardboard, or specialized floor protectors.
By taking the time to properly prepare, you are setting yourself up for a successful and stress-free moving experience. Once you have completed the preparation steps, you are ready to move on to disconnecting the washer and dryer.
Step 2: Disconnecting the Washer and Dryer
Properly disconnecting your washer and dryer is crucial to ensure their safety during the move. Here are the steps to follow:
- Turn off the Power: Start by powering off both the washer and dryer. Unplug them from the electrical outlets to prevent any mishaps during the disconnection process.
- Shut off Water Supply: If your washer is connected to a water supply, turn off the water valves to stop the flow. Disconnect the hoses from the faucets and drain any remaining water into a bucket or towel.
- Disconnect the Hoses: Once the water supply has been shut off, detach the hoses from the back of the washer. Be prepared for any excess water that may spill out and have towels or a bucket on hand to catch it.
- Secure the Hoses: To prevent any tangling or damage during the move, secure the hoses to the back of the washer. You can use zip ties or tape to hold them in place.
- Remove Venting Connections: For the dryer, disconnect the venting hose from the back of the appliance. If it’s a rigid metal duct, remove the clamps or screws securing it in place. If it’s a flexible hose, simply detach it from the dryer.
- Tape Cords: Using tape, secure the power cords for both the washer and dryer to their respective appliances. This will prevent them from dangling or getting tangled during the move.
Once you have completed these steps, your washer and dryer are now ready to be secured for the move. Proceed to the next step to learn how to properly secure these appliances.
Step 3: Securing the Washer and Dryer
Securing your washer and dryer properly is essential to prevent any damage during the move. Here’s what you need to do:
- Secure the Drum: Use moving straps or bungee cords to secure the drum of the washer and dryer. This will prevent it from moving and potentially getting damaged during transportation.
- Wrap for Protection: Wrap the washer and dryer with moving blankets or furniture pads. Secure the blankets in place with packing tape or straps. This will provide an extra layer of protection against scratches and dents during the move.
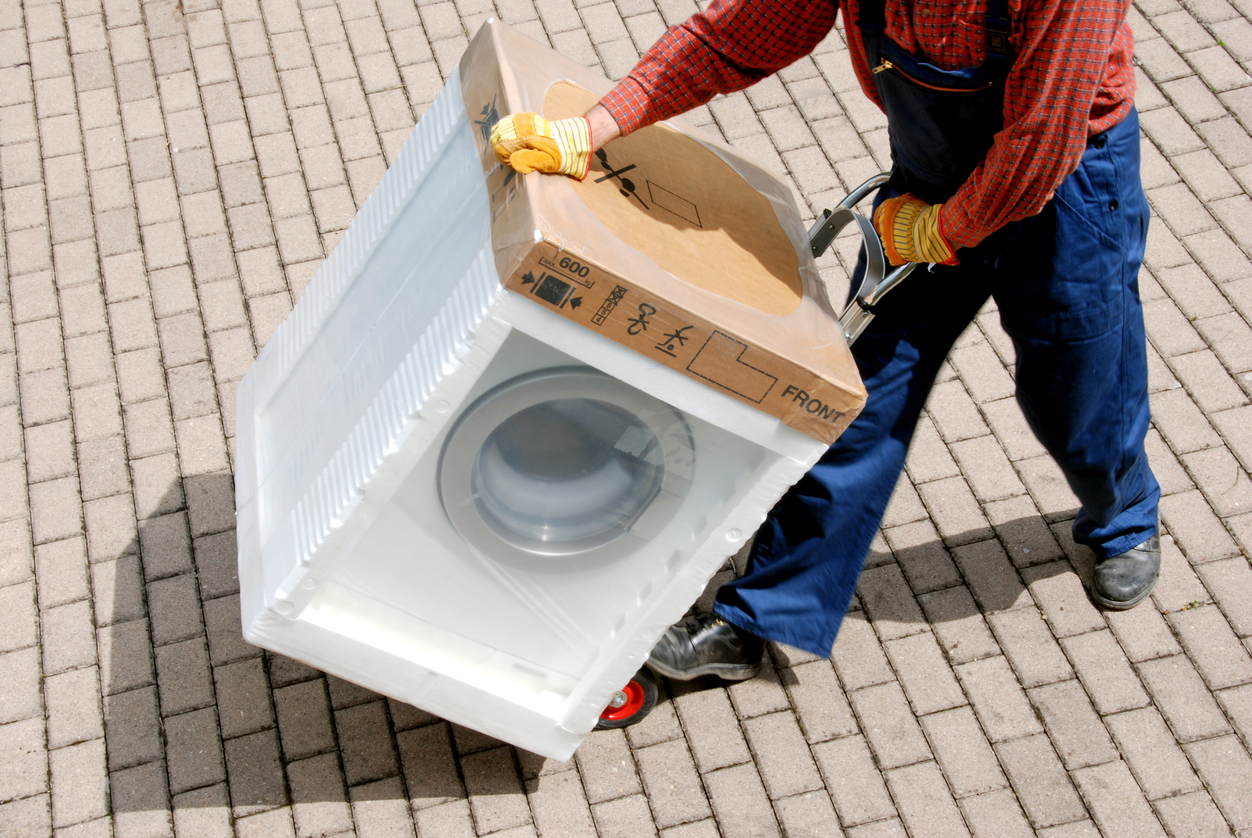
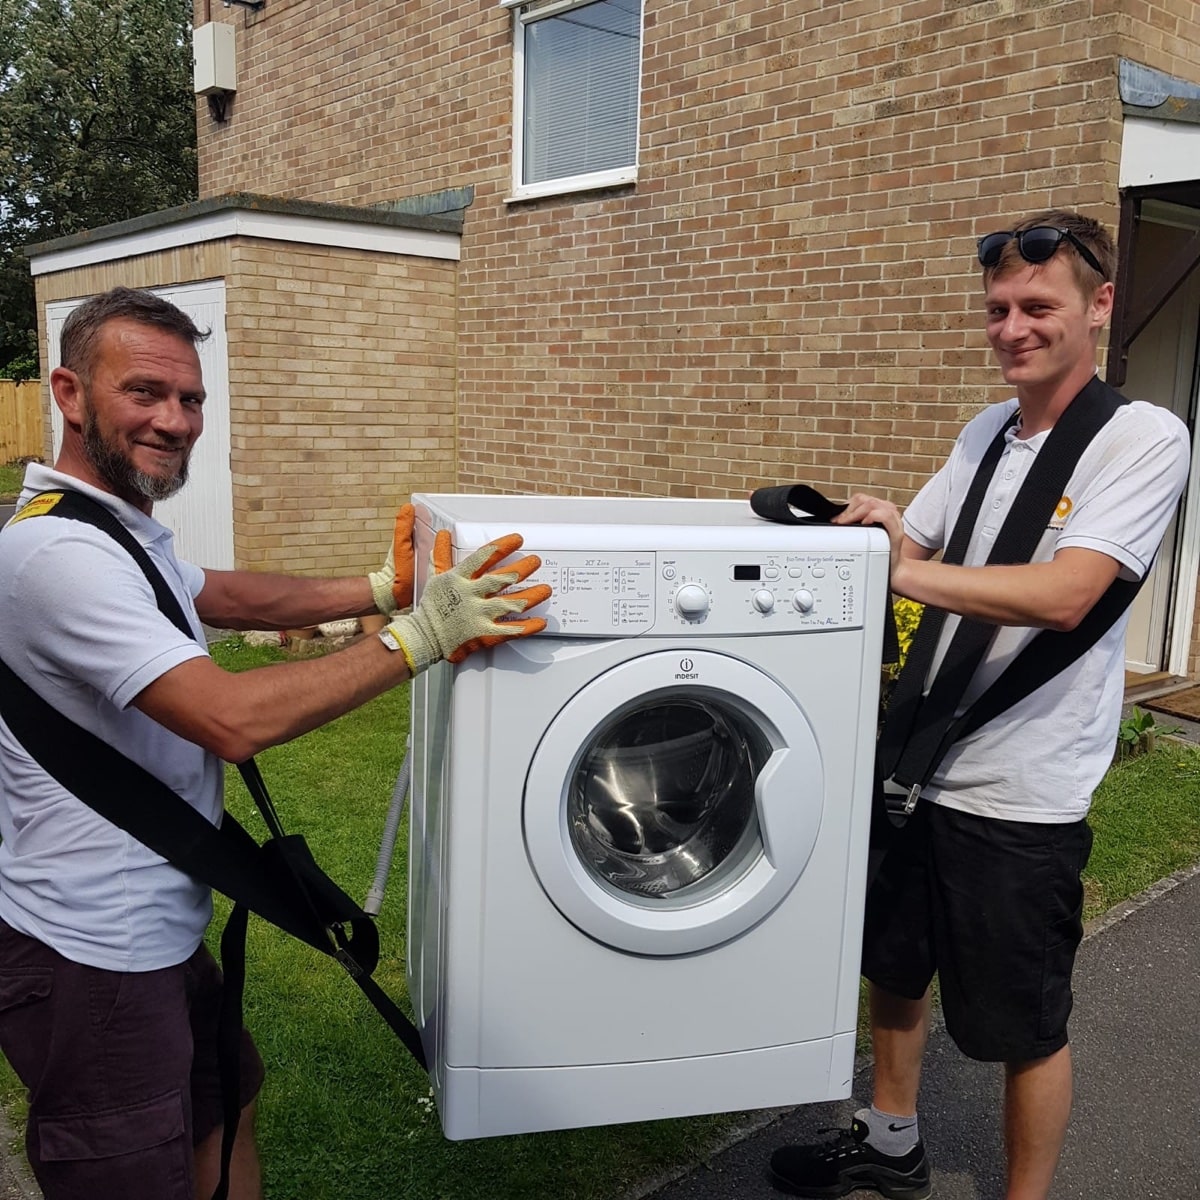
- Use a Dolly or Hand Truck: Carefully place the wrapped washer and dryer onto a dolly or hand truck. Make sure they are balanced and stable before moving them.
- Secure with Straps: Use additional straps or bungee cords to secure the appliances to the dolly or hand truck. This will ensure that they stay in place and do not shift during transportation.
- Protect the Stairs: If you need to move the washer and dryer up or down stairs, use a stair dolly or have a helper assist you in safely maneuvering the appliances.
Remember to take your time and proceed with caution during this step. Rushing or mishandling the securing process can lead to accidents and damage to your appliances. Once you have successfully secured the washer and dryer, you are ready to move on to the next step: physically moving them.
When moving a washer and dryer, be sure to disconnect and drain all hoses, secure the drum, and use a dolly to transport them safely.
Step 4: Moving the Washer and Dryer
Now that your washer and dryer are properly secured, it’s time to move them to their new location. Follow these steps to safely transport the appliances:
- Clear the Pathway: Ensure that the pathway is clear of any obstacles or hazards that could impede the move. Remove any furniture, rugs, or other items that may obstruct the path.
- Communicate with Helpers: If you have enlisted the help of others, establish a clear plan and communication system to ensure everyone is on the same page. Use verbal cues or hand signals to coordinate the movement of the appliances.
- Lift with Proper Technique: When lifting the washer and dryer, remember to use proper lifting techniques to avoid strain or injury. Bend at your knees, keep your back straight, and lift with your legs.
- Move Slowly and Steadily: Take your time while moving the appliances, especially over uneven surfaces or stairs. Move slowly and steadily to maintain control and minimize the risk of accidents or damage.
- Watch for Doorways and Corners: Be cautious when maneuvering the washer and dryer through doorways, hallways, and corners. Tilt them slightly to angle them through tight spaces, but be mindful of any walls or objects that could cause scratches or dents.
- Place Appliances in New Location: Once you have safely transported the washer and dryer to their new location, carefully set them down and remove the securing straps or cords.
By following these steps and being attentive to the surroundings, you can ensure a smooth and damage-free move for your washer and dryer.
Now that the appliances are in their new location, it’s time to reconnect them. Proceed to the next step to learn how to properly reconnect the washer and dryer.
Read more: How To Move A Stacked Washer And Dryer
Step 5: Reconnecting the Washer and Dryer
After successfully moving your washer and dryer to their new location, it’s time to reconnect them. Follow these steps to ensure a proper reconnection:
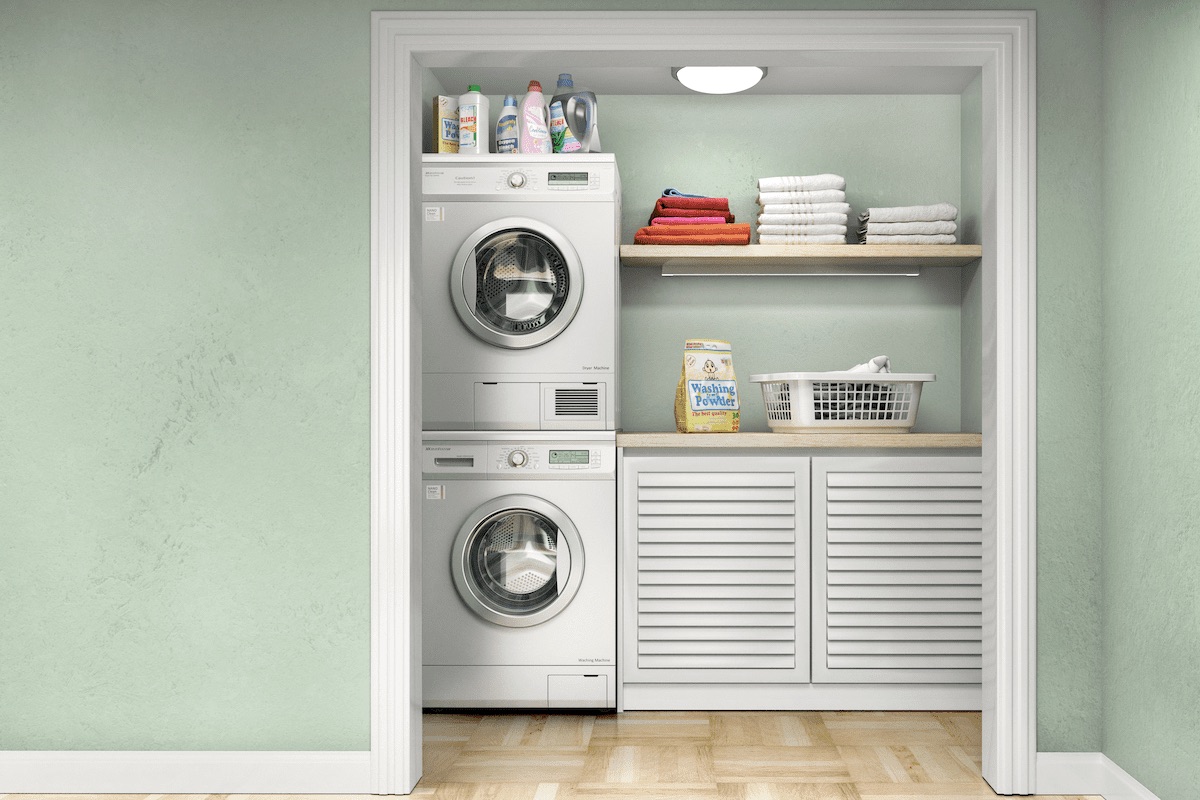
- Position the Appliances: Move the washer and dryer into their desired positions. Ensure that they are level and stable to prevent any imbalance or vibration during operation.
- Reattach Water Supply: If your washer requires a water supply, reconnect the hoses to the appropriate water valves. Make sure the connections are tight to prevent any leaks.
- Connect the Venting System: For the dryer, reattach the venting hose to the back of the appliance. If it’s a rigid metal duct, use clamps or screws to secure it in place. If it’s a flexible hose, ensure it is securely connected to the dryer vent.
- Plug in Power Cords: Finally, plug in the power cords of both the washer and dryer into the appropriate electrical outlets. Double-check that the connections are secure.
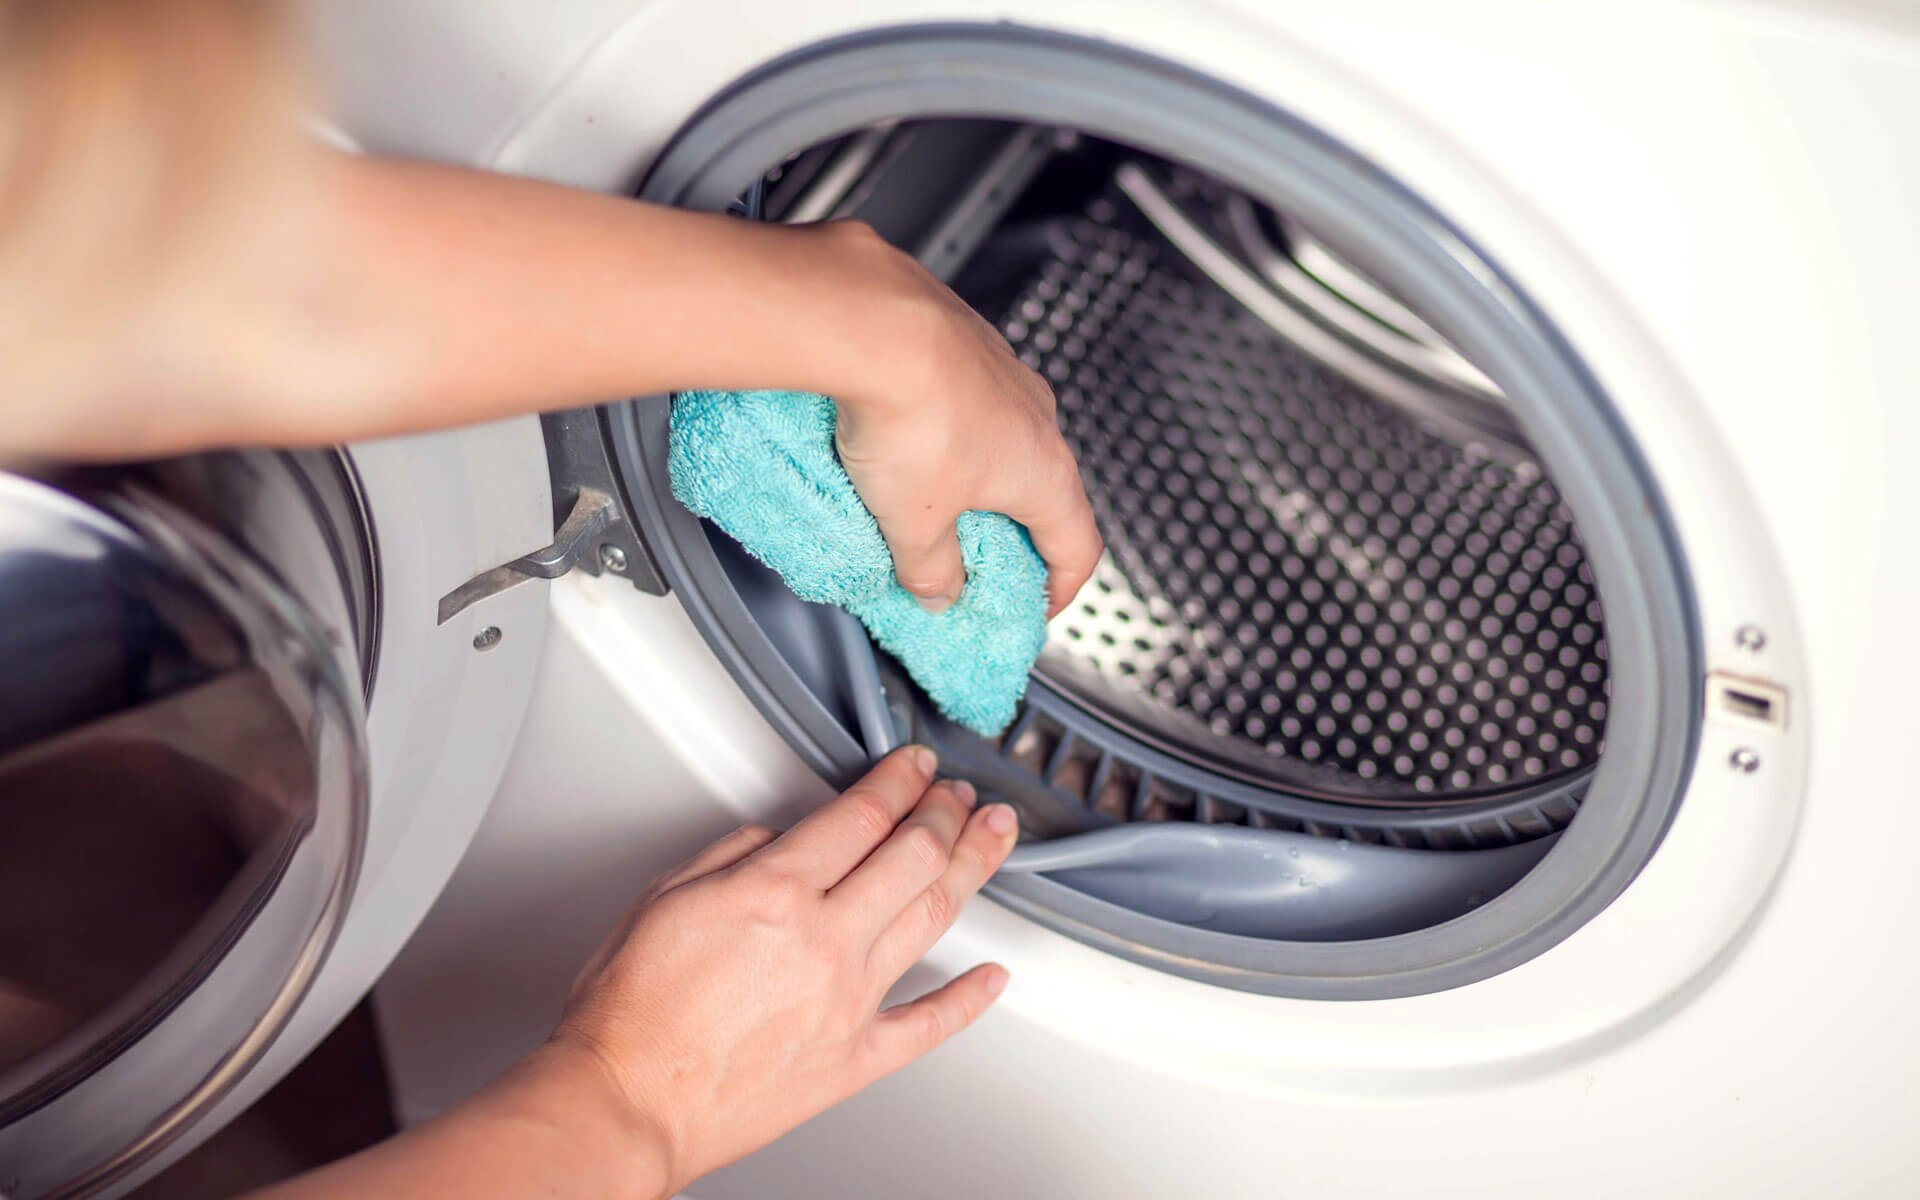
Once you have completed these steps, take a moment to inspect the connections and check for any signs of leakage or loose connections. Run a short test cycle on the washer and dryer to ensure they are functioning properly.
With the washer and dryer reconnected and in working order, you have successfully completed the move. Take a moment to appreciate your hard work and enjoy the convenience of your newly arranged laundry room.
Conclusion
Moving a washer and dryer may seem like a challenging task, but with proper preparation and careful execution, it can be a smooth and successful process. By following the step-by-step guide outlined in this article, you can confidently navigate the process of disconnecting, securing, moving, and reconnecting your appliances.
Remember to start by gathering the necessary tools, measuring doorways, and familiarizing yourself with the user manual. Take the time to properly disconnect the washer and dryer, securing cords and hoses, and ensuring their safety during the move. Use moving blankets or furniture pads to protect the appliances and a dolly or hand truck for easier transportation.
Communication with helpers and practicing proper lifting techniques are essential for a safe move. Pay attention to doorways, corners, and uneven surfaces to prevent any damage to your appliances or surroundings. Once you have successfully moved your washer and dryer to their new location, take the necessary steps to reconnect them, ensuring proper water and venting connections.
By following these steps, you can confidently and safely move your washer and dryer without any worries. Remember to take your time, be cautious, and seek assistance if needed. With a little effort and planning, you can successfully complete this task and enjoy your appliances in their new space.
Thank you for reading this guide on how to move a washer and dryer. We hope you found this information helpful and that it has made your moving process easier. Good luck with your move!
Frequently Asked Questions about How To Move A Washer And Dryer
Was this page helpful?
At Storables.com, we guarantee accurate and reliable information. Our content, validated by Expert Board Contributors, is crafted following stringent Editorial Policies. We're committed to providing you with well-researched, expert-backed insights for all your informational needs.


0 thoughts on “How To Move A Washer And Dryer”