Articles
How To Build Washer Dryer Pedestal
Modified: February 28, 2024
Learn how to build a practical and sturdy washer dryer pedestal with these informative articles. Elevate your laundry appliances for added convenience and storage.
(Many of the links in this article redirect to a specific reviewed product. Your purchase of these products through affiliate links helps to generate commission for Storables.com, at no extra cost. Learn more)
Introduction
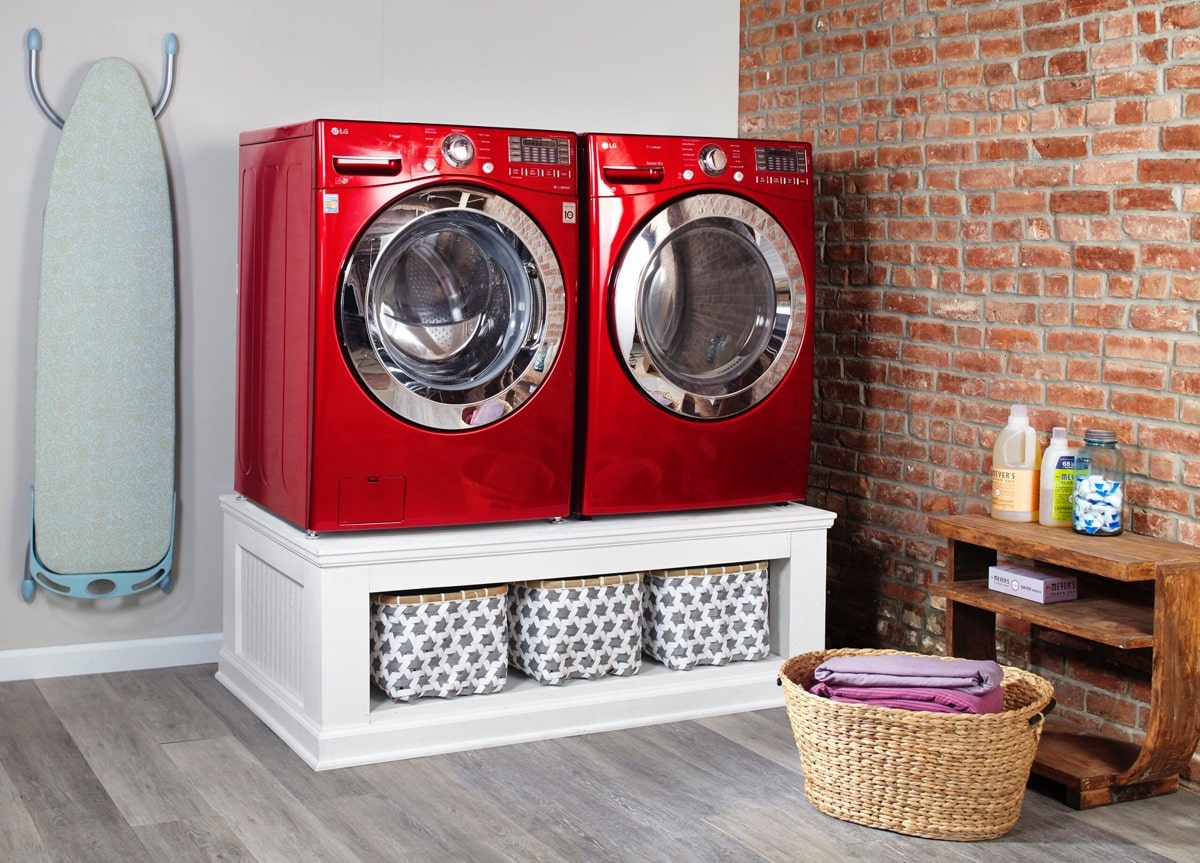
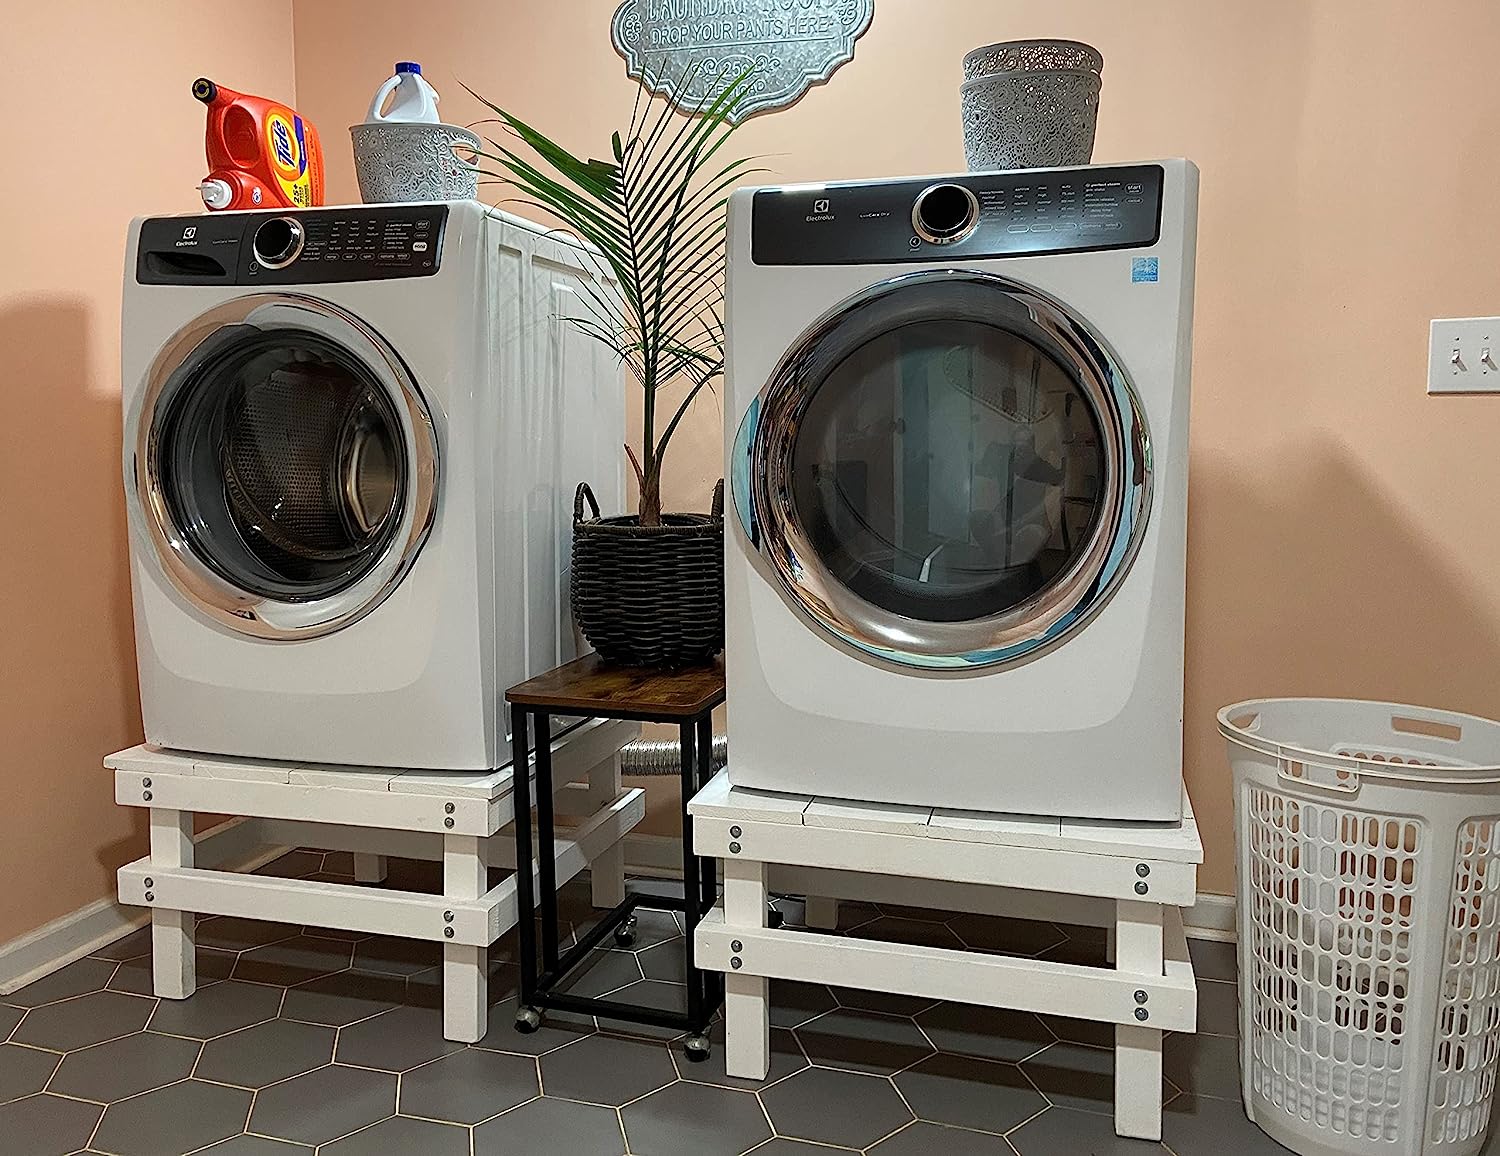
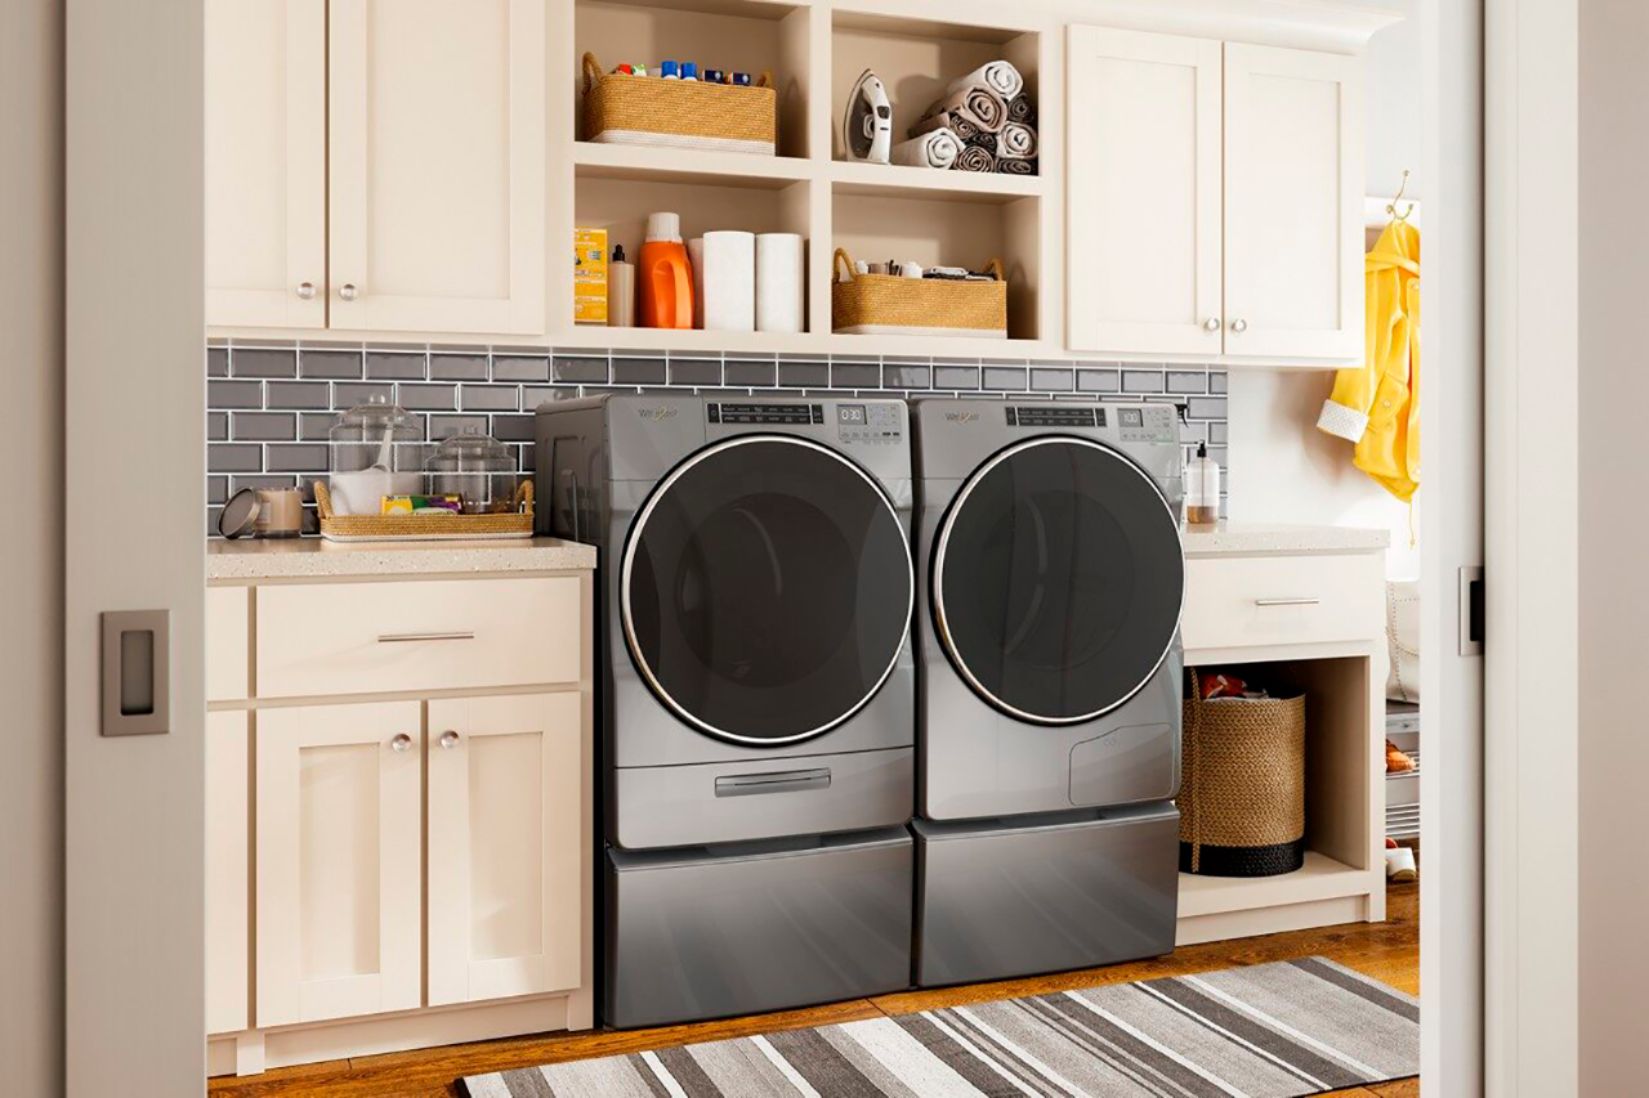
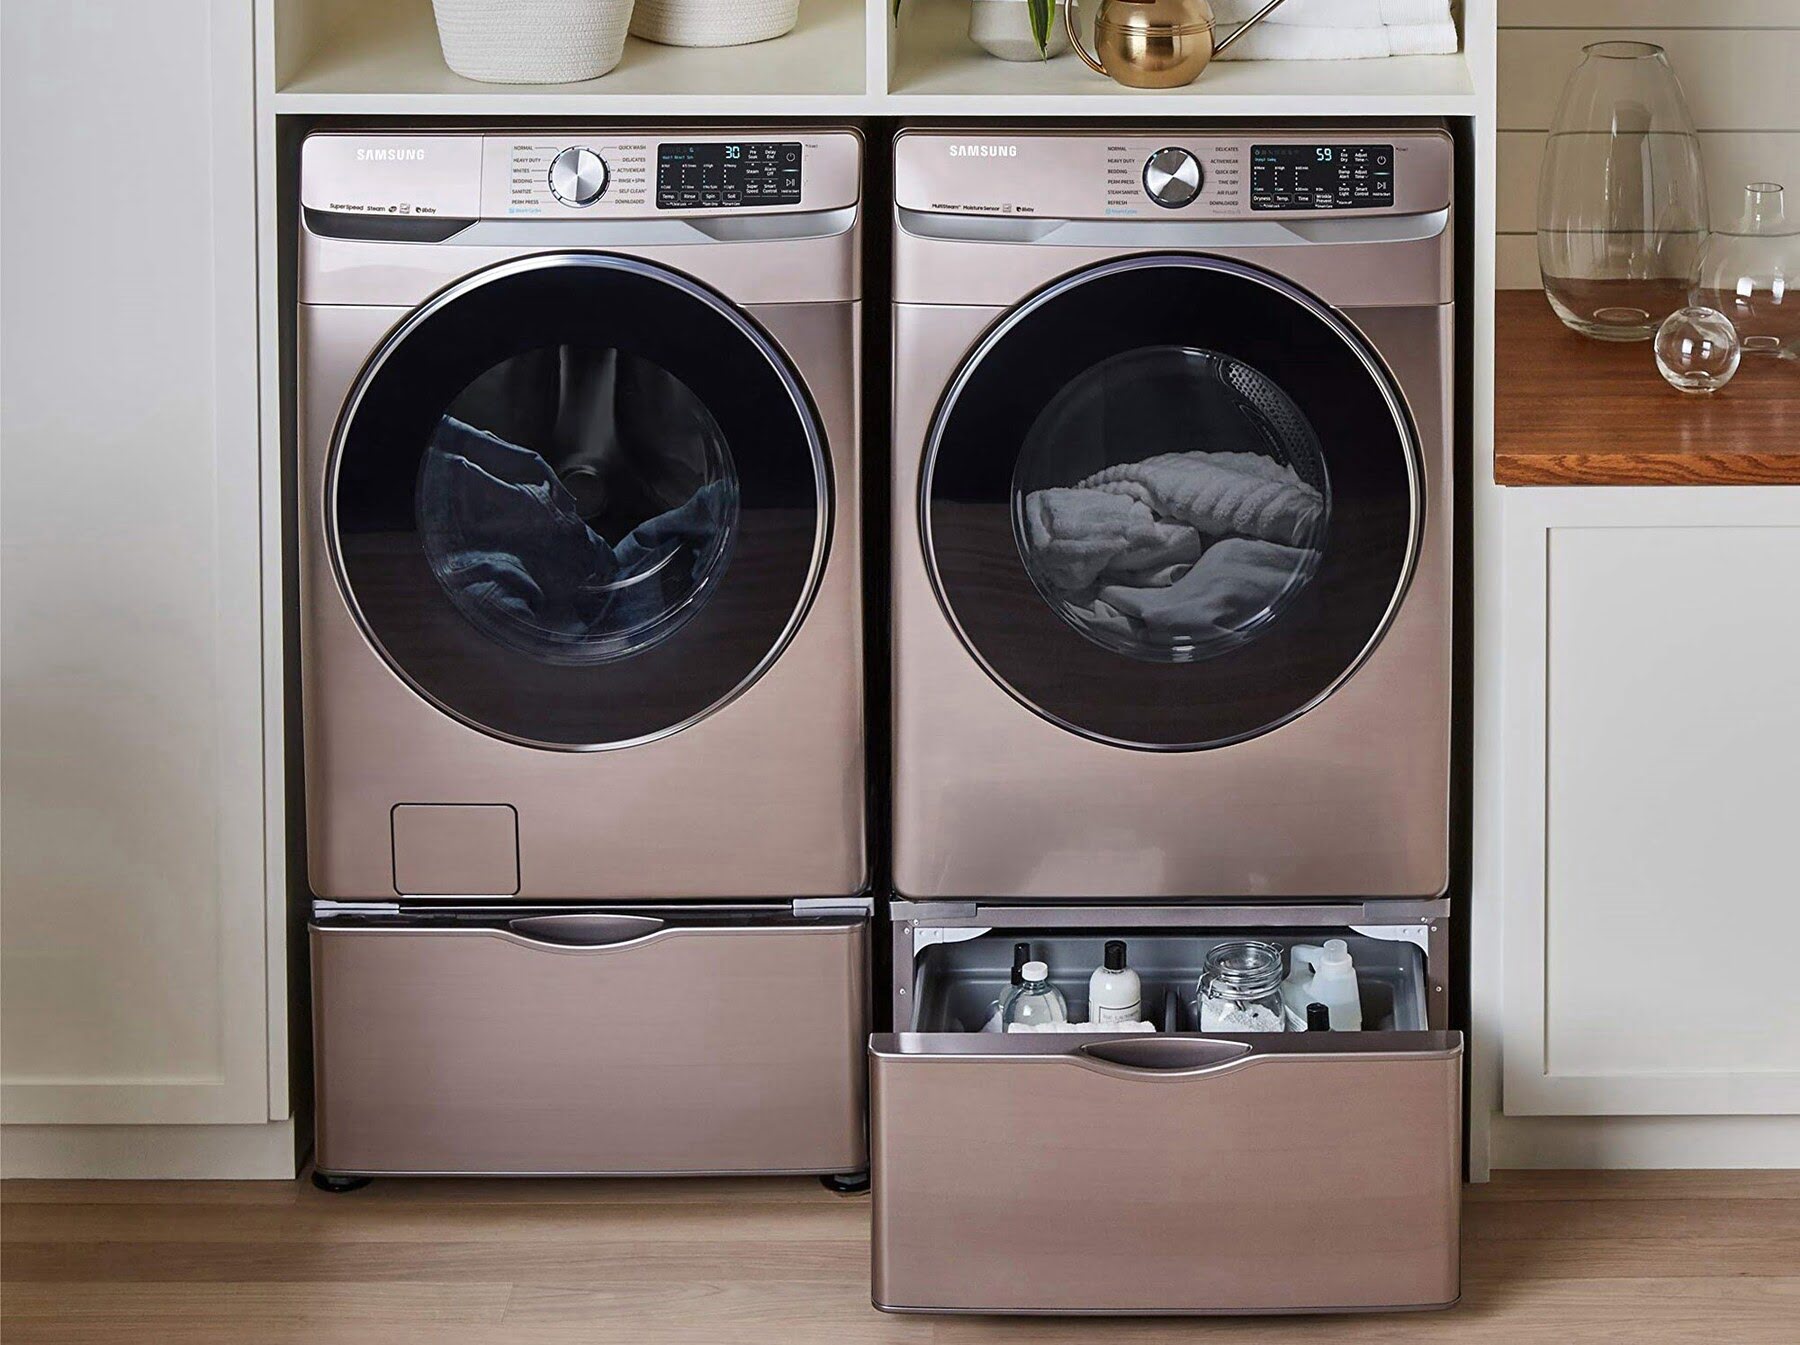
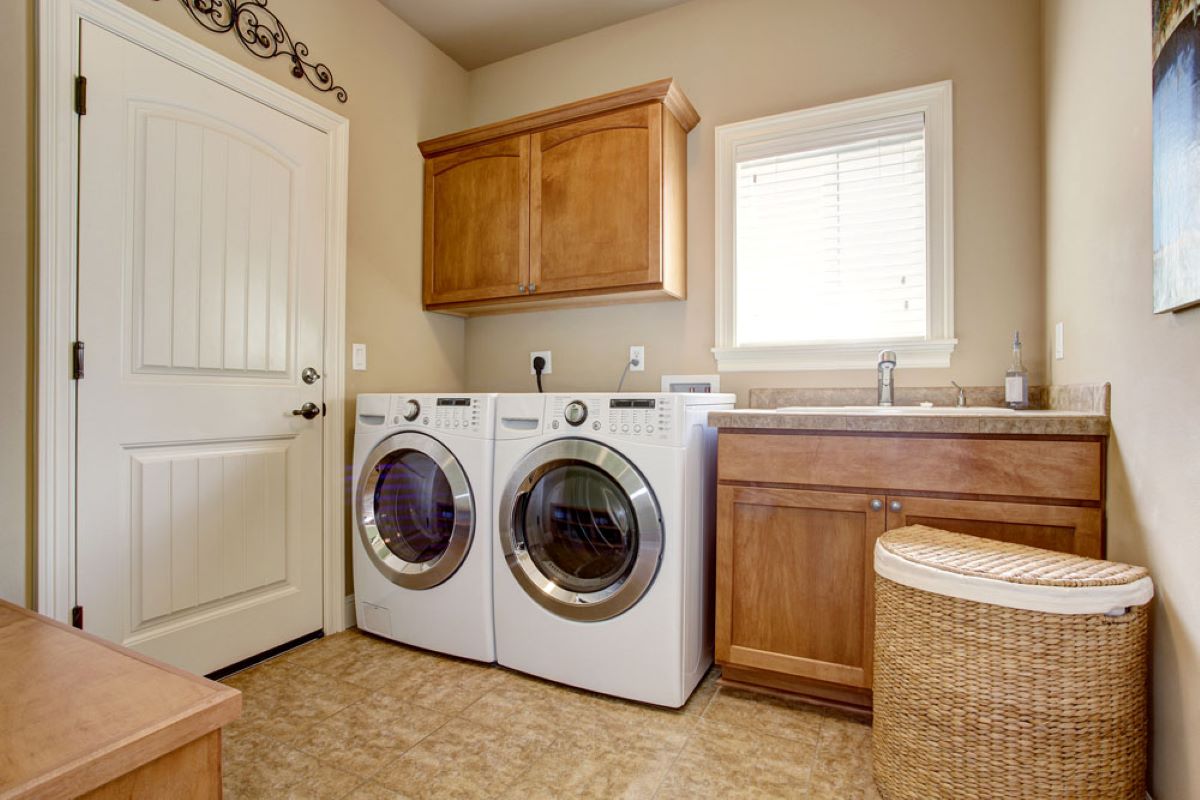
Having a washer and dryer pedestal can not only improve the functionality of your laundry room but also add a touch of organization and convenience to your space. By raising your washing machine and dryer off the ground, you can reduce the strain on your back while doing laundry, as well as create additional storage space underneath.
In this article, we will guide you through the step-by-step process of building a washer dryer pedestal. Whether you are a DIY enthusiast looking to save some money or simply someone who wants to customize their laundry room, this project can be a fun and rewarding experience.
Before we get started, let’s go over the materials you will need for this project.
Key Takeaways:
- Elevate your laundry room with a custom washer dryer pedestal, providing ergonomic benefits and extra storage space. Enjoy the satisfaction of a DIY project that enhances functionality and organization.
- Say goodbye to back strain with a raised washer and dryer, thanks to a sturdy pedestal you can build yourself. Create a stylish and practical addition to your laundry room while enjoying the convenience of elevated appliances.
Read more: How To Build A Pedestal For Washer And Dryer
Materials Needed
Before you begin building your washer dryer pedestal, gather these materials:
- 3/4-inch plywood
- 2×4 lumber boards
- Screws
- Nails
- Screwdriver or drill
- Hammer
- Saw
- Sanding block
- Paint or stain
- Paintbrush or roller
Make sure to measure your specific washer and dryer dimensions to determine the exact amount of materials required for your pedestal. Now, let’s move on to the next step in the process: measuring the washer and dryer.
Step 1: Measuring the Washer and Dryer
The first step in building a washer dryer pedestal is to accurately measure the dimensions of your washer and dryer. This is crucial to ensure that the pedestal will fit your appliances perfectly and provide optimal stability.
Start by measuring the width, depth, and height of your washer and dryer. These measurements will serve as the basis for determining the size of the plywood and lumber boards that you will need.
When measuring the width, measure the widest part of your appliances, typically the front or the top. For the depth, measure from the back of the appliance to the front. Lastly, measure the height from the ground to the top of the appliances.
Write down these measurements and keep them handy as you proceed with the construction process. Having accurate measurements will ensure that your washer dryer pedestal fits snugly and provides the necessary support and functionality.
Once you have measured your washer and dryer, it’s time to move on to cutting the plywood.
Step 2: Cutting the Plywood
With the measurements of your washer and dryer in hand, it’s time to cut the plywood to the appropriate size for your washer dryer pedestal. The plywood will serve as the base of the pedestal, providing a sturdy and stable foundation for your appliances.
Using a saw, carefully cut the plywood according to the measurements you took in Step 1. Make sure to double-check your measurements before making any cuts to ensure accuracy. It’s always a good idea to mark the dimensions on the plywood before cutting to prevent any errors.
When cutting the plywood, take into consideration any additional space you want to leave on the sides and back of the pedestal for aesthetic purposes or for easy access to the back of the appliances, should maintenance or repairs be needed in the future.
Remember to take safety precautions while cutting the plywood, such as wearing safety goggles and using appropriate tools for the job. Take your time and make precise cuts to ensure a clean and professional result.
Once you have cut the plywood to the correct size, proceed to the next step: assembling the frame.
Step 3: Assembling the Frame
Now that you have the plywood cut to the proper size for your washer dryer pedestal, it’s time to assemble the frame. The frame provides structural support and stability for the pedestal, ensuring that it can safely hold the weight of your appliances.
Start by laying out the 2×4 lumber boards on the ground. Cut the lumber to the desired length for the sides and front/back of the frame. The length will depend on the dimensions of your pedestal, taking into consideration the space you want to leave for the appliances.
Next, use screws or nails to attach the cut lumber boards together at the corners, creating a rectangular or square frame. Make sure to pre-drill pilot holes to prevent the wood from splitting. Use a square to ensure that the corners are 90 degrees and adjust as needed.
Once the frame is assembled, place it on top of the plywood base you cut in Step 2. Align the frame with the edges of the plywood and attach it to the plywood using screws or nails. This will securely fasten the frame to the plywood, providing a solid base for the pedestal.
Check the stability of the frame by giving it a gentle shake. If it feels wobbly or insecure, add additional screws or nails to reinforce the joints. The frame should be sturdy and rigid to support the weight of the washer and dryer without any sagging or shifting.
With the frame assembled, we can move on to the next step: adding legs for stability.
When building a washer dryer pedestal, make sure to measure the dimensions of your appliances and leave enough space for ventilation. Use sturdy materials and consider adding drawers for extra storage.
Step 4: Adding Legs for Stability
Adding legs to your washer dryer pedestal is an important step to ensure stability and elevate your appliances to a comfortable height. The legs will provide additional support and prevent the pedestal from wobbling or tipping over.
Start by measuring and cutting four 2×4 lumber pieces to the desired length for the legs. The length will depend on how high you want your appliances to be raised and the overall height of the pedestal.
Once the legs are cut, position them at each corner of the frame. Use screws or nails to attach the legs securely to the frame, ensuring they are straight and level. It’s recommended to use a level to check the alignment of the legs and make any necessary adjustments.
If you want to add additional stability, you can also install diagonal braces between the legs. Cut two pieces of 2×4 lumber diagonally and attach them between opposite legs of the frame, forming an “X” shape. This will further reinforce the structure and prevent any wobbling.
Ensure that the legs are evenly spaced and provide adequate support for the weight of your appliances. Double-check the stability of the pedestal by giving it a gentle shake. If it feels secure and doesn’t wobble, you can proceed to the next step: attaching the plywood top.
Step 5: Attaching the Plywood Top
With the frame and legs in place, it’s time to attach the plywood top to complete your washer dryer pedestal. The plywood top will provide a solid surface for your appliances to sit on, as well as create a finished and polished look.
Place the cut plywood on top of the frame, ensuring it is aligned with the edges of the frame. Use screws or nails to attach the plywood to the frame, securing it in place. It’s recommended to place screws or nails along the perimeter of the plywood, about every 6-8 inches, to ensure a secure attachment.
Make sure to countersink the screws or nails slightly below the surface of the plywood to avoid any protrusions that could interfere with the placement of your appliances. Use a sanding block to smooth out any rough edges or surfaces of the plywood, creating a clean and polished finish.
Once the plywood top is securely attached, give the pedestal a final check for stability and ensure that it can safely support the weight of your washer and dryer. If any adjustments or additional reinforcement are needed, take the necessary steps to address them.
Now that the main construction of your washer dryer pedestal is complete, it’s time to move on to the next step: sanding and painting the pedestal.
Step 6: Sanding and Painting the Pedestal
Now that you have assembled your washer dryer pedestal, it’s time to give it a polished and finished look by sanding and painting it. This step not only enhances the aesthetic appeal of the pedestal but also provides protection against wear and tear.
Start by using a sanding block or sandpaper to smooth out any rough surfaces or edges of the plywood and lumber. Sand in the direction of the wood grain to achieve a consistent finish. This process will also help to remove any splinters and create a clean surface for painting.
Once the sanding is complete, wipe down the pedestal with a damp cloth to remove any dust or debris. Allow it to dry completely before moving on to the painting step.
Choose a paint color that matches your laundry room decor or personal preference. Consider using a paint primer first to ensure better adhesion and coverage. Apply the paint using a paintbrush or roller, following the manufacturer’s instructions.
Apply multiple coats if necessary, allowing each coat to dry fully before applying the next. This will ensure a smooth and consistent finish. Consider adding a clear topcoat or sealant to provide additional protection and durability.
Once the paint is completely dry, carefully inspect the pedestal for any missed spots or imperfections. Touch up any areas as needed to achieve a flawless finish.
Congratulations! You have now sanded and painted your washer dryer pedestal, giving it a professional and customized look. Now it’s time for the final step: installing the washer and dryer.
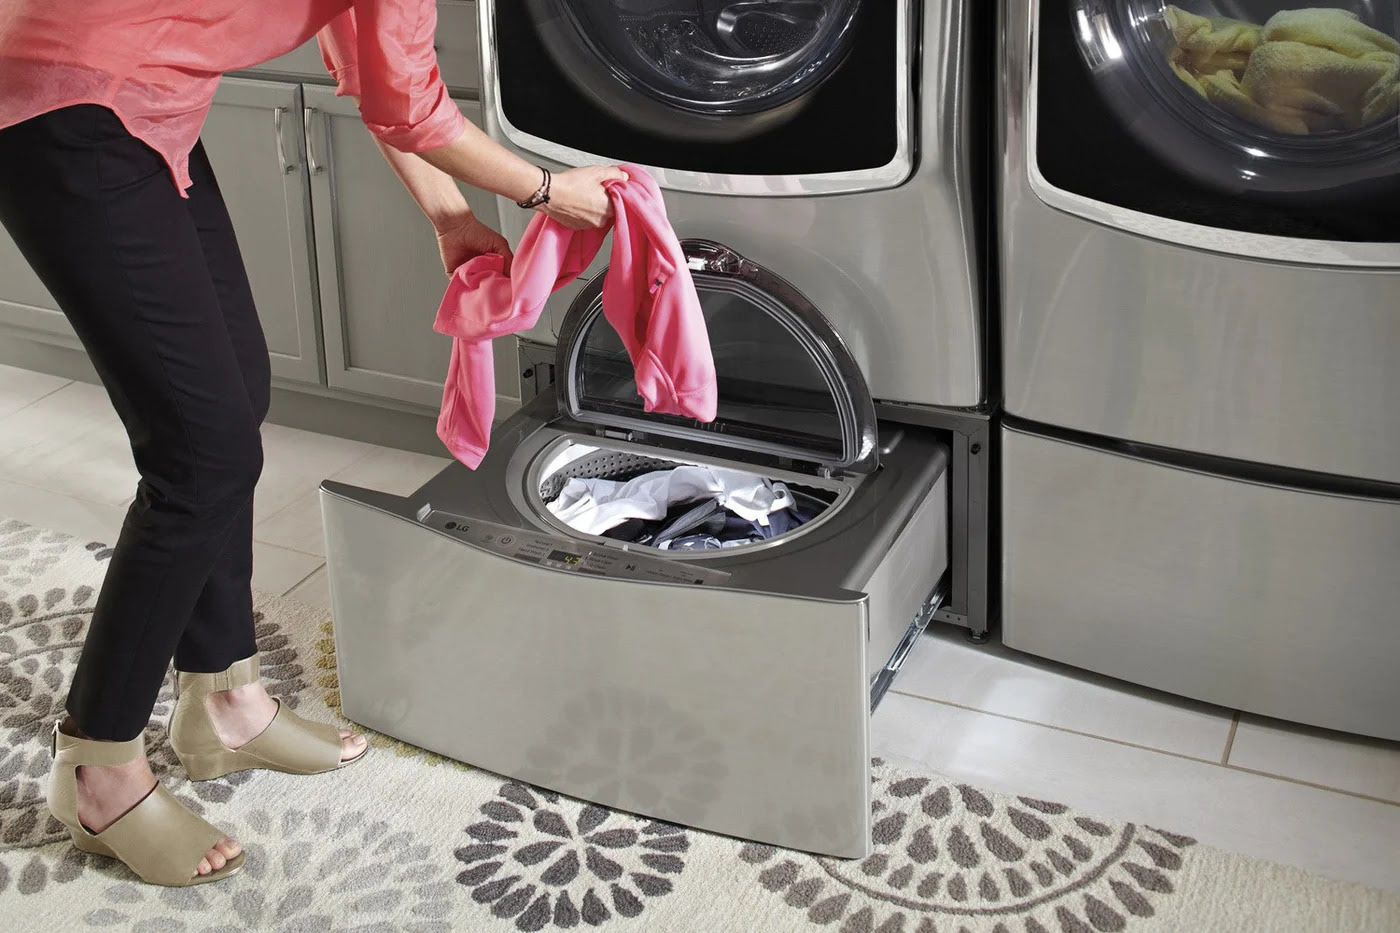
Step 7: Installing the Washer and Dryer
The final step in building your washer dryer pedestal is to install your appliances onto the pedestal. Follow these steps to ensure a safe and proper installation:
- Carefully move the pedestal into position in your laundry room, making sure it is level and stable.
- Ensure that the water and power connections for the washer and dryer are easily accessible from the back.
- Carefully lift and place your washer onto the pedestal, aligning it with the holes for the connections.
- Connect the water supply hoses and secure the drain hose according to the manufacturer’s instructions.
- For the dryer, carefully lift and place it on top of the washer, aligning it with the holes for the vent and power cord.
- Connect the vent hose and plug in the power cord, ensuring that they are properly secured.
- Double-check all connections to ensure they are tight and secure.
- Test the appliances by running a small load of laundry to ensure they are functioning properly.
Once you have successfully installed your washer and dryer on the pedestal, take a moment to admire your handiwork. Not only have you created a functional and stylish addition to your laundry room, but you have also added convenience and ease to your laundry routine.
Remember to periodically check the stability of the pedestal and make any necessary adjustments to ensure continued support and safety for your appliances.
Congratulations on completing the construction of your washer dryer pedestal! You can now enjoy the benefits of raised appliances and the extra storage space that the pedestal provides.
Thank you for following this step-by-step guide. We hope this project has been a rewarding experience for you, and that your new washer dryer pedestal brings value and organization to your laundry room.
Happy laundering!
Conclusion
Building your own washer dryer pedestal can be a fulfilling and practical project that enhances the functionality and aesthetics of your laundry room. By following the step-by-step guide provided in this article, you have learned how to create a sturdy and customized pedestal that not only raises your appliances to a more ergonomic height but also provides additional storage space.
Throughout the construction process, you have measured your washer and dryer, cut the plywood, assembled the frame, added legs for stability, attached the plywood top, and sanded and painted the pedestal. The installation of your appliances on the pedestal completes the project, allowing you to enjoy the benefits of a raised washer and dryer.
With your new washer dryer pedestal, you can now experience improved convenience and ease in your laundry routine. No more stooping down to load and unload your appliances, and the extra storage space underneath provides a tidy and organized laundry area.
Remember to regularly inspect and maintain your washer dryer pedestal to ensure its stability and functionality. Replace any worn or damaged parts promptly to avoid accidents or damage to your appliances.
We hope that this guide has been helpful in enabling you to build your washer dryer pedestal successfully. Enjoy the benefits of your hard work and creativity, and may your laundry room become a space that is as functional as it is visually appealing.
Happy washing and drying!
Frequently Asked Questions about How To Build Washer Dryer Pedestal
Was this page helpful?
At Storables.com, we guarantee accurate and reliable information. Our content, validated by Expert Board Contributors, is crafted following stringent Editorial Policies. We're committed to providing you with well-researched, expert-backed insights for all your informational needs.


0 thoughts on “How To Build Washer Dryer Pedestal”