
Articles
How To Remove A Pedestal Sink
Modified: October 28, 2024
Learn the step-by-step process of removing a pedestal sink with our detailed articles. Gain the knowledge and skills to complete this DIY project easily and efficiently.
(Many of the links in this article redirect to a specific reviewed product. Your purchase of these products through affiliate links helps to generate commission for Storables.com, at no extra cost. Learn more)
Introduction
Are you looking to update your bathroom or make changes to the layout? Removing a pedestal sink is often a necessary step before installing a new sink or making any major renovations. While the process may seem daunting at first, with the right tools and a little know-how, you can easily remove a pedestal sink on your own.
In this article, we will guide you through the step-by-step process of removing a pedestal sink. We will cover everything from gathering the necessary tools and materials to disconnecting the water supply lines, removing the sink basin and pedestal base, and even repairing any damage to the wall that may occur during the removal process.
Before we dive in, it’s important to note that safety should always be your top priority. Always wear protective gloves and eyewear when working with plumbing fixtures. If you are not comfortable with any step of the process or encounter any difficulties, it’s best to consult a professional plumber.
Now, let’s get started with the first step: gathering the necessary tools and materials.
Key Takeaways:
- Removing a pedestal sink requires gathering the right tools, disconnecting water supply lines, and carefully lifting and removing the sink basin and pedestal base. Proper wall repair and new sink installation are crucial for a successful renovation.
- After removing a pedestal sink, it’s essential to test the new sink for leaks and ensure proper water supply line connections. Following safety measures and seeking professional help when needed are vital for a successful and rewarding bathroom renovation.
Read more: How To Replace Pedestal Sink With Vanity
Step 1: Gather the necessary tools and materials
Before you begin removing a pedestal sink, it’s essential to gather all the necessary tools and materials. Having everything on hand will save you time and ensure a smooth removal process. Here is a list of items you will need:
- Screwdriver(s): You may need both a flathead and a Phillips screwdriver, depending on the type of screws used to secure the sink and faucet.
- Adjustable wrench: This will come in handy for disconnecting the water supply lines.
- Bucket or towels: These will be used to catch any water that may spill during the process.
- Pliers: Pliers will be useful for removing any retaining clips or nuts.
- Utility knife: This will be needed if you need to cut through any caulk or adhesive holding the sink in place.
- Putty knife: A putty knife can help with scraping and removing old adhesive or caulk.
- Caulk or adhesive remover: If there is stubborn caulk or adhesive, using a remover can make it easier to remove.
- Measuring tape: This can come in handy if you need to measure for future sink installation.
Additionally, you will need to gather the following materials:
- Plumber’s tape: This will be used to create a tight seal when reconnecting the water supply lines.
- Plumber’s putty or silicone caulk: You will need this to create a watertight seal when installing a new sink or reconnecting the pedestal sink.
- New sink or replacement parts: If you’re removing the pedestal sink to install a new one, make sure you have the new sink or any necessary replacement parts ready.
Having all these tools and materials readily available will ensure a smoother and more efficient removal process.
Step 2: Turn off the water supply
Before you begin any work on your pedestal sink, it’s essential to turn off the water supply. This step will prevent any water leakage or accidents while you’re removing the sink.
The water shut-off valves are typically located underneath the sink. Look for two small valves, one for hot water and one for cold water. Turn both valves clockwise to shut off the water supply. If you can’t find shut-off valves underneath the sink, you may need to shut off the water supply to your entire house.
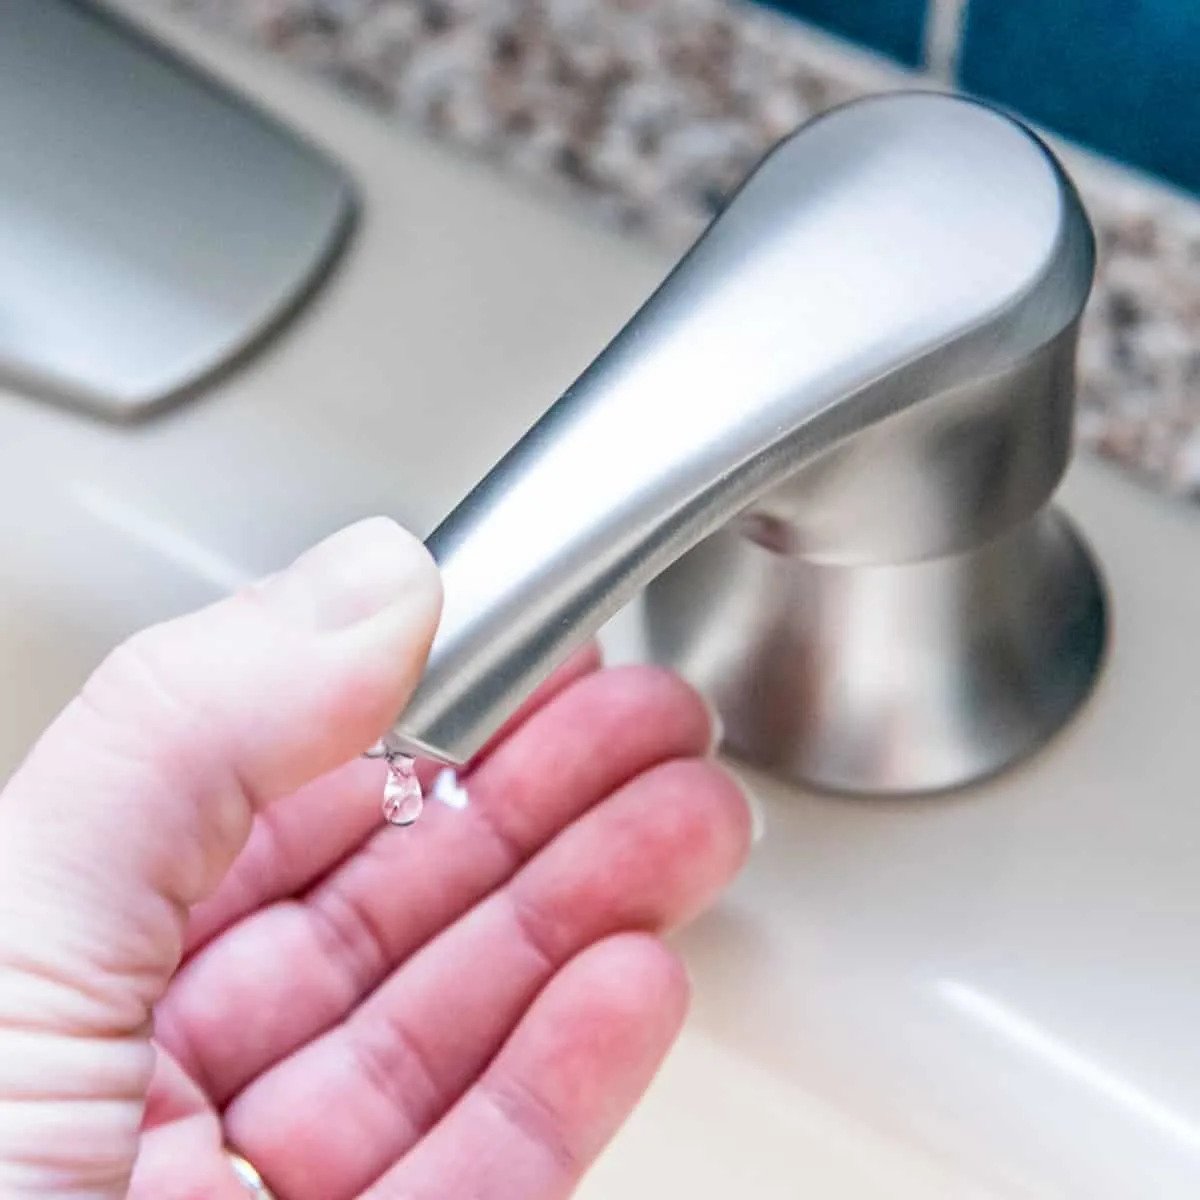
After shutting off the water supply, open the faucet to release any pressure and ensure that the water is completely off. This step is crucial to avoid any unexpected water flow while disconnecting the supply lines.
It’s a good idea to have a bucket or towels ready to catch any residual water that may be left in the lines when you remove them.
Remember, safety is of the utmost importance when working with water lines. Make sure to take precautions to prevent any flooding or water damage.
With the water supply turned off, you can proceed to the next step: disconnecting the water supply lines.
Step 3: Disconnect the water supply lines
With the water supply turned off, the next step in removing a pedestal sink is to disconnect the water supply lines. These lines connect the faucet to the plumbing system and will need to be disconnected before removing the sink.
Here’s how to disconnect the water supply lines:
- Place a bucket or towels underneath the supply lines to catch any remaining water.
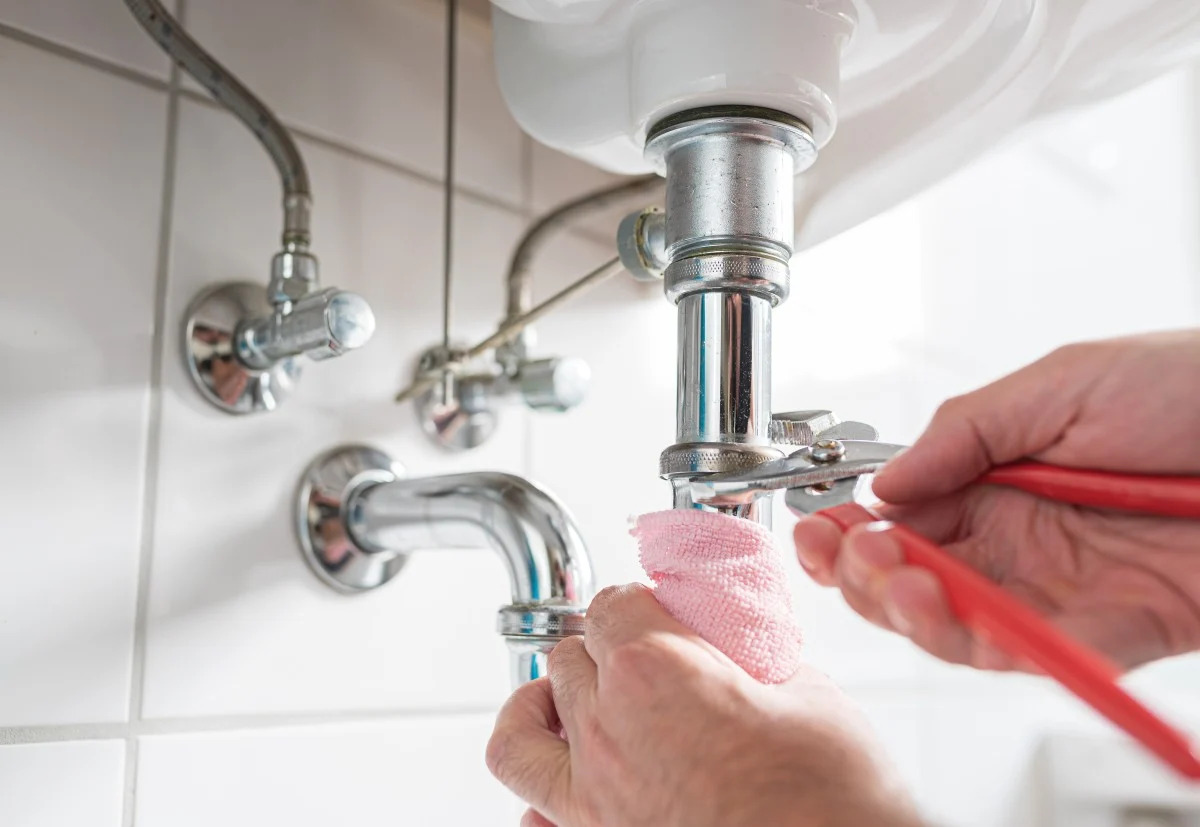
- Using an adjustable wrench, loosen the nuts that connect the supply lines to the faucet. Turn the nuts counterclockwise to loosen them.
- Once the nuts are loose, you can use your hands to unscrew them the rest of the way. Be careful as there may still be some water in the lines, which can spill out.
- Once the supply lines are disconnected, inspect them for any signs of damage or wear. If they are old or damaged, it’s recommended to replace them with new ones for optimal performance.
It’s important to note that some faucets may have a retaining clip or nut that secures the supply lines to the faucet. If this is the case, you’ll need to use pliers or a wrench to remove the clip or nut before disconnecting the lines.
After disconnecting the supply lines, be sure to close the shut-off valves tightly to prevent any accidental leaks or water flow. This will ensure a smooth and dry removal process.
With the water supply lines disconnected, you’re ready to move onto the next step: removing the faucet fixture.
Step 4: Remove the faucet fixture
Once the water supply lines are disconnected, the next step in removing a pedestal sink is to remove the faucet fixture. The faucet fixture is the part that controls the flow of water into the sink. Here’s how to remove it:
- Using a screwdriver, locate the screws or bolts that secure the faucet to the sink. These are usually located underneath the sink or on the backside of the faucet.
- Depending on the type of faucet, you may need a flathead or Phillips screwdriver to remove the screws. Carefully loosen and remove them.
- Once the screws are removed, lift the faucet fixture off the sink. Be gentle and avoid any unnecessary force to prevent damaging the fixture or the sink.
- Take a moment to inspect the faucet fixture for any signs of damage or wear. If necessary, replace the faucet fixture with a new one for a fresh and updated look.
If the faucet fixture is especially stubborn and difficult to remove, you can try applying some penetrating oil or a mixture of vinegar and water to help loosen it. Allow the solution to sit for a few minutes to help break down any grime or mineral buildup, and then try removing it again.
Once the faucet fixture is successfully removed, set it aside in a safe place for future use or disposal.
With the faucet fixture removed, you’re ready to move on to the next step: loosening and removing the mounting screws.
Read more: DIY Guide To Installing A Pedestal Sink
Step 5: Loosen and remove the mounting screws
Now that the faucet fixture is removed, the next step in removing a pedestal sink is to loosen and remove the mounting screws. These screws are responsible for securing the sink basin to the wall. Here’s how to do it:
- Locate the mounting screws that are attaching the sink basin to the wall. These screws are usually located at the back of the sink or on the sides near the wall.
- Using a screwdriver or a drill with the appropriate bit, loosen the mounting screws by turning them counterclockwise. Make sure to only loosen the screws and avoid removing them completely at this stage.
- Once the screws are loosened, carefully lift the sink basin slightly. This will allow you to see any additional screws or fasteners that may be hidden underneath the sink.
- If there are any additional screws or fasteners, remove them using the appropriate tool. Take note of their location and set them aside for reassembly later.
- Return to the mounting screws and remove them fully by turning them counterclockwise. As you remove the screws, keep a hand on the sink basin to prevent it from falling or causing damage.
- Once all the mounting screws are removed, carefully lift and remove the sink basin from the wall. If there is any caulk or adhesive holding the sink in place, use a utility knife or a putty knife to gently cut through it and release the sink.
It’s important to handle the sink basin with care when removing it from the wall to avoid any damage or injury. If the sink basin is heavy or difficult to maneuver, it may be helpful to have a second person assist you in this step.
With the mounting screws removed and the sink basin detached from the wall, you can proceed to the next step: removing the pedestal base.
Step 6: Carefully lift and remove the sink basin
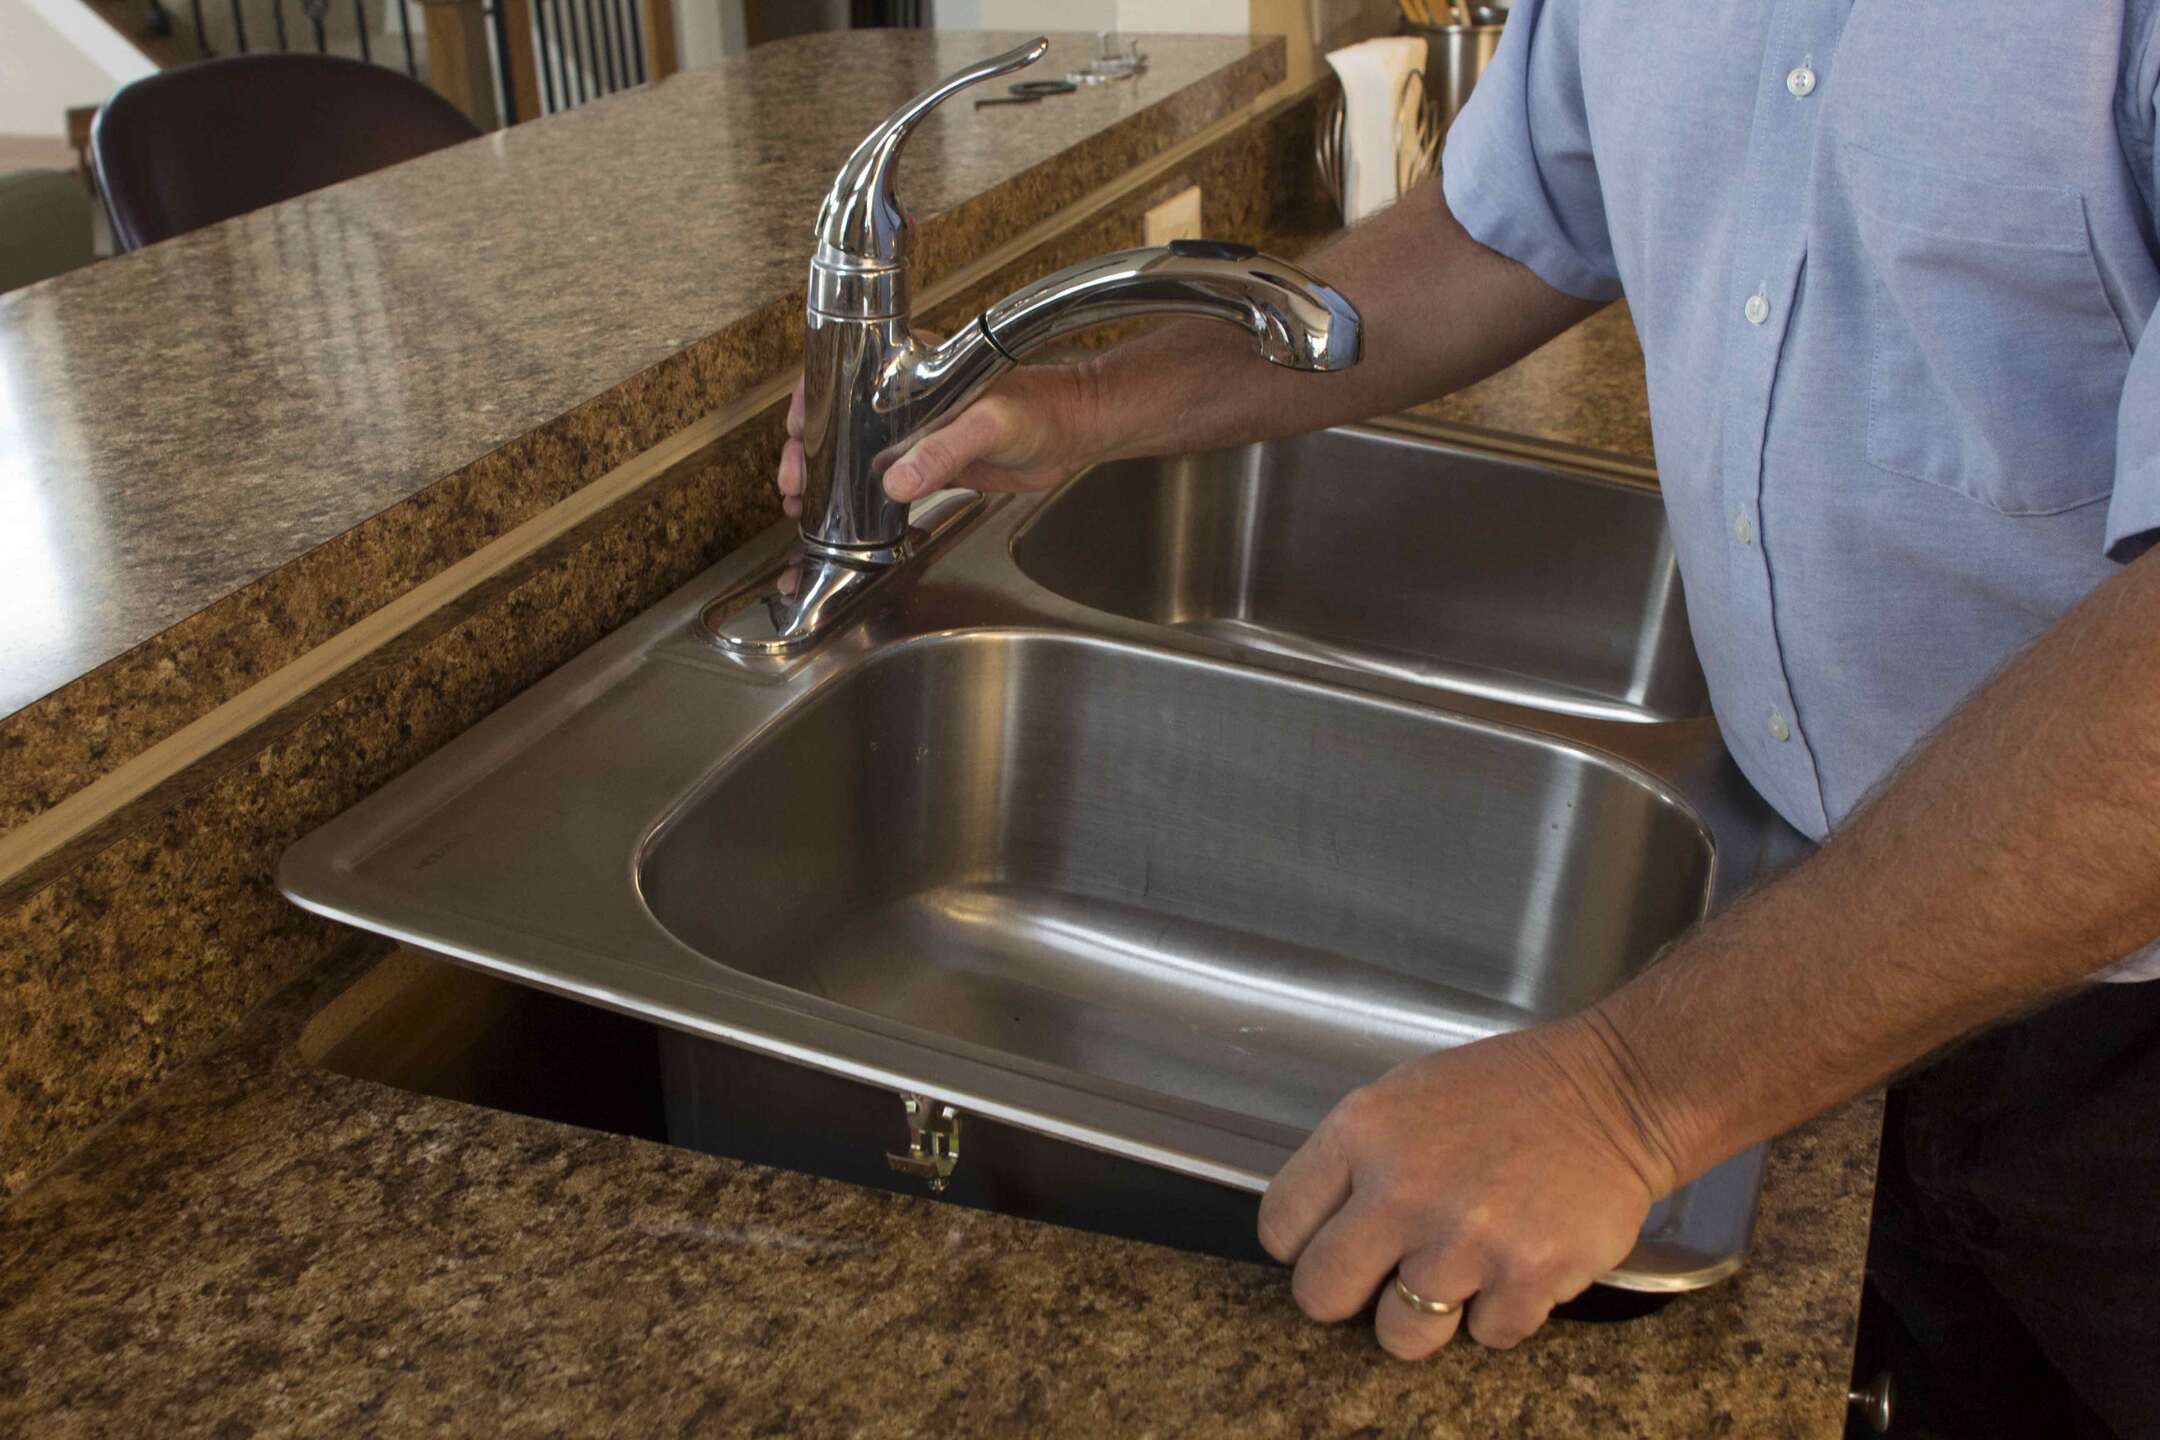
With the mounting screws removed, it’s time to carefully lift and remove the sink basin from its position. The sink basin is the main part of a pedestal sink and rests on top of the pedestal base. Here’s how to do it:
- Ensure that the area around the sink basin is clear of any objects or obstacles that may hinder the removal process.
- Stand in front of the sink basin and position yourself with a firm footing.
- Place your hands on either side of the sink basin, near the back edge.
- Slowly and steadily lift the sink basin, taking care to maintain a balanced grip and support its weight evenly.
- As you lift, keep an eye out for any obstructions or remaining connections that may still be attached to the sink basin. If you encounter any, gently disconnect or remove these attachments as necessary.
- Once the sink basin is completely free from any obstructions or remaining connections, carefully set it aside in a safe and secure location. Be cautious when setting it down to avoid causing any damage.
During this step, it’s important to exercise caution and use proper lifting techniques to prevent any injuries or accidents. If the sink basin is heavy or difficult to lift on your own, it’s recommended to enlist the help of another person.
With the sink basin safely removed, you can now move on to the next step: removing the pedestal base.
When removing a pedestal sink, start by turning off the water supply and disconnecting the pipes. Then, carefully lift the sink off the pedestal and remove any remaining caulk or adhesive. Finally, remove the pedestal from the floor.
Step 7: Remove the pedestal base
Now that the sink basin has been removed, it’s time to remove the pedestal base. The pedestal base provides support for the sink and adds an aesthetic element to the overall design. Here’s how to remove the pedestal base:
- Take a moment to assess the pedestal base and identify any visible screws or fasteners that are holding it in place. These are typically located near the bottom of the base or on the sides.
- Using a screwdriver or a drill with the appropriate bit, carefully loosen and remove the screws or fasteners by turning them counterclockwise. Keep a hand on the pedestal base to prevent it from shifting or falling during this process.
- If the pedestal base doesn’t have any visible screws or fasteners, it may be secured to the floor with adhesive or caulking. In this case, use a utility knife or a putty knife to gently cut through the adhesive or caulk around the base.
- Once the screws or fasteners are removed or the adhesive is cut through, gently wiggle and lift the pedestal base to detach it from the floor. Take care not to force or damage the base during this process.
- If the pedestal base feels stuck or difficult to remove, you can try rocking it gently from side to side to loosen it. Apply even pressure to prevent any damage.
- Once the pedestal base is fully detached from the floor, carefully lift it away and set it aside in a safe place. Depending on its condition, you can choose to reuse it for future installations or replace it with a new one if desired.
During the removal process, it’s important to be cautious and take your time to avoid damaging the floor or the pedestal base. If necessary, use a putty knife or a scraper to remove any stubborn adhesive or caulk residue from the floor.
With the pedestal base removed, you’re one step closer to completing the removal process. Before moving on, take a moment to assess the wall for any damage that may need to be repaired in the next step.
Step 8: Patch and repair any damage to the wall
After removing the pedestal base, it’s common to have some damage or holes in the wall where the sink was attached. It’s important to patch and repair these areas to ensure a smooth and finished look. Here’s how to patch and repair any damage to the wall:
- Assess the wall for any noticeable holes, scratches, or dents. Take note of their size and location.
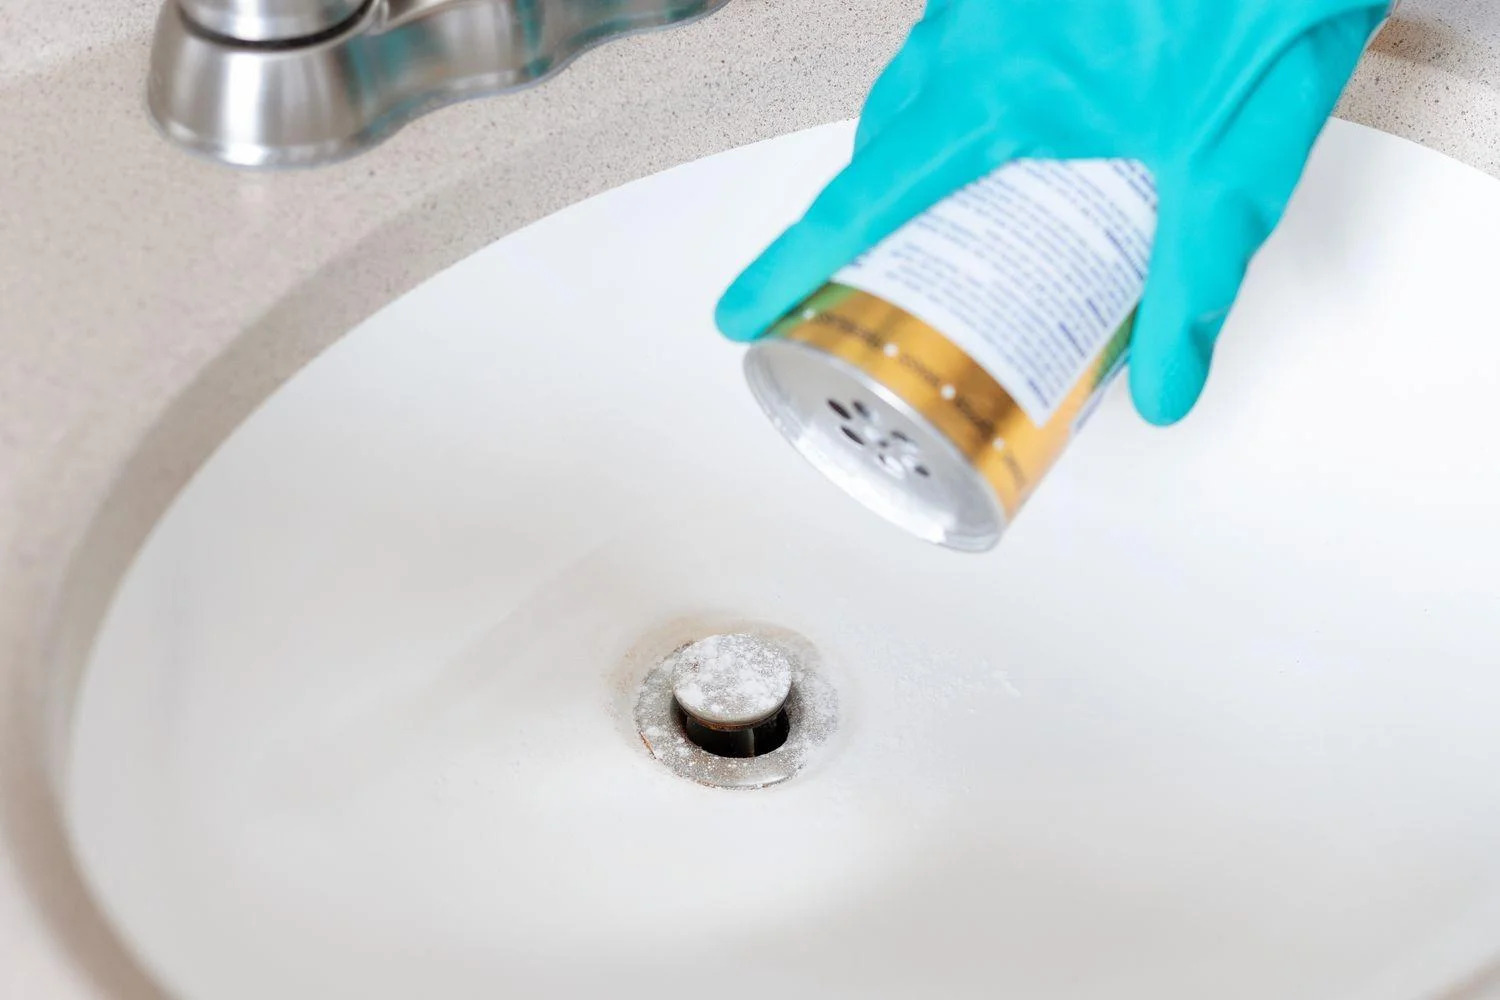
- If there are any small holes or cracks, you can use spackling compound or a pre-mixed patching compound to fill them in. Apply the compound with a putty knife, smoothing it out until it’s flush with the surrounding wall surface.
- For larger holes or areas of significant damage, you may need to use a drywall patch or repair kit. Follow the manufacturer’s instructions to cut the patch to the appropriate size and secure it over the damaged area.
- Apply joint compound or spackle over the patch, extending it slightly beyond the edges to blend it with the surrounding wall surface. Use a putty knife to smooth and feather the edges, creating a seamless finish.
- Allow the patched areas to dry completely according to the manufacturer’s instructions. This usually takes a few hours to overnight.
- Once dry, lightly sand the patched areas with fine-grit sandpaper to ensure a smooth finish. Wipe away any dust with a damp cloth or sponge.
- If necessary, apply a coat of primer over the patched areas to help the paint adhere evenly.
- Finally, you can paint the repaired wall to match the rest of the bathroom. Choose a paint color that complements your desired aesthetic.
Remember to follow proper safety measures when working with spackling compound, joint compound, or paint. Open windows or use proper ventilation to ensure adequate airflow.
By patching and repairing any damage to the wall, you’ll be able to achieve a clean and polished look after removing the pedestal sink.
With the wall patched and painted, you’re now ready to install a new sink or make any necessary replacements. We’ll cover that in the next step.
Step 9: Install a new sink or replace the pedestal sink
Now that you have successfully removed the old pedestal sink and repaired any damage to the wall, you have the option to install a new sink or replace the pedestal sink with a new one. The decision will depend on your renovation goals and preferences. Here’s how to proceed:
- Measure the dimensions of the sink area to ensure that your new sink or replacement sink will fit properly. Take note of the width, depth, and height available for the sink installation.
- If you’re installing a new sink, carefully follow the manufacturer’s instructions for assembly and installation. Make sure you have all the necessary components, such as the sink basin, faucet, drain assembly, and mounting hardware.
- If you’re replacing the pedestal sink, ensure that the new sink is a suitable replacement and matches the existing plumbing connections. Familiarize yourself with the specific installation requirements for your new sink model.
- Position the sink basin on top of the pedestal base or the designated area for installation. Make sure it aligns correctly with the plumbing connections.
- Secure the sink basin to the wall or pedestal base using the provided mounting hardware. Follow the manufacturer’s instructions for the proper installation process.
- Attach the faucet fixture to the sink basin, following the manufacturer’s instructions and using the appropriate mounting hardware.
- Connect the water supply lines to the faucet fixture, ensuring a secure and tight fit. Use plumber’s tape to create a watertight seal.
- Install the drain assembly according to the manufacturer’s instructions. Ensure that it is properly aligned and securely connected.
During the installation process, be careful not to overtighten any connections, as this could lead to leaks or damage. Double-check that all connections are secure but still allow for proper functionality.
If you’re unsure about any step of the installation process or encounter difficulties, it’s recommended to consult a professional plumber for assistance. They can ensure that your new sink is installed correctly and functioning properly.
Once the new sink is installed or the replacement sink is in place, you’re almost finished. The final step is to reconnect the water supply lines.
Step 10: Connect the water supply lines
With the new sink or replacement pedestal sink properly installed, the next step is to connect the water supply lines. This will ensure a steady flow of water to your sink. Here’s how to connect the water supply lines:
- Locate the water shut-off valves under the sink. These valves control the water flow to the faucet.
- Turn the shut-off valves counterclockwise to open them and allow water to flow to the faucet.
- Inspect the water supply lines to ensure they are in good condition. If the lines are old or damaged, it’s advisable to replace them with new ones for optimal performance.
- Apply plumber’s tape to the threaded ends of the water supply lines. This will help create a tight seal and prevent leaks.
- Connect one end of the water supply lines to the shut-off valves by screwing them onto the threads in a clockwise direction. Use an adjustable wrench to tighten them snugly but avoid over-tightening.
- Connect the other end of the water supply lines to the corresponding inlet ports on the faucet fixture. Again, screw them onto the threads in a clockwise direction and use an adjustable wrench to secure them.
- Once the water supply lines are securely connected, turn the shut-off valves clockwise to close them partially. This will allow the water to gradually flow into the faucet without any sudden surges.
- Check for any leaks around the connections. If you notice any drips or water seepage, carefully tighten the connections as needed.
After connecting the water supply lines and ensuring there are no leaks, fully open the shut-off valves to allow water to flow freely to the faucet. Check for any additional leaks or issues and make any necessary adjustments.
It’s also a good idea to test the hot and cold water by turning on the faucet and verifying that both sides are working correctly.
With the water supply lines connected and functioning properly, you’re ready to move on to the final step: testing the new sink for any leaks.
Step 11: Test the new sink for leaks
After connecting the water supply lines, it’s crucial to test the new sink for leaks. This step ensures that everything is properly sealed and functioning as it should. Here’s how to test for leaks:
- Turn on the faucet and let the water run for a few minutes.
- Check under the sink for any signs of leaks. Look for dripping water, pooling water, or moisture around the connections and joints.
- Inspect the water supply lines, faucet fixture, and drain assembly for any leaks or drips. Pay close attention to the areas where these components connect.
- If you notice any leaks, try tightening the connections slightly to see if that resolves the issue. Be careful not to overtighten and risk damaging the connections.
- Continue to monitor the sink and connections for several minutes to ensure there are no hidden leaks or intermittent drips.
- If you have a vanity cabinet or a pedestal base, check for any leaks or drips around the base of the sink as well.
- If you are confident that there are no leaks or issues, you can proceed to use the sink as normal.
It’s important to note that sometimes leaks may not be immediately apparent. If you notice a persistent leak or are unsure about any aspect of the installation, it’s advisable to seek the assistance of a professional plumber.
By thoroughly testing the new sink for leaks, you can have peace of mind knowing that your plumbing connections are secure and the sink is in proper working order.
With the final step completed, you have successfully removed a pedestal sink and installed a new one or replaced it with a new sink. Enjoy your refreshed bathroom and functional sink!
If you encountered any difficulties during the process or would like to make additional improvements, consult with a professional plumber who can provide guidance and expertise.
Lastly, remember to clean up and dispose of any old sink components or packaging materials appropriately.
Congratulations on a job well done!
Conclusion
Removing a pedestal sink may seem like a daunting task, but with the right tools, knowledge, and a little bit of patience, it can be accomplished successfully. By following the step-by-step guide outlined in this article, you can confidently remove the old pedestal sink and make way for a new one or any other renovations you have planned for your bathroom.
From gathering the necessary tools and materials to turning off the water supply, disconnecting the water supply lines, and removing the faucet fixture, each step was designed to ensure a smooth and efficient removal process. Additionally, we discussed how to carefully lift and remove the sink basin, detach the pedestal base, and patch and repair any damage to the wall.
Once the removal process is complete, you have the option to install a new sink or replace the pedestal sink. We provided instructions on how to connect the water supply lines and test the new sink for leaks to ensure optimal performance.
Throughout this entire process, safety should be a top priority. Remember to wear protective gear, take precautions when disconnecting plumbing components, and consult a professional plumber if you encounter any difficulties or have concerns.
In conclusion, removing a pedestal sink can be a rewarding project that breathes new life into your bathroom. It gives you the opportunity to update the design and functionality of your space while also allowing for other renovations or improvements.
With the comprehensive knowledge gained from this article and attention to detail, you can confidently tackle the task of removing a pedestal sink and create a bathroom that meets your desired style and functionality.
Good luck with your project and enjoy the satisfaction of a job well done!
Frequently Asked Questions about How To Remove A Pedestal Sink
Was this page helpful?
At Storables.com, we guarantee accurate and reliable information. Our content, validated by Expert Board Contributors, is crafted following stringent Editorial Policies. We're committed to providing you with well-researched, expert-backed insights for all your informational needs.


0 thoughts on “How To Remove A Pedestal Sink”