Home>Articles>How To Build A Stacked Washer Dryer Pedestal Stand Box
Articles
How To Build A Stacked Washer Dryer Pedestal Stand Box
Modified: May 6, 2024
Learn how to build a sturdy and functional stacked washer dryer pedestal stand box with our comprehensive articles.
(Many of the links in this article redirect to a specific reviewed product. Your purchase of these products through affiliate links helps to generate commission for Storables.com, at no extra cost. Learn more)
Introduction
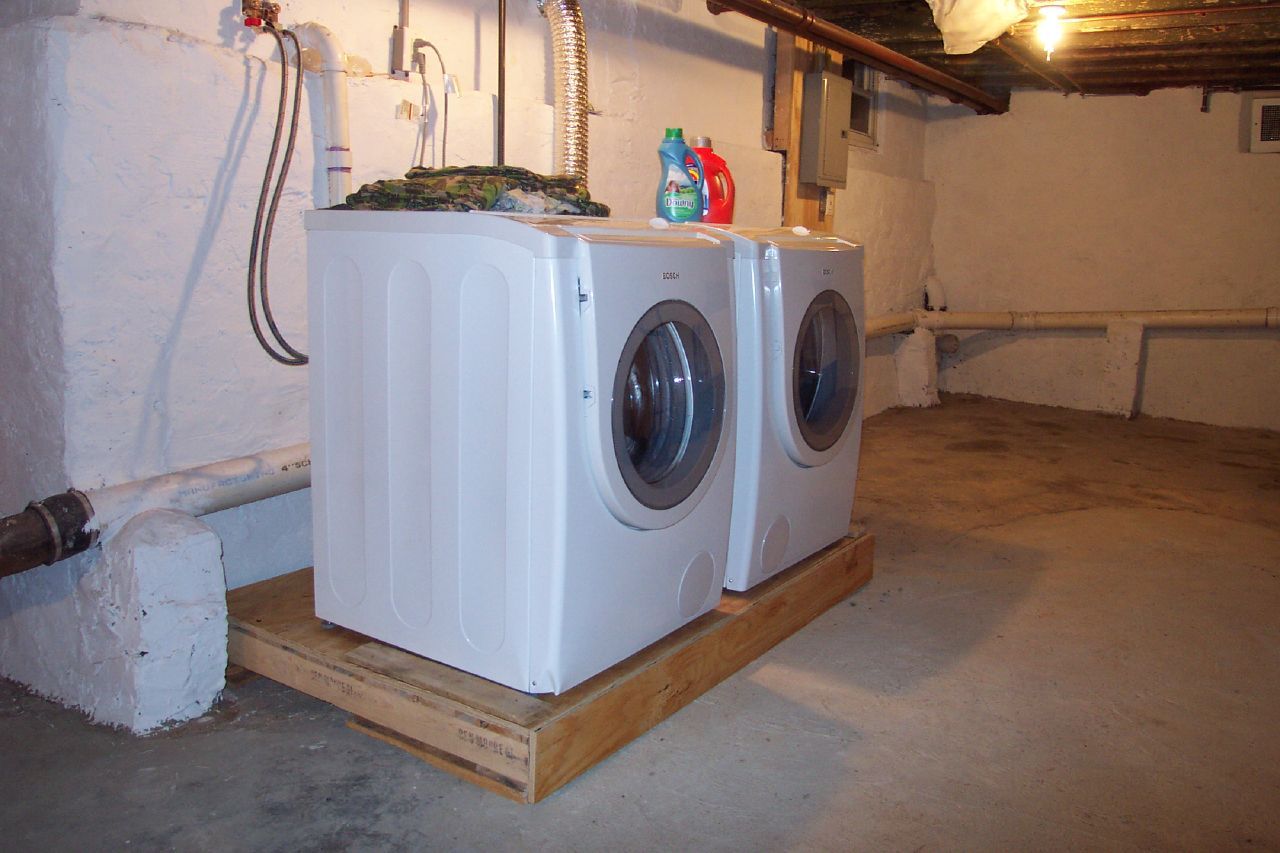
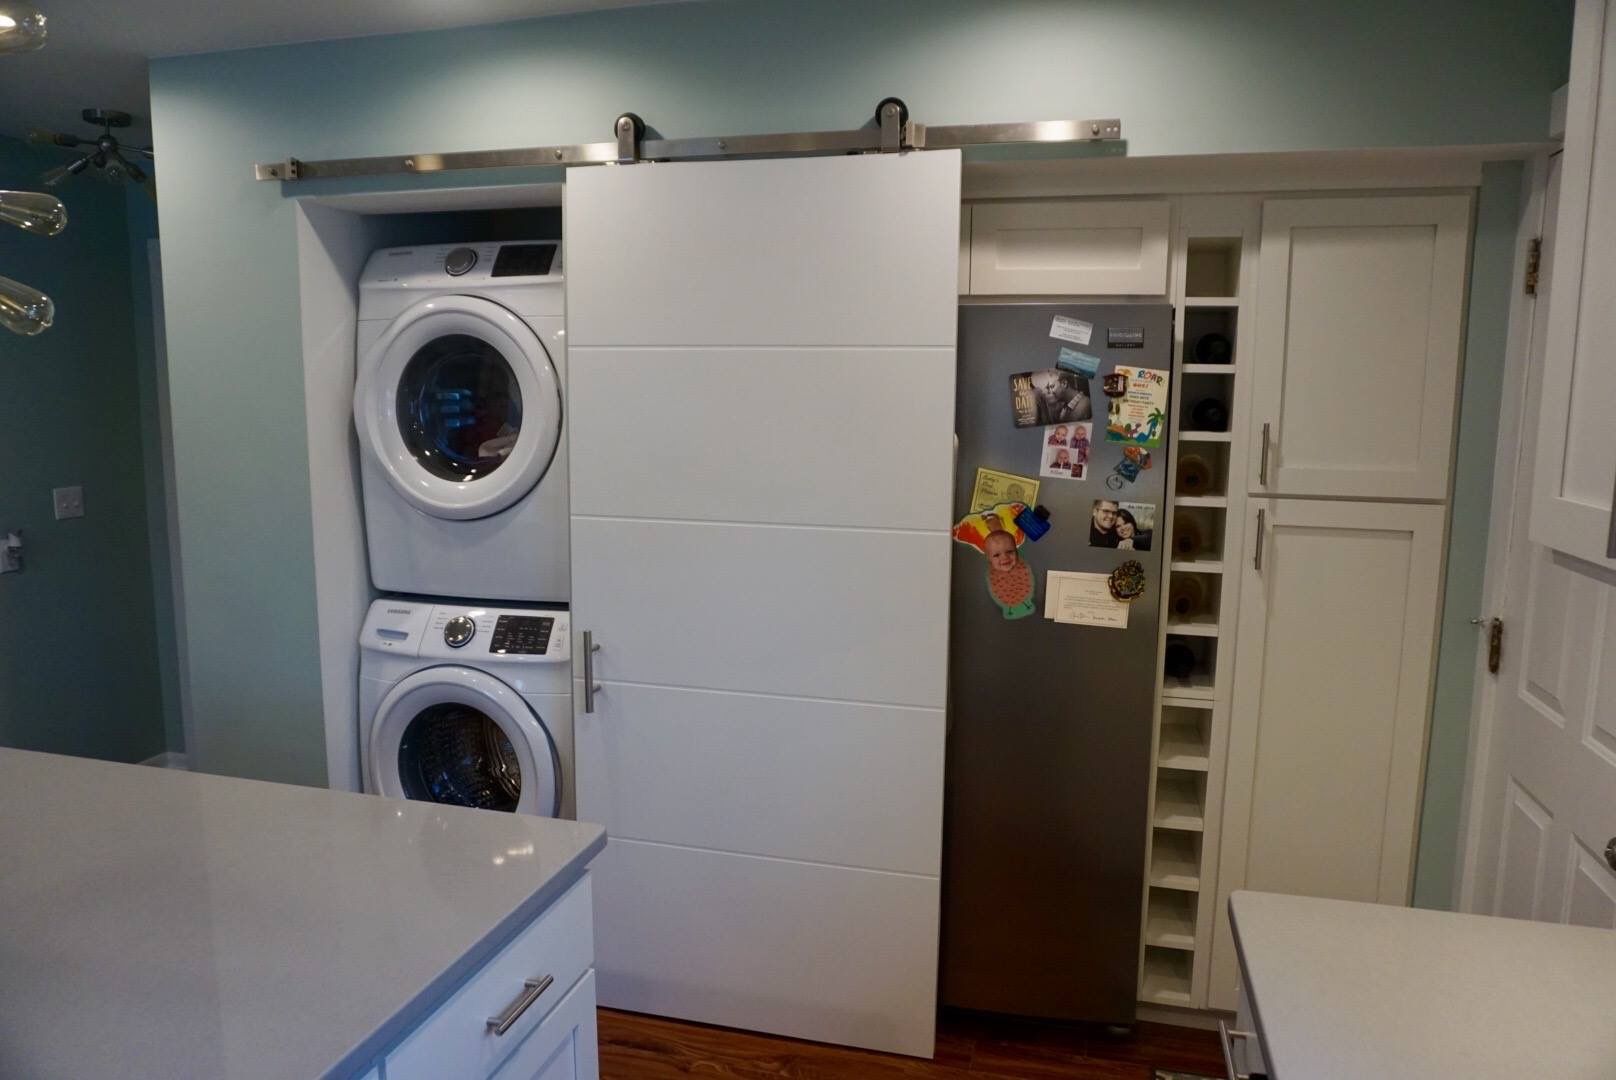
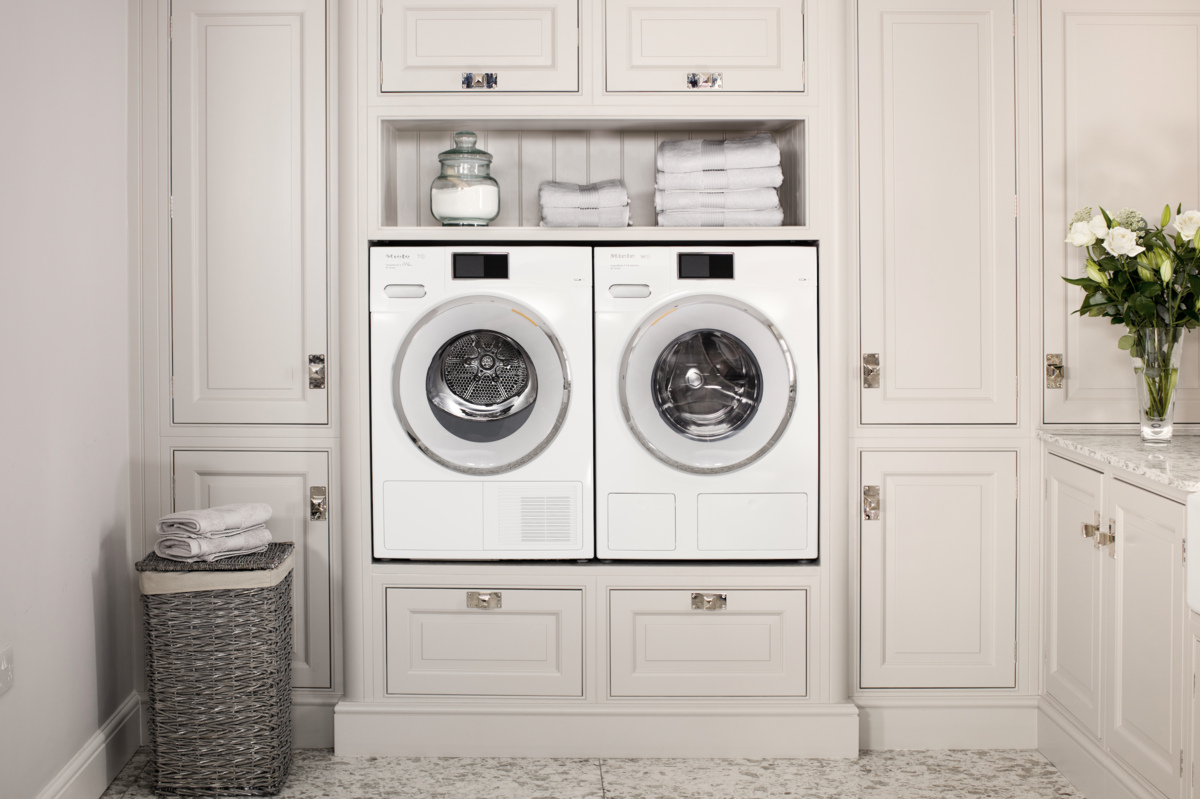
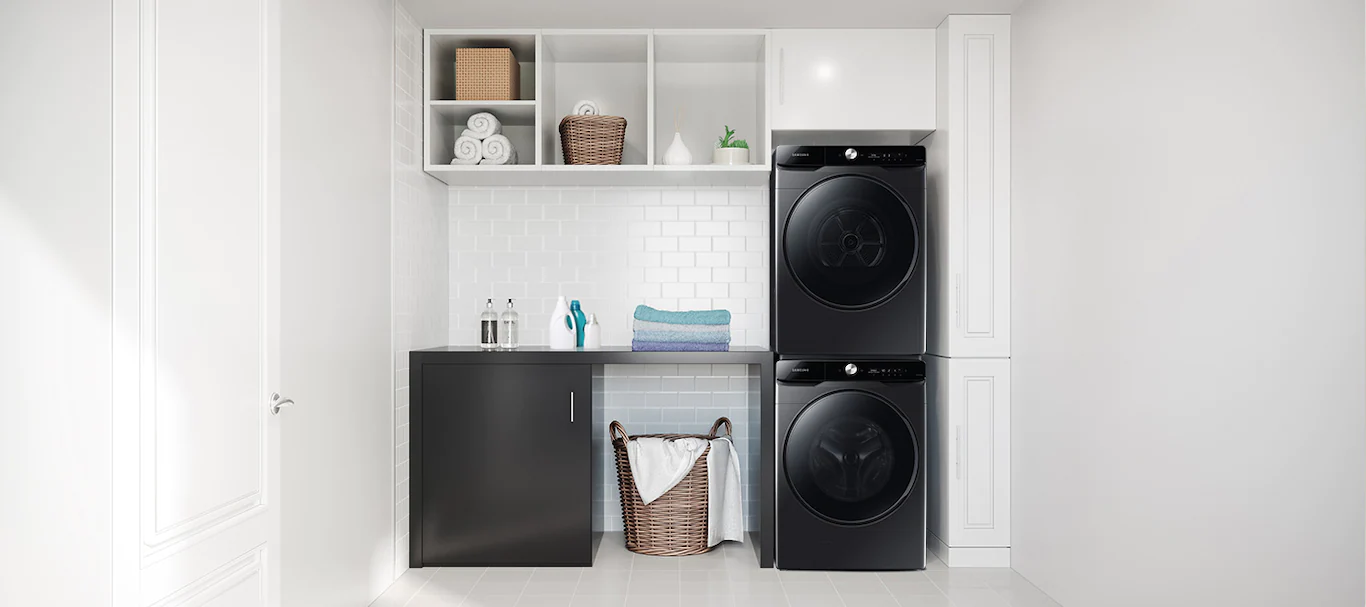
Welcome to the ultimate guide on how to build a stacked washer dryer pedestal stand box! If you have a stacked washer and dryer unit, you know how convenient and space-saving it can be. However, there is one downside – the height. Often, these units are placed low to the ground, which can make loading and unloading laundry a back-breaking task.
That’s where a pedestal stand box comes in. By elevating your stacked washer and dryer, you not only improve the ergonomics of doing laundry but also create valuable storage space underneath. In this article, we will walk you through the step-by-step process of building a sturdy and functional pedestal stand box for your laundry room.
Before we dive into the construction details, let’s quickly go over the materials you will need for this project.
Key Takeaways:
- Elevate your laundry experience by building a sturdy pedestal stand box for your stacked washer and dryer. Improve ergonomics, create storage space, and enjoy a more organized and accessible laundry room.
- Transform your laundry routine with a DIY stacked washer dryer pedestal stand box. Enhance functionality, add style, and make loading and unloading your appliances a breeze. Elevate your laundry setup today!
Read more: How To Build Washer Dryer Pedestal
Materials Needed
Before you get started, gather the following materials:
- 3/4-inch plywood sheets
- 2×4 lumber
- Screws
- Nails
- Wood glue
- Drill
- Saw
- Measuring tape
- Sandpaper
- Paint or wood stain (optional)
- Paintbrush or roller (if opting for paint)
Once you have gathered all the necessary materials, you are ready to start building your stacked washer dryer pedestal stand box.
Step 1: Measuring and Preparing the Plywood
The first step in building your stacked washer dryer pedestal stand box is to measure and prepare the plywood. Start by measuring the dimensions of your washer and dryer unit. This will help you determine the size of the pedestal stand box.
Using a measuring tape, measure the width, depth, and height of the washer and dryer. Add a few inches to each measurement to allow for clearance and ease of installation and removal. Write down these measurements as they will be used later when cutting the plywood pieces.
Next, mark the measurements on the plywood sheets. Use a pencil and a straight edge to create precise and clean lines. Double-check your measurements to ensure accuracy.
Once you have marked the plywood, it’s time to prepare it for cutting. If the edges of the plywood are rough or uneven, use sandpaper to smooth them out. This will give your pedestal stand box a clean and polished look.
Now that the plywood is prepped and ready, let’s move on to cutting the plywood pieces for the base of the pedestal stand box.
Note: Safety is of utmost importance when using power tools. Always wear protective goggles and follow safety guidelines.
Step 2: Cutting the Plywood Pieces
With your measurements and plywood marked, it’s time to cut the plywood pieces for the base of the pedestal stand box. Grab your saw and follow these steps:
- Start by cutting the bottom piece of plywood according to the width and depth measurements of your washer and dryer unit. This will serve as the base of the pedestal stand box.
- Next, cut two side pieces of plywood according to the height and depth measurements of your washer and dryer unit. These will be the vertical supports on either side of the pedestal stand box.
- Finally, cut two front and back pieces of plywood according to the width and height measurements of your washer and dryer unit. These will be the front and back panels of the pedestal stand box.
Make sure to cut the plywood pieces precisely, following the marked lines. Double-check the measurements before cutting to avoid any errors.
Once all the plywood pieces are cut, use sandpaper to smooth out any rough edges.
Note: If you prefer a more finished look, you can also consider adding a decorative trim to the front and side panels of the pedestal stand box. This is optional but can add an extra touch of style to your laundry room.
Now that you have all the necessary plywood pieces, let’s move on to assembling the base of the pedestal stand box.
Step 3: Assembling the Base
Now that you have all the plywood pieces cut and ready, it’s time to assemble the base of the pedestal stand box. Follow these steps:
- Place the bottom piece of plywood on a flat surface, ensuring that it is properly aligned.
- Take the two side pieces and position them at each end of the bottom piece, forming a rectangular shape.
- Using wood glue, apply a generous amount along the edges of the bottom piece where it will be joined with the side pieces.
- Secure the pieces together by using screws. Pre-drill pilot holes to prevent splitting the plywood.
- Repeat the process for the front and back panels, attaching them to the side panels using wood glue and screws.
- Check the stability and alignment of the base. Make any necessary adjustments to ensure a secure and level surface for your washer and dryer.
Once the base is assembled, double-check all the screws and make sure they are tightened properly.
At this stage, you have the basic structure of the pedestal stand box. In the next step, we will add the sides to enclose the box and provide additional support.
When building a stacked washer dryer pedestal stand box, make sure to measure the dimensions of your appliances carefully to ensure a proper fit. Also, consider adding a shelf or drawer for extra storage space.
Read more: How To Build A Pedestal For Washer And Dryer
Step 4: Attaching the Sides
With the base of the pedestal stand box assembled, it’s time to attach the sides to enclose the box and provide additional support. Follow these steps:
- Take the two remaining plywood pieces that you cut for the sides of the pedestal stand box.
- Position one side piece against the side of the base, ensuring it is flush with the top and front edges.
- Apply wood glue along the edge where the side piece will be attached.
- Secure the side piece to the base by driving screws through the plywood and into the base. Repeat this step for the other side.
- Check for stability and adjust as needed, making sure the sides are securely attached to the base.
By attaching the sides, you are creating a sturdy enclosure for the pedestal stand box. This will ensure that your stacked washer and dryer are supported properly.
Now that you have the base and sides securely attached, it’s time to add additional supports and reinforcements.
Step 5: Adding Supports and Reinforcements
To further enhance the stability and durability of your stacked washer dryer pedestal stand box, it’s important to add supports and reinforcements. Follow these steps:
- Cut the 2×4 lumber into pieces to create support braces for the inside of the pedestal stand box. The length of these pieces should be equal to the depth of your base.
- Attach the support braces horizontally along the inside of the side panels, using wood glue and screws. These braces will provide additional strength and prevent the box from sagging under the weight of the washer and dryer.
- Next, cut two more pieces of 2×4 lumber to create vertical supports. The length of these pieces should be equal to the height of the base.
- Attach the vertical supports along the inside corners of the pedestal stand box, using wood glue and screws. These supports will stabilize the box and prevent it from wobbling.
- Check the stability of the box and make any necessary adjustments.
- If desired, you can also add diagonal braces from the inside corners to the center of the base for additional reinforcement.
By adding supports and reinforcements, you are ensuring that your stacked washer and dryer have a solid and secure pedestal stand box to sit on. This will minimize any vibrations or movements during the laundry cycles.
Next, we will move on to installing the washer and dryer units on the pedestal stand box.
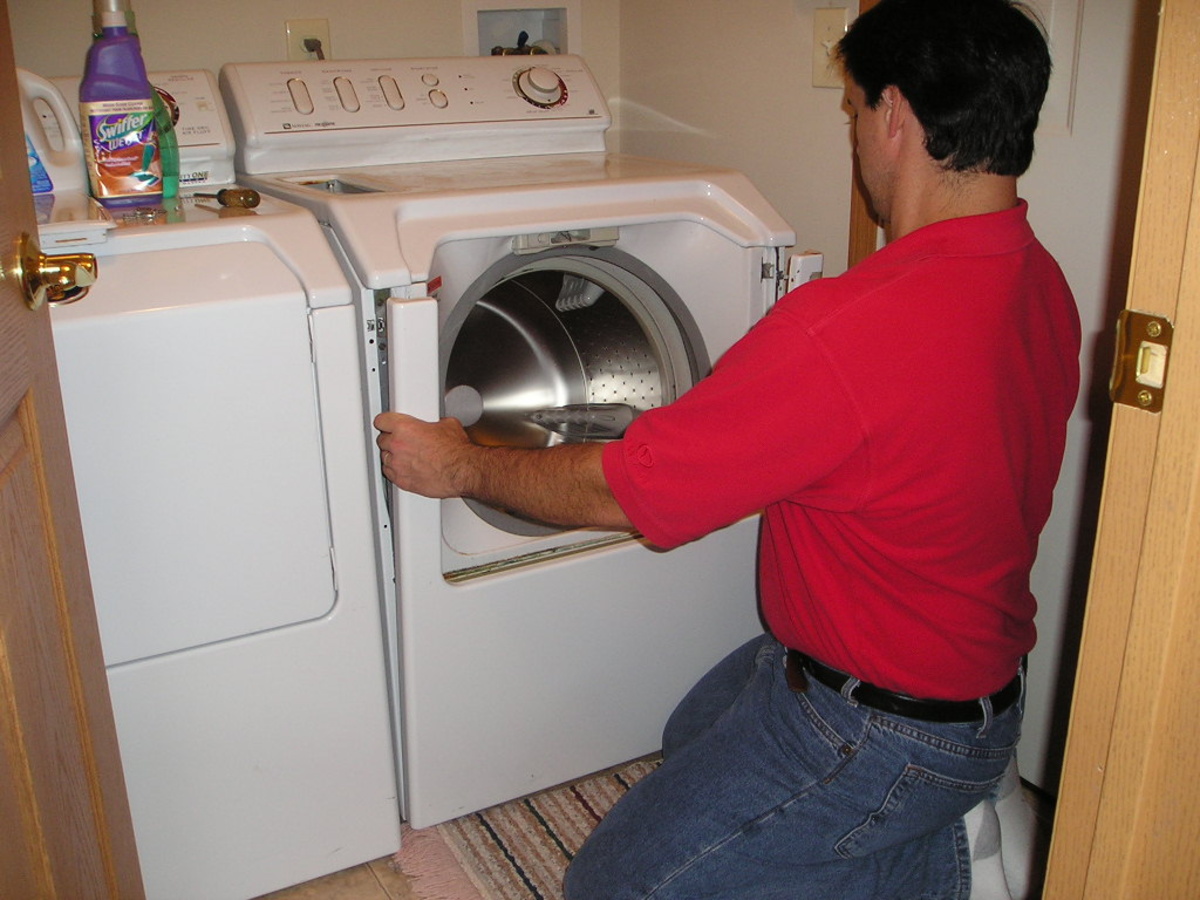
Step 6: Installing the Washer and Dryer Units
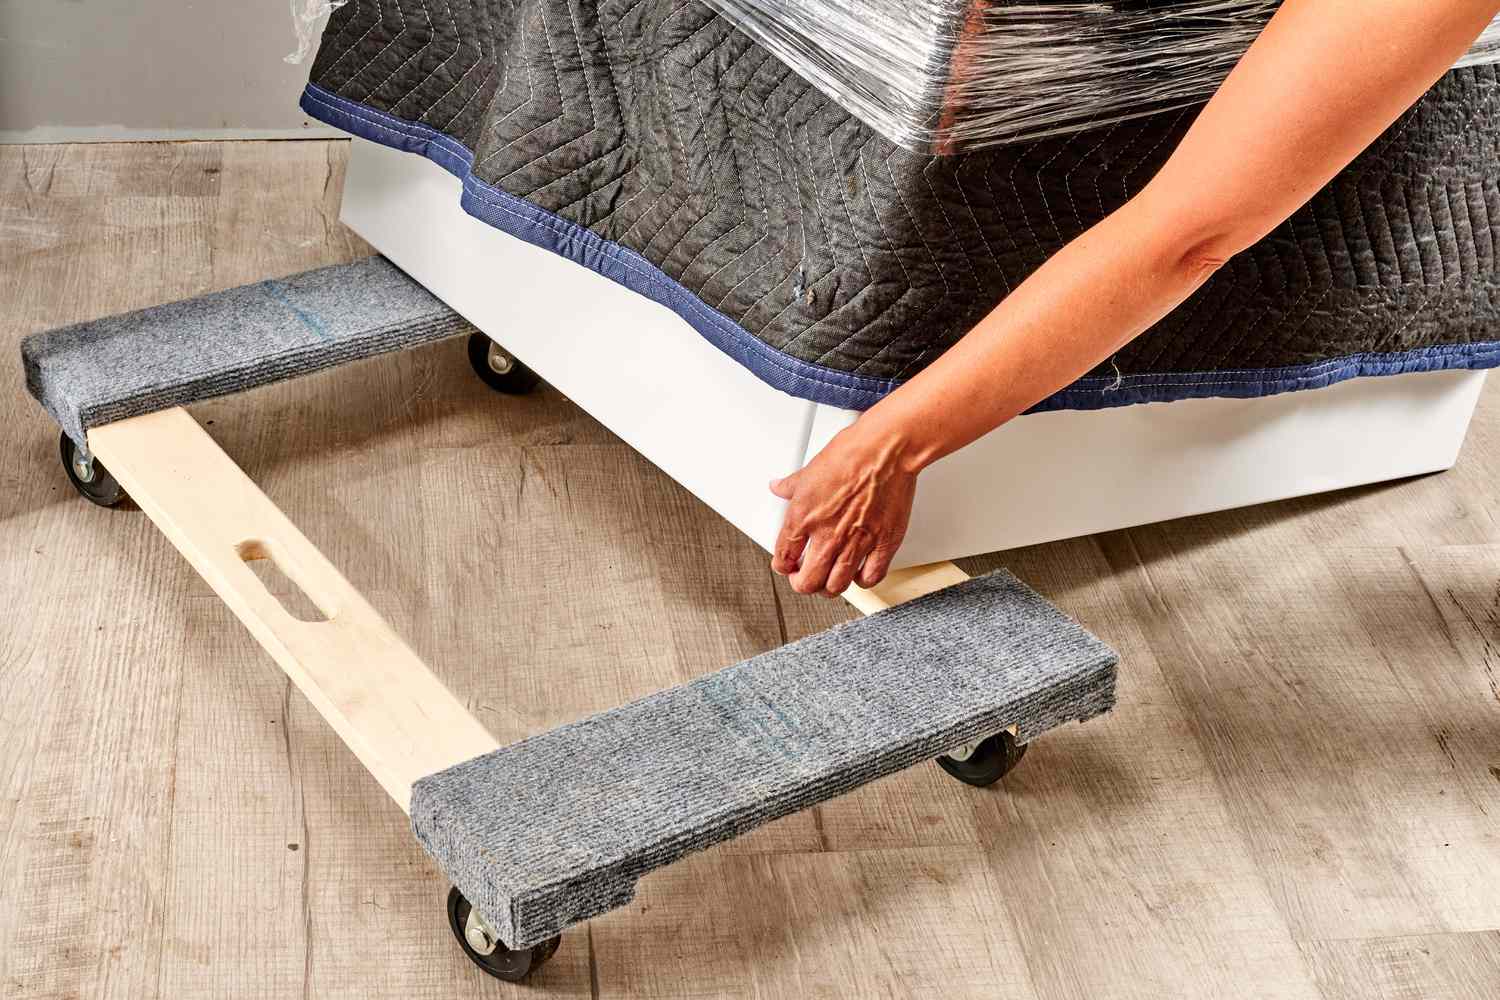
Now that the pedestal stand box is sturdy and reinforced, it’s time to install the washer and dryer units. Before proceeding, make sure you have enlisted the help of a friend or family member, as these units can be heavy and difficult to maneuver alone. Follow these steps:
- Carefully lift the stacked washer and dryer unit and position it on top of the pedestal stand box.
- Ensure that the unit is centered and aligned properly on the box.
- Use the manufacturer’s instructions to secure the stacked washer and dryer to the pedestal stand box. This may involve using brackets, screws, or other hardware provided with your specific washer and dryer model.
- Double-check the stability and security of the units to ensure they are securely fastened to the pedestal stand box.
With the washer and dryer units properly installed on the pedestal stand box, you can now enjoy the benefits of an elevated and easier-to-access laundry setup.
Before moving on to the final step, take a moment to examine the overall structure and check for any visible gaps or imperfections. If desired, you can fill any gaps with wood filler and sand them smooth for a more finished appearance.
Lastly, let’s move on to adding the finishing touches to your stacked washer dryer pedestal stand box.
Step 7: Finishing Touches
Now that your stacked washer dryer pedestal stand box is complete, it’s time to add some finishing touches to enhance its appearance and functionality. Follow these final steps:
- If desired, you can choose to paint or stain the pedestal stand box to match your laundry room décor. Select a paint or wood stain that is suitable for plywood and apply it evenly using a paintbrush or roller. Allow the paint or stain to dry according to the manufacturer’s instructions.
- Consider adding a waterproof sealant to protect the plywood from moisture and potential spills. This will help prolong the life of your pedestal stand box.
- Once the paint or stain is dry, you can add non-slip pads or adhesive feet to the bottom of the pedestal stand box. This will prevent any unnecessary movement or scratches on your laundry room floor.
- Finally, take a moment to organize and arrange the storage space underneath your pedestal stand box. You can use baskets, bins, or shelves to keep laundry supplies, detergent, and other items neat and easily accessible.
Congratulations! You have successfully built a stacked washer dryer pedestal stand box. Not only does it provide a convenient height for your laundry appliances, but it also adds storage space and improves the overall functionality of your laundry room.
Remember to regularly inspect the pedestal stand box for any signs of wear or damage. If needed, make any necessary repairs or adjustments to ensure its longevity and continued support.
Enjoy the benefits of your elevated and organized laundry setup, thanks to your DIY stacked washer dryer pedestal stand box!
Note: Safety is always a priority when working with power tools and assembling furniture. Be sure to follow all safety precautions and guidelines provided by the tool and equipment manufacturers.
Happy DIY-ing!
Read more: How To Stack Washer And Dryer
Conclusion
Building a stacked washer dryer pedestal stand box is a rewarding project that can significantly enhance your laundry room’s functionality and aesthetics. By elevating your washer and dryer, you create a more ergonomic and accessible workspace, while also gaining valuable storage space underneath.
Throughout this guide, we have covered the step-by-step process of constructing a sturdy and functional pedestal stand box. From measuring and cutting the plywood to assembling the base, attaching the sides, adding supports and reinforcements, and installing the washer and dryer units, each step was carefully outlined to ensure your success in this DIY project.
Remember, safety is paramount when working with power tools and assembling furniture. Always follow safety guidelines and wear protective gear to prevent accidents.
With your pedestal stand box complete, don’t forget the finishing touches. Consider painting or staining the box to match your décor, applying a waterproof sealant for added protection, and organizing the storage space underneath with bins or shelves.
Now, you can enjoy the benefits of an elevated laundry setup that makes loading and unloading your washer and dryer a breeze. No more straining your back or bending down to reach the machines!
We hope this guide has provided you with the knowledge and inspiration to embark on this DIY project. Building your stacked washer dryer pedestal stand box is a cost-effective and customizable solution that will not only improve your laundry routine but also add functionality and style to your space.
Happy building and happy laundering!
Now that you've mastered building your own washer dryer pedestal, why not dive deeper into the world of DIY projects? Discovering the joys and rewards of creating with your own hands is just a click away. If crafting and construction pique your interest, check out our latest collection of woodworking projects. These guides are perfect for anyone eager to shape and create beautiful, functional items from scratch in the coming year.
Frequently Asked Questions about How To Build A Stacked Washer Dryer Pedestal Stand Box
Was this page helpful?
At Storables.com, we guarantee accurate and reliable information. Our content, validated by Expert Board Contributors, is crafted following stringent Editorial Policies. We're committed to providing you with well-researched, expert-backed insights for all your informational needs.


0 thoughts on “How To Build A Stacked Washer Dryer Pedestal Stand Box”