Articles
How To Build Curtains For Bedroom
Modified: February 29, 2024
Learn how to build beautiful curtains for your bedroom with our informative articles. Discover step-by-step guides and expert tips to create the perfect window treatments.
(Many of the links in this article redirect to a specific reviewed product. Your purchase of these products through affiliate links helps to generate commission for Storables.com, at no extra cost. Learn more)
Introduction
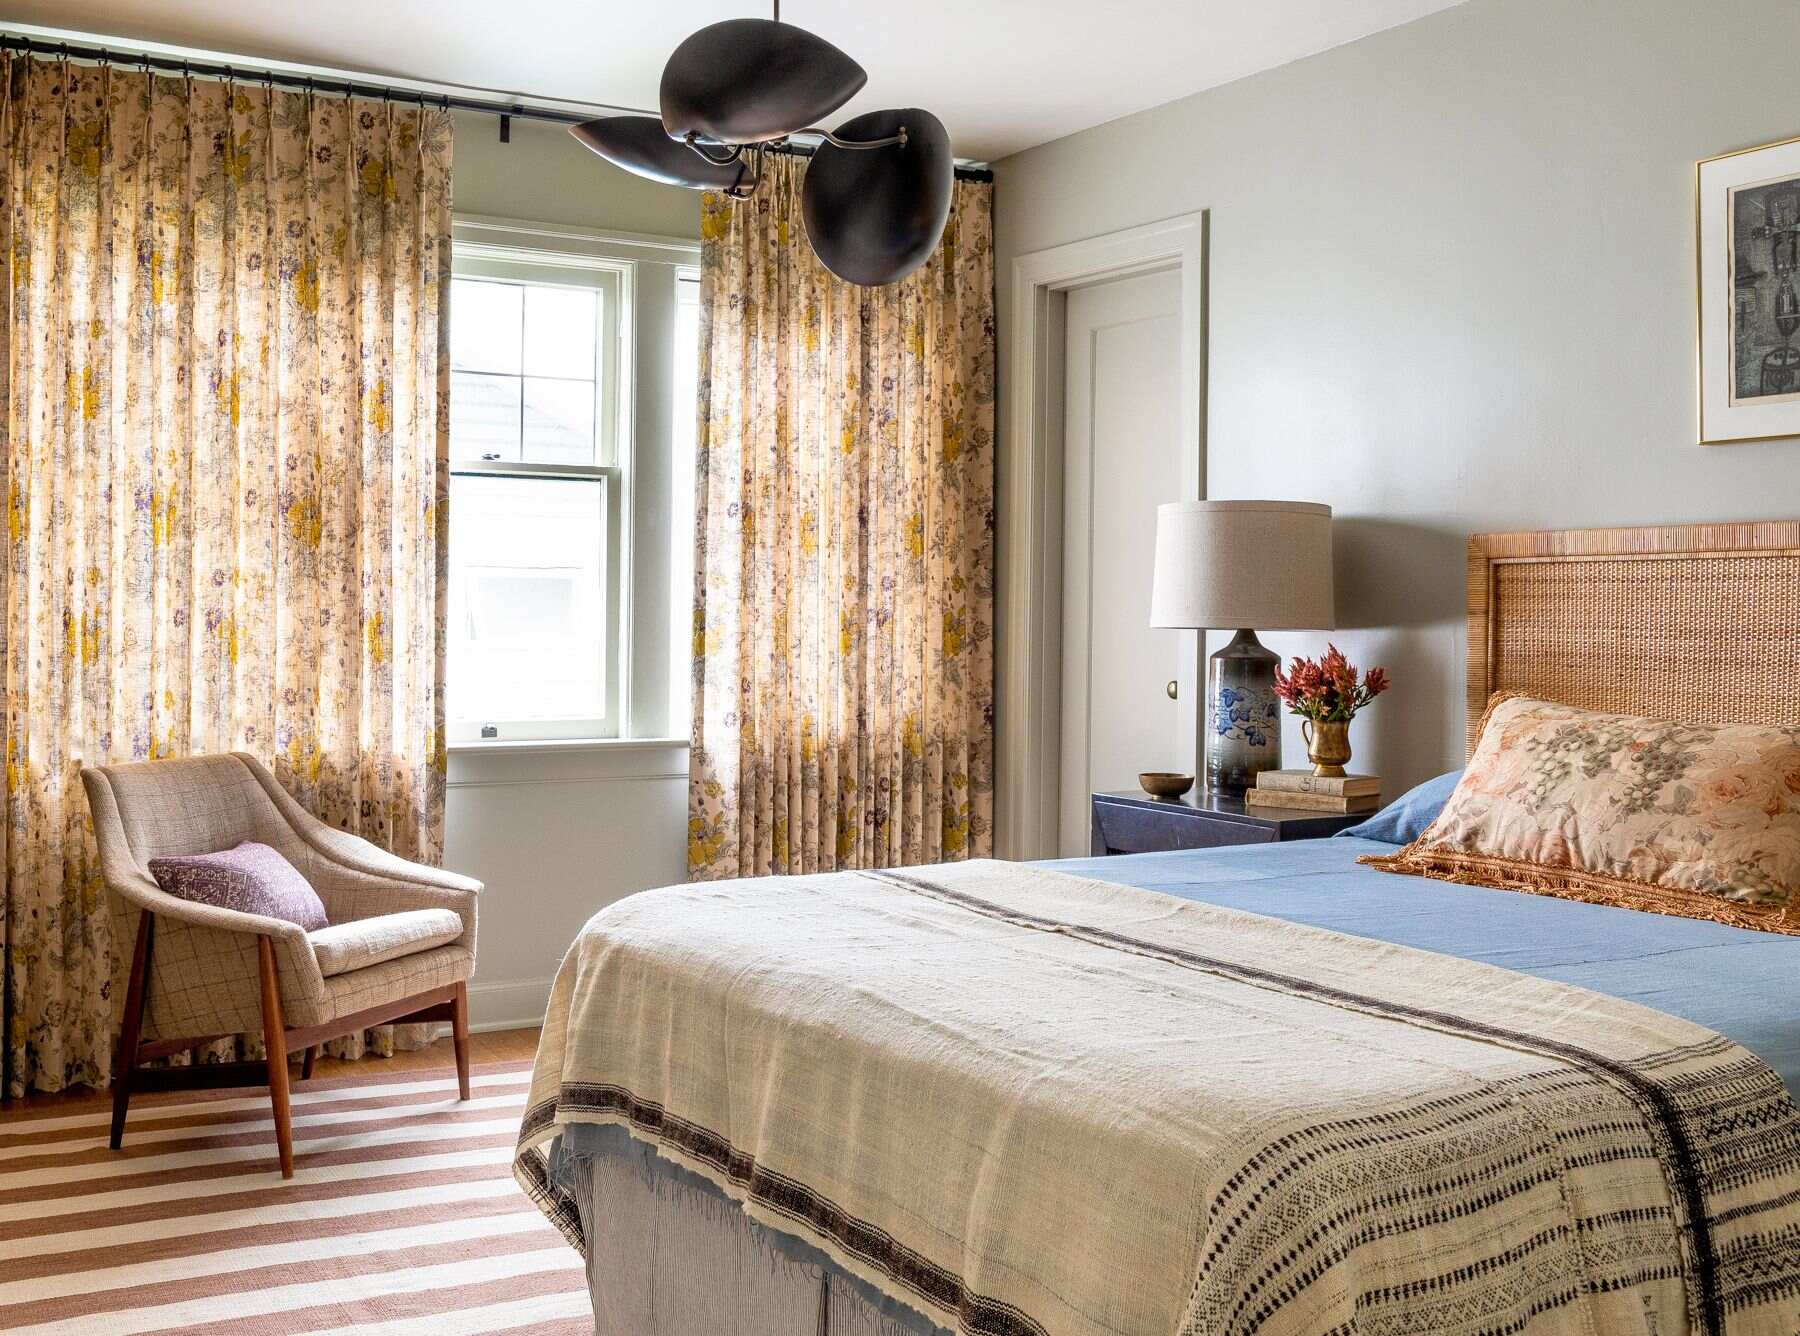
Welcome to our comprehensive guide on how to build curtains for your bedroom! Curtains are not only a practical window covering, but they also add style and personality to any room. By crafting your own curtains, you have the freedom to choose the fabric, design, and dimensions that perfectly fit your bedroom’s décor. Whether you’re a seasoned DIY enthusiast or a beginner looking to try your hand at sewing, this step-by-step tutorial will walk you through the entire process.
In this article, we’ll cover everything you need to know about building curtains for your bedroom. We’ll go over the materials you’ll need, provide detailed instructions on each step, and offer some helpful tips along the way. So, grab your measuring tape, sewing machine, and let’s get started!
Key Takeaways:
- Crafting your own bedroom curtains allows for personalized style, light control, and privacy. Enjoy the process of choosing fabric, measuring, sewing, and adding finishing touches to create a unique and functional window treatment.
- Building curtains for your bedroom is a rewarding DIY project that adds charm and sophistication to your space. From selecting the fabric to hanging the curtains, this guide empowers you to create a cozy and inviting atmosphere.
Read more: How To Choose Curtains For Bedroom
Materials Needed
Before you begin, gather the following materials:
- Fabric: Choose a fabric that suits your style and preferences. Make sure to measure the length and width of your window to determine the amount of fabric you’ll need.
- Thread: Select a thread color that matches or complements your fabric.
- Scissors: A good pair of fabric scissors will make cutting the fabric much easier.
- Pins: These will be used to hold the fabric together during the sewing process.
- Measuring Tape: Essential for accurately measuring the dimensions of your window and fabric.
- Sewing Machine: While hand sewing is an option, a sewing machine will make the process faster and more efficient.
- Iron and Ironing Board: These will be used to press the fabric and create crisp seams.
- Curtain Rod: Choose a curtain rod that matches the style of your bedroom.
- Hardware: Depending on your window, you may need screws, brackets, and anchors to mount the curtain rod.
- Optional: If desired, you can also include additional decorative elements such as trim, tassels, or tiebacks.
Once you have gathered all the necessary materials, you’re ready to move on to the next step: measuring the window.
Step 1: Measure the Window
The first step in building curtains for your bedroom is to accurately measure the dimensions of your window. This will ensure that your curtains fit properly and provide adequate coverage. Here’s how to do it:
- Start by measuring the width of the window. Use a measuring tape and measure from one side of the window frame to the other. Take note of the measurement.
- Next, measure the height of the window. Again, use a measuring tape and measure from the top of the window frame to the bottom. Write down the measurement.
- If you prefer floor-length curtains, add a few extra inches to the height measurement to account for the distance from the curtain rod to the floor.
Having accurate measurements is crucial for ensuring that your curtains hang correctly and provide the desired amount of privacy and light control. Take your time when measuring, and double-check your measurements to avoid any miscalculations.
Once you have your window measurements, you can move on to selecting the fabric for your curtains, which we’ll discuss in the next step.
Step 2: Choose the Fabric
Now that you have the measurements, it’s time to choose the fabric for your bedroom curtains. The fabric you select will not only determine the aesthetic of your curtains but also play a role in their functionality. Here are some factors to consider when choosing the fabric:
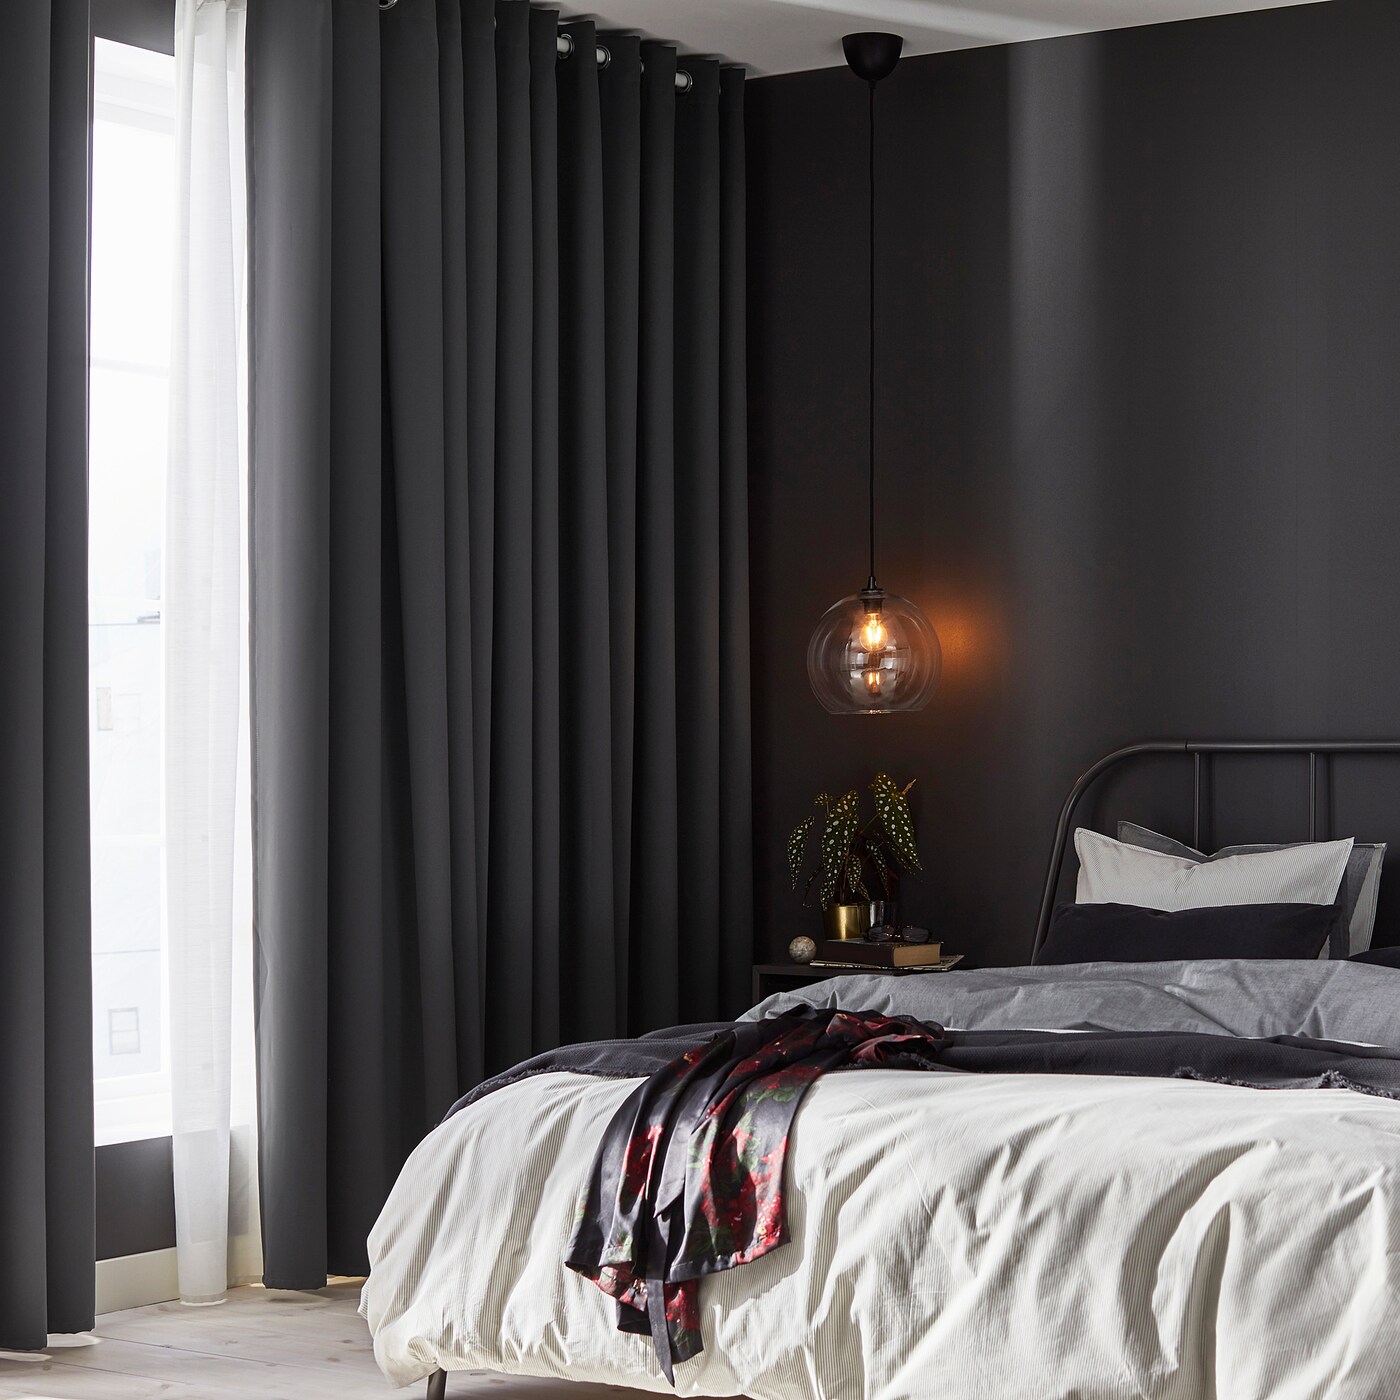
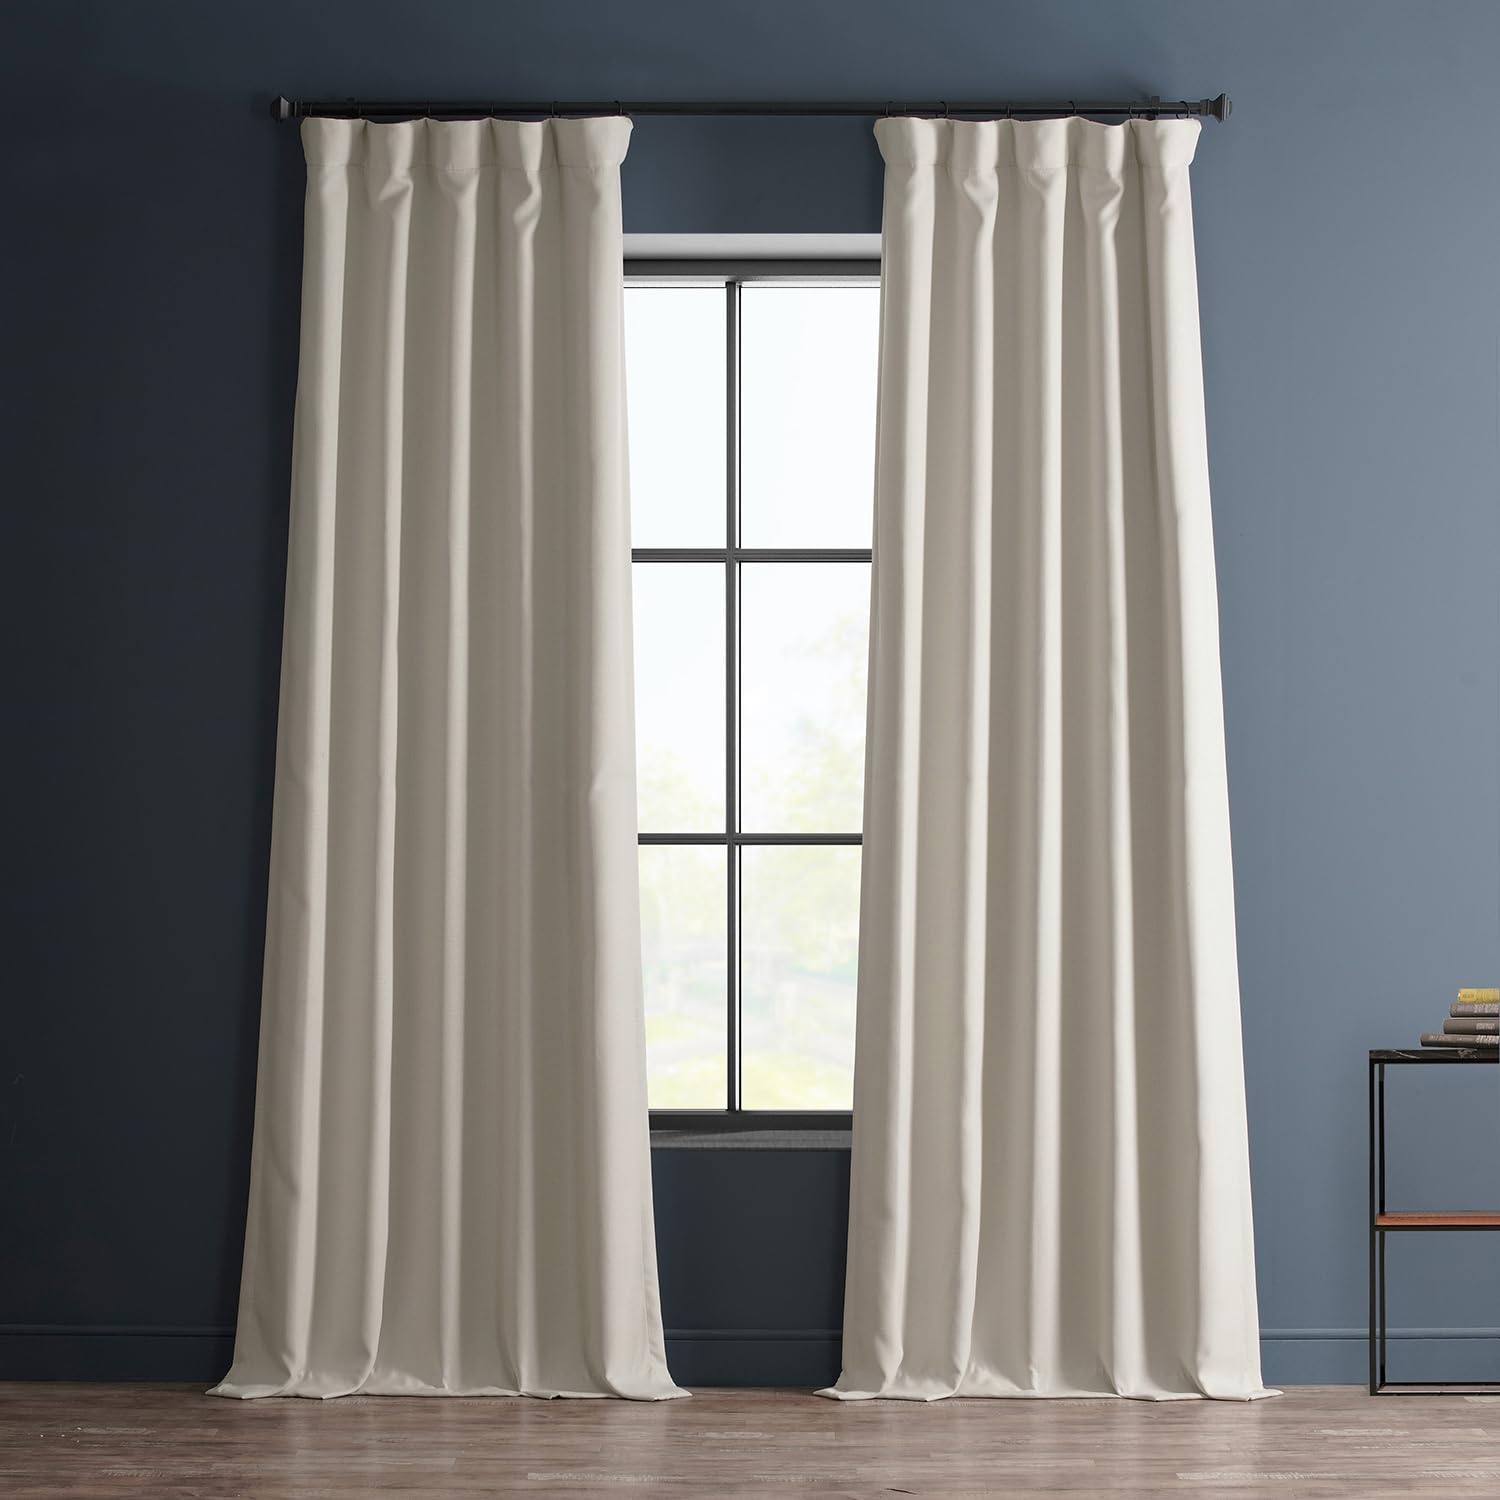
- Light Control: Consider how much light you want to filter into your bedroom. If you prefer a darker space for better sleep, opt for thicker fabrics such as velvet or blackout curtains. If you want to allow some natural light while maintaining privacy, lightweight cotton or linen fabrics are great options.
- Privacy: Think about the level of privacy you desire. Sheer or semi-sheer fabrics will offer a more translucent look and allow more visibility from the outside. If you prefer maximum privacy, consider opaque or lined fabrics.
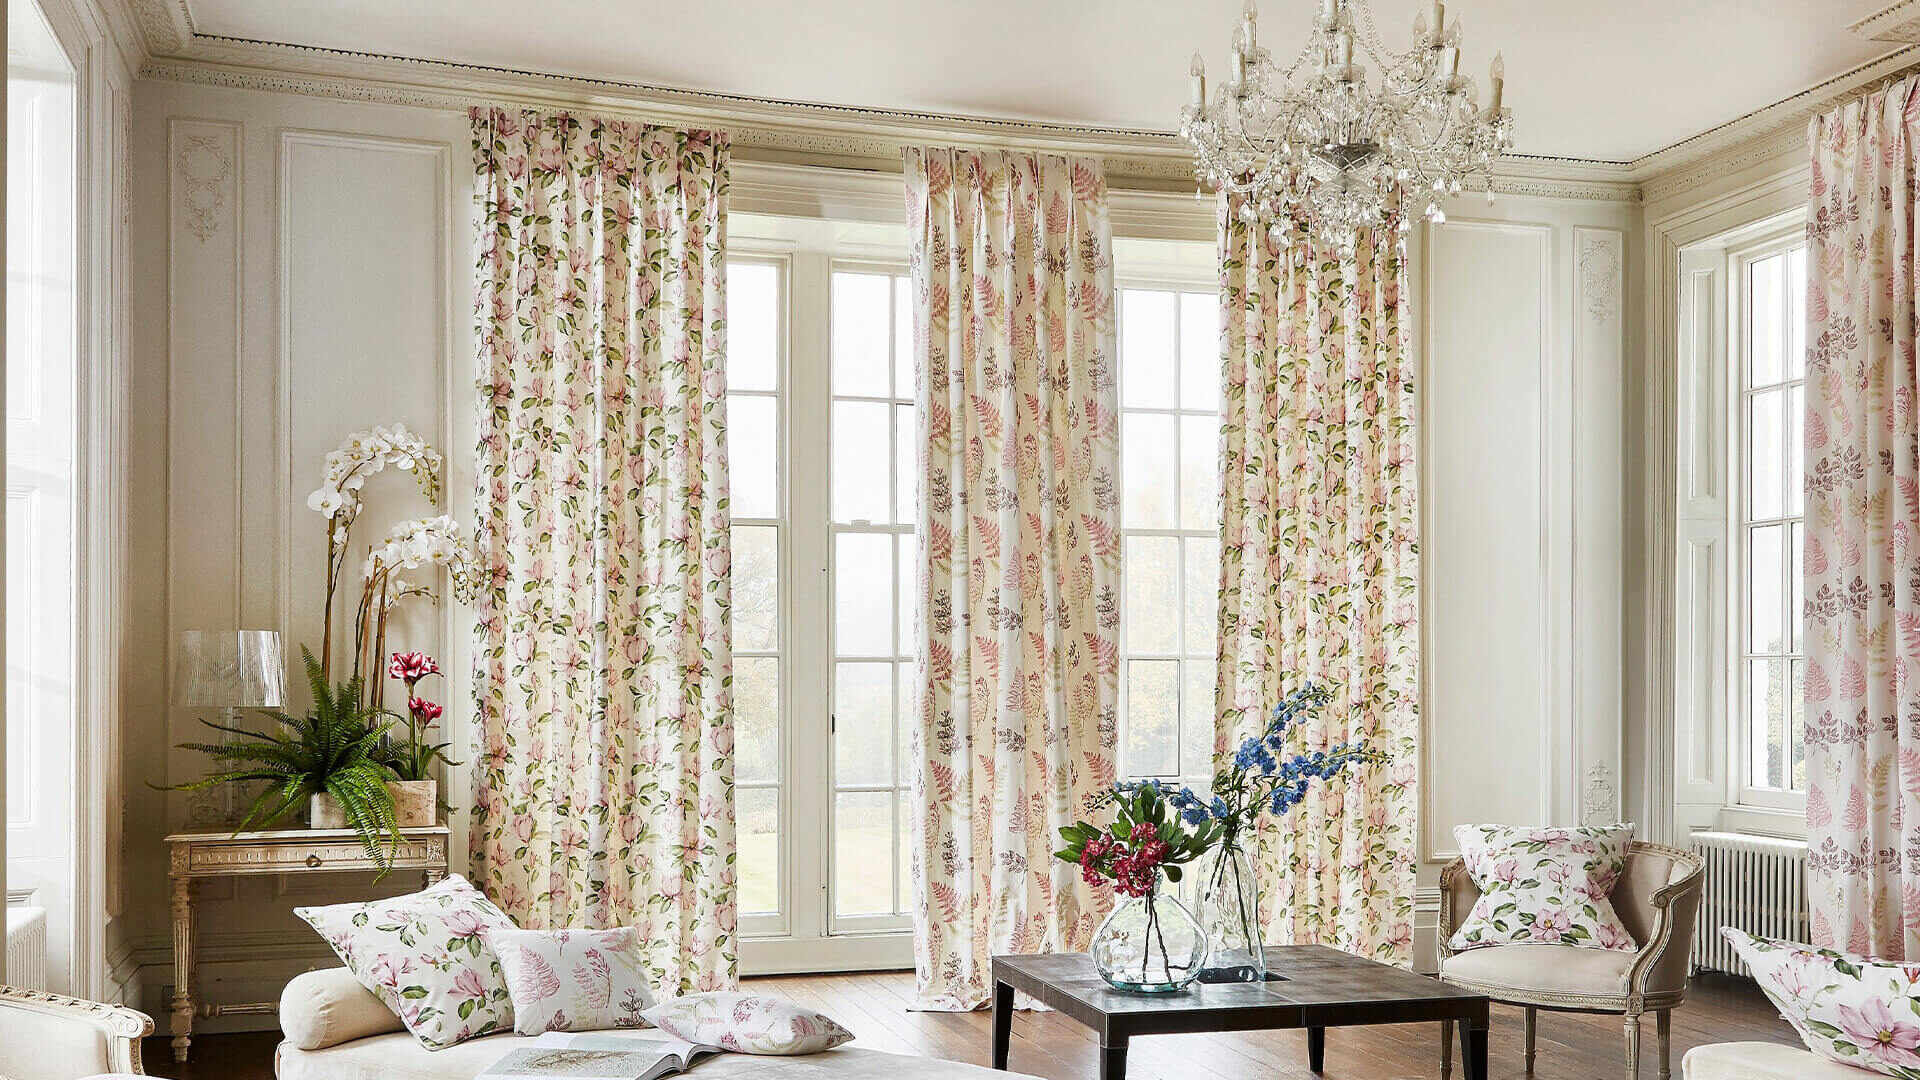
- Style and Aesthetic: The fabric you choose should complement the overall style and décor of your bedroom. Consider the color palette, patterns, and texture that will best enhance the space. For a modern and minimalist look, solid-colored fabrics in neutral tones work well. Floral, striped, or geometric patterns can add visual interest and personality to your bedroom.
- Maintenance: Take into account your lifestyle and how much time you can dedicate to upkeep. Fabrics that are machine washable or easy to spot clean may be more practical for everyday use.
- Budget: Determine your budget for fabric. Keep in mind that higher-quality fabrics may be more expensive, but they can also offer better durability and longevity.
Visit your local fabric store or browse online to explore various fabric options. Don’t hesitate to ask for fabric samples to see how they look in your bedroom’s lighting. Once you’ve chosen the perfect fabric, it’s time to move on to the next step: cutting the fabric.
Step 3: Cut the Fabric
Now that you have chosen the fabric for your bedroom curtains, it’s time to cut the fabric to the appropriate size. Follow these steps to ensure accurate and clean cuts:
- Using your measurements from Step 1, mark the length and width of the curtains on the fabric. Double-check your measurements to avoid any mistakes.
- Using fabric scissors, carefully cut along the marked lines to create individual curtain panels. Make sure to cut straight and avoid jagged edges.
- If you’re creating multiple curtain panels, repeat the process for each panel, ensuring they are all the same size and length.
- TIP: It’s always best to cut the fabric a few inches longer and wider than your desired finished size. This will allow for any adjustments or mistakes during the sewing process.
Take your time when cutting the fabric and be precise to ensure that all the panels are the correct size. If you’re new to sewing, it may be helpful to use a ruler or straight edge to guide your scissors.
Once you have the fabric panels cut, you’re ready to move on to the next step: hemming the edges.
Read more: How To Build Bedroom Closet
Step 4: Hem the Edges
After cutting the fabric panels to the desired size, it’s time to hem the edges. Hemming the edges will create a clean, finished look and prevent fraying. Follow these steps to hem the edges of your curtains:
- Start by folding and pressing about ½ inch of fabric along one of the sides of the curtain panel. This will create a neat edge.
- Use pins to secure the folded edge in place.
- Repeat the process for the remaining sides of the curtain panel, ensuring that the edges are folded evenly and uniformly.
- TIP: If you’re working with heavier or thicker fabrics, you may want to fold the edges twice to create a stronger hem.
- Once all the edges are folded and pinned, carefully stitch along the edge of the fold using a sewing machine or hand sewing. Choose a stitch that is appropriate for your fabric and provides durability.
Take your time when hemming the edges to ensure that the stitches are straight and secure. Remove the pins as you go and double-check that all the edges are properly hemmed.
With the edges hemmed, your fabric panels will now have a polished and professional appearance. The next step is to sew the panels together to create the full curtain design.
When building curtains for a bedroom, make sure to measure the window accurately to ensure the right fit. Consider using blackout lining to block out light and provide privacy for a better night’s sleep.
Step 5: Sew the Panels Together
Now that you have hemmed the edges of each curtain panel, it’s time to sew the panels together to create the full curtain design. Follow these steps to sew the panels together:
- Place two fabric panels together, with the right sides facing each other. Align the edges and pin them in place. Repeat this step if you have more than two panels.
- Using a straight stitch on your sewing machine, sew along the pinned edges, leaving about a ½ inch seam allowance. Alternatively, you can hand stitch the panels together using a backstitch or slipstitch.
- After sewing the panels together, remove the pins and open up the fabric to ensure that the seams are aligned and secure. Press along the seam with an iron to create a crisp, flat finish.
- If you’re working with more than two panels, repeat the process until all the panels are sewn together.
Take your time and sew carefully to ensure that the panels are joined together smoothly. As you sew, double-check that the fabric is not puckering or gathering. It’s important to maintain straight and even stitches throughout the sewing process.
With the panels sewn together, your curtains are starting to take shape. The next step is to create a rod pocket to hang the curtains on your curtain rod.
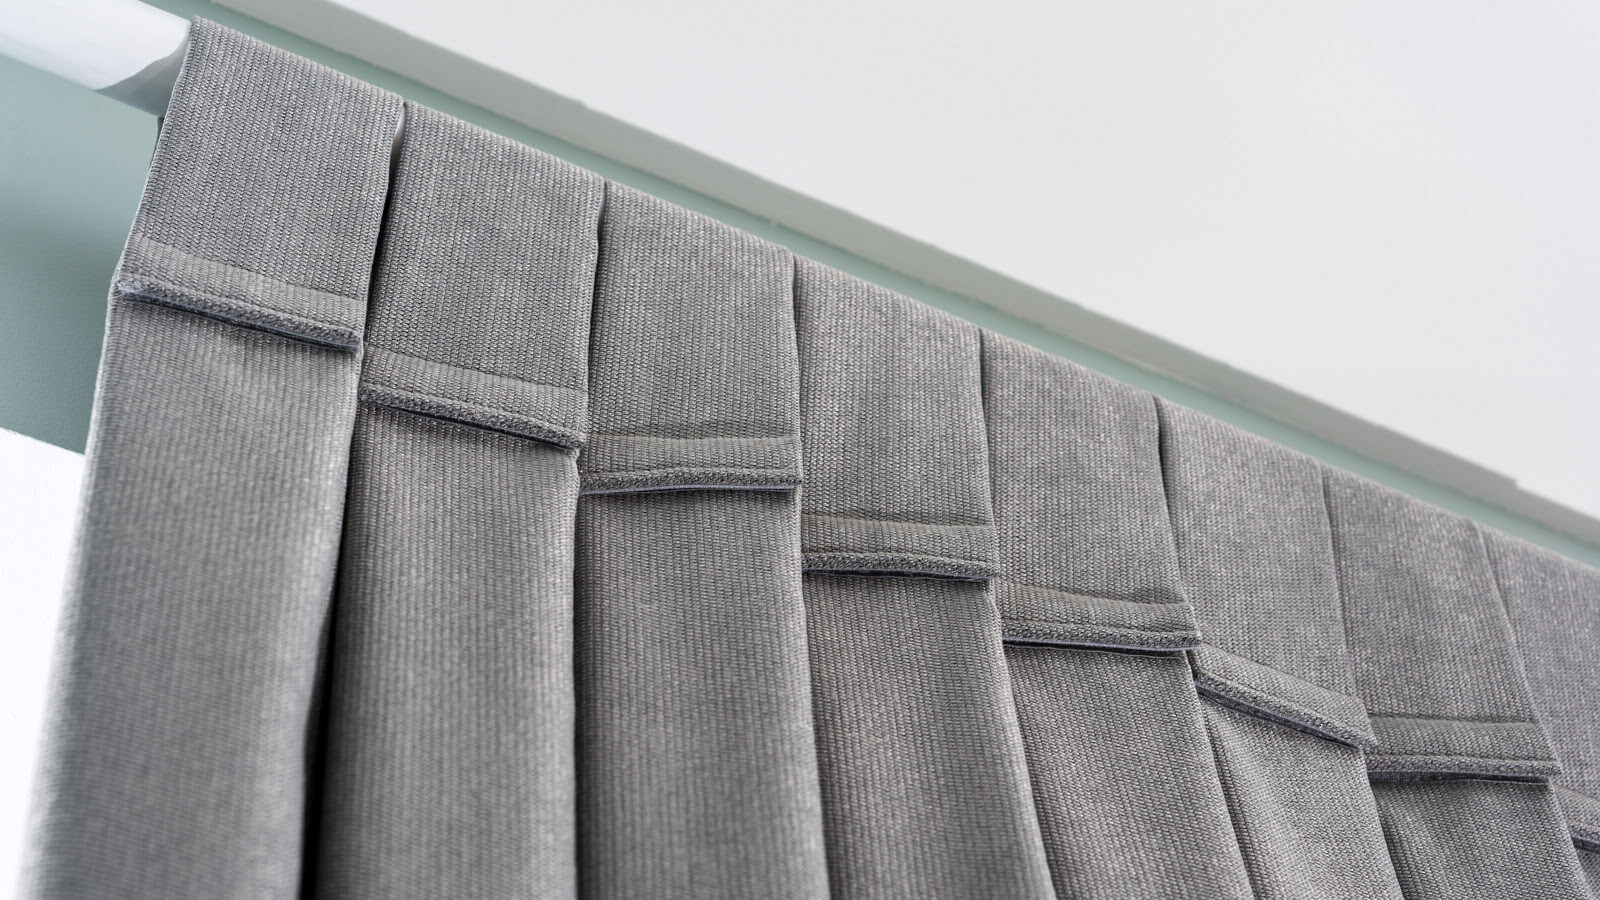
Step 6: Create the Curtain Rod Pocket
Creating a curtain rod pocket is an essential step in building curtains for your bedroom. The rod pocket allows you to easily slide the curtains onto the curtain rod for hanging. Follow these steps to create the rod pocket:
- Determine the desired size of the rod pocket. The width should be wide enough to accommodate your curtain rod, and the height should be large enough to allow the curtains to gather nicely when hung.
- Measure and mark the dimensions of the rod pocket on the top edge of the fabric panel. Make sure to leave enough space for sewing.
- Fold the fabric along the marked line, so that the wrong sides are facing each other. Press the fold with an iron to create a crease.
- Pin the folded fabric in place to secure it.
- Using a straight stitch on your sewing machine, sew along the bottom edge of the folded fabric, creating a tunnel for the curtain rod. Alternatively, you can hand stitch the rod pocket using a slipstitch or running stitch.
- Remove the pins and open up the fabric to reveal the rod pocket.
Ensure that the rod pocket is wide enough to accommodate your curtain rod comfortably. It should allow for easy sliding of the curtains while ensuring a snug fit. Take the time to sew the rod pocket securely to prevent any tears or loose stitching.
Once the rod pocket is created, your curtains are almost ready to be hung. However, there are a few more steps to add the finishing touches before you can enjoy your newly crafted curtains in your bedroom.
Step 7: Hang the Curtains
Now that your curtains are fully constructed, it’s time to hang them in your bedroom. Follow these steps to ensure a successful installation:
- Start by gathering all the necessary hardware, including the curtain rod, brackets, screws, and anchors.
- Measure the desired height at which you want to hang the curtains. Mark this measurement on the wall where the brackets will be placed.
- Using a drill or screwdriver, attach the brackets to the wall following the manufacturer’s instructions. Make sure the brackets are securely mounted and level.
- Insert the curtain rod through the rod pocket of the curtains, ensuring that it is evenly distributed.
- Place the curtain rod onto the mounted brackets, making sure it is level and properly seated.
- Adjust the curtains as needed to ensure they are even and hang at the desired length. You may need to gather or spread out the fabric to create the desired fullness.
- Step back and admire your beautifully hung curtains!
Be careful when handling the curtain rod and attaching the brackets to avoid any accidents or damage. Take your time to ensure that the curtains are hanging straight and at the appropriate height.
Congratulations! You have successfully hung your curtains and transformed the look of your bedroom. However, there are a few final touches you can add to enhance the overall appearance.
Read more: Which Curtains Are Best For Bedroom
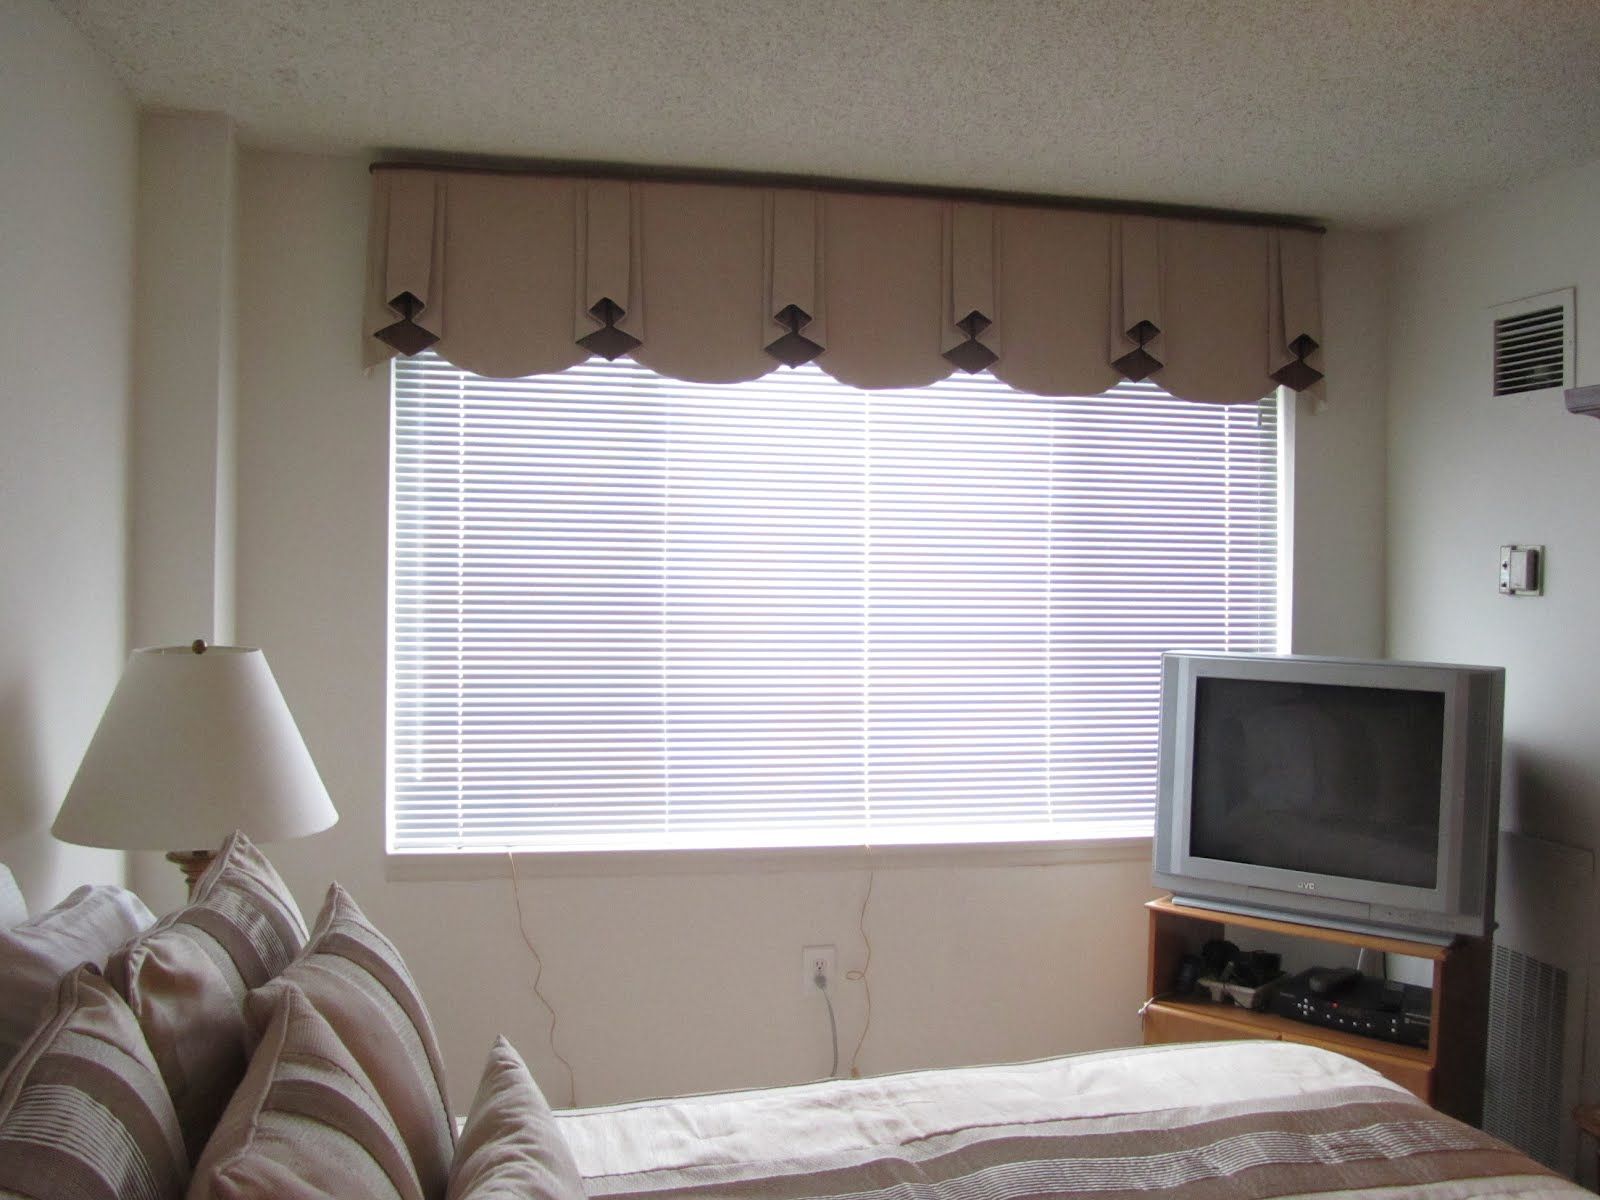
Step 8: Add Finishing Touches
Now that your curtains are hung, it’s time to add some finishing touches to complete the look. These little details can make a big difference in the overall appearance of your bedroom. Here are some ideas to consider:
- Accessorize with Tiebacks or Holdbacks: Tiebacks or holdbacks can add an elegant touch to your curtains and allow more light into the room when the curtains are open. You can choose from various styles, such as fabric tiebacks, metal holdbacks, or decorative ropes.
- Add Trim or Embellishments: Consider adding a decorative trim or embellishment to the edges of your curtains for a personalized touch. Pom-pom trim, lace, or even fabric paint can add a unique and eye-catching element to your curtains.
- Consider Linings: Depending on your preference, you may want to add a lining to your curtains for added privacy, light control, or insulation. Consider using blackout lining for a complete light blockout or thermal lining to keep your bedroom cooler in the summer and warmer in the winter.
- Steam or Iron the Curtains: To ensure that your curtains hang beautifully, steam or iron them to remove any wrinkles or creases. This will give them a polished and professional look.
- Accessorize with Curtain Rings or Clips: If your chosen curtain rod allows, you can attach curtain rings or clips to the rod to further enhance the aesthetic and functionality of your curtains. This can allow for easy sliding and adjusting of the curtains.
These finishing touches are a great way to personalize your curtains and add extra style to your bedroom. Consider your overall design theme and preferences when selecting these elements.
With these final touches complete, step back and admire your beautifully crafted and styled bedroom curtains. You’ve successfully built curtains that not only provide privacy and light control but also add charm and sophistication to your space.
Enjoy the cozy ambiance and enhanced aesthetic that your curtains bring to your bedroom. Happy decorating!
Conclusion
Congratulations on successfully building your own curtains for your bedroom! By following this comprehensive guide, you’ve learned how to measure your window, choose the right fabric, cut and hem the panels, sew them together, create a rod pocket, hang the curtains, and add those final finishing touches. The result is a beautiful and personalized window treatment that adds both functionality and style to your space.
Creating your own curtains allows you to tailor them to your specific preferences, whether it’s selecting a fabric that complements your bedroom’s décor, controlling the amount of light and privacy, or adding decorative elements to showcase your unique style. Plus, by building your curtains from scratch, you have the opportunity to save money compared to buying pre-made curtains.
Remember, while this guide provides a step-by-step process, don’t be afraid to get creative and add your own personal touch to the design. Experiment with different fabrics, patterns, and embellishments to truly make your curtains one-of-a-kind.
Now that you have completed this project, take a step back and marvel at the transformation in your bedroom. Your new curtains not only enhance the aesthetic appeal but also create a cozy and inviting atmosphere. Enjoy the benefits of privacy, light control, and a touch of elegance that your handmade curtains provide.
Thank you for following along and happy decorating!
Frequently Asked Questions about How To Build Curtains For Bedroom
Was this page helpful?
At Storables.com, we guarantee accurate and reliable information. Our content, validated by Expert Board Contributors, is crafted following stringent Editorial Policies. We're committed to providing you with well-researched, expert-backed insights for all your informational needs.


0 thoughts on “How To Build Curtains For Bedroom”