Home>Furniture & Design>Living Room Furniture>How To Build A Room Divider Curtain
Living Room Furniture
How To Build A Room Divider Curtain
Modified: February 18, 2024
Learn how to create a stylish and functional room divider curtain for your living room with our expert tips and ideas. Transform your space with our living room furniture and design solutions.
(Many of the links in this article redirect to a specific reviewed product. Your purchase of these products through affiliate links helps to generate commission for Storables.com, at no extra cost. Learn more)
Introduction
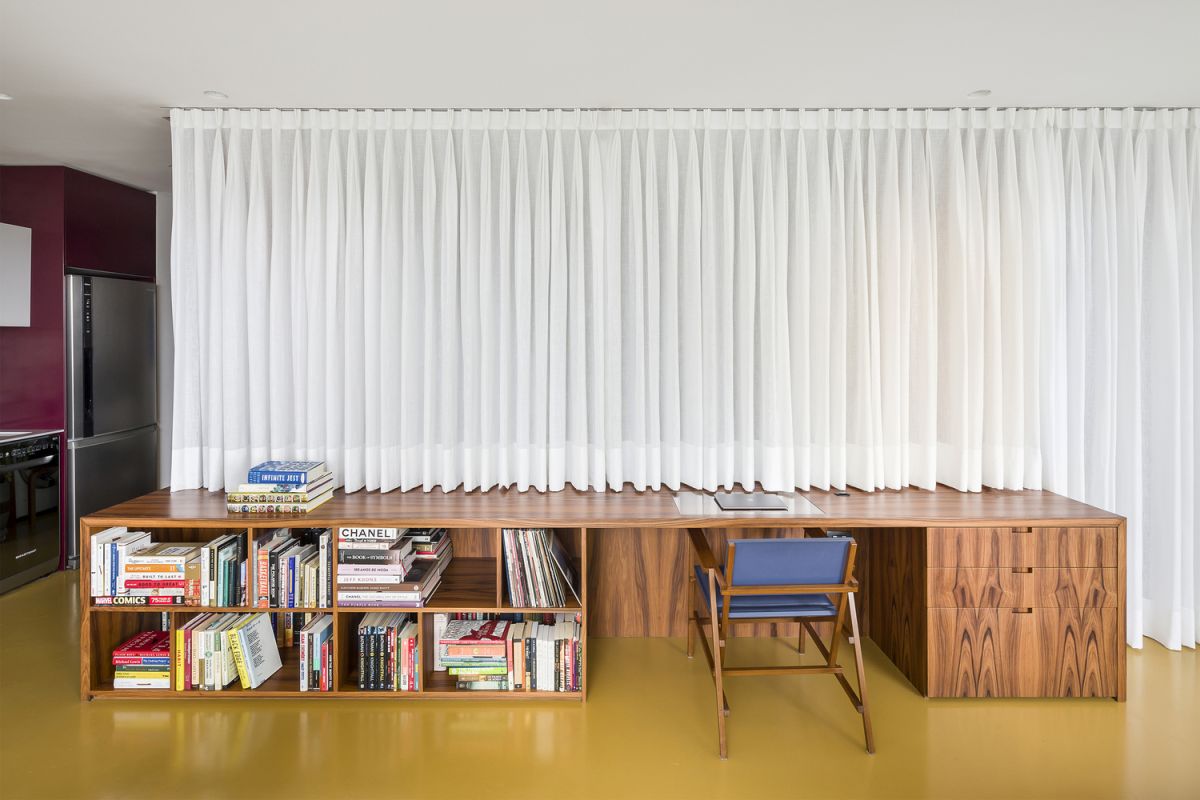
Are you looking to add a touch of elegance and functionality to your living space? A room divider curtain could be the perfect solution. Whether you want to create a sense of privacy, section off a specific area, or simply enhance the aesthetic appeal of your room, a room divider curtain offers versatility and style. This DIY project is not only cost-effective but also allows you to unleash your creativity and personalize your living space to suit your unique preferences.
In this comprehensive guide, we will walk you through the step-by-step process of building a room divider curtain. From measuring the space to selecting the right materials and installing the hardware, we've got you covered. By the end of this tutorial, you'll be equipped with the knowledge and confidence to transform your room with a stylish and functional room divider curtain. So, let's roll up our sleeves and embark on this exciting DIY journey!
Key Takeaways:
- Transform your living space with a DIY room divider curtain that adds privacy and style. Measure, select materials, and install with care to create a personalized and functional addition to your room.
- Personalize your room divider curtain with decorative accents and ensure smooth functionality. Embrace the versatility of this DIY project to adapt and elevate your living space according to your unique preferences.
Read more: How To Divide Room With Curtains
Materials Needed
Before diving into the construction of your room divider curtain, it’s essential to gather all the necessary materials. Here’s a list of items you’ll need to complete this project:
- Curtain Fabric: Select a fabric that complements your room’s decor and provides the desired level of privacy. Consider the dimensions of the space to determine the amount of fabric required.
- Curtain Rod: Choose a sturdy and adjustable curtain rod that fits the width of the space. Opt for a style that aligns with your aesthetic preferences.
- Mounting Hardware: Depending on the type of wall or ceiling, you’ll need appropriate hardware to securely install the curtain rod. This may include brackets, screws, anchors, or other mounting accessories.
- Measuring Tape: An accurate measuring tape is essential for determining the dimensions of the space and fabric.
- Scissors: High-quality fabric scissors will ensure clean and precise cuts during the fabric preparation process.
- Sewing Machine or Fabric Glue: Depending on your preference and sewing skills, you’ll need a sewing machine or fabric glue to hem the edges of the fabric and create a polished look.
- Level: A level will assist in ensuring the curtain rod is installed perfectly straight, enhancing the overall appearance of the room divider.
- Iron and Ironing Board: To remove wrinkles and creases from the fabric, an iron and ironing board are essential for achieving a smooth and professional finish.
- Decorative Accents (Optional): If desired, consider embellishments such as tassels, beads, or tiebacks to add a personal touch and elevate the visual appeal of the room divider curtain.
Once you’ve gathered these materials, you’ll be well-prepared to embark on the exciting journey of creating your own room divider curtain.
Step 1: Measure the Space
Before diving into the construction of your room divider curtain, it’s crucial to start with accurate measurements. This step sets the foundation for a seamless and well-fitted room divider. Here’s how to measure the space effectively:
Begin by determining the height and width of the area where you intend to install the room divider curtain. Use a measuring tape to record the precise dimensions, ensuring that you account for any variations in the floor or ceiling levels.
For the width, measure the total span that the curtain will cover, accounting for any additional space needed to allow the curtain to stack back neatly when open. This will help you select an appropriately sized curtain rod and fabric.
Next, measure the height from the floor to the desired placement of the curtain rod. Consider whether you want the curtain to extend all the way to the ceiling or if you prefer a lower placement for a more casual or decorative look.
It’s also important to assess any obstructions in the area, such as light fixtures, wall-mounted decor, or furniture. Take note of these elements as they may impact the installation and positioning of the room divider curtain.
By taking accurate measurements, you’ll ensure that your room divider curtain fits seamlessly into the space, creating a polished and professional appearance. With these measurements in hand, you’re ready to move on to the next step of selecting the curtain and hardware for your project.
Step 2: Purchase the Curtain and Hardware
With precise measurements in hand, it’s time to select the curtain fabric and hardware that will bring your room divider vision to life. Here’s a detailed guide on purchasing the essential components for your project:
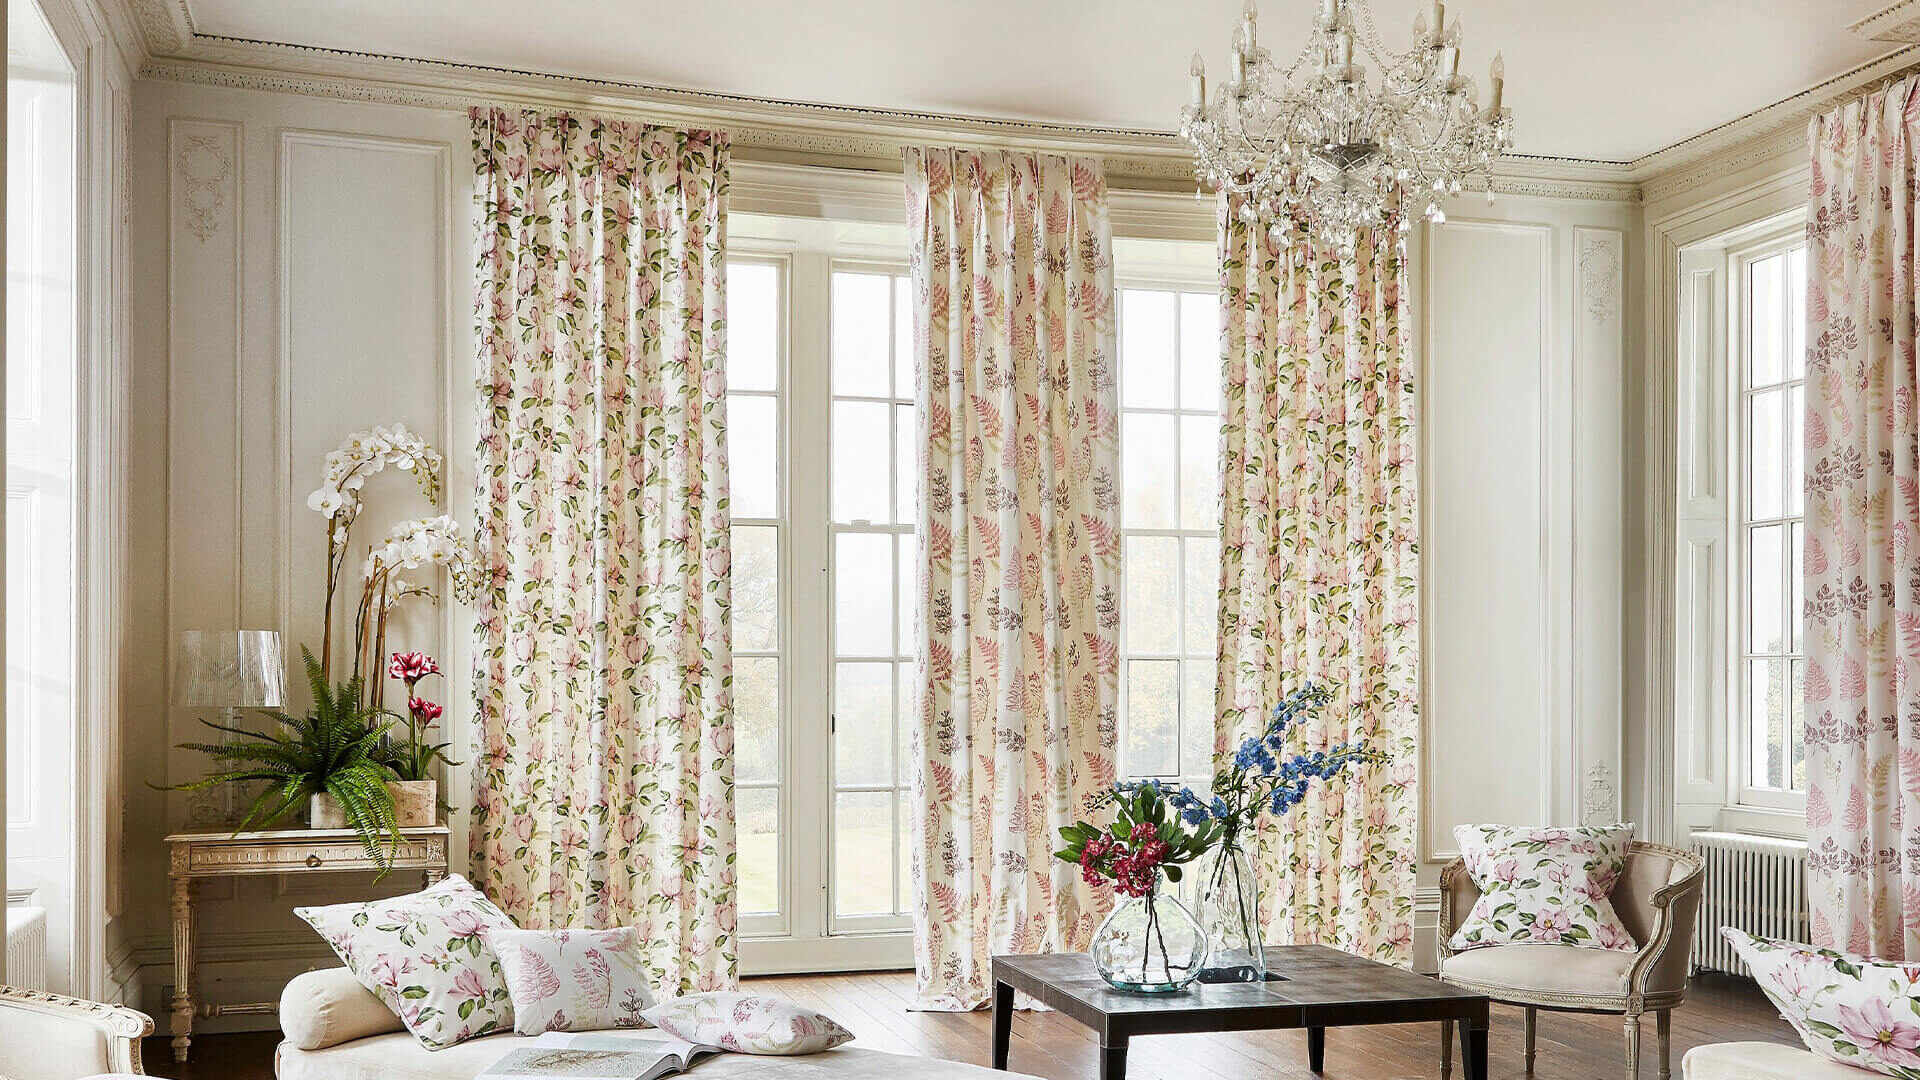
Choosing the Curtain Fabric: When selecting the fabric for your room divider curtain, consider both the functional and aesthetic aspects. Determine the level of privacy you require and the amount of light you want to filter through the fabric. Additionally, take into account the existing color scheme and decor of the room to ensure that the fabric complements the overall design. Whether you opt for a sheer, lightweight fabric to create a subtle partition or a heavier material for enhanced privacy, ensure that the chosen fabric aligns with your vision for the space.
Exploring Curtain Rod Options: Selecting the right curtain rod is crucial for achieving a secure and visually appealing installation. Choose a rod that matches the width of the space and complements the style of the room. Adjustable rods are particularly versatile, allowing you to customize the width to fit your specific measurements. Consider the material and finish of the rod to ensure it harmonizes with the room’s decor, whether you prefer a sleek metal finish, a warm wooden rod, or a decorative design to accentuate the curtain.
Hardware and Mounting Accessories: Depending on the type of wall or ceiling where the curtain rod will be installed, gather the necessary hardware and mounting accessories. This may include brackets, screws, anchors, and other components required to securely affix the curtain rod in place. Ensure that the chosen hardware is suitable for the specific surface and weight-bearing requirements to guarantee a stable and durable installation.
By carefully selecting the curtain fabric, rod, and accompanying hardware, you’ll lay the groundwork for a successful and visually striking room divider curtain. With these components in hand, you’re ready to proceed to the next step of installing the curtain rod.
When building a room divider curtain, make sure to measure the height and width of the space accurately to ensure the curtain fits properly. Use a sturdy curtain rod and consider using heavy-duty hooks or brackets for support.
Step 3: Install the Curtain Rod
Now that you have all the necessary components, it’s time to embark on the installation of the curtain rod. Properly mounting the rod is crucial for ensuring the stability and functionality of your room divider curtain. Follow these steps to install the curtain rod securely:
Prepare the Mounting Area: Begin by clearing the installation area and ensuring that it’s free of any obstructions. Use a stud finder to locate the studs in the wall or ceiling, as mounting the curtain rod to a stud provides the most secure attachment. If studs are not accessible or if you’re mounting the rod to a drywall or plaster surface, use appropriate anchors and screws to support the weight of the curtain rod.
Positioning the Brackets: Place the brackets at the desired locations along the installation area, ensuring that they are level and evenly spaced. Use a pencil to mark the positions of the screw holes for each bracket, following the measurements you took during the initial planning phase. If you’re installing a ceiling-mounted rod, take extra care to ensure that the brackets are aligned and level to achieve a balanced and symmetrical appearance.
Secure the Brackets: Using the appropriate hardware, such as screws and anchors, attach the brackets to the wall or ceiling. Ensure that the brackets are firmly anchored and level to provide a stable foundation for the curtain rod. Double-check the alignment and stability of the brackets before proceeding to the next step.
Install the Curtain Rod: With the brackets securely in place, carefully position the curtain rod onto the brackets. If you’re using an adjustable rod, extend it to fit the width of the installation area. Once the rod is in position, confirm that it is level and centered within the brackets, making any necessary adjustments to achieve a balanced and visually pleasing placement.
By following these steps, you’ll successfully install the curtain rod, laying the groundwork for the final and transformative stage of hanging the room divider curtain. With the rod securely in place, you’re ready to proceed to the next step of hanging the curtain fabric.
Read more: How To Build A Room Divider
Step 4: Hang the Curtain
With the curtain rod securely installed, it’s time to bring your room divider curtain to life by hanging the fabric. This step will add a touch of elegance and functionality to your space, transforming it into a versatile and visually appealing environment. Follow these steps to hang the curtain fabric with precision and care:
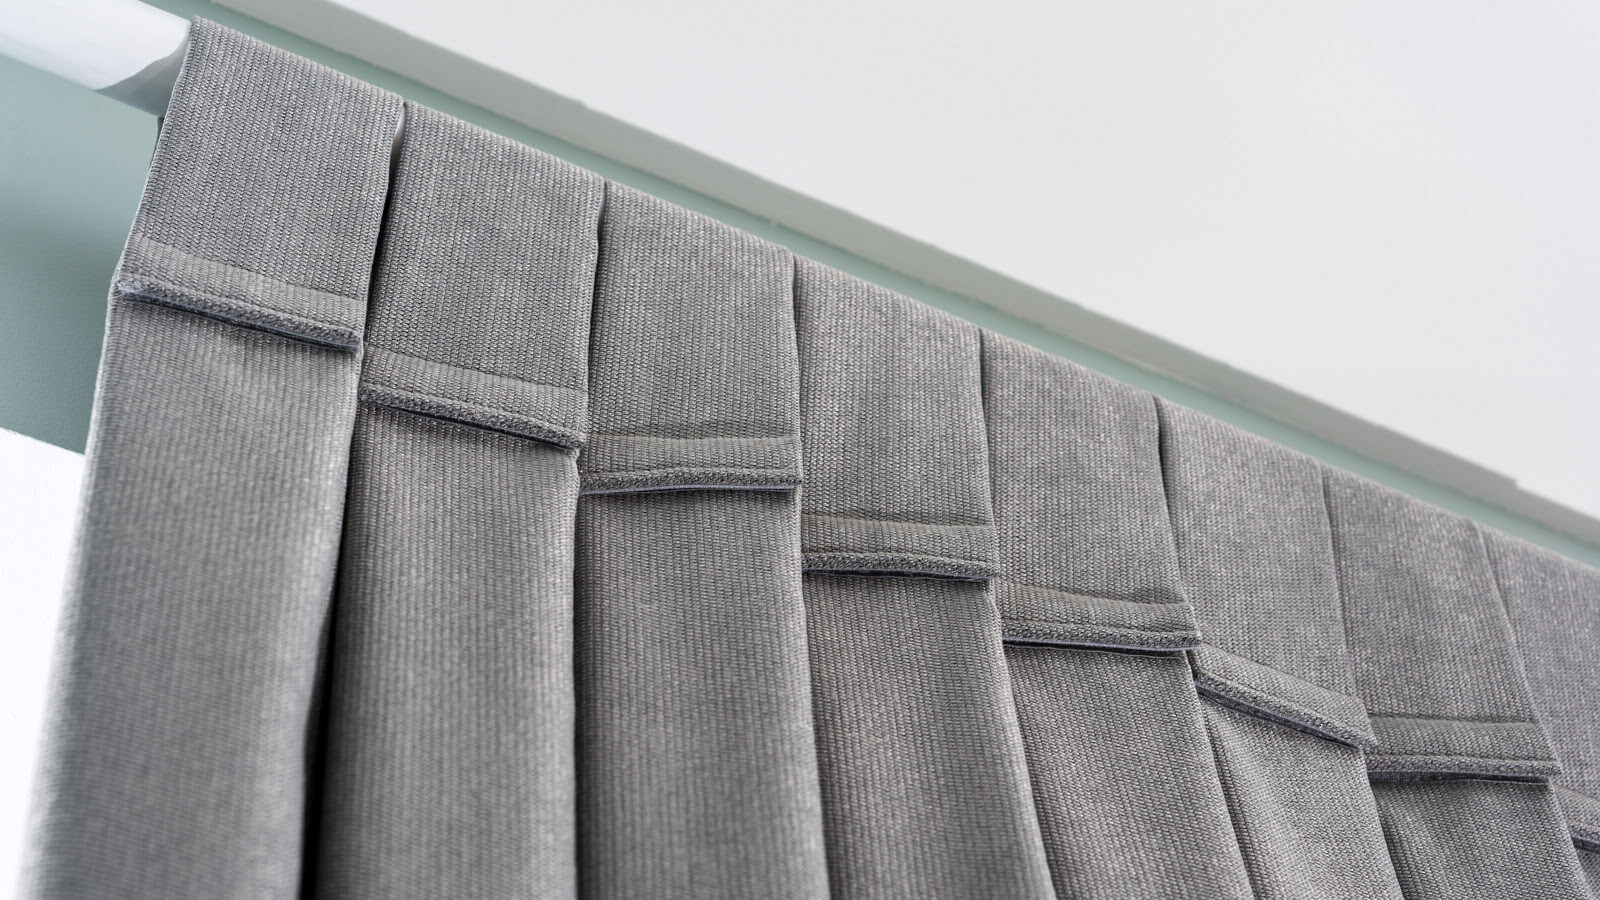
Prepare the Fabric: Before hanging the curtain, ensure that the fabric is clean, wrinkle-free, and properly hemmed to achieve a polished and professional look. If the fabric requires ironing to remove any creases, carefully press it using an iron and ironing board to create a smooth and flawless appearance.
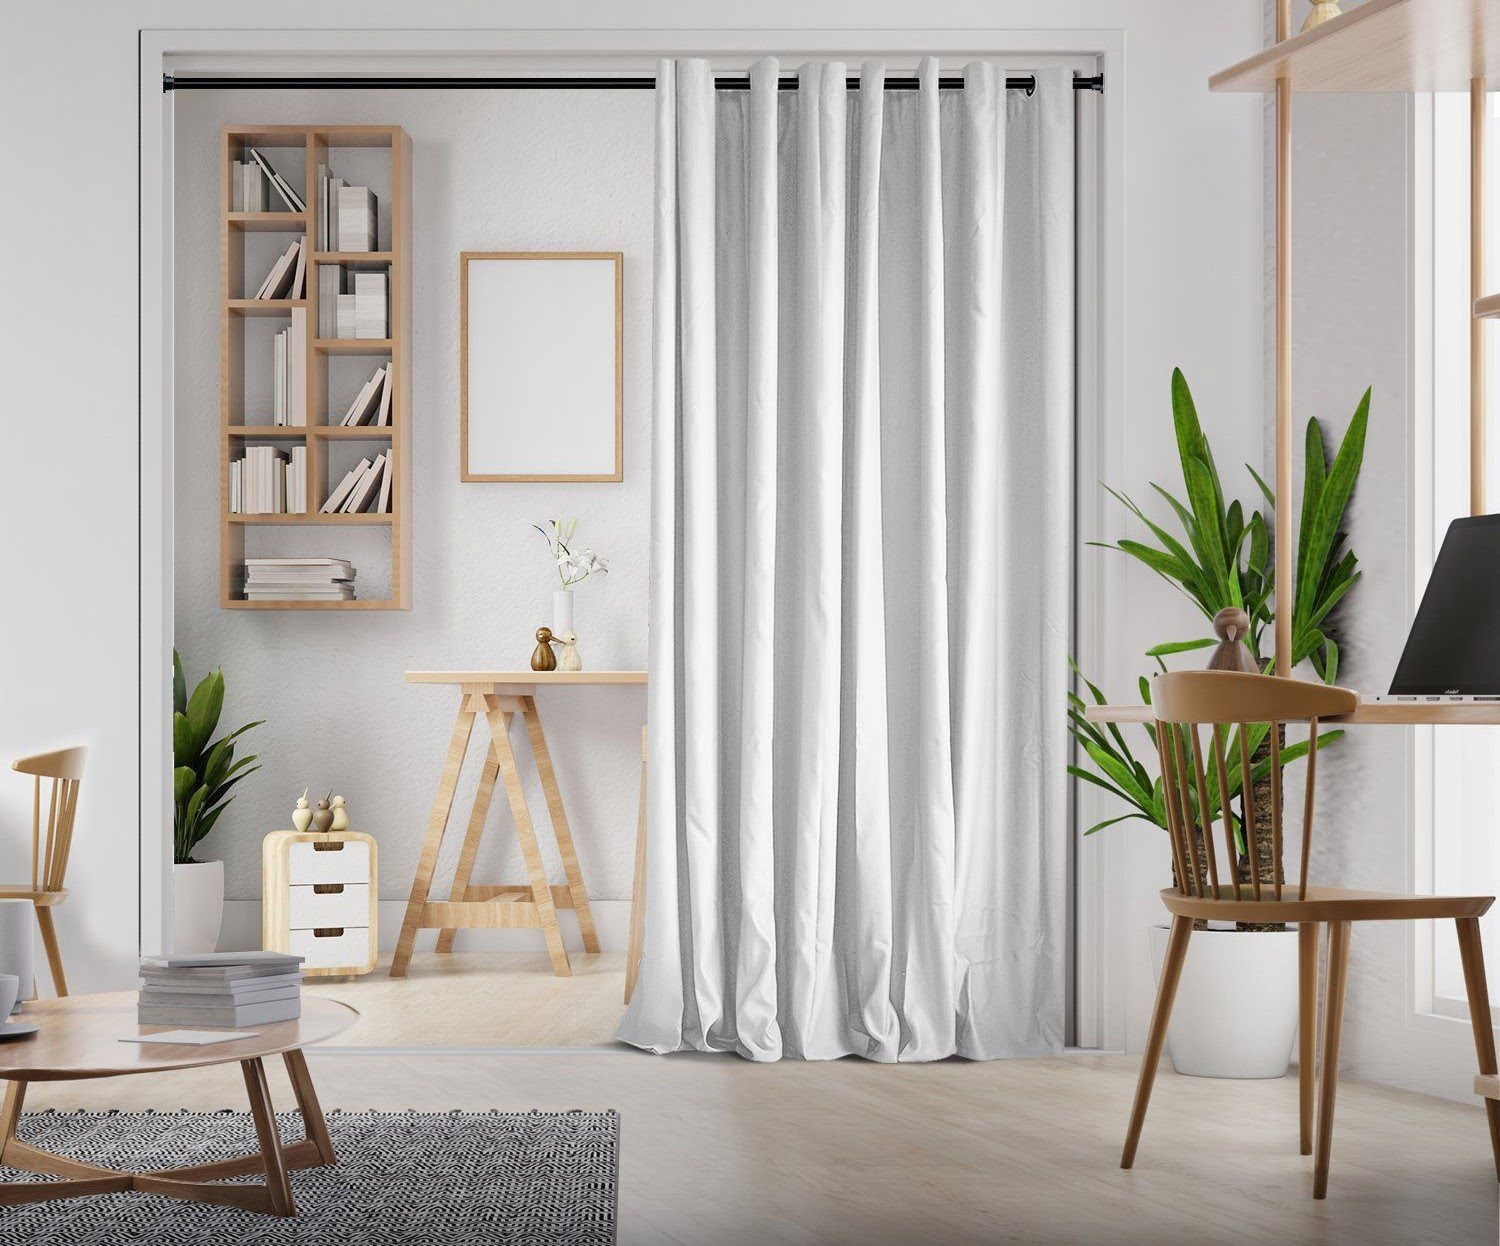
Positioning the Fabric: Begin by draping the fabric over the curtain rod, allowing it to cascade gracefully to the desired length. If you’re creating multiple sections with the room divider curtain, ensure that each panel is evenly distributed along the rod, creating a balanced and harmonious visual effect. Take the time to adjust the fabric to achieve the desired fullness and drape, ensuring that it complements the dimensions of the space.
Creating a Cohesive Look: If you’re using multiple panels or layers of fabric, ensure that they align seamlessly to create a cohesive and unified appearance. Adjust the positioning of each panel to achieve a visually pleasing arrangement, taking into account any design patterns or textures present in the fabric. This attention to detail will elevate the overall aesthetic impact of the room divider curtain.
Testing the Functionality: Once the fabric is in place, test the functionality of the curtain by gently drawing it across the rod to create the desired division or privacy within the space. Ensure that the fabric moves smoothly and that the curtain rod can support the weight of the fabric without sagging or shifting. Make any necessary adjustments to achieve optimal functionality and visual appeal.
By following these steps, you’ll successfully hang the curtain fabric, bringing your room divider to life and infusing your space with style and versatility. With the curtain elegantly adorning the rod, you’re ready to proceed to the final step of adjusting and styling the curtain to achieve the perfect finishing touches.
Step 5: Adjust and Style the Curtain
As you approach the final stage of completing your room divider curtain, it’s time to focus on refining the appearance and functionality of the installation. This step involves adjusting the curtain and adding stylish touches to enhance its overall impact. Follow these guidelines to achieve a polished and personalized room divider curtain:
Refine the Drape: Take a step back and assess the overall appearance of the curtain fabric. Make any necessary adjustments to ensure that the fabric drapes smoothly and evenly, creating an aesthetically pleasing flow. Pay attention to the alignment of any patterns or textures within the fabric, ensuring that they are showcased effectively when the curtain is in place.
Ensure Smooth Operation: Test the functionality of the curtain by opening and closing it several times. Verify that the fabric moves effortlessly along the rod without catching or bunching. If adjustments are needed, refine the positioning of the fabric to achieve seamless and reliable functionality, ensuring that the curtain serves its intended purpose effectively.
Add Decorative Accents (Optional): If you desire to infuse a touch of personality and flair into your room divider curtain, consider incorporating decorative accents. This could include adding tassels, beads, or tiebacks to create a customized and visually captivating look. Select accents that complement the overall design of the room and enhance the aesthetic appeal of the curtain without overwhelming the space.
Personalize the Appearance: Take the opportunity to personalize the room divider curtain to align with your unique style and preferences. Whether it’s through the selection of fabric, the addition of decorative elements, or the incorporation of unique design features, infuse the curtain with elements that reflect your individuality and contribute to the overall ambiance of the space.
By following these steps, you’ll refine the appearance and functionality of your room divider curtain, ensuring that it not only serves a practical purpose but also contributes to the visual appeal of the room. With the curtain adjusted and styled to perfection, you’ve successfully completed the process of building a room divider curtain.
Conclusion
Congratulations on successfully completing the journey of building your very own room divider curtain! Through careful planning, precise measurements, and thoughtful execution, you’ve transformed your living space with a versatile and stylish addition. As you stand back and admire the finished result, take pride in the creativity and effort you’ve invested in this DIY project.
Your room divider curtain not only serves a functional purpose by creating privacy or defining specific areas within the room, but it also enhances the aesthetic appeal of the space. The carefully selected fabric, the secure installation of the curtain rod, and the thoughtful adjustments and styling have all contributed to a visually captivating and harmonious environment.
As you enjoy the benefits of your new room divider curtain, take the time to appreciate the personalized touch it brings to your living space. Whether it’s the way the fabric gracefully drapes, the seamless functionality of the curtain, or the decorative accents that reflect your unique style, your room divider curtain is a reflection of your creativity and vision.
Embrace the versatility of your room divider curtain, utilizing it to adapt and transform your living space according to your evolving needs and preferences. Whether you choose to draw the curtain to create a private nook for relaxation, section off a specific area for work or leisure, or simply enhance the ambiance of the room, your DIY creation stands ready to serve you in style.
With the completion of this project, you’ve not only added a practical and aesthetically pleasing element to your living space but also honed your DIY skills and creativity. The process of building a room divider curtain has empowered you to personalize and elevate your environment, setting the stage for future projects and creative endeavors.
As you revel in the satisfaction of a job well done, remember that your room divider curtain is a testament to your ability to transform everyday materials into functional and beautiful creations. Let this accomplishment inspire you to continue exploring the world of DIY projects and infusing your living space with your unique personality and style.
So, as you bask in the ambiance of your newly enhanced space, take pride in the ingenuity and dedication that have brought your room divider curtain to life. Your DIY journey has not only enriched your living environment but also illuminated the boundless potential for creativity within your home.
Frequently Asked Questions about How To Build A Room Divider Curtain
Was this page helpful?
At Storables.com, we guarantee accurate and reliable information. Our content, validated by Expert Board Contributors, is crafted following stringent Editorial Policies. We're committed to providing you with well-researched, expert-backed insights for all your informational needs.

0 thoughts on “How To Build A Room Divider Curtain”