Articles
How To Build Insulated Curtains
Modified: October 20, 2024
Learn how to build insulated curtains in this informative articles. Find step-by-step instructions and expert tips to keep your home cozy and energy-efficient.
(Many of the links in this article redirect to a specific reviewed product. Your purchase of these products through affiliate links helps to generate commission for Storables.com, at no extra cost. Learn more)
Introduction
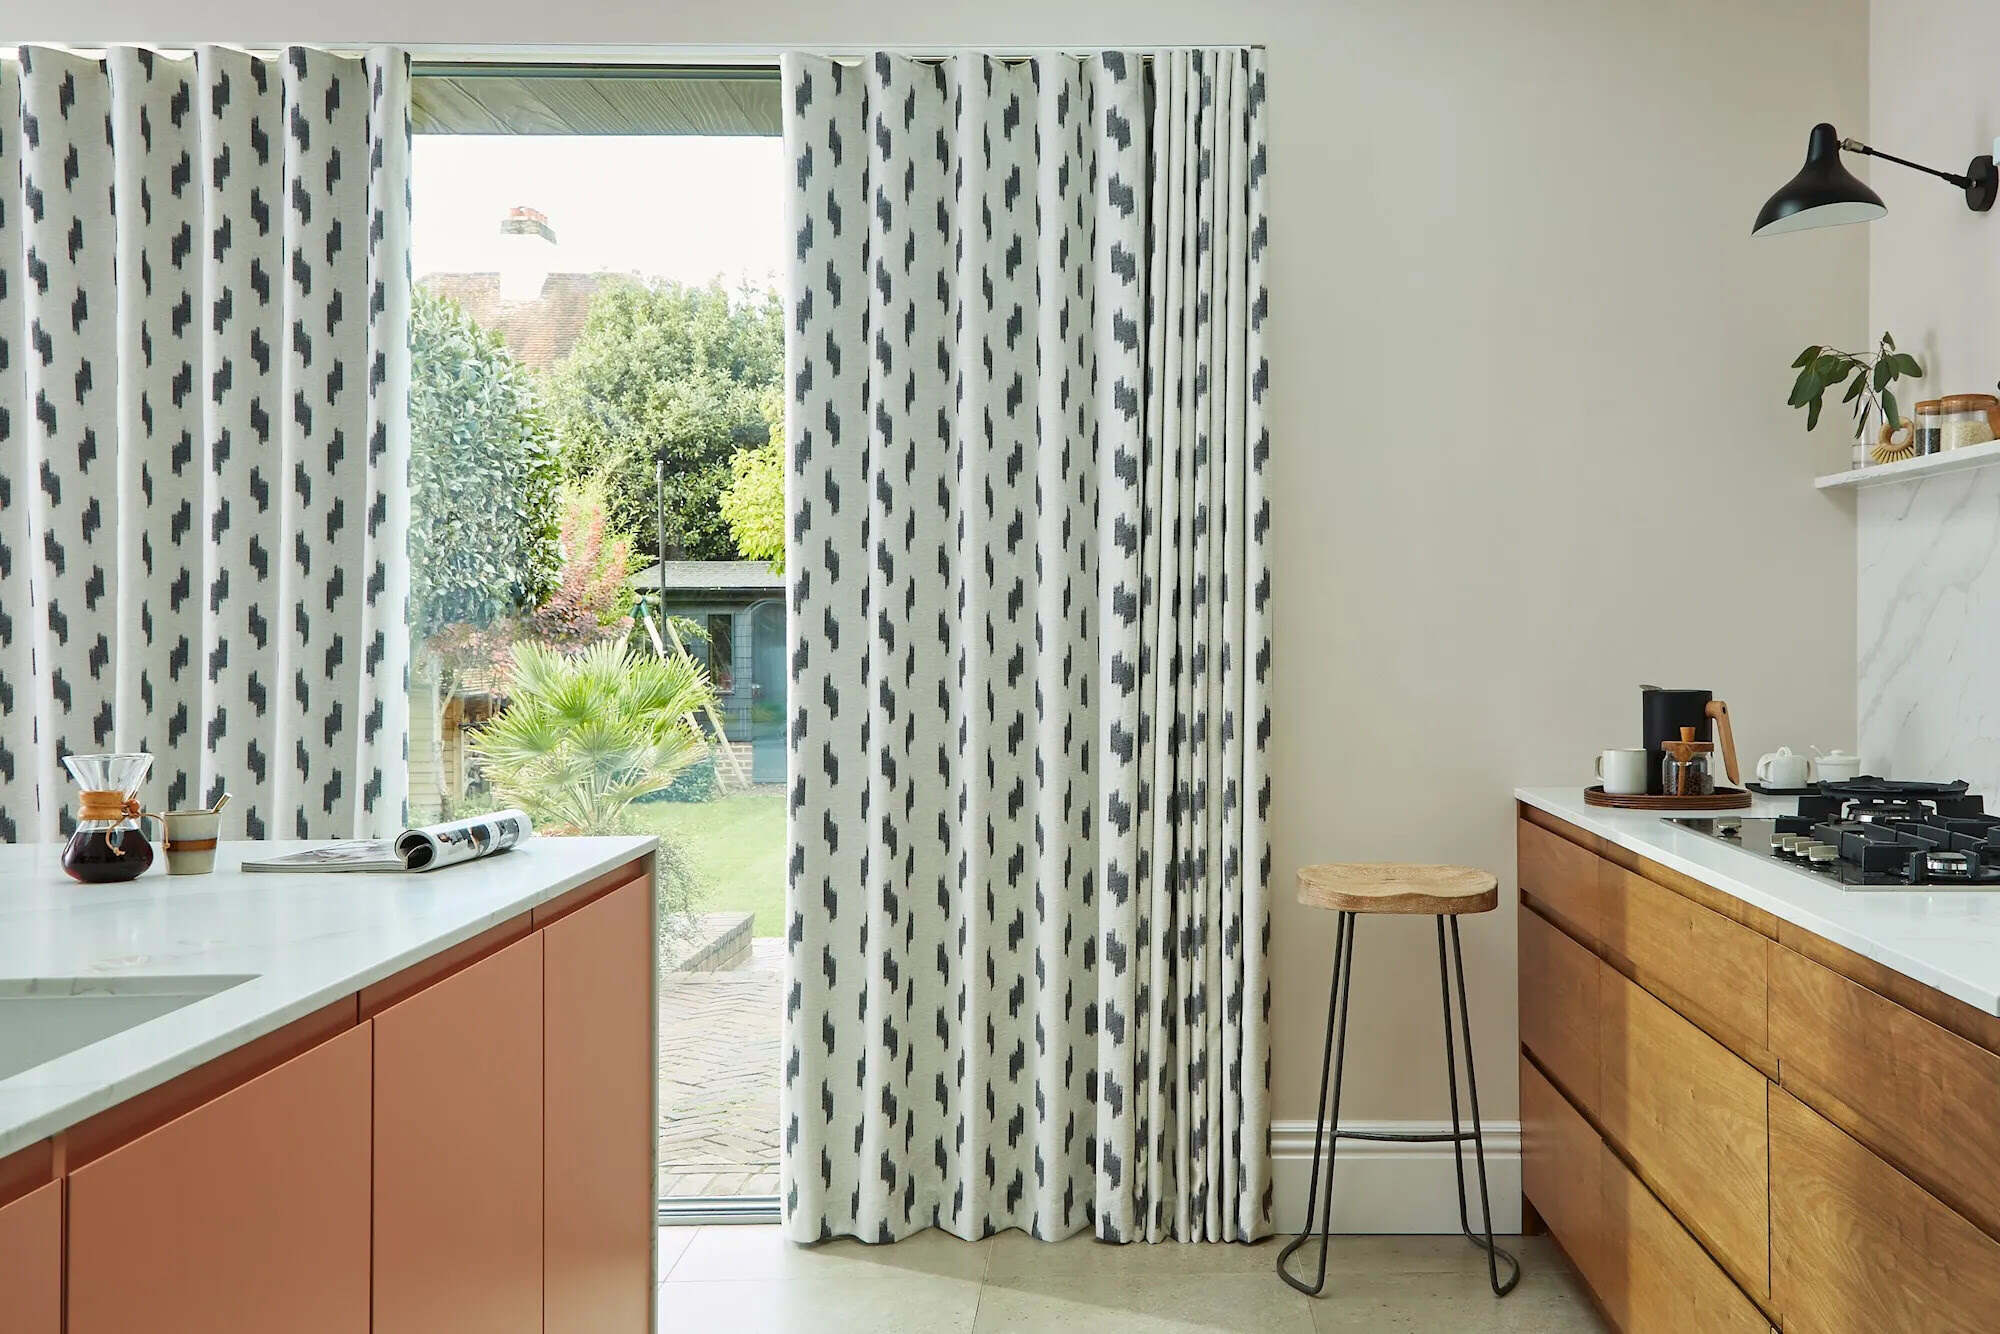
Welcome to the world of insulated curtains! If you’re looking for a cost-effective way to regulate temperature and save energy in your home, then building your own insulated curtains is the way to go. Insulated curtains are designed to keep your living spaces comfortable by blocking out drafts and preventing heat loss during the winter, while also reducing heat gain during the summer. Not only will these curtains help you stay cozy all year round, but they can also significantly lower your energy bills.
In this article, we will guide you through the process of building your own insulated curtains. We will cover everything you need to know, from measuring your window to selecting the right fabric and attaching the insulation. So grab your measuring tape and let’s get started!
Before we dive into the step-by-step instructions, let’s take a look at the materials you’ll need for this project.
Key Takeaways:
- Save energy and stay cozy all year round by building your own insulated curtains. Follow our step-by-step guide to measure, select fabric, attach insulation, and hang your DIY curtains for maximum comfort and cost savings.
- Enjoy the benefits of insulated curtains, from blocking drafts to reducing energy bills. With the right fabric and proper maintenance, your DIY project will enhance your home’s comfort and style.
Read more: What Are Thermal Insulated Curtains
Materials Needed
Before you begin, make sure you have the following materials:
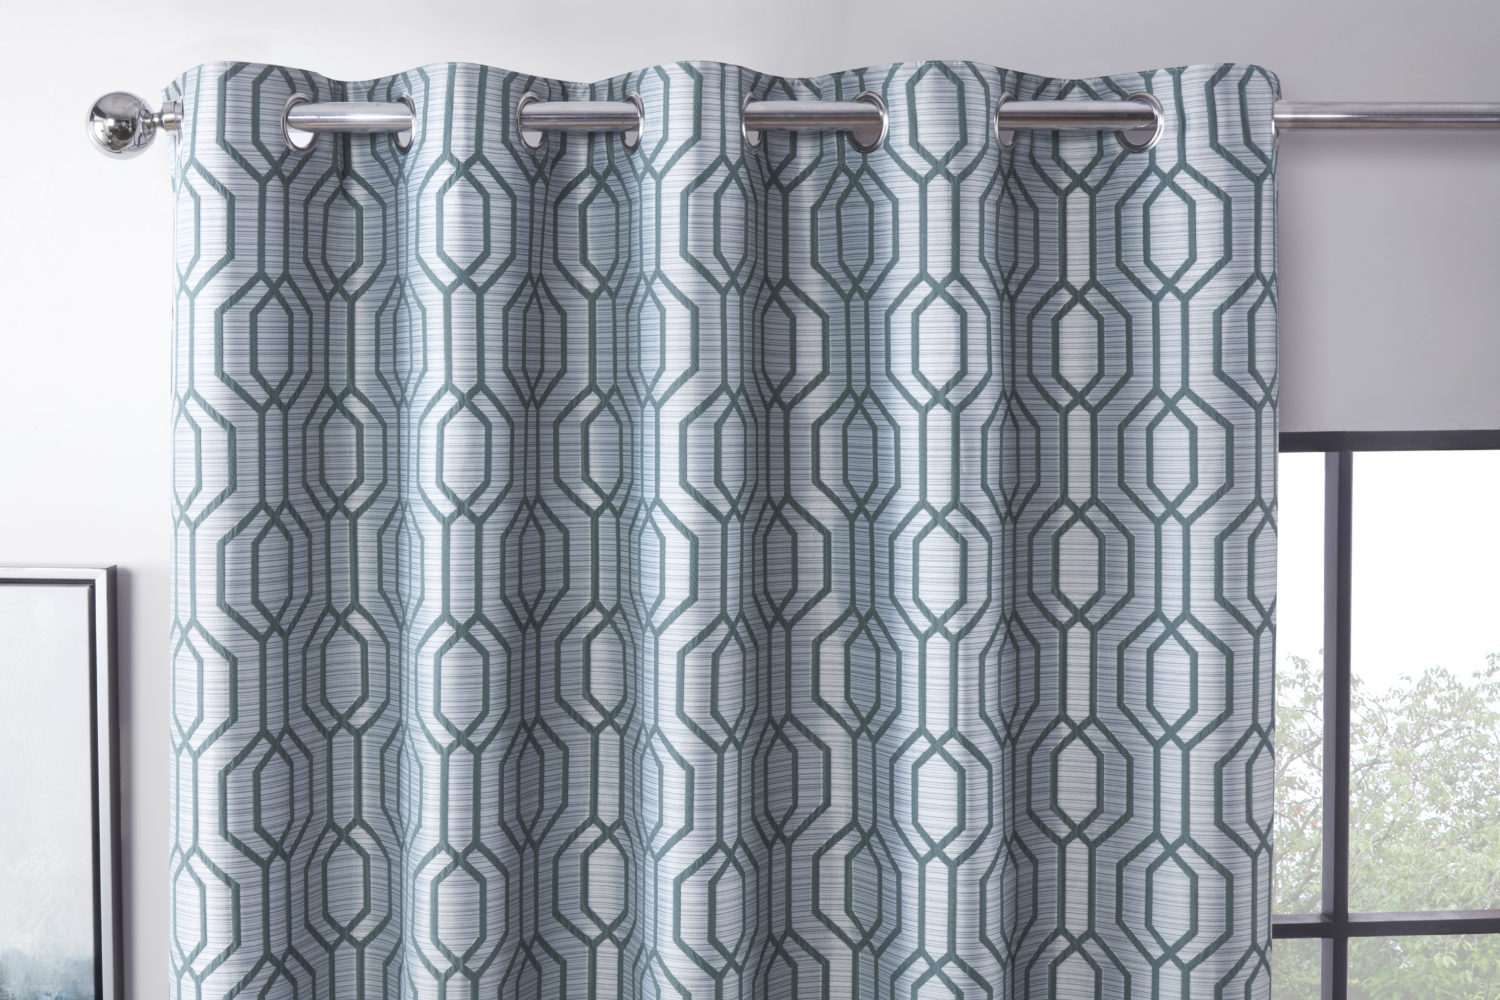
- Fabric: Choose a heavy-duty fabric that is thick enough to provide insulation. Look for fabrics such as velvet, wool, or thermal-backed curtain material.
- Insulation: Opt for a type of insulation that is suitable for curtains, such as thermal or blackout lining fabric. This will enhance the insulating properties of your curtains.
- Measuring tape: A measuring tape will help you accurately measure the dimensions of your window.
- Fabric scissors: You’ll need a pair of sharp fabric scissors to cut the fabric panels to size.
- Sewing machine or needle and thread: To sew the panels together, you’ll need either a sewing machine or a needle and thread.
- Curtain grommets or rod pocket tape: Depending on your preference, you’ll need either curtain grommets or rod pocket tape to create a finished look and make it easier to hang the curtains.
- Curtain rod or track: You’ll need a curtain rod or track to hang the finished insulated curtains.
- Pins or clips: Pins or clips will help hold the fabric together while you sew.
- Iron and ironing board: You’ll need an iron and ironing board to press the fabric panels and create crisp edges.
Once you have gathered all the necessary materials, you’re ready to move on to the next step: measuring your window.
Step 1: Measure the Window
The first step in building your insulated curtains is to accurately measure your window. This will ensure that your curtains fit properly and provide optimal insulation. Here’s how to do it:
- Start by measuring the width of your window. Use a measuring tape to measure from one side of the window frame to the other. Write down the measurement.
- Next, measure the height of the window. Again, use a measuring tape and measure from the top of the window frame to the bottom. Note down the measurement.
- Consider adding some extra width and length to your measurements. This will allow the curtains to overlap the window frame slightly, effectively blocking out any drafts.
Once you have your measurements, you can move on to selecting the fabric for your insulated curtains.
Step 2: Select the Fabric
Choosing the right fabric for your insulated curtains is crucial to ensure maximum insulation and durability. Here are some factors to consider when selecting the fabric:
- Insulation: Look for fabrics that have insulating properties or can be paired with an insulation lining. Fabrics such as velvet, wool, or thermal-backed curtain material are excellent choices for insulation.
- Thickness: Opt for a fabric that is thick enough to block out drafts and provide sufficient insulation. Thicker fabrics tend to offer better insulation properties.
- Appearance: Consider the aesthetic appeal of the fabric and how it will complement your existing décor. Choose a fabric that enhances the overall look of your room.
- Maintenance: Check the care instructions for the fabric to ensure it is easy to clean and maintain. Some fabrics may require special care, so choose one that suits your lifestyle and preferences.
Once you have chosen the fabric, it’s time to move on to cutting the fabric panels.
Step 3: Cut the Fabric Panels
Now that you have selected the fabric for your insulated curtains, it’s time to cut the fabric panels to the correct size. Follow these steps:
- Measure the width and height of your window, taking into account any additional width or length you added in Step 1.
- Lay your fabric on a flat surface and use a measuring tape and fabric scissors to cut out the fabric panels according to your measurements.
- Remember to leave some extra fabric on all sides to allow for hems and seams.
- Once you have cut out the fabric panels, be sure to double-check the dimensions and ensure they match the measurements of your window.
Now that you have your fabric panels ready, it’s time to move on to attaching the insulation.
When building insulated curtains, be sure to use thick, heavy fabric and add a layer of insulating material, such as thermal lining or fleece, to help keep out the cold and retain heat.
Step 4: Attach the Insulation
The insulation is a key component of your insulated curtains, as it helps to enhance their thermal properties. Follow these steps to attach the insulation:
- Lay out your fabric panels on a flat surface, with the outer side facing down.
- Measure and cut the insulation fabric to match the size of each fabric panel. Make sure the insulation fabric is slightly smaller than the fabric panel to allow for seams.
- Place the insulation fabric onto the backside of each fabric panel, aligning the edges. You can use pins or fabric clips to secure them together temporarily.
- If the insulation fabric tends to shift or move, you can also use adhesive spray or fabric glue to stick it to the fabric panel.
- Once the insulation fabric is securely attached, you can move on to sewing the fabric panels together.
Attaching the insulation will provide an extra layer of thermal protection for your curtains, helping to keep your home comfortable all year round. Let’s now move on to the next step: sewing the fabric panels together.
Step 5: Sew the Fabric Panels Together
Now that you have attached the insulation to your fabric panels, it’s time to sew them together to create your insulated curtains. Follow these steps:
- Start by placing two fabric panels together, with the insulation sides facing each other.
- Align the edges of the fabric panels and use fabric pins or clips to hold them in place.
- Using a sewing machine or a needle and thread, sew along the edges of the fabric panels, leaving a half-inch seam allowance.
- When sewing, make sure to backstitch at the beginning and end to secure the seams.
- Continue sewing until all the fabric panels are joined together, creating one large piece of fabric.
Make sure to remove any pins or clips as you sew, and check the seams to ensure they are straight and secure. Once you have sewn all the fabric panels together, your insulated curtains are really starting to take shape. Next, let’s move on to adding curtain grommets or a rod pocket for easy hanging.
Step 6: Add Curtain Grommets or Rod Pocket
Adding curtain grommets or a rod pocket is an important step in finishing your insulated curtains and preparing them for easy hanging. Follow these instructions to complete this step:
- If you prefer to use curtain grommets, place the grommet template on the fabric, centered along the top edge of each panel. Trace the inner circle of the grommet template.
- Carefully cut out the traced circles using fabric scissors.
- Place a grommet set on the front side of the fabric, aligning it with the cut-out circle.
- Follow the instructions provided with the grommet set to assemble it, ensuring that the front and back pieces are secured together.
- Repeat this process for each grommet you intend to install along the top edge of the curtains.
- If you prefer a rod pocket, fold over the top edge of each panel to create a pocket wide enough to accommodate your curtain rod. Pin or clip it in place.
- Sew along the pinned edge, ensuring that the pocket is secure and the stitches are straight.
Adding curtain grommets or a rod pocket not only provides a professional look to your insulated curtains but also allows for easy installation and smooth movement along the curtain rod. With this step complete, it’s time for the final stage: hanging your insulated curtains.
Step 7: Hang the Insulated Curtains
Now that your insulated curtains are ready, it’s time to hang them and start enjoying the benefits of a more comfortable and energy-efficient home. Follow these steps to hang your curtains:
- Start by selecting the appropriate curtain rod or track for your window. Make sure it is sturdy enough to support the weight of the curtains.
- If you are using curtain grommets, simply slide the curtain rod through the grommets, one panel at a time. Ensure the curtains are evenly distributed along the rod.
- If you have created a rod pocket, insert the curtain rod through the pocket, one panel at a time. Adjust the curtains evenly along the rod.
- Once the curtains are hung, check that they are level and make any necessary adjustments.
- Finally, stand back and admire your newly hung insulated curtains. Enjoy the added insulation benefits they provide and the enhanced comfort of your living space.
It’s also worth noting that you can pair your insulated curtains with regular curtains or sheer curtains for added style and versatility. This allows you to enjoy the insulation benefits during colder months and easily switch to a lighter look during warmer seasons.
Congratulations! You have successfully built and hung your own insulated curtains. Not only do they provide excellent insulation and energy savings, but they also add a touch of style to your home decor. Enjoy the comfort and cost savings that come with your DIY insulated curtains.
Remember, regular cleaning and maintenance will help prolong the life of your curtains and ensure they continue to provide optimal insulation. So be sure to follow the care instructions for your chosen fabric.
Thank you for following our step-by-step guide. We hope you find it useful and enjoy the benefits of your newly constructed insulated curtains!
Read also: 15 Best Insulated Curtains for 2025
Conclusion
Building your own insulated curtains is a rewarding and cost-effective way to regulate temperature, save energy, and enhance the comfort of your home. By following the step-by-step instructions outlined in this article, you have learned how to measure your window, select the right fabric, cut and sew the fabric panels, attach insulation, add curtain grommets or a rod pocket, and finally hang your insulated curtains.
Insulated curtains offer numerous benefits, such as blocking out drafts, reducing heat loss, and minimizing heat gain. They can make a significant difference in maintaining a comfortable living environment while helping to reduce your energy bills. Additionally, with a wide range of fabric options available, you can choose curtains that suit your style and complement your existing decor.
Remember to regularly clean and maintain your insulated curtains to ensure they continue to provide optimal insulation and longevity. Follow the care instructions for your chosen fabric to keep them looking their best.
Now that you have successfully built and hung your insulated curtains, take a step back and appreciate the results of your hard work. Enjoy the cozy atmosphere and energy savings that come with your DIY curtains.
Thank you for joining us on this journey to create insulated curtains. We hope this guide has been informative and helpful. Embrace the comfort and cost savings of your DIY project and enjoy the benefits of your newly constructed insulated curtains!
Frequently Asked Questions about How To Build Insulated Curtains
Was this page helpful?
At Storables.com, we guarantee accurate and reliable information. Our content, validated by Expert Board Contributors, is crafted following stringent Editorial Policies. We're committed to providing you with well-researched, expert-backed insights for all your informational needs.

0 thoughts on “How To Build Insulated Curtains”