Home>Interior Design>How To Build Wall Decals For The Bedroom
Interior Design
How To Build Wall Decals For The Bedroom
Modified: March 16, 2024
Learn how to create stunning wall decals for your bedroom with our step-by-step interior design guide. Transform your space with these stylish and personalized decor ideas.
(Many of the links in this article redirect to a specific reviewed product. Your purchase of these products through affiliate links helps to generate commission for Storables.com, at no extra cost. Learn more)
Introduction
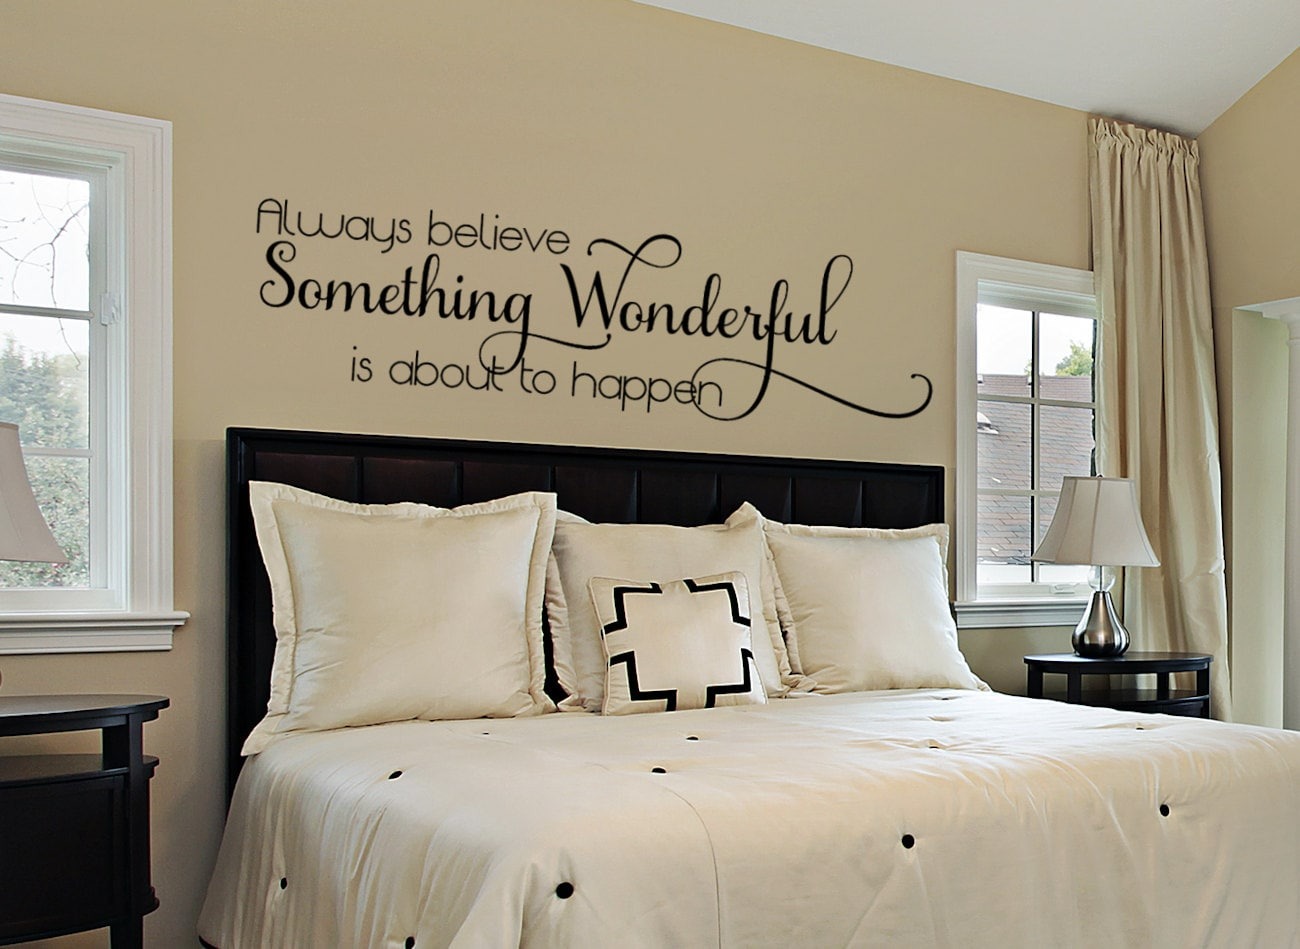
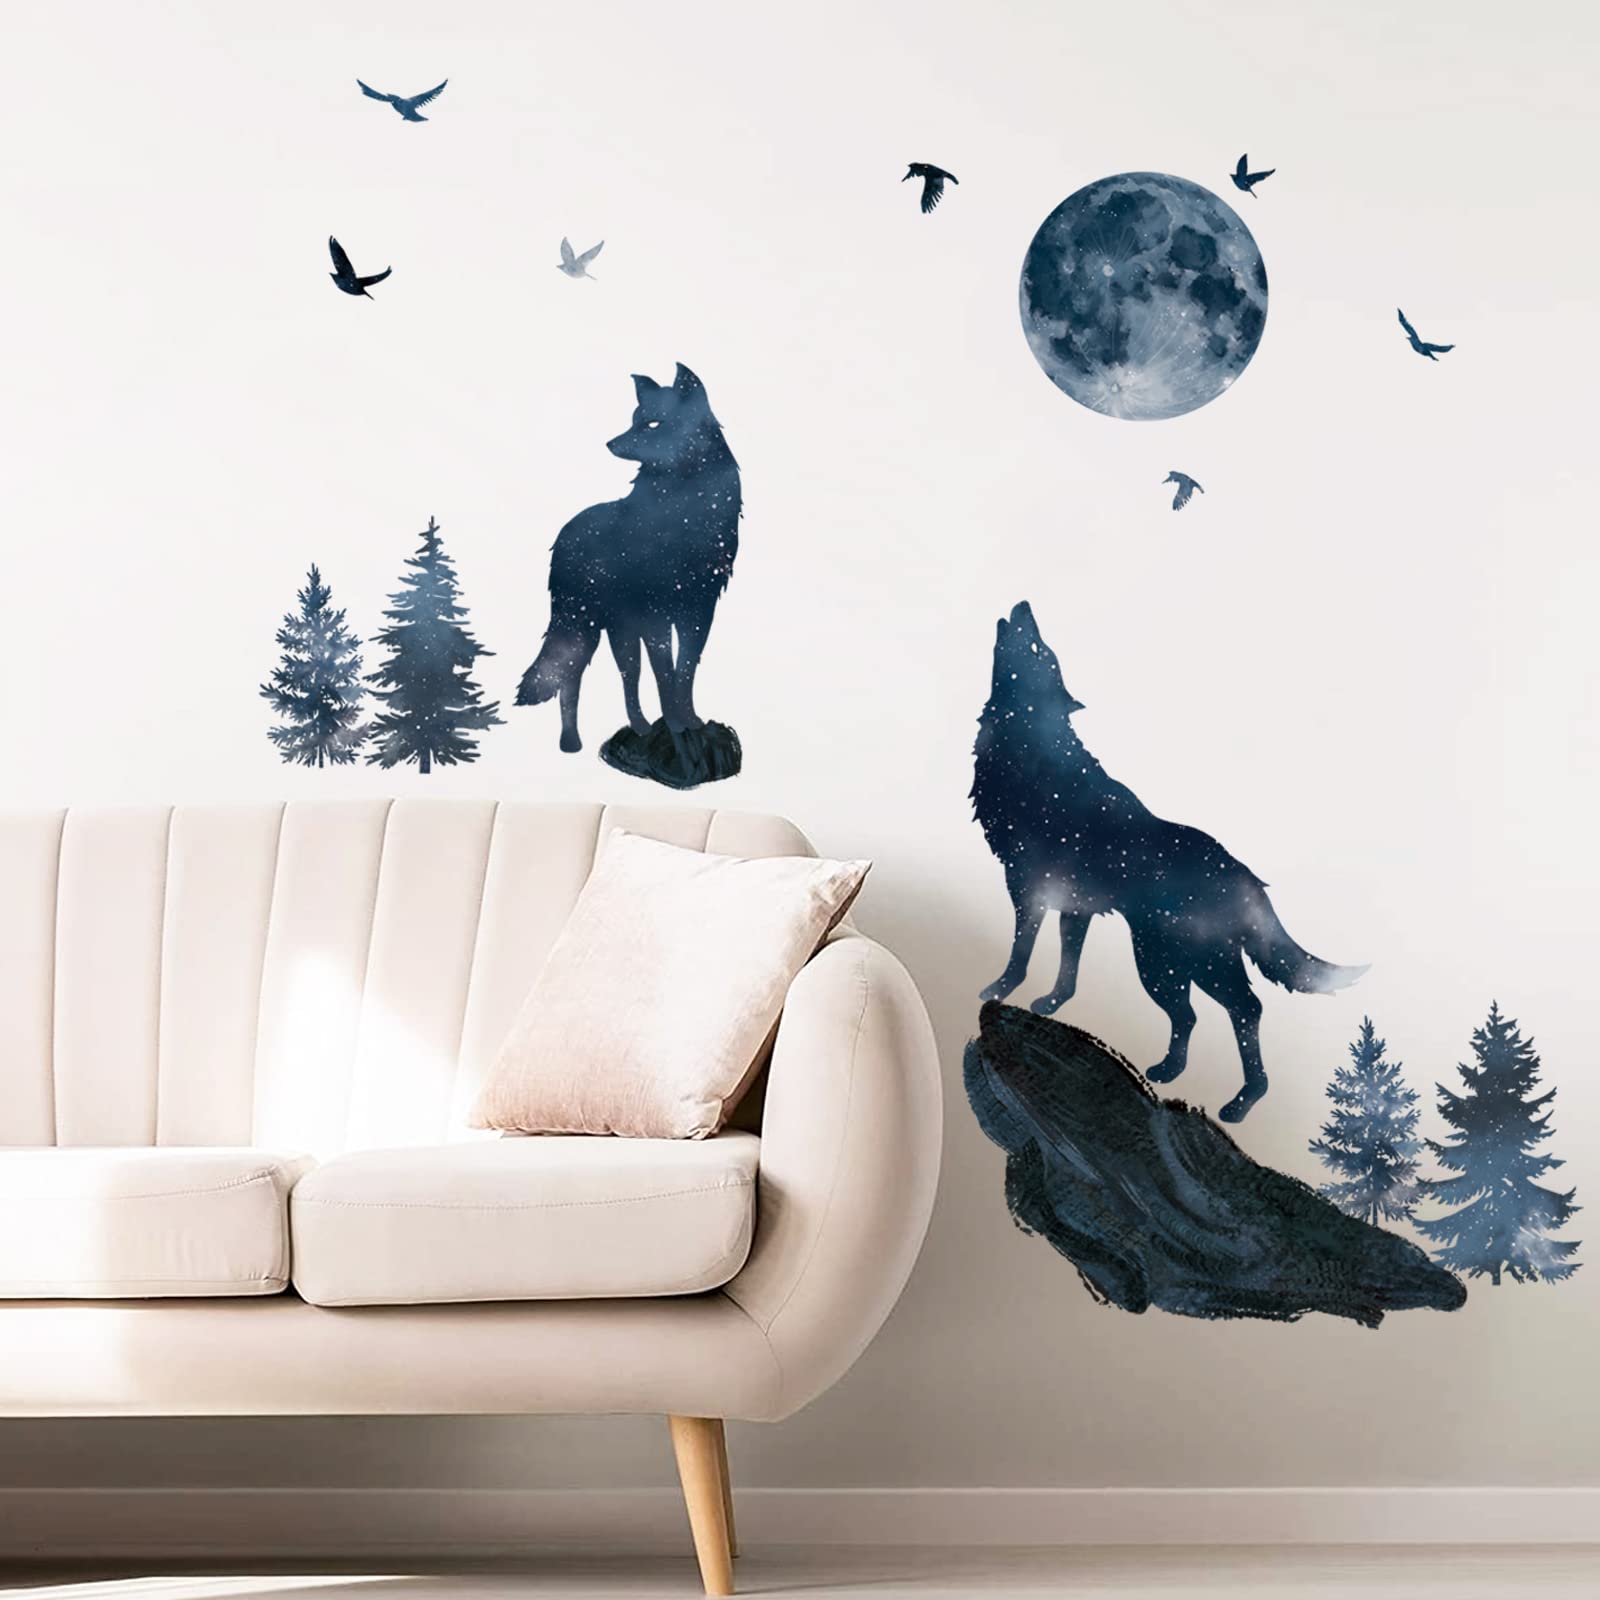
Welcome to the world of interior design, where creativity knows no bounds. One of the most exciting elements of designing a bedroom is choosing how to decorate the walls. Wall decals have become increasingly popular in recent years, offering a versatile and cost-effective way to add personality and flair to any space. Whether you want to create a serene and peaceful oasis or a vibrant and inspiring atmosphere, building your own wall decals allows you to unleash your inner artist and customize your bedroom to suit your unique style.
In this article, we will guide you through the process of building wall decals for your bedroom, step by step. From choosing the design to applying the final touches, we’ll provide you with all the information you need to create a stunning feature wall that will be the envy of everyone who steps foot in your space.
Before we dive into the practical steps, it’s important to note that building wall decals requires a bit of patience and attention to detail. While it may seem like a simple task, it’s crucial to follow each step carefully to ensure a successful outcome. So, take a deep breath, put on your creative hat, and let’s get started on transforming your bedroom walls into a work of art!
Key Takeaways:
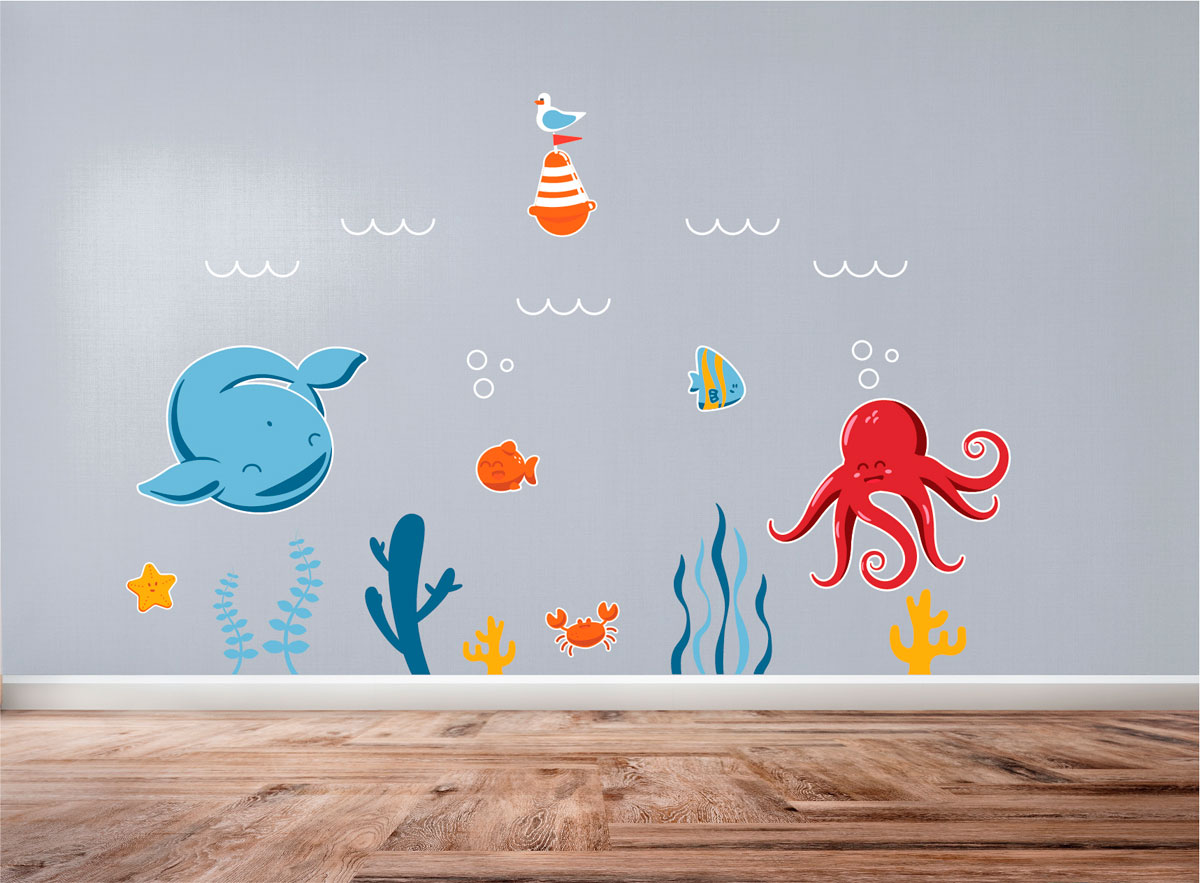
- Unleash your creativity and personalize your bedroom with DIY wall decals. Choose designs that reflect your style, gather materials, and follow the steps for a stunning, cost-effective transformation.
- Transform your bedroom into a work of art with custom wall decals. From design selection to application, follow the steps for a unique and stylish space that reflects your personality.
Read also: 8 Amazing Wall Decals For Bedroom For 2025
Materials Needed
Before you begin building your wall decals, it’s important to gather all the necessary materials. Having everything you need on hand will make the process smoother and more efficient. Here’s a list of the materials you will need:
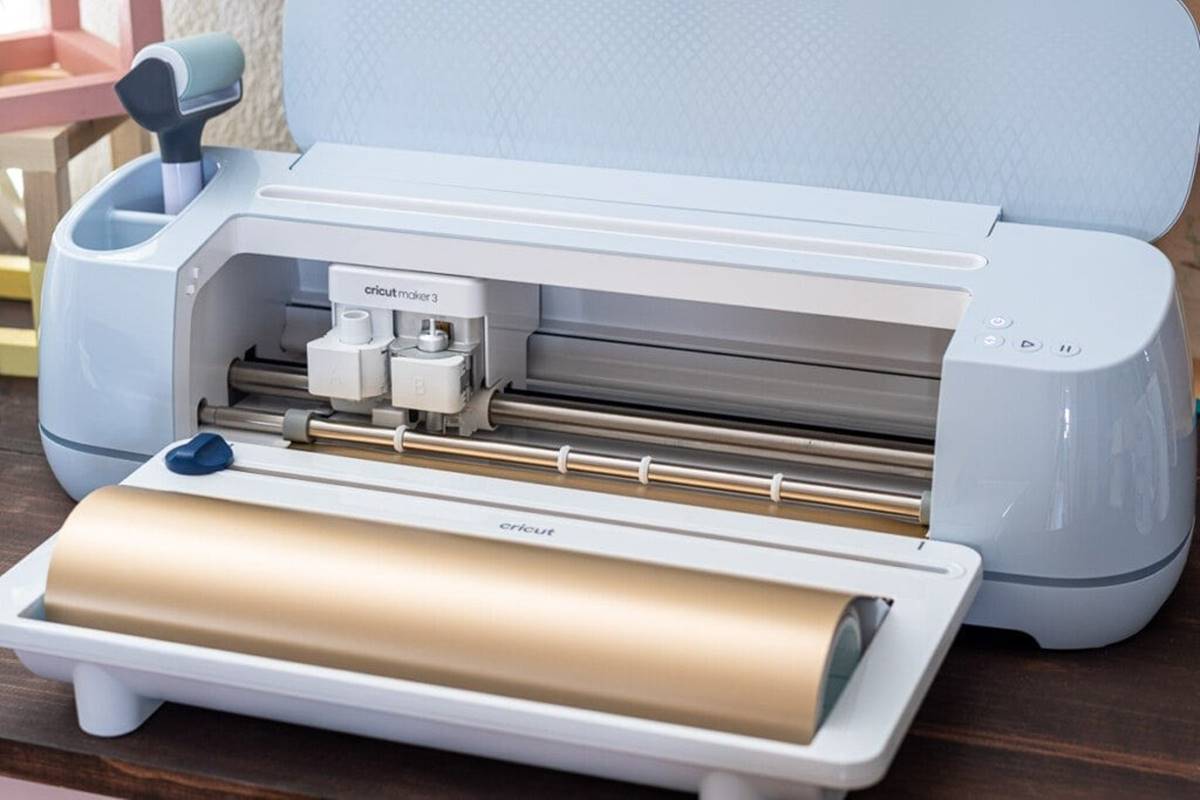
- Adhesive vinyl sheets: These are the primary material for creating the wall decals. Choose the colors and patterns that match your bedroom aesthetic.
- Scissors or precision cutting tool: You will need these to cut out the desired shapes and designs from the vinyl sheets.
- Measuring tape or ruler: Accurate measurements are crucial for ensuring that the decals are properly positioned and aligned on the wall.
- Masking tape: This will be used to secure the vinyl sheets to the wall temporarily and prevent them from moving during the application process.
- Squeegee or credit card: This tool is essential for smoothing out the vinyl and removing air bubbles during installation.
- Pencil or marker: You will need these for marking the wall and tracing the design before cutting the vinyl.
- Cleaning supplies: It’s important to prepare the wall surface by cleaning it thoroughly before applying the decals. Use a mild cleaning solution and a soft cloth to remove any dirt or debris.
- Level: This tool will help you ensure that the decals are straight and properly aligned on the wall.
- Optional: Heat gun or hairdryer: If you encounter any stubborn wrinkles or bubbles in the vinyl during installation, a heat gun or hairdryer can help soften the material and make it more pliable.
Make sure to gather all these materials before you start building your wall decals. Having everything in one place will streamline the process and prevent any unnecessary interruptions or delays.
Step 1: Choosing the Design
The first step in building your wall decals is choosing the design that will take center stage in your bedroom. The design you select will set the tone for the entire space, so take your time and consider different options before making a decision.
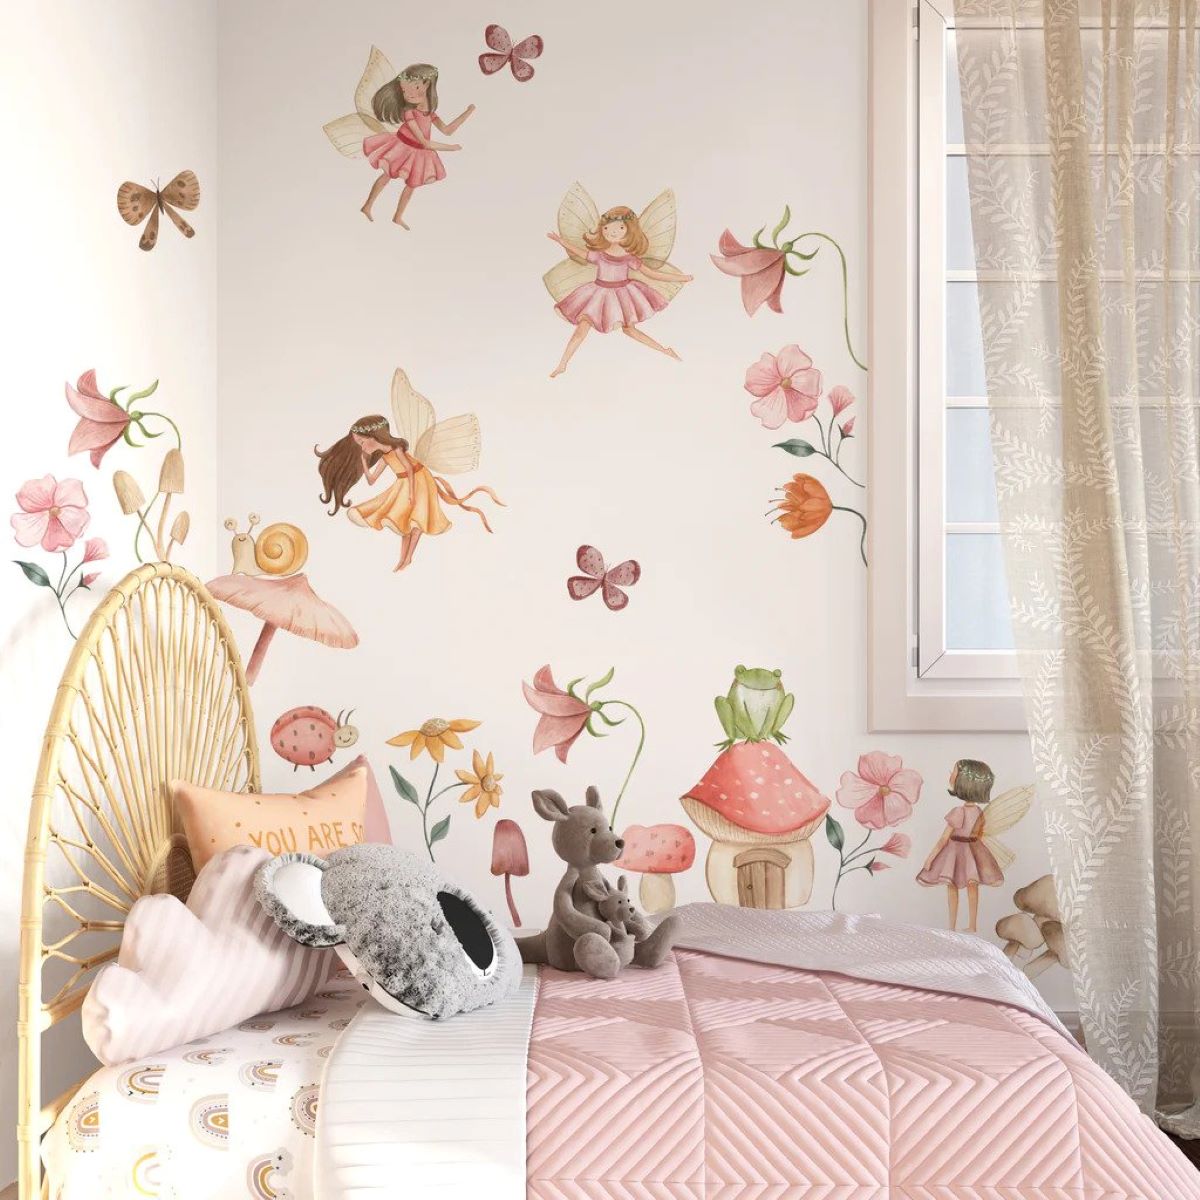
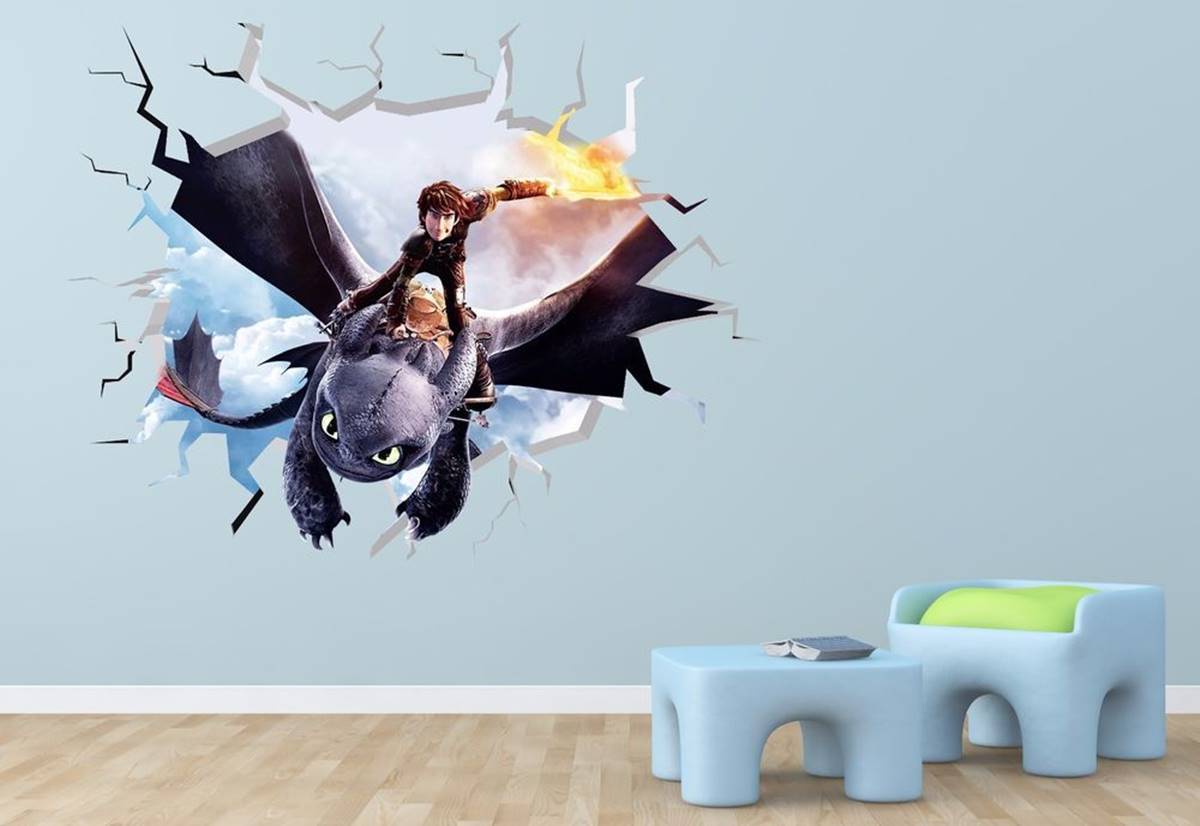
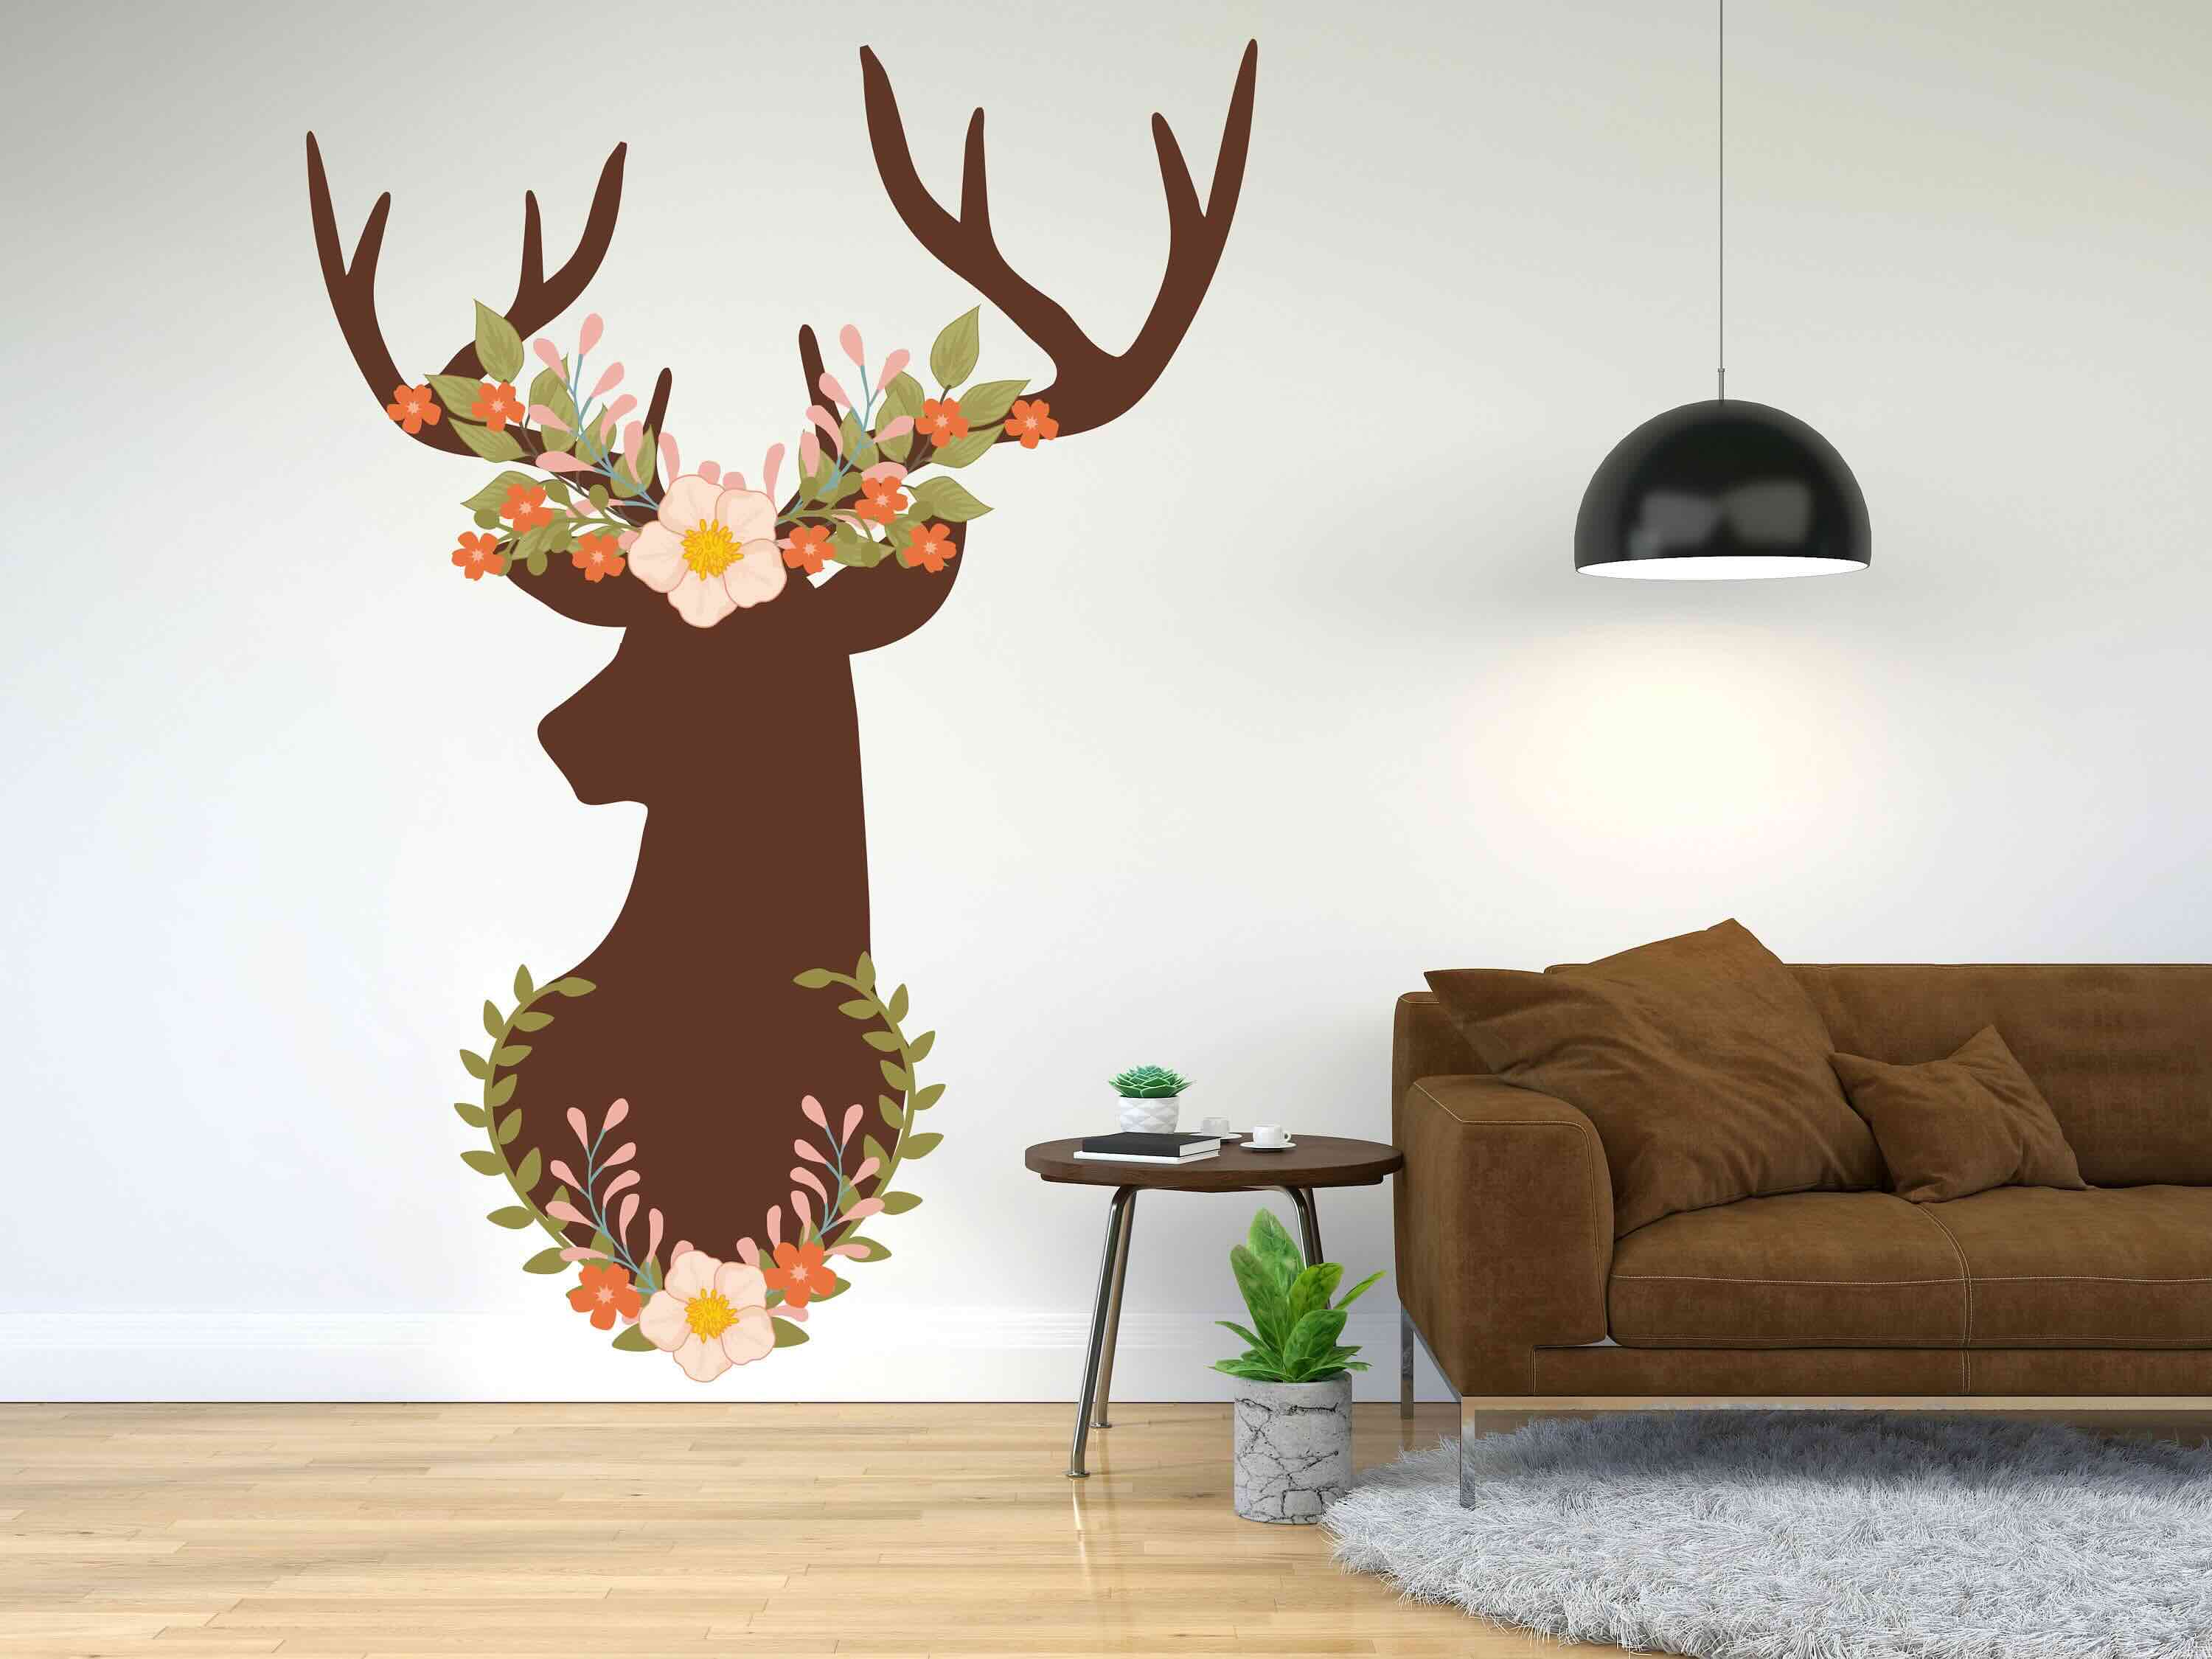
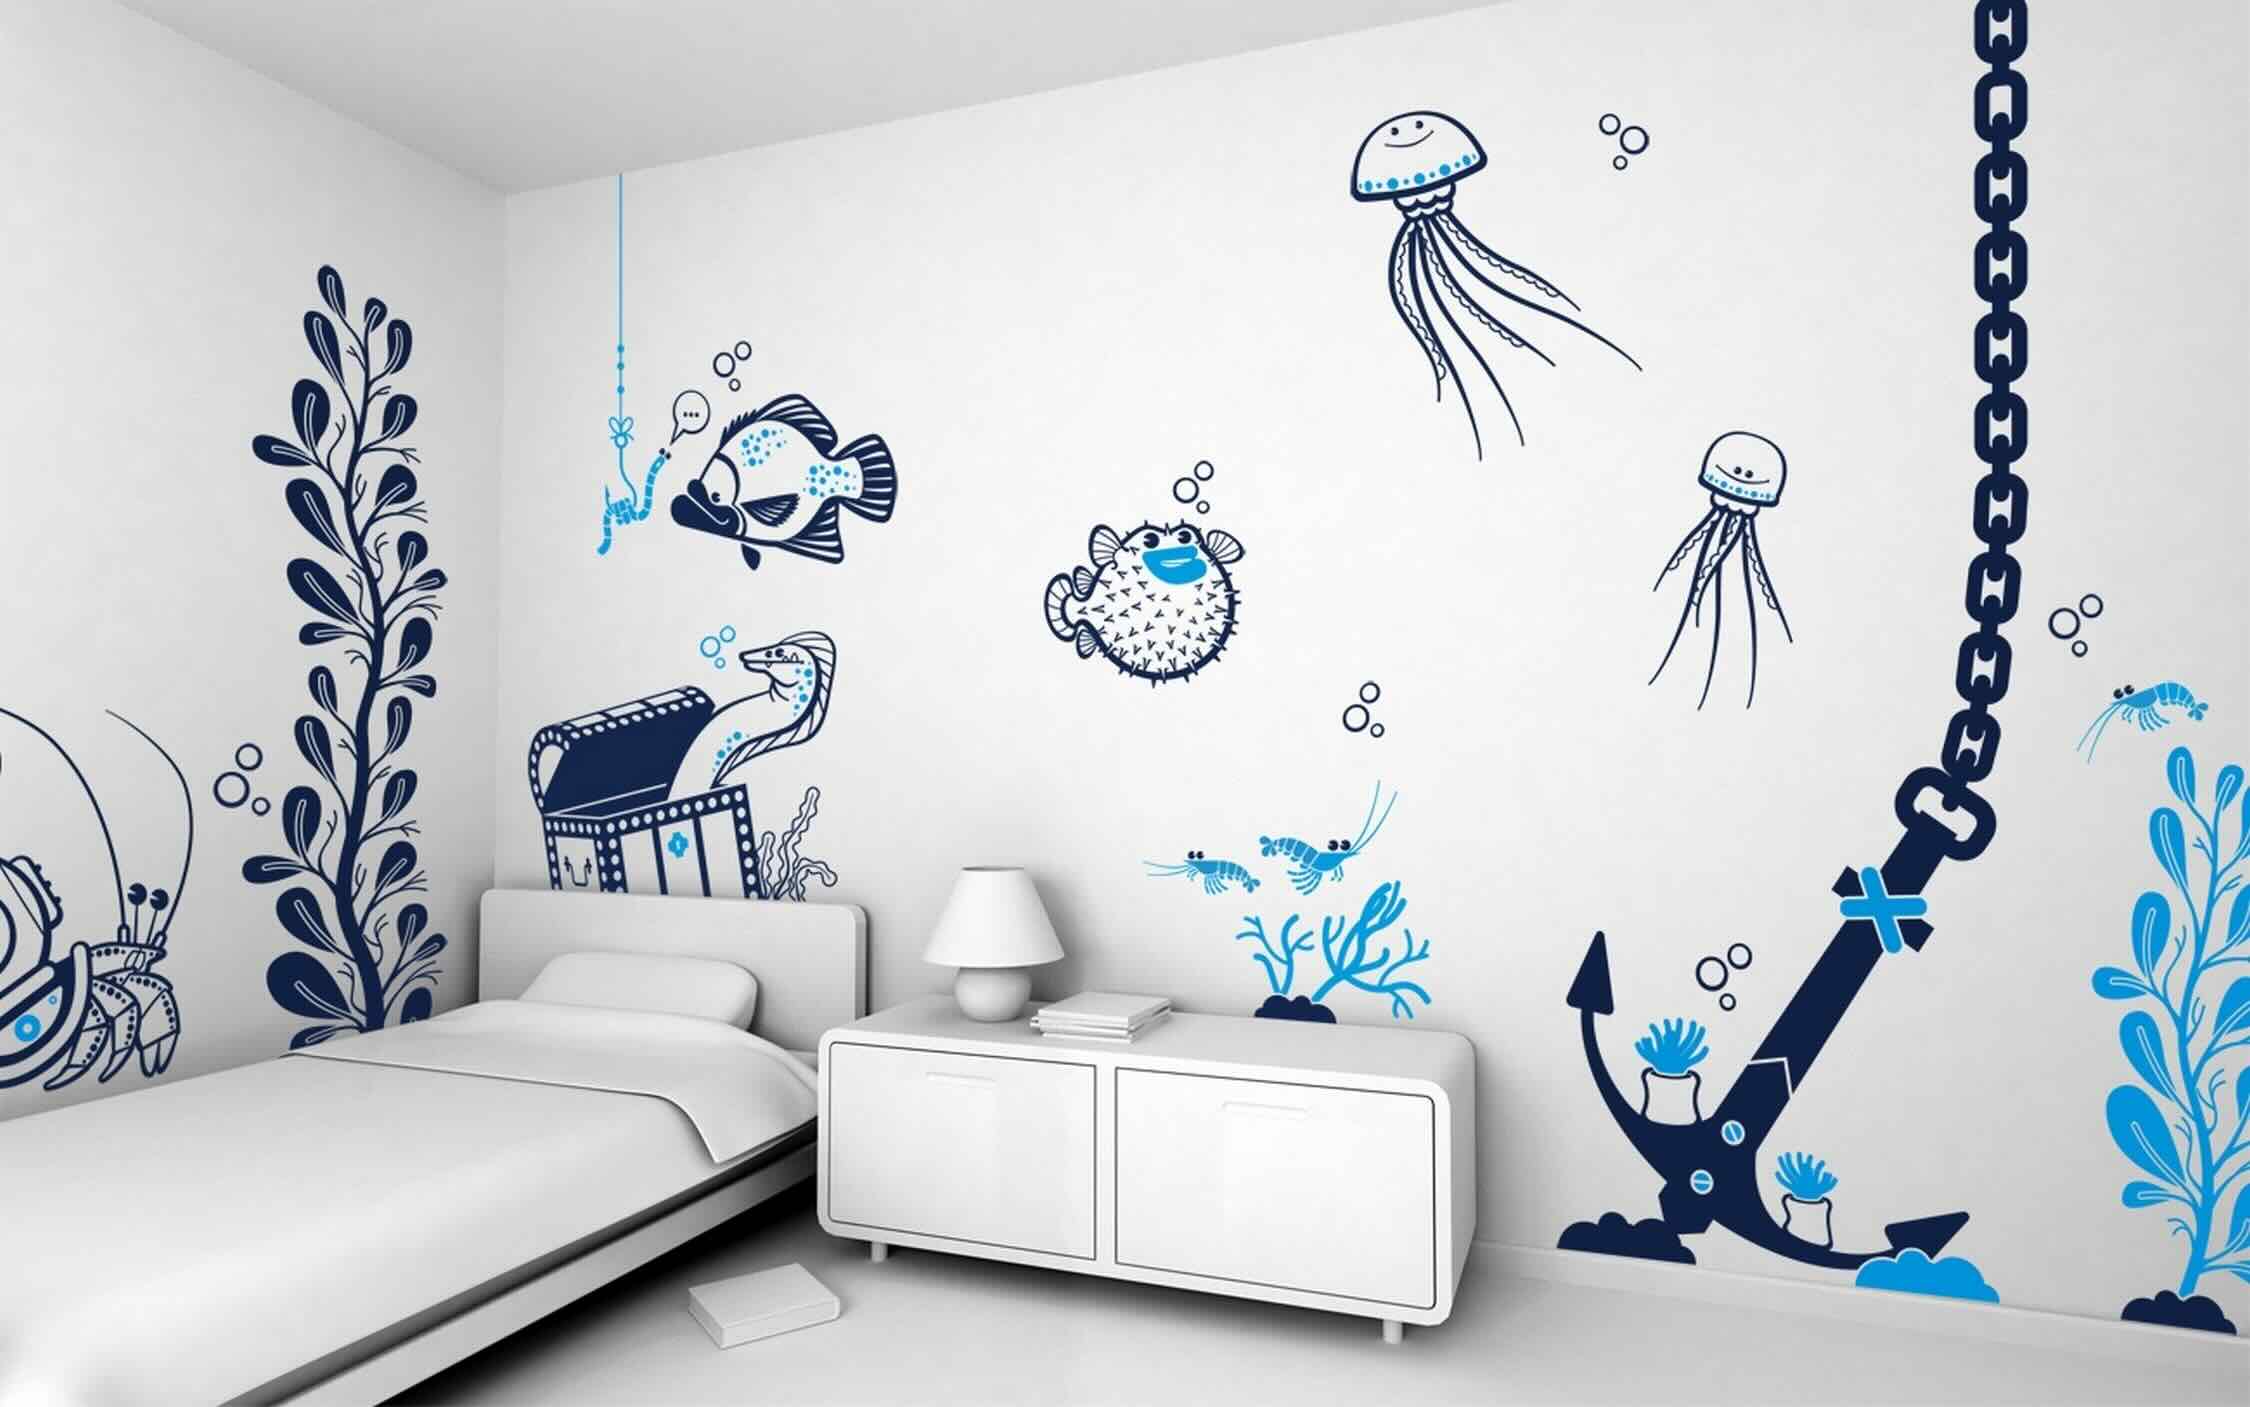
When choosing the design, it’s important to consider the overall theme and style of your bedroom. Do you want a minimalist and modern look? Or are you more drawn to a whimsical and nature-inspired design? Think about the mood and atmosphere you want to create in your bedroom, as well as any existing decor elements that you want to complement.
If you have a specific vision in mind, you can create your own design using graphic design software or by sketching it out on paper. This allows you to have complete creative control over the final product. However, if you’re feeling overwhelmed or lacking inspiration, there are plenty of resources available online where you can find pre-made designs and templates to choose from. Websites like Pinterest and design marketplaces offer a wide range of options to suit various styles and preferences.
Keep in mind that the size of the decal should be proportionate to the wall on which you plan to install it. Consider the available wall space and how the design will fit within that area. It’s also helpful to create a mock-up or visualize the design on the wall before committing to it. This can be done by creating a paper template or using image editing software to superimpose the design onto a photo of your bedroom wall.
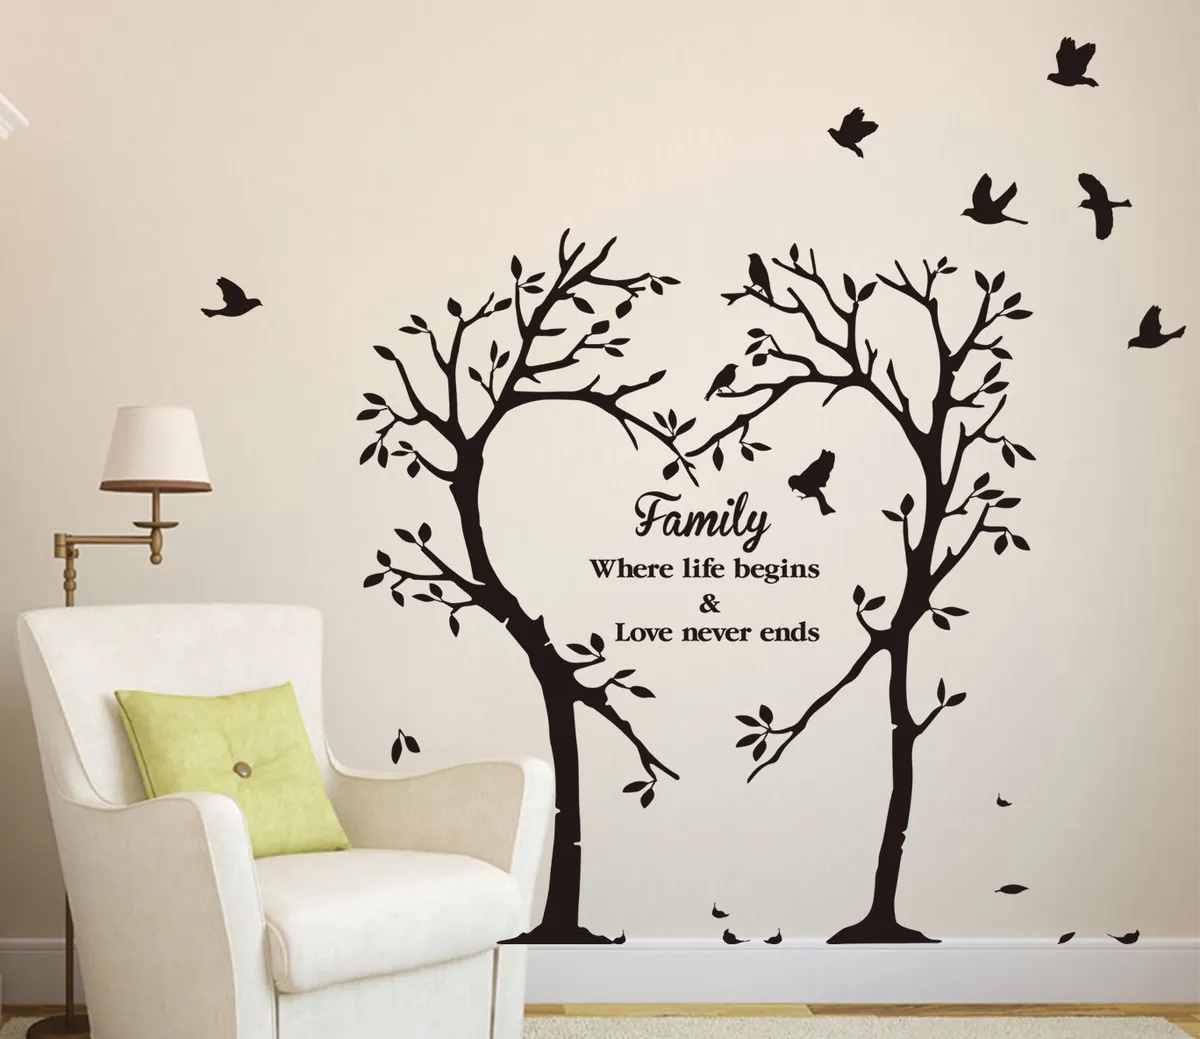
Lastly, don’t be afraid to get creative and think outside the box. Wall decals can be more than just graphics and shapes. Consider incorporating typography, quotes, or even a mural-like design that spans across multiple walls. Remember, this is your opportunity to showcase your personality and make your bedroom truly unique.
Once you’ve chosen your design, you’re ready to move on to the next step: gathering the necessary supplies to bring your vision to life.
Step 2: Gathering the Supplies
Now that you have chosen the design for your wall decals, it’s time to gather all the necessary supplies to bring your vision to life. Having everything ready and within reach will ensure a smooth and efficient process as you start building the decals.
First and foremost, you will need adhesive vinyl sheets in the colors and patterns of your choice. These sheets will serve as the base material for your decals. Make sure to measure the size of the design before purchasing the vinyl, ensuring that you have enough material to cover the entire design.
Next, you will need a pair of scissors or a precision cutting tool. This will allow you to accurately cut out the shapes and designs from the vinyl sheets. Choose a cutting tool that feels comfortable to handle and provides precise cutting ability.
Measuring tape or a ruler is another essential tool you will need for this step. Accurate measurements will ensure that the decals are properly positioned and aligned on the wall. A level also comes in handy to ensure that the decal is straight and level.
Masking tape is useful for temporarily securing the vinyl sheets to the wall during the installation process. It prevents the decals from shifting and helps maintain the desired placement.
A squeegee or credit card will be used to smooth out the vinyl sheets and remove any air bubbles. This step is crucial for achieving a flawless and professional-looking finish.
Make sure you have a pencil or marker on hand for tracing the design onto the vinyl sheets before cutting. This will ensure accurate cutting and reduce the chances of mistakes.
Cleaning supplies are important to prepare the wall surface before applying the decals. Use a mild cleaning solution and a soft cloth to wipe away dust, dirt, and oil from the wall. A clean surface will promote better adhesion and longevity of the decals.
Lastly, if you encounter any stubborn wrinkles or bubbles in the vinyl during installation, a heat gun or hairdryer can help soften the material and make it more pliable. This is an optional tool that can be helpful in certain situations.
By gathering all these supplies ahead of time, you will have everything you need at your fingertips as you proceed to the next step of the process. This will save you time and ensure a smooth workflow throughout the project.
Step 3: Preparing the Wall
Before you can start applying your wall decals, it’s essential to properly prepare the wall surface. Preparing the wall will ensure optimal adhesion and a long-lasting result. Follow these steps to ensure a clean and smooth surface for your decals:
- Clean the wall: Start by removing any dirt, dust, or grease from the wall surface. Use a mild cleaning solution and a soft cloth or sponge to gently scrub the wall. Pay attention to any areas that are particularly dirty or have stains. Allow the wall to fully dry before proceeding to the next step.
- Smooth out imperfections: Inspect the wall for any imperfections such as bumps, cracks, or holes. Use spackling compound or filler to fill in any holes or cracks and sand them down until they are smooth. If there are any big irregularities, you may need to consider applying a fresh coat of paint or using a primer for a smoother surface.
- Tape off borders: If you have a specific area for the decals in mind, use painter’s tape to create a border or outline. This will help you visualize the placement of the decals and ensure they are positioned correctly on the wall.
- Mark the center: Measure and mark the center of your desired decal placement on the wall. This will serve as a reference point when you start applying the decals.
By properly preparing the wall, you are creating an ideal surface for the decals to adhere to. A clean and smooth surface will prevent any bumps or imperfections from showing through the decals, giving you a professional and polished result.
Once you have prepared the wall, you are ready to move on to the next step: tracing and cutting out your chosen design from the adhesive vinyl sheets.
When applying wall decals in the bedroom, start by cleaning the wall surface thoroughly to ensure the decals adhere properly. Then, carefully peel off the backing and smooth out any air bubbles as you apply the decal to the wall.
Read more: What Are Wall Decals
Step 4: Tracing and Cutting the Decal
With the wall surface prepared, it’s time to bring your design to life by tracing and cutting out the decal from the adhesive vinyl sheets. Follow these steps to ensure precise and clean cuts:
- Place the vinyl sheet: Lay out the adhesive vinyl sheet on a flat surface with the backing facing up. Secure the corners of the sheet with masking tape to prevent it from shifting while you work.
- Trace the design: Using a pencil or marker, carefully trace the design onto the vinyl sheet. Make sure to trace along the edges and any intricate details to ensure accuracy.
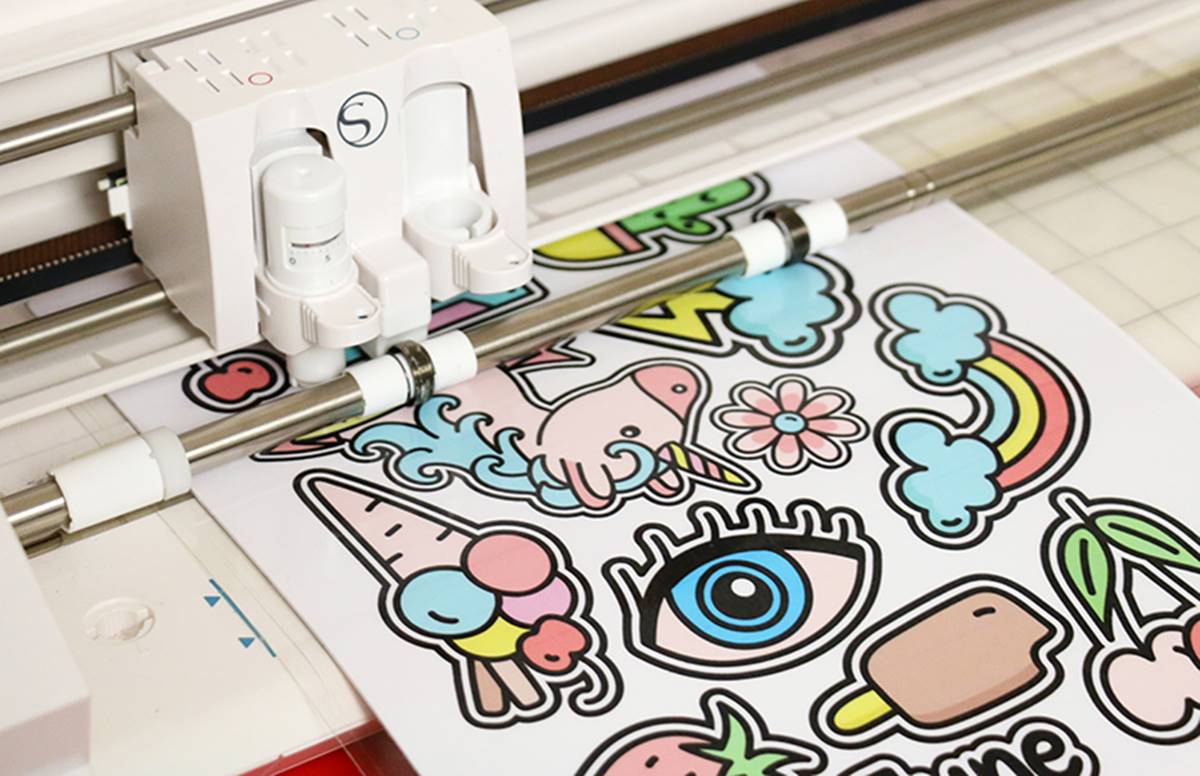
- Cut out the decal: Once the design is traced, use scissors or a precision cutting tool to carefully cut along the traced lines. Take your time to ensure smooth and clean cuts, especially around intricate shapes.
- Peel off the backing: Gently peel off the backing paper from the adhesive vinyl, revealing the sticky side of the decal. Be careful not to touch the adhesive surface with your fingers to prevent any oils or dirt from compromising the adhesion.
As you cut out the decal, it’s important to pay attention to details and ensure precise cuts. Take your time, especially if the design involves intricate shapes or patterns. It may be helpful to have a pair of small, sharp scissors or a precision cutting tool for more precise cutting around smaller details.
If you are working with multiple vinyl sheets for a larger or more complex design, repeat the tracing and cutting process for each sheet. Take care to align the designs and ensure a seamless transition between each piece.
Once you have cut out the decal and peeled off the backing, you’re ready to move on to the next step: applying the decal to the wall.
Step 5: Applying the Decal
Now that you have your decal cut out and ready, it’s time to apply it to the wall and bring your design to life. Follow these steps to ensure a smooth and successful application:
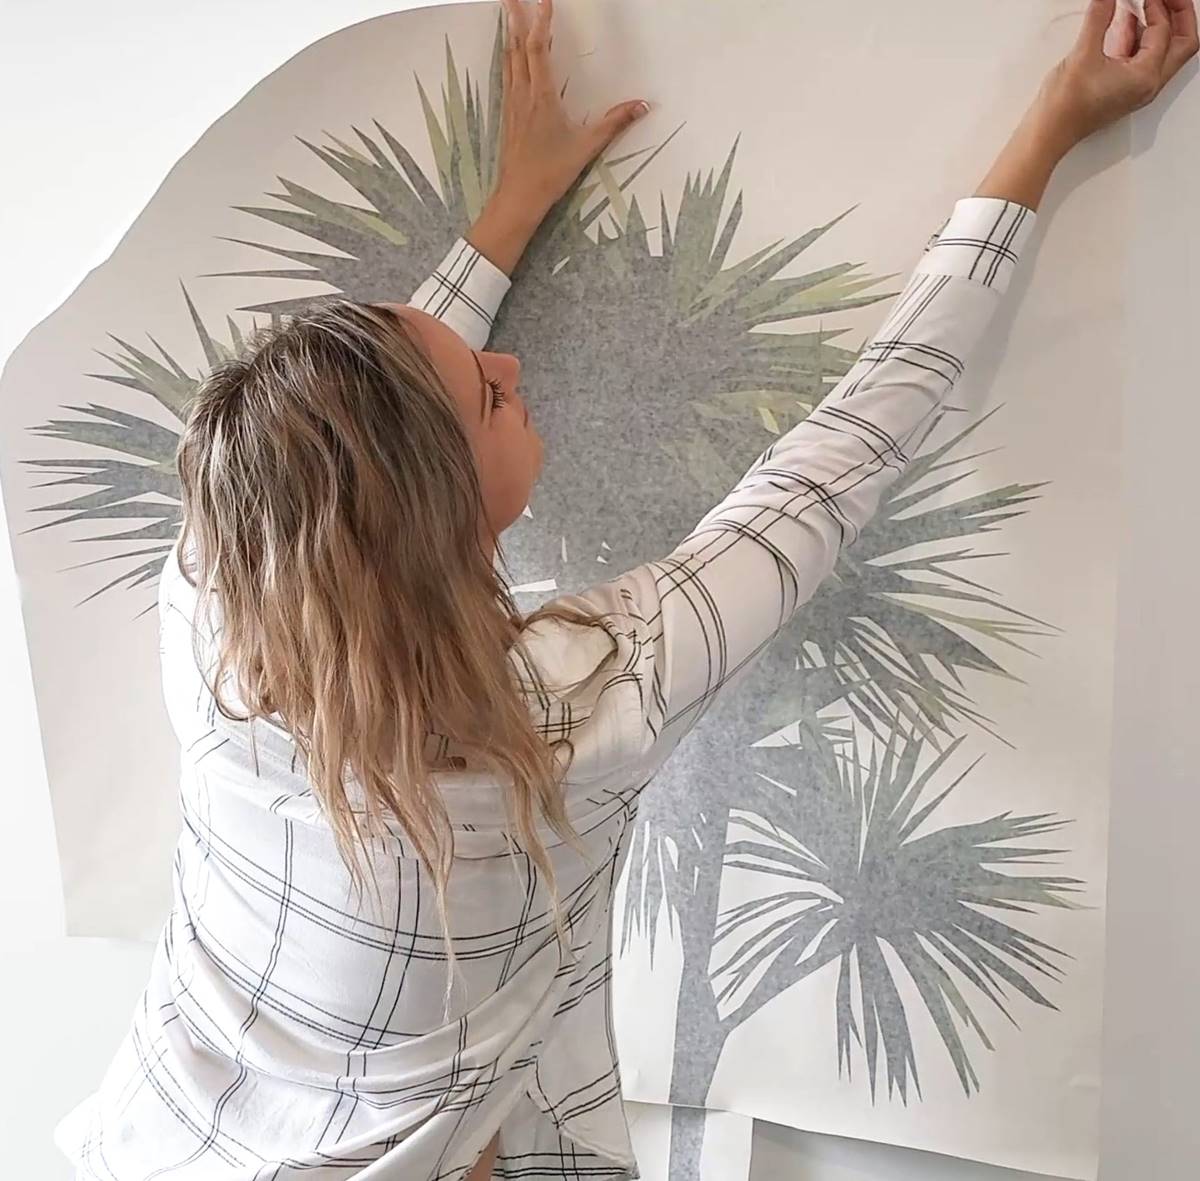
- Position the decal: Starting from the top or center, position the decal on the wall using the center marking you made earlier as a guide. Use light pressure to temporarily secure it in place.
- Smooth out the decal: Using a squeegee or credit card, starting from the center and working outwards, gently smooth out the decal onto the wall. Apply even and firm pressure to ensure a secure bond with the wall surface.
- Remove the backing: Once the decal is smoothed onto the wall, slowly peel off the transfer tape or backing paper from the top corner at a 45-degree angle. Take your time and ensure that the decal is adhering to the wall as you peel off the backing.
- Press and secure the decal: As you remove the backing, continue to press down and smooth out the decal with the squeegee or credit card. This will ensure that the decal is fully adhered to the wall and any air bubbles or wrinkles are eliminated.
- Repeat the process: If your design requires multiple pieces or layers, repeat this process for each piece, carefully aligning them to create a seamless and cohesive look.
Be patient and take your time during the application process. Smooth out the decal slowly and evenly to avoid any wrinkles or air bubbles. If you encounter any air bubbles, use the squeegee or credit card to gently push them out towards the edges of the decal until they are fully released.
It’s important to note that once the decal is applied to the wall, it may be difficult to reposition or remove without damaging it. Ensure that the placement is exactly where you want it before proceeding with the application.
With the decal successfully applied, you’re ready to move on to the next step: removing any remaining air bubbles for a flawless finish.
Step 6: Removing Air Bubbles
After applying the decal to the wall, it’s common to encounter small air bubbles trapped between the decal and the wall surface. These air bubbles can create an uneven and less professional appearance. Follow these steps to effectively remove air bubbles and ensure a smooth and flawless finish:
- Identify the air bubbles: Carefully inspect the decal for any visible air bubbles. They may appear as small pockets of trapped air under the surface of the decal.
- Press down and smooth out: Use your fingers or a squeegee to gently press down on the decal, starting from the center and working your way outward. Apply firm but gentle pressure to smooth out any air bubbles towards the edges of the decal.
- Puncture the air bubbles: For stubborn air bubbles that can’t be fully smoothed out, use a pin or small needle to create a small hole in the center of the bubble. This will allow the trapped air to escape when pressure is applied.
- Press and smooth again: After puncturing the air bubbles, apply pressure and smooth out the decal once more using your fingers or a squeegee. This will help the decal adhere more securely to the wall and eliminate any remaining air bubbles.
- Repeat if necessary: If you notice any additional air bubbles after smoothing out the decal, repeat the process of pressing, puncturing, and smoothing until all the air bubbles are eliminated.
It’s important to be gentle and patient when removing air bubbles to avoid causing any damage to the decal or the wall surface. Take your time and repeat the process as needed until the decal is smooth and bubble-free.
Once you have successfully removed all the air bubbles, it’s time for the final step: adding the finishing touches to complete your wall decal project.
Step 7: Finishing Touches
Congratulations! You’ve successfully applied your wall decal and removed any air bubbles. Now, it’s time to add the finishing touches to complete your wall decal project and enhance the overall look of your bedroom. Follow these final steps for those perfect finishing touches:
- Inspect the decal: Take a step back and carefully inspect the decal on the wall. Look for any signs of imperfections, such as edges that may not be fully adhered or areas that require additional smoothing.
- Make any necessary adjustments: If you notice any imperfections, gently lift the edges of the decal and re-smooth them onto the wall. Use your fingers or a squeegee to ensure a secure and seamless bond.
- Trim any excess: If there are any parts of the decal that extend beyond the desired area, use a sharp pair of scissors or a cutting tool to carefully trim off the excess vinyl. This will give your decal a clean and polished look.
- Step back and admire your work: Once you’re satisfied with the placement, smoothness, and trimmed edges of the decal, take a step back and admire your masterpiece. Admire how it adds personality and transforms the overall look and feel of your bedroom.
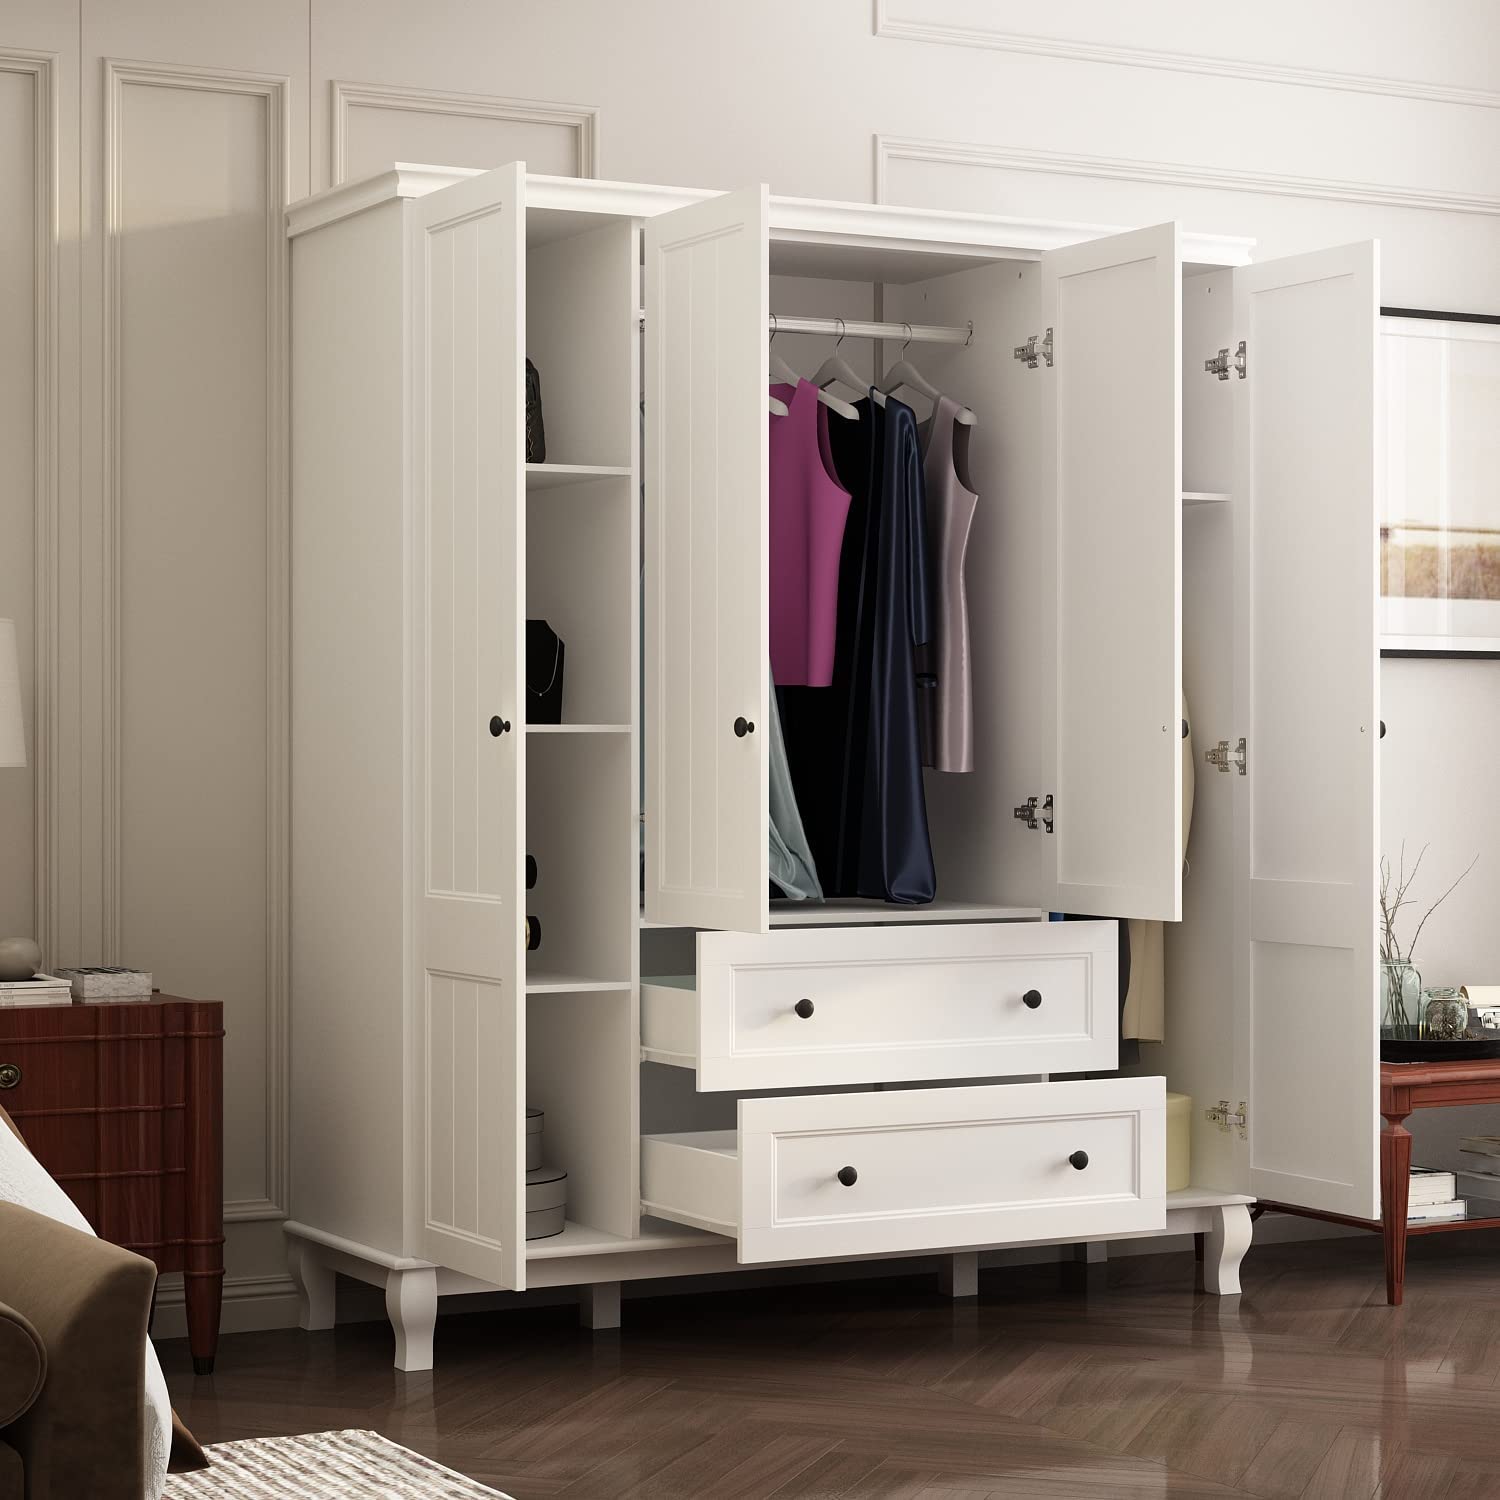
- Optional: Add additional elements: If you feel like your wall decal needs an extra touch, consider adding complementary decor elements such as framed artwork, string lights, or decorative shelves. These additional touches can further enhance the visual impact of your wall decals and create a cohesive and inviting atmosphere.
With these finishing touches, your wall decal project is complete. Take a moment to appreciate the transformation you’ve achieved and enjoy the unique ambiance it brings to your bedroom.
Remember, with wall decals, you have the flexibility to change and update your design whenever you desire. If you ever want to switch things up, simply remove the decal carefully from the wall and replace it with a new design.
Now, sit back, relax, and enjoy your personalized and stylishly decorated bedroom!
Read more: How To Reuse Wall Decals
Conclusion
Congratulations on completing your wall decal project! By following these step-by-step instructions, you have transformed your bedroom walls into a personalized work of art. Building your own wall decals not only allows you to express your creativity but also offers a cost-effective and versatile way to add personality and style to your space.
Throughout this process, you learned how to choose the perfect design that reflects your unique taste and complements the overall theme of your bedroom. Gathering the necessary materials and preparing the wall surface ensured a smooth and successful application of the decals.
Tracing and cutting out the decal with precision was essential for achieving a clean and professional finish. Applying the decal carefully to the wall and removing any trapped air bubbles ensured a flawless look. The finishing touches added that extra touch of perfection to your wall decal project.
Now, take a moment to step back and admire your handiwork. Your bedroom walls are now adorned with a design that truly represents your style and personality. The beauty of wall decals is that they can be easily changed or updated, allowing you to continually refresh the look of your bedroom in the future.
Thank you for joining us on this journey of building wall decals for your bedroom. We hope you found this guide helpful and that it inspired you to explore your creativity when it comes to interior design. Enjoy your newly transformed space and have fun decorating!
Frequently Asked Questions about How To Build Wall Decals For The Bedroom
Was this page helpful?
At Storables.com, we guarantee accurate and reliable information. Our content, validated by Expert Board Contributors, is crafted following stringent Editorial Policies. We're committed to providing you with well-researched, expert-backed insights for all your informational needs.


0 thoughts on “How To Build Wall Decals For The Bedroom”