Articles
How To Make Curtains From Sheets
Modified: December 7, 2023
Learn how to make curtains from sheets with this step-by-step tutorial. Save money and customize your home decor with easy DIY articles.
(Many of the links in this article redirect to a specific reviewed product. Your purchase of these products through affiliate links helps to generate commission for Storables.com, at no extra cost. Learn more)
Introduction
Creating curtains from sheets is a fantastic DIY project that allows you to add a touch of personal style and elegance to your home without breaking the bank. Not only is it a budget-friendly option, but it also gives you the freedom to customize your curtains according to your taste and décor preferences. Whether you want to repurpose an old sheet or simply love the idea of using sheets as curtains, this guide will walk you through the steps of transforming ordinary sheets into stunning window treatments.
Before we dive into the process, let’s take a quick look at the materials you’ll need for this project:
Key Takeaways:
- Transform ordinary sheets into stunning, personalized curtains with this budget-friendly DIY project. Add style, privacy, and functionality to your space while unleashing your creativity and showcasing your unique style.
- Enjoy the satisfaction of creating beautiful window treatments on a budget. Embrace the DIY spirit, experiment with colors and patterns, and bask in the sense of accomplishment as you transform your home, one curtain at a time.
Read more: How To Make A Bedskirt From A Flat Sheet
Materials Needed
- A flat sheet or fitted sheet: Choose a sheet that matches the size of your window or one that can be easily cut and adjusted.
- Measuring tape: This will help you calculate the dimensions of your curtains accurately.
- Fabric scissors: You’ll need a pair of sharp fabric scissors to cut the sheet to the desired length.
- Pins: Pins will be used to secure the hems and hold the fabric in place while sewing.
- Sewing machine or needle and thread: Depending on your sewing skills and preferences, you can use either a sewing machine or hand sew the curtains.
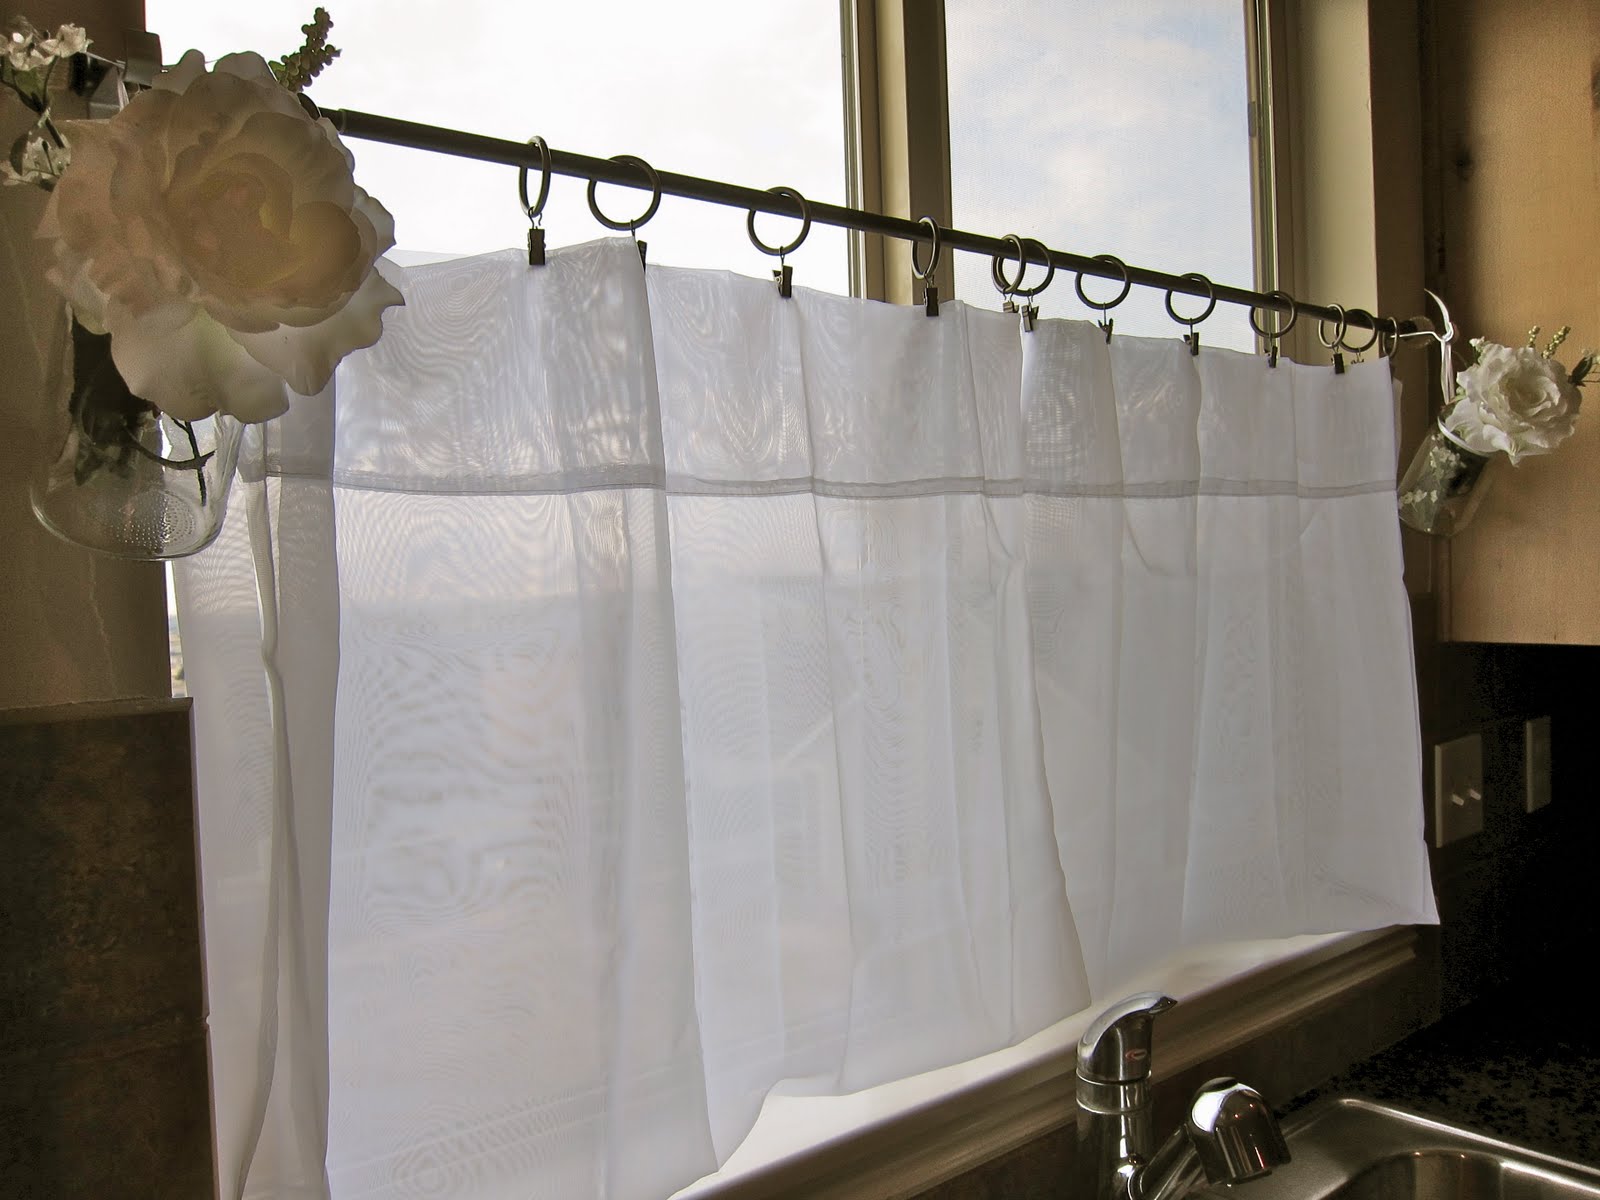
- Rod or curtain rings: These are necessary for hanging the curtains. Choose a rod or rings that complement your curtain design and fit your window dimensions.
- Embellishments (optional): If you’d like to add some decorative elements to your curtains, gather any embellishments you want to include, such as ribbons, lace trim, or tassels.
Once you have all the necessary materials ready, you’re all set to start making your own curtains from sheets. Follow the step-by-step instructions below to complete the process seamlessly.
Step 1: Measure and Cut the Sheets
The first step in making curtains from sheets is to measure and cut the sheets to the desired length. Start by measuring the height and width of your window and determine how long you want your curtains to be.
Using a measuring tape, measure from the top of the window frame to where you want the curtains to hang, allowing for any additional length for hems. Remember to account for the curtain rod or rings’ height if you haven’t installed it yet.
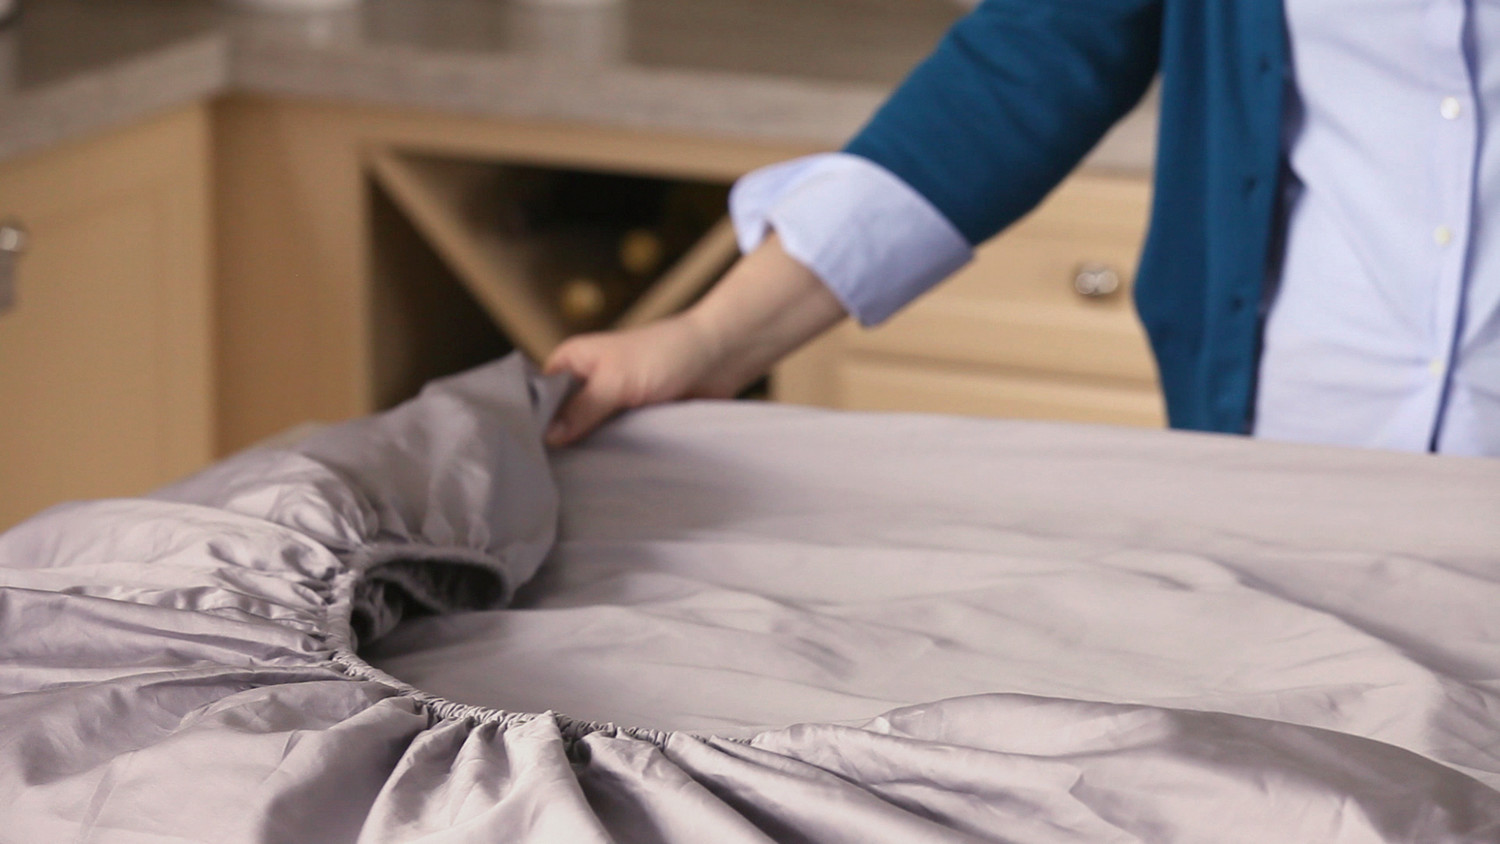
If you’re using a flat sheet, you can cut it to the desired length directly. Lay the sheet flat on a large, clean surface and mark the length you measured earlier using a fabric marker or chalk. Use fabric scissors to cut along the marked line, ensuring a clean and straight edge.
If you’re using a fitted sheet, you’ll need to do a bit of cutting and sewing to transform it into a curtain panel. Start by cutting off the elastic edge of the fitted sheet, leaving you with a flat rectangular piece of fabric. Fold the fabric in half lengthwise, aligning the edges, and smooth out any wrinkles. Next, measure and mark the desired length along the folded edge, and cut along the marked line.
Remember to double-check your measurements before cutting to ensure the curtains will fit your window perfectly. It’s always better to start with a longer length and trim if necessary.
With the sheets cut to size, you’re ready to move on to the next step – sewing the hems.
Step 2: Sew the Hem
Now that you have your sheets cut to the desired length, it’s time to sew the hems to give your curtains a neat and finished look. Hemming will prevent the fabric from fraying and add stability to the curtains.
Start by folding the bottom edge of the fabric up about 1-2 inches, depending on your preference and the thickness of the fabric. Use pins to secure the folded edge in place. Then, using a sewing machine or needle and thread, stitch a straight line along the folded edge, about ½ inch from the raw edge of the fabric.
If you’re using a sewing machine, set it to a straight stitch and stitch along the edge, removing the pins as you go. If you’re hand sewing, use a basic running stitch or a backstitch to secure the hem.
After sewing the bottom hem, move on to the side hems. Fold each side edge of the fabric over by about 1 inch and pin it in place. Again, use a sewing machine or needle and thread to stitch along the folded edge, ensuring a straight line and removing the pins as you go.
If you prefer a more decorative look, you can sew a double-fold hem by folding the fabric over twice, about ½ inch each time, and stitching along the folded edge. This will create a clean and polished finish.
For the top hem, fold the fabric down about 2-3 inches, leaving enough space for the curtain rod or rings to slide through. Pin it in place and sew along the folded edge using the same method as before.
Once all the hems are sewn, give your curtains a gentle press with an iron to remove any wrinkles and creases. Your sheet curtains are now ready for the next step – adding the rod pocket.
When making curtains from sheets, be sure to measure your windows carefully and add extra fabric for hems and fullness. Also, consider using a lining to block out light and add durability.
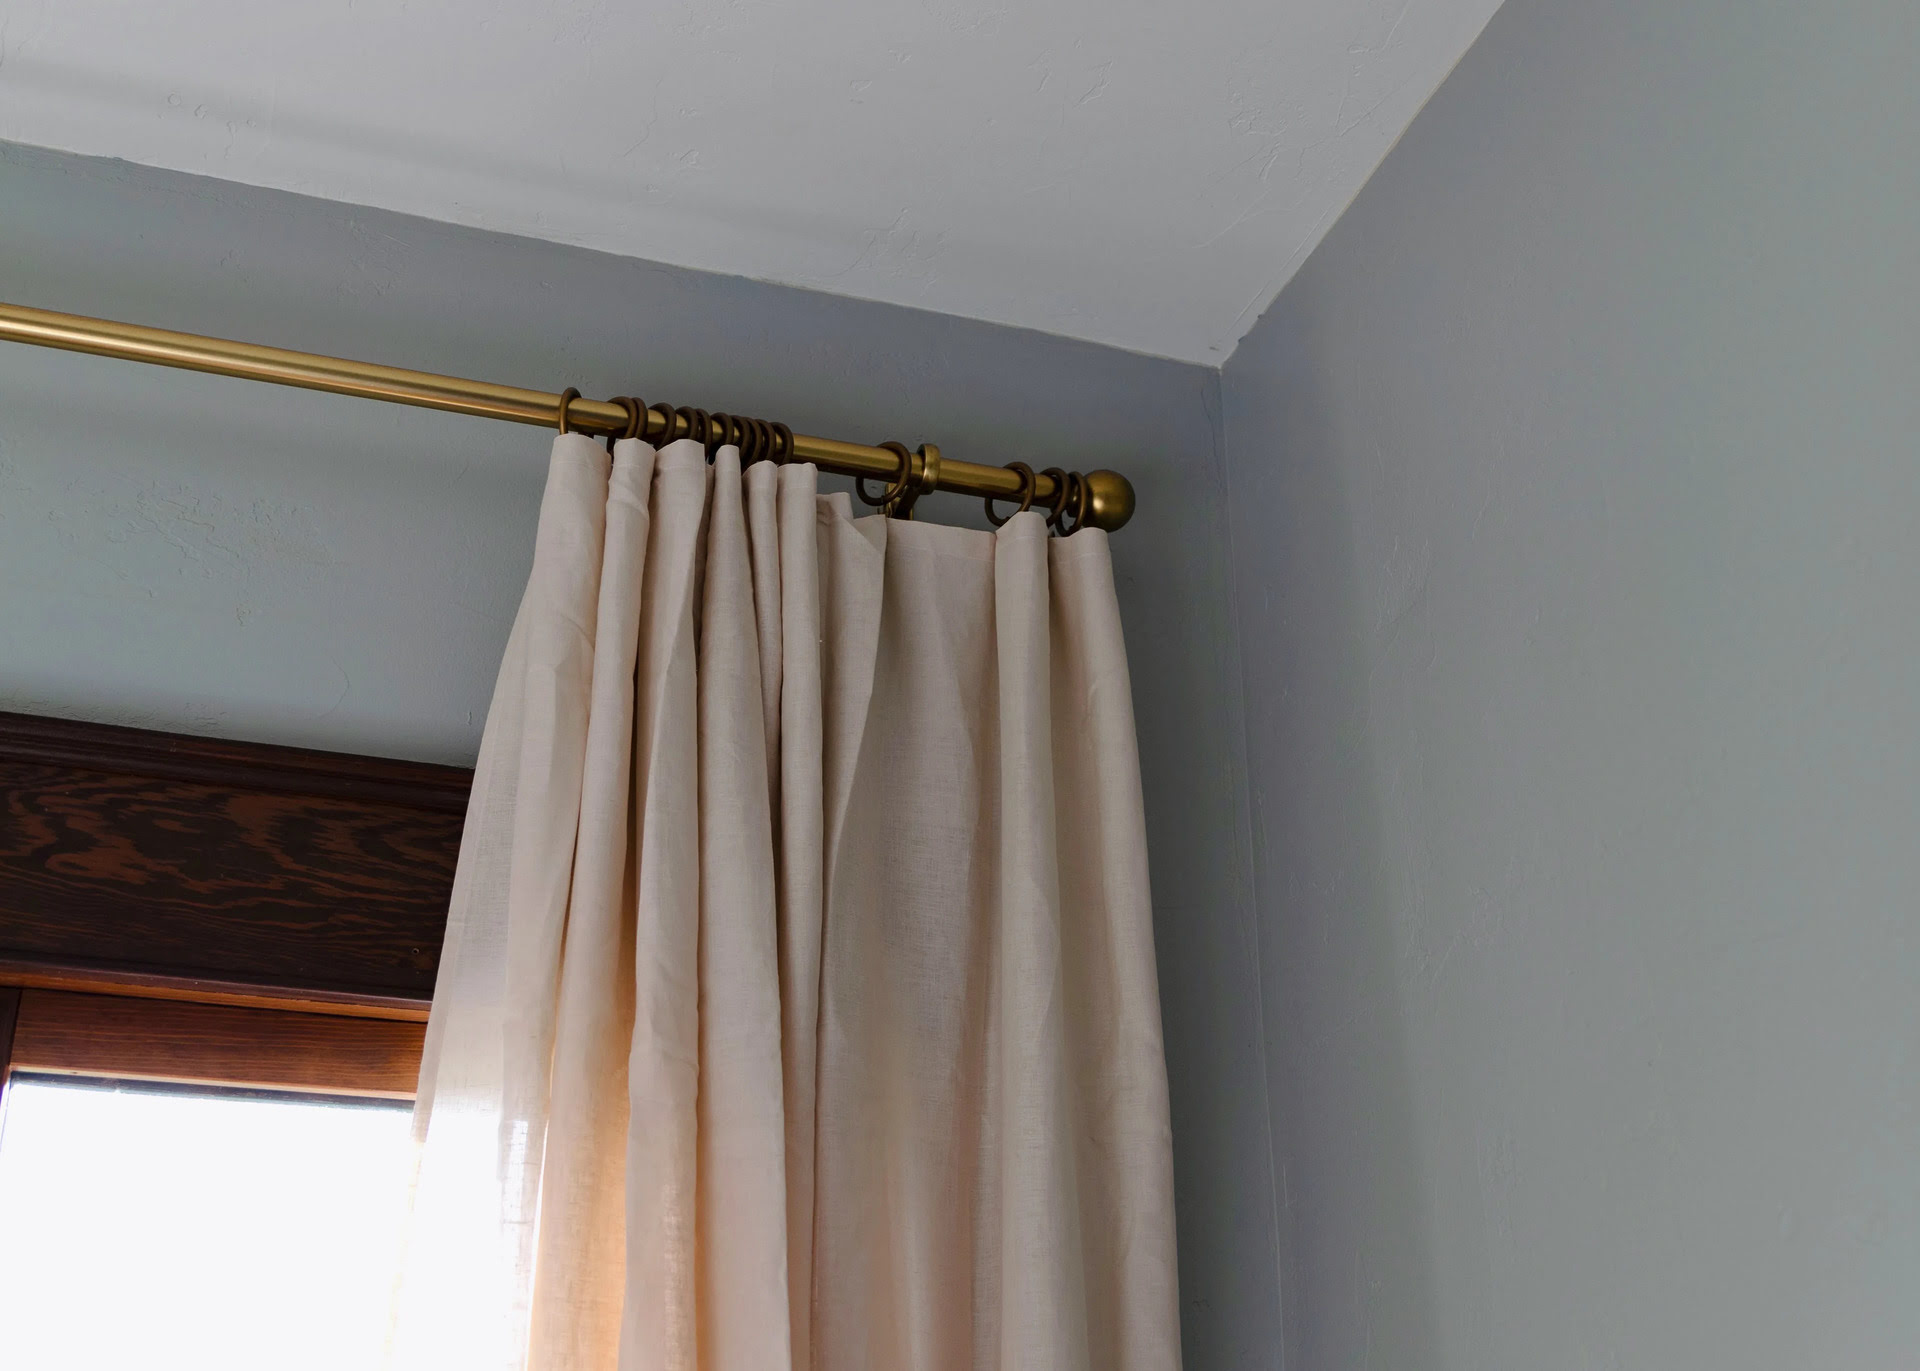
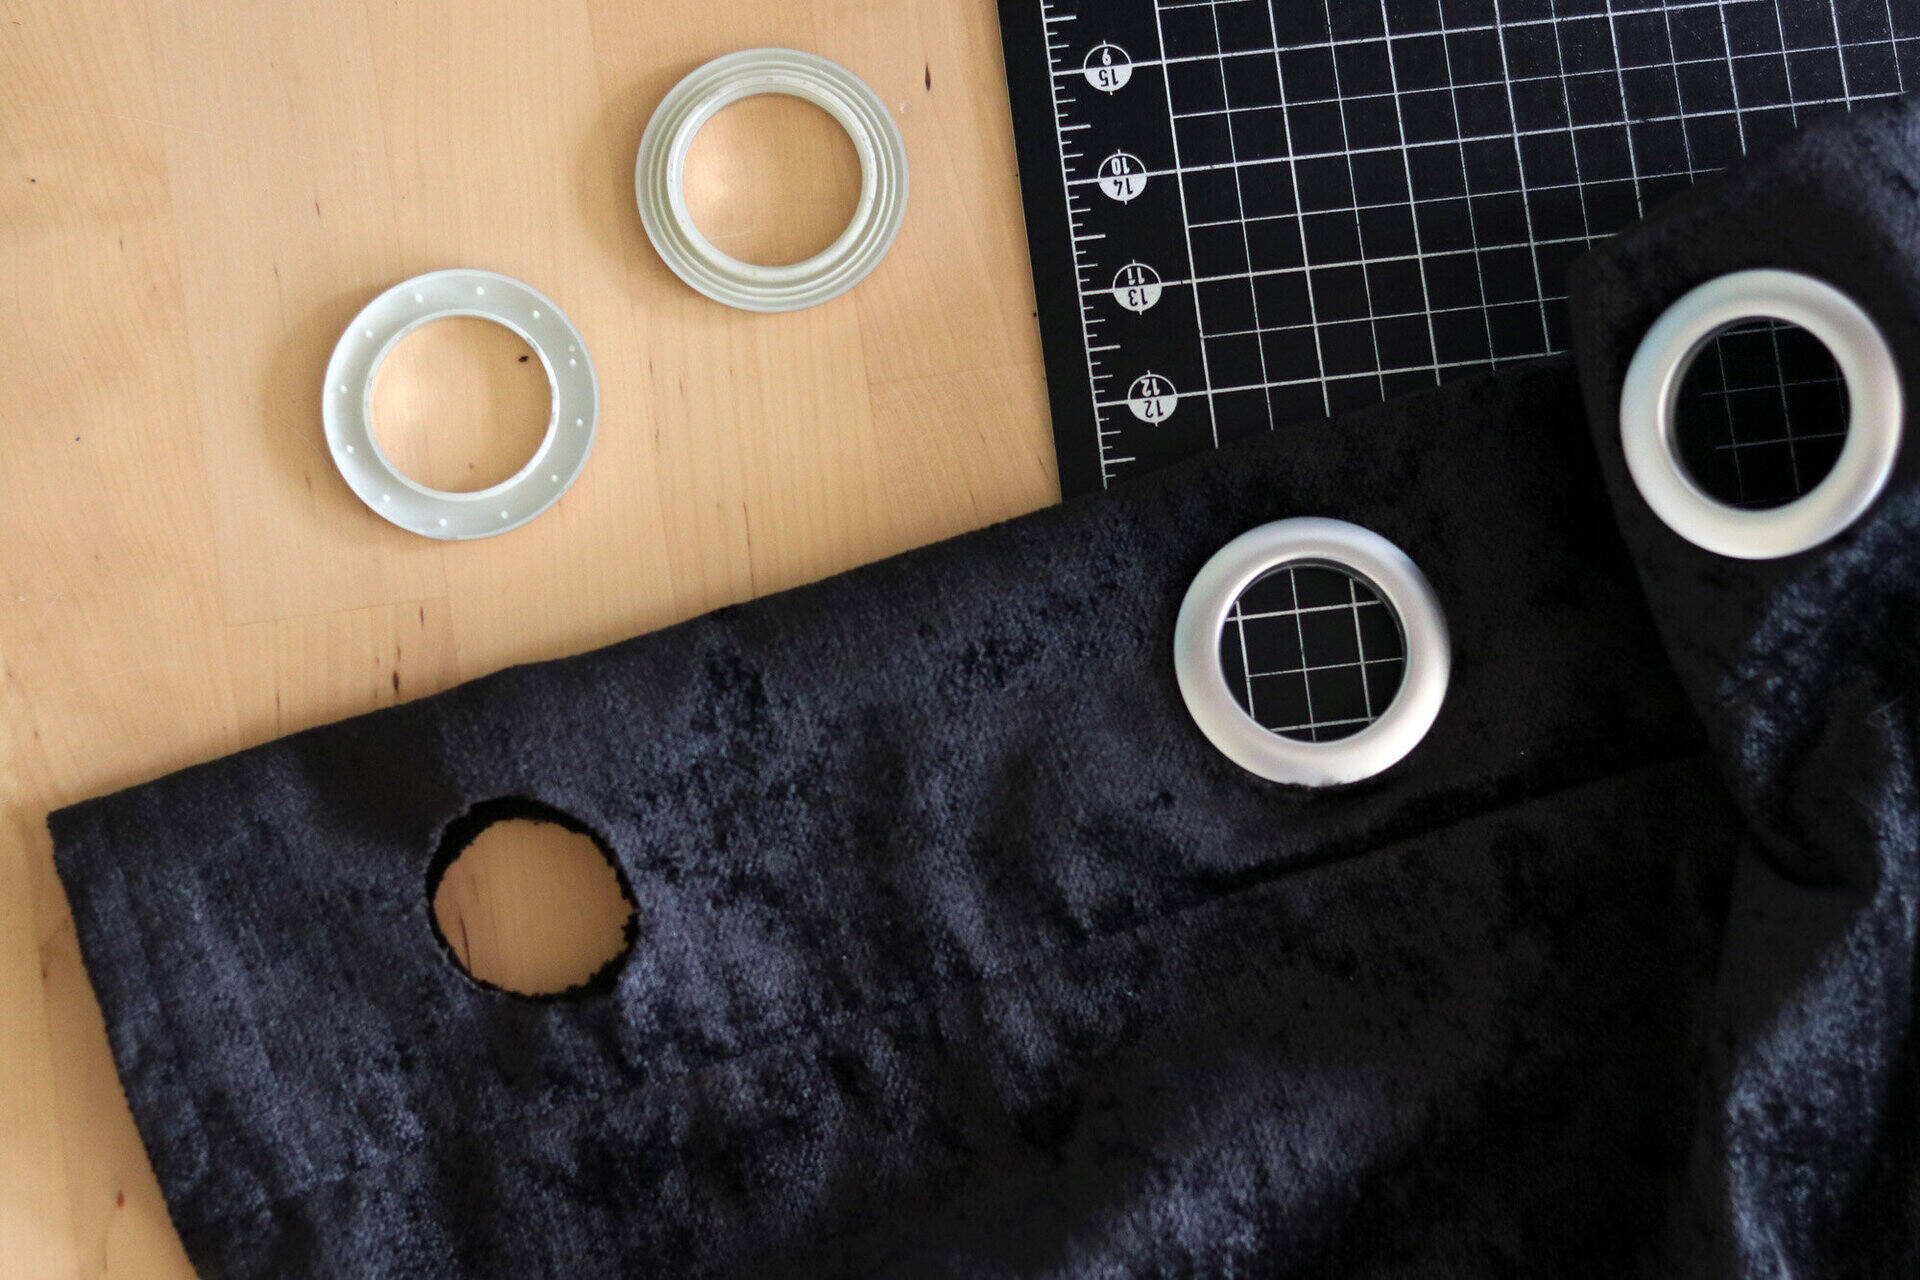
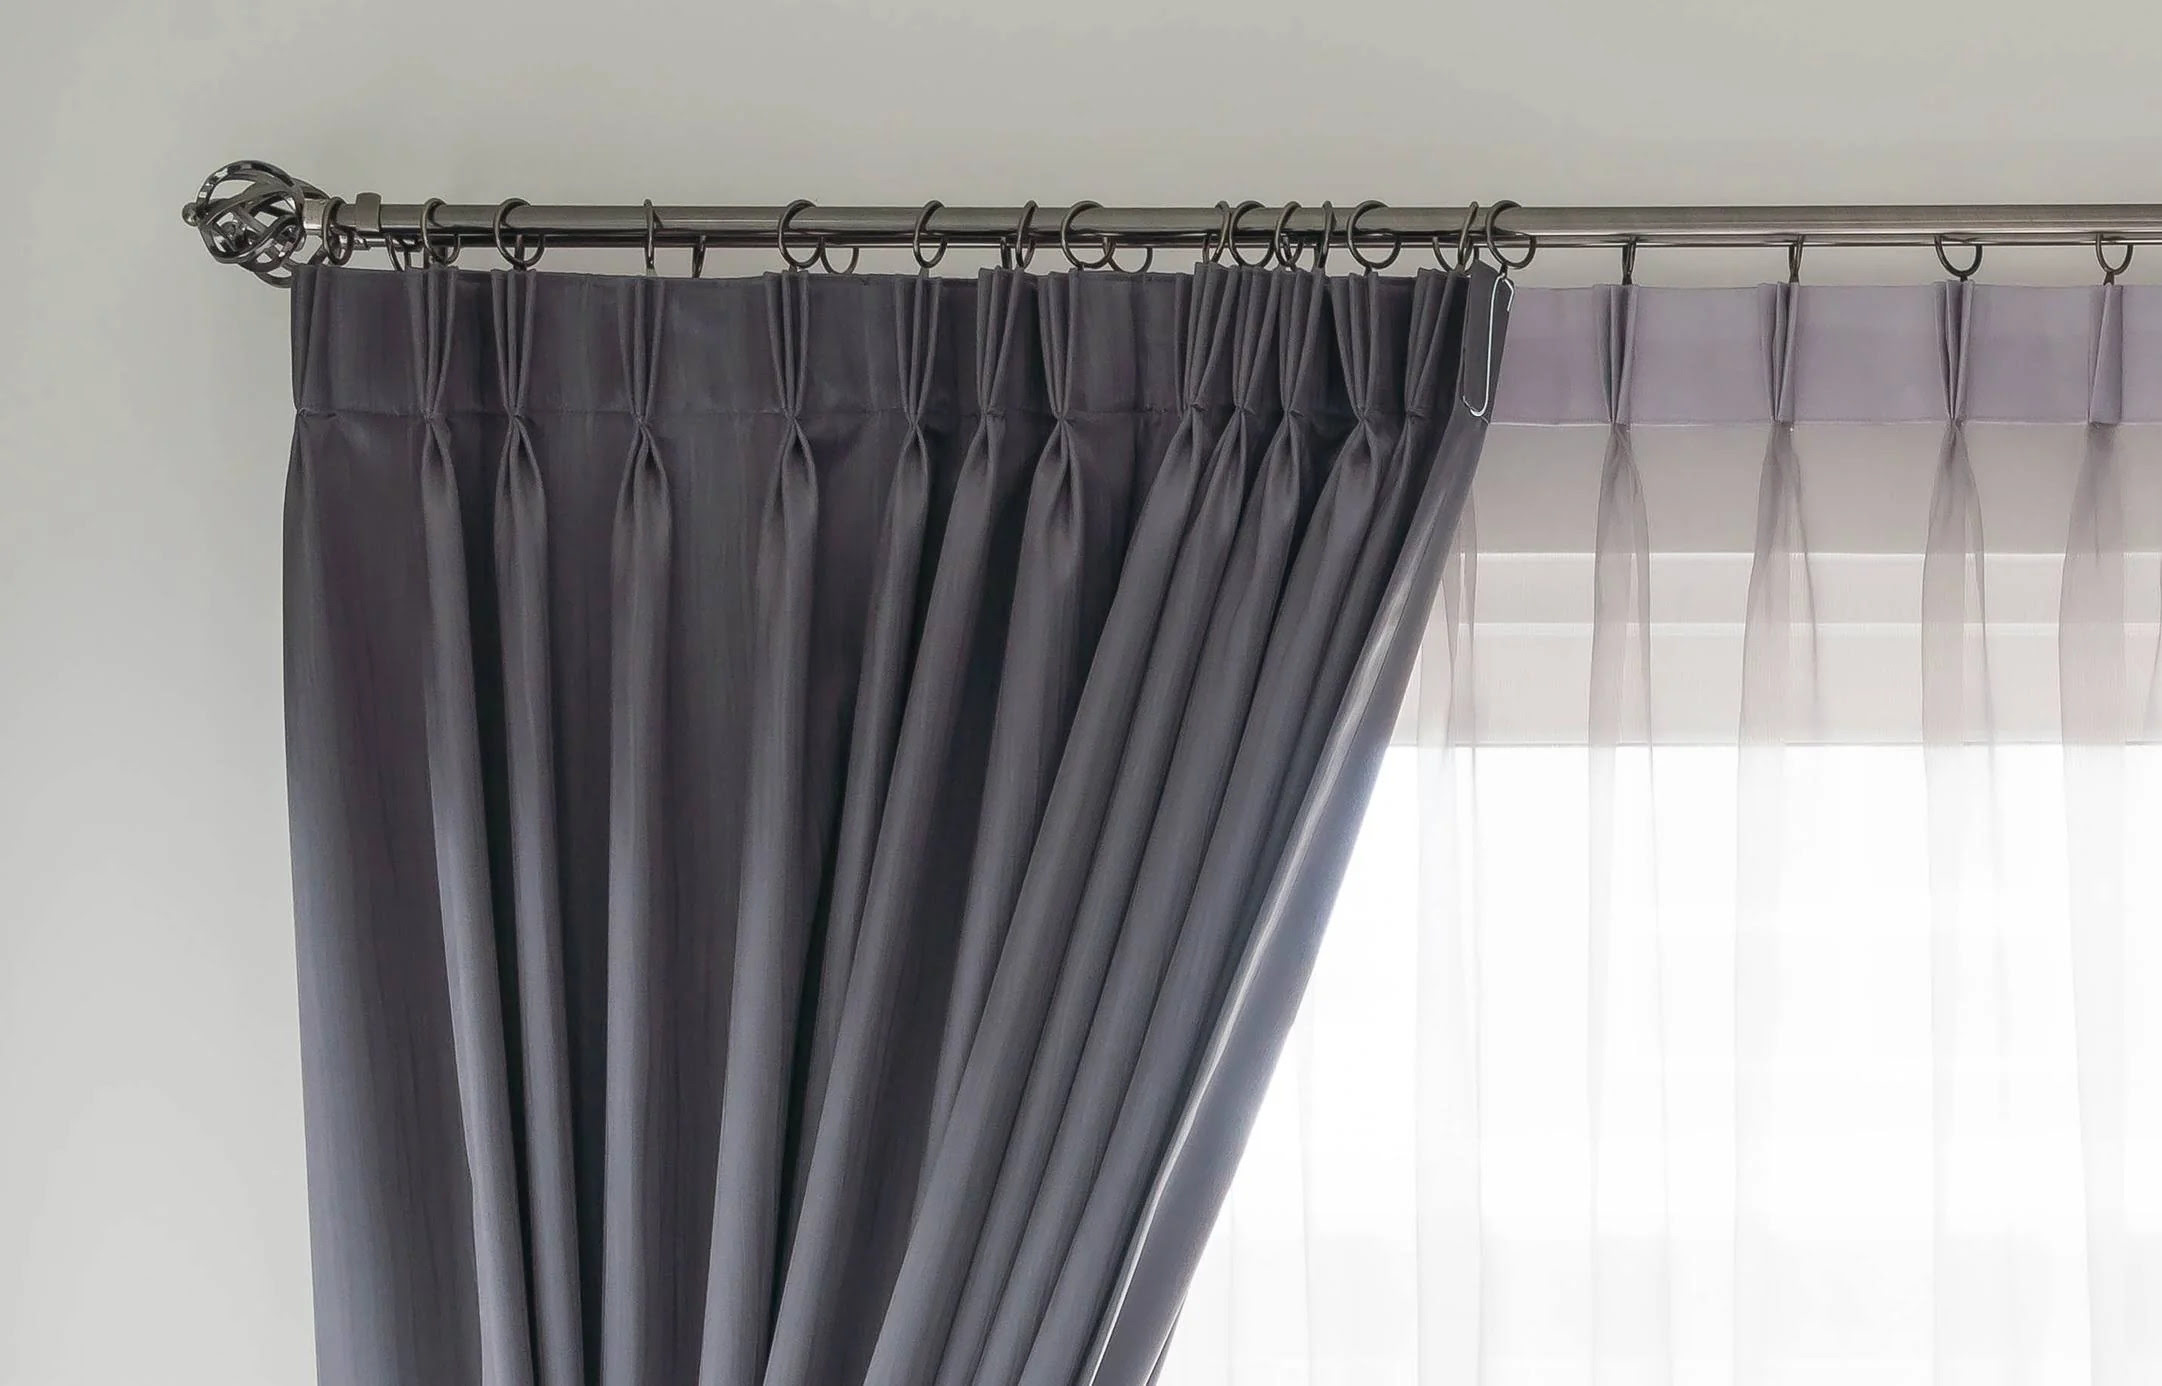
Step 3: Sew the Rod Pocket
Creating a rod pocket is an essential step in making curtains from sheets as it allows you to easily hang them on a curtain rod or with curtain rings. The rod pocket will hold the curtain rod in place and provide a clean and professional finish.
To sew the rod pocket, fold the top edge of the fabric down about 2-3 inches, depending on the size of your curtain rod or rings. Pin the folded edge in place, ensuring that it is evenly and securely held.
Next, sew a straight line along the bottom edge of the folded fabric, leaving a small opening at each end of the pocket to insert the curtain rod or rings. Sew as close to the raw edge as possible, reinforcing the stitches at the beginning and end for added durability.
If you’re using a sewing machine, you can guide the fabric through the machine using the edge of the presser foot as a guide. If you’re hand sewing, use a backstitch or a running stitch to secure the pocket.
Once the rod pocket is sewn, check that it is wide enough to comfortably accommodate your curtain rod or rings. If needed, adjust the size by removing the stitches and making the necessary changes.
After ensuring the rod pocket fits your needs, give your curtains another press with an iron to eliminate any wrinkles or folds. Your sheet curtains are almost complete – now it’s time to add any embellishments if desired.
Read more: How To Make A Shower Curtain
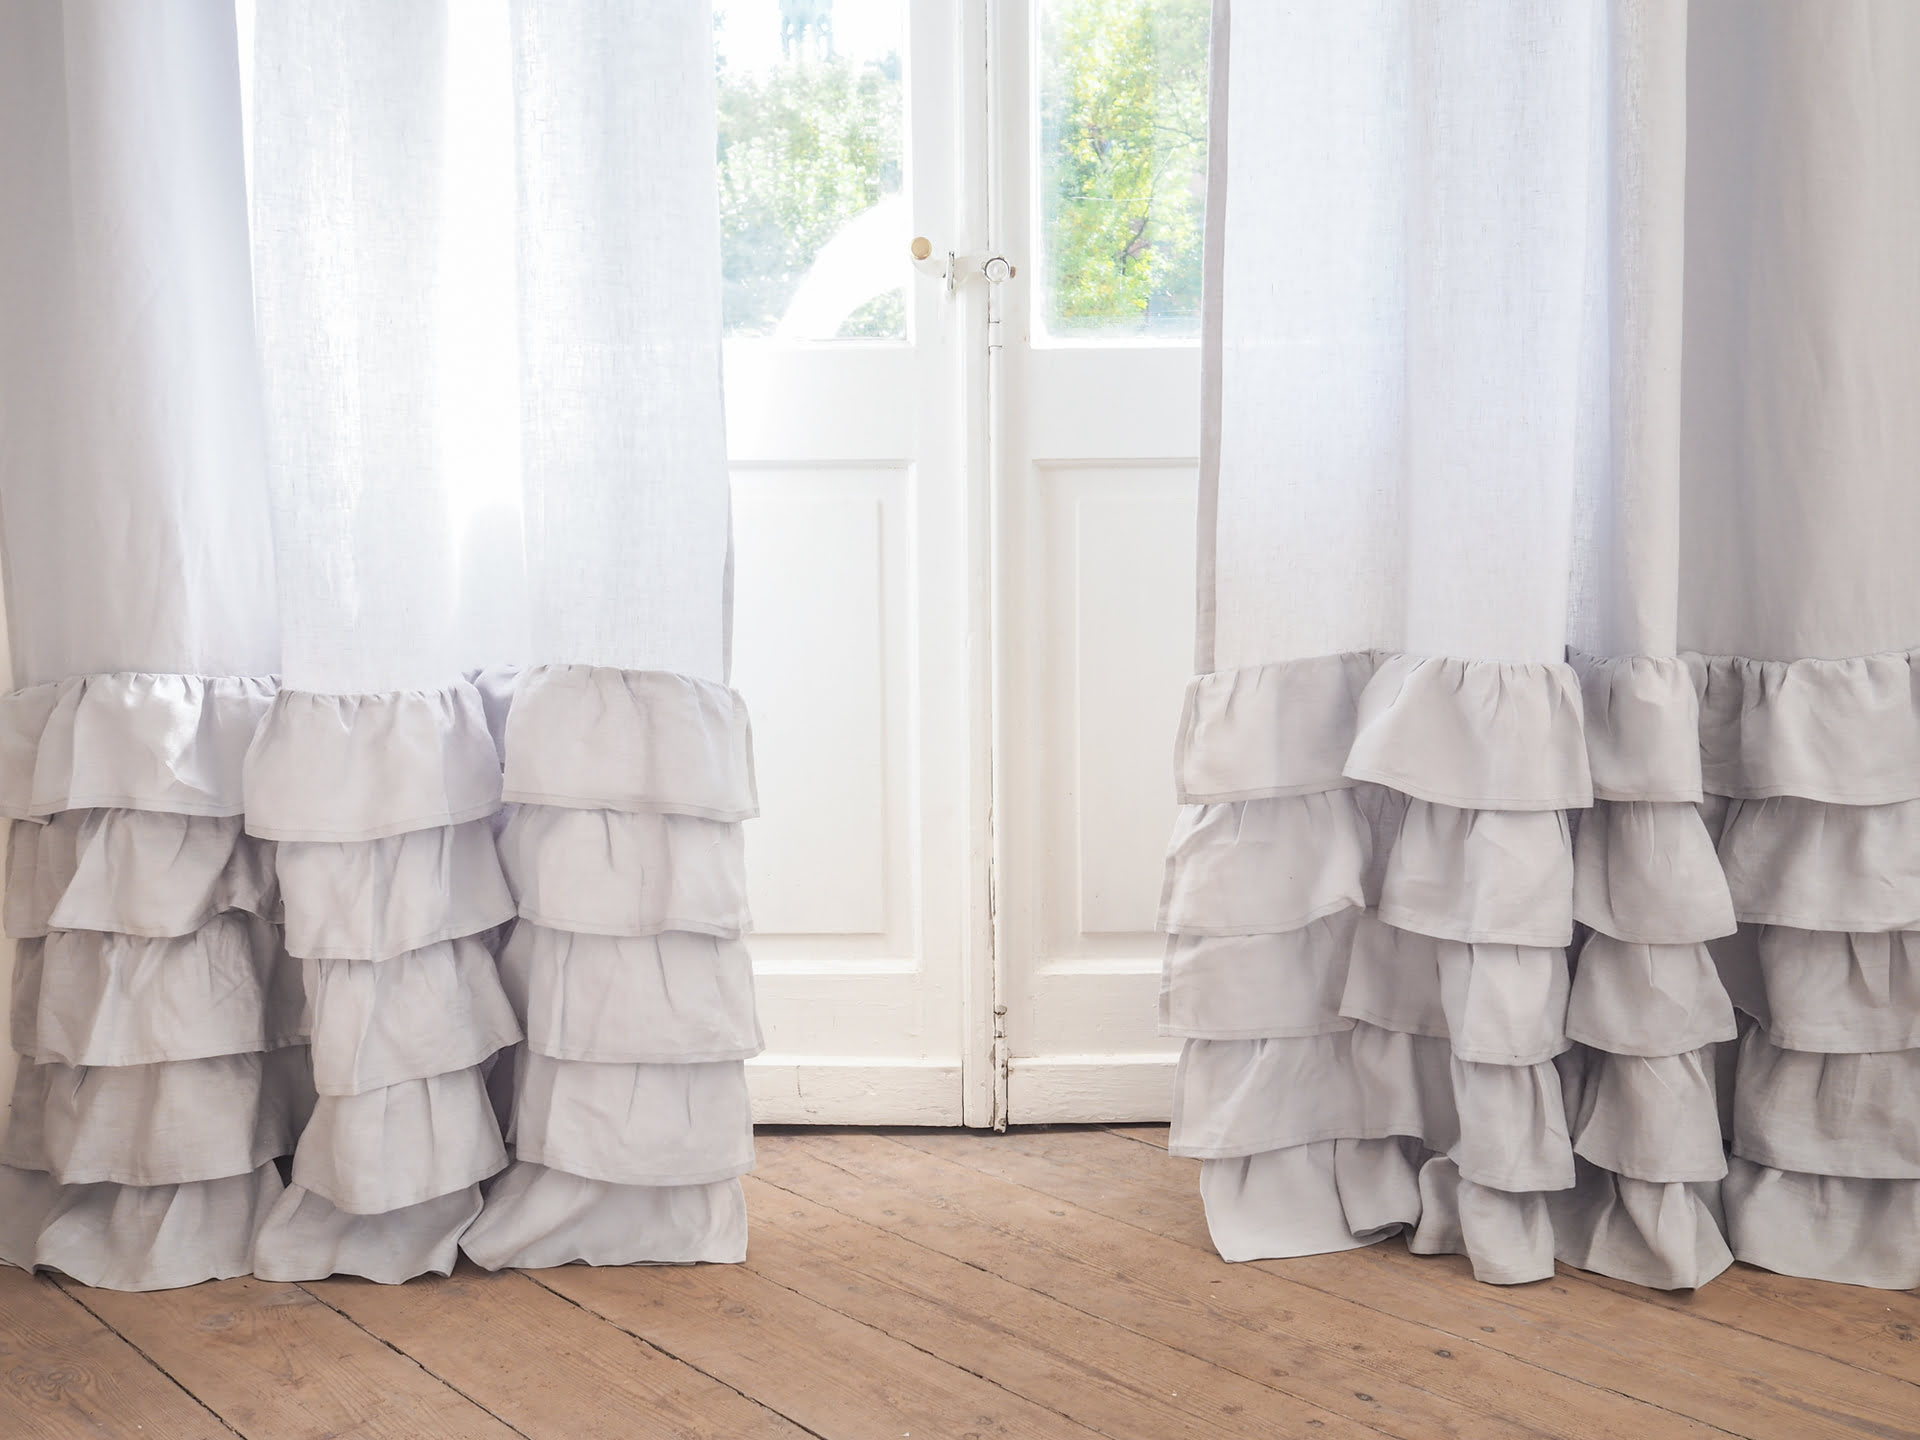
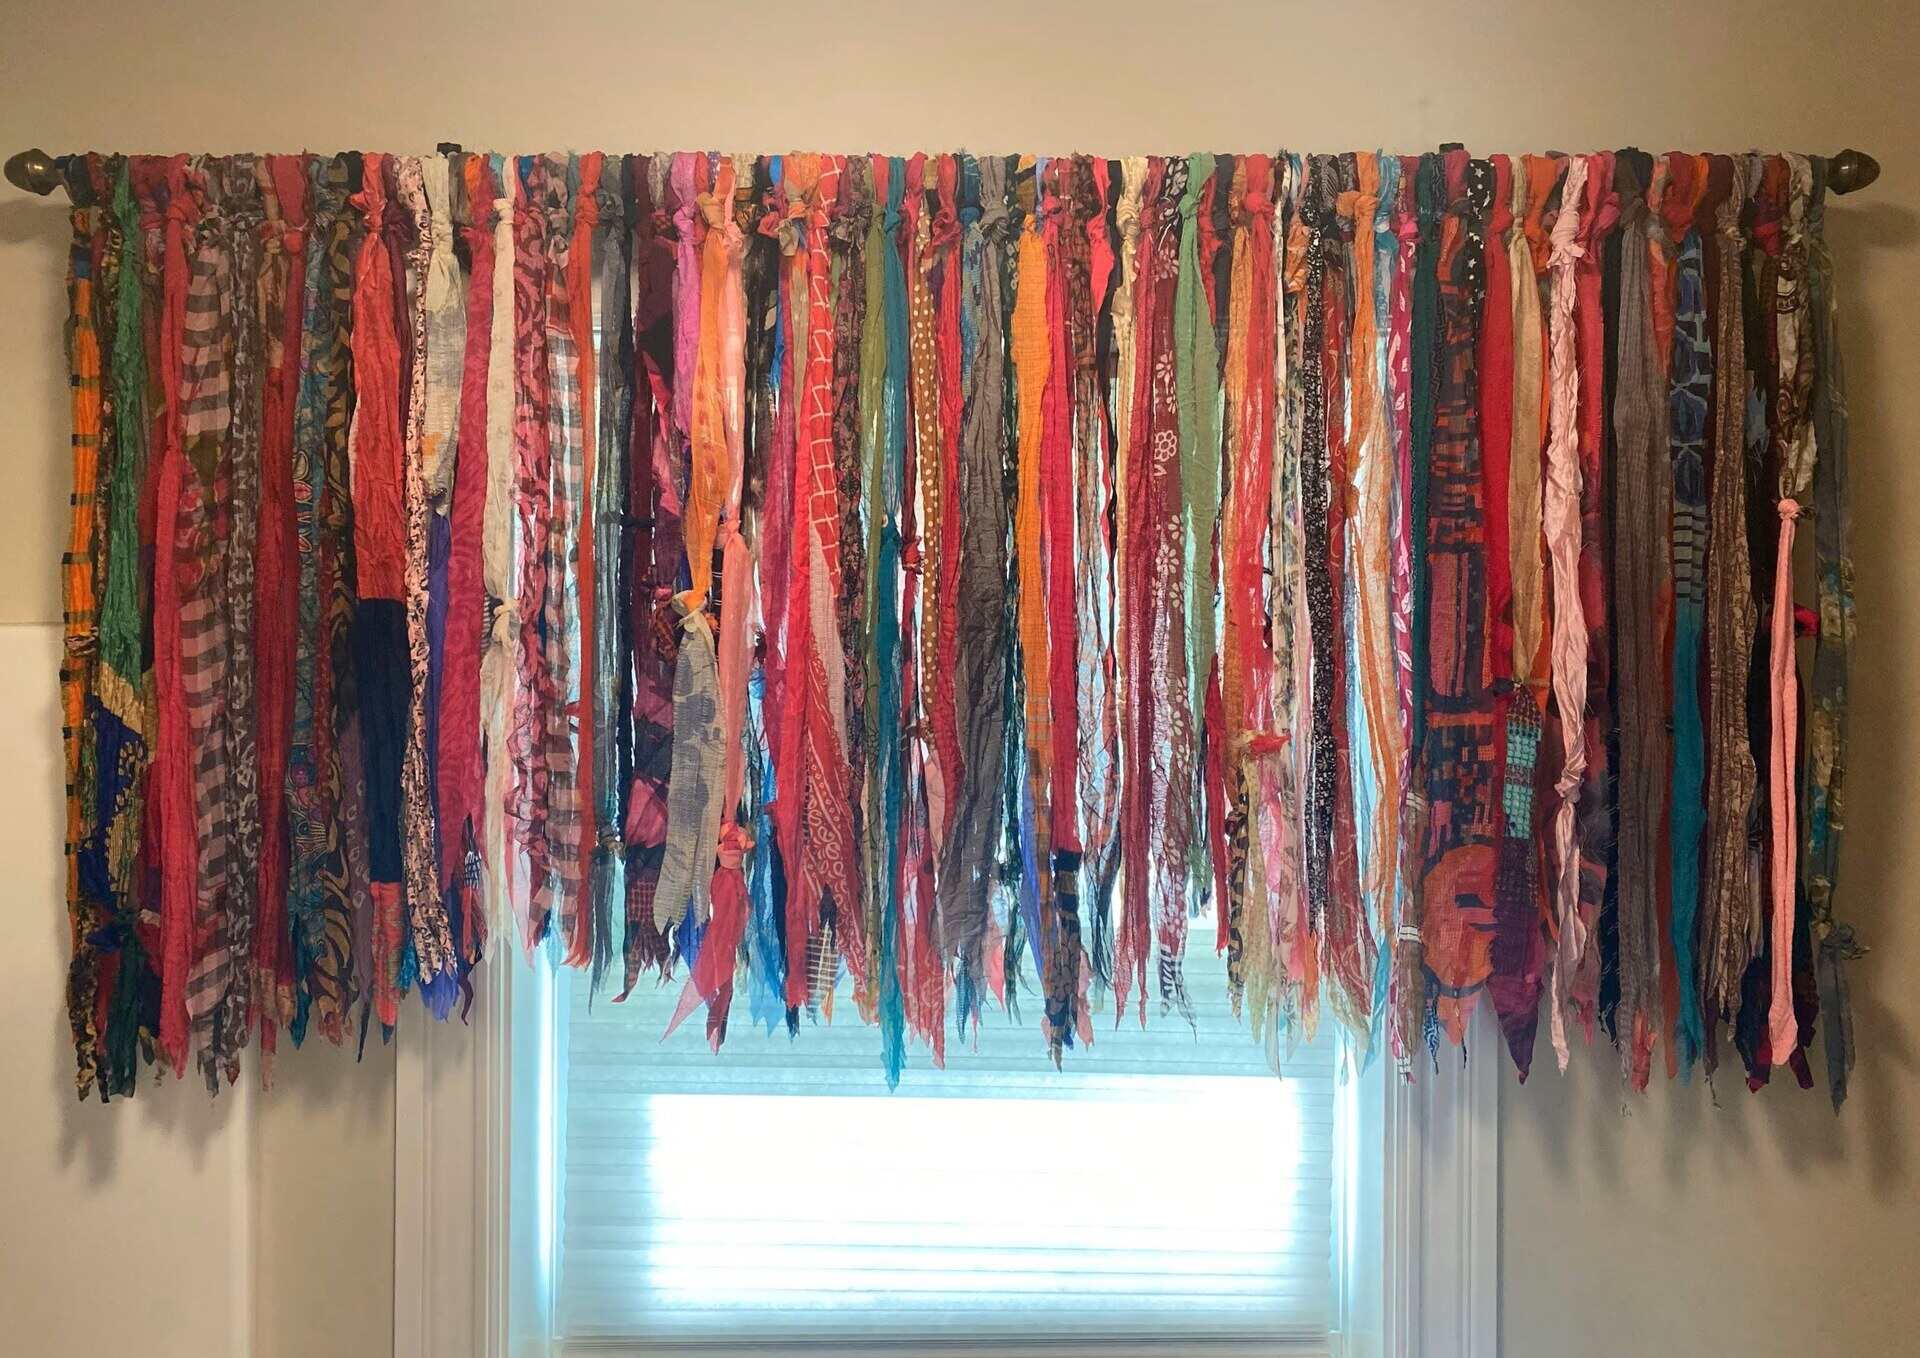
Step 4: Add any Embellishments (optional)
If you want to add a personal touch or customize your sheet curtains further, you can consider adding embellishments. Embellishments can range from simple trims and borders to decorative ribbons, lace, or even fabric paint. This step is entirely optional but can elevate the look of your curtains and make them truly unique.
If you’re planning to add trim or ribbon to your curtains, measure the desired length and cut the trim accordingly. You can then attach the trim to the curtain edges using fabric glue or by stitching it in place with a needle and thread. Make sure to position the trim evenly and securely.
If you prefer a more intricate design, you can experiment with fabric paint or stencils to create patterns or designs on the curtains. Use fabric-safe paint and follow the instructions on the bottle for application and drying time.
Another creative option is to attach decorative buttons, beads, or tassels to the curtain edges or the rod pocket. These small embellishments can add a touch of elegance and flair to your curtains.
Remember to consider the overall aesthetic of your space and choose embellishments that complement your existing décor. Less is often more, so opt for tasteful accents that enhance the overall look without overwhelming the curtains.
Once you’re satisfied with the embellishments, allow them to dry or set as per the instructions provided by the particular materials used. Finally, give your curtains a final press with an iron to ensure a polished and finished appearance.
With the embellishments added, your sheet curtains are almost ready to be hung and enjoyed. Let’s move on to the final step of this DIY project – hanging the curtains.
Step 5: Hang and Enjoy!
Congratulations! You’ve successfully transformed ordinary sheets into beautiful curtains. Now it’s time to hang them up and enjoy the fruits of your labor.
If you’re using a curtain rod, simply slide the rod through the rod pocket you created in Step 3. Ensure that it is positioned securely and centered within the pocket. Adjust the curtains if needed to achieve the desired fullness and drape.
If you’re using curtain rings, open each ring and thread it through the rod pocket. Close the rings and evenly distribute them along the length of the curtains. This method allows for easy accessibility and flexibility in adjusting the curtain length or removing individual panels if needed.
Once the curtains are hung, step back and admire your work. Take a moment to adjust the positioning and appearance of the drapes to ensure they hang evenly and create a cohesive look with your room’s décor.
Now that you have your new sheet curtains in place, you can bask in the satisfaction of a DIY project well done. These curtains not only provide privacy and light control but also add charm and character to your space.
Don’t forget to give them a gentle shake or brush occasionally to remove any dust or debris that may accumulate. Depending on the fabric used, you may also want to periodically wash or dry clean your curtains to keep them fresh and looking their best.
Enjoy the beauty and functionality of your homemade sheet curtains and take pride in the fact that you created a stylish window treatment on a budget. Experiment with different sheet colors, patterns, and textures to match the changing seasons or your evolving home décor preferences.
Remember, with a little creativity and DIY spirit, you can turn simple sheets into stunning curtains that showcase your unique style and transform your home. So, go ahead, hang them up, and enjoy the beautiful curtains you’ve crafted!
Happy DIYing!
Conclusion
Creating curtains from sheets is a cost-effective and rewarding DIY project that allows you to unleash your creativity and personalize your home decor. By following the step-by-step guide outlined in this article, you can transform ordinary sheets into stunning window treatments that add style, privacy, and functionality to your space.
Throughout the process, we discussed the materials you’ll need, including the sheet itself, measuring tape, fabric scissors, pins, a sewing machine or needle and thread, and a curtain rod or rings. These essential tools, combined with your creativity, will help you achieve professional-looking results without the hefty price tag.
We walked through each step of the process, from measuring and cutting the sheets to sewing the hems and creating a rod pocket. Along the way, you had the option to add embellishments, such as trims, fabric paint, or decorative elements, to further enhance the curtains’ aesthetics.
With your finished sheet curtains, you can enjoy the sense of accomplishment that comes from creating something beautiful with your own hands. Hang them up, adjust their positioning, and take the time to admire the transformation they bring to your space. Whether you choose to make curtains for your living room, bedroom, or any other room in your home, the end result is sure to be a unique reflection of your personal style.
Remember to maintain and care for your curtains by giving them a gentle shake or brush occasionally to remove dust and debris. Washing or dry cleaning when necessary will help keep them fresh and looking their best.
So, why settle for plain curtains when you can unleash your creativity and make stunning window treatments from sheets? Embrace the DIY spirit, experiment with different colors and patterns, and enjoy the satisfaction of transforming your home one curtain at a time.
Happy crafting and enjoy your gorgeous sheet curtains!
Frequently Asked Questions about How To Make Curtains From Sheets
Was this page helpful?
At Storables.com, we guarantee accurate and reliable information. Our content, validated by Expert Board Contributors, is crafted following stringent Editorial Policies. We're committed to providing you with well-researched, expert-backed insights for all your informational needs.


0 thoughts on “How To Make Curtains From Sheets”