Articles
How To Build Platform Bed With Storage
Modified: October 20, 2024
Discover how to maximize your bedroom storage with our step-by-step guide on building a platform bed with ample storage space. Transform your bedroom into a clutter-free oasis!
(Many of the links in this article redirect to a specific reviewed product. Your purchase of these products through affiliate links helps to generate commission for Storables.com, at no extra cost. Learn more)
Introduction
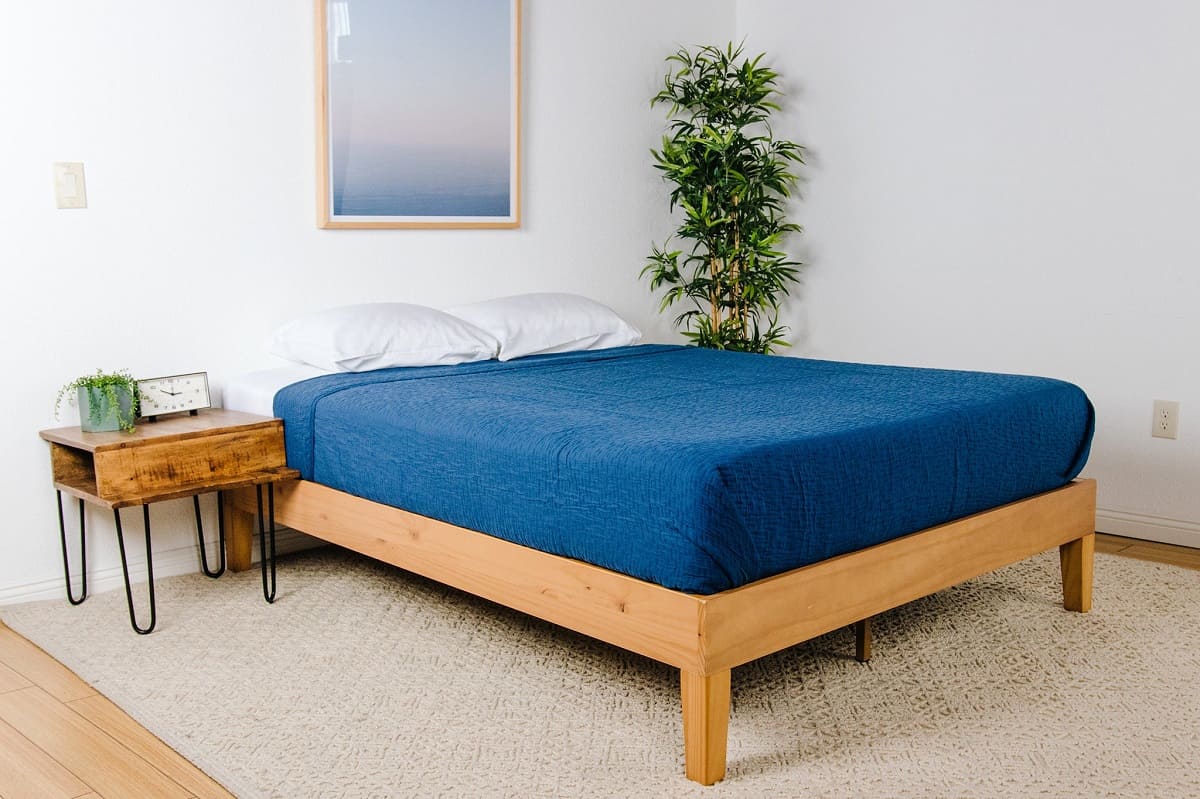
Building a platform bed with storage is a fantastic way to optimize space in your bedroom while adding a touch of style and functionality. Whether you have a small space and need extra storage or simply want to elevate the look of your bedroom, a platform bed with storage can be a perfect solution. Plus, with a little bit of time and effort, you can create a customized piece that suits your needs and personal style.
In this step-by-step guide, we will walk you through the process of building your own platform bed with storage. From gathering the materials to adding the final touches, you’ll have all the information you need to successfully complete this DIY project.
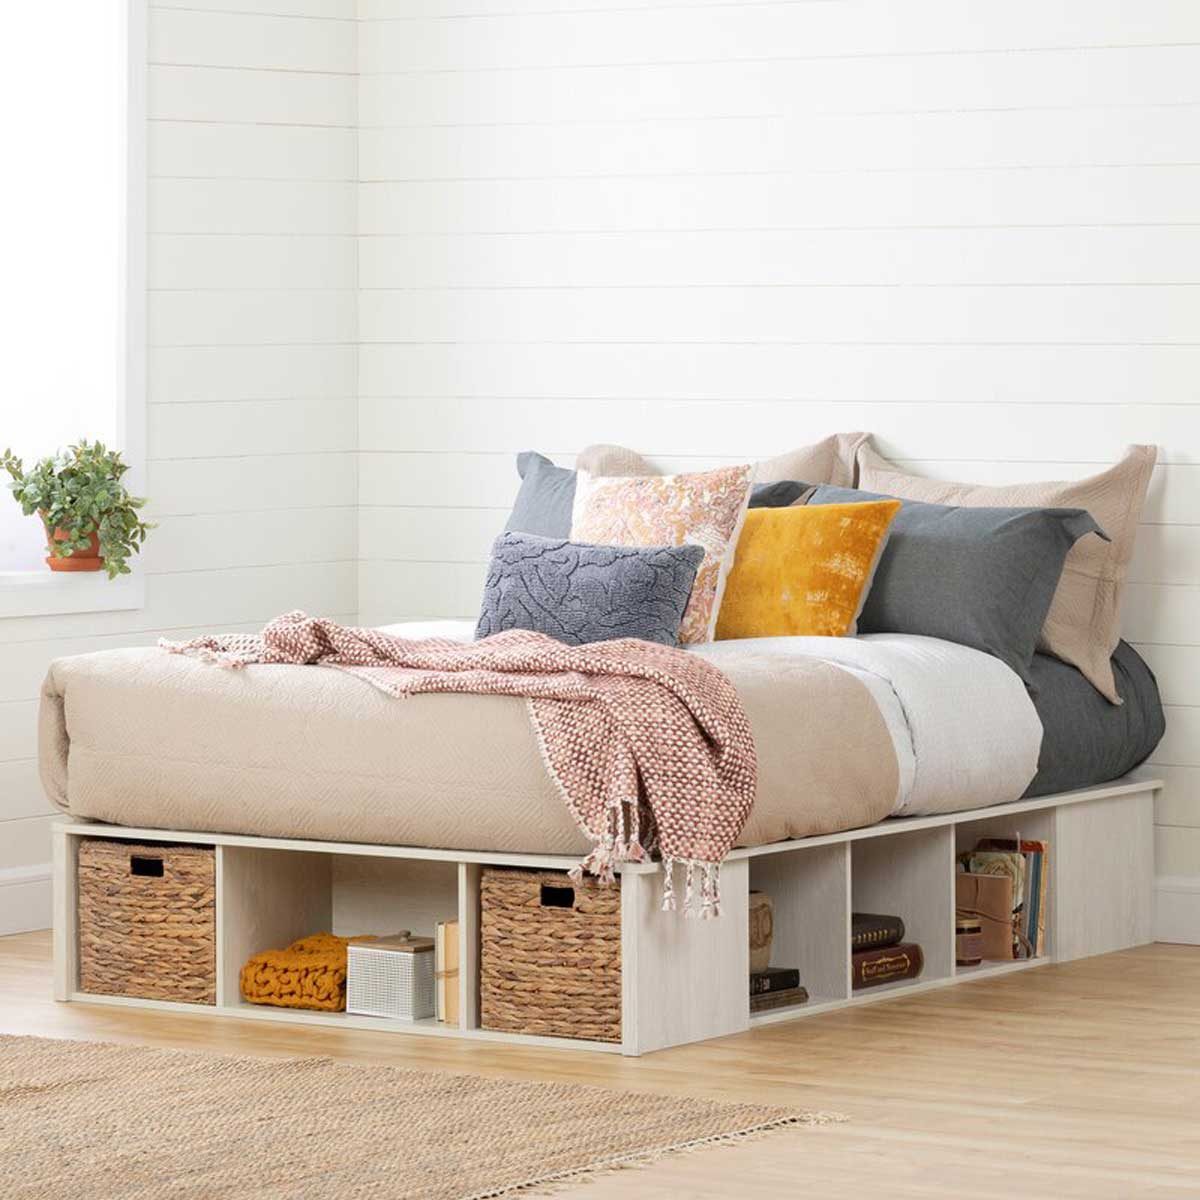
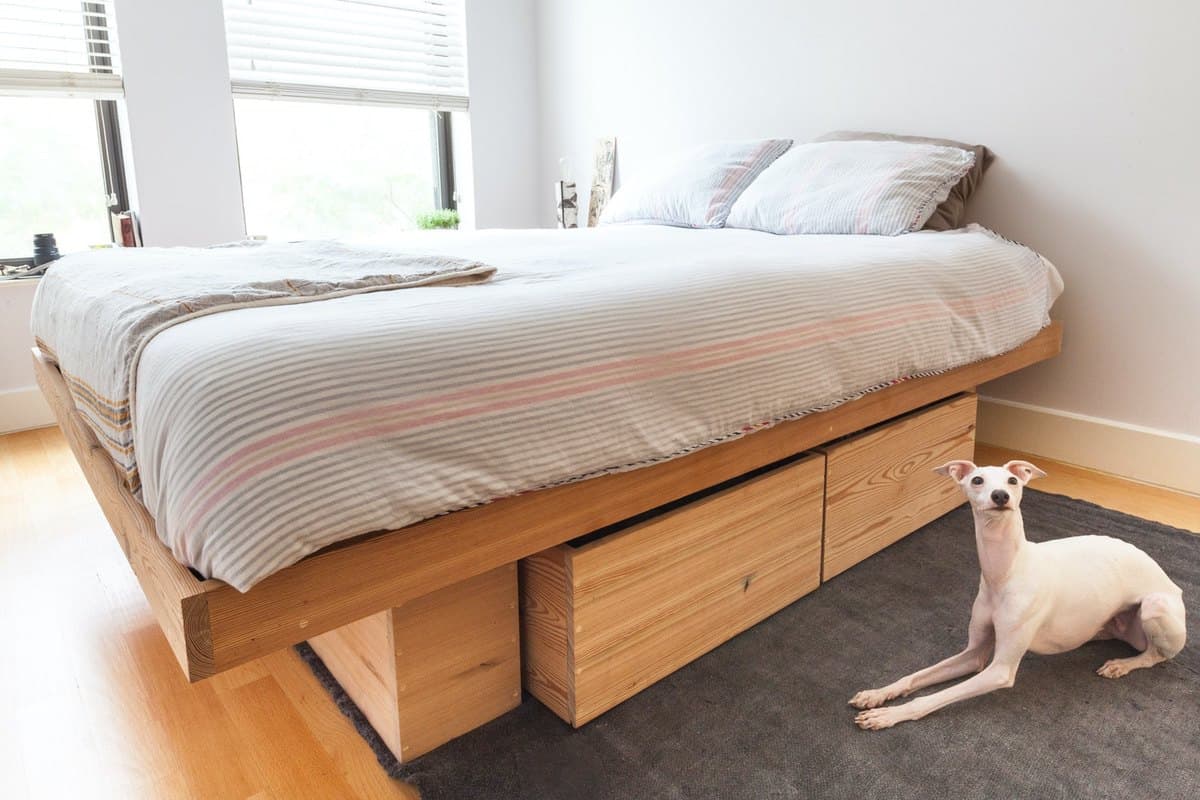
But before we get started, let’s take a moment to understand why a platform bed with storage is a worthwhile investment. Not only does it provide a comfortable place to sleep, but it also maximizes your available space by offering built-in storage compartments. These compartments can be used to store extra bedding, clothing, or any other items that typically clutter your bedroom.
Additionally, a platform bed adds a modern and clean aesthetic to your room. Unlike traditional beds, platform beds have a low-profile design, which can create a visually appealing focal point in your bedroom. With the added bonus of storage, you can seamlessly combine practicality and style.
Now that you understand the benefits of a platform bed with storage, let’s dive into the step-by-step process of building one from scratch.
Key Takeaways:
- Maximize bedroom space and style with a DIY platform bed with storage. Enjoy a clutter-free environment and a personalized piece that reflects your unique style and needs.
- Elevate your bedroom with a custom platform bed. Create a functional and visually appealing space while optimizing storage and maximizing comfort.
Read more: How To Build A Platform Bed
Step 1: Gather the Materials
Before you begin the construction of your platform bed with storage, it’s essential to gather all the necessary materials. Having everything you need at hand will make the process more efficient and ensure that you can complete the project without any interruptions.
Here is a list of materials you will need:
- 1. Plywood or pre-cut wooden boards for the base, sides, and storage compartments.
- 2. Wooden slats for the platform support.
- 3. Screws and nails for assembly.
- 4. Wood glue for added stability.
- 5. Sandpaper for smoothing the surfaces.
- 6. Paint or stain for finishing touches.
- 7. Drawer slides or other hardware for the storage compartments.
- 8. Tools such as a circular saw, drill, screwdriver, and hammer.
Make sure to measure your mattress dimensions before purchasing or cutting the materials. This will ensure that your platform bed is the perfect fit for your mattress.
Once you have gathered all the materials, double-check to ensure you have everything needed for the construction process. It’s better to have all the materials at hand before starting to avoid any delays during the project.
With the materials ready, you can now move on to the next step: measuring and cutting the wood.
Step 2: Measure and Cut the Wood
With your materials gathered, it’s time to start measuring and cutting the wood for your platform bed with storage. Proper measurements and accurate cuts are crucial to ensure that all the pieces fit together seamlessly.
Here are the steps to measure and cut the wood:
- Begin by measuring the dimensions of your mattress. This will determine the size of the platform top and the base frame.
- Based on the measurements, cut the plywood or pre-cut wooden boards for the platform top. Make sure to double-check the measurements before making any cuts.
- Next, measure and cut the wood for the base frame and the sides of the platform bed. The base frame will provide support for the platform top, while the sides will enclose the storage compartments.
- If you plan to have storage compartments, measure and cut additional pieces of wood for the dividers and shelves. These pieces will create the storage compartments within the base frame.
- Use a circular saw or a handsaw, along with a straight edge or a miter saw, to make precise cuts. Ensure that the cuts are straight and smooth to achieve a professional finish.
- Once all the pieces are cut, label them accordingly to avoid confusion during the assembly process.
Remember to always prioritize safety while using power tools. Wear appropriate protective gear, such as safety goggles and gloves, and follow the manufacturer’s instructions for the tools you are using.
By measuring accurately and cutting the wood precisely, you will be one step closer to building your platform bed with storage. The next step is to assemble the base frame.
Step 3: Assemble the Base Frame
Now that you have measured and cut the wood for your platform bed with storage, it’s time to assemble the base frame. The base frame will provide the foundation and support for your platform bed.
Follow these steps to assemble the base frame:
- Start by laying out the pieces of wood for the base frame according to your measurements. Ensure that the corners are aligned properly.
- Apply wood glue along the edges of the pieces to add extra strength and stability.
- Use screws or nails to secure the pieces together. Place them evenly spaced along the edges, making sure they penetrate both pieces of wood for a sturdy connection.
- Check the corners for squareness by measuring the diagonals. Adjust if necessary to ensure the frame is perfectly square.
- Repeat the process for the sides of the platform bed as well, connecting them to the base frame.
It’s important to ensure that the base frame is solid and well-constructed as it will bear the weight of the mattress and any storage items. Take your time during this process to achieve a sturdy and stable base.
Once the base frame is assembled, you can move on to the next step: building the storage compartments.
Note: If you prefer not to have storage compartments, you can skip step 4 and proceed directly to step 5.
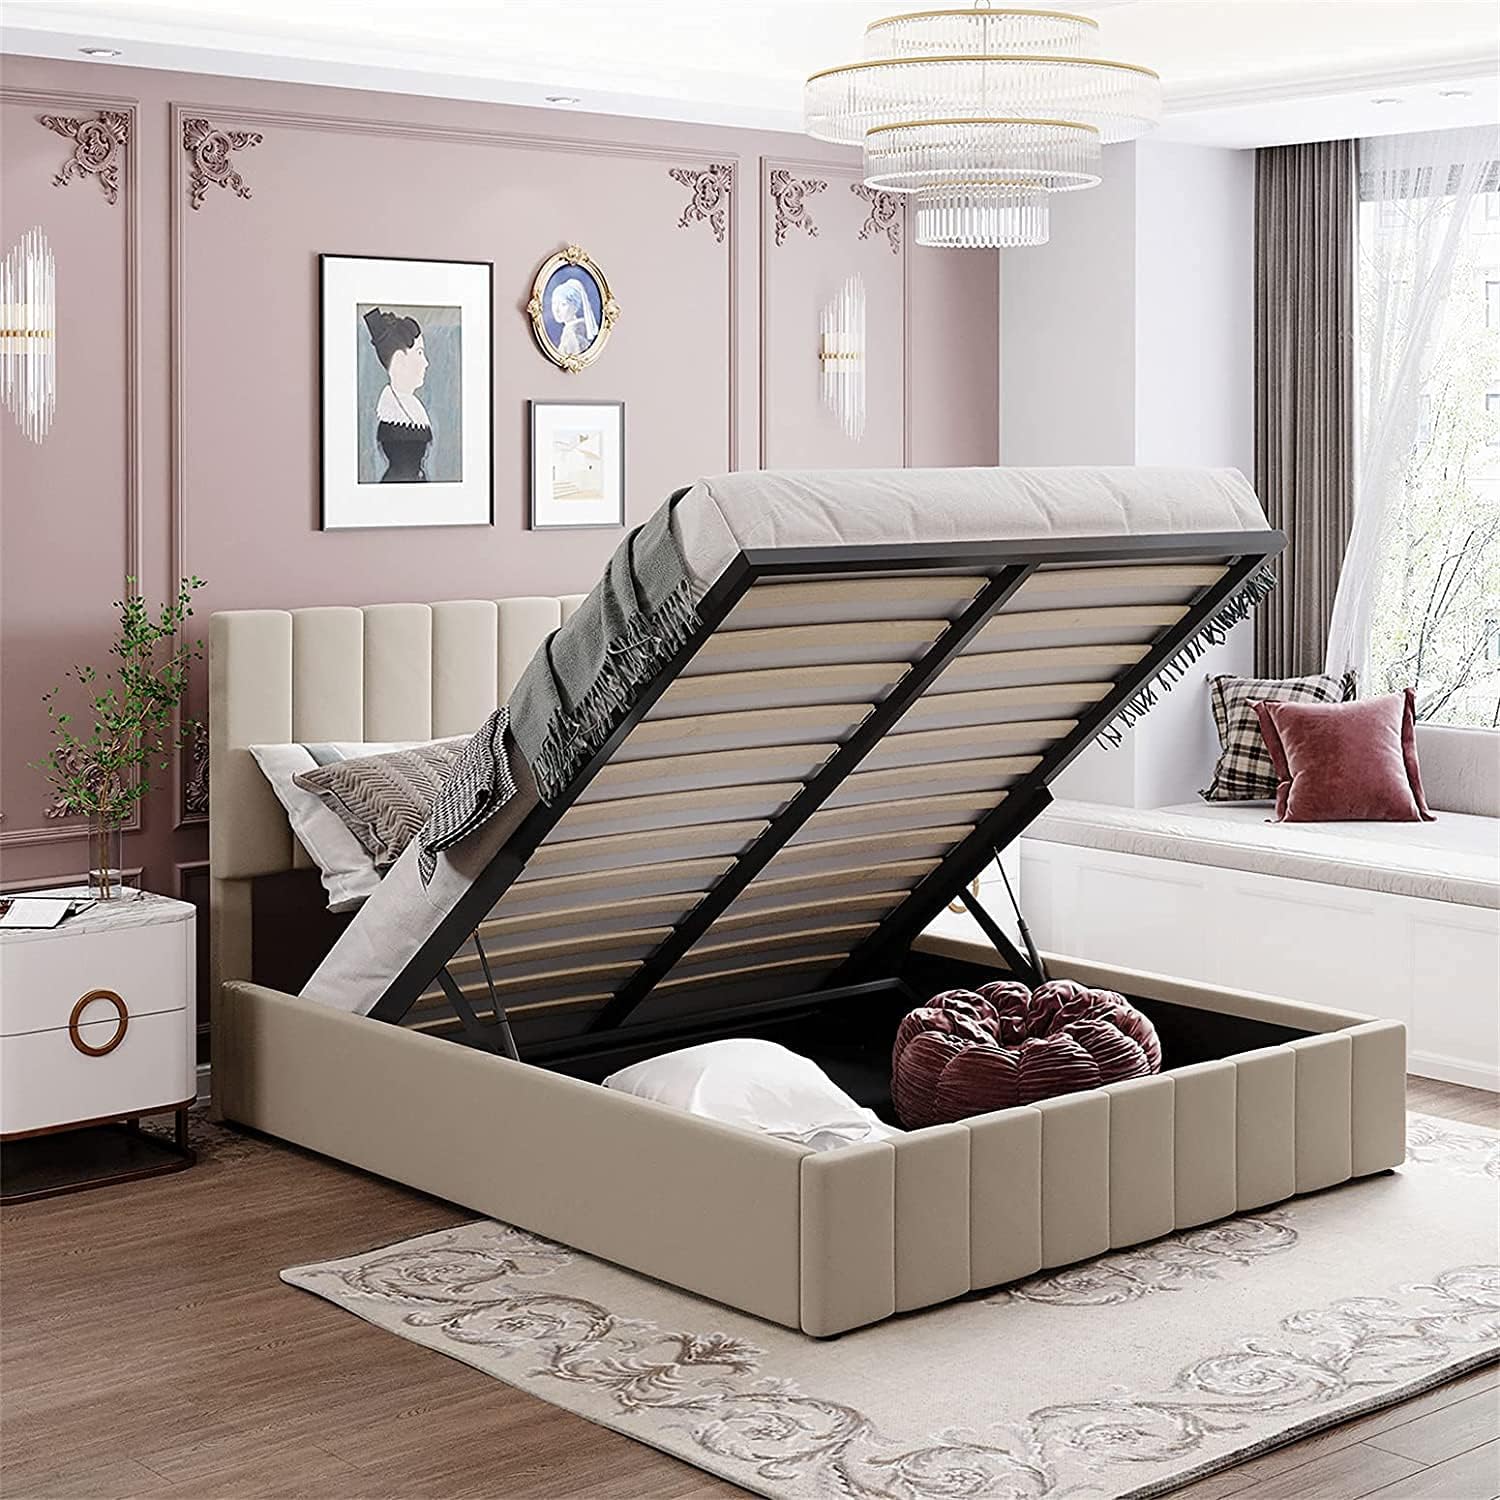
Step 4: Build the Storage Compartments
One of the major benefits of a platform bed with storage is the extra storage space it provides. In this step, we will guide you through the process of building the storage compartments within the base frame.
Follow these steps to build the storage compartments:
- Measure and mark the desired locations for the storage compartments within the base frame. Consider the dimensions of the items you plan to store, such as clothing or bedding, to determine the size and number of compartments.
- Using the marked measurements, cut the additional pieces of wood for the dividers and shelves. Ensure that the pieces are cut accurately to fit within the base frame.
- Apply wood glue along the edges of the dividers and shelves, and then secure them in place with screws or nails.
- If you prefer to have drawers in the storage compartments, install drawer slides or other hardware according to the manufacturer’s instructions. This will allow the drawers to slide smoothly in and out of the compartments.
- Double-check all the connections and ensure that the storage compartments are stable and secure within the base frame.
Building storage compartments within the base frame adds functionality and organization to your platform bed. It allows you to keep your bedroom clutter-free and make the most of the available space.
Once you have successfully built the storage compartments, you can proceed to the next step: constructing the platform top.
Read also: 10 Best Platform Storage Bed For 2025
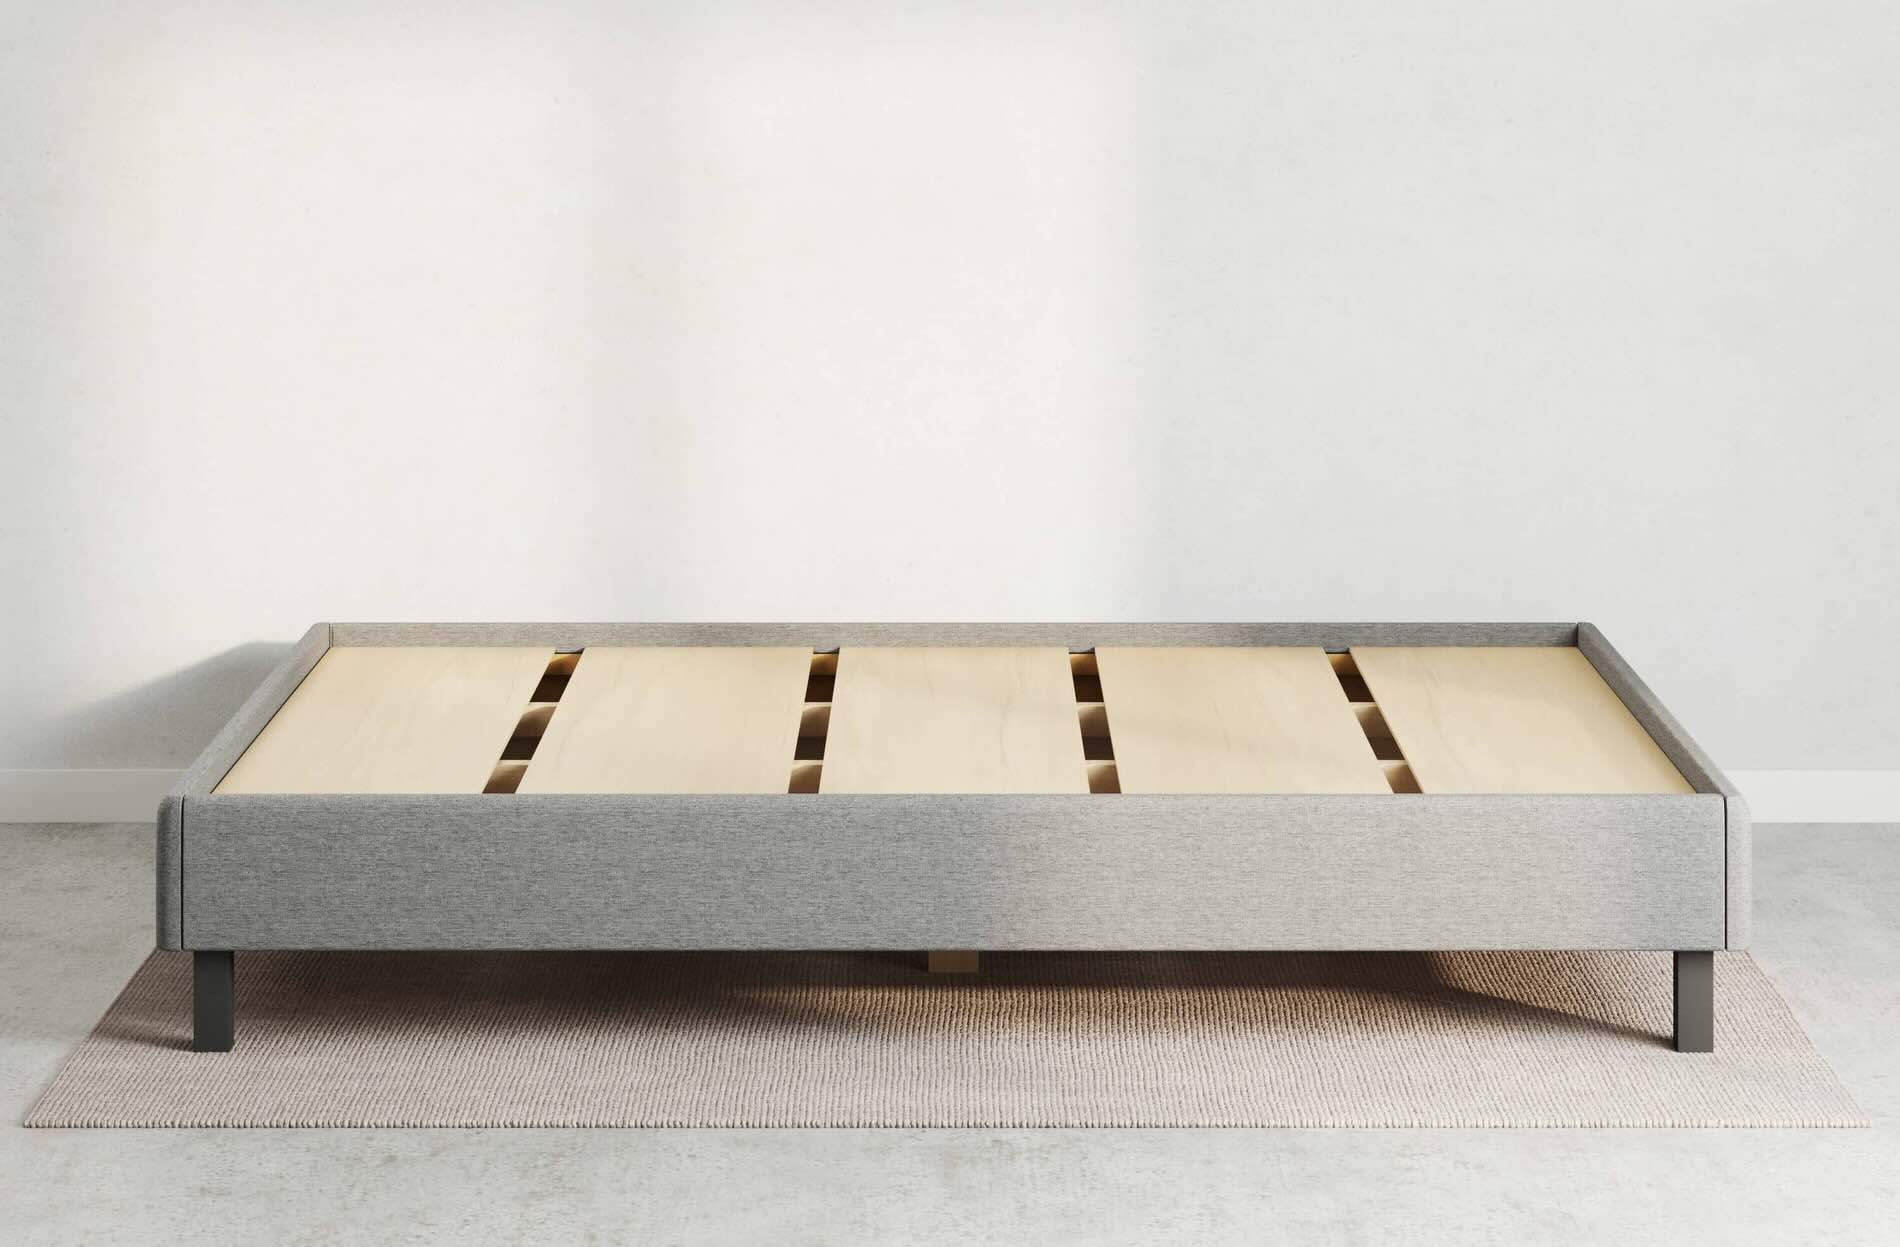
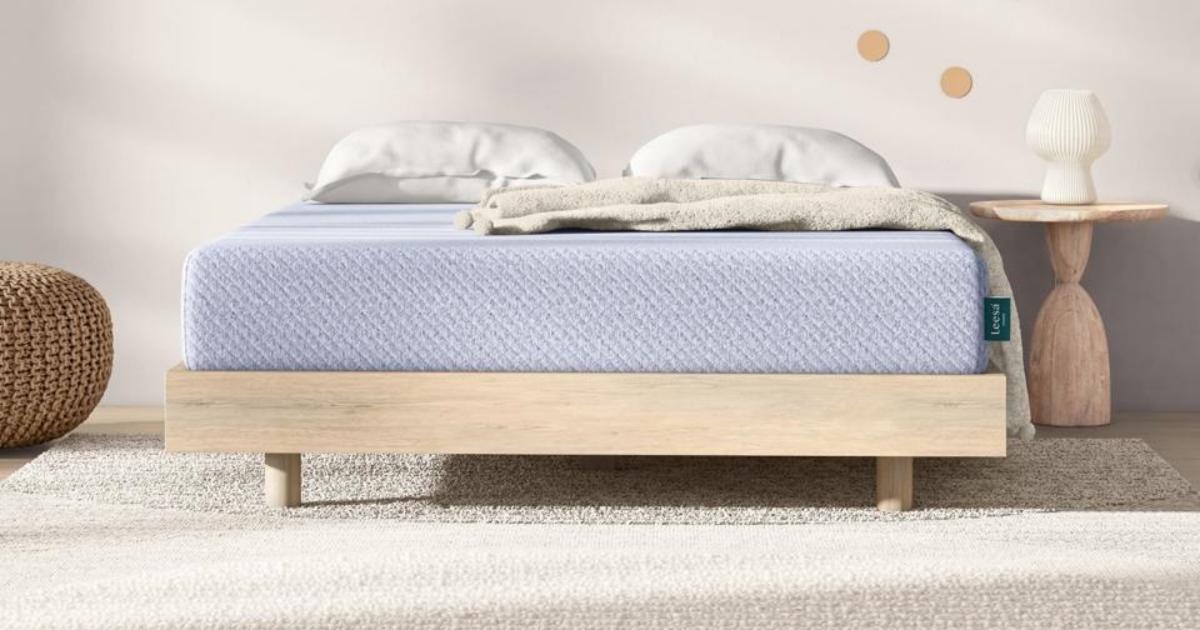
Step 5: Construct the Platform Top
With the base frame and storage compartments in place, it’s time to construct the platform top for your bed. The platform top will provide a sturdy and supportive surface for your mattress.
Follow these steps to construct the platform top:
- Begin by laying the pre-cut plywood or wooden boards on top of the base frame. Ensure that they are flush with the edges of the frame and evenly spaced.
- If using plywood, you may opt to cover it with a layer of fabric or foam for added comfort and aesthetics. This is completely optional and will depend on your personal preference.
- Secure the plywood or wooden boards to the base frame using screws or nails. Place them evenly spaced along the perimeter and in the center for optimal support.
It’s important to ensure that the platform top is securely attached to the base frame to prevent any movement or sagging over time. Take your time during this step to ensure a strong and stable platform for your mattress.
Once the platform top is constructed, you have completed a significant portion of the construction process. The next step is to sand and finish the bed to prepare it for a polished and professional look.
When building a platform bed with storage, make sure to measure the space where the bed will go and plan the storage compartments accordingly to maximize the available space. Also, consider using drawers or cubbies for easy access to the stored items.
Step 6: Sand and Finish the Bed
After constructing the platform top, it’s important to sand and finish the bed to achieve a smooth and polished surface. Sanding not only removes rough edges and imperfections but also prepares the wood for staining or painting.
Follow these steps to sand and finish your platform bed:
- Start by using coarse-grit sandpaper to sand the entire surface of the bed, including the base frame, storage compartments, and platform top. This will help smooth out any rough spots or sharp edges.
- Gradually switch to finer-grit sandpaper to achieve a smoother finish. Sand in the direction of the wood grain for the best results.
- Once the bed is sanded, use a soft cloth or tack cloth to remove any dust or debris.
- If you prefer a natural wood finish, you can apply wood stain or varnish to protect and enhance the beauty of the wood. Follow the manufacturer’s instructions for the specific product you choose.
- If you prefer a painted finish, apply a primer to the entire bed and allow it to dry. Then, apply your chosen paint color in thin, even coats, allowing each coat to dry before applying the next.
- Allow the stain or paint to dry completely before moving on to the next step.
By sanding and finishing the bed, you not only improve the appearance but also protect the wood from damage and wear over time.
Once the bed is dry and finished, you’re ready to attach the platform top to the base frame. This will be covered in the next step.
Step 7: Attach the Platform Top to the Base Frame
Now that you have sanded and finished your bed, it’s time to attach the platform top to the base frame. This step will ensure a secure and stable connection between the two components of your platform bed.
Follow these steps to attach the platform top to the base frame:
- Position the platform top on top of the base frame, ensuring that it is centered and aligned properly.
- Using screws or nails, secure the platform top to the base frame. Place the fasteners evenly spaced along the perimeter, making sure they penetrate both the platform top and the base frame for a strong connection.
- Double-check that the platform top is securely attached and doesn’t wobble or shift when pressure is applied.
Attaching the platform top is an essential step to complete the construction of your bed. It ensures that the mattress will be properly supported and provides stability to the bed as a whole.
With the platform top securely attached, you can now move on to the next step: installing the storage drawers.
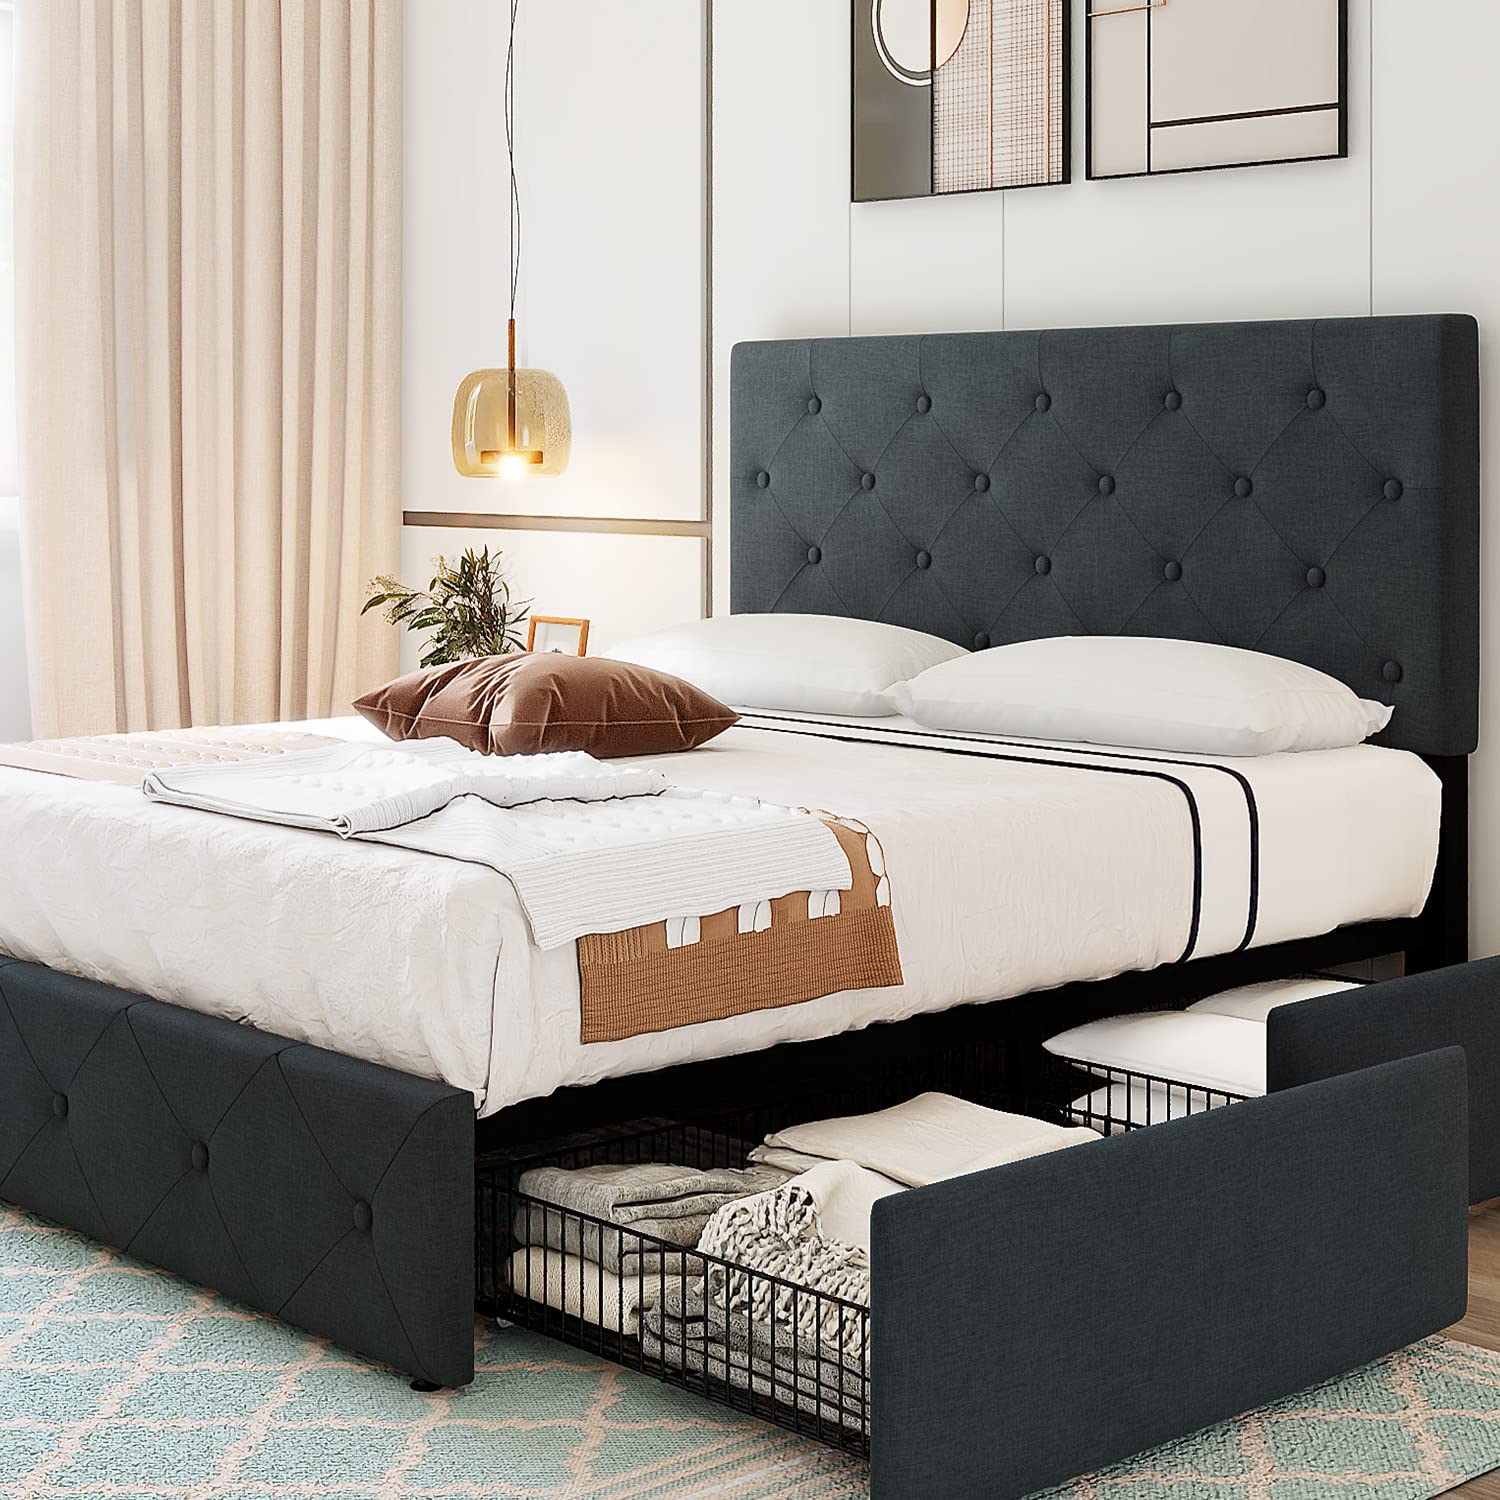
Step 8: Install the Storage Drawers
If you opted to include storage compartments with drawers in your platform bed, this step will guide you through the process of installing them. The drawers will provide convenient and organized storage for your belongings, making the most of the space under your bed.
Follow these steps to install the storage drawers:
- Measure and mark the locations for the drawer slides within the storage compartments. Ensure that the slides are aligned properly for smooth movement of the drawers.
- Using the marked measurements, attach the drawer slides to the sides of the storage compartments according to the manufacturer’s instructions. Make sure that the slides are securely fastened and level.
- Fit the drawers into the storage compartments, sliding them onto the drawer slides. Test their movement to ensure they glide smoothly in and out.
- If desired, you can add drawer pulls or knobs to the front of the drawers for a decorative touch and easy access to the contents.
- Double-check that the drawers fit properly and operate smoothly. Make any necessary adjustments as needed.
Installing the storage drawers completes the functionality of your platform bed with storage. Now, you have both a comfortable place to sleep and a practical storage solution that maximizes your available space.
Once the drawers are installed, you’re almost finished! The final step is to add some final touches and decorations to complete the look of your platform bed.
Read more: What Is A Platform Bed
Step 9: Final Touches and Decoration
With the construction and installation complete, it’s time to add the final touches and decorations to your platform bed with storage. This step will help personalize your bed and make it a visually appealing addition to your bedroom.
Follow these steps for the final touches and decoration:
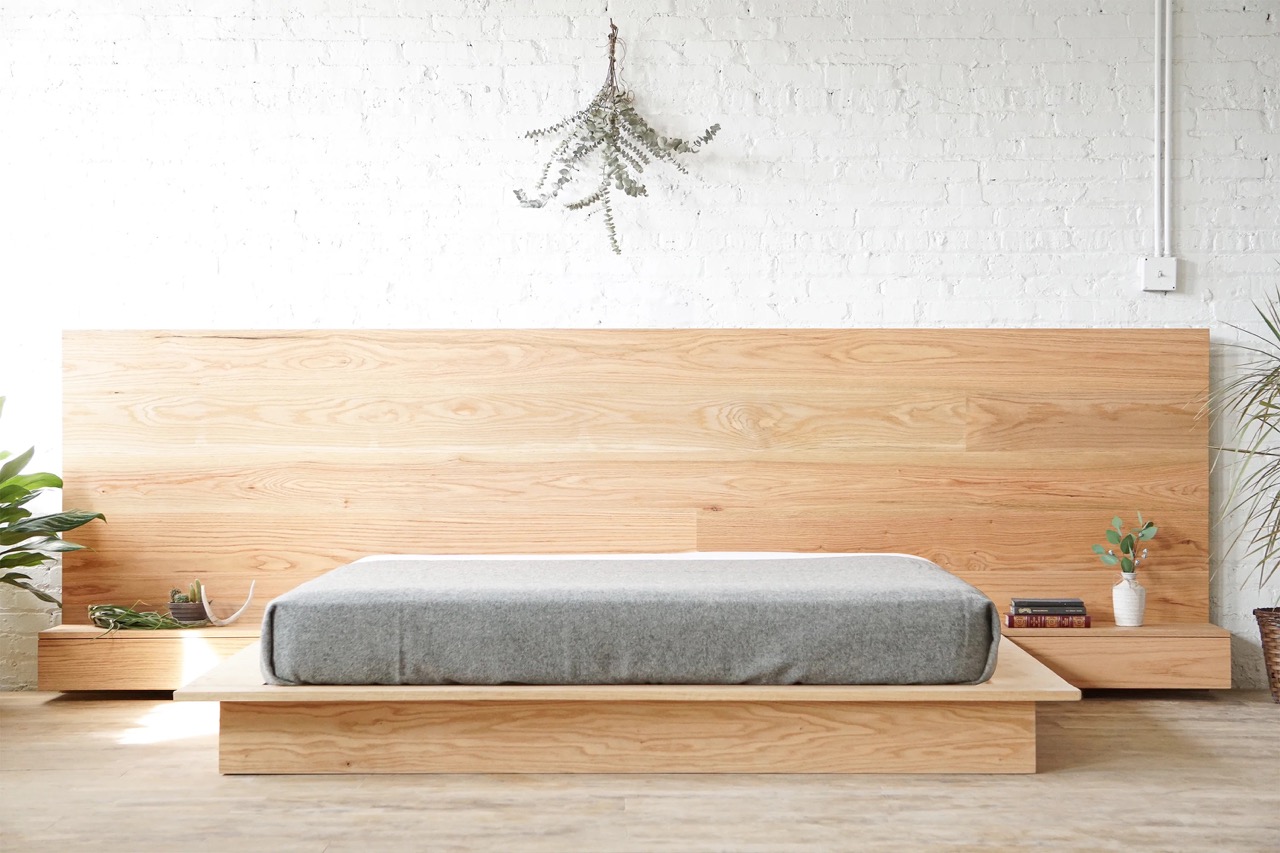
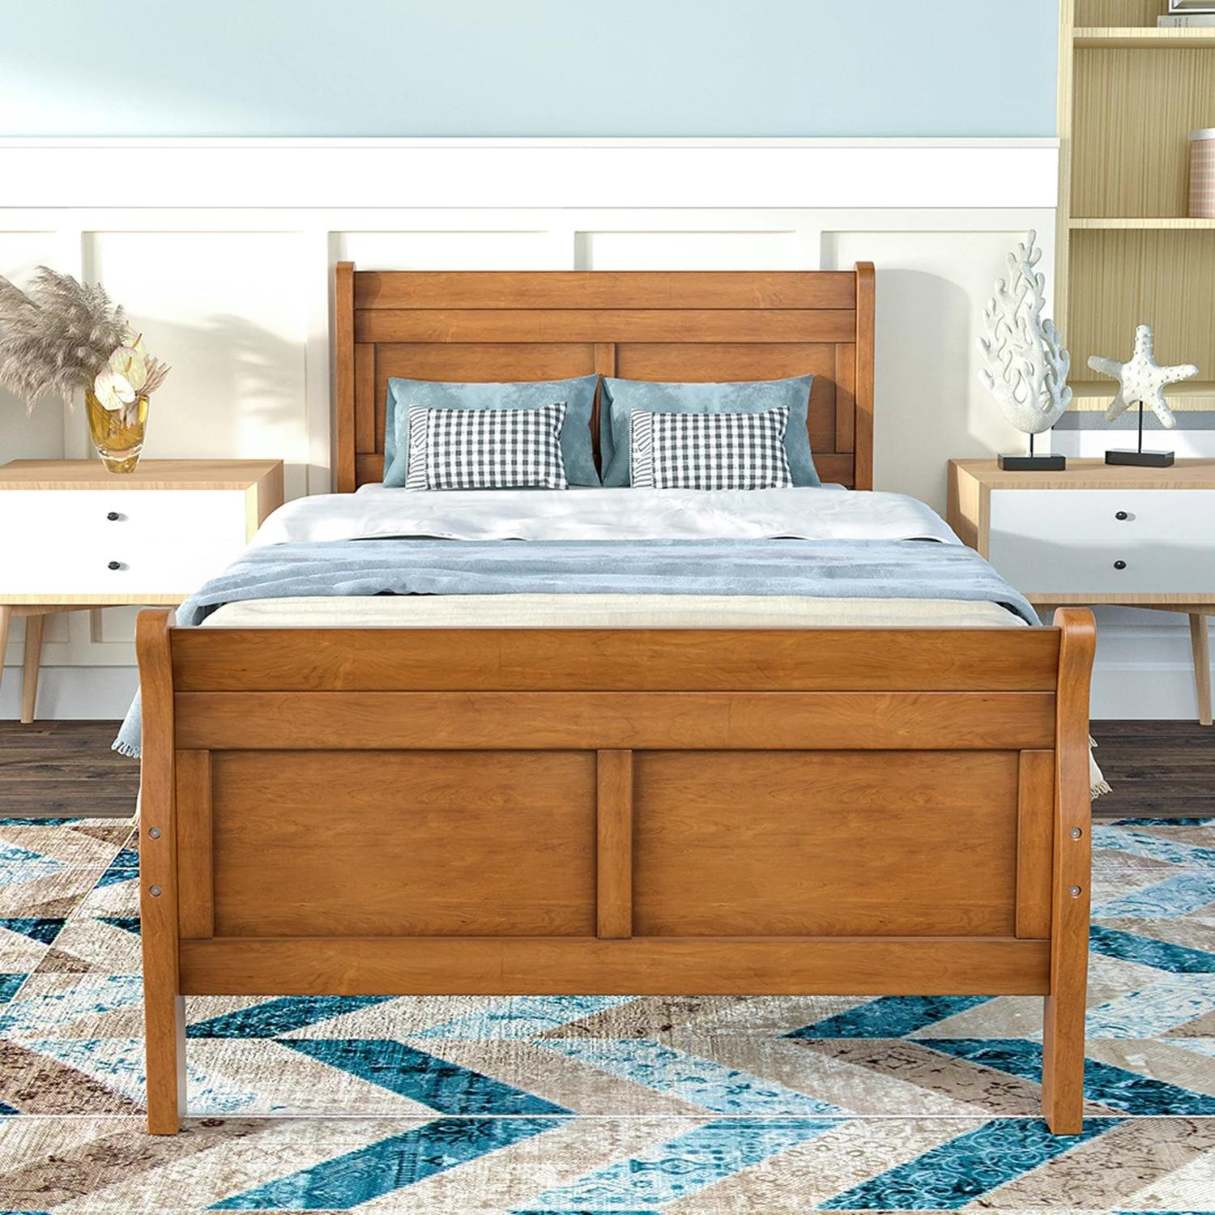
- Consider adding a headboard to your platform bed to enhance the overall design. You can create a custom headboard using fabric, wood, or even repurposed materials.
- Add bedding and pillows that complement the style and color scheme of your bedroom. Choose materials and patterns that create a cozy and inviting atmosphere.
- Accessorize your platform bed with decorative items such as artwork, plants, or decorative pillows. These elements can add personality and visual interest to the room.
- Ensure that any electrical cords or cables are neatly tucked away or managed to maintain a clean and organized appearance.
- Consider installing additional lighting options, such as bedside lamps or wall-mounted sconces, to create a warm and functional ambiance.
- Don’t forget to regularly clean and organize the storage compartments to keep your belongings in order.
By adding the final touches and decorations, your platform bed with storage will not only be functional but also a beautiful focal point in your bedroom. It’s your opportunity to put your personal style on display.
With these final touches complete, step back and admire the handiwork you’ve accomplished in building your own platform bed with storage. Enjoy the functionality, style, and space optimization it brings to your bedroom!
Congratulations on completing your platform bed with storage project!
Conclusion
Building a platform bed with storage is a rewarding DIY project that not only saves space but also adds a touch of style and functionality to your bedroom. Through careful planning, precise measurements, and step-by-step construction, you have created a customized piece that meets your needs and reflects your personal style.
Throughout the process, you gathered the necessary materials, measured and cut the wood, assembled the base frame, built the storage compartments, constructed the platform top, sanded and finished the bed, attached the platform top to the base frame, installed the storage drawers, and added the final touches and decorations to bring your platform bed to life.
By incorporating storage compartments into your bed, you have maximized the available space in your bedroom, providing a clutter-free environment and organized storage for your belongings. The platform top offers a solid and comfortable foundation for your mattress, ensuring a restful sleep.
Moreover, with the opportunity to personalize your platform bed through finishing touches and decorations, you have created a unique and visually appealing piece that complements the overall design of your bedroom.
Remember to maintain and care for your platform bed with storage by keeping the storage compartments clean and organized, regularly inspecting the stability of the components, and addressing any repairs or adjustments as needed. This will ensure that your platform bed remains functional and in excellent condition for years to come.
Congratulations on successfully completing your platform bed with storage! Enjoy the benefits of extra storage space, a comfortable sleep, and a stylish addition to your bedroom.
Frequently Asked Questions about How To Build Platform Bed With Storage
Was this page helpful?
At Storables.com, we guarantee accurate and reliable information. Our content, validated by Expert Board Contributors, is crafted following stringent Editorial Policies. We're committed to providing you with well-researched, expert-backed insights for all your informational needs.
0 thoughts on “How To Build Platform Bed With Storage”