Articles
How To Carpet A Subwoofer Box
Modified: February 26, 2024
Learn how to carpet a subwoofer box with these helpful articles. Get step-by-step instructions and expert tips for a professional finish.
(Many of the links in this article redirect to a specific reviewed product. Your purchase of these products through affiliate links helps to generate commission for Storables.com, at no extra cost. Learn more)
Introduction
When it comes to car audio, achieving optimal sound quality is the ultimate goal. One crucial component in achieving this is the subwoofer. The subwoofer creates that deep, rumbling bass that brings your music to life. However, simply having a high-quality subwoofer is not enough; it also needs proper housing.
A subwoofer box, also known as an enclosure, is designed to provide the subwoofer with the ideal environment to produce the best sound possible. Not only does it protect the subwoofer and prevent distortion, but it also enhances its overall performance. While there are pre-made subwoofer boxes available, many car audio enthusiasts prefer to build their own customized boxes.
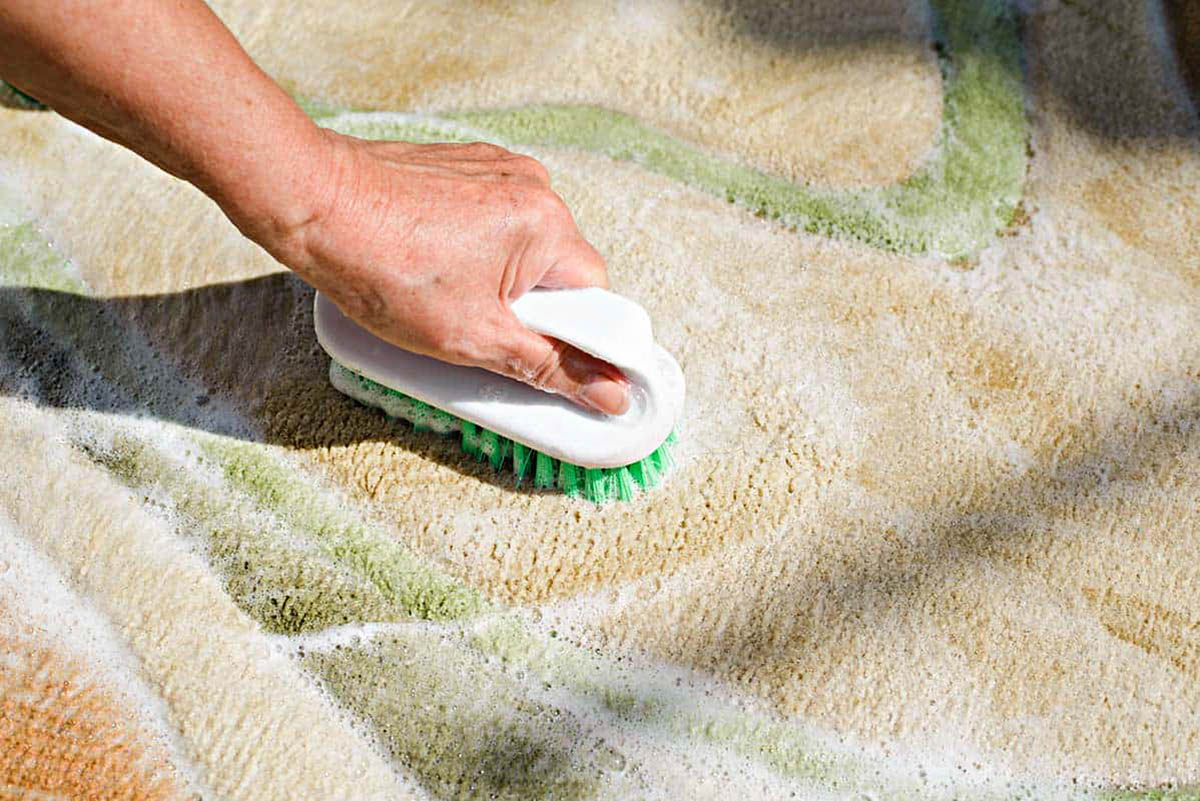
One essential aspect of custom subwoofer box construction is carpeting the box. Carpeting not only adds a visually appealing finishing touch, but it also helps to dampen vibrations and improves the overall durability of the box. In this article, we will guide you through the step-by-step process of carpeting a subwoofer box to achieve a professional and personalized look.
Before we dive into the details, it is important to gather all the necessary materials and tools. This will ensure a smooth and efficient process. Let’s take a look at what you will need:
- Subwoofer box
- Carpet (preferably carpet specifically designed for speaker enclosures)
- Spray adhesive
- Utility knife
- Tape measure
- Scissors
- Marker or pencil
- Cardboard or scrap wood (for protecting working surfaces)
Once you have these materials and tools ready, you can move on to the next step: preparing the subwoofer box.
Key Takeaways:
- Achieve professional and personalized car audio with a custom carpeted subwoofer box. Follow step-by-step instructions for optimal sound quality and a visually appealing finish.
- Ensure a durable and visually appealing installation by preparing, measuring, cutting, and applying adhesive for a smooth and professional carpeted subwoofer box.
Read more: Where To Place Subwoofer In Home Theater
Step 1: Gather the necessary materials and tools
Before you can begin carpeting your subwoofer box, it’s important to have all the necessary materials and tools within reach. Here is a breakdown of what you will need:
- Subwoofer box: Choose a subwoofer box that is the appropriate size and built to fit your specific subwoofer. Make sure it is made of sturdy material, such as MDF (medium-density fiberboard), to provide optimal performance.
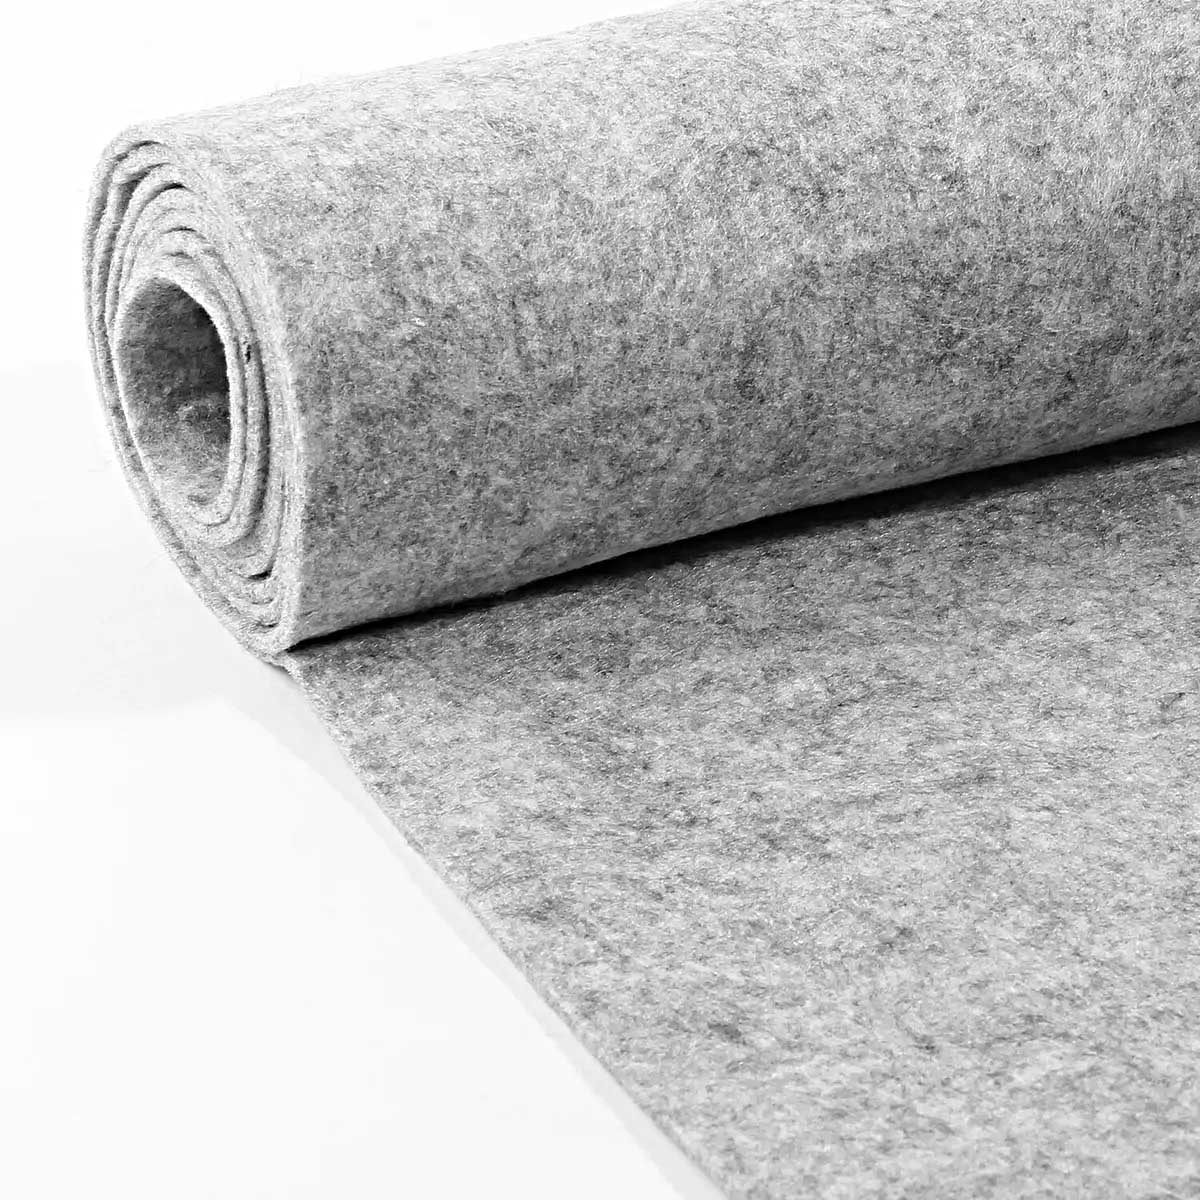
- Carpet: Look for carpet specifically designed for speaker enclosures. This type of carpet is thicker and more durable, allowing it to withstand the vibrations and movements of the subwoofer. It also helps to dampen any unwanted resonances.
- Spray adhesive: A good-quality adhesive is crucial for ensuring the carpet bonds securely to the subwoofer box. Look for a spray adhesive that is rated for use with carpet and other porous materials.
- Utility knife: A sharp utility knife will be your main tool for cutting the carpet to size. Make sure you have extra blades on hand in case one becomes dull during the process.
- Tape measure: Accurate measurements are essential for cutting the carpet precisely. A tape measure with both imperial and metric measurements will come in handy.
- Scissors: While the utility knife is great for straight cuts, scissors are useful for trimming excess carpet and making precise adjustments on curved or angled areas of the subwoofer box.
- Marker or pencil: You will need a marker or a pencil to mark measurements and cut lines on the carpet.
- Cardboard or scrap wood: It’s a good idea to have some cardboard or scrap wood to protect your working surfaces from adhesive overspray or any accidental cuts.
Having these materials and tools ready before you start will ensure a smooth and efficient carpeting process. Once everything is gathered, you can proceed to the next step, which is preparing the subwoofer box.
Step 2: Prepare the subwoofer box
Before you can apply the carpet to your subwoofer box, it’s important to properly prepare the box itself. This step involves cleaning, sanding, and ensuring that the surface is smooth and free from any imperfections that may affect the adhesion of the carpet. Follow these steps to prepare your subwoofer box:
- Clean the surface: Use a lint-free cloth or a soft brush to remove any dust, dirt, or debris from the surface of the subwoofer box. It’s important to start with a clean surface to ensure proper adhesion of the carpet.
- Sand the surface: Use a medium-grit sandpaper to lightly sand the surface of the subwoofer box. This will help remove any imperfections, rough areas, or old adhesive residue. Sanding will create a slightly roughened surface, which will improve the bonding of the adhesive to the box.
- Smooth out edges and corners: Pay special attention to the edges and corners of the box, as these areas often have sharp edges or rough surfaces. Take a finer-grit sandpaper and gently smooth out any rough spots to prevent the carpet from tearing or fraying during installation.
- Remove any protrusions: If your subwoofer box has any protruding hardware, brackets, or screws, consider removing them temporarily. This will make it easier to apply the carpet evenly and ensure a professional-looking finish.
- Wipe down the surface: Once you have sanded and smoothed the surface, wipe it down with a clean, damp cloth to remove any dust or debris. This will ensure a clean surface for the adhesive to bond properly.
By properly preparing the subwoofer box, you are laying the foundation for a successful carpeting process. Taking the time to clean, sand, and smooth the surface will result in better adhesion and a cleaner final appearance. With the subwoofer box prepared, you are now ready to move on to the next step: measuring and cutting the carpet.
Step 3: Measure and cut the carpet
Now that you have prepared the subwoofer box, it’s time to measure and cut the carpet to the appropriate size and shape. Follow these steps to ensure precise measurements and a clean-cut carpet:
- Measure the dimensions: Start by measuring each side of the subwoofer box. Use a tape measure to measure the width, height, and depth. Be sure to measure the internal dimensions of the box, as this is where the carpet will be applied.
- Add extra allowance: When measuring, add an additional inch (2.5 cm) to each dimension to allow for wrapping the carpet around the edges of the box. This will ensure that the edges are neatly covered and prevent any exposed edges or fraying over time.
- Mark the dimensions: Using a marker or pencil, mark the measurements onto the backside of the carpet. Make sure to use a straightedge or ruler to create clean, straight lines.
- Cut the carpet: With the measurements marked, use a sharp utility knife to cut along the lines. Take your time and make smooth, controlled cuts to ensure clean edges. Be cautious and use caution when handling the utility knife to prevent accidental injuries.
- Check the fit: Once the carpet is cut to size, double-check that it fits the subwoofer box properly. Lay it over the box and make sure it covers all sides evenly, with enough excess to wrap around to the back. If adjustments are needed, trim or adjust the carpet accordingly.
It’s important to note that the carpet should be cut slightly larger than the actual dimensions of the box to allow for proper coverage. Taking accurate measurements and making precise cuts will ensure a clean and professional-looking carpet installation.
With the carpet accurately measured and cut to size, you are now ready to move on to the next step: applying adhesive to the subwoofer box.
Step 4: Apply adhesive to the box
Once you have measured and cut the carpet to the appropriate size, it’s time to apply adhesive to the subwoofer box. The adhesive will ensure that the carpet securely adheres to the box, providing a smooth and professional finish. Follow these steps to apply adhesive effectively:
- Protect your working surface: Place a piece of cardboard or scrap wood underneath the subwoofer box to protect your working surface from any overspray or accidental adhesive contact.
- Shake the spray adhesive: Shake the spray adhesive can thoroughly to ensure that the adhesive is well mixed and ready for use. This will help achieve an even application.
- Hold the can at a distance: Hold the spray adhesive can approximately 6 to 8 inches (15 to 20 cm) away from the surface of the box. This will allow for an even dispersion of the adhesive and prevent it from pooling in one area.
- Spray in a sweeping motion: Begin spraying the adhesive in a sweeping motion, covering the entire surface of the box evenly. Be sure to apply a consistent layer of adhesive without oversaturating the surface.
- Overlap the edges: When spraying, make sure to extend the adhesive slightly beyond the edges of the box. This will ensure that the edges of the carpet are properly secured and prevent any lifting or peeling over time.
- Allow the adhesive to tack up: After applying the adhesive, allow it to tack up or become slightly sticky to the touch. Follow the manufacturer’s instructions regarding drying time, as it can vary depending on the specific adhesive you are using.
- Tip: Test on a scrap piece: If you are unsure about the adhesive’s suitability or want to practice your spraying technique, consider testing it on a small piece of scrap wood or cardboard before applying it to the actual subwoofer box.
By applying the adhesive evenly and allowing it to tack up properly, you ensure a strong bond between the carpet and the subwoofer box. With the adhesive applied, you are now ready to move on to the next step: attaching the carpet to the box.
Read more: Where To Hide A Subwoofer In Living Room
Step 5: Attach the carpet to the box
With the adhesive applied and tacky, it’s time to attach the carpet to the subwoofer box. This step requires precision and care to ensure a smooth and wrinkle-free installation. Follow these steps to attach the carpet effectively:
- Position the carpet: Carefully place the cut piece of carpet over the subwoofer box, making sure it aligns with the edges and corners. Take your time to position it accurately.
- Press down gently: Starting from one edge, gently press down on the carpet, smoothing it out as you go. Use your hands or a soft cloth to press firmly, ensuring the adhesive bonds securely with the carpet fibers.
- Work from one side to the other: Begin adhering the carpet from one side of the box and work your way across to the opposite side. This will help prevent wrinkles or bubbles from forming in the carpet.
- Smooth out any wrinkles: If you notice any wrinkles or bubbles forming, gently lift the carpet and smooth it out using your hands or a smooth, flat tool like a credit card. Start from the center of the wrinkle and slowly work your way towards the edges.
- Apply pressure along the edges and corners: Pay special attention to the edges and corners of the subwoofer box. Press down firmly to ensure that the carpet is securely adhered and neatly wrapped around these areas.
- Smooth out any air pockets: If you encounter any air pockets or trapped air beneath the carpet, use a small pin or needle to carefully puncture the carpet and release the air. Smooth out the area afterward to ensure a seamless finish.
As you attach the carpet, take your time to ensure a clean and professional installation. Properly adhering the carpet to the subwoofer box will result in a visually appealing finish that enhances the overall look of your car audio system. Once the carpet is attached, you can move on to the next step: smoothing out any wrinkles or bubbles.
When carpeting a subwoofer box, make sure to use a high-quality carpet adhesive to ensure a strong and durable bond between the carpet and the box. This will help prevent the carpet from peeling or lifting over time.
Step 6: Smooth out any wrinkles or bubbles
After attaching the carpet to the subwoofer box, it’s important to smooth out any wrinkles or bubbles that may have formed. This step is crucial to ensure a clean and professional-looking installation. Follow these steps to smooth out any imperfections:
- Inspect the carpet: Take a close look at the carpeted surface of the subwoofer box and identify any visible wrinkles or bubbles. This step will help you identify exactly where you need to focus your efforts.
- Gently lift the carpet: Starting from the edge closest to the wrinkle or bubble, carefully lift the carpet using your fingers or a flat tool like a credit card. Lift just enough to allow you to work on the specific area.
- Smooth with your hands: Using your hands, smooth out the wrinkle or bubble by pressing down firmly and evenly. Start from the center of the imperfection and work towards the edges, gently stretching and adjusting the carpet as necessary.
- Use a heat gun (optional): If the wrinkle or bubble is stubborn or difficult to smooth out, consider using a heat gun on a low heat setting. A heat gun can help soften the adhesive and make the carpet more pliable, allowing you to smooth it out more effectively.
- Work small sections at a time: It’s best to work on one small section at a time, addressing each wrinkle or bubble individually. This will help ensure that you achieve a smooth finish throughout the entire surface of the subwoofer box.
- Check your progress: Periodically check your work as you smooth out the wrinkles or bubbles. Make sure that the carpet is securely adhered and there are no visible imperfections. Repeat the process if you encounter any additional wrinkles or bubbles.
By taking the time to smooth out any wrinkles or bubbles, you’ll achieve a visually appealing result that enhances the overall appearance of your car audio system. Remember to work patiently and carefully to avoid damaging the carpet or the adhesive. Once you’ve smoothed out all the imperfections, you can move on to the next step: trimming the excess carpet.
Step 7: Trim the excess carpet
With the carpet securely adhered and any wrinkles or bubbles smoothed out, it’s time to trim the excess carpet for a clean and polished finish. By trimming the excess, you can achieve neat edges that enhance the overall appearance of your subwoofer box. Follow these steps to effectively trim the carpet:
- Inspect the edges: Take a close look at the edges of the carpeted subwoofer box. Look for any excess carpet that extends beyond the edges or any uneven sections that need to be trimmed.
- Mark the trim lines: Use a marker or pencil to mark the trim lines along the edges of the box. Make sure the lines are straight and follow the contours of the box.
- Use a sharp utility knife: Carefully use a sharp utility knife to trim along the marked lines. Make smooth and controlled cuts, applying gentle pressure to avoid tearing or fraying the carpet.
- Work in sections: Trim the carpet in small sections, keeping the knife close to the edge of the box. Take your time and trim gradually, ensuring that the cuts are clean and even.
- Double-check the edges: After trimming, double-check the edges to ensure they are neat and uniform. Make any necessary adjustments or touch-ups to achieve a polished look.
- Tip: Keep spare carpet: It’s a good idea to keep any leftover carpet in case you need it for future repairs or modifications. Store it in a safe place, away from moisture or extreme temperatures.
By trimming the excess carpet, you’ll achieve clean edges that give your subwoofer box a professional and finished appearance. Take your time and work carefully to ensure precise cuts and avoid any damage to the carpet or the box. With the excess carpet trimmed, you can move on to the next step: making cutouts for terminals or ports (if applicable).
Step 8: Make cutouts for terminals or ports (if applicable)
In some cases, your subwoofer box may have terminals or ports that require cutouts in the carpet. These cutouts allow for proper access and functionality of these components without obstructing their functionality. If your subwoofer box includes terminals or ports, follow these steps to make the necessary cutouts in the carpet:
- Identify the locations: Take note of the positions of the terminals or ports on your subwoofer box. This step is essential to determine where the cutouts in the carpet should be made.
- Mark the cutout outlines: Use a pencil or marker to carefully mark the outlines of the cutouts directly onto the carpet. Ensure the marks are accurate and reflect the size and shape of the terminals or ports.
- Measure and confirm: Double-check the measurements of the cutouts to ensure they align with the terminals or ports. Take accurate measurements to avoid any mistakes or inaccuracies.
- Use a utility knife or scissors: Depending on the thickness of the carpet, you can use a utility knife or a pair of scissors to make the cutouts. Choose the appropriate tool that will allow you to make precise and clean cuts.
- Start with pilot holes (if necessary): For smaller terminals or ports, you may need to start with small pilot holes before cutting out the entire shape. This will give you more control and prevent any accidental damage to the carpet.
- Carefully cut along the marked outlines: Begin cutting along the marked outlines, following the shape and size of the terminals or ports. Take your time and work carefully to ensure clean and accurate cutouts.
- Test the fit and make any adjustments: After making the cutouts, test the fit of the terminals or ports. If necessary, make any adjustments or refinements to ensure a proper and snug fit.
By making precise and clean cutouts for terminals or ports, you’ll ensure that your subwoofer box functions properly without any obstructions. Take your time during this step to avoid any mistakes or damage to the carpet or the components of the subwoofer box. Once the cutouts are complete, you can proceed to the next step: allowing the carpet to dry and set.
Step 9: Allow the carpet to dry and set
Once you have completed the carpeting process, it’s crucial to allow the adhesive to dry and set properly. This step ensures a strong and secure bond between the carpet and the subwoofer box. Follow these guidelines to allow the carpet to dry effectively:
- Refer to the adhesive manufacturer’s instructions: Different adhesives may have varying drying times. It’s important to follow the specific manufacturer’s instructions regarding drying and setting times.
- Give it sufficient time to dry: Avoid touching or manipulating the carpeted surface until the adhesive has fully dried. This can take anywhere from a few hours to overnight, depending on the type of adhesive and environmental conditions.
- Avoid excessive moisture or heat: During the drying process, it’s essential to keep the carpeted subwoofer box in a dry and well-ventilated area. Avoid exposing it to excessive moisture or heat, as this can interfere with the adhesion and overall quality of the carpet.
- Check for any loose spots: After the carpet has dried, carefully inspect the surface for any loose spots or areas that may require additional adhesive. If you notice any, reapply the adhesive according to the manufacturer’s instructions and allow it to dry again.
- Avoid putting excessive weight or stress on the carpet: While the adhesive is drying, it’s important to handle the subwoofer box with care. Avoid applying excessive weight or stress to the carpeted surface, as this can cause the adhesive bond to weaken or fail.
- Plan for additional drying time if needed: In certain cases, depending on the specific adhesive or environmental conditions, additional drying time may be required. Take into account these factors and allow for extra time if necessary.
By allowing the carpet to properly dry and set, you ensure a secure and long-lasting installation. Taking the time to allow the adhesive to cure completely will help prevent any potential issues or damage to the carpeted surface. Once the carpet has dried, you can confidently enjoy the enhanced aesthetics and improved performance of your subwoofer box.
With Step 9 completed, you have successfully finished carpeting your subwoofer box. Congratulations on your professional and personalized installation! Your subwoofer box is now ready to be integrated into your car audio system and deliver exceptional sound quality.
Conclusion
Carpeting a subwoofer box is a crucial step in achieving a professional and personalized car audio system. By following the step-by-step process outlined in this article, you can ensure a clean and effective carpet installation that enhances both the visual appeal and performance of your subwoofer box.
Starting with gathering the necessary materials and tools, you can set yourself up for a successful carpeting project. Choose a subwoofer box made of sturdy material and carpet specifically designed for speaker enclosures. The right spray adhesive, utility knife, tape measure, and scissors will make the process smoother and more efficient.
Preparing the subwoofer box by cleaning, sanding, and smoothing the surface is essential for optimal adhesion. A clean and smooth surface will help the carpet bond securely and prevent any imperfections.
Accurate measurement and precise cutting of the carpet are crucial to obtaining a perfect fit. Take your time and ensure the carpet extends slightly beyond the edges to allow for proper wrapping and a clean finish.
Applying the adhesive evenly and allowing it to tack up before attaching the carpet ensures a strong bond. Smooth out any wrinkles or bubbles during the installation to achieve a smooth and professional appearance.
Trimming the excess carpet and making cutouts for terminals or ports, if applicable, give your subwoofer box a polished and finished look while maintaining functionality.
Allowing the carpet to dry and set properly ensures a durable and long-lasting installation. Follow the adhesive manufacturer’s instructions and avoid applying excessive weight or stress to the carpeted surface during the drying process.
By following these steps, you can confidently carpet your subwoofer box and enjoy a visually appealing and high-performing car audio system. Remember to exercise patience, precision, and attention to detail throughout the process for the best results.
Now that you have completed the carpeting process, it’s time to integrate your subwoofer box into your car audio system and enjoy the immersive sound experience it provides. Sit back, crank up the volume, and enjoy the deep and rich bass that comes from a professionally carpeted subwoofer box!
Frequently Asked Questions about How To Carpet A Subwoofer Box
Was this page helpful?
At Storables.com, we guarantee accurate and reliable information. Our content, validated by Expert Board Contributors, is crafted following stringent Editorial Policies. We're committed to providing you with well-researched, expert-backed insights for all your informational needs.