Articles
How To Redo Carpet
Modified: October 28, 2024
Learn how to redo your carpet with our informative articles. Get tips, tricks, and step-by-step guides to achieve professional-quality results.
(Many of the links in this article redirect to a specific reviewed product. Your purchase of these products through affiliate links helps to generate commission for Storables.com, at no extra cost. Learn more)
Introduction
Having fresh, new carpets can instantly transform the look and feel of a room. Over time, however, carpets can become worn, stained, or outdated, necessitating the need for a carpet redo. Whether you’re looking to upgrade the carpets in your home or you’ve purchased a new property that needs a carpet makeover, this guide will walk you through the process of redoing your carpet step by step.
Redoing your carpet involves several tasks, including removing the old carpet, preparing the subfloor, choosing the right carpet, measuring and cutting the new carpet, installing the carpet padding, stretching and securing the new carpet, trimming and finishing the edges, and finally, cleaning and maintaining the new carpet. With proper planning and execution, you can achieve professional-looking results and enjoy a fresh and inviting space.
Before you begin the carpet redo process, it’s important to gather the necessary tools and materials. You’ll need:
- Utility knife
- Pry bar
- Hammer
- Pliers
- Measuring tape
- Straight edge
- Carpet knife
- Carpet stretcher
- Seam roller
- Staple gun
- Carpet adhesive
- Vacuum cleaner
- Carpet cleaner
Now that you have all the necessary tools and materials ready, let’s dive into the step-by-step process of redoing your carpet.
Key Takeaways:
- Transform your space with a fresh, new carpet by following the step-by-step guide, from removing the old carpet to choosing the perfect one, and maintaining its vibrancy for years to come.
- Achieve professional-looking results and enjoy a cozy and inviting atmosphere with proper planning and execution of the carpet redo process, ensuring a smooth and long-lasting installation.
Read more: How To Redo Stairs That Had Carpet
Step 1: Removing Old Carpet
Before you can install new carpet, you’ll need to remove the old carpet first. Here are the steps to follow:
- Prepare the area: Clear the room of any furniture, decorations, and other items. This will give you a clear space to work in and prevent any damage to your belongings.
- Cut and pull up the old carpet: Use a utility knife to make a small cut near a corner of the room. Then, grip the carpet with pliers and carefully pull it away from the floor. Continue cutting and pulling until you have removed the entire carpet.
- Remove the carpet padding: Once the carpet is removed, you’ll typically find a layer of padding underneath. Use a pry bar or pliers to pull up the padding. Be careful not to damage the subfloor.
- Dispose of the old carpet: Roll up the old carpet and padding and secure them with tape or twine. Check with your local waste management services to find out the proper way to dispose of the old carpet. Some areas may have specific regulations for carpet disposal.
- Inspect the subfloor: Before proceeding with the carpet redo, carefully inspect the subfloor for any damage or unevenness. Make any necessary repairs or adjustments to ensure a smooth and sturdy surface for the new carpet.
Removing the old carpet can be a labor-intensive task, so make sure you have adequate time and energy to complete the process. It’s also a good idea to wear protective gloves and a dust mask to prevent any allergens or irritants from getting into your system. Once you’ve successfully removed the old carpet and inspected the subfloor, you’re ready to move on to the next step: preparing the subfloor.
Step 2: Preparing the Subfloor
Preparing the subfloor is a crucial step in ensuring a successful carpet redo. A properly prepared subfloor will provide a stable and level surface for the new carpet installation. Here’s what you need to do:
- Clean the subfloor: Remove any dirt, debris, or adhesive residue from the subfloor. Use a broom, vacuum cleaner, or scraper to ensure a clean surface. This step is important because any imperfections or foreign matter can affect the carpet’s installation and longevity.
- Smooth out uneven areas: If you notice any bumps, lumps, or uneven areas on the subfloor, you’ll need to fix them before proceeding. Use a leveling compound or floor patch to fill in low spots or depressions. Sand down high spots with a belt sander or hand sander. The goal is to create a smooth and even surface that will prevent the new carpet from being compromised.
- Check for moisture: Moisture can wreak havoc on carpets, causing mold, mildew, and unpleasant odors. It’s important to check for any signs of moisture or dampness in the subfloor. If necessary, use a moisture meter to determine the moisture levels. If excessive moisture is present, you may need to address the underlying issue or use a moisture barrier before proceeding with the carpet installation.
- Allow for acclimation: If you’re installing a carpet made from natural fibers, such as wool, it’s important to allow the carpet to acclimate to the room’s temperature and humidity levels. Follow the manufacturer’s guidelines for acclimation time, which is usually around 48 hours. This step will help ensure that the carpet adapts to the environment and minimizes any potential shrinkage or expansion after installation.
Once you’ve completed these steps, you can be confident that your subfloor is ready for the new carpet. Taking the time to properly prepare the subfloor will result in a smoother installation process and a longer-lasting carpet. Now, it’s time to move on to the next step: choosing the right carpet for your space.
Step 3: Choosing the Right Carpet
Choosing the right carpet is essential to achieving the desired look and feel for your space. With so many options available, it’s important to consider factors such as durability, style, texture, and color. Here’s what you need to do to choose the right carpet:
- Determine the carpet type: There are various types of carpets available, including cut pile, loop pile, berber, and more. Each type has its own unique characteristics and suitability for different areas of the home. Consider factors such as foot traffic, desired comfort, and ease of maintenance when selecting the carpet type.
- Consider the carpet fiber: Carpets can be made from different types of fibers, such as nylon, polyester, wool, or a blend. Each fiber has its own set of pros and cons in terms of durability, stain resistance, and price. Research the characteristics of each fiber and choose the one that best fits your needs and budget.
- Decide on the carpet style: The style of the carpet refers to the way the fibers are arranged. Popular styles include plush, frieze, saxony, and patterned carpets. Consider the overall design aesthetic of your space and choose a style that complements it. Keep in mind that different styles may require different maintenance routines.
- Think about color and pattern: The color and pattern of the carpet can greatly impact the overall look of the room. Consider the existing color scheme and decor in the space and choose a carpet color and pattern that harmonizes with the surroundings. Lighter colors can make a room appear more spacious, while darker colors can create a cozy and intimate atmosphere.
- Set a budget: Carpet prices can vary greatly depending on the type, fiber, and quality. Decide on a budget before you start shopping for carpets to help narrow down your options and make informed choices.
When choosing a carpet, it’s also important to consider your lifestyle and any specific needs or preferences you may have. If you have pets or young children, for example, you may want to choose a carpet that is more resistant to stains and easy to clean. Take the time to explore different options, visit carpet retailers, and even request carpet samples to get a better sense of the look and feel of the carpets you’re considering.
Once you’ve selected the right carpet for your space, you’re ready to move on to the next step: measuring and cutting the new carpet to fit the room.
Step 4: Measuring and Cutting the New Carpet
Accurate measurements and precise cutting are crucial to ensuring that your new carpet fits properly and looks seamless in your space. Here’s how to measure and cut the new carpet:
- Prepare the room: Clear the room of any furniture and remove any obstacles that may hinder the measuring and cutting process. It’s important to have a clean and open space to work in.
- Measure the room: Use a measuring tape to measure the length and width of the room. Measure at the longest and widest points, as rooms are not always perfectly square. Take note of any irregularities or alcoves that need special attention.
- Add additional inches: To ensure that the carpet covers the entire floor area, it’s recommended to add a few extra inches to each measurement. This will allow for adjustments during installation and ensure a snug fit.
- Create a template: Use a large piece of craft paper or cardboard to create a template of the room. Lay the template on the floor and adjust it to match the measurements taken in the previous steps. Use a straight edge and pencil to trace the template onto the carpet.
- Cut the carpet: With the template in place, use a sharp carpet knife to carefully cut along the traced lines. Take your time and make smooth, precise cuts to avoid frayed edges or uneven lines. Keep the carpet stretched taut while cutting to ensure accurate cuts.
- Trim excess carpet: Once the main pieces of carpet are cut and fit into the room, trim any excess carpet along the edges. Use a straight edge and carpet knife to make clean, straight cuts. Be careful not to cut into the subfloor or the baseboards.
It’s important to note that if your room has complex shapes or curves, you may need to use seam tape or hire a professional carpet installer to ensure proper fitting and seam blending. Additionally, if you have multiple rooms or areas to carpet, repeat the measuring and cutting process for each individual space.
Once you have successfully measured and cut the new carpet, you’re ready to move on to the next step: installing the carpet padding.
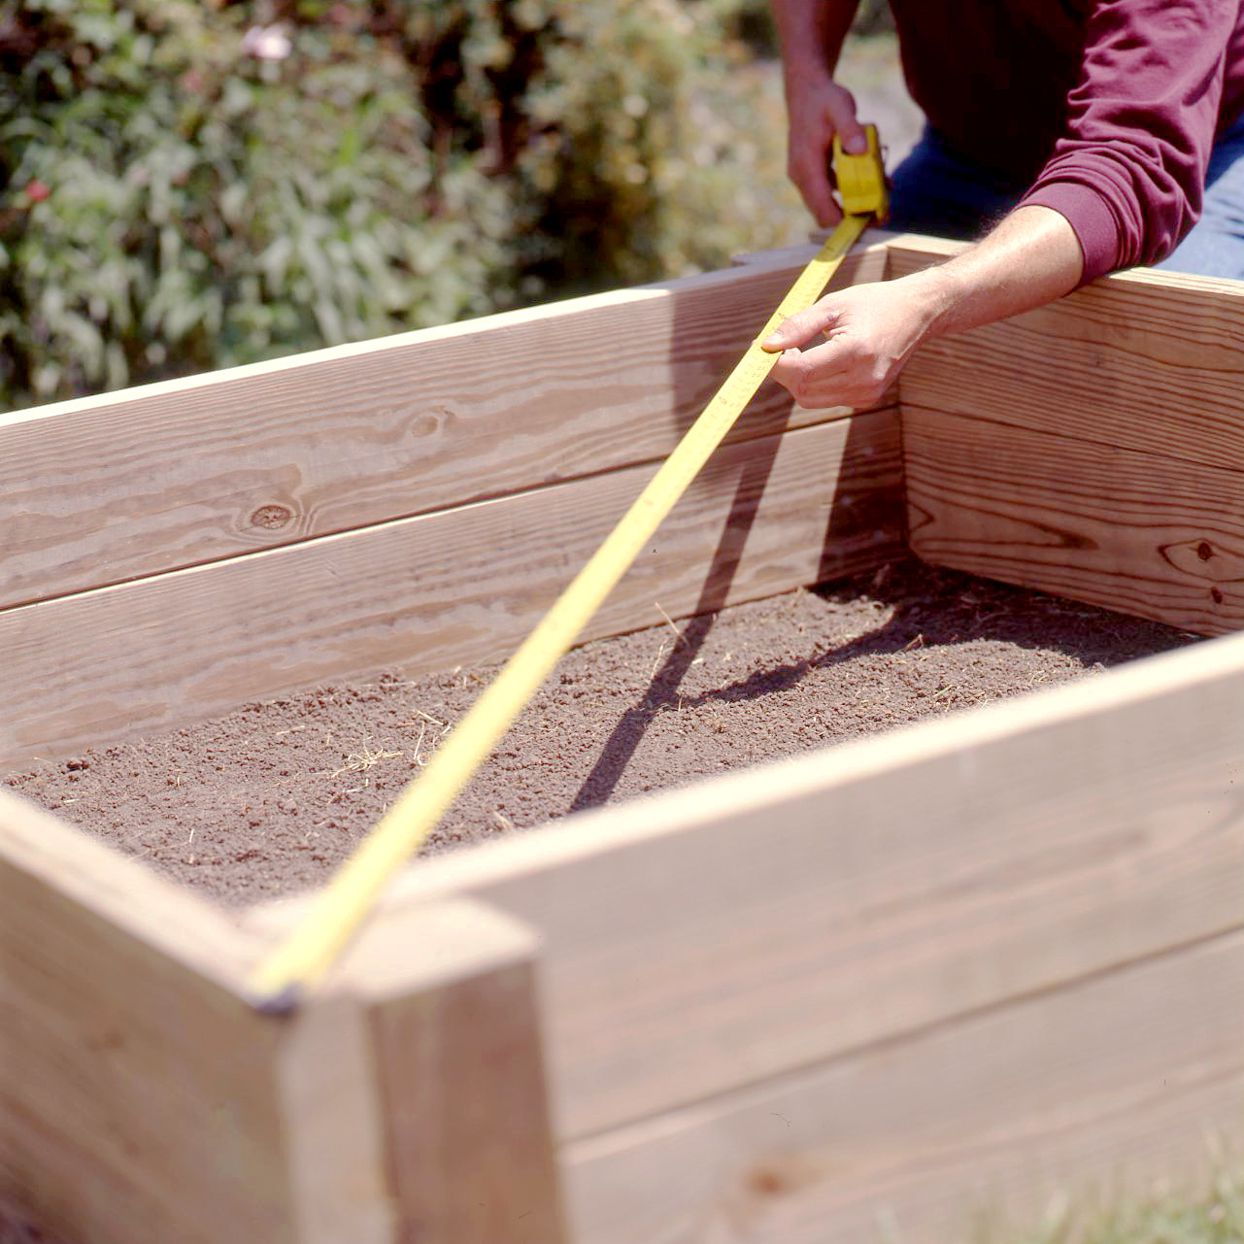
When redoing carpet, make sure to properly measure the room and add 10% for waste. Consider the type of carpet padding and installation method for best results.
Read more: How To Redo Stairs From Carpet To Wood
Step 5: Installing the Carpet Padding
Installing carpet padding is essential to prolonging the life of your new carpet and providing added comfort and insulation. The padding helps absorb impact, reduce noise, and provide a cushioned feel underfoot. Here’s how to install the carpet padding:
- Prepare the subfloor: Ensure that the subfloor is clean and free of any debris or protrusions. Remove any remaining carpet staples or adhesive residue from the previous carpet installation.
- Roll out the padding: Start at one end of the room and roll out the carpet padding, aligning it with the edges of the room. Allow the padding to run slightly up the walls, creating a snug fit with the carpet and reducing the chances of it shifting or buckling.
- Trim the padding: Use a utility knife or carpet knife to trim the excess padding along the edges of the room. Make sure to cut along the walls, maintaining a straight and clean edge.
- Secure the padding: To prevent the padding from shifting during carpet installation, use a staple gun or adhesive to secure it to the subfloor. Apply staples or adhesive every 6 to 12 inches along the edges and seams of the padding. Take care not to puncture the padding excessively, as this could affect its cushioning properties.
- Overlap adjoining pieces: If your room requires multiple pieces of padding, overlap the edges of the padding by a few inches. This will help create a smooth transition and prevent any gaps or seams from being noticeable when the carpet is installed.
- Ensure a smooth surface: Take a few moments to smooth out any wrinkles, folds, or bumps in the padding. A smooth and even padding surface will provide optimal support for the carpet and minimize any potential unevenness underfoot.
Installing the carpet padding is an important step that should not be skipped. It provides a cushioning layer between the carpet and the subfloor, enhancing comfort and extending the lifespan of the carpet. Once the padding is securely installed, you’re ready to move on to the next step: stretching and securing the new carpet in place.
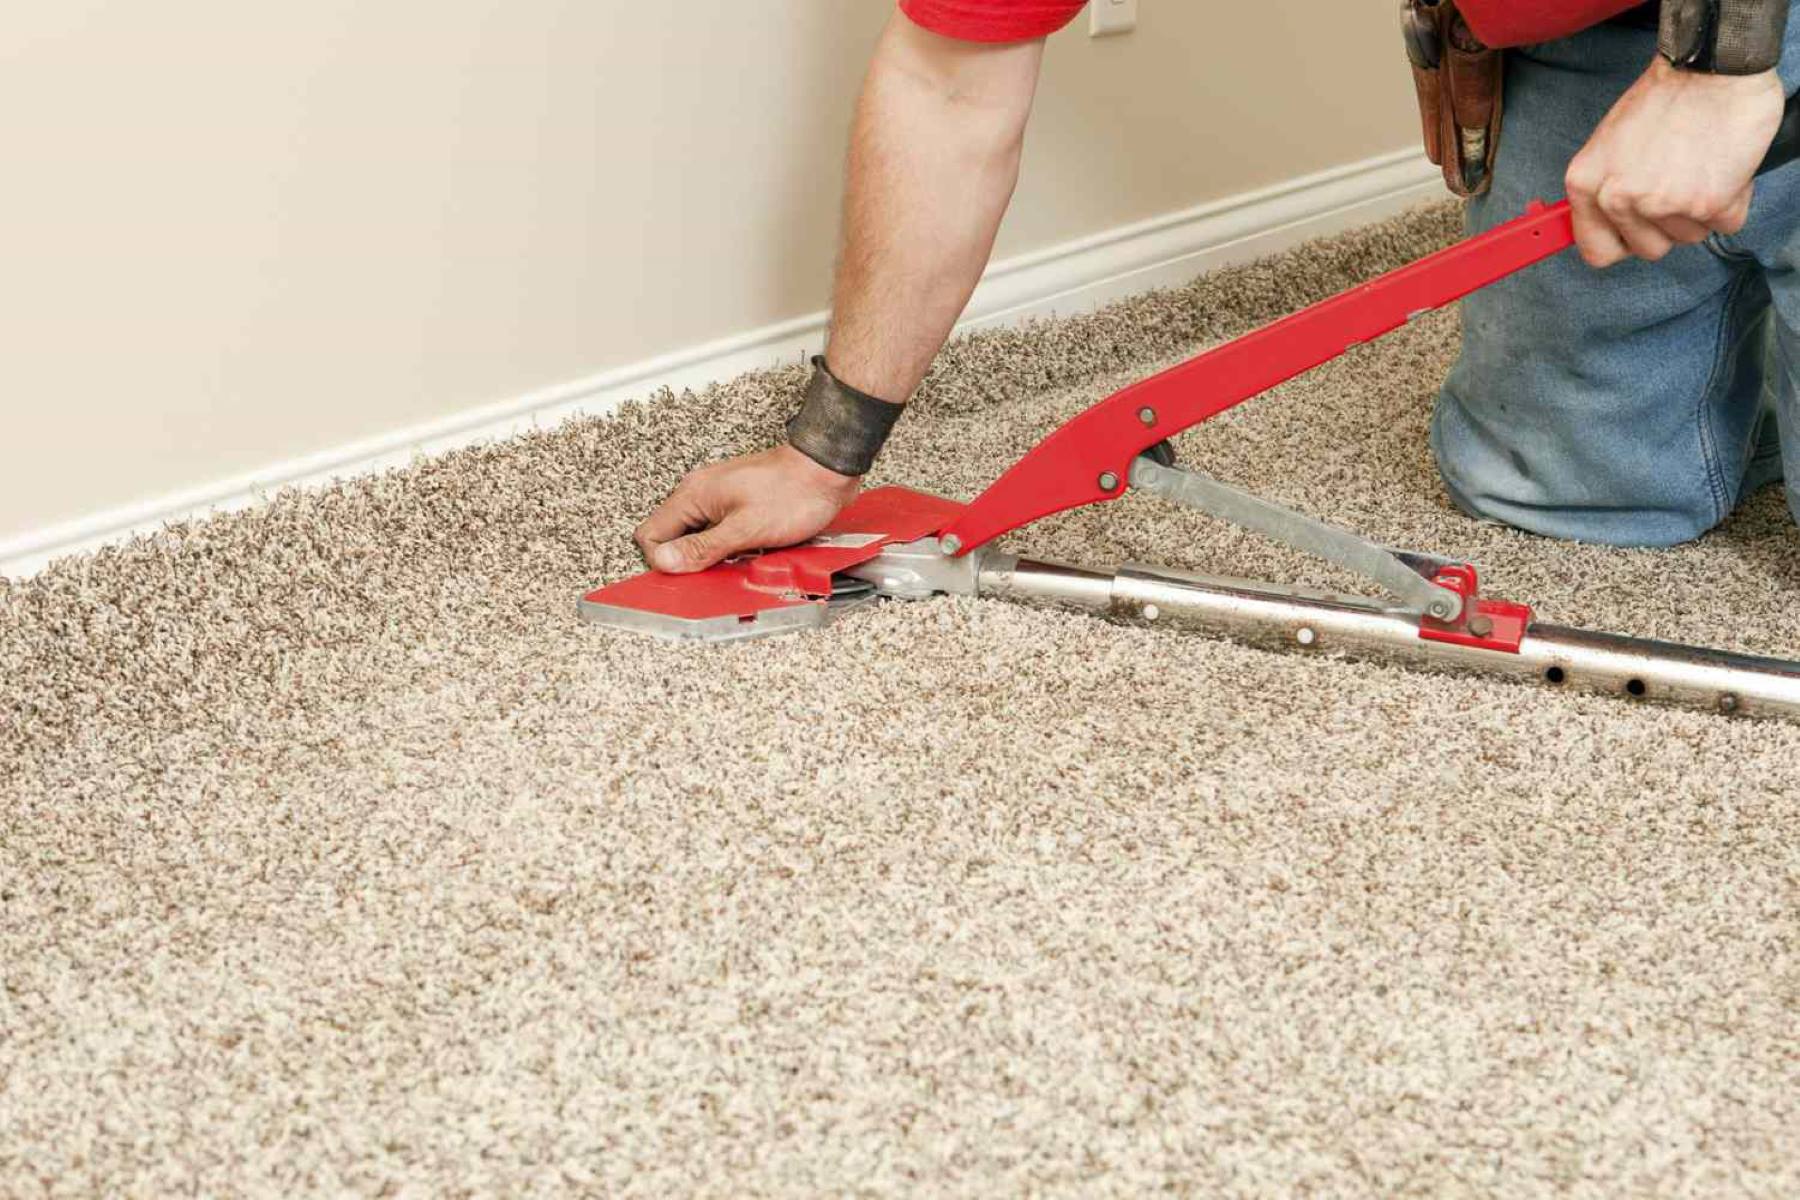
Step 6: Stretching and Securing the New Carpet
Stretching and securing the new carpet is crucial to ensure a tight and wrinkle-free installation. Proper stretching helps the carpet lay flat and prevents premature wear and tear. Here is how to stretch and secure the new carpet:
- Position the carpet: Start by positioning the carpet in the room, ensuring that it covers the entire floor area with a few inches of excess along the walls.
- Begin stretching: Using a carpet stretcher, begin stretching the carpet towards one wall of the room. Attach one end of the stretcher to the carpet and the other end against the opposite wall. Engage the stretcher and apply tension to stretch the carpet.
- Secure the stretched section: Once the carpet is adequately stretched, use a knee kicker to secure the stretched section to the tack strips along the wall. Place the knee kicker a few inches away from the wall and use your knee to apply force to push the carpet onto the tack strips.
- Continue stretching and securing: Move along the walls of the room, stretching and securing the carpet section by section. Use the carpet stretcher and knee kicker in combination to ensure proper tension and a tight fit. Trim any excess carpet along the edges as you go.
- Smooth out wrinkles and folds: As you stretch and secure the carpet, be mindful of any wrinkles or folds that may form. Use a knee kicker or hand tools to smooth out any imperfections and ensure a smooth surface. It’s important to eliminate any wrinkles, as they can lead to tripping hazards and premature wear of the carpet.
- Secure seams (if applicable): If your room requires multiple pieces of carpet, you’ll need to secure the seams. Use a seam roller and carpet adhesive to join the carpet pieces together. Apply the adhesive according to the manufacturer’s instructions and firmly press the seams together. Allow sufficient time for the adhesive to dry before continuing with the installation process.
Proper stretching and securing of the carpet is vital to achieving a professional and long-lasting installation. Take your time and ensure that the carpet is properly tensioned, free of wrinkles, and securely attached to the tack strips. This step sets the foundation for the final appearance of the carpet in your space.
Once you’ve completed stretching and securing the new carpet, you’re ready to move on to the next step: trimming and finishing the edges for a polished look.
Step 7: Trimming and Finishing the Edges
Trimming and finishing the edges of the carpet is the final touch to achieve a polished and professional-looking installation. This step ensures that the edges are neat and seamlessly blend into the room. Here’s what you need to do:
- Trim excess carpet along the walls: Use a carpet knife or trimmer to carefully trim any excess carpet along the perimeter of the room. Hold the blade at a slight angle and cut along the walls, making sure not to cut into the baseboards.
- Tuck the carpet into the baseboards: Use a putty knife or a carpet tucking tool to gently tuck the trimmed edges of the carpet into the gap between the carpet and the baseboards. This will create a clean and seamless transition and prevent the carpet from unraveling over time.
- Check and adjust the seams: If you have seams in your carpet, inspect them for any visible gaps or unevenness. Use a seam iron or a hot iron with a damp cloth to gently heat and press the seams, ensuring they lie flat and blend seamlessly.
- Install transition strips (if needed): Depending on the type of flooring adjacent to the carpet, you may need to install transition strips for a smooth and finished edge. Transition strips can be installed using nails, adhesive, or other appropriate fasteners.
- Apply any necessary finishing touches: Take a moment to inspect the entire carpeted area for any loose threads, indentations, or imperfections. Trim any loose threads and use a carpet rake or brush to fluff up the carpet fibers for a consistent look.
Trimming and finishing the edges of the carpet is a delicate and precise process that requires attention to detail. Take your time and ensure that the edges are clean, straight, and seamlessly blend into the surrounding space. This final step will give your carpet installation a polished and refined appearance.
With the carpet edges trimmed and finished, your carpet redo is almost complete. The last step is to clean and maintain your new carpet to keep it looking fresh and inviting. This will ensure its longevity and retain its visual appeal.
Step 8: Cleaning and Maintaining the New Carpet
Cleaning and maintaining your new carpet is essential to keep it looking its best and prolong its lifespan. Regular care and maintenance will help preserve the carpet’s appearance and prevent the buildup of dirt, stains, and odors. Here’s what you need to do:
- Vacuum regularly: Regular vacuuming is key to removing surface dirt, dust, and debris. Aim to vacuum high-traffic areas at least once or twice a week and less frequently for areas with less foot traffic. Use an appropriate vacuum cleaner with adjustable settings suited for your carpet type.
- Treat stains promptly: Accidents happen, and when spills or stains occur on your carpet, it’s important to act quickly. Blot the affected area with a clean cloth or paper towel to absorb as much of the spill as possible. Avoid rubbing the stain, as it may spread or push the liquid deeper into the carpet fibers. Use a gentle carpet cleaner or a mixture of warm water and mild detergent to clean the stain, following the manufacturer’s instructions.
- Prevent and protect: Place doormats at entryways to trap dirt and prevent it from being tracked onto the carpet. Use furniture pads or coasters under heavy furniture to prevent indentations and distribute the weight evenly. Consider using area rugs or runners in high-traffic areas to provide an extra layer of protection for the carpet.
- Schedule professional cleaning: While regular vacuuming and spot cleaning are beneficial, professional carpet cleaning is recommended to deep clean and refresh your carpet. Schedule a professional cleaning at least once a year or as needed, depending on your specific circumstances and the carpet manufacturer’s recommendations.
- Keep pets and shoes off the carpet: Minimize the accumulation of dirt, pet hair, and allergens by keeping pets and shoes off the carpeted areas as much as possible. Establish areas for pets to rest and play that are away from the carpeted space. Consider implementing a “no-shoes” policy or using shoe covers when walking on the carpet to help maintain its cleanliness.
Maintaining a clean and well-maintained carpet not only enhances the aesthetics of your space but also contributes to a healthier indoor environment. By regularly cleaning and properly caring for your carpet, you can enjoy its beauty and comfort for many years to come.
With the completion of step 8, your carpet redo journey comes to an end. By following these steps and paying attention to detail, you have successfully transformed your space with a fresh, new carpet. Sit back, relax, and enjoy the cozy and inviting atmosphere your new carpet has created.
We hope this guide has been helpful, and we wish you the best of luck with your carpet redo project!
Read more: How To Redo Fireplace
Conclusion
Redoing the carpet in your space can give it a fresh and revitalized look. From removing the old carpet to selecting the right carpet, measuring and cutting, installing padding, stretching and securing, trimming and finishing the edges, and finally, cleaning and maintaining the new carpet, each step is crucial in achieving a professional and long-lasting result.
By following this comprehensive guide, you have learned how to tackle each step with confidence and precision. From preparing the subfloor to choosing the perfect carpet, measuring and cutting it to fit the room, and installing it with care, you have laid the foundation for a beautiful and comfortable carpeted space.
Remember, maintenance plays a vital role in ensuring the longevity and vibrancy of your new carpet. Vacuum regularly, address stains promptly, and schedule professional cleanings to keep your carpet at its best. Additionally, take preventative measures such as using doormats, furniture pads, and rugs to protect your carpet from wear and tear.
Now that your carpet redo is complete, it’s time to enjoy the cozy and inviting atmosphere it brings to your space. Whether it’s in your home, office, or any other area, your new carpet will not only enhance the visual appeal but also provide comfort underfoot.
We hope this guide has provided you with the knowledge and confidence to successfully complete your carpet redo project. Remember to always consult the manufacturer’s instructions and seek professional assistance if needed. Enjoy your newly transformed space and revel in the beauty and comfort your new carpet brings!
Frequently Asked Questions about How To Redo Carpet
Was this page helpful?
At Storables.com, we guarantee accurate and reliable information. Our content, validated by Expert Board Contributors, is crafted following stringent Editorial Policies. We're committed to providing you with well-researched, expert-backed insights for all your informational needs.